There is a short cutscene that takes place as you approach the mines from the city of Bhujerba for the first time. Balthier will mention that the mines are some of the richest veins in all of Ivalice while Lamont will mention that there are very few members of the Imperial Army which have been permitted entry.
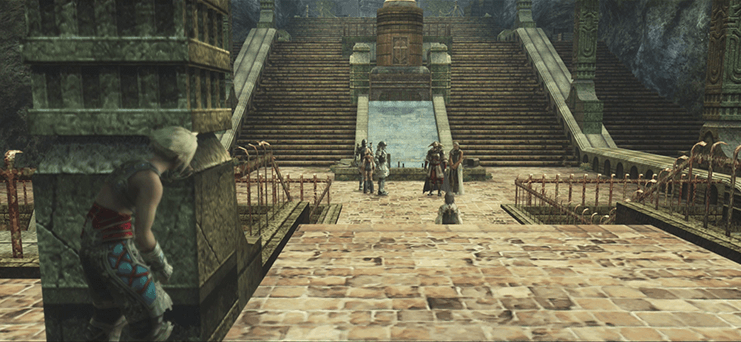
Travel down from Lhusu Square into the mines taking the stairs on the left or right side. Another cutscene will take place involving a Judge and Halim Ondore IV, the Marquis of Bhujerba (narrator of the story).
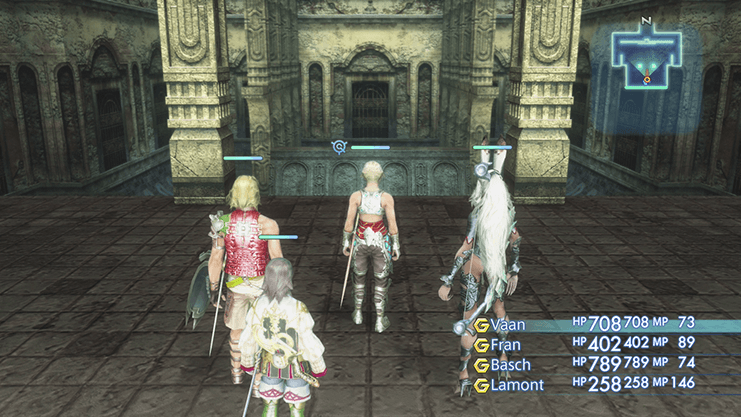
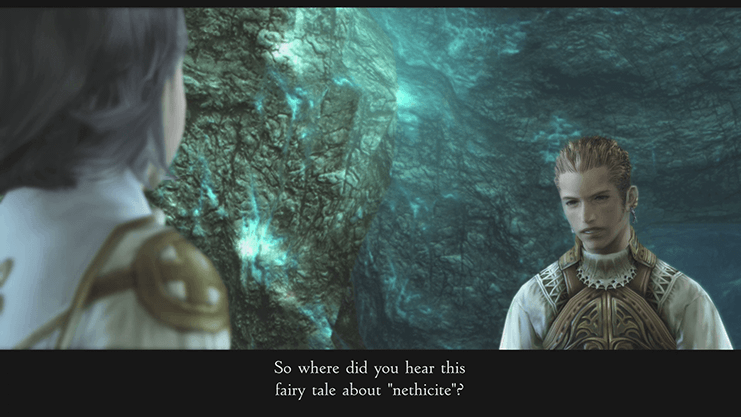
Lamont and Balthier will talk about whether or not he has been secretly supporting the resistance before Vaan interjects and insists that the team starts the search for Penelo.
Adjustments were made to the mechanics behind “Lamont’s” use of ![]() Potions in this version of the game. Instead of having his own unlimited supply of Potions, he will use Potions directly from your item inventory. Therefore it is recommended that you adjust his
Potions in this version of the game. Instead of having his own unlimited supply of Potions, he will use Potions directly from your item inventory. Therefore it is recommended that you adjust his ![]() Potion Gambit to use
Potion Gambit to use ![]() Cure Magick rather than waste all of your
Cure Magick rather than waste all of your ![]() Potions.
Potions.
Head down the pathway and turn to your right to find a treasure chest that contains ![]() Silence Magick.
Silence Magick.
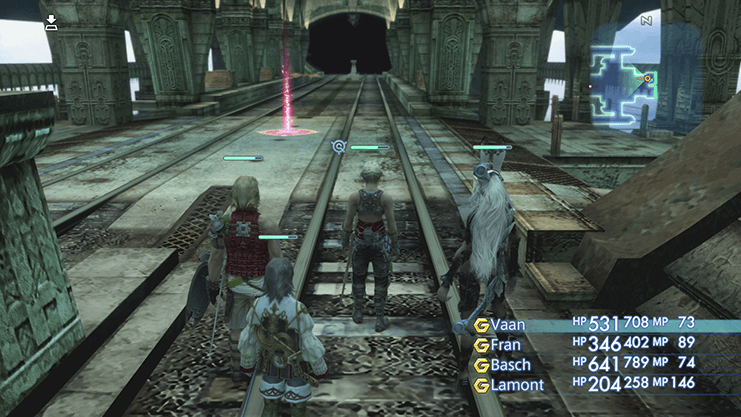
Use the map by pressing the  Button that you purchased from the Cartographer’s Guild Moogle in Bhujerba to keep track of your location as you progress through the mines.
The Shaft Entry is fairly large and there is a blocked pathway that can be a bit of a nuisance to maneuver around. Take the pathway all the way north, then all the way west and take the pathway south to find the exit to this room in the southwest corner. Use the map below to help you find it.
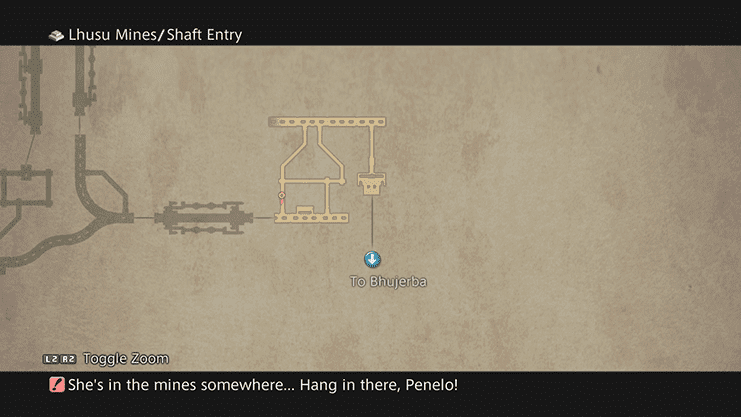
There is a gate blocking the pathway if you try to enter the Oltam Span using any other pathway.
There are multiple pathways that you can use to cross this bridge. You can use the bridge itself to go straight across, however you will encounter quite a few enemies as you work your way across.
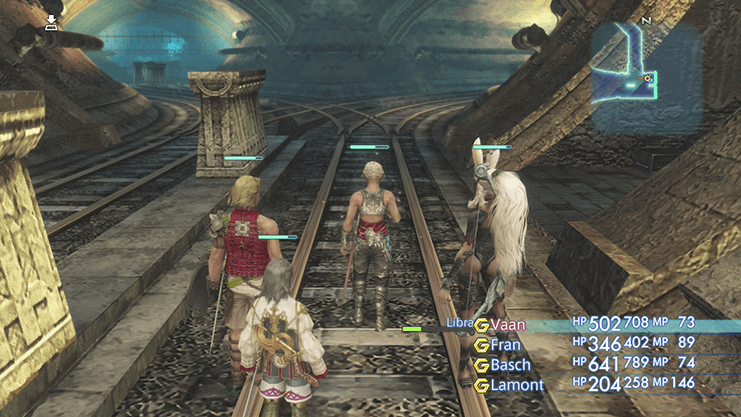
The two pathways leading off to the left and right side of the bridge offer a safer route, albeit one full of traps, so make sure that you have the ![]() Libra Technick activated on one of your characters before traveling down. You can set up a Gambit to make sure this happens automatically.
Libra Technick activated on one of your characters before traveling down. You can set up a Gambit to make sure this happens automatically.
Travel all the way west until you reach the next area.
There are a number of pathways that you can take from Transitway 1, however many of them are currently locked off, and you won’t be able to explore the majority of this dungeon until much later in the game.
Make sure that you open the treasure chest in the northeast passageway as it contains the ![]() Numerology Technick.
Numerology Technick.

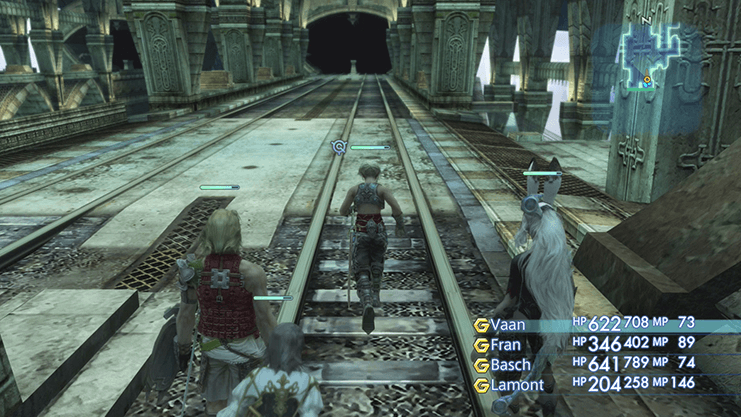
The direction you want to take for now is straight north to the Shunia Twinspan and you need to be on the east side of it. Take either of the two pathways northward to reach the Twinspan.
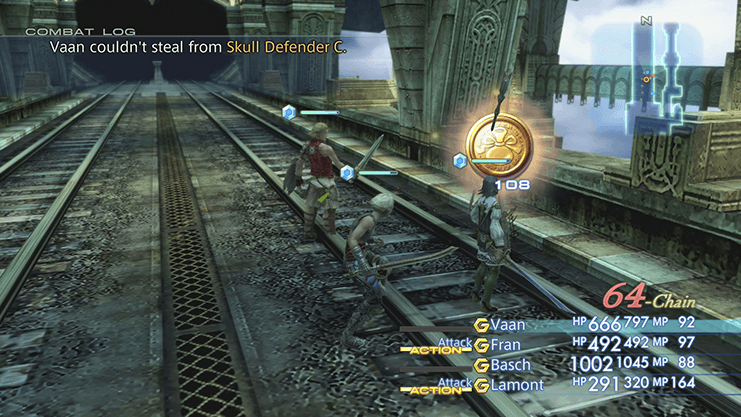
This is the first true power-leveling area and one of the first areas of the game where you can make good use of the chain-leveling feature of Final Fantasy XII.
You may have noticed that killing the same enemy multiple times results in a notification reading “2-Chain”, “3-Chain” and so on. The more enemies that you chain together and defeat one after the other, the better the loot that you are likely to receive after killing them.
Better loot can be sold for more gil which means that this can help you level quickly and stockpile some gil so that you can purchase stronger weapons, armor, Magicks, etc.
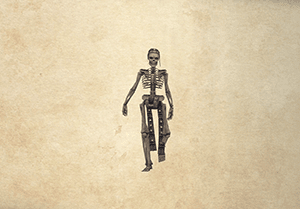
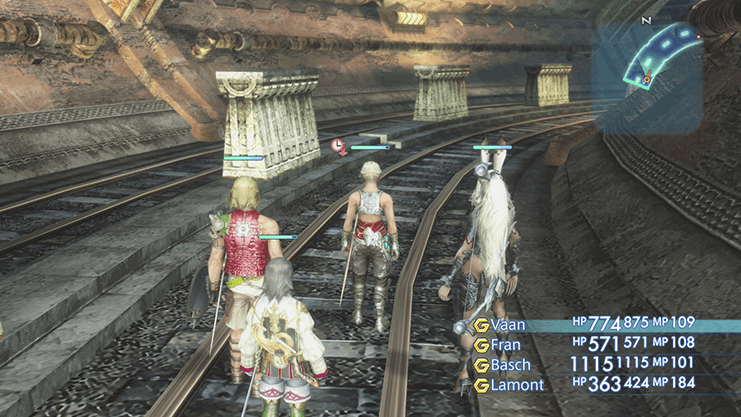
The enemy that you want to chain together are the Skeleton enemies that appear on the span as you travel across. Be careful not to venture too far down the span as spawning too many of the Skeleton enemies at the same time can prove troublesome, but after power-leveling and chaining enemies together, your characters will become quite a bit more powerful and will be able to take down more Skeletons much more efficiently.
The ![]() Bone Fragment items that the Skeleton enemies drop sell for 193 gil each and the
Bone Fragment items that the Skeleton enemies drop sell for 193 gil each and the ![]() Dark Stones sell for 35 gil each. As mentioned, the more Skeleton enemies that you chain together, the more likely they are to drop their best loot (which is the Bone Fragments in this case).
Dark Stones sell for 35 gil each. As mentioned, the more Skeleton enemies that you chain together, the more likely they are to drop their best loot (which is the Bone Fragments in this case).
Chain Skeletons together and power-level in this area until you obtain 99 Bone Fragments before returning to Lhusu Square to sell them. Selling 99 Bone Fragments will net you 19,107 gil.
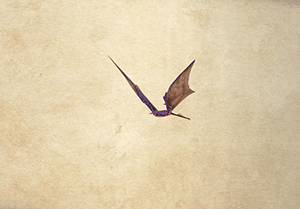
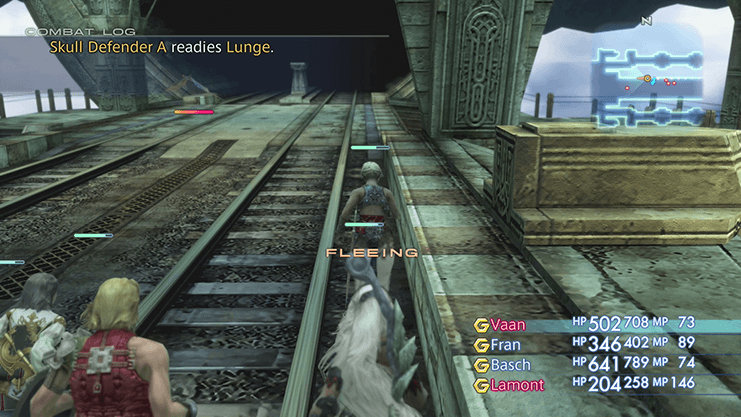
You may find yourself running out of Skeletons to kill after a set amount of time on the Shunia Twinspan. You can reset the Skeletons by moving at least two areas away and returning to the Twinspan. Just make sure that you do not kill any of the Steeling Bats that appear in the other rooms by holding the  Button and fleeing past them.
The process becomes much easier as you chain enemies together as well. Once the Skeletons start dropping the Gold loot bags, and then the Large Gold loot bags, these bags also have a chance that they will heal your party or cast ![]() Protect or
Protect or ![]() Shell on your party for free.
Shell on your party for free.
The video below gives a demonstration of the technique in the original version of the game (scroll down to see the Zodiac Age version video of the same technique):
A video of the technique in the Zodiac Age version is included below:
It is very easy to level your characters up into the level 15 to level 20 range using this technique and this is a good way to get a half-decent stockpile of License Points. Travel north from the Shunia Twinspan into Site 2 when you are finished power-leveling and chaining.
Check out the Grinding and Power Leveling page in the Tips and Tricks section for more information about upcoming areas where you can utilize this tactic to earn gil, License Points and EXP quickly.
Follow the pathway as it turns eastward.
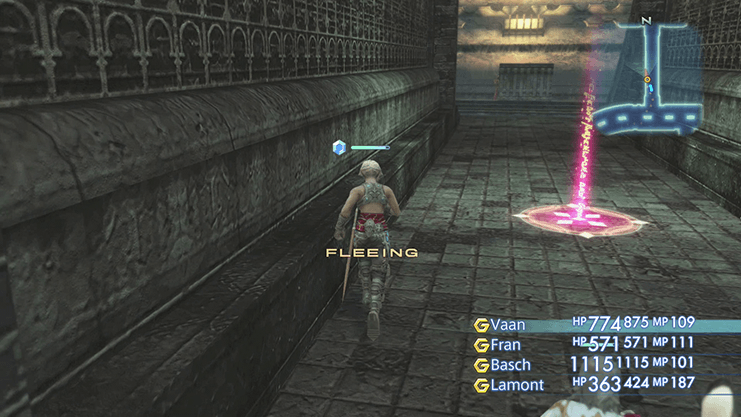
As you continue through it you will notice another path on your left. This pathway leads to a potential treasure chest but you have to sneak past a trap in order to get there (make sure that you have Libra activated). The trap is fairly difficult to pass as your party members are likely to hit it.
Use the Button to force your characters to Flee which will cause them to stay much closer to the party leader. Walk past it and search for the chest before continuing on down the pathway.
A cutscene will trigger once you approach the large room that looks like a huge cave further on down into Site 2.
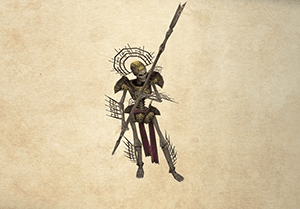
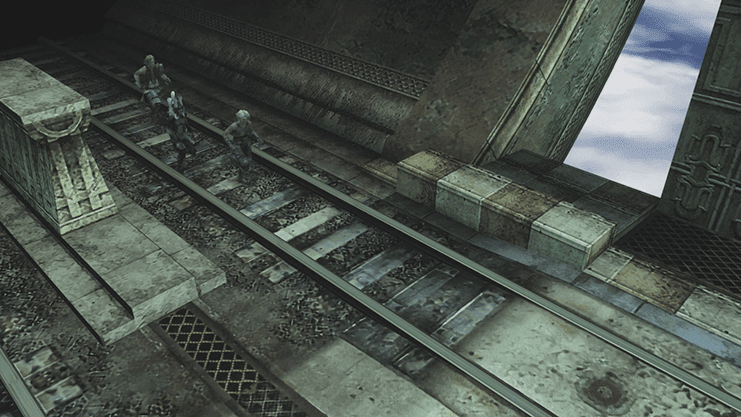
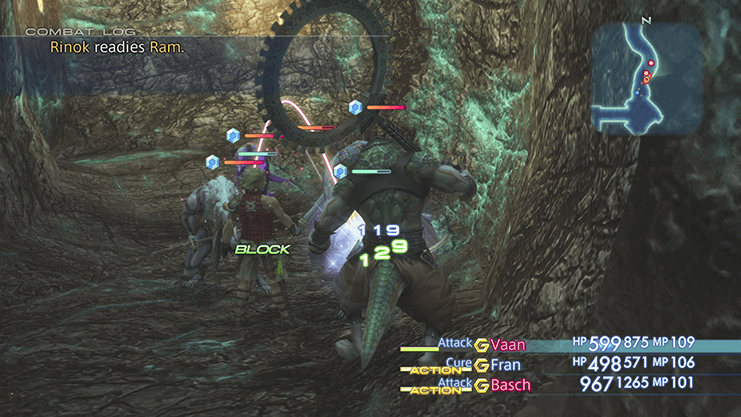
You have two options coming up: you can either run from Ba’Gamnan and his team or you can stick around and fight. The story is setup to imply that Vaan and his team should hold the Button and just run back to the entrance to the Lhusu Mines, but with proper preparation, it is possible to kill Ba’Gamnan and his ilk. The steps are listed in the Boss Battle section below.

You can skip past it though if you prefer to run away. Note that there are no rewards for defeating Ba’Gamnan and he just runs away once his HP reaches 0. Defeating this boss serves no purpose other than to say that you beat him.
Level: 12
HP: 3,983
Steal: ![]() Potion (55%),
Potion (55%), ![]() Hi-Potion (10%),
Hi-Potion (10%), ![]() Round Shield (3%)
Round Shield (3%)
Lamont flees from your party as soon as the cutscene ends and will not be assisting your team.
You need to have ![]() Protect cast on all of your characters before initiating the fight if your intention is to challenge and defeat Ba’Gamnan.
Protect cast on all of your characters before initiating the fight if your intention is to challenge and defeat Ba’Gamnan.
Ba’Gamnan starts off with ![]() Protect and
Protect and ![]() Shell automatically cast on him and at this point in the game there is no way to remove either of these spells. This makes depleting his nearly 4,000 HP much more difficult. His regular attack can also
Shell automatically cast on him and at this point in the game there is no way to remove either of these spells. This makes depleting his nearly 4,000 HP much more difficult. His regular attack can also ![]() Silence your party members. You can use a
Silence your party members. You can use a ![]() Rose Corsage accessory to prevent this if you have one in your inventory.
Rose Corsage accessory to prevent this if you have one in your inventory.
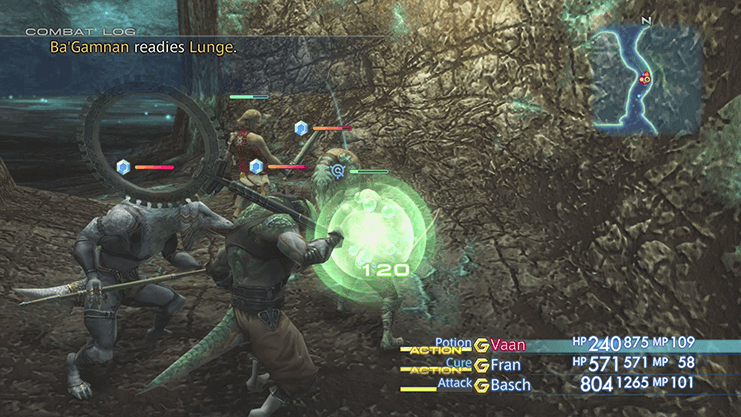
Use Disable to temporarily stun all four of Ba’Gamnan’s party members and cast ![]() Silence and
Silence and ![]() Blind on them to prevent them from doing as much damage to your team members. Set up Gambits so that one party member takes care of each negative status effect. Their damage capabilities are the primary threat as it can be difficult, if not impossible, to use just
Blind on them to prevent them from doing as much damage to your team members. Set up Gambits so that one party member takes care of each negative status effect. Their damage capabilities are the primary threat as it can be difficult, if not impossible, to use just ![]() Cure Magick to heal yourself. Switch to using
Cure Magick to heal yourself. Switch to using ![]() Hi-Potions (if you have any) in addition to using
Hi-Potions (if you have any) in addition to using ![]() Cure to counteract the high amounts of damage that your party members will receive.
Cure to counteract the high amounts of damage that your party members will receive.
You can use ![]() Knot of Rust or
Knot of Rust or ![]() Dark Motes to deal some heavy damage to Ba’Gamnan and you should be focusing your attacks on him specifically as the fight ends as soon as his HP drops low enough – the other 3 enemy combatants are not important.
Dark Motes to deal some heavy damage to Ba’Gamnan and you should be focusing your attacks on him specifically as the fight ends as soon as his HP drops low enough – the other 3 enemy combatants are not important.
If you leveled up at the Shunia Twinspan high enough to have obtained Quickenings, you can chain them together to do a quick and heavy amount of damage to Ba’Gamnan and end the fight quickly.
Another reminder: this fight is optional. You do not have to engage Ba’Gamnan and it is much easier to run away from him back to the entrance to the Lhusu Mines. There are no rewards for defeating Ba’Gamnan who just runs away at the end of the fight.
A video of the battle in the Zodiac Age version is included below:
Continue to the exit of the Lhusu Mines once you have defeated Ba’Gamnan or run there if you decide to avoid the fight.
Another cutscene takes place as the team exits the Mines. Vaan, Balthier and Fran witness Lamont (aka Lord Larsa) with Penelo as they speak to the Judge. Balthier will explain that Lamont is actually the brother of Lord Vayne.
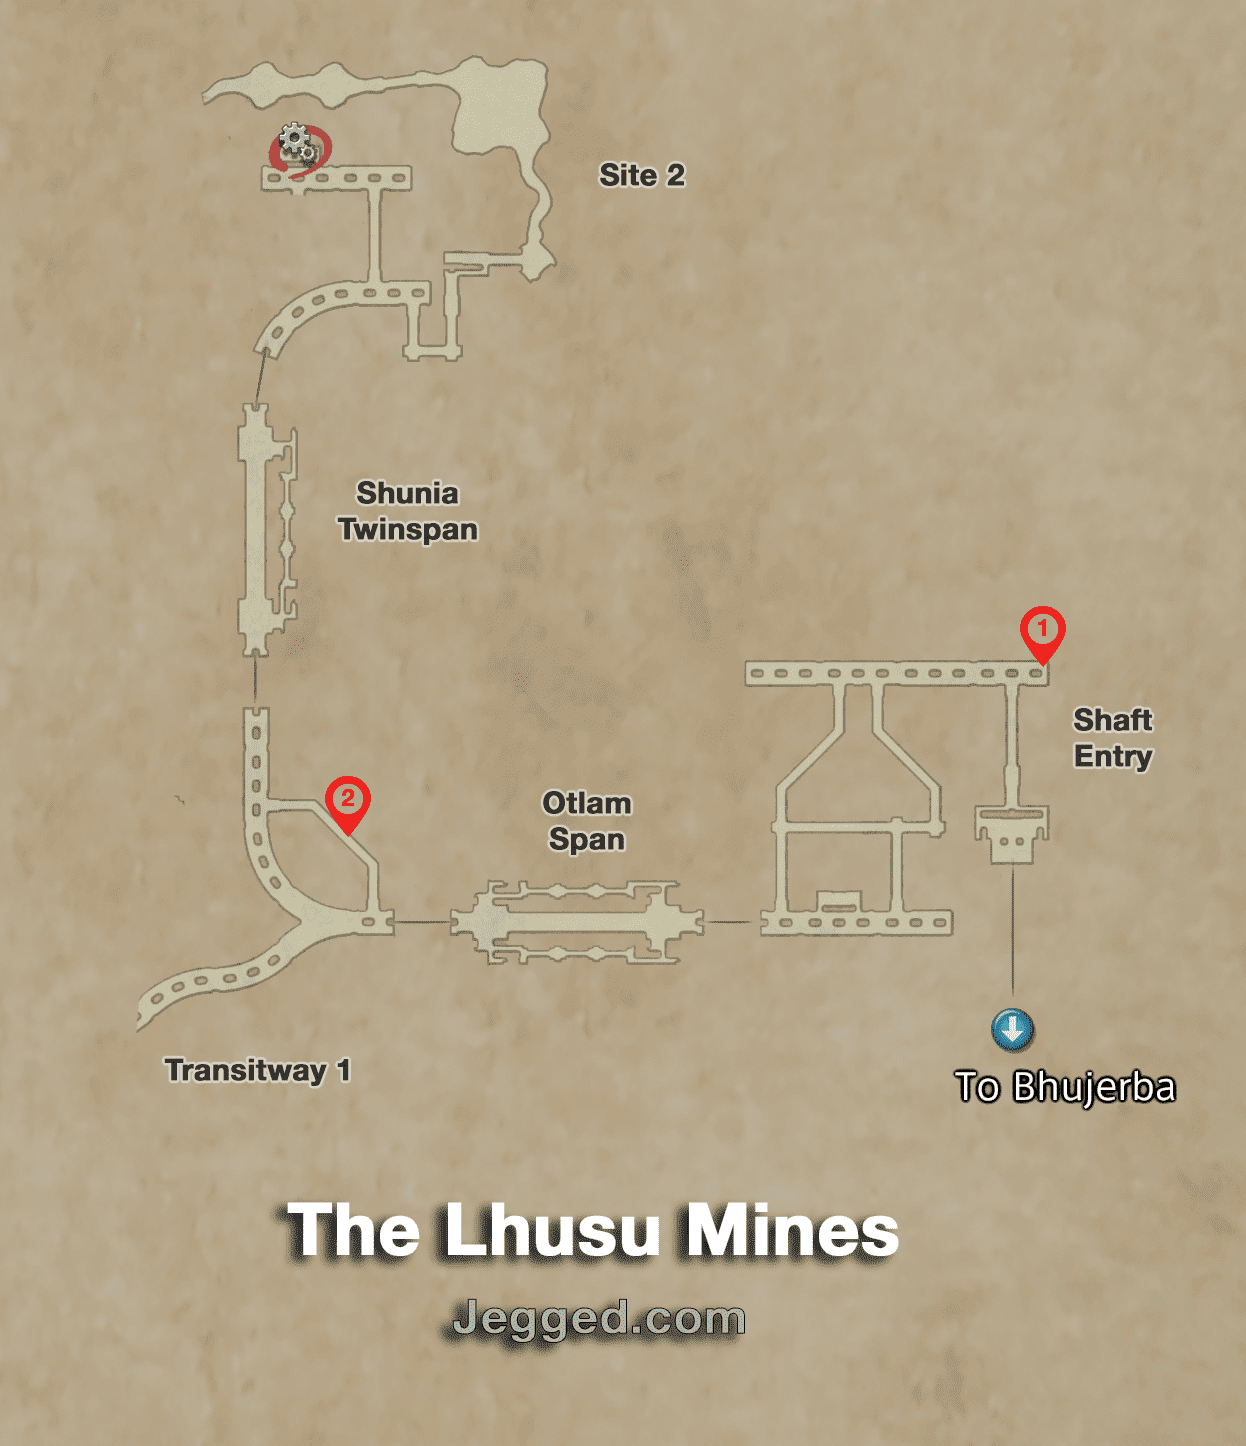
(Click on the map to enlarge)
Note that you cannot reach many sections of the Lhusu Mines during your first visit.
The game continues back in Bhujerba.