Zora’s River
The next area that you need to travel to is the Zora’s River. Navi will recommend that you talk to Saria using Saria’s Song and she will suggest that you find the Spiritual Stone of Water, the ![]() Zora’s Sapphire which is held by King Zora, ruler of Zora’s Domain. That is the next destination, however there are quite a few side quests that you could and should take care of before heading to Zora’s River.
Zora’s Sapphire which is held by King Zora, ruler of Zora’s Domain. That is the next destination, however there are quite a few side quests that you could and should take care of before heading to Zora’s River.
Death Mountain
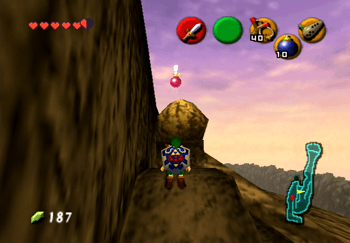
After Darunia gives Link the ![]() Goron Ruby, the cutscene that follows automatically points Link towards the top of Death Mountain towards the Great Fairy’s Fountain. There is also a Heart Piece that you can obtain up here. Check out the following side quest pages for more information:
Goron Ruby, the cutscene that follows automatically points Link towards the top of Death Mountain towards the Great Fairy’s Fountain. There is also a Heart Piece that you can obtain up here. Check out the following side quest pages for more information:
Side Quests
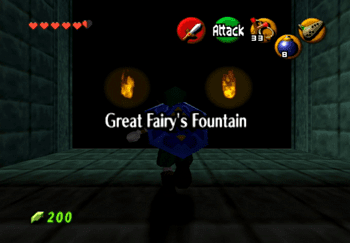
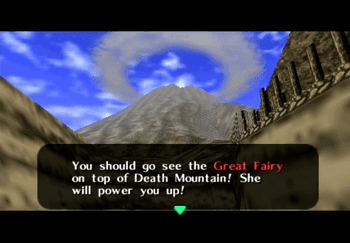
Travel up to the top of Death Mountain to meet with the Great Fairy at the Great Fairy’s Fountain and learn a new Sword Technique.
Side Quests
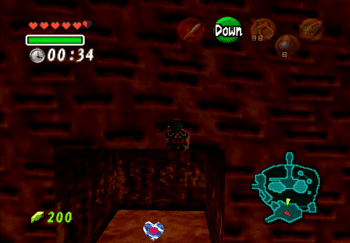
Quickly travel through the Death Mountain Crater to reach a Piece of Heart just off the side of the cliff.
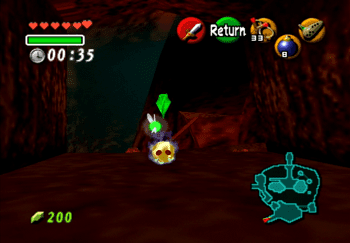
Head into the Death Mountain Crater (if you traveled up to the Great Fairy’s Fountain), which is the walkway to the left of the owl. You can’t stay inside the Crater for long, but quickly bust open the crate in this pathway and kill the ![]() Gold Skulltula inside (number 22 of 100).
Gold Skulltula inside (number 22 of 100).
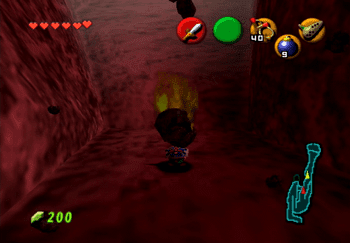
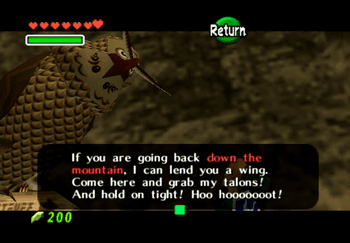
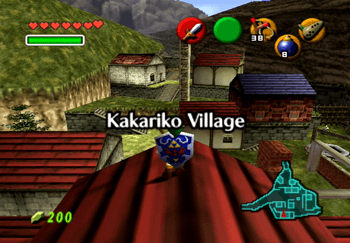
Speak to the owl at the top of Death Mountain (if you went to the Great Fairy’s Fountain) for a free ride back down to Kakariko Village. You can obtain another Heart Piece by accepting his ride:
Side Quests
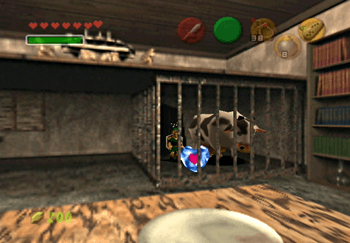
Dropping down into a secret area that you can reach from where the Owl drops you off in Kakariko Village.
Return to the Death Mountain Trail. On the right side of the screen is a wall which you can now destroy with your ![]() Bombs Use a Bomb on the wall and then kill the
Bombs Use a Bomb on the wall and then kill the ![]() Gold Skulltula on the wall. This token appears to be fairly high up but the cliff wall is actually climbable (number 23 of 100).
Gold Skulltula on the wall. This token appears to be fairly high up but the cliff wall is actually climbable (number 23 of 100).
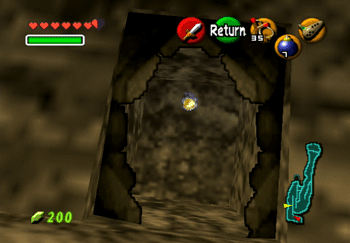
Head back to Goron City. There is a rock wall on the left side of the top floor that you can use your ![]() Bombs on to get past. You will need to use a few more Bombs for the maze in the next room. You can buy extra
Bombs on to get past. You will need to use a few more Bombs for the maze in the next room. You can buy extra ![]() Bombs in the Goron Shop on the bottom floor if you run out.
Bombs in the Goron Shop on the bottom floor if you run out.
The correct pathway leads off to the right and eventually winds up near the back where you will find two treasure chests and a Gossip Stone (the one-eyed statue). Roll into the crate on the back wall to reveal another ![]() Gold Skulltula. Kill it and take the token (number 24 of 100). The treasure chests both contain Purple Rupees which means you will probably not be able to carry them both.
Gold Skulltula. Kill it and take the token (number 24 of 100). The treasure chests both contain Purple Rupees which means you will probably not be able to carry them both.
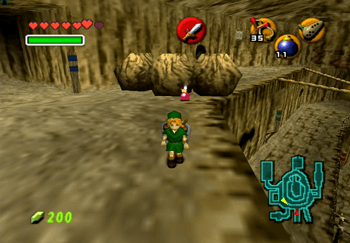
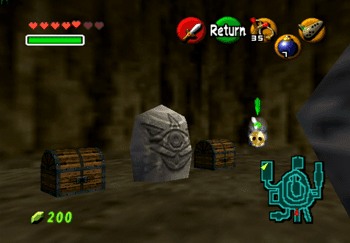
You can also obtain a larger Bomb Bag at this point and revisit the House of Skulltula for another reward. Check out the following side quest page:
Side Quests
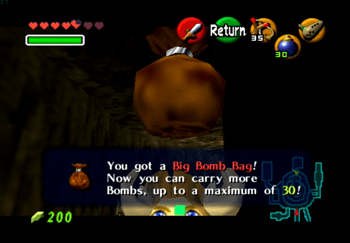
Stop the large Goron that you see rolling around Goron City to obtain a larger Bomb Bag (which holds 30 Bombs).
Side Quests
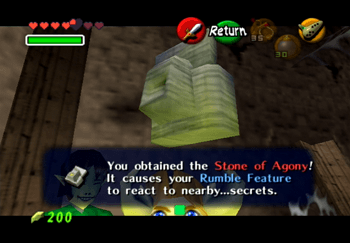
Travel back to Kakariko Village and enter the House of Skulltula. If you have 20+ Gold Skulltula tokens you can obtain the next reward: the Stone of Agony.
There are a number of secret areas throughout the game that are identified by the Rumble Pak. A good example of this is right in Kakariko Village. There is a hole in the center of town that you can reveal by placing a ![]() Bomb directly over top of it (as shown in the screenshot below). Enter the hole to find two Redead enemies.
Bomb directly over top of it (as shown in the screenshot below). Enter the hole to find two Redead enemies.
Use the Sun’s Song to freeze them in place, defeat both of them and a treasure chest will appear. This treasure chest contains a Huge Rupee (Yellow) that is worth two hundred Rupees. You may want to hold off on picking up the actual Rupee though until later on when you need it (namely to pay for Magic Beans) just a little way further into this walkthrough.
There is another Piece of Heart that you can obtain out in Hyrule Field before heading to Zora’s River – check out the page below for more information:
Side Quests
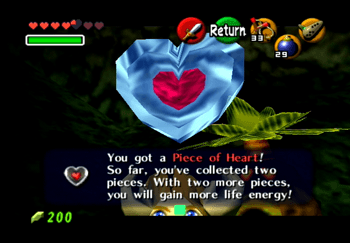
There is a cave that Link can access now that he has Bombs in his inventory. Go to the entrance to Lake Hylia and use a Bomb to find the next Piece of Heart.
There are also a few things that you can do back at the Hyrule Castle Market. Travel back there to pick up a few items:
Side Quests
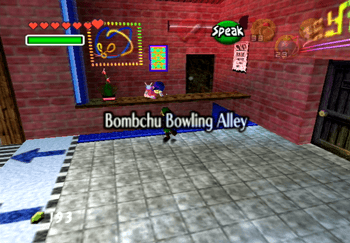
The Bombchu Bowling Alley is open now that Link has completed the Dodongo’s Cavern. Travel back to the Hyrule Market to play the mini-game.
Side Quests
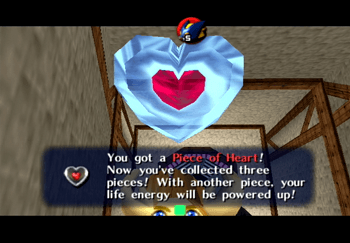
You can also win a Piece of Heart as a reward for completing the Bombchu Bowling Alley mini-game.
Travel to the Happy Mask Shop while you are in the Hyrule Castle Market area. The Happy Mask Shop is the weird looking building in the Market shown in the screenshot below.
Speak to the man behind the counter and he will offer to allow you to become a happiness salesman. The goal is to sell the masks that you have in your possession to people around the world and to come back and give the Happy Mask Shop its cut.
Select and choose to borrow the Keaton Mask to add it to your inventory. Check out the Happy Mask Shop Side Quest page for more information.
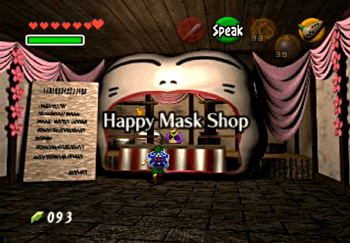

There is another Great Fairy that you can visit while you are in the area as mentioned by the previous Great Fairy at the top of Death Mountain.
Side Quests
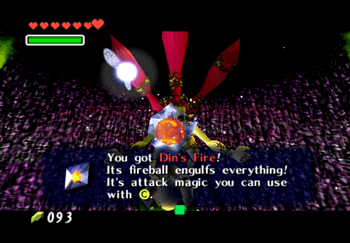
Travel back to Hyrule Castle and use the Bombs to gain access to another Great Fairy’s Fountain.
You can complete three out of the four Happy Mask Shop sales transactions at this point in the game. Check out the Happy Mask Shop side quest page for more information:
Side Quests

Complete most of the Happy Mask Shop side quest by delivering the Keaton’s Mask, Skull Mask and Spooky Mask to various people around Hyrule.
It’s time to actually make your way towards the next area of the game, Zora’s River and then Zora’s Domain. The entrance to Zora’s River is on the easternmost side of the map.
It is located just south of the entrance to Kakariko Village and Death Mountain. You are looking for a river that juts into the trees. Follow the pathway on the opposite side of the river east into the next area.
Zora’s River
Chop down the shrubs in the area to stock up on some items and then speak to the owl near the wall of boulders blocking the path. There is a large pine tree located just to the left of the blocked pathway.
Roll into it to knock a ![]() Gold Skulltula down and then grab the token (number 25 of 100). Use your newly acquired Bombs to blow up the boulders blocking the path.
Gold Skulltula down and then grab the token (number 25 of 100). Use your newly acquired Bombs to blow up the boulders blocking the path.
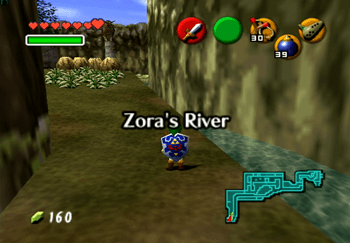
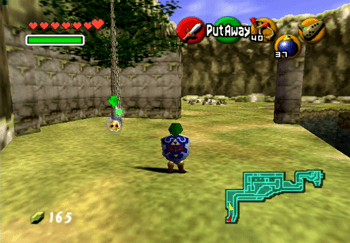
Speak to the man eating in front of the blocked off pathway. This man will sell you Magic Beans for 10 Rupees a piece, but the price will continue to rise the more you buy, starting at 10 Rupees and ending up at 100 Rupees once you have purchased all 10 Magic Beans.
The Magic Beans can be planted in the mounds of soft soil that you have seen around Hyrule and are part of the Magic Bean side quest.
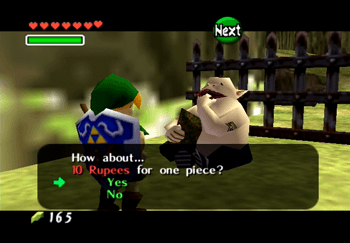
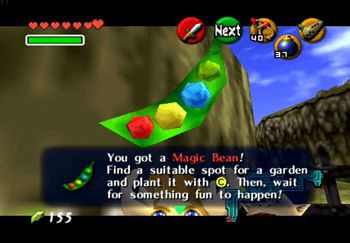
You should take this opportunity to buy all the Magic Beans that are available. This comes in at the steep price of 560 Rupees total. There are a couple of tricks that you can use to earn Rupees very quickly. Start off by venturing a little bit further down the river to meet up with the frogs (check below for more information).
Travel back to the draw bridge leading into Hyrule Castle and walk up the chain leading up to the castle and then pull out your Fairy Ocarina and play the Sun’s Song. This will cause the drawbridge to be pulled up. Now walk along the edge of the drawn up bridge and you will receive three Red Rupees worth 20 Rupees each.
Fall off the draw bridge into the Market area, play the Sun’s Song again to return the time to daylight, go back out to the draw bridge and repeat. This can be reset and redone as many times as needed. Each time you enter Hyrule the three Red Rupees will reset.
Take this opportunity to plant some of the Magic Beans right beside where the Magic Bean seller is sitting in the mound of soft soil. The metal gate blocks the passageway up the Zora’s River and the current in the river itself is too strong for you to swim up.
Instead, grab the Cucco wandering around nearby and use it to glide over to the opposite shore on the south side of the river (as shown in the screenshot below). Hold on to the Cucco and don’t throw it away once you reach the opposite shore.
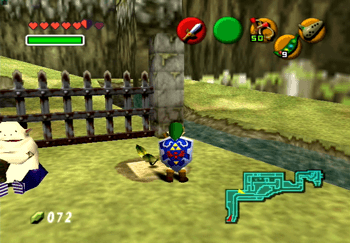
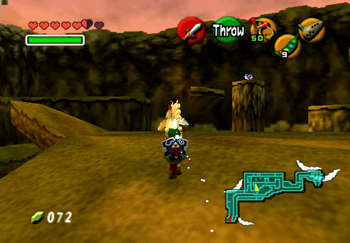
Follow the pathway east along the shore and jump across to the north side once you reach the end of the path. You will have to dodge the shots from the Octorok in the water with the Cucco in hand. Follow the pathway north and then west (to the left).
Continue along until you reach the area shown in the screenshot below and then continue eastward with your Cucco. Ignore the Heart Piece for now as you cannot obtain it just yet.
Continue east and then toss your Cucco up on to the ledge and climb up. Look southward and then do the same thing – toss the Cucco up on the ledge and then follow it up yourself. Just south of here is an area where you can peak around the corner to see a small platform on the south side of the cliff (shown in the screenshot below). Use your Cucco to fly down to this ledge and then throw your Cucco away as you won’t need it anymore.
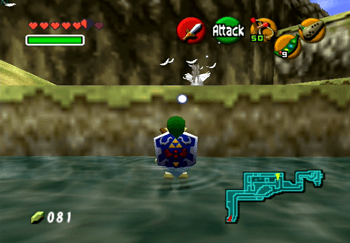
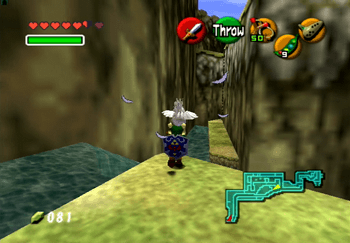
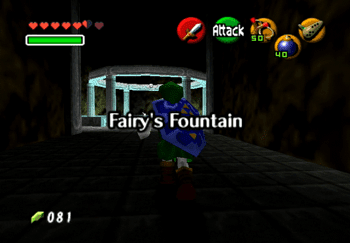
Climb the platform to the top of the cliff to find a large boulder at the top. Use a ![]() Bomb to blow up the boulder and then jump down into the cave. This is just a regular Fairy Fountain where you can restore your health and capture a Fairy in a Bottle if you’d like.
Bomb to blow up the boulder and then jump down into the cave. This is just a regular Fairy Fountain where you can restore your health and capture a Fairy in a Bottle if you’d like.
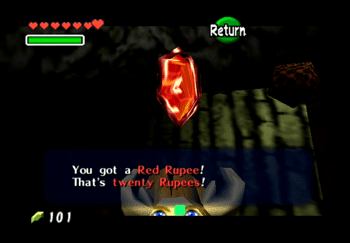
There is another cliff to the south that you can jump to with another hole that you can jump into. This cave contains a treasure chest with a Red Rupee (20 Rupees) inside it. The bushes in this cave have bugs hiding out in them – make sure that you have a Bug in your inventory (capture it with a Bottle) for some upcoming hidden ![]() Gold Skulltulas.
Gold Skulltulas.
You can obtain another Heart Piece while you are up here:
Side Quests
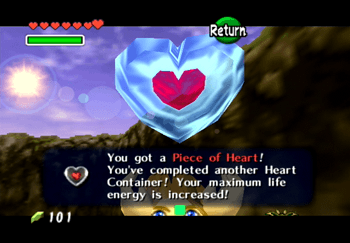
Use the Cucco at the top of the cliff to fly down the Piece of Heart.
Grab another Cucco and continue up the pathway and continue up the pathway to obtain another Heart Piece:
Side Quests
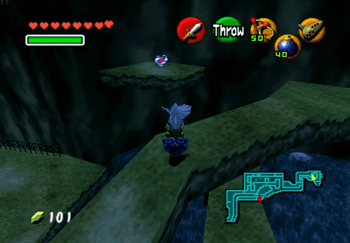
Use the Cucco to reach a Heart Piece at the very end of Zora’s River just before Zora’s Domain.
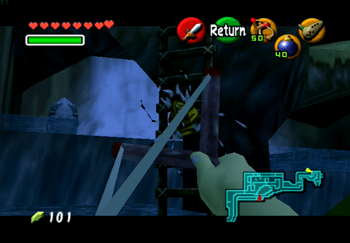
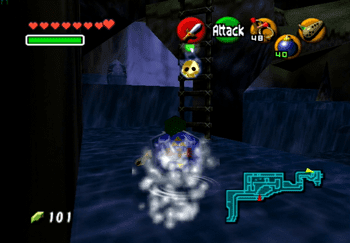
There is a ![]() Gold Skulltula that hangs around on the ladder in this area but only at nighttime. Use the Sun’s Song to change the time of day, kill the Gold Skulltula and retrieve the token (number 26 of 100).
Gold Skulltula that hangs around on the ladder in this area but only at nighttime. Use the Sun’s Song to change the time of day, kill the Gold Skulltula and retrieve the token (number 26 of 100).
Frogs
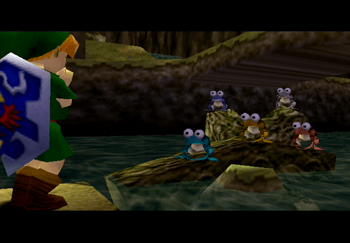
Now that you are done with the Cuccos, travel back west down Zora’s River back to the broken log that was lying in the river (shown in the screenshot below). Stand on the edge of the log and Link will notice that the frogs are staring at him.
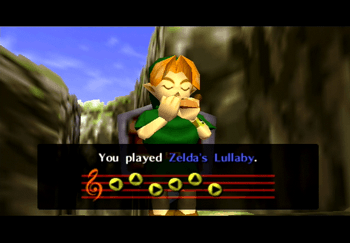
Have him pull out his Fairy Ocarina and the frogs will jump out of the water. You can get a bunch of Rupees from the frogs for playing different songs to the frogs. Play the following songs:
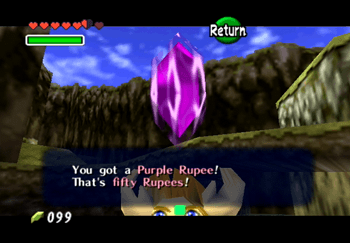
- Zelda’s Lullaby: Purple Rupee
- Epona’s Song: Purple Rupee
- Saria’s Song: Purple Rupee
- Sun’s Song: Purple Rupee
There is one last song that you can play to the frogs but you have not learned it yet at this point in the game. You can also save this side quest until later if you are full on Rupees.
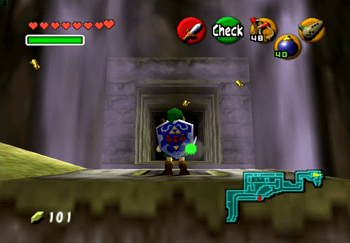
Travel back to the waterfall, stand on the Triforce and play Zelda’s Lullaby. This will cause the waterfall to part in the middle allowing Link to jump through into the next area. Welcome to the Zora’s Domain.
