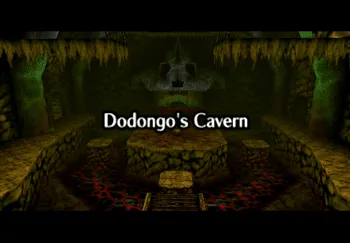
Dodongo’s Cavern
The entrance to the Dodongo’s Cavern is blocked by a large stone wall. Use the Bomb Flowers on either side of the stone wall to break the wall down and gain entry into the actual cavern itself.
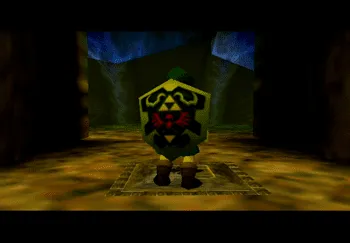
Make sure that you have taken the time to equip the ![]() Hylian Shield instead of the Deku Shield. There are many fire-based enemies in this area that can actually light the Deku Shield on fire and destroy it if they hit it. You can either purchase a
Hylian Shield instead of the Deku Shield. There are many fire-based enemies in this area that can actually light the Deku Shield on fire and destroy it if they hit it. You can either purchase a ![]() Hylian Shield back in the Hyrule Castle Market or you can return to the Kakariko Graveyard to pick up the free one.
Hylian Shield back in the Hyrule Castle Market or you can return to the Kakariko Graveyard to pick up the free one.
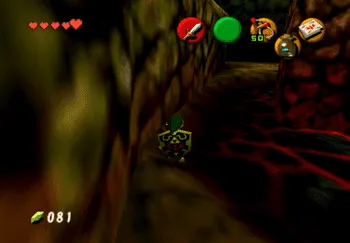
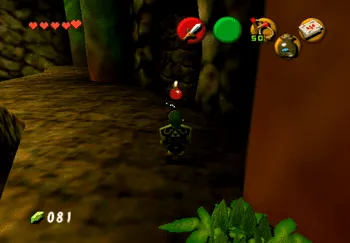
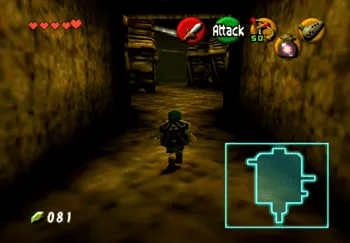
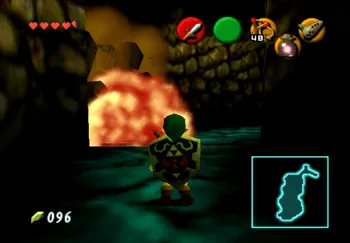
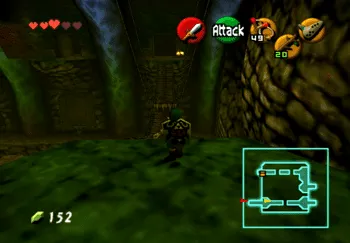
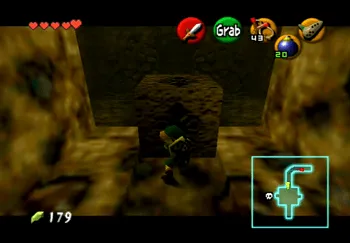
Navi will interrupt as you approach the center of the main room to let you know that you can’t touch the lava pits surrounding the center pillar. Make your way onto the platform on the left side of the room.
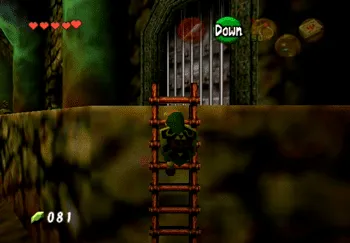
You can do this by jumping across the raising and lowering platforms in the lava or you can sneak past the lava on the ground level as shown in the screenshot below. There is a ladder on the back wall that you can use to get to up onto the platform.
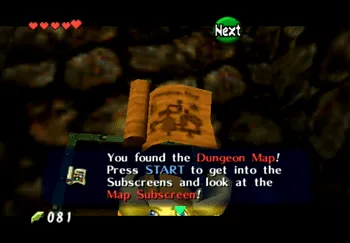
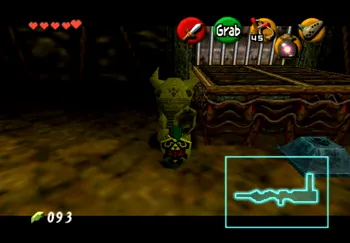
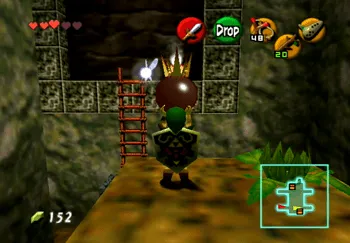
It is worth mentioning that you can destroy the mechanical eye looking creatures, called Beamos, using Bomb Flowers or just regular ![]() Bombs. Use the Bomb Flower on this platform to destroy the stone wall in the center of the platform. Open the treasure chest to pick up the Dungeon Map.
Bombs. Use the Bomb Flower on this platform to destroy the stone wall in the center of the platform. Open the treasure chest to pick up the Dungeon Map.
You can now view a map of the entire dungeon by accessing the Map Submenu screen by pressing the ![]() button. The Deku Scrub on to the south of the treasure chest will sell you a Deku Shield for 50 Rupees if you accidentally burn yours up.
button. The Deku Scrub on to the south of the treasure chest will sell you a Deku Shield for 50 Rupees if you accidentally burn yours up.
Head over to the opposite side of the room (the east side). There are two stone walls that can be blown up on this side of the room. Blowing up the wall to the northwest reveals a small cavern with a one-eyed statue called a Gossip Stone.
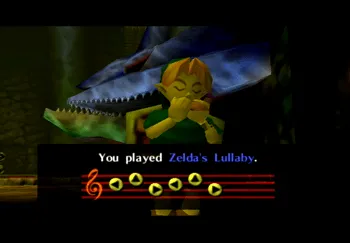
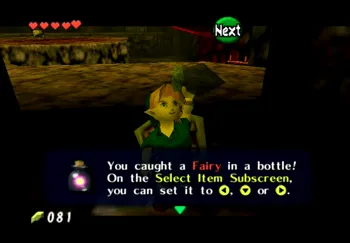
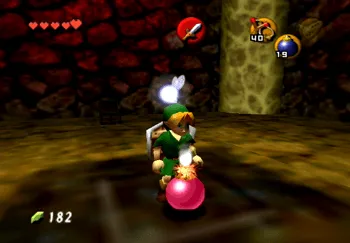
Play Zelda’s Lullaby on your Fairy Ocarina in front of the Gossip Stone to make a pink fairy will appear (which you can use either to refill your health or capture in a Bottle to replenish your health if you die like an extra life). Blow up the wall in the southeast corner and proceed through into the next area.
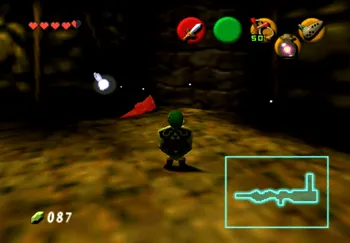
Two Baby Dodongo enemies will emerge out of the ground as you move forward in this room. Attack them with your sword but then be cautious around their bodies afterwards – they explode and can cause damage to Link if he is standing too close.
Lure one of the Baby Dodongos close to the wall on the right side of the room that requires a Bomb to blow up – you can use the Baby Dodongo corpse instead.
This will lead you into a room that contains a Gold Skulltula surrounded by Keese bats. Destroy the bats and the ![]() Gold Skulltula with your
Gold Skulltula with your ![]() Fairy Slingshot.
Fairy Slingshot.
The actual ![]() Gold Skulltula token can be difficult to reach – use
Gold Skulltula token can be difficult to reach – use ![]() Targeting and a jump-forward attack to reach it (number 19 of 100). Exit the room afterwards.
Targeting and a jump-forward attack to reach it (number 19 of 100). Exit the room afterwards.
At the end of the hallway on the east side of the room you will find two statues and a switch in front of a locked door. Push and/or pull one of them over and on to the blue switch to unlock the large door and then proceed through it. Run through the hallway and into the next room.
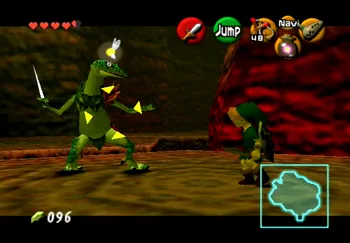
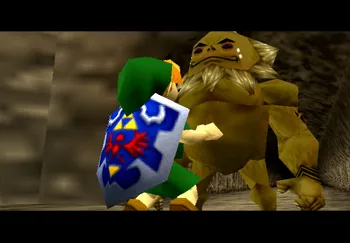
This is your first mini-boss encounter against a pair of Lizalfos enemies. The Lizalfos’ tactics are pretty straight forward. They have regular attacks and they have attacks where they jump over top of Link and attack him from behind.
Just press the ![]() button to use the
button to use the ![]() Hylian Shield when they jump over you to defend against that attack and then immediately strike them afterwards. They are unable to defend themselves after they initiate a flying attack of this type. Forward jump attacks also work extremely well against them. The door leading out of the room will open up after you defeat both of them.
Hylian Shield when they jump over you to defend against that attack and then immediately strike them afterwards. They are unable to defend themselves after they initiate a flying attack of this type. Forward jump attacks also work extremely well against them. The door leading out of the room will open up after you defeat both of them.
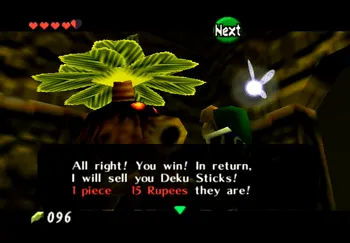
Walk forward down the hallway and grab one of the Bomb Flowers that are in around the corner. Take the Bomb Flower back to the stone wall and blow it up. Inside this room you will find a Deku Scrub who will sell you Deku Sticks for 15 Rupees. You will need some Deku Sticks for the upcoming room so buy some if you do not have any.
You can use your ![]() Fairy Slingshot to take them out instead of re-equipping your Deku Shield to reflect nuts back at them.
Fairy Slingshot to take them out instead of re-equipping your Deku Shield to reflect nuts back at them.
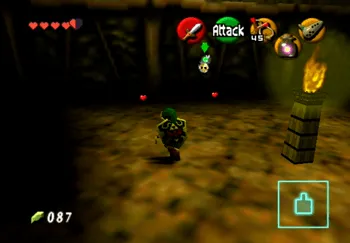
The room at the end of the hallway has a couple of full-sized Dodongos wandering around. Watch out for their fiery breath as you approach them. Defeating them is relatively easy—wait for them to breath fire breath at you and then strike at them from behind.
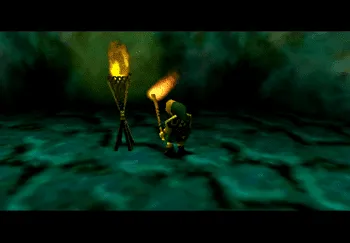
Just like the Baby Dodongos, these Dodongos will blow up after you kill them. Clear the room of Dodongos and then use a Deku Stick to light up each of the unlit torches in this room. The door at the end of the hallway will open up once all three are lit.

Walk to the end of the hallway and step on the switch to open the door on the far side of the large starting room. Get to the other side of the room and go through the door.
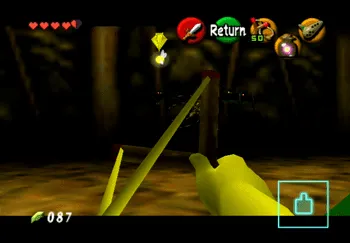
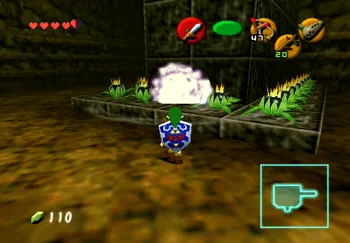
You will notice that this room has a ton of Bomb Flowers surrounding a large stone pillar in the center of the room. There is one small gap between all the Bomb Flowers. Take the Bomb Flower that you see next to the doorway and place it in the middle gap between all the other Bomb Flowers to cause a chain reaction which will in turn cause the stone structure to drop down.
Use the Bomb Flower on the stone wall next to it though and go through the doorway on the main level here before you proceed up the stone steps.

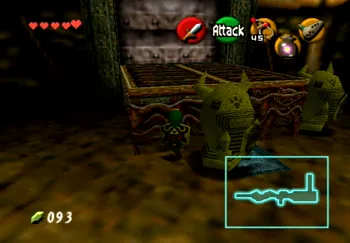
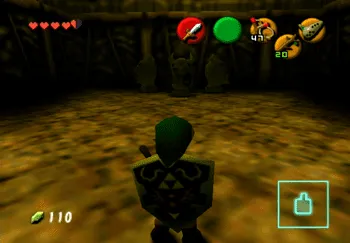
This room contains three stone statues and two Bomb Flowers in the corners of the room. One of the statues near the treasure chest will come alive when you approach it (known as an Armos enemy).
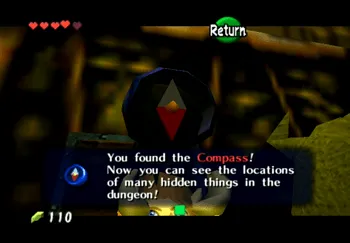
Use the Bomb Flowers to destroy it – ideally before it starts to move. Two Bomb Flowers will destroy it permanently. Open the treasure chest to pick up the Compass. Now exit the room and climb the stone steps that were surrounded by Bomb Flowers.
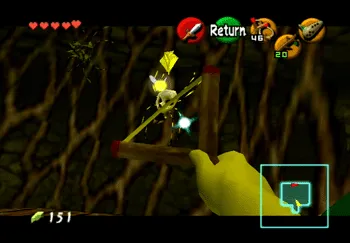
The pots located on the platforms that you see on your way up quite often contain Red Rupees worth 20 Rupees each. Make sure that you grab all them on your way past. There is a regular Skulltula and a ![]() Gold Skulltula on the vines opposite of the door on the upper level.
Gold Skulltula on the vines opposite of the door on the upper level.
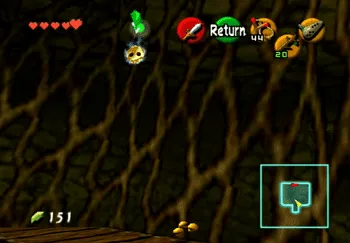
Destroy them both using your ![]() Fairy Slingshot and climb the vines to pickup the
Fairy Slingshot and climb the vines to pickup the ![]() Gold Skulltula token (number 20 of 100). Head through the door and into the next room.
Gold Skulltula token (number 20 of 100). Head through the door and into the next room.
There are a couple of flaming Fire Keese bats flying around in this room. Start off by killing them – the easiest way is to use your ![]() Fairy Slingshot and
Fairy Slingshot and ![]() Target them as they approach. The next course of action is to take care of the two Armos statues.
Target them as they approach. The next course of action is to take care of the two Armos statues.
The third statue, parked in front of the ladder, is not an Armos and can be pushed or pulled out of the way. Move the statue, climb up the ladder and stand on the switch to open up the locked door on the north side of the room.
Link will find himself out in the main room again but on the upper levels. Watch out for Fire Keese bats again in this area and then use the bridge to cross to the other side of the room.

This next room can be a little bit tricky. Watch out for the traps and sliding spikes on the ground as you climb down. Proceed to the opposite side of the room (the east side) and find a block that you can climb on.
From there, take the ladder up to the next level. This will take you up to a small ledge which you can use to drop down onto the platform with the Bomb Flower and treasure chest on it. Open up the treasure chest to find another Red Rupee.
You now have to use the Bomb Flower to blow up the stone wall at the top of the ladder that you just climbed. The difficult is that the Bomb will not just land on that tiny ledge – it will fall off. As a result, you will have to hold onto the Bomb until it is nearly ready to explode before you run and hurl it at the ledge.
Climb the ladder and go through the corridor into the next room. Use your ![]() Fairy Slingshot to hit the eye across from the flaming platform to remove the flames and allow you to cross. Continue down the corridor (past the Baby Dodongos) and into the next room.
Fairy Slingshot to hit the eye across from the flaming platform to remove the flames and allow you to cross. Continue down the corridor (past the Baby Dodongos) and into the next room.
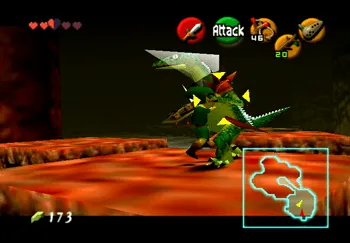
This mini-boss room is just like the previous room and contains the same Lizalfos enemies. The only difference is that the platforms are slightly smaller leaving you less room to negotiate during your fights.
Refer to the same strategies mentioned above to help you defeat them. The door will unlock after you kill both Lizalfos but you may want to venture out onto the extended platform that leads northward to pick up the two hearts there if you are low.
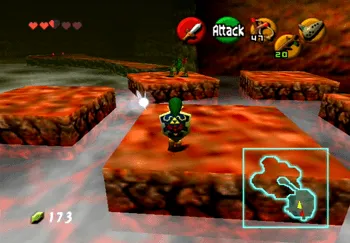
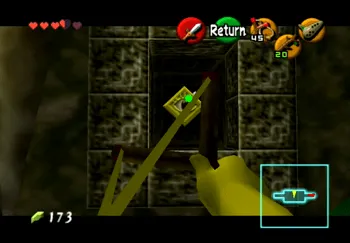
This next room is just like the previous in that there is an eye that you have to hit with your ![]() Fairy Slingshot in order to remove the fire from the platform that you need to jump on. The only difference is that you have to jump onto the previously-fiery platform, turn to the left and hit another eye and then jump across before the fire kicks back up. Jump across the next platform and into the next room.
Fairy Slingshot in order to remove the fire from the platform that you need to jump on. The only difference is that you have to jump onto the previously-fiery platform, turn to the left and hit another eye and then jump across before the fire kicks back up. Jump across the next platform and into the next room.
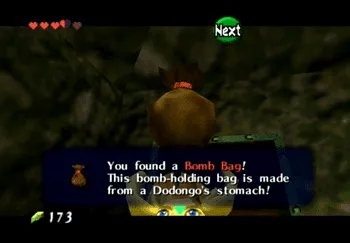
Start off the next room by jumping across to the platform directly in front of you on the west side of the room, climb up the ledge and open the large treasure chest. This chest contains the Bomb Bag.
Made from a Dodongo’s stomach, it will allow you to carry up to 20 Bombs. You no longer need to rely on Bomb Flowers. There is a stone wall on the north wall of this room that you can destroy, but it only has two Deku Scrubs inside it that try to sell you Deku Nuts and Deku Seeds. Not worth the time.
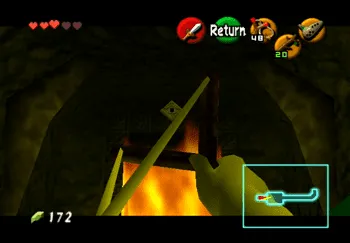
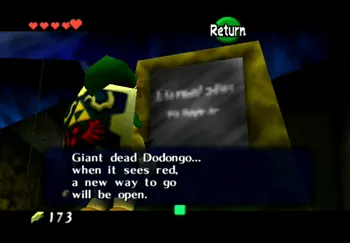
Travel west back out into the main room of the Dodongo’s Cavern and step on the switch to cause a platform to begin to rise up to the second level (allowing you to travel back and forth between the two levels easily). The next thing that Link needs to do is identified by the sign near the ledge – he needs to drop Bombs into both of the large Dodongo’s eyes.
Dropping the ![]() Bomb into the eyes is made easier by the fact that the two holes in the bridge line up perfectly with the two holes in the Dodongo’s eyes. Grab one of your
Bomb into the eyes is made easier by the fact that the two holes in the bridge line up perfectly with the two holes in the Dodongo’s eyes. Grab one of your ![]() Bombs when you are near the ledge and then press the
Bombs when you are near the ledge and then press the ![]() button to drop the Bomb down.
button to drop the Bomb down.
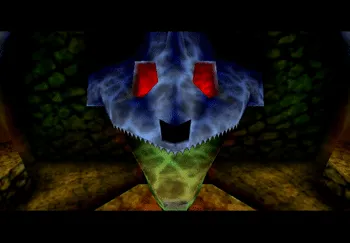
Do this for both eyes and the Dodongo’s mouth will open up allowing you to enter. Travel back down to the lower level – the raising platform makes this exceptionally easy and enter through the Dodongo’s mouth.

There are two Fire Keese bats in this room that you should destroy first. Take the pathway on the right side of the room leading east. Follow the pathway along until you reach the north side of the room where there is a stone wall that you can use a ![]() Bomb on. Go through the doorway and into the next room.
Bomb on. Go through the doorway and into the next room.
This room contains another Armos enemy which needs to be destroyed with ![]() Bombs. Behind it is a
Bombs. Behind it is a ![]() Gold Skulltula.
Gold Skulltula.
Kill the Gold Skulltula and take the token (number 21 of 100) and then kill the Armos (if you didn’t do so already) to leave the room. Use two of the blocks to reach the top of one of the walls and follow it along to the east side of the room. Follow the pathway along through the corridor until you reach a large stone block. Push the block out into the room below.
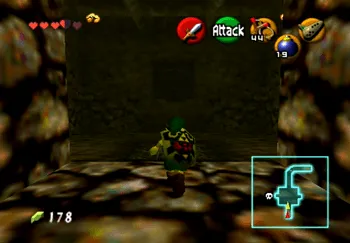
The giant stone block has to be pushed and pulled into the hole in the center of the room. Once it drops into the hole it will trigger a switch which opens the door on the west side of the room, leading to the boss’s chamber.
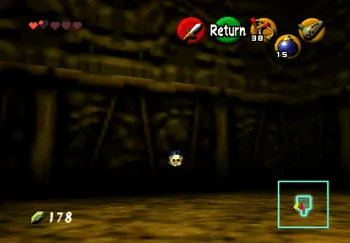
Go through the door when you are ready and then grab the chest at the back of the room for a couple of free Bombs. Use one of the Bombs to blow a hole in the center of the floor to allow you to drop down into the boss’s chamber.
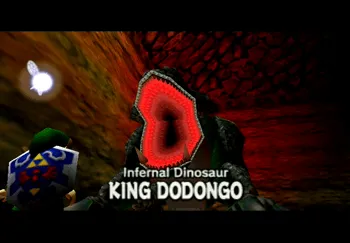
King Dodongo
Infernal Dinosaur
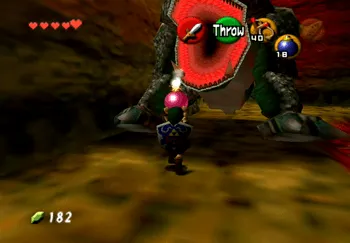
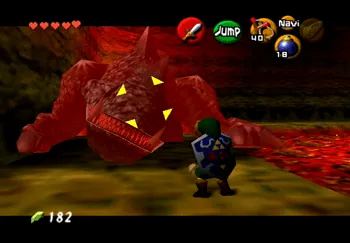
King Dodongo rotates in a circle around the outer perimeter of the room. Once the King gets close enough to Link he will begin taking in a huge breath of air. Throw a ![]() Bomb into King Dodongo’s mouth when he breathes in to stun him. You can use a regular attack on him after that. Use Bomb Flowers which can be found in each of the corners if you run out of regular
Bomb into King Dodongo’s mouth when he breathes in to stun him. You can use a regular attack on him after that. Use Bomb Flowers which can be found in each of the corners if you run out of regular ![]() Bombs.
Bombs.
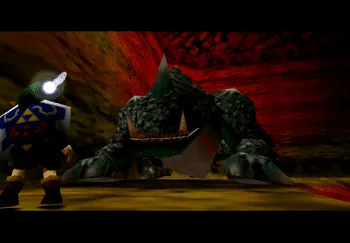
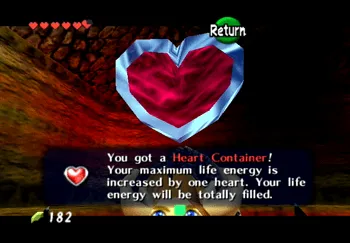
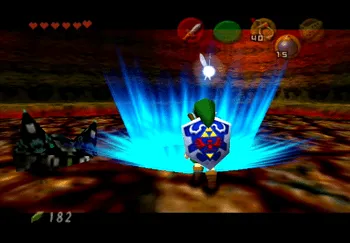
Grab the Heart Container near the corpse of King Dodongo after you defeat him and then jump in the portal to exit the dungeon.
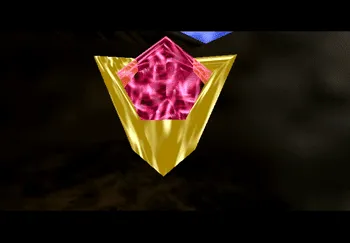
Darunia will reconnect with Link outside the Dodongo’s Cavern to congratulate Link afterwards. He will then provide Link with the ![]() Goron Ruby, the Spiritual Stone of Fire passed down by the Gorons.
Goron Ruby, the Spiritual Stone of Fire passed down by the Gorons.
The next destination is the Zora’s River, however there are a number of side quests that are now available to you which are detailed on the next page.