Death Mountain and Goron City
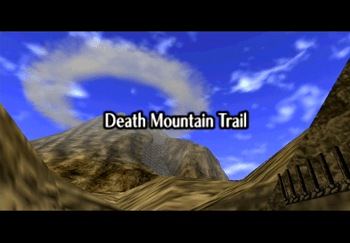
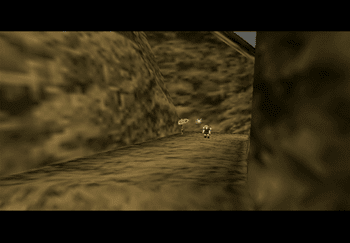
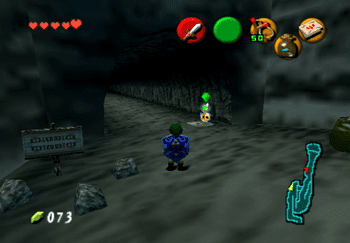
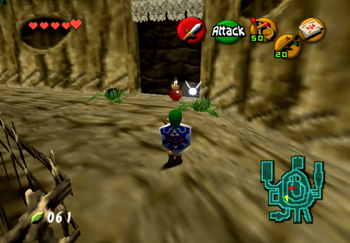
Follow the trail along dodging the Red Tektites if you need to. Defeating them is made much easier if you use a jumping attack when they land. There is a Goron standing in front of a blocked off part of the trail, but there is nothing that you can do at this section of the trail just yet, so continue around the corner and up the pathway.
You can’t actually continue to the very top of the mountain, so take the pathway leading off to the right, near the flag, when you get to that part of the trail. The entrance to Goron City is located just up ahead.
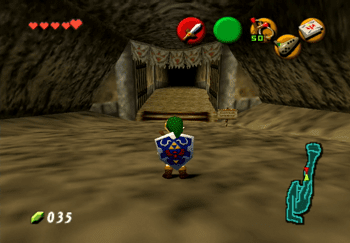
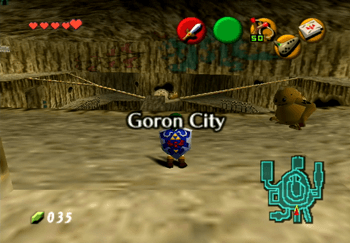
Goron City
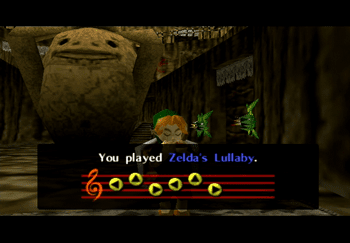
Drop down to the very bottom of the city. The Goron to the right of the doorway provides a clue as to what you have to do – he says that “Big Brother” has shut himself up in his room and is awaiting the Royal Family’s messenger. Stand in front of the doorway, pull out the Fairy Ocarina, and play Zelda’s Lullaby to open the door and then go inside.
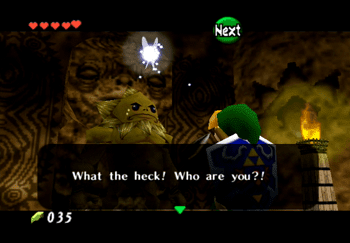
Speak to “Big Brother” whose name is actually Darunia. Darunia will tell Link that ancient creatures have infested the Dodongo’s Cavern which has affected the most recent crop of Bomb Flowers.
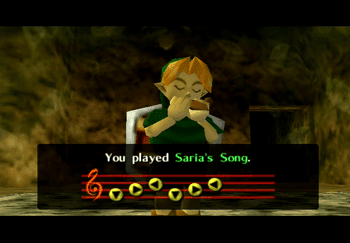
Pull out your Fairy Ocarina of time again – this is where Saria’s Song comes in handy. Play it for Darunia and he will start dancing.
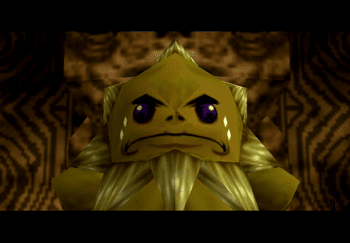
Darunia will explain that the Spiritual Stone of Fire that Link seeks is also known as the ![]() Goron Ruby and that he will give it to Link if he is able to clear out the Dodongo’s Cavern.
Goron Ruby and that he will give it to Link if he is able to clear out the Dodongo’s Cavern.
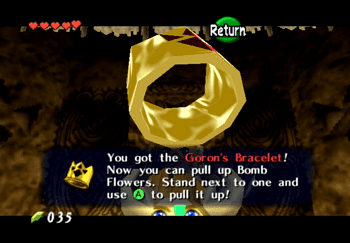
Darunia will give Link the Goron’s Bracelet which will allow him to pull up Bomb Flowers. There are a few things that you can and should do in Goron City before proceeding to the next dungeon.
Darunia’s chamber has a few lit torches inside it which you can use to light the torches out in Goron City. Break open some of the pots in Goron City if you do not have any Deku Sticks – you should be able to find some nearby.
Light the Deku Stick and run out into the lower level again and light the 4 unlit torches. This will cause the large stone container in the center of the room to start rotating and moving.
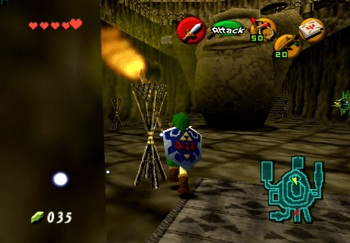
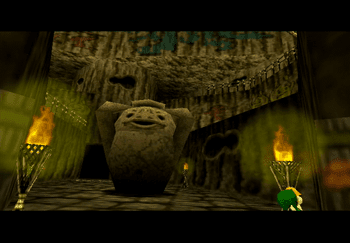
Use a lit Deku Stick to light one (or both) of the Bomb Flowers that are attached to the wall on the lowest level. This will blow up the stone wall blocking the entrance to the Goron Shop. There are two more unlit torches on the next level up, so use another Deku Stick with fire and carry it up to the next level.
The goal here is to carry the first slowly upwards to the top of Goron City as the Deku Sticks do not stay lit long enough to get all the way to the top. Use these newly lit torches to light up another Deku Stick and then light the Bomb Flowers down the corridor to blow up the nearby boulders. This is a secret passageway that will actually warp you back to the Lost Woods.
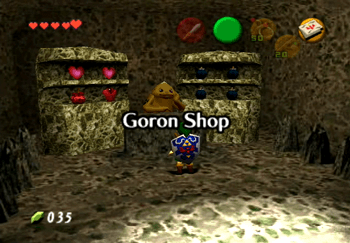
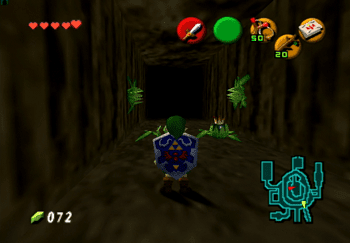
You can also obtain another Heart Piece in this area:
Side Quests
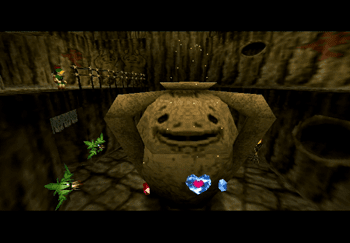
Throw a Bomb Flower into the large circling pot to pick up another Piece of Heart.
There is another group of Bomb Flowers near a blocked doorway on the next level up. Grab the Bomb Flowers and place them near the stone wall.
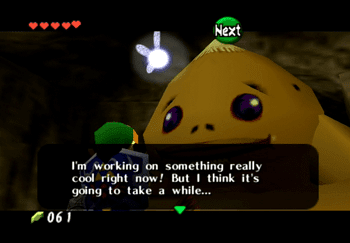
There is another few stone walls behind that one which needs to be destroyed as well. This leads through to a giant Goron that you can speak to named Biggoron but there is nothing else that you can do in this area at this time.
This marks everything that you can do in Goron City. Exit Goron City the same way that you came in back out to the Death Mountain Trail.
Death Mountain Trail
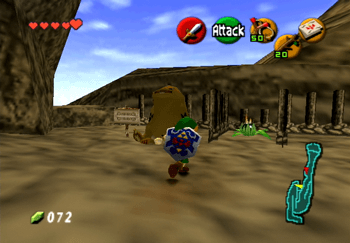
Continue forward and just up and to the right is a small ledge where a Goron is seated next to a Bomb Flower. Pull up the Bomb Flower and simply toss it over the side to blow open the cavern below. This is how you gain entry into the Dodongo’s Cavern. Follow the Death Mountain Trail pathway back down.
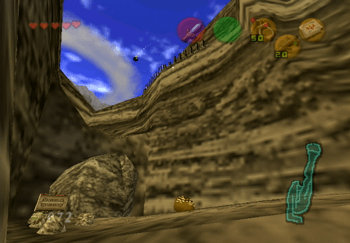
Blowing up the boulder will reveal another mound of soft dirt. Place another bug on this mound to reveal another ![]() Gold Skulltula (number 18 of 100). Continue down the pathway to enter the Dodongo’s Cavern.
Gold Skulltula (number 18 of 100). Continue down the pathway to enter the Dodongo’s Cavern.
