
 The Gathering Storm
The first thing to do, after you exit Clive’s Chambers, is to walk over to the mess and speak with Otto. A new Optional Quest will become available from Obolus, down by the docks.
Optional Quest
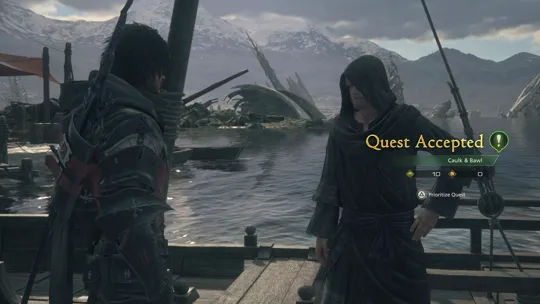
“Hideaway ferryman Obolus estimates his skiff will not last another fortnight before the Blighted water of Bennumere eats straight through its hull and condemns it to the lakebed. Fortunately, he knows exactly what the boat needs to avoid this grim fate… and exactly where Clive can find it.”
Helpful Hint
One of the rewards for completing the last Optional Quest is a new type of points called ![]() Renown. Strangely, there’s nowhere in your menu screens to see how much “Renown” you have, but you will soon be able to use it to unlock rewards at
Renown. Strangely, there’s nowhere in your menu screens to see how much “Renown” you have, but you will soon be able to use it to unlock rewards at ![]() The Patron’s Whisper. You can read up more about the Patron’s Whisper using the link to the Side Quests section, but you don’t need to know too much about it right now.
The Patron’s Whisper. You can read up more about the Patron’s Whisper using the link to the Side Quests section, but you don’t need to know too much about it right now.
Achievement/Trophy
“Discharge 50 Blind Justice lightning balls (excluding battles in the Hall of Virtue).” During the last quest and these upcoming quests, it’s possible to earn the  I Am the Thunder Achievement/Trophy by making use of
 ![]() Blind Justice enough times in battle. This Eikonic Feat is kind of annoying to use other than for the purposes of obtaining this reward.
Blind Justice enough times in battle. This Eikonic Feat is kind of annoying to use other than for the purposes of obtaining this reward.
Achievement/Trophy
“Lure an enemy into striking a Lightning Rod 3 times before it dissipates (excluding battles in the Hall of Virtue).” Launch a ![]() Lightning Rod near an enemy, target it using
Lightning Rod near an enemy, target it using ![]()
![]()
![]() , and attack it three times in a row to trigger the effect and earn the Rod to Redemption Achievement/Trophy.
, and attack it three times in a row to trigger the effect and earn the Rod to Redemption Achievement/Trophy.
Travel to the ![]() Martha’s Rest Obelisk in Central Rosaria and head into the Golden Stable towards the Main Scenario Quest Marker
Martha’s Rest Obelisk in Central Rosaria and head into the Golden Stable towards the Main Scenario Quest Marker ![]() . Clive and Jill will confirm that Martha has disappeared from her Inn and will agree to go looking for her.
. Clive and Jill will confirm that Martha has disappeared from her Inn and will agree to go looking for her.

 Dark Clouds Gather
Your next Main Scenario Subquest involves traveling to the Glaidemond Abbey. Before you leave, it’s worth noting that the shop here in Martha’s Rest carries a new accessory: ![]() Stoneskin Cuffs, which will increase the duration of
Stoneskin Cuffs, which will increase the duration of ![]() Stoneskin Tonic by 30 seconds. Not a particularly useful accessory, but not expensive either.
Stoneskin Tonic by 30 seconds. Not a particularly useful accessory, but not expensive either.
Walk to the northwest section of Martha’s Rest and use the lift to reach the lower level at the base of the cliff. You won’t have to go far before you get to a bridge where you’ll find Martha.
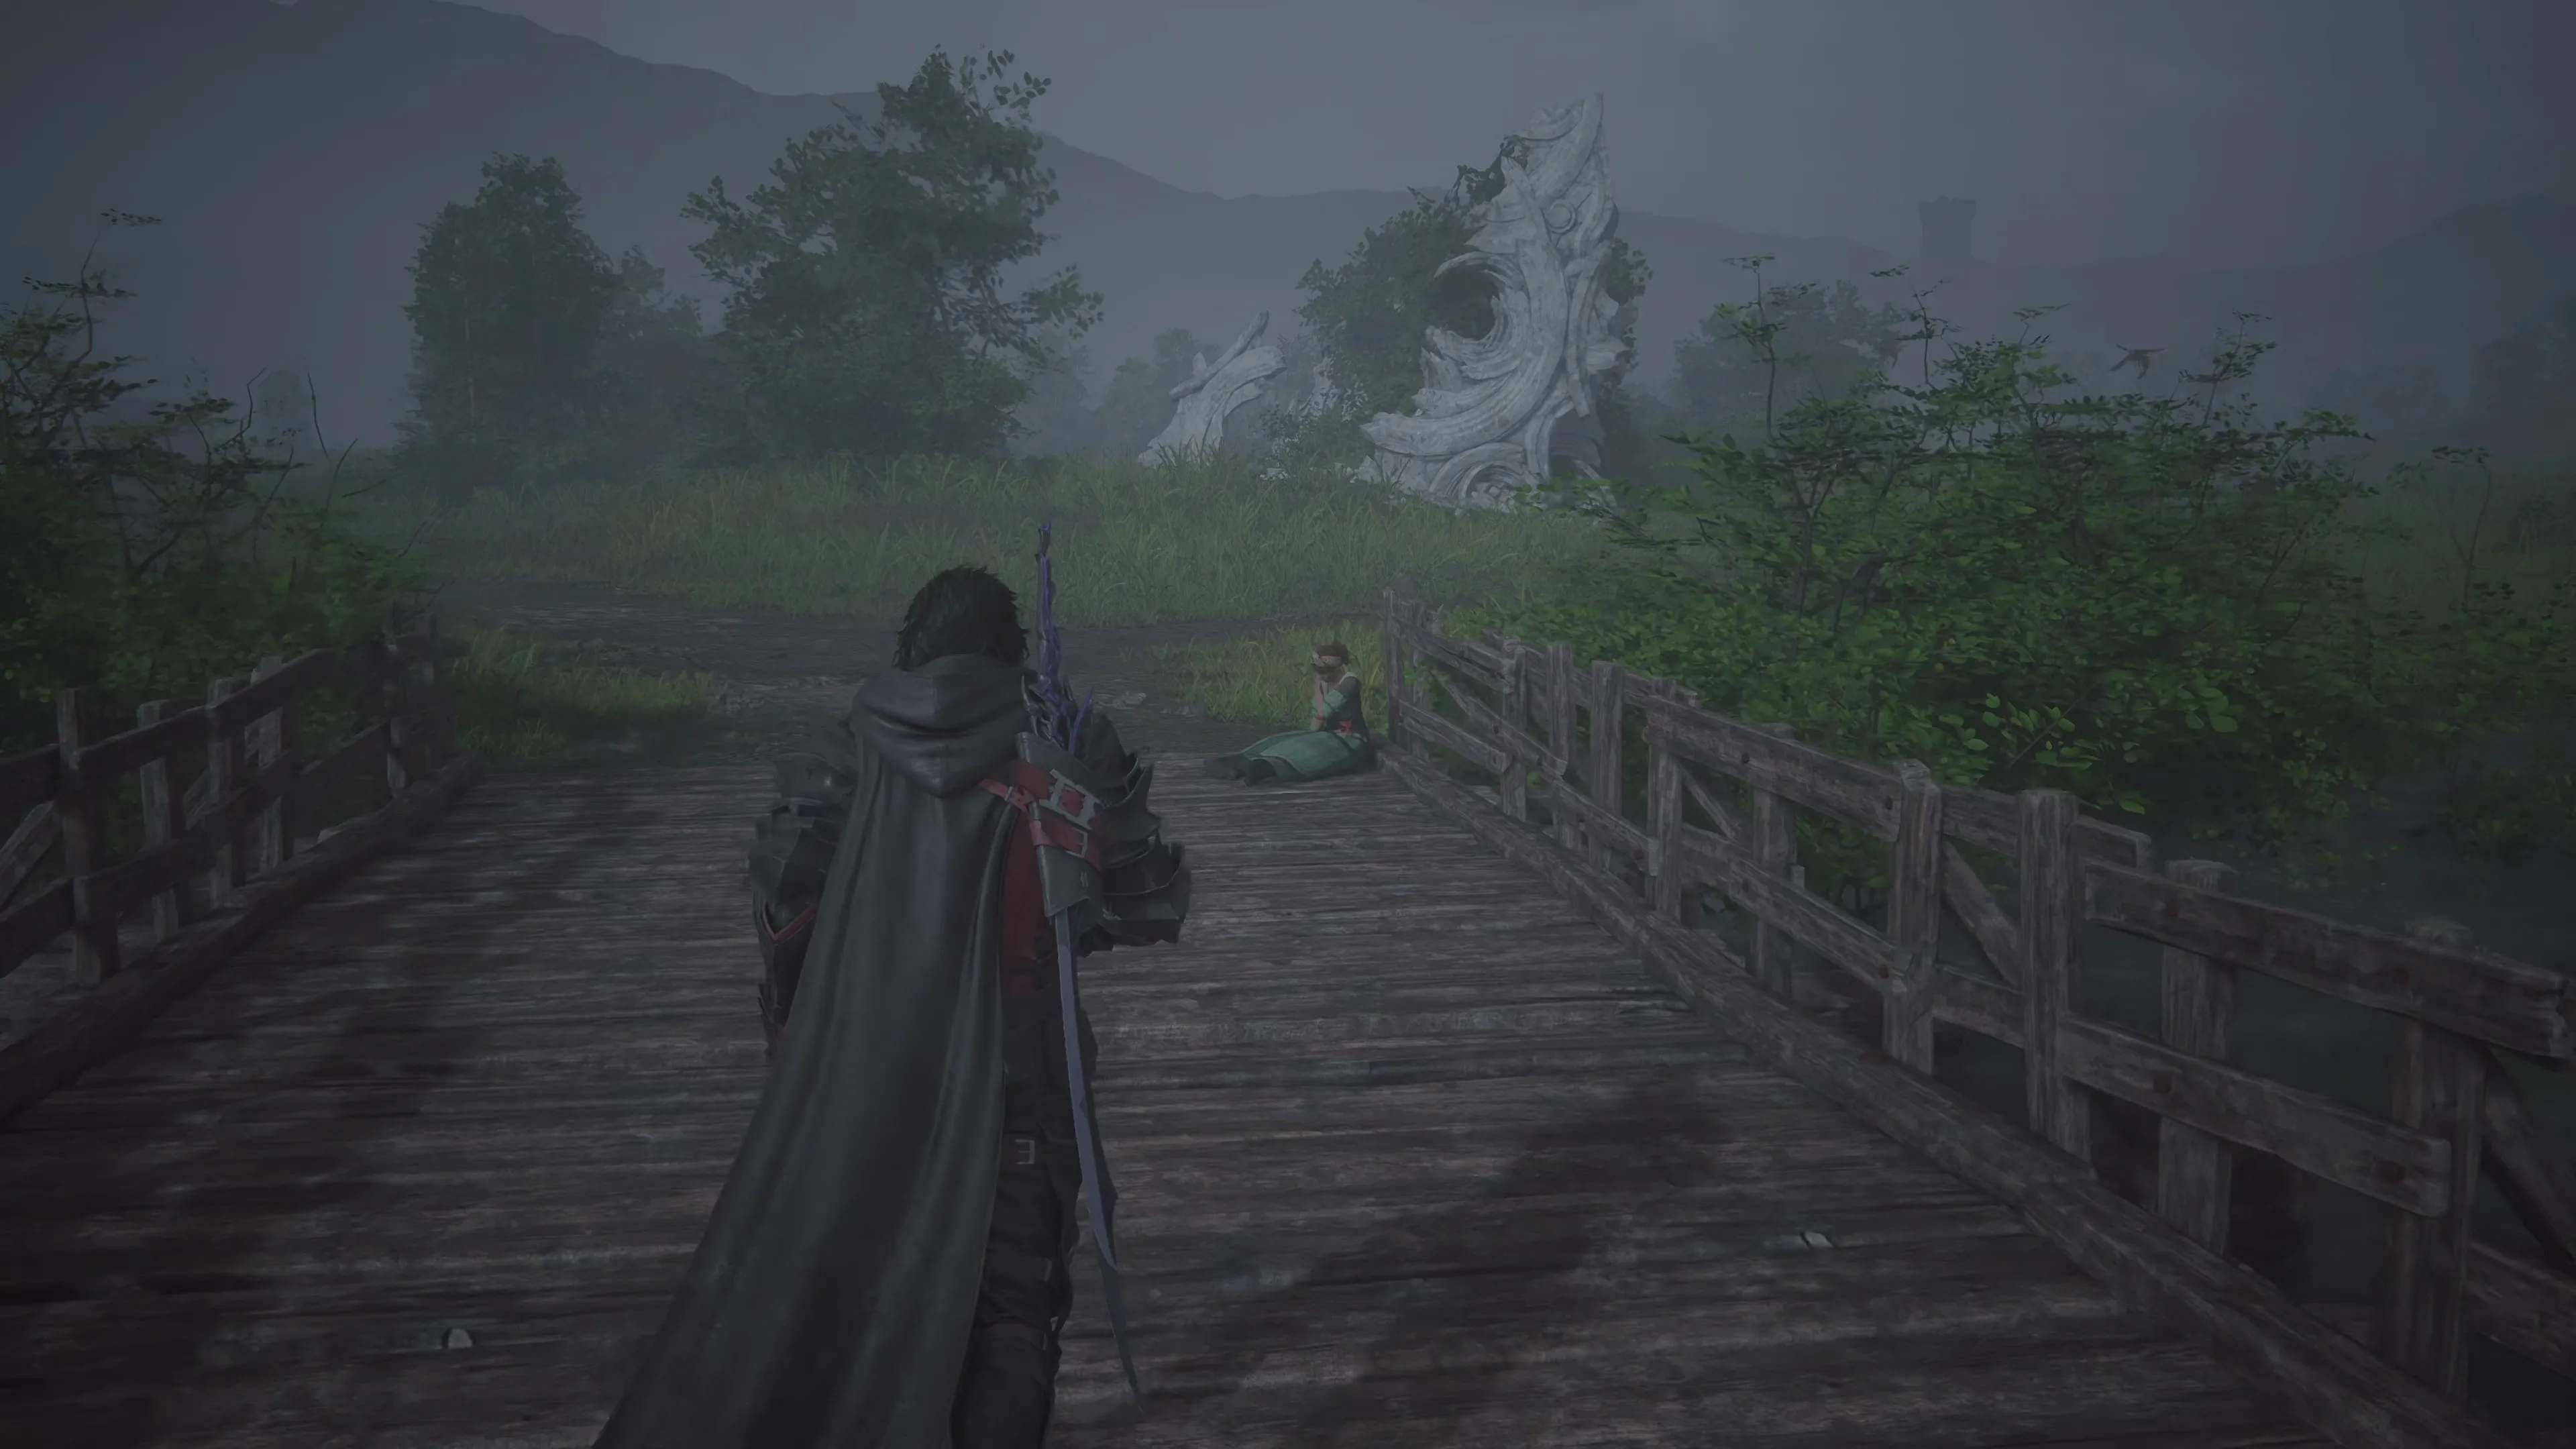
Sorrowise
Martha will insist that Clive and Jill continue to make their way to the Abbey. There are quite a few enemies in this area that are easy to defeat; it’s up to you whether you want to attack them (for some ![]() Experience Points,
Experience Points, ![]() Ability Points, etc.) or run past them. There are no treasure coffers to pick up in this area since you’ve already explored it.
Ability Points, etc.) or run past them. There are no treasure coffers to pick up in this area since you’ve already explored it.
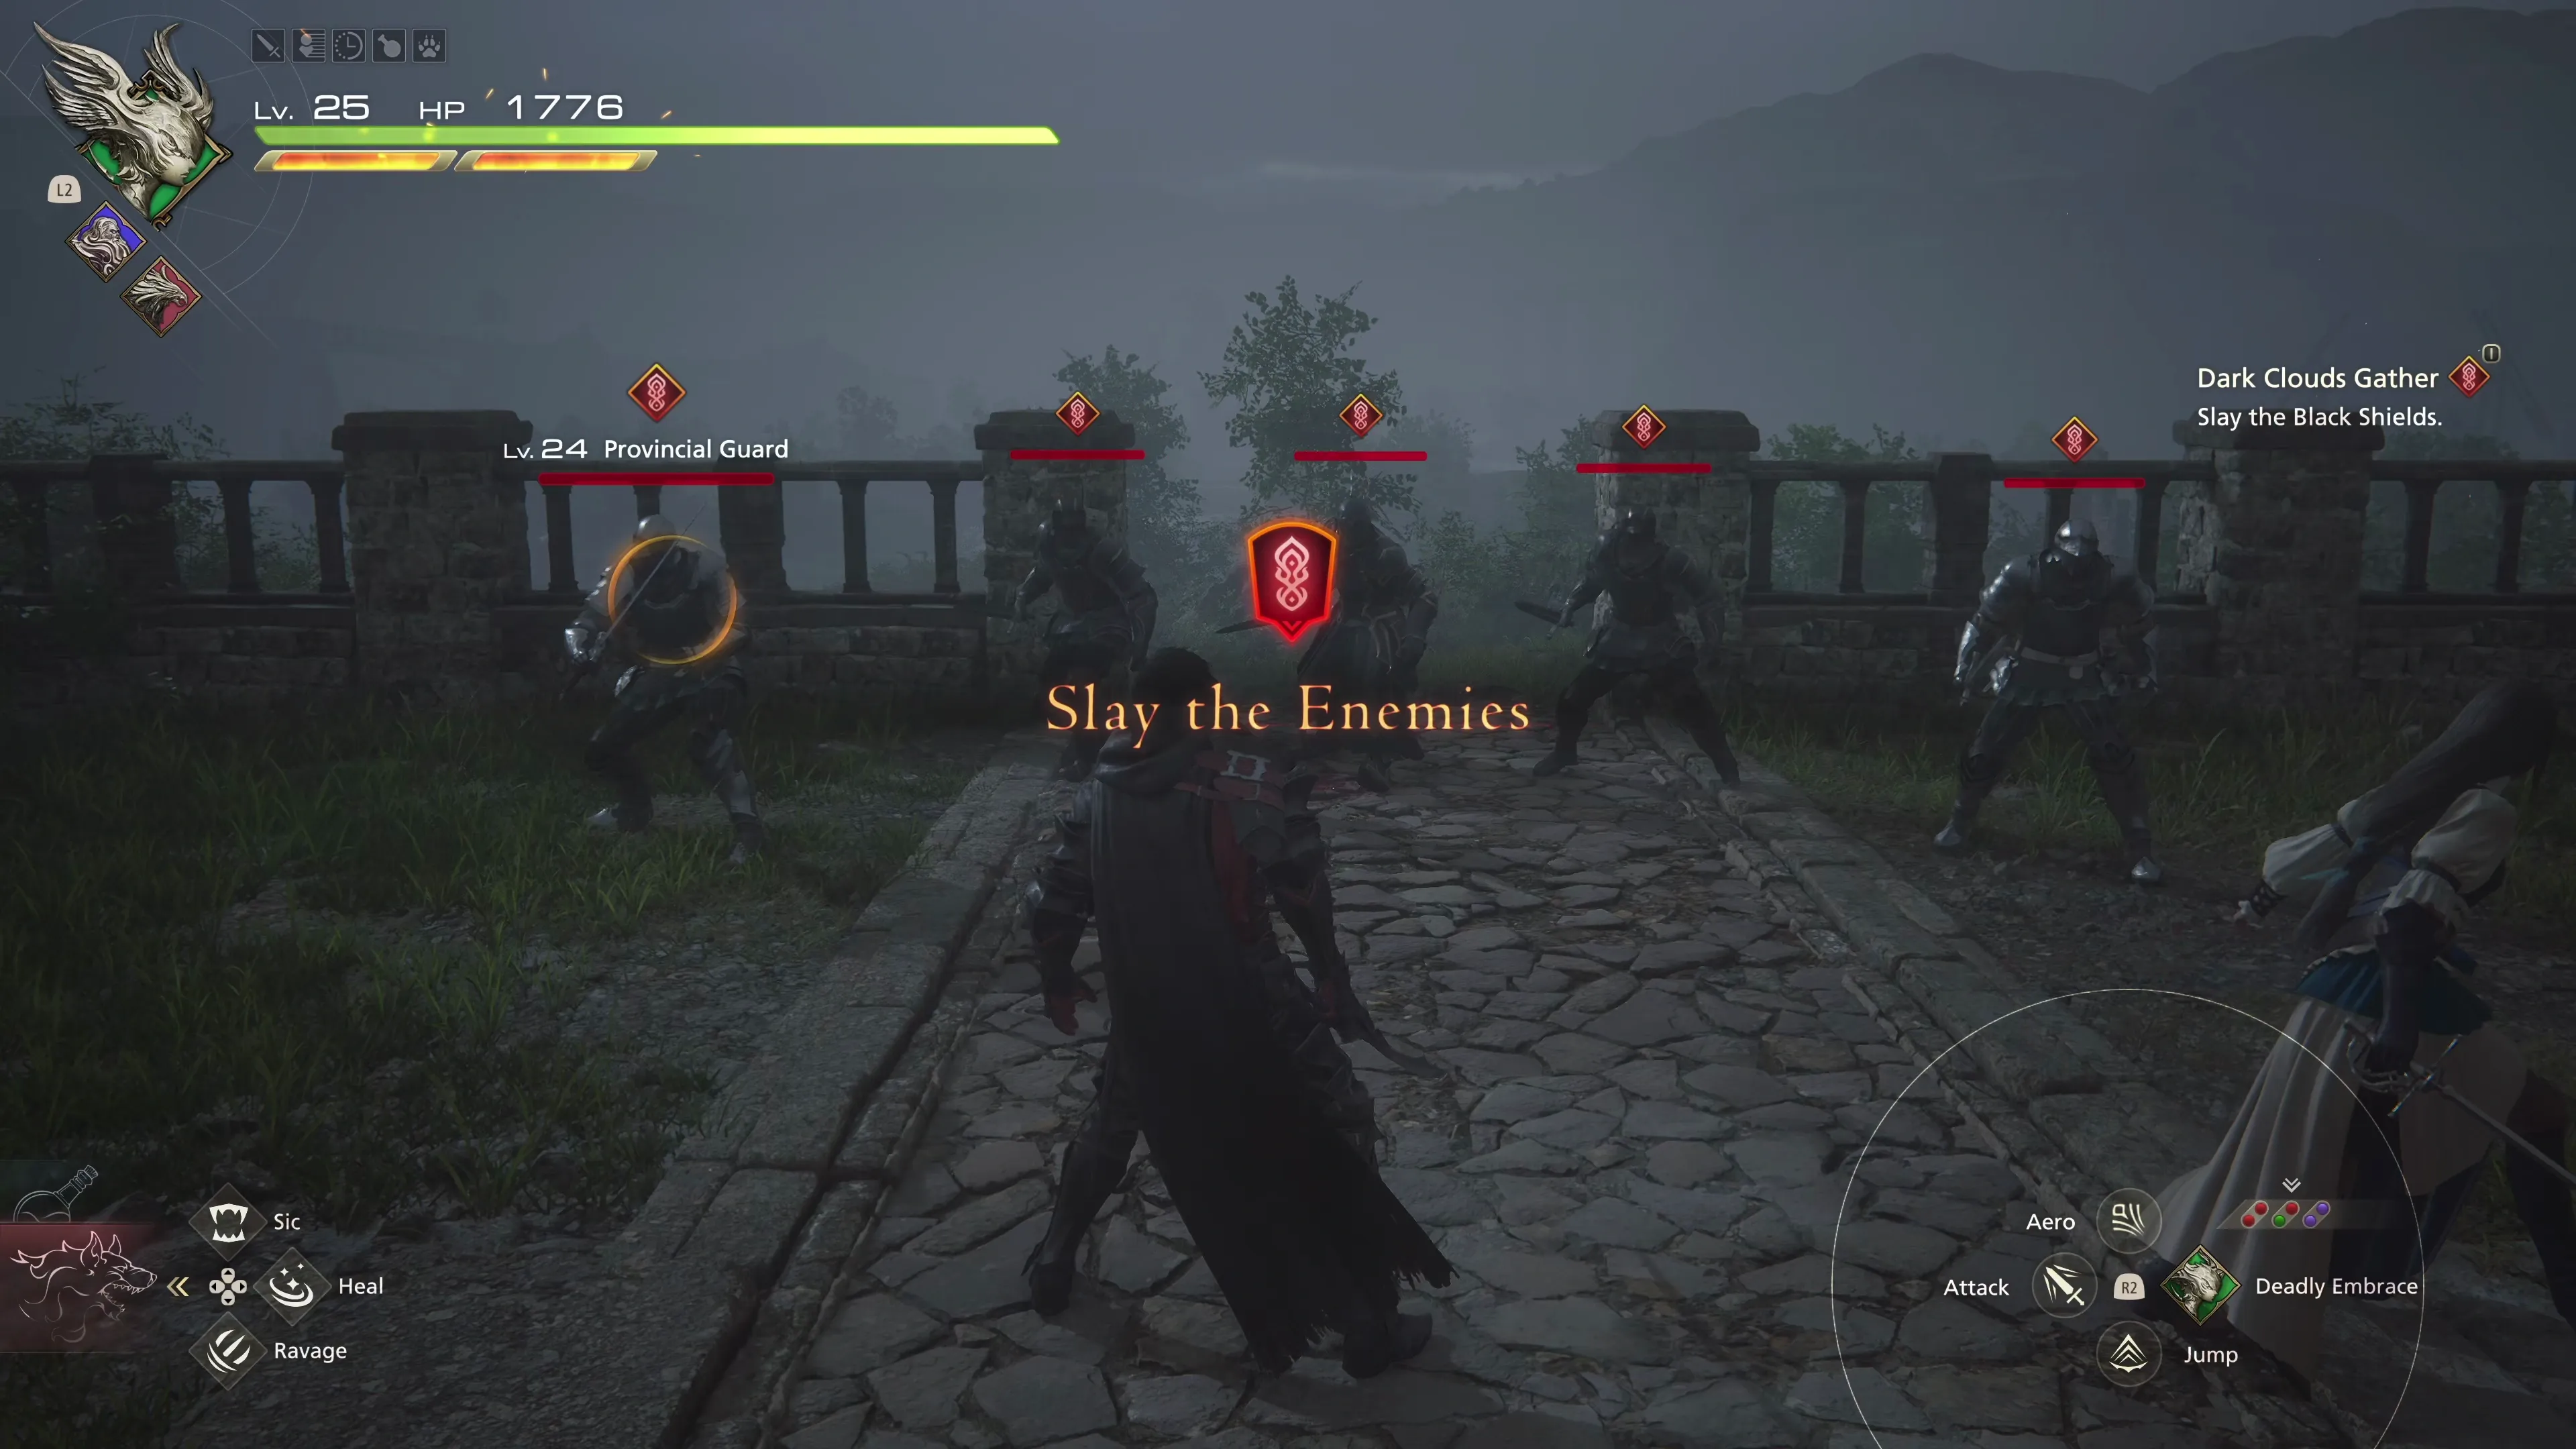
 Glaidemond Abbey
A few cutscenes will take place before Clive and Jill end up in a battle against a group of “Provincial Guards.” These should be easy to defeat, especially with your new multi-target abilities like ![]() Lightning Rod and
Lightning Rod and ![]() Pile Drive. You’ll receive
Pile Drive. You’ll receive ![]() The Breath of Wind (Gouge) as a reward for this Main Scenario Subquest.
The Breath of Wind (Gouge) as a reward for this Main Scenario Subquest.
The next destination is located inside the building near the Abbey. Before you head in, grab the treasure coffer, which is behind the Abbey, if you missed picking it up during your last visit to this area. The coffer contains ten pinches of ![]() Magicked Ash.
Magicked Ash.
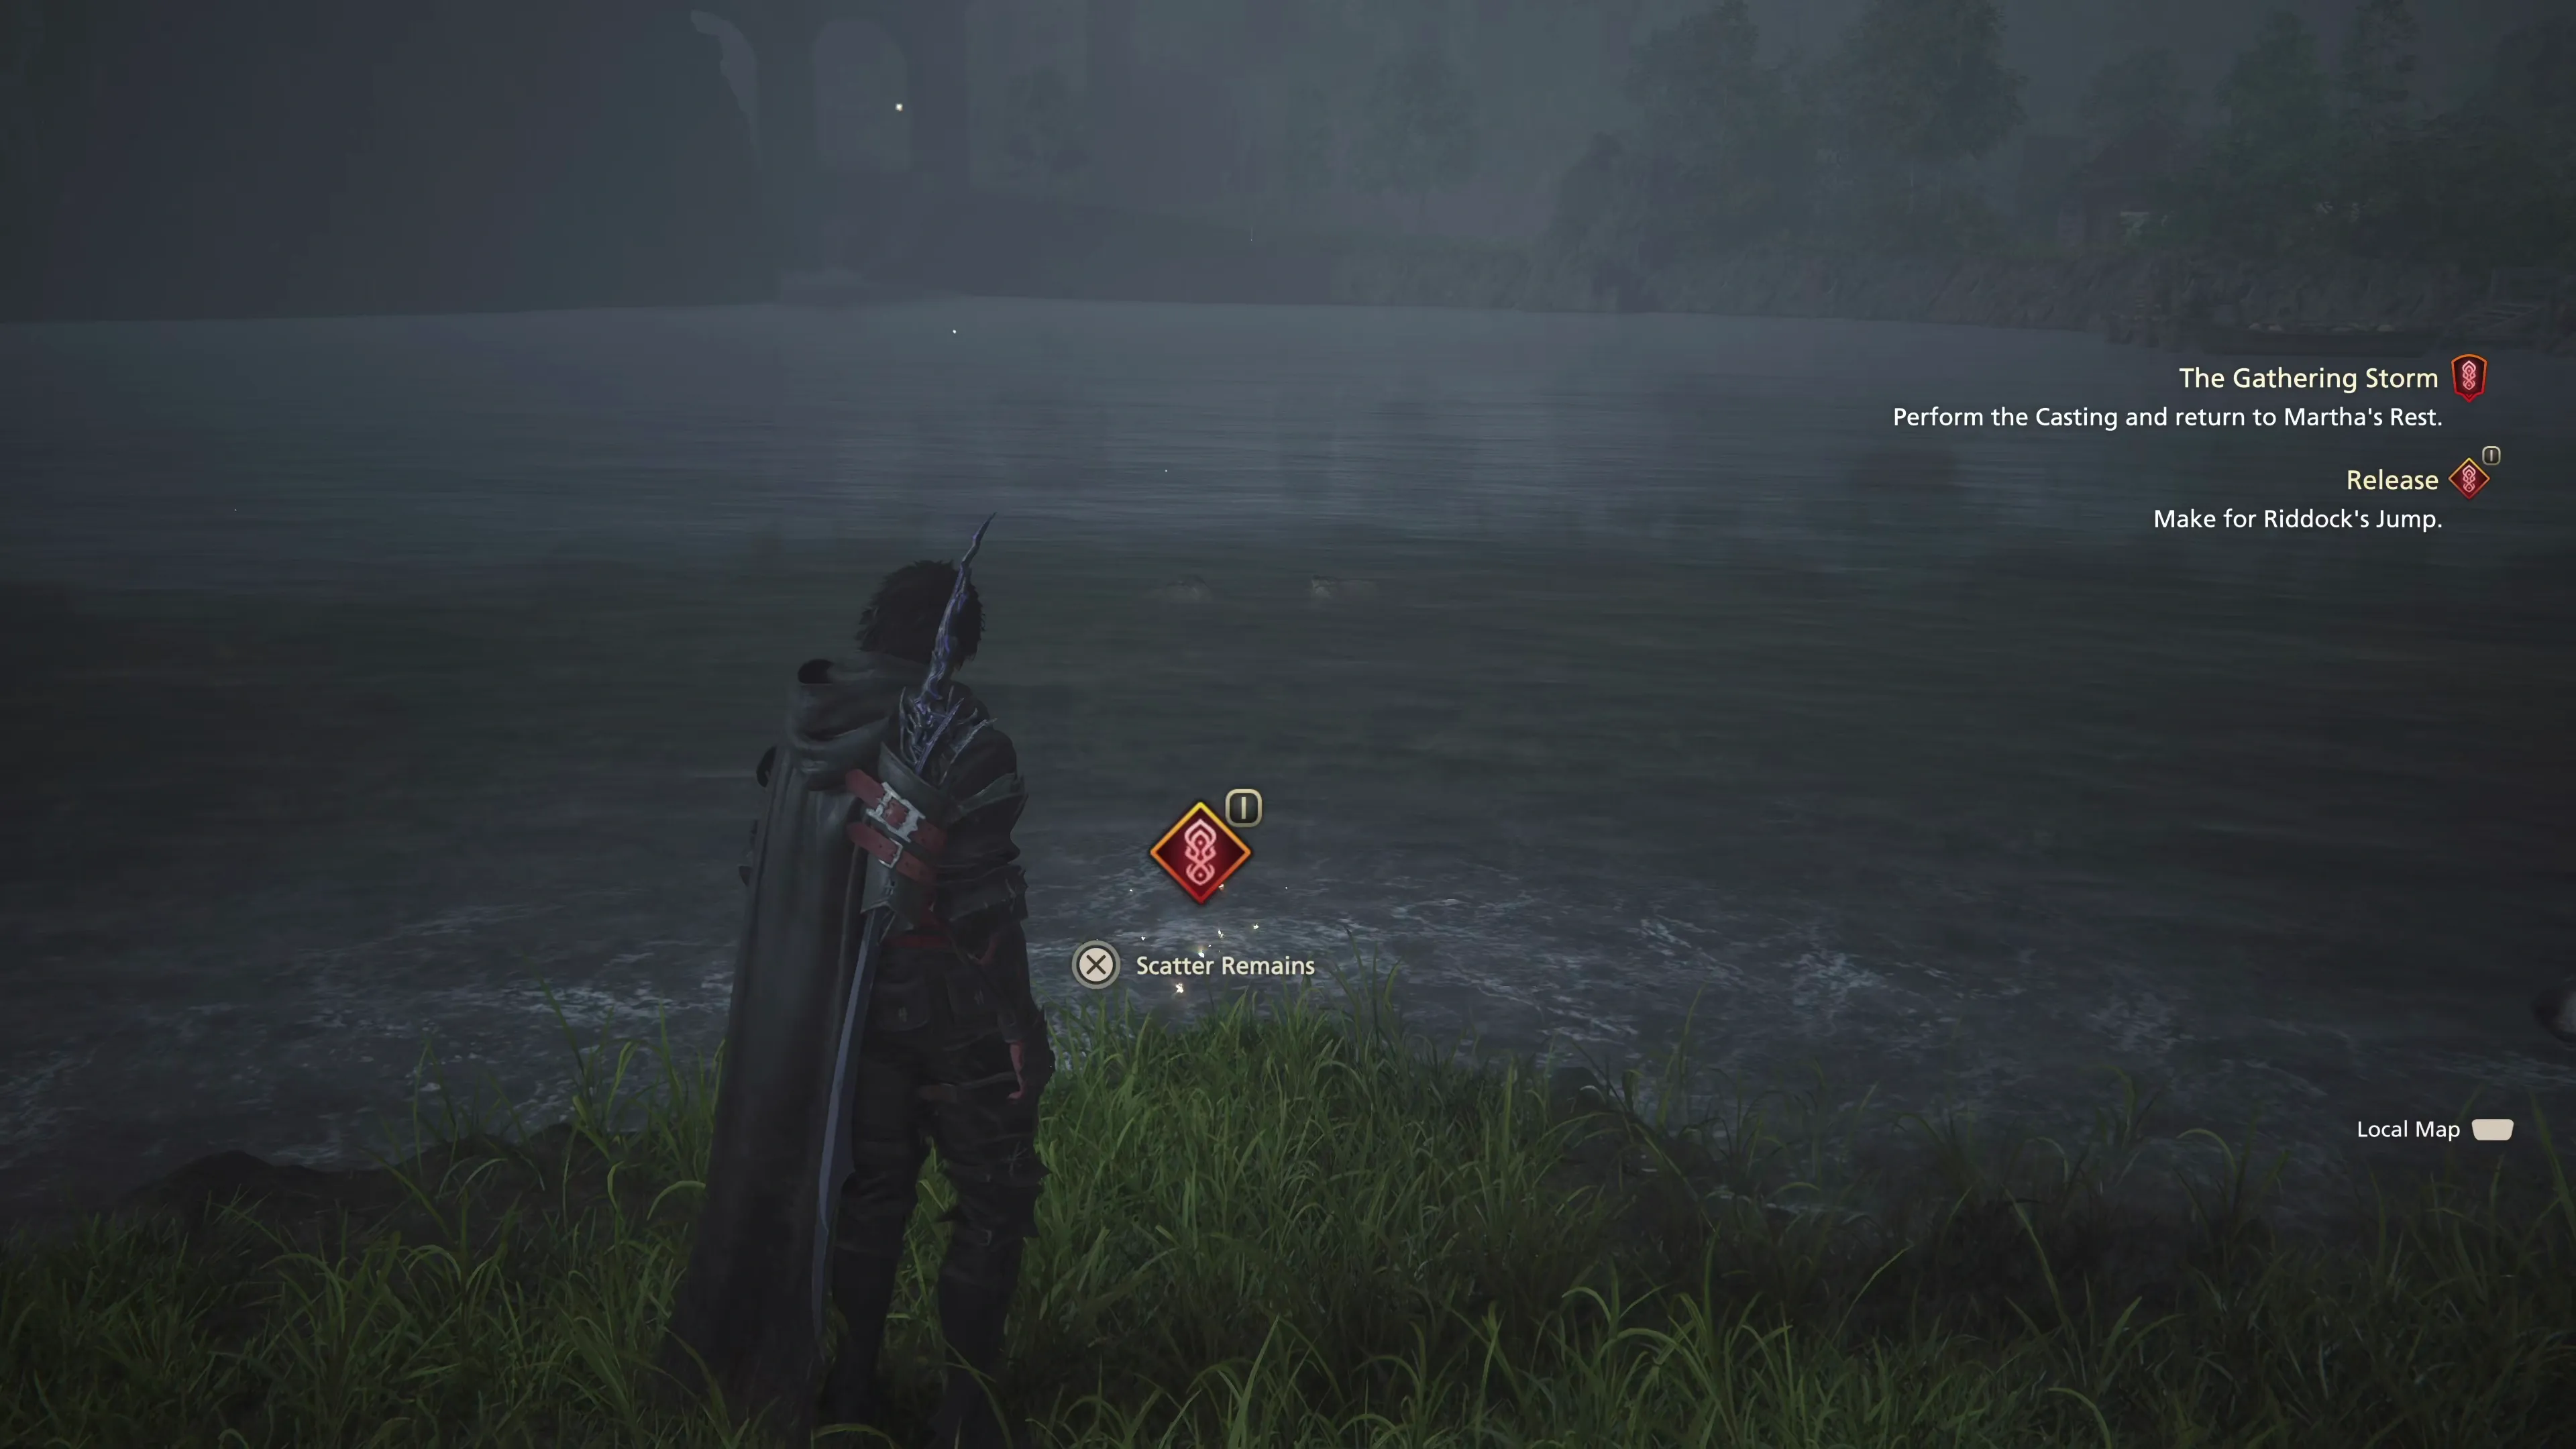
The next ![]() Main Scenario Subquest involves consigning the Bearer’s remains to the tides.
Main Scenario Subquest involves consigning the Bearer’s remains to the tides.
Release
You can open the map to see the Main Scenario Subquest Marker ![]() , which shows you exactly where to go to release the Bearer’s remains. As you’re making your way there, though, you will encounter your first Notorious Mark. Swap over to your single-target
, which shows you exactly where to go to release the Bearer’s remains. As you’re making your way there, though, you will encounter your first Notorious Mark. Swap over to your single-target ![]() Eikonic Ability Set and then use the link below to find battle tips for this next encounter:
Eikonic Ability Set and then use the link below to find battle tips for this next encounter:
Notorious Mark / Hunt

“A member of the Blood axes stationed at Martha’s Rest reported that he had been set upon in the marshes by an otherworldly horror with a single, staring eye. It flew at him on bony bats’ wings, scratching at him with claws black as night, and sharp as razors. Naturally, he fled in terror—but if a battle-hardened Bloodaxe cannot cope with the mere sight of such a creature, what hope do the rest of us have?”
Continue towards the bridge near “Riddock’s Jump” and the edge of the water to find the spot where Clive can scatter the Bearer’s ![]() Mortal Remains. Travel back to Martha’s Rest to complete the “Release” Subquest.
Mortal Remains. Travel back to Martha’s Rest to complete the “Release” Subquest.
 Martha’s Rest
A new, and very important, Optional Quest will be available once you return to Martha’s Rest. Swap back over to your multi-target ![]() Eikonic Ability Set and then use the link below to complete the quest:
Eikonic Ability Set and then use the link below to complete the quest:
Optional Quest
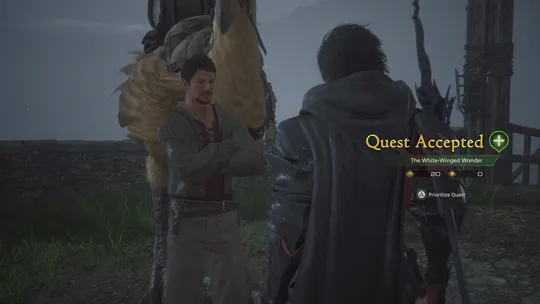
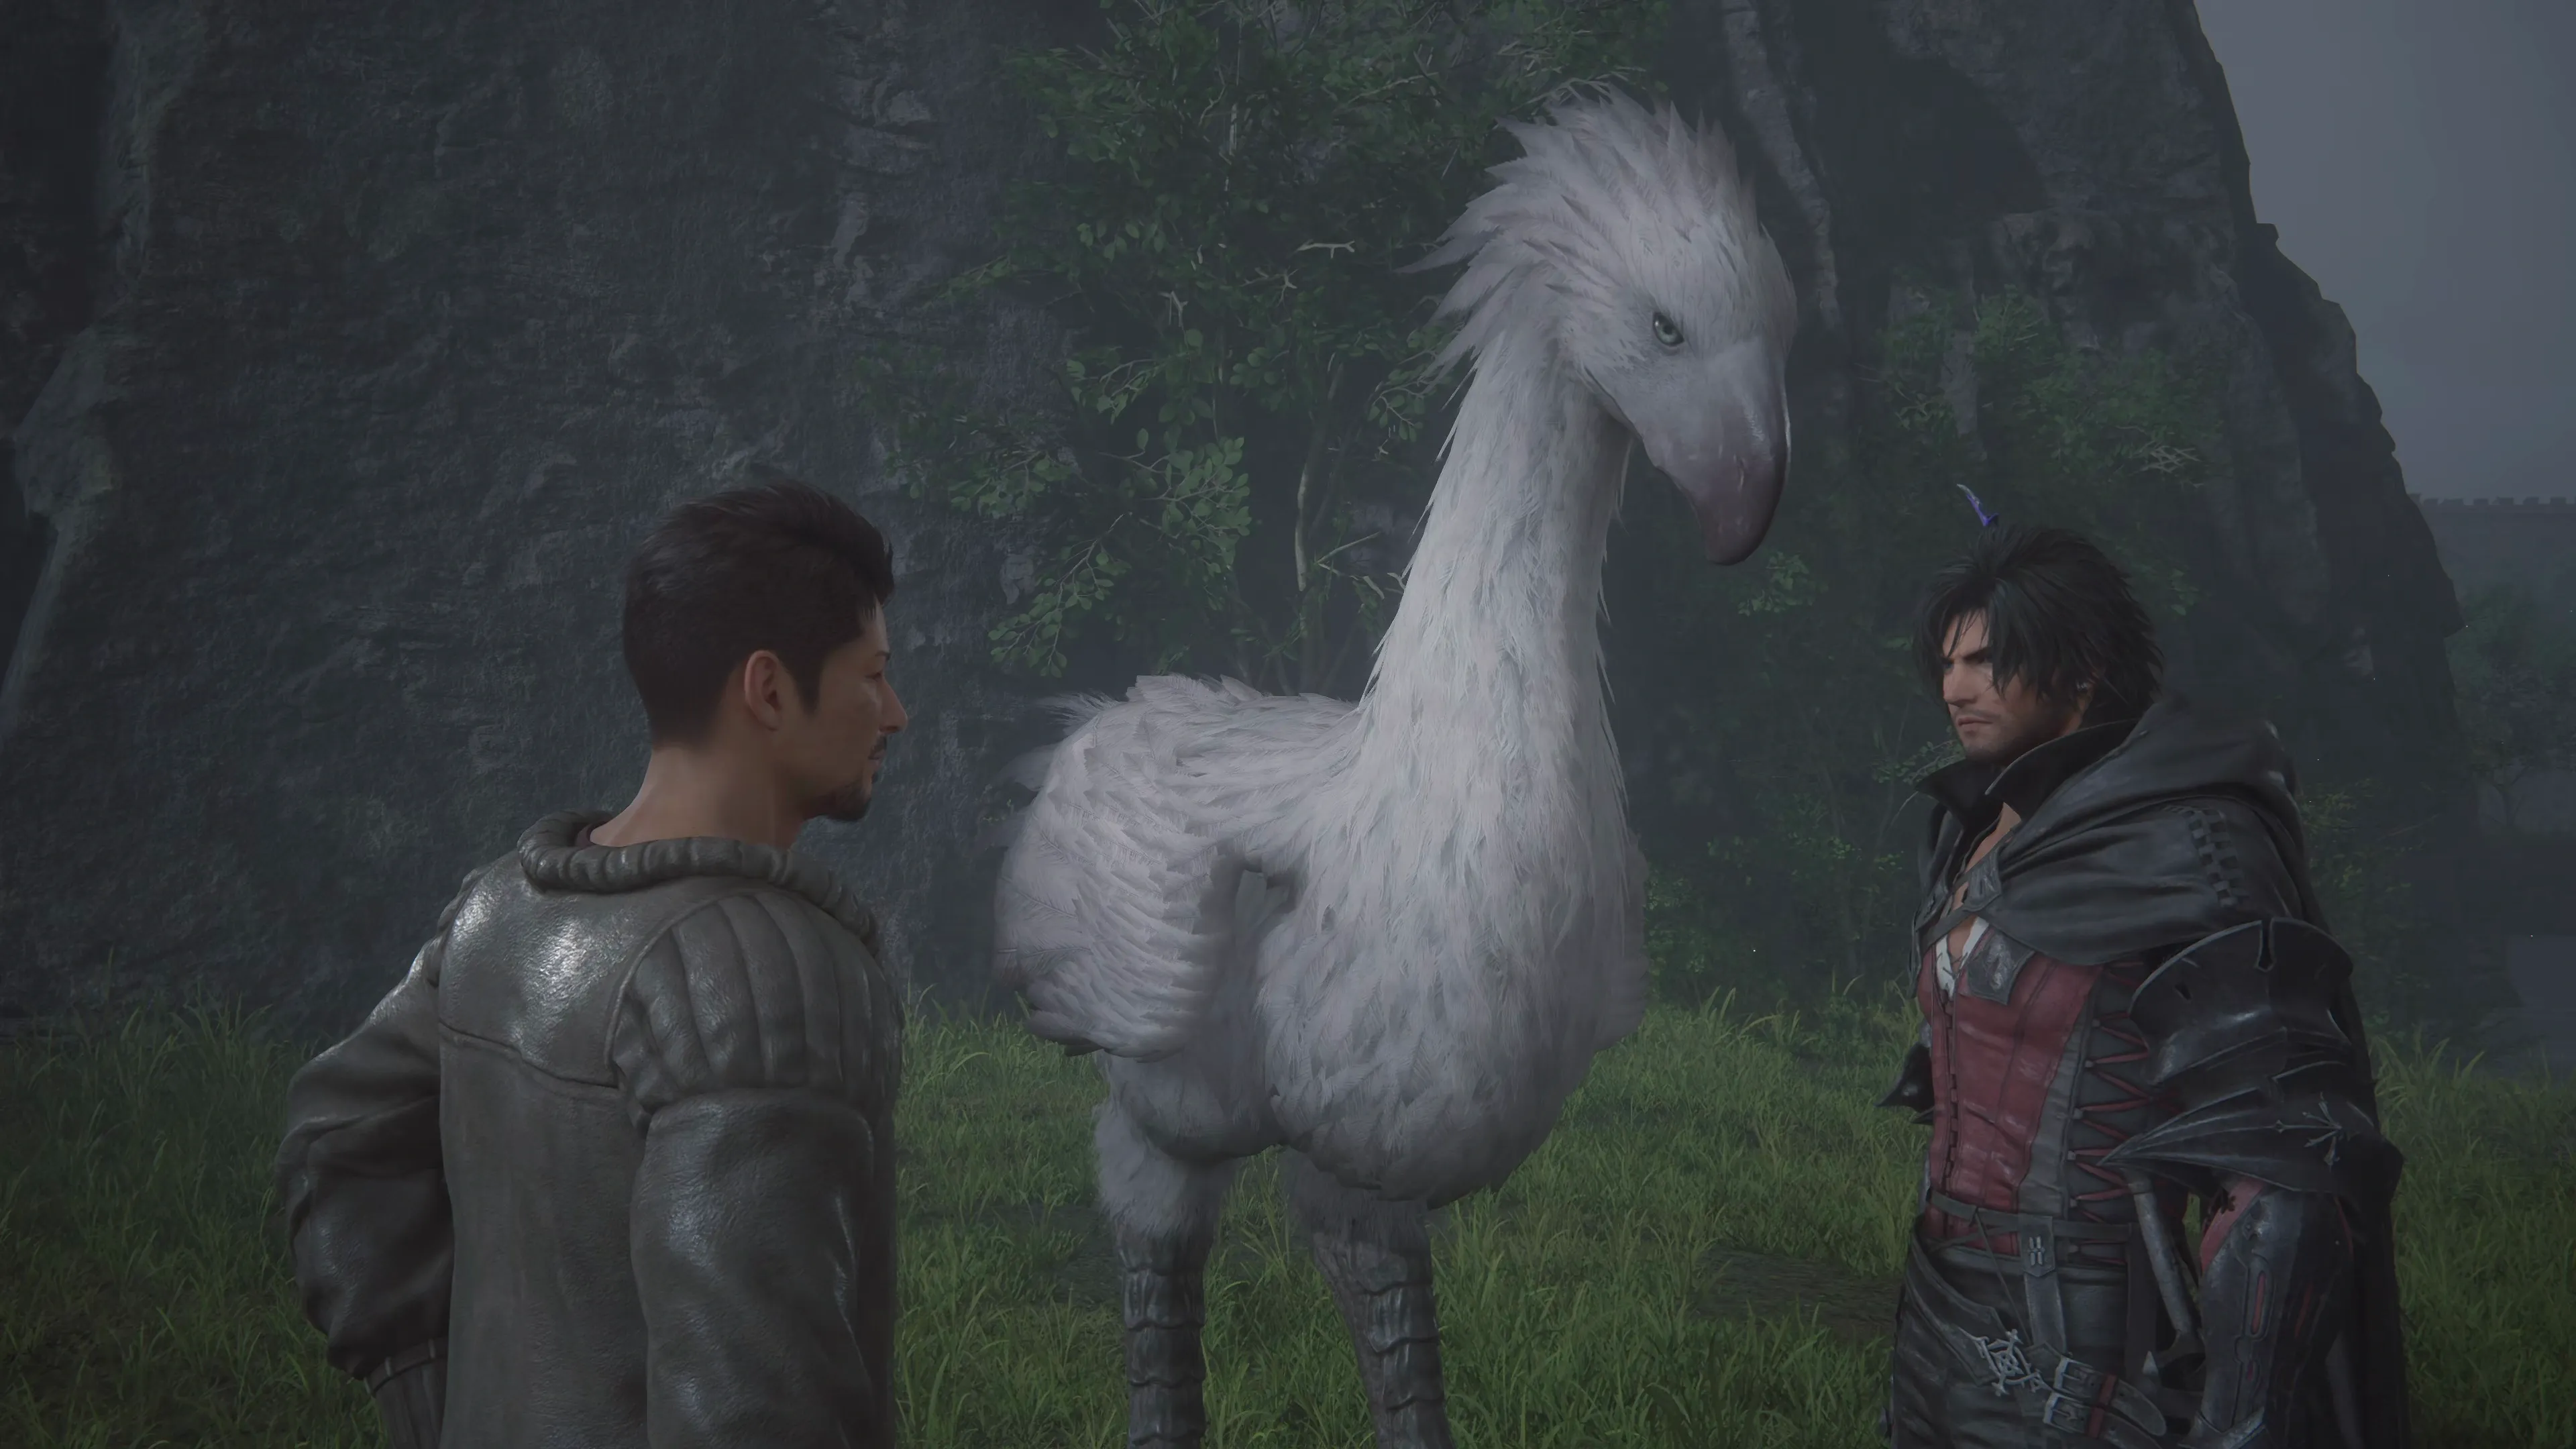
“Rowan, a merchant based near Martha’s Rest, entreats Clive to come to the aid of a flock of noble Chocobos that have attracted the ire of a gang of bandits. Apparently, their leader is a certain ‘Whiteheart’…”
Helpful Hint
While this guide encourages you to complete all the Optional Quests available along the way, the ones marked by a green bubble with a plus sign (“+”) on the map are critical. These Optional Quests unlock things within the game; they don’t just provide random materials or Gil, and this one is no exception. Make sure you complete “The White-Winged Wonder” before moving on.
Travel back to the Hideaway when you’re done.
 The Hideaway
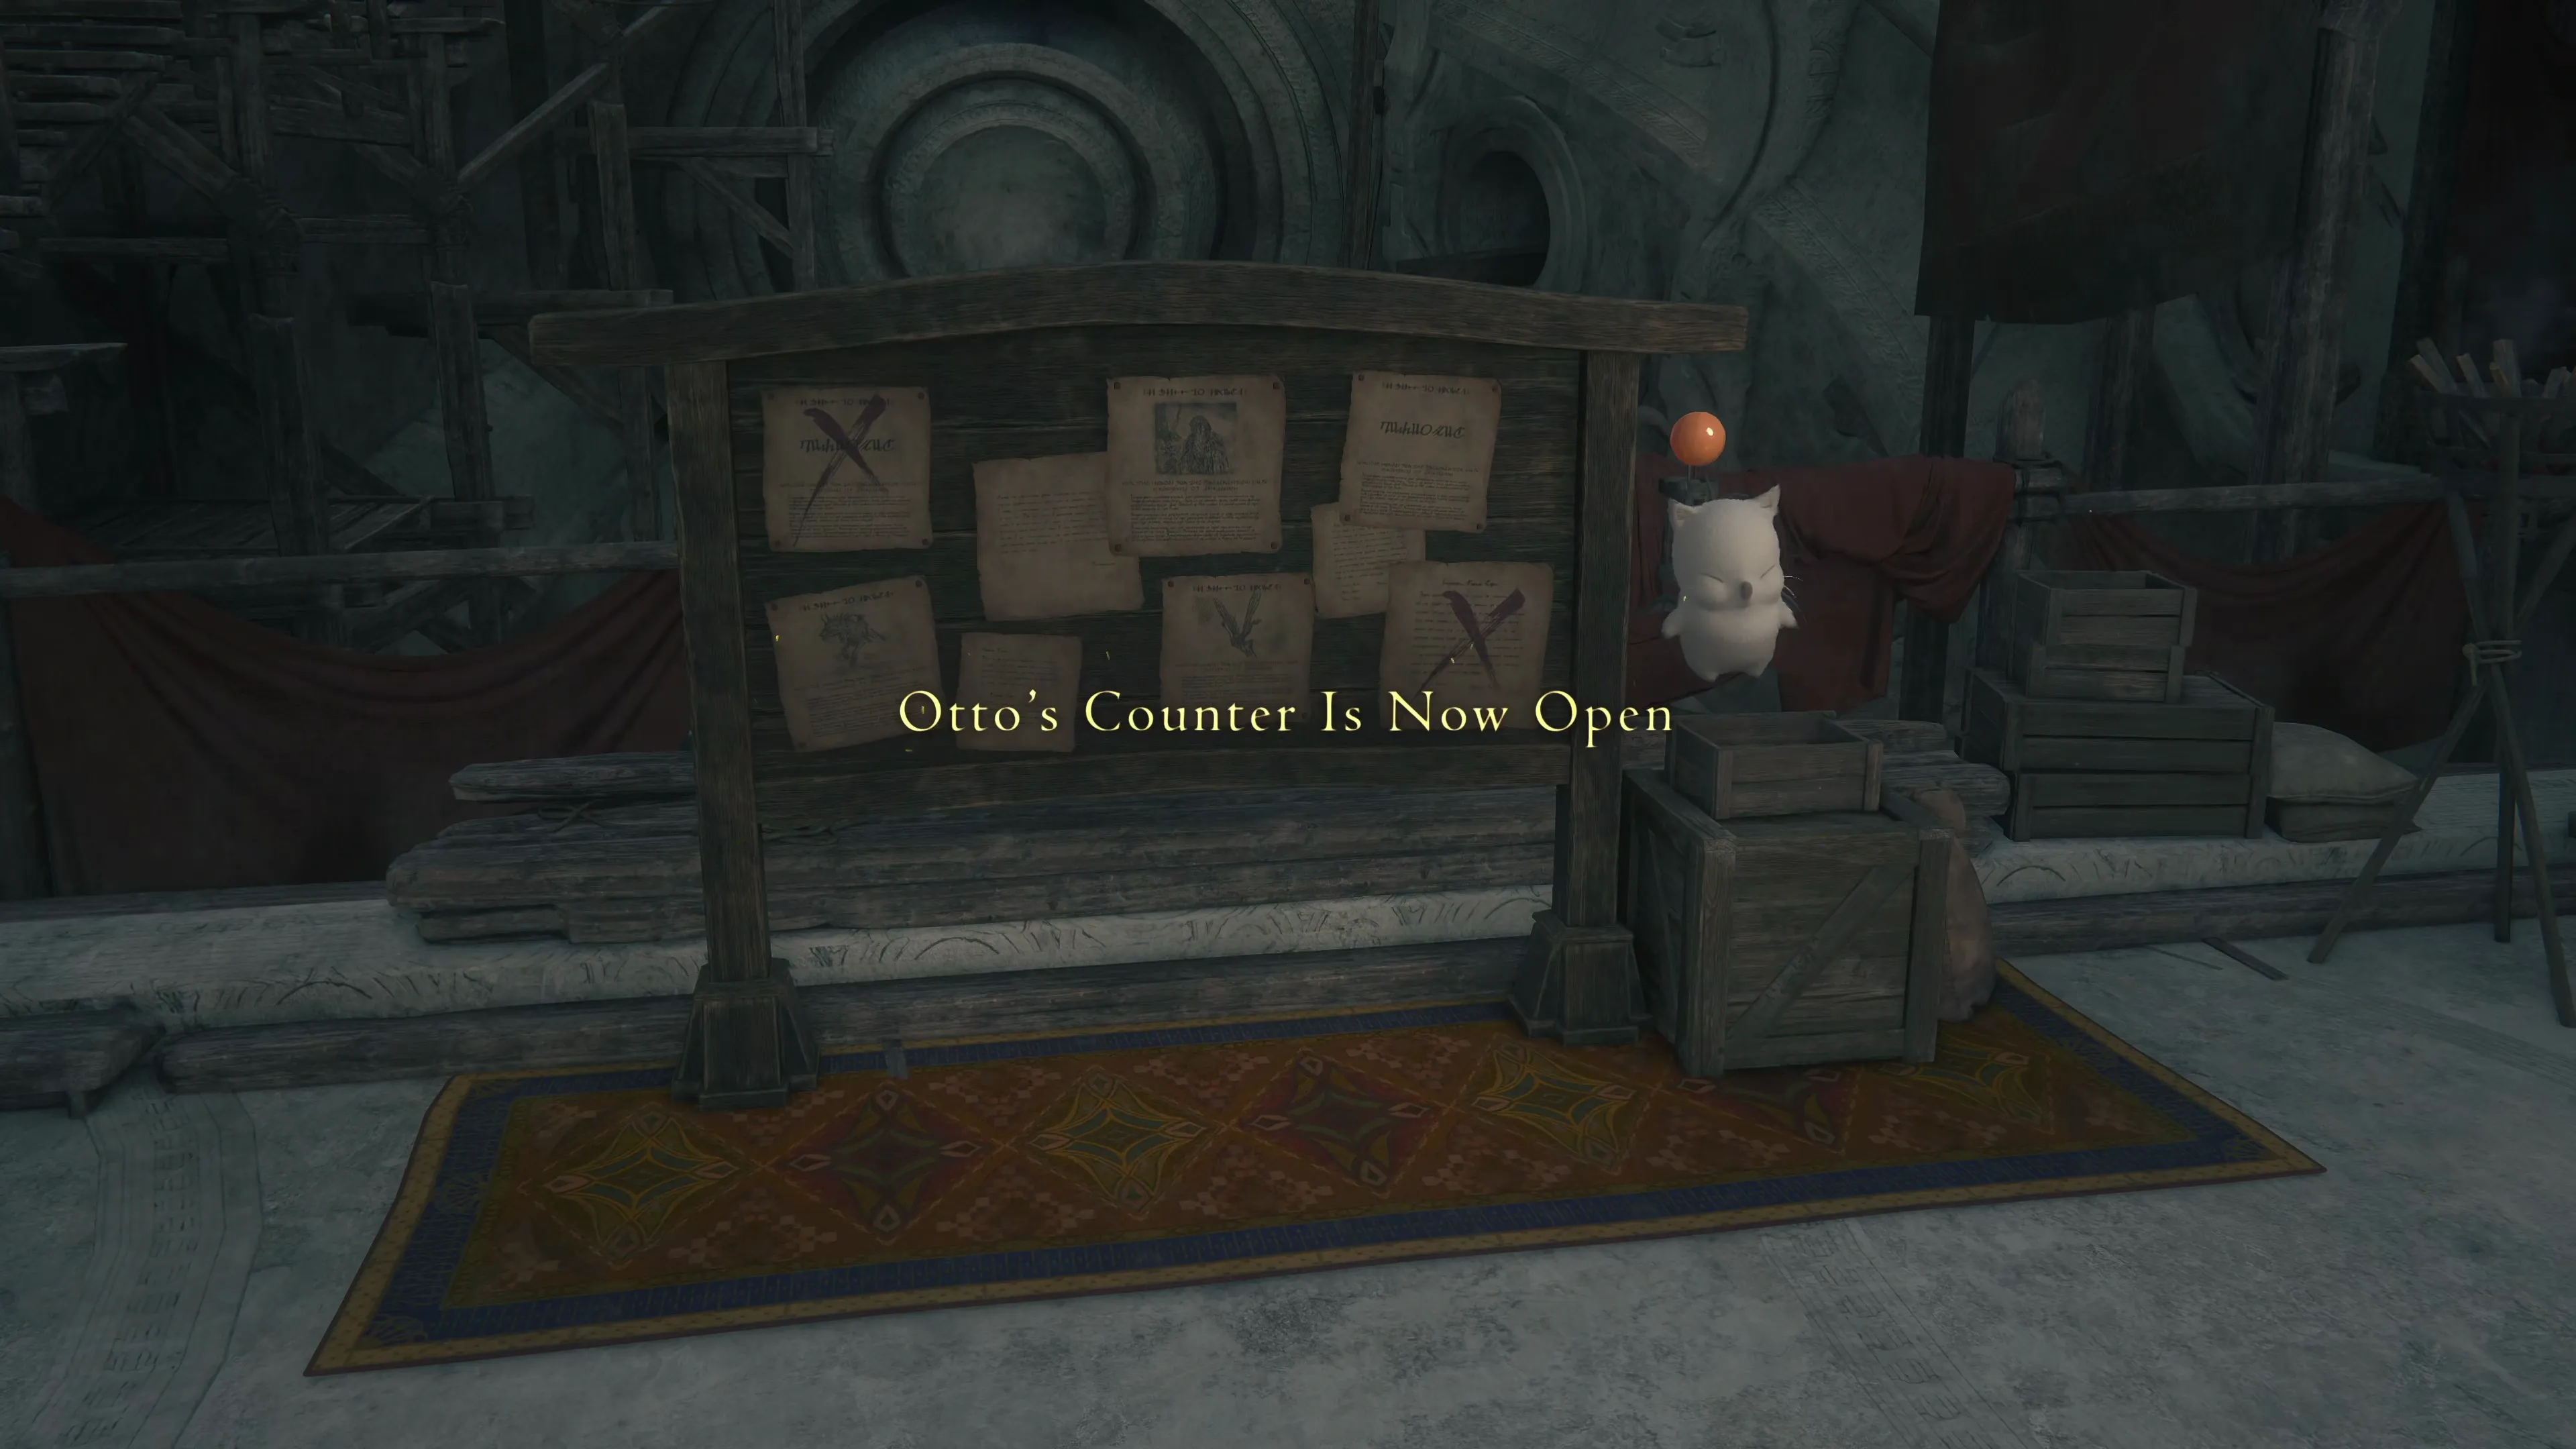
Speak to Gav in the Ale Hall to initiate another set of cutscenes. At the end, “Otto’s Counter” will open up, giving you access to:
 Alliant Reports
 The Patron’s Whisper
 The Hunt Board
We’ve seen ![]() Alliant Reports. Still, as a reminder, this feature allows you to speak with Gaute and have him identify any Optional Quests that are available and have not been completed. You won’t need to make use of “Alliant Reports” while referring to this guide because all of the quests will be identified here.
Alliant Reports. Still, as a reminder, this feature allows you to speak with Gaute and have him identify any Optional Quests that are available and have not been completed. You won’t need to make use of “Alliant Reports” while referring to this guide because all of the quests will be identified here.
In short, ![]() The Patron’s Whisper allows you to claim rewards using
The Patron’s Whisper allows you to claim rewards using ![]() Renown that you’ve earned. When you have enough Renown, Desiree will give Clive donations and rewards from locals as a token of appreciation for completing Hunts and Optional Quests.
Renown that you’ve earned. When you have enough Renown, Desiree will give Clive donations and rewards from locals as a token of appreciation for completing Hunts and Optional Quests.
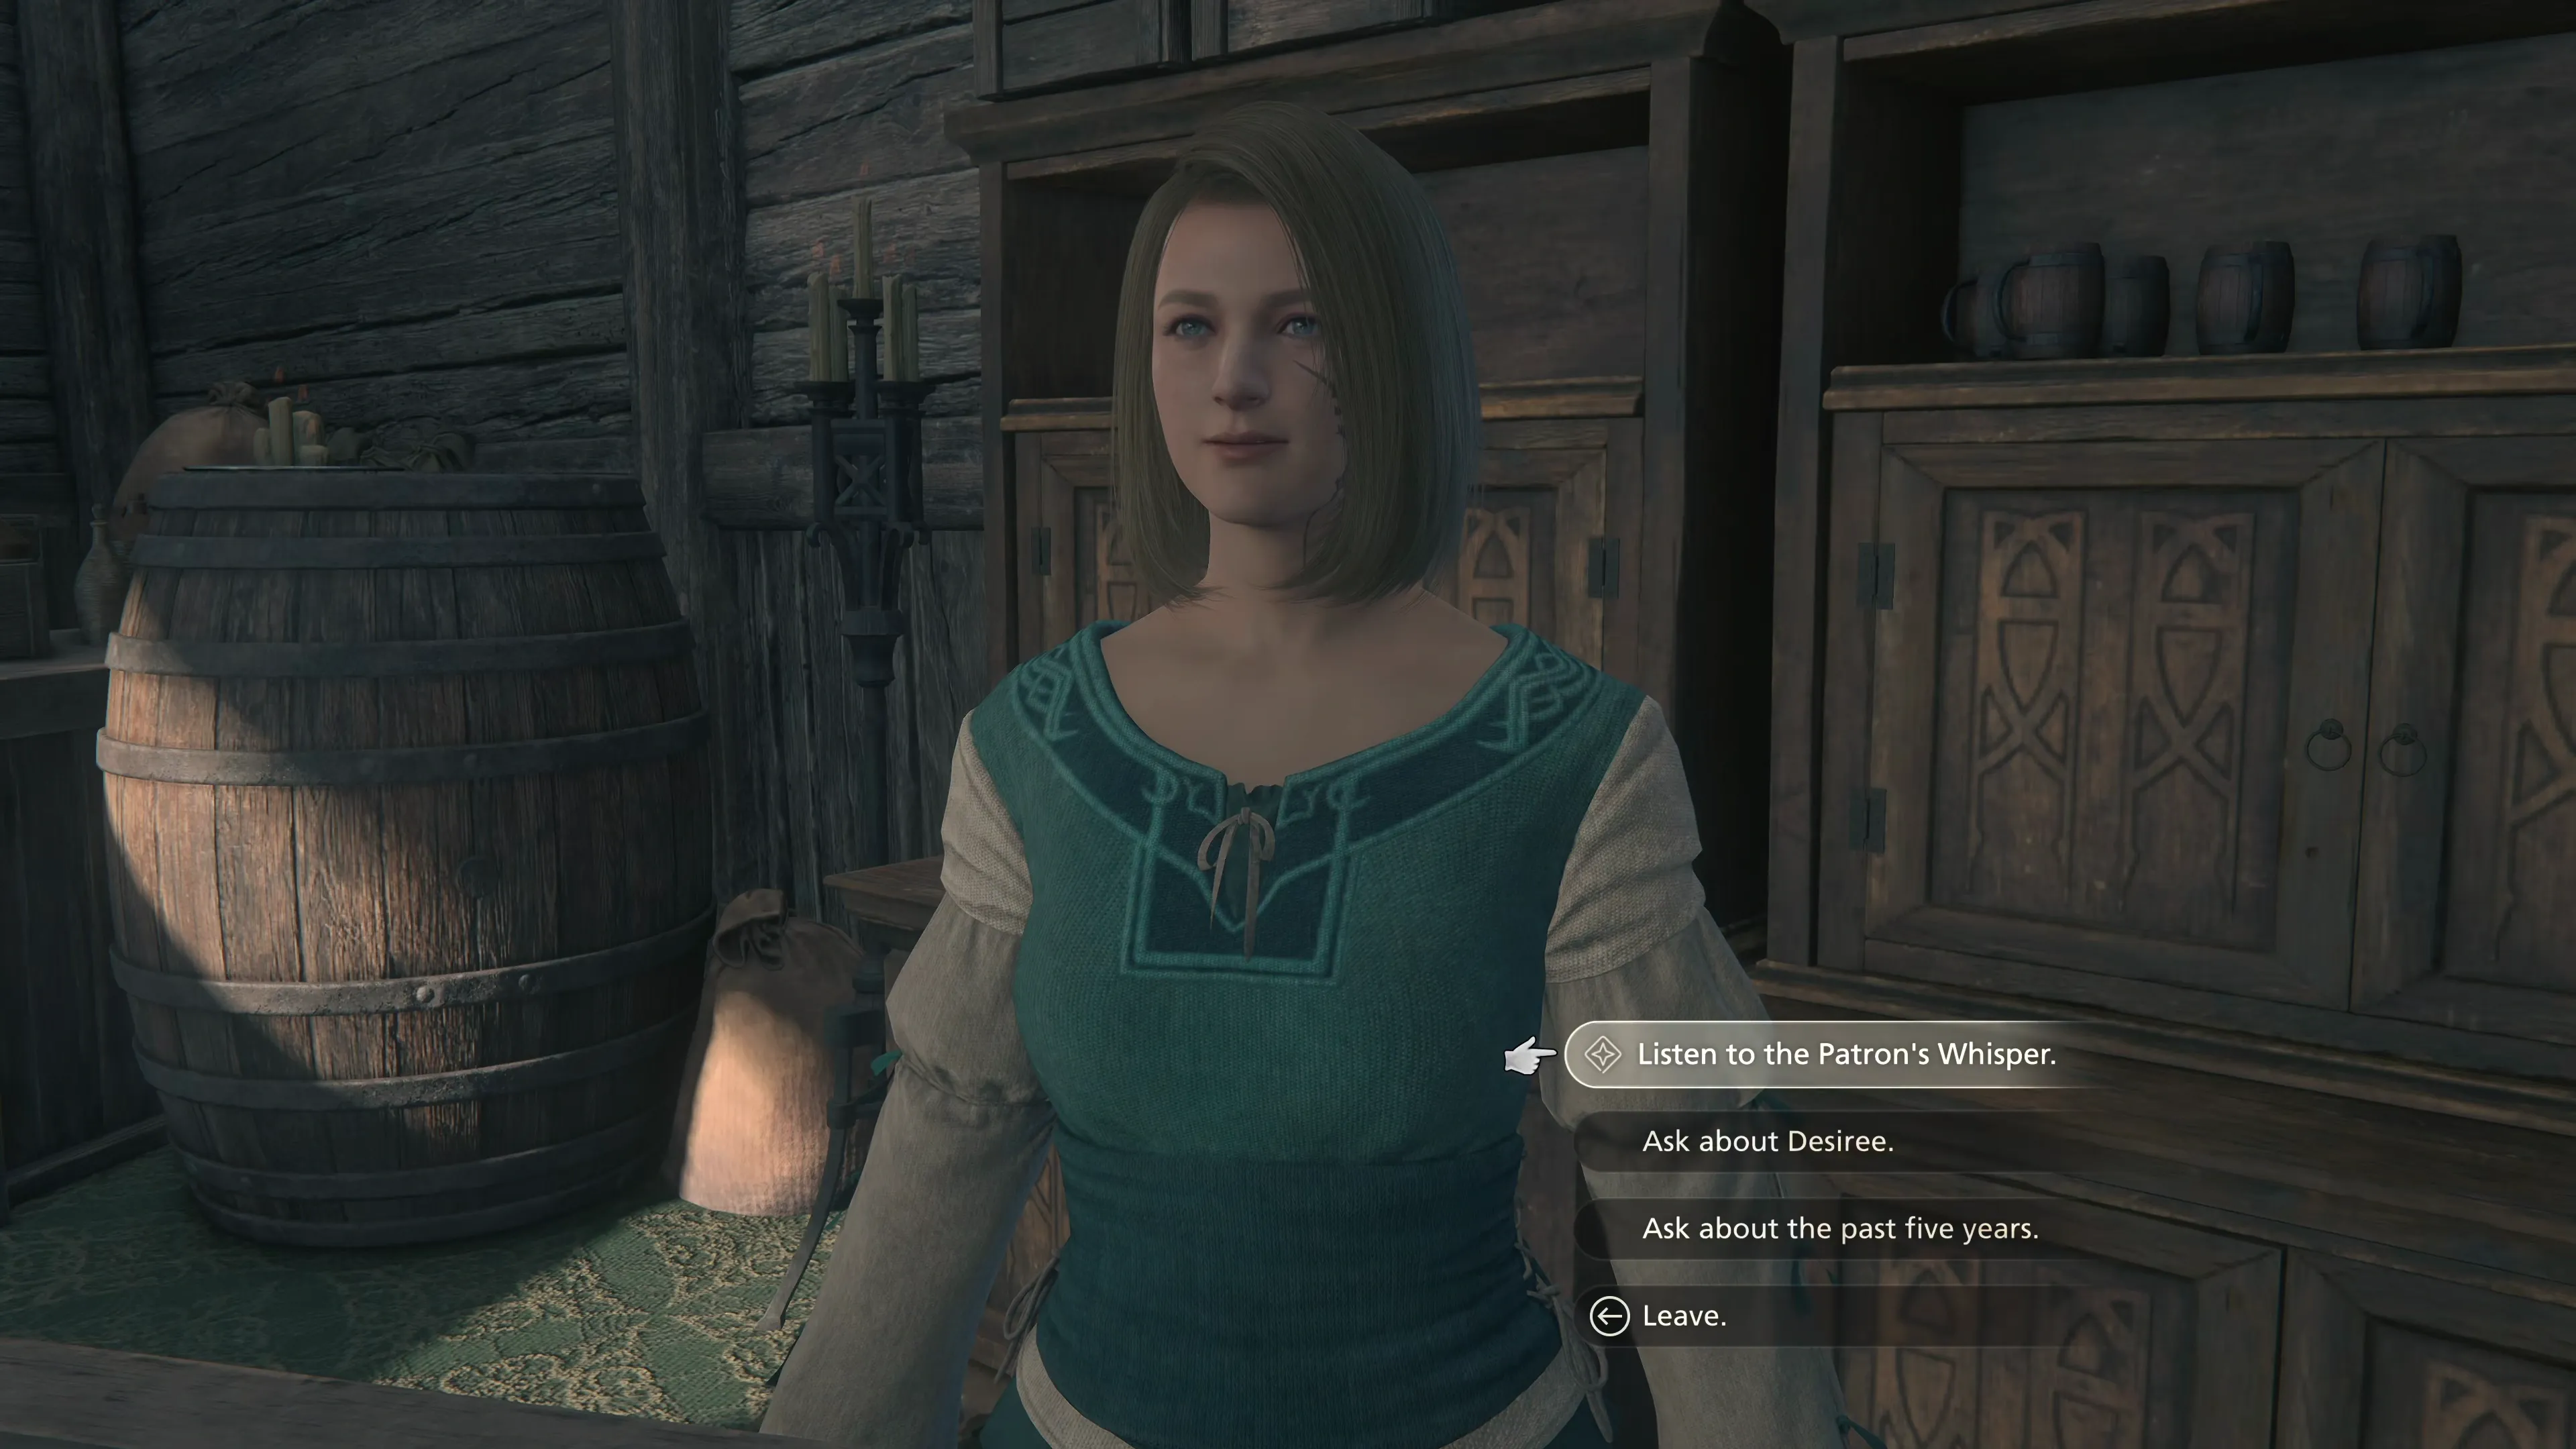
You can already claim the first two Donations:
| Renown | Crate Contents | |
|---|---|---|
| 15 | 400 |
|
| 45 |
There’s not much more to know about ![]() The Patron’s Whisper, but if you would like to read a complete overview and see some of the rewards (spoiler warning!), use the link below:
The Patron’s Whisper, but if you would like to read a complete overview and see some of the rewards (spoiler warning!), use the link below:
Side Quests
An overview of how the ![]() Renown point system works and a complete list of the donations you can earn.
Renown point system works and a complete list of the donations you can earn.
You can also access the ![]() Hunt Board by speaking to Nektar, the floating moogle in the mess. The Hunt Board is used to identify any Notorious Marks that you can track down when they become available. Two new bills have already been posted for “The Angel of Death” and “Belphegor,” and we will be completing them shortly. But for now, let’s take care of the new quest that has appeared now that we’ve spoken to Gav.
Hunt Board by speaking to Nektar, the floating moogle in the mess. The Hunt Board is used to identify any Notorious Marks that you can track down when they become available. Two new bills have already been posted for “The Angel of Death” and “Belphegor,” and we will be completing them shortly. But for now, let’s take care of the new quest that has appeared now that we’ve spoken to Gav.
Optional Quest
“The apples growing on one of Martelle’s old trees are ripe and by all accounts, delicious. Backyard botanist Cormac wants everyone to know just how good they are, and has asked Clive to deliver a basket to the hideaway’s hungry Cursebreakers.”
Helpful Hint
While this guide encourages you to complete all the Optional Quests available along the way, the ones marked by a green bubble with a treasure coffer on the map are also critical, just like those with a plus sign. Treasure coffer Optional Quests ![]() provide you with important rewards, not just random materials or Gil, and this one is no exception. These rewards are quite often unique to the quest and can’t be obtained anywhere else.
provide you with important rewards, not just random materials or Gil, and this one is no exception. These rewards are quite often unique to the quest and can’t be obtained anywhere else.
We still need to complete the Hunts, but first, open up the map and travel to the ![]() Hawk’s Cry Cliff Obelisk in Southern Rosaria.
Hawk’s Cry Cliff Obelisk in Southern Rosaria.