Bloodlines
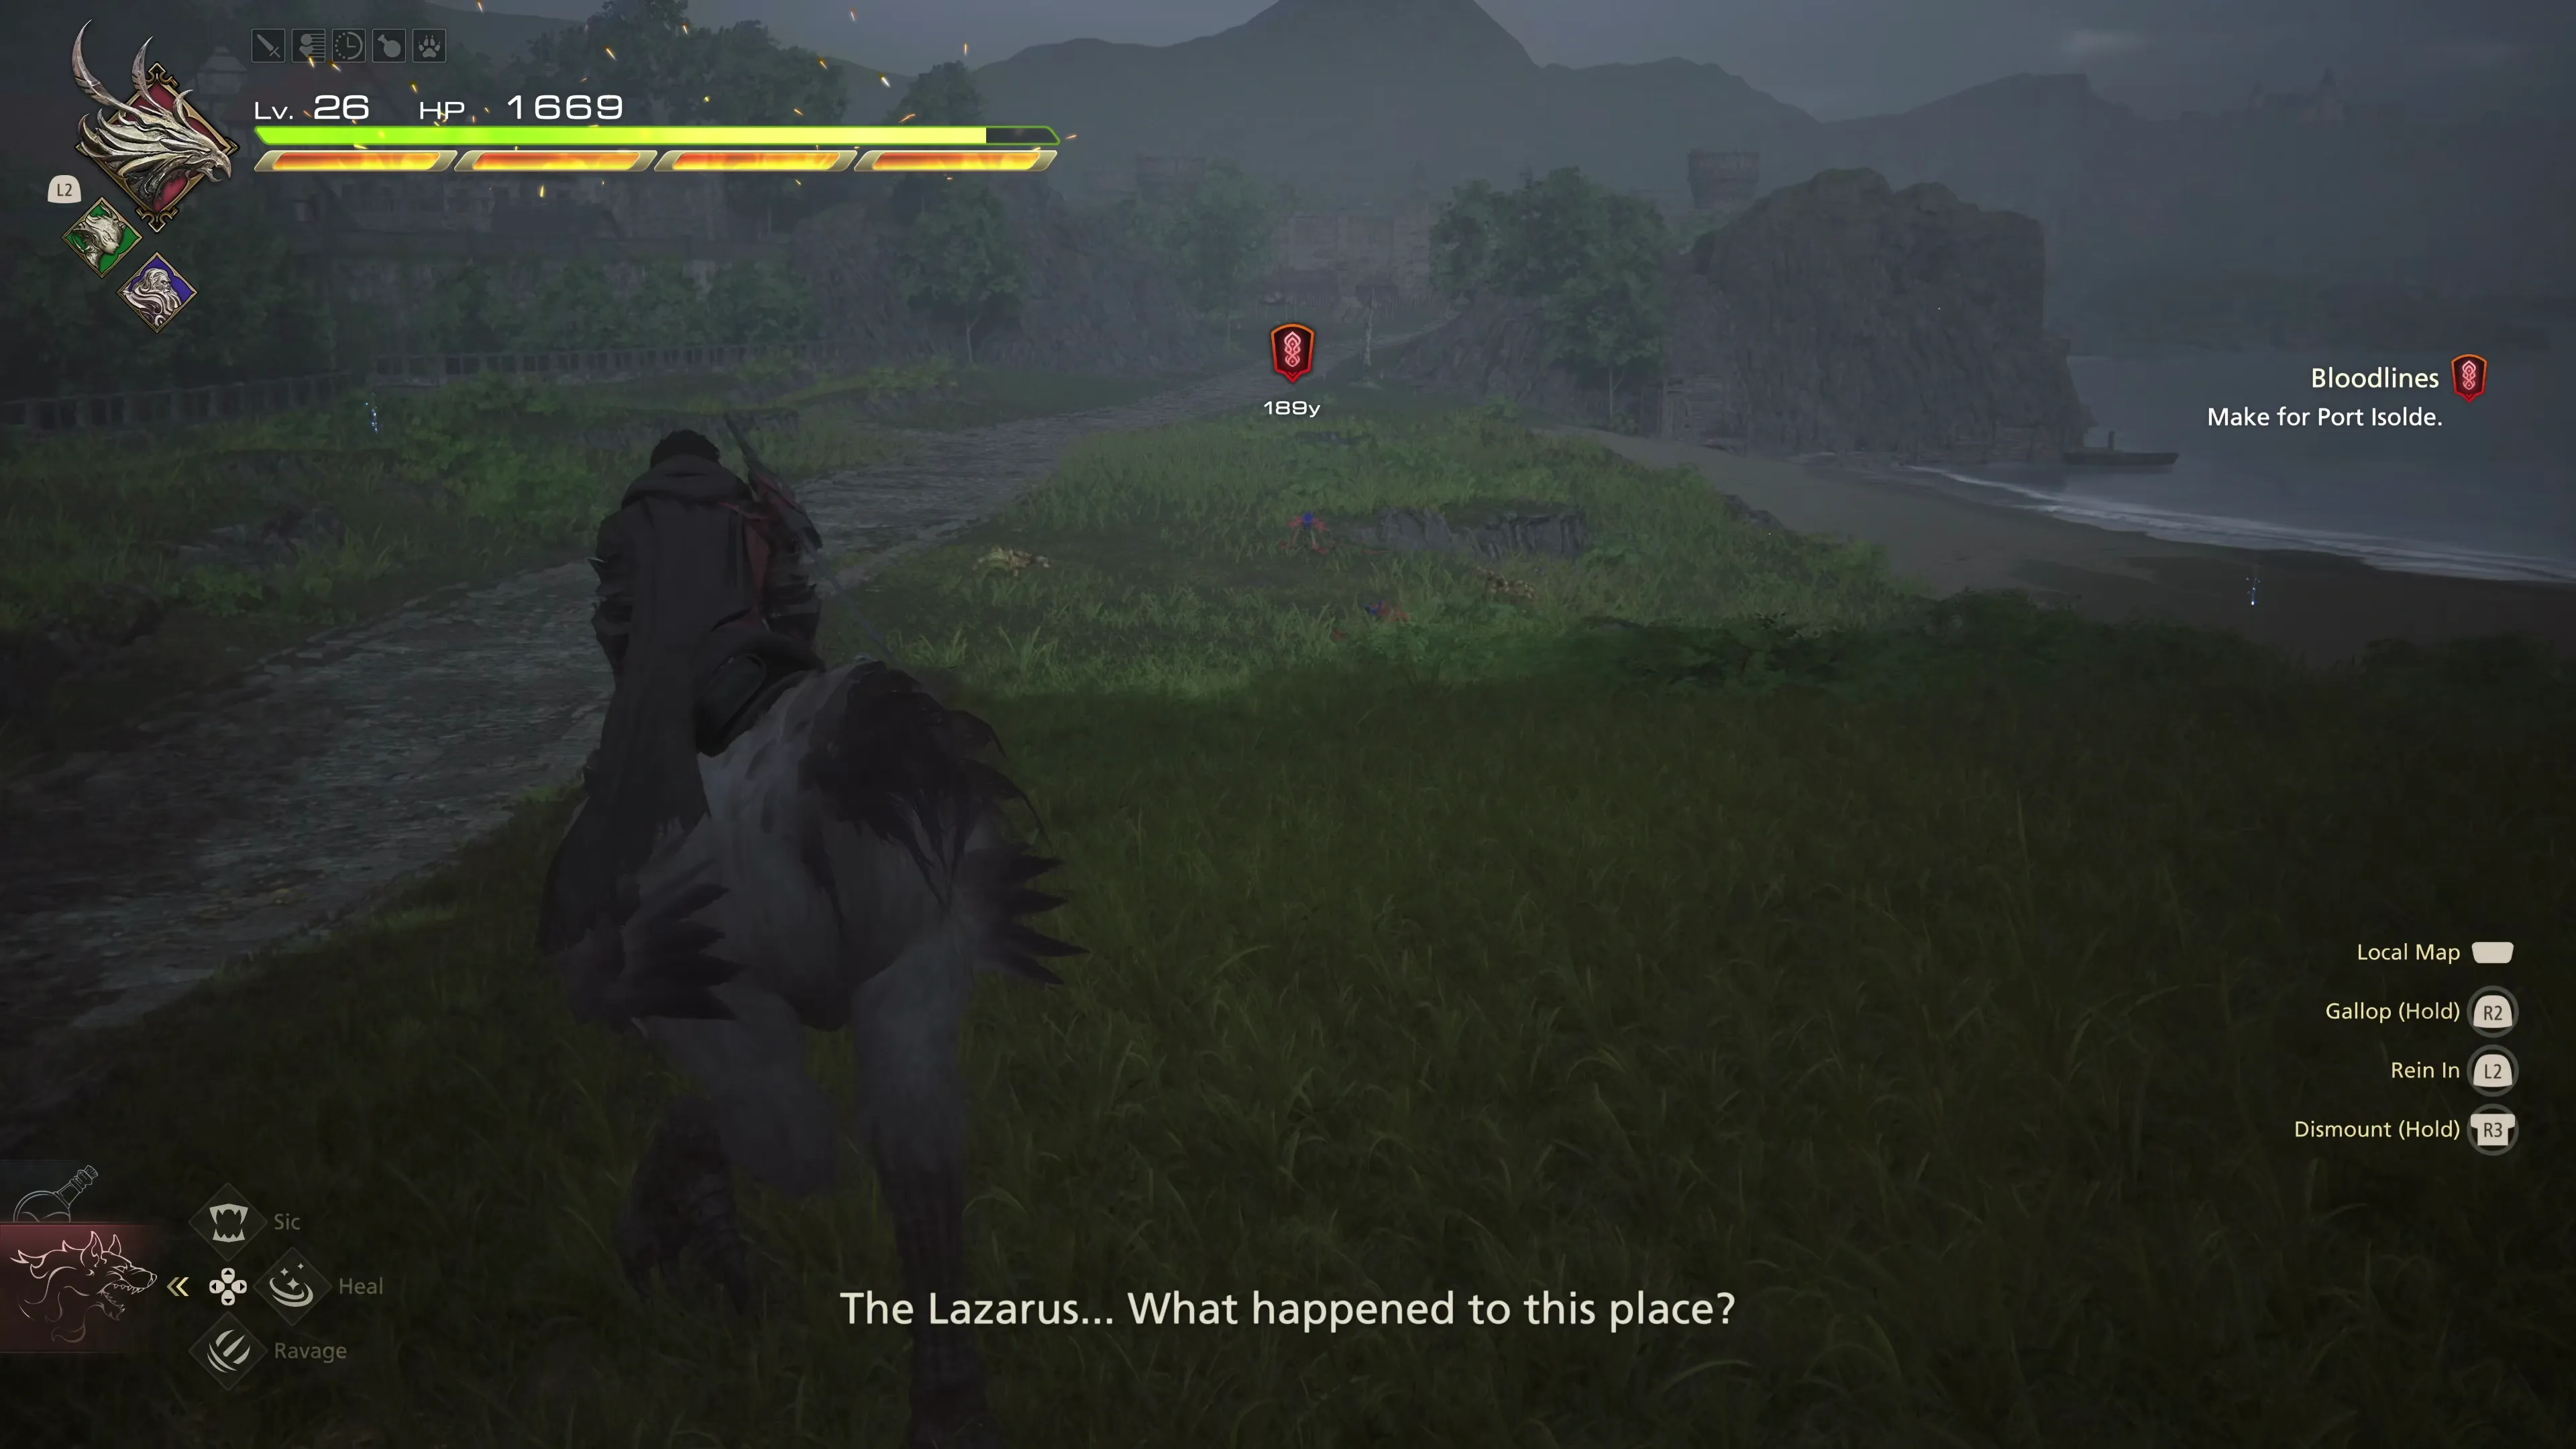
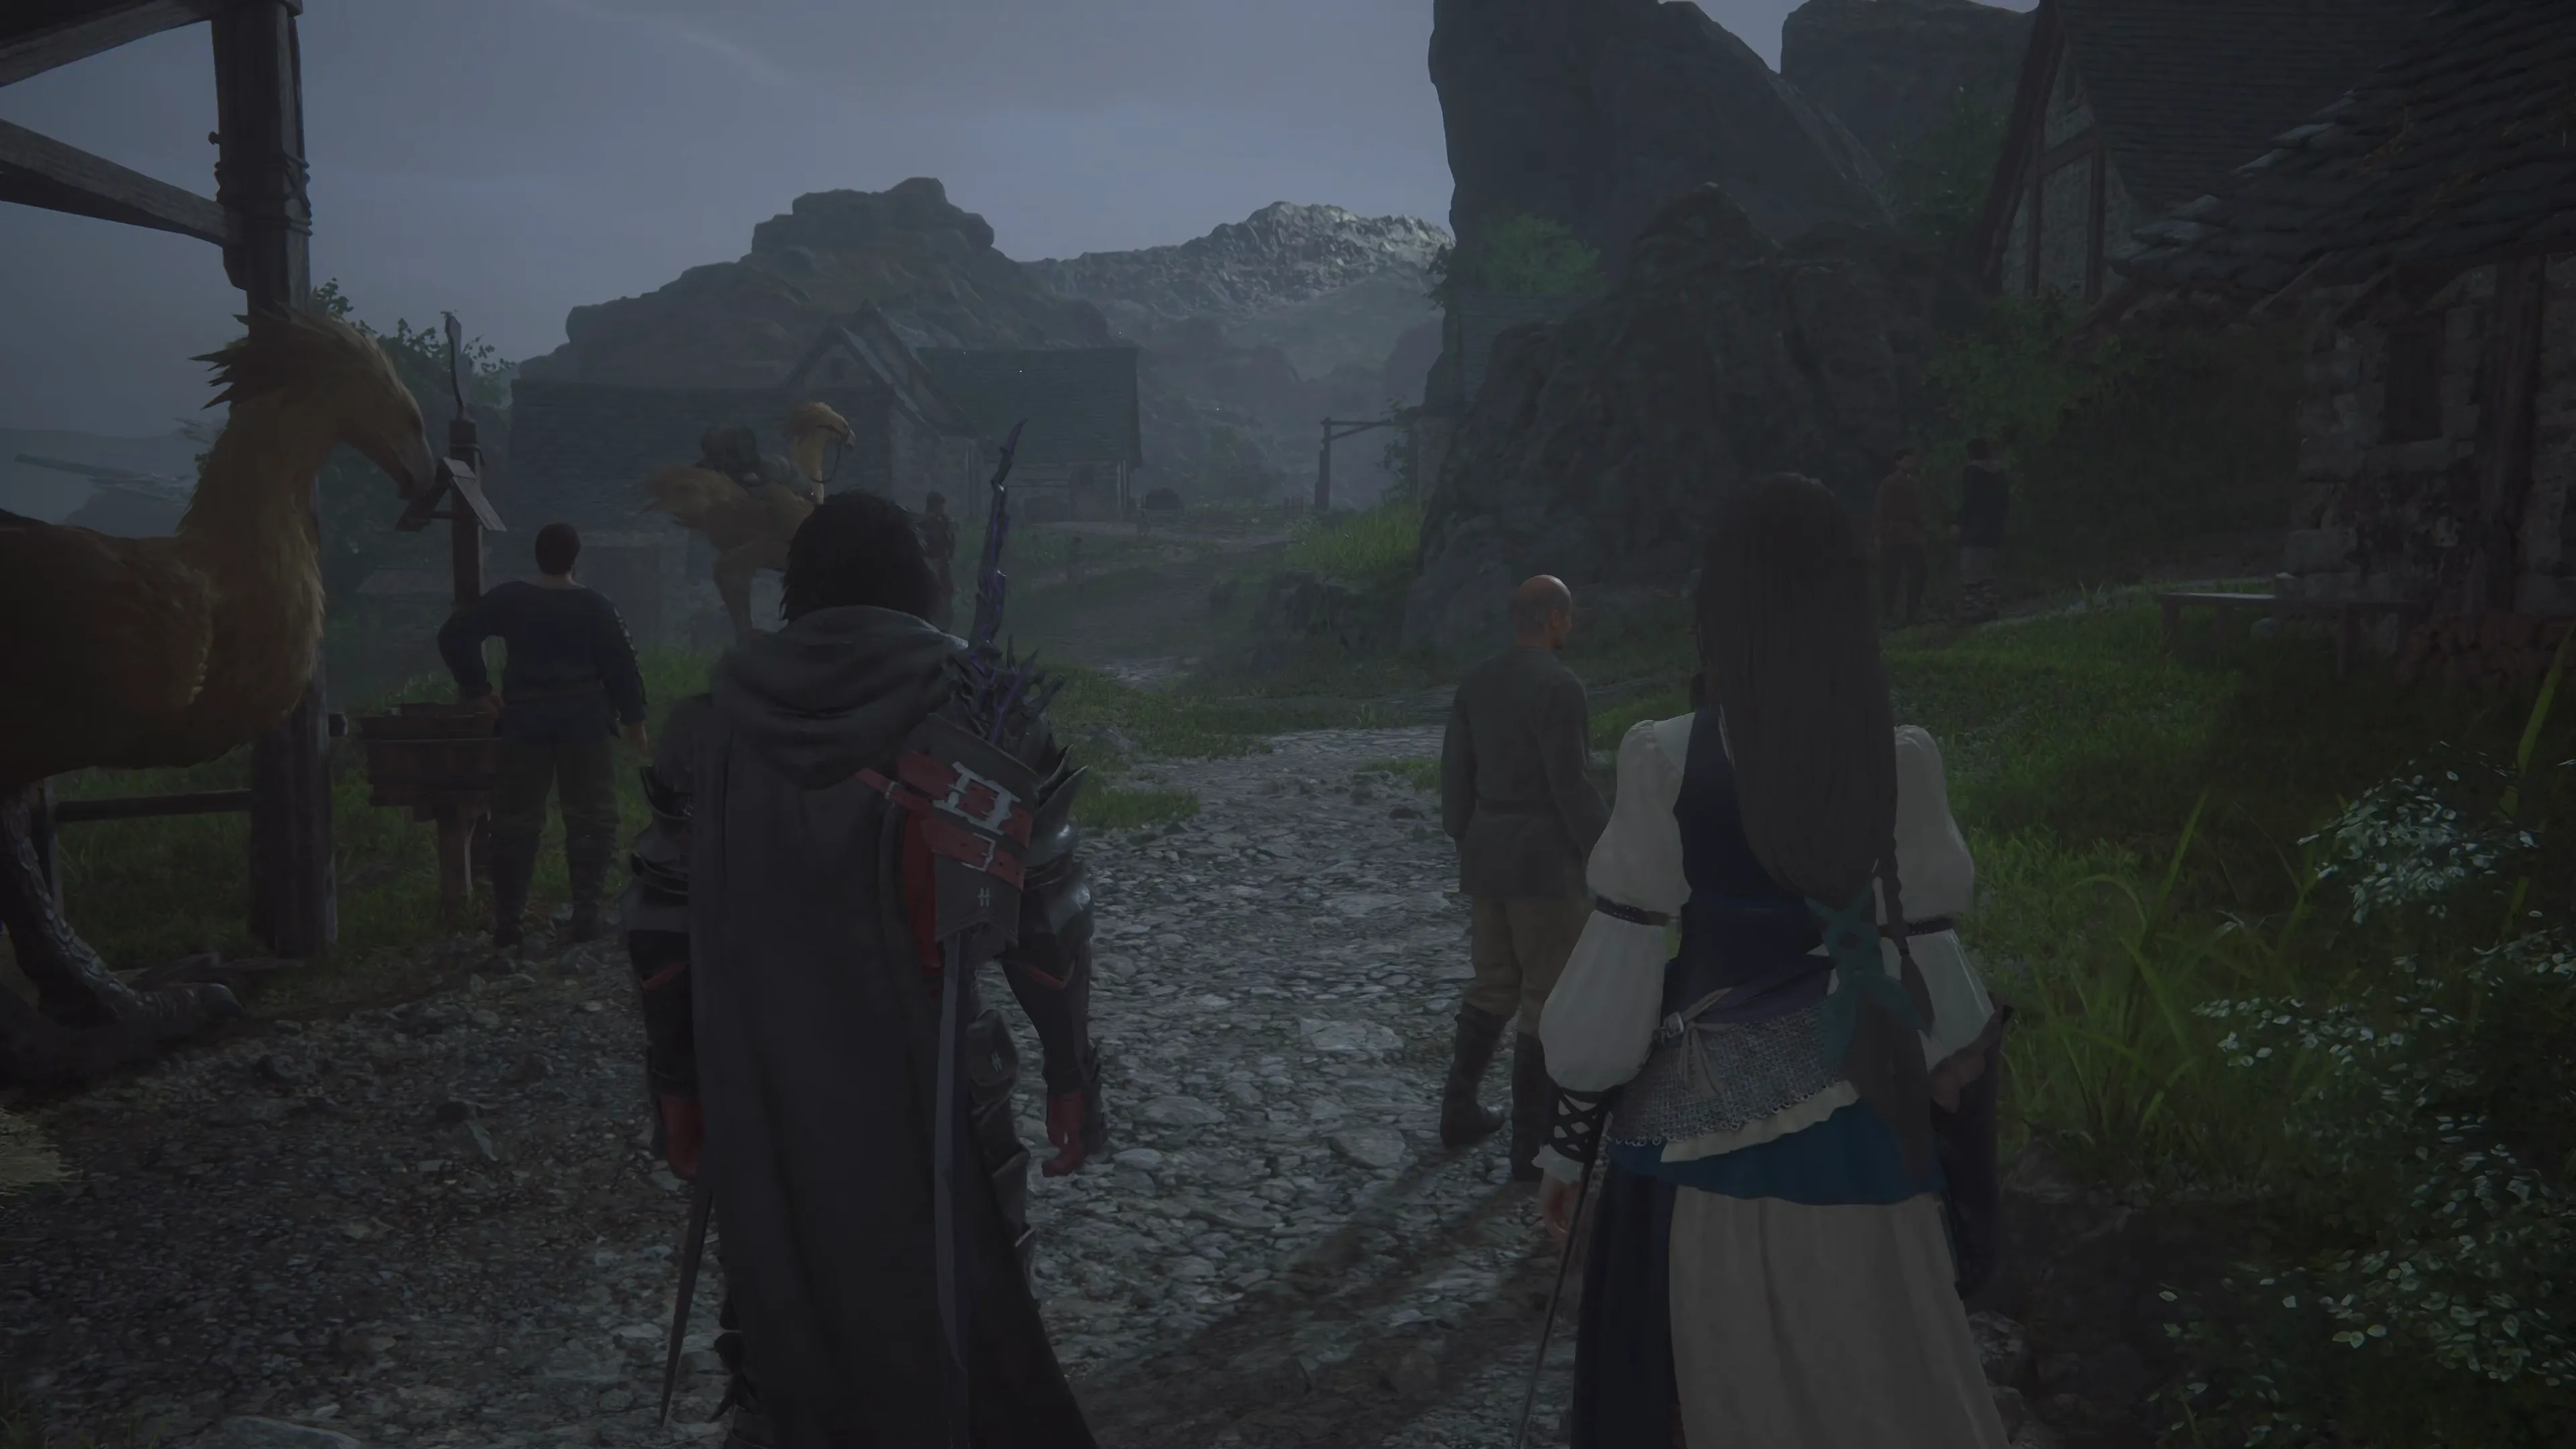
The only location that Clive and Jill can travel to after the previous Main Scenario Quest (“The Gathering Storm”) is the Hawk’s Cry Cliff. Travel to the ![]() Obelisk now for a short cutscene. Before we travel to the nearby town of Amber, though, the rest of the world map has opened back up again, so we can go back and take care of those two new Hunts…
Obelisk now for a short cutscene. Before we travel to the nearby town of Amber, though, the rest of the world map has opened back up again, so we can go back and take care of those two new Hunts…
Notorious Mark / Hunt

“A trader coming by the way of Caer Norvent met with a troop of Cursebreakers traveling in the opposite direction and warned them of a wicked, winged harpy on the road ahead—his eyes wild and flickering. Though the Cursebreakers saw nothing untoward on their own journey through their pass, the sound of cackling laughter from the trees ensured that they kept up a brisk pace.”
Notorious Mark / Hunt
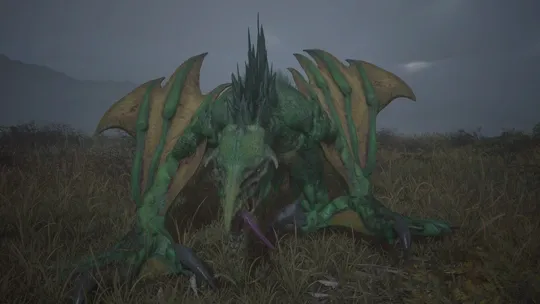
“Reports have been received of a wild aevis of striking size making its nest atop the hill adjacent to Eastpool. Though all efforts are being made not to rouse the beast’s ire, it is surely but a matter of time before it needs to feed. I hereby petition any brave volunteers to march to the northern border, that we might cut the fiend down before it makes trenchers of the nearby villages.”
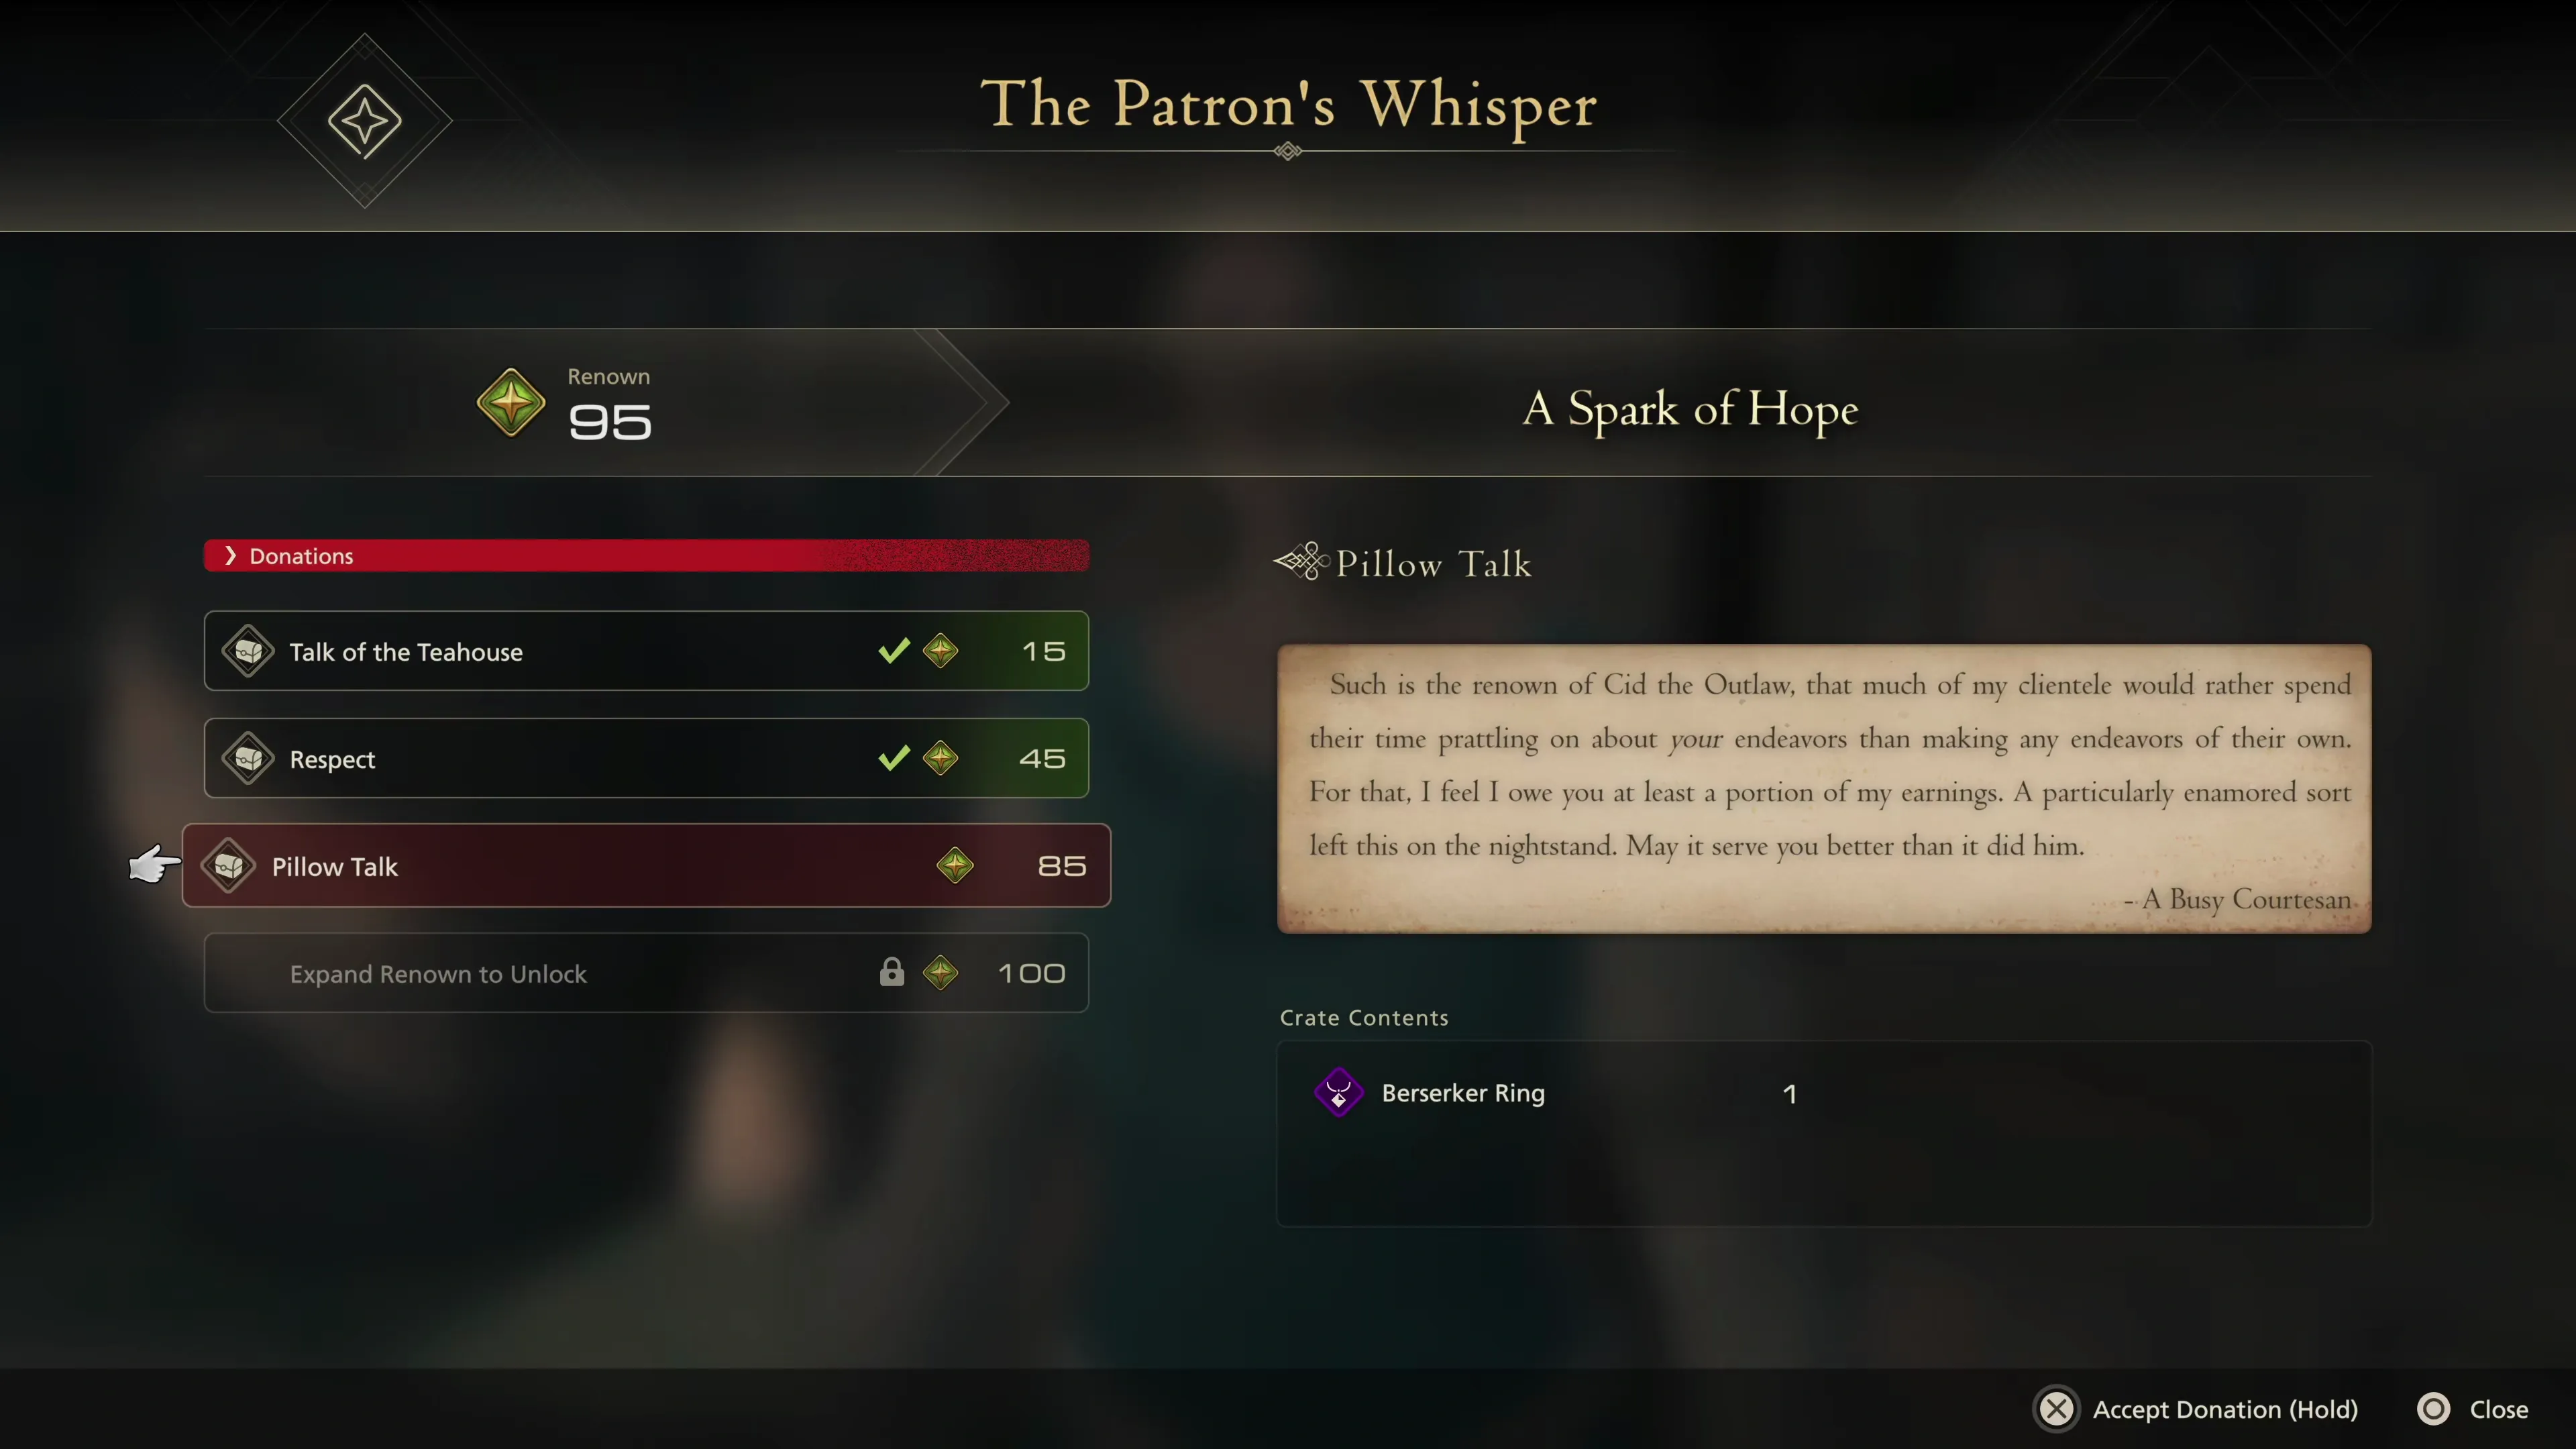
Completing these two Hunts, along with all of the Optional Quests in the Hideaway up to this point (starting with ![]() Caulk & Bawl), you should have a total of 95
Caulk & Bawl), you should have a total of 95 ![]() Renown. This is enough to get your next donation from
Renown. This is enough to get your next donation from ![]() The Patron’s Whisper:
The Patron’s Whisper:
| Renown | Crate Contents | |
|---|---|---|
| 85 |
Helpful Hint
The ![]() Berserker Ring is an incredibly powerful accessory, and it is surprising how early in the game you can get such an important item. According to the in-game description, this ring “Temporarily increases attack proficiency with each precision dodge.” So what does it do?
Berserker Ring is an incredibly powerful accessory, and it is surprising how early in the game you can get such an important item. According to the in-game description, this ring “Temporarily increases attack proficiency with each precision dodge.” So what does it do?
If you correctly time and dodge an enemy’s attack with the ![]()
![]()
![]() button, a short dodge animation will play of Clive dodging away and sliding out of the attack. After the animation, you can press the
button, a short dodge animation will play of Clive dodging away and sliding out of the attack. After the animation, you can press the ![]()
![]()
![]() button to start attacking the enemy, and Clive will immediately jump back to melee range. Clive will now have a sword lit up with fire for the next ~10 seconds of the fight, causing his regular attacks to do more damage.
button to start attacking the enemy, and Clive will immediately jump back to melee range. Clive will now have a sword lit up with fire for the next ~10 seconds of the fight, causing his regular attacks to do more damage.
It can take some practice to get the timing down and to get used to the split seconds of added time when you trigger a “Precision Dodge.” Still, this accessory helps many players initiate a dodge more easily and deal more damage quickly.
Now that we’ve completed the Hunts and Optional Quests, we can head back to the Hawk’s Cry Cliff and continue with the story.
Hawk’s Cry Cliff
Use the ![]() Hawk’s Cry Cliff Obelisk to warp back to Rosaria. We have to make our way to the town of Amber. The town’s location is indicated on your map, but we now have two ways to get there, assuming you completed the quests. You can walk over or mount your
Hawk’s Cry Cliff Obelisk to warp back to Rosaria. We have to make our way to the town of Amber. The town’s location is indicated on your map, but we now have two ways to get there, assuming you completed the quests. You can walk over or mount your ![]() Chocobo, Ambrosia, using the
Chocobo, Ambrosia, using the ![]()
![]()
![]() button.
button.

 Amber
Amber
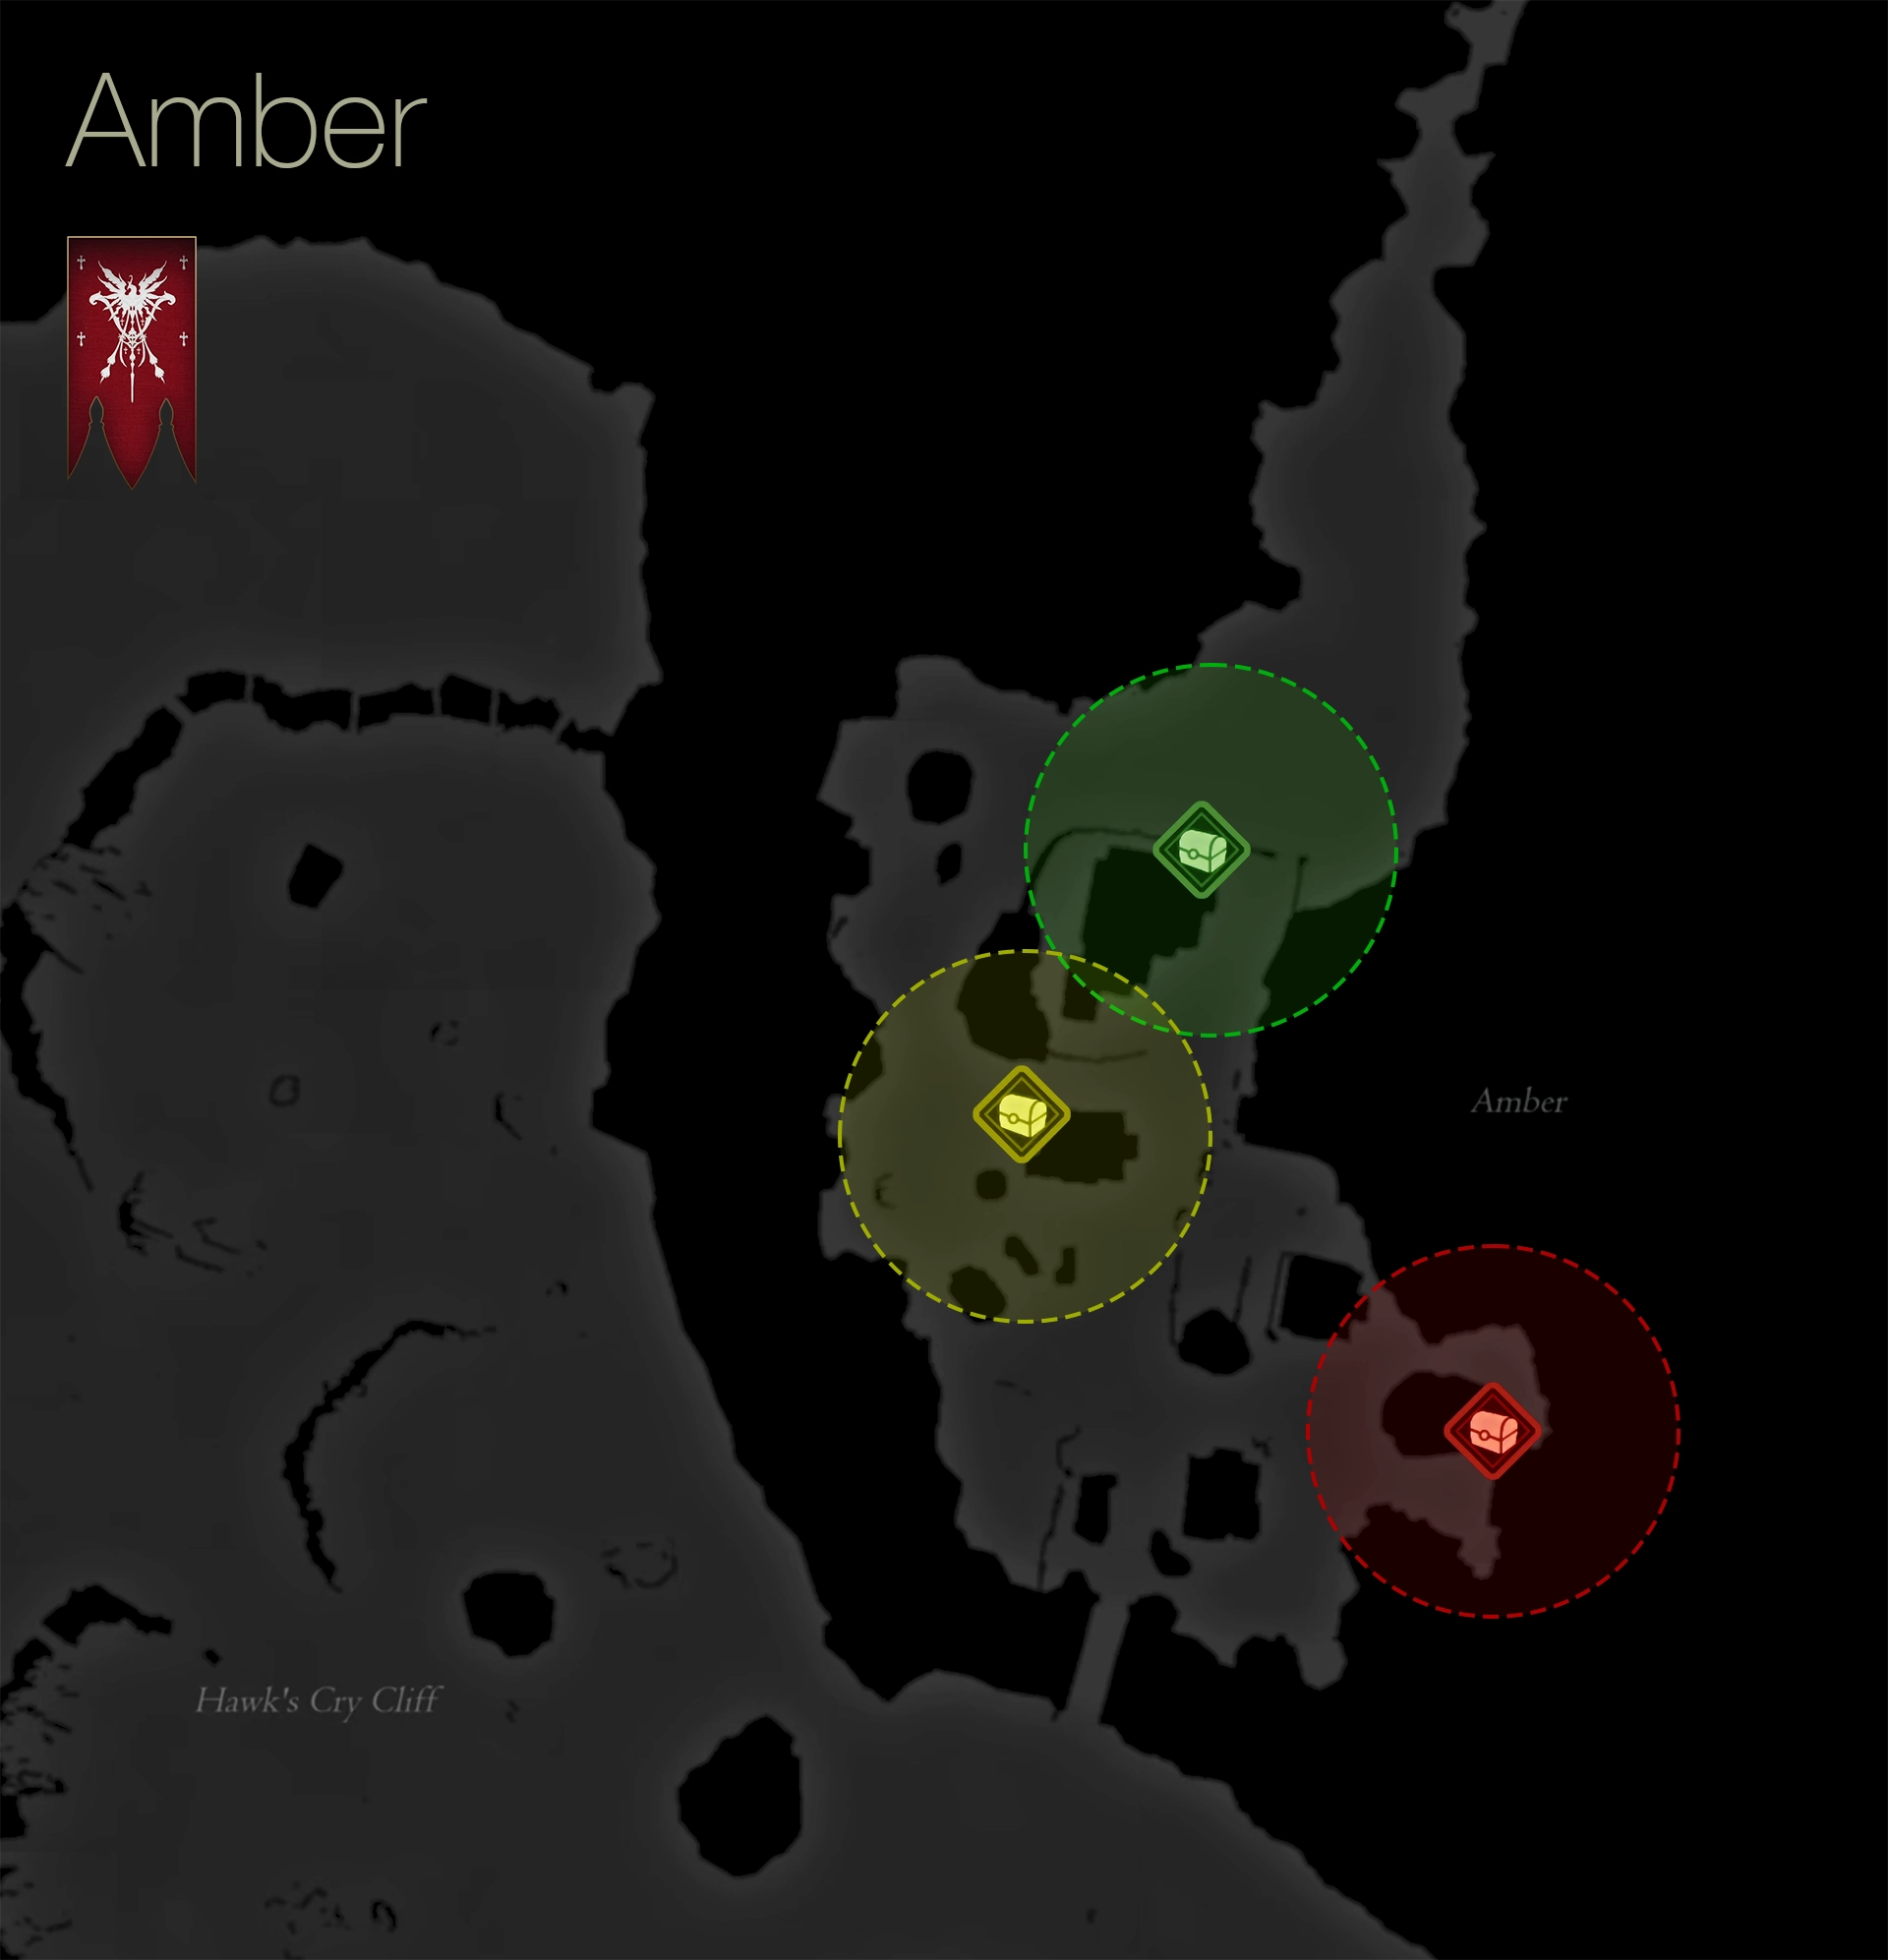
The next step of the Main Scenario Quest, after you arrive in Amber, involves speaking with several of the villagers. Before you do, though, make sure you grab the treasure coffers here in town:
| 1) | ||
|---|---|---|
| 2) | ||
| 3) |
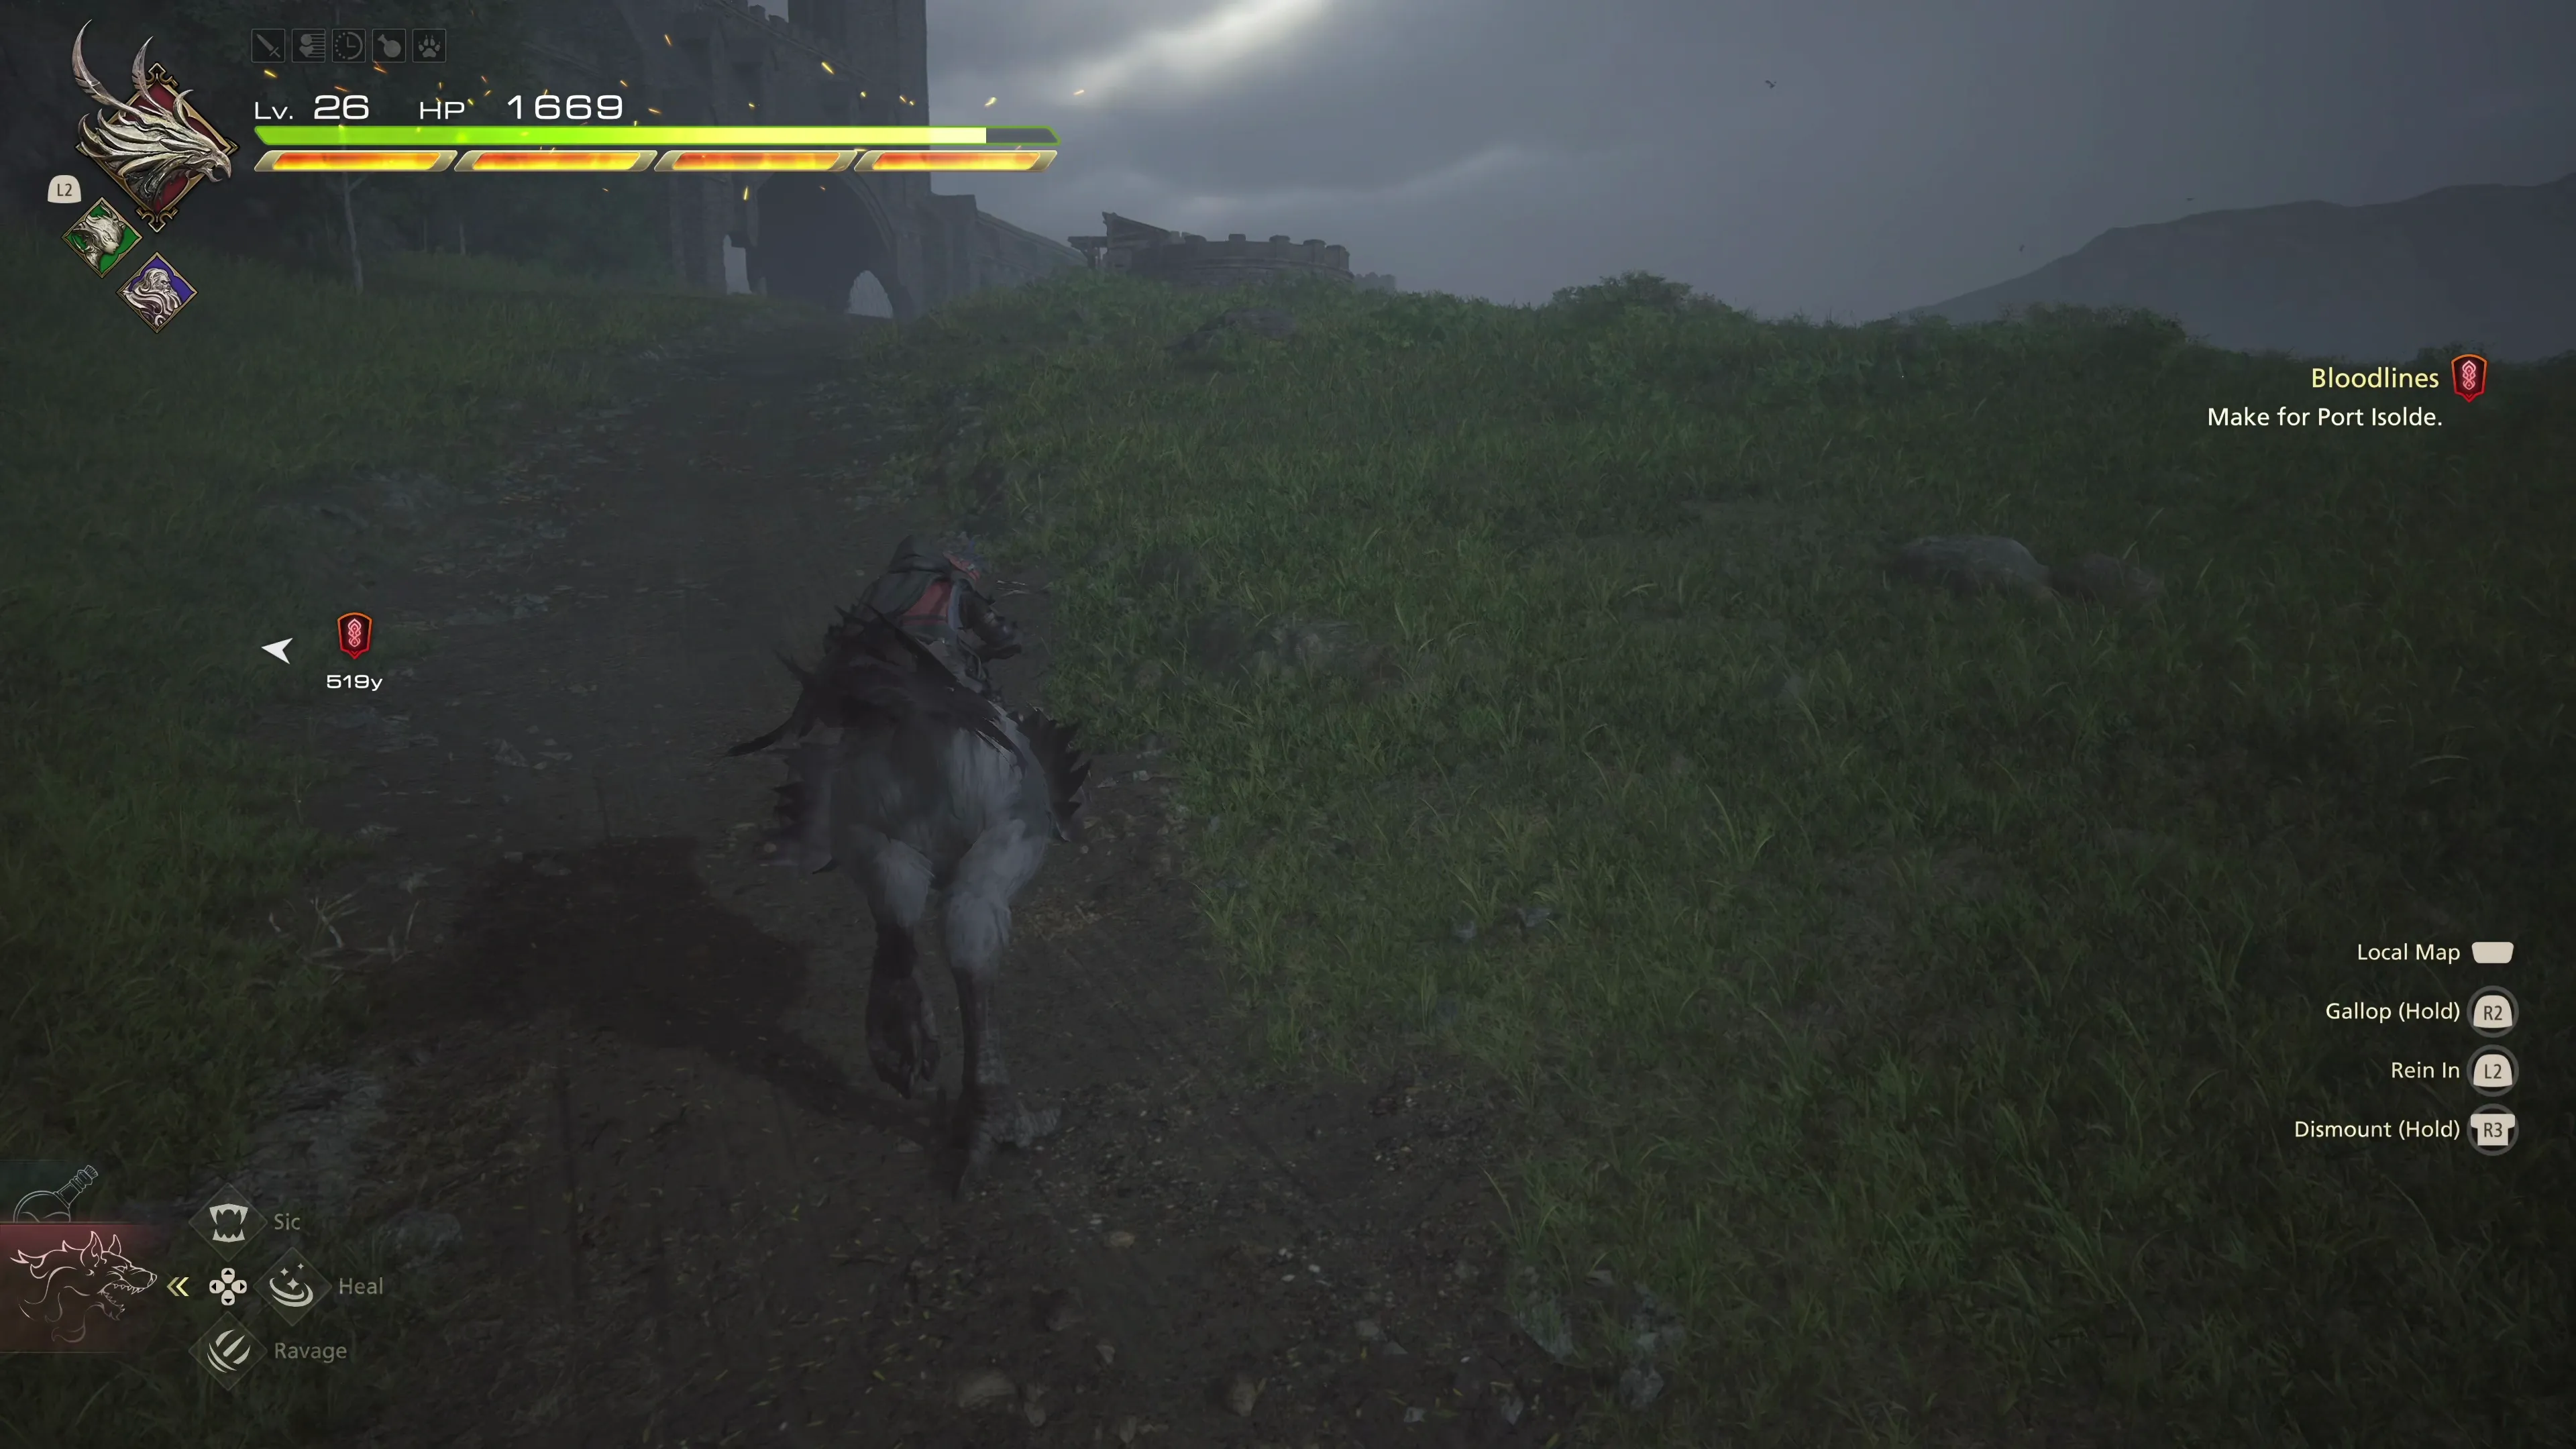
After you leave the town, it’ll be time to make for Port Isolde. Swap to your multi-target ![]() Eikonic Ability Set for the next section of the game.
Eikonic Ability Set for the next section of the game.
Shallop Rock
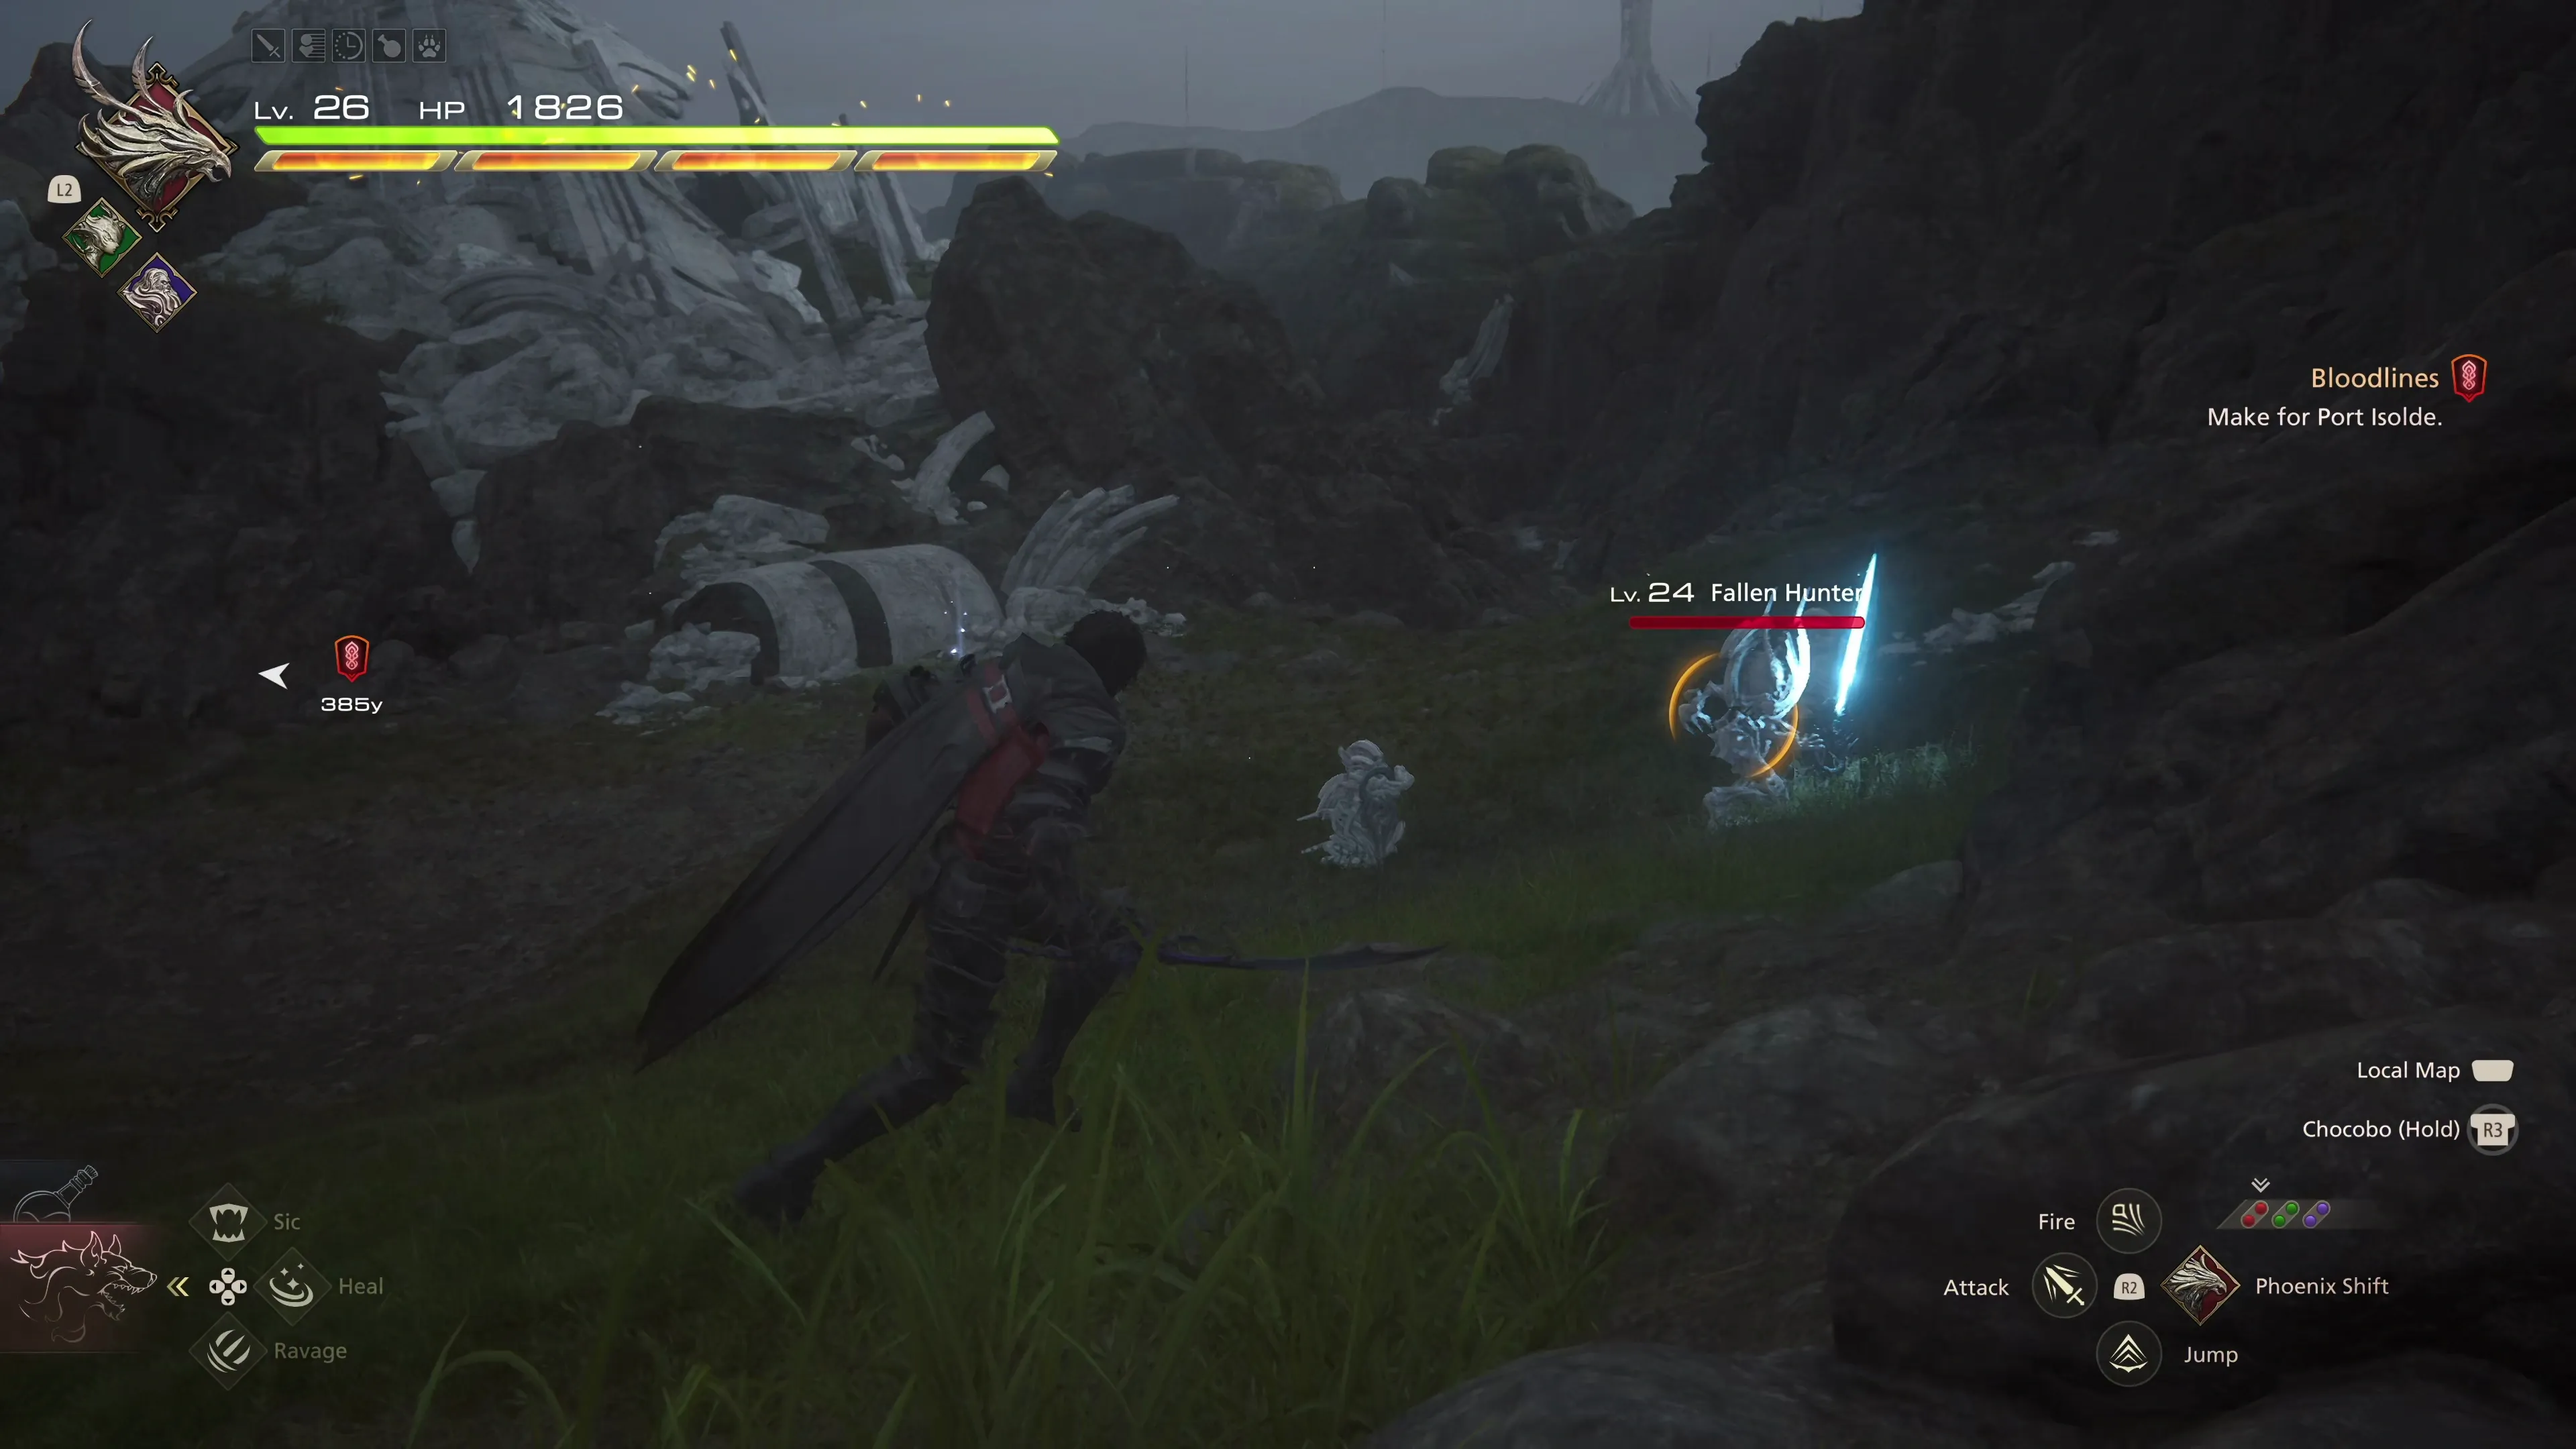
There are a couple more treasure coffers to pick up in this area, and the area south across the bridge, but there are also enemies that you’ll have to defeat to access them. You will face your first group of “Fallen Hunters” in this area, which Clive will mention are active now following your visit five years ago to the Apodytery.
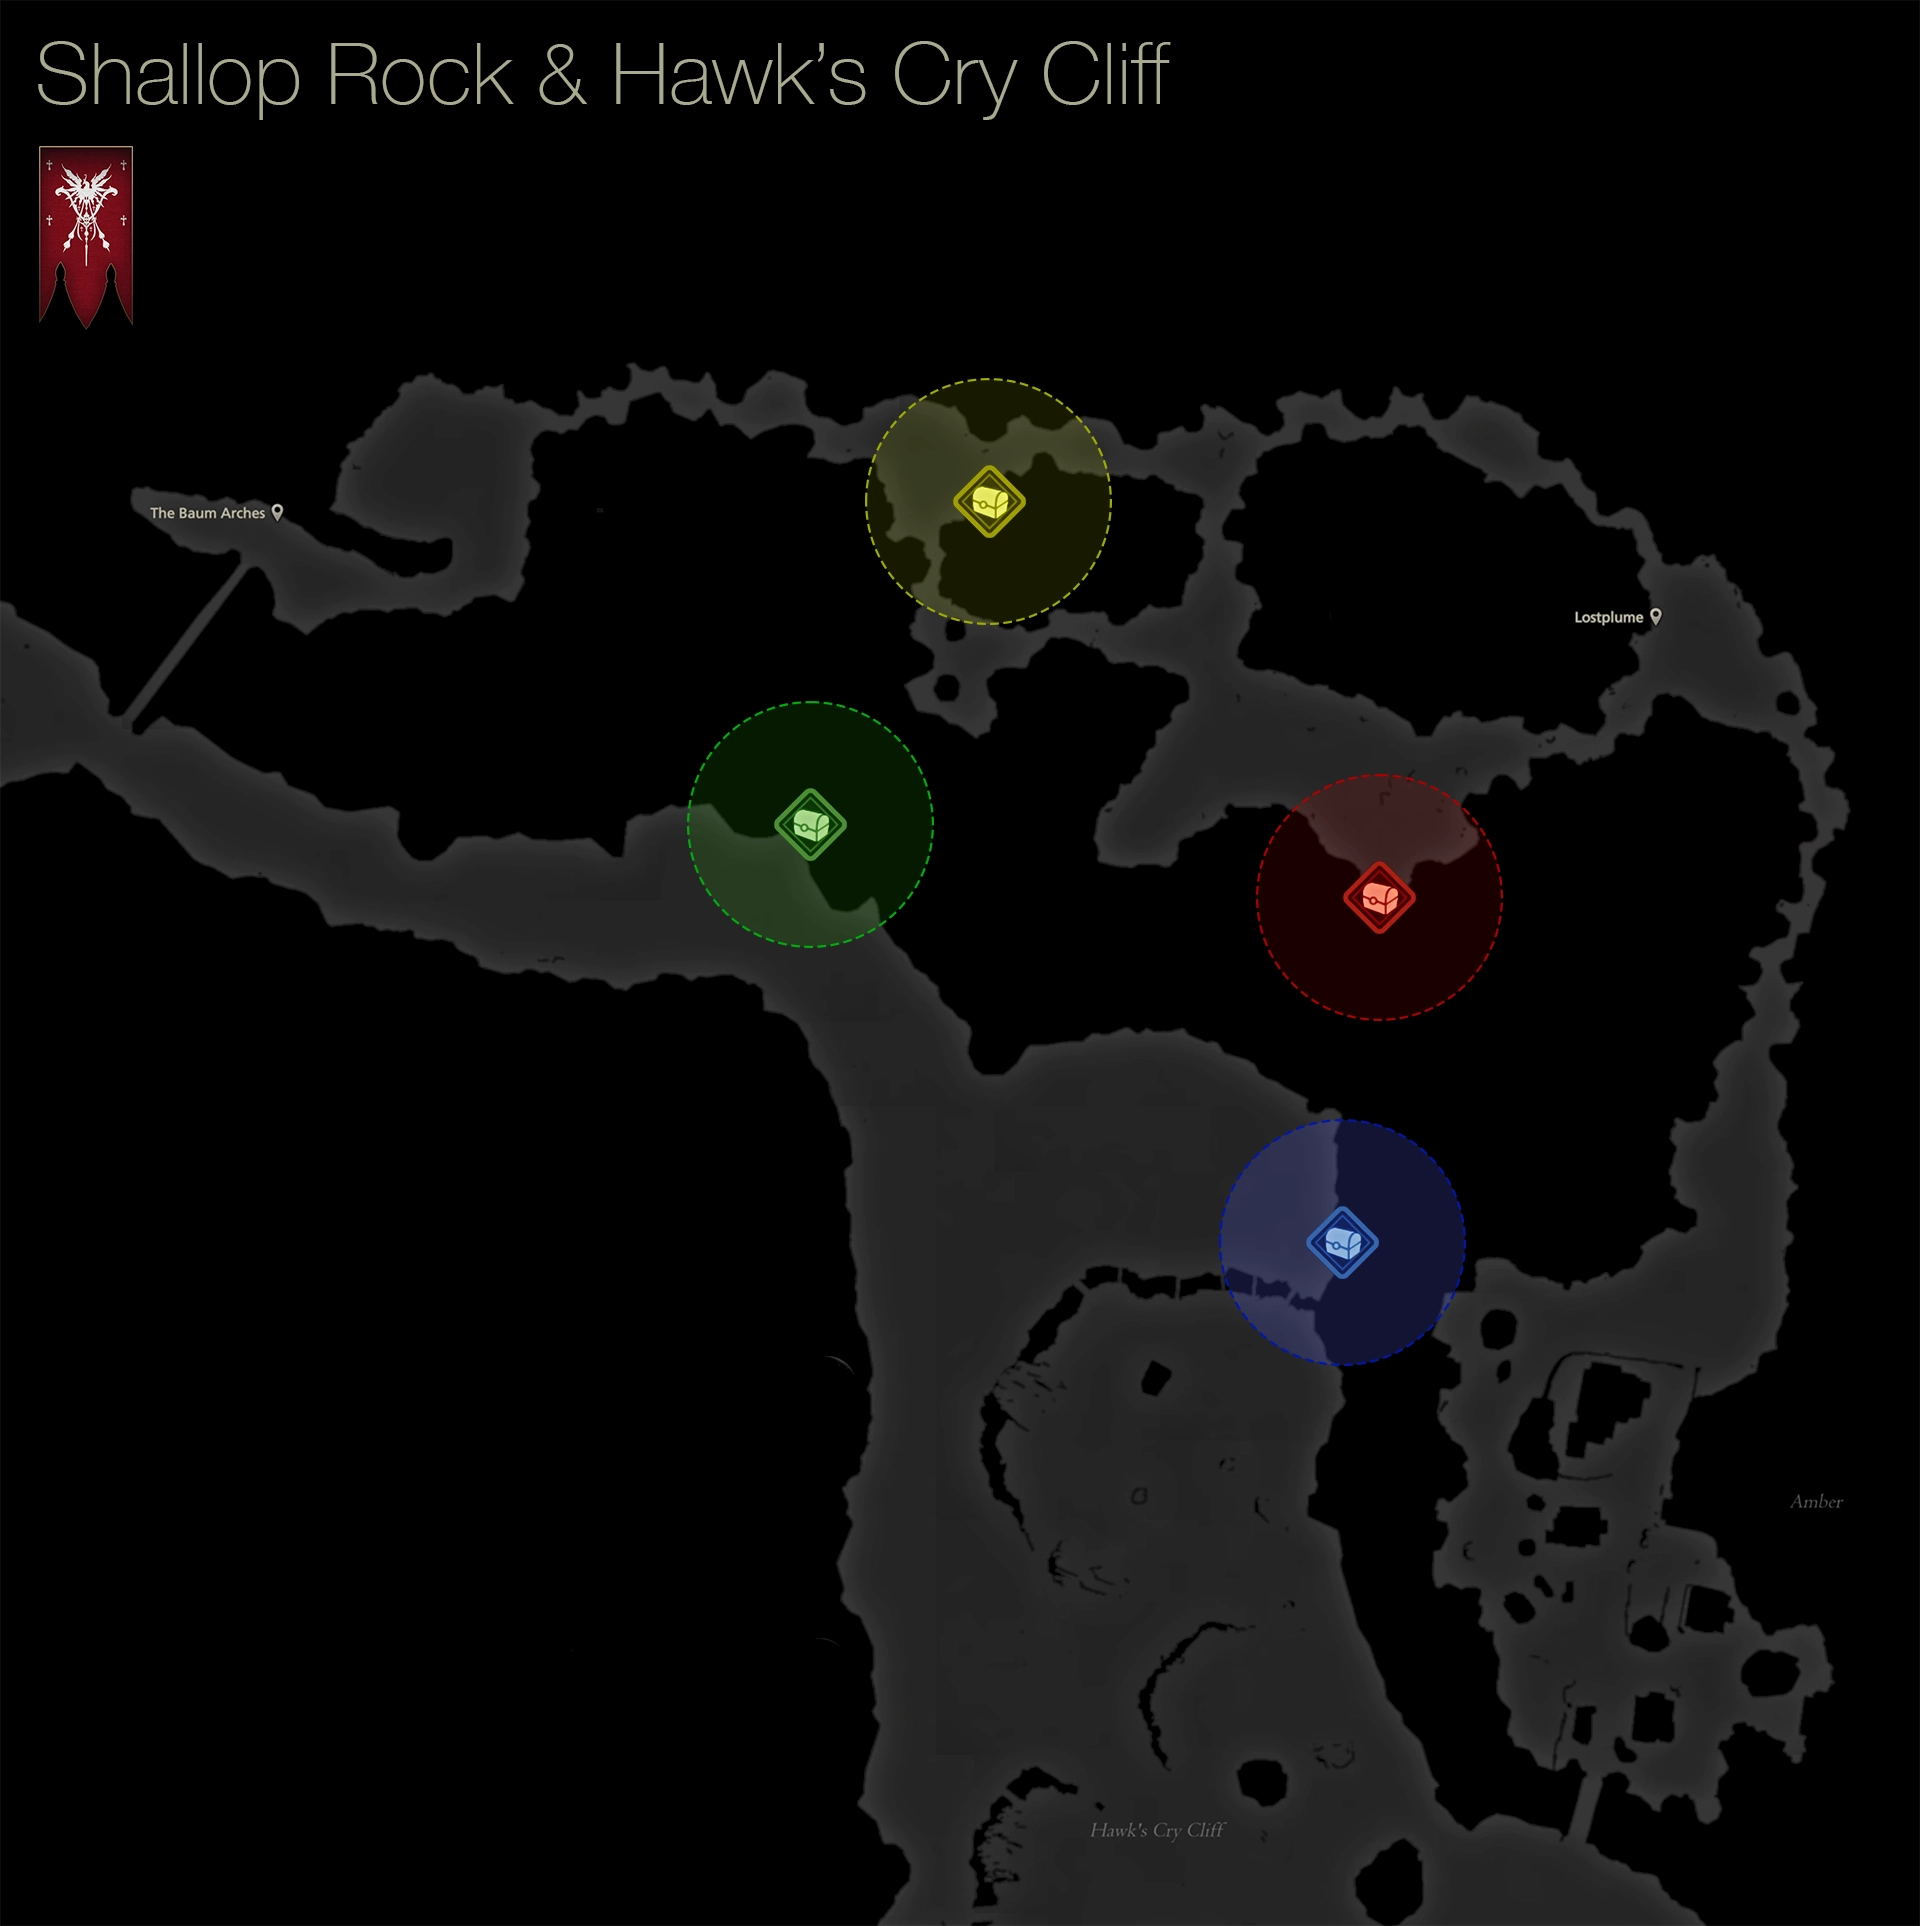
| 1) | ||
|---|---|---|
| 2) |
As you cross the bridge, a cutscene and a battle will take place involving a large group of Black Shield enemy soldiers. Defeat them all, focusing on the spellcasters first, just as you’ve always done. Before you head forward towards Auldhyl, turn around and grab the last two treasure coffers:
| 3) | ||
|---|---|---|
| 4) |
Head towards the Main Scenario Quest Marker ![]() after you have picked up all six of the treasure coffers in this area (you can come back if you missed them).
after you have picked up all six of the treasure coffers in this area (you can come back if you missed them).
The Auldhyl Docks
The ![]() Auldhyl Docks Obelisk will activate automatically as you enter town. There are three more treasure coffers to obtain in this area:
Auldhyl Docks Obelisk will activate automatically as you enter town. There are three more treasure coffers to obtain in this area:

| 1) | ||
|---|---|---|
| 2) | ||
| 3) |
Warning
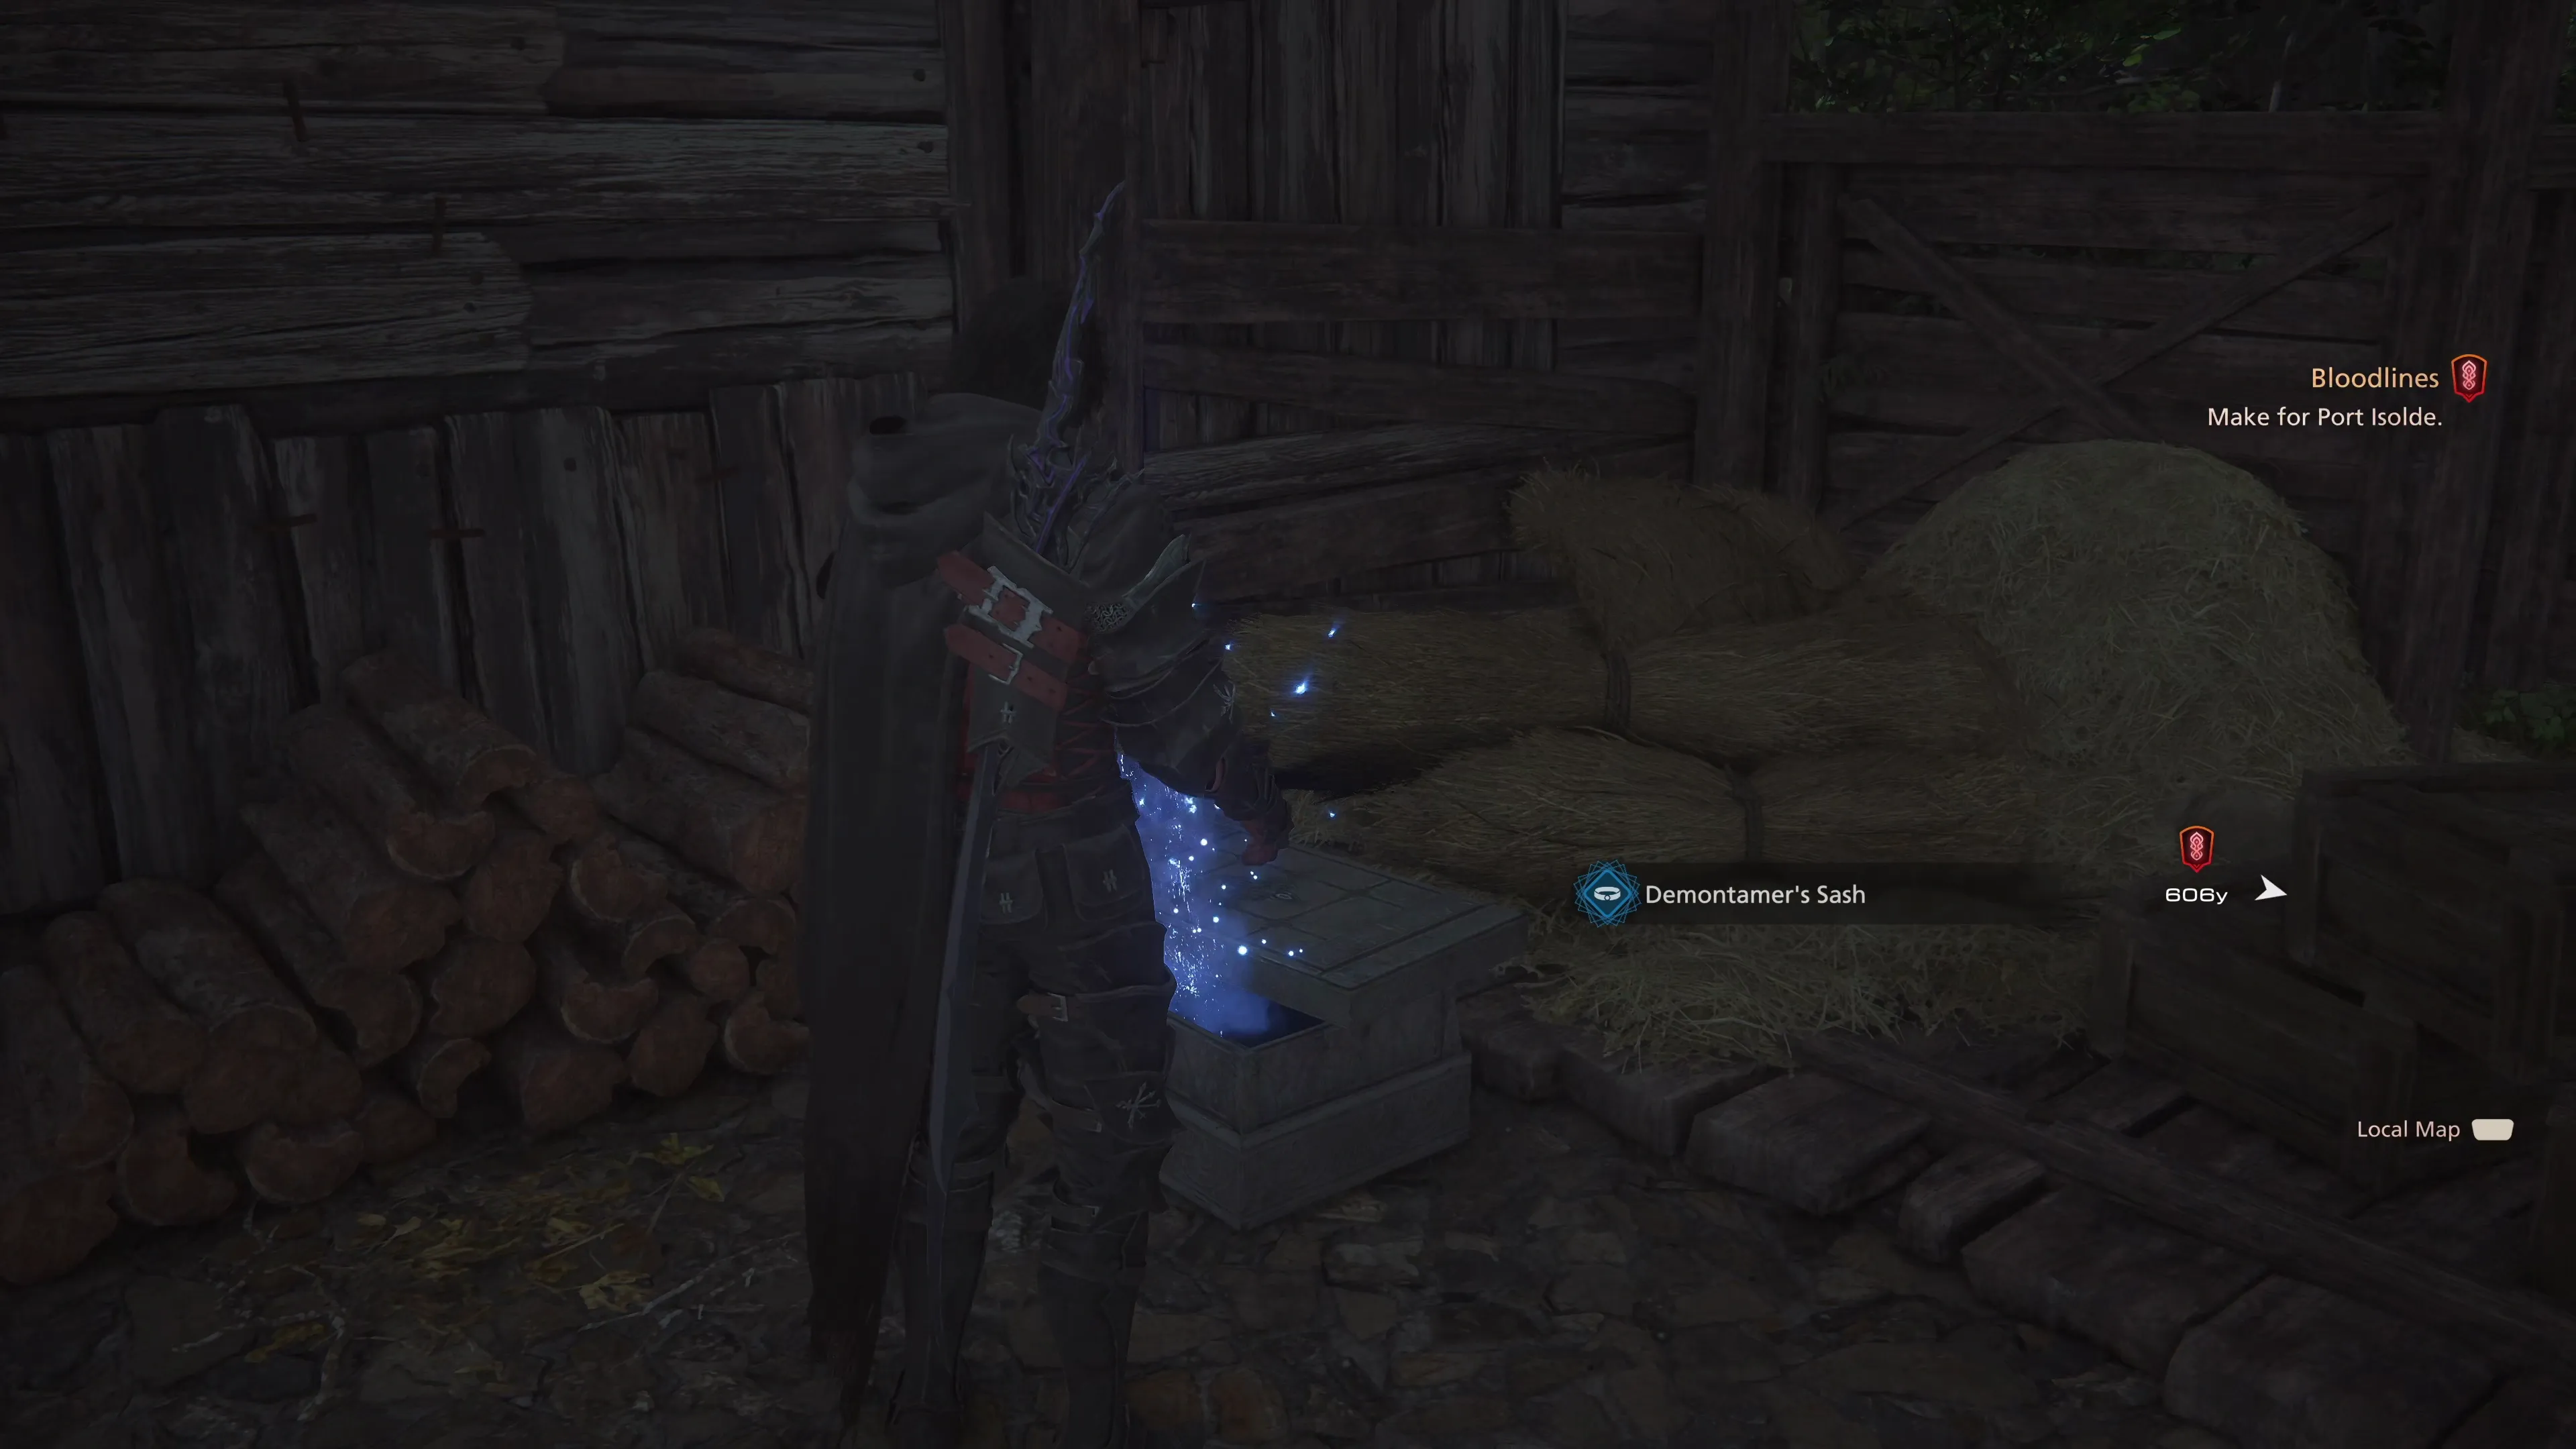
You may have noticed that you picked up a second copy of the ![]() Demontamer’s Sash item, which is an item you already have, but what about the Armguards?
Demontamer’s Sash item, which is an item you already have, but what about the Armguards?
It seems as though the game’s programmers accidentally added the Demontamer’s Sash item twice instead of adding the matching Vambraces in this treasure coffer, which is the item you need. Many resources for Final Fantasy XVI across the web mention that the Vambraces are only available in New Game + Mode, but it turns out they fixed this issue in subsequent patches, and you’ll be able to get the Vambraces shortly. For now, though, just ignore the fact that you just picked up a second copy of an item you already have.
You can’t ride your Chocobo in town, but exit out the back, and you can continue riding for a short distance until you get close enough to Bewit Bridge. You’ll automatically be dismounted when you get close, but work your way through each of these areas and make sure you grab all three treasure coffers.
| 1) | ||
|---|---|---|
| 2) | ||
| 3) |
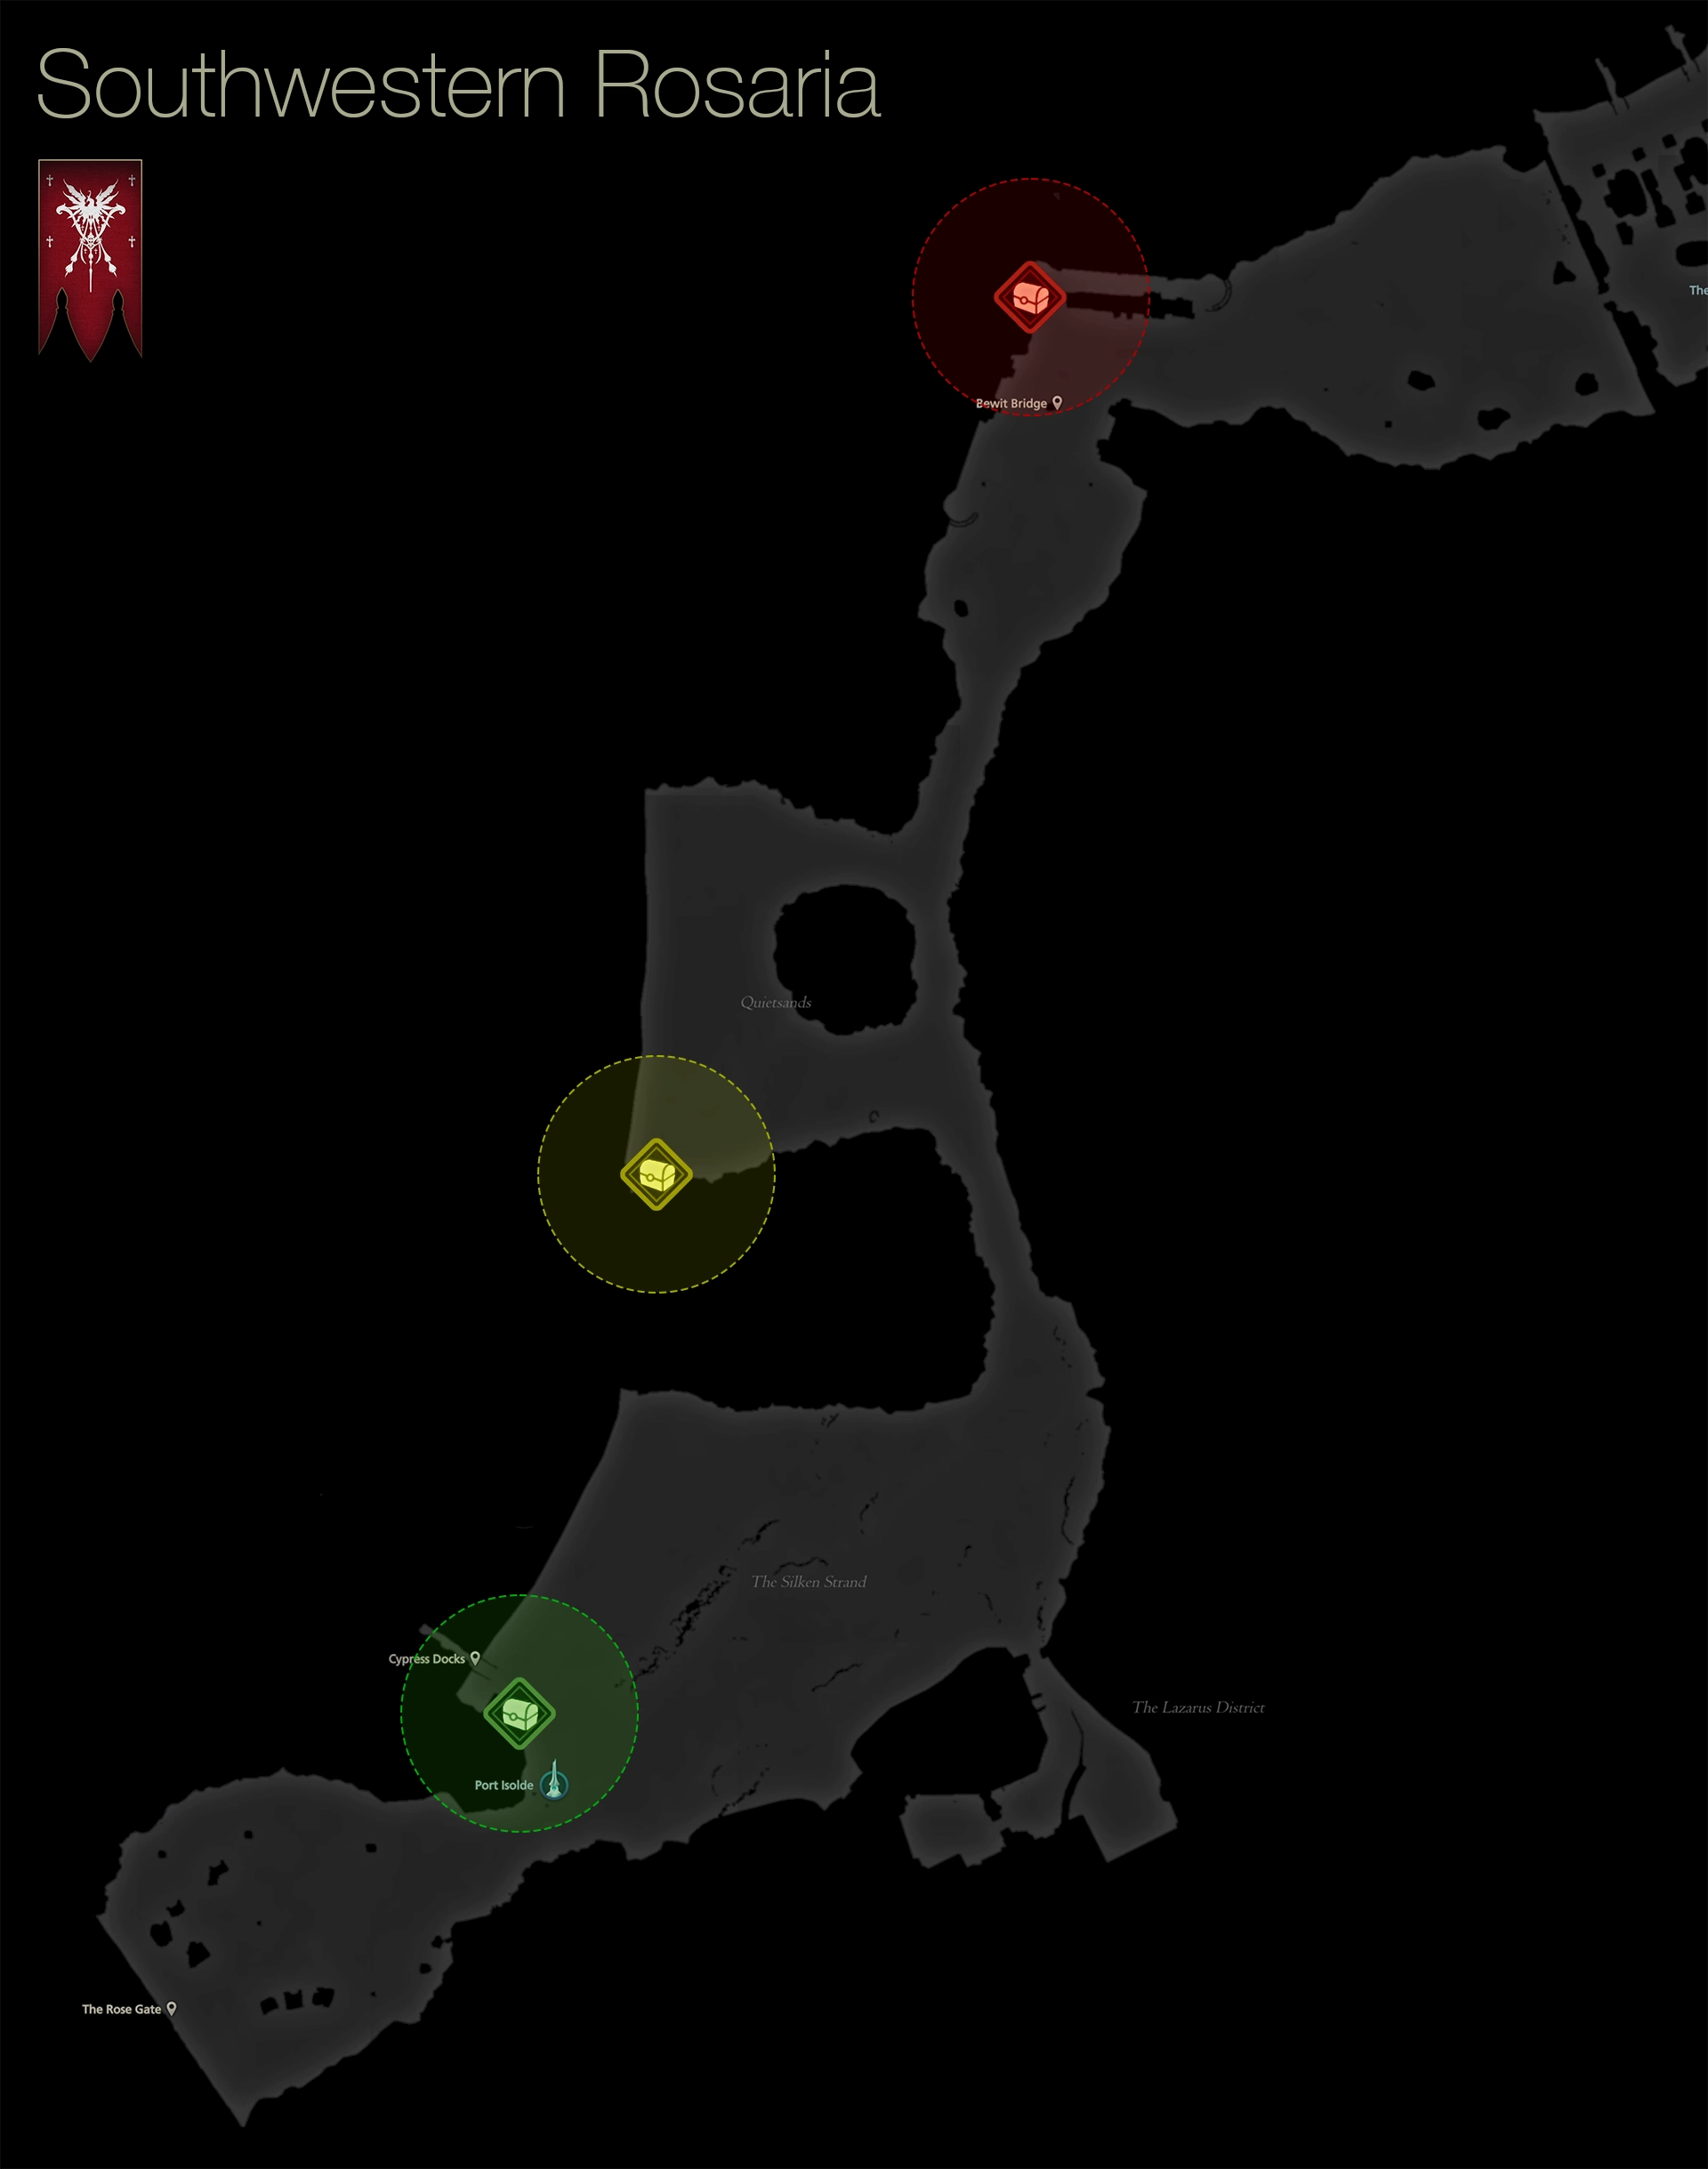
Your destination is Port Isolde in the southwestern section of “The Silken Strand.” Your next quest is called “Black Light Burns.”