
Junon
You will arrive in an area listed as the “Junon Area” when you exit the Mythril Mines. There are two optional side quests that you can complete in the Junon area.
The items and rewards you receive for completing the Fort Condor side quests and missions throughout the game, while helpful, are negligible and are certainly not required to complete the game. The reward for completing the Fort Condor side quest now, on your way to Junon, is a ![]() Magic Comb weapon for Red XIII.
Magic Comb weapon for Red XIII.
There isn’t much point to completing the Fort Condor mission at this point, but you should take this opportunity to obtain Yuffie, one of the two secret optional characters in Final Fantasy VII. Yuffie has a chance to appear during any battle in a forested area of the game.
The likelihood of her appearing depends on the forest, but the forest outside Junon only has a 12.5% likelihood that she will appear when the battle begins, so you have to be patient. It could take many tries!
Secret Characters
The first optional secret character that you can obtain. You will encounter Yuffie randomly in the forested areas of the game starting with the one outside the Junon Area.
Remember to place her in the back row if you decide to add her to your main party.
Side Quests
Dialog choices in this part of the game will impact the Gold Saucer Date scene.
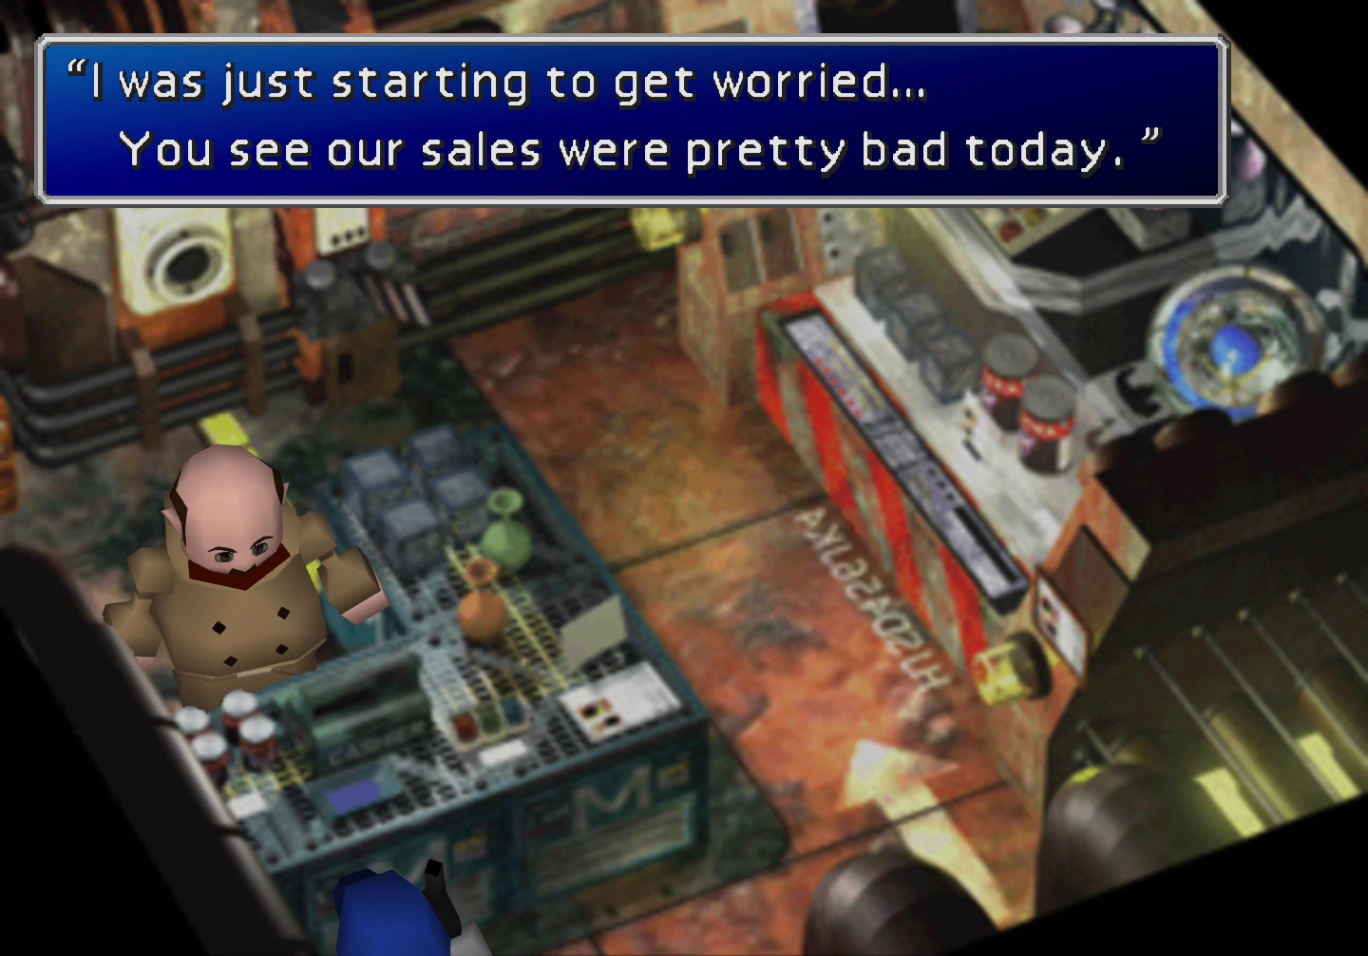
When you first talk to the old man in Fort Condor, he will ask the team to help him protect the condor from Shinra:
| Choice | Result |
|---|---|
| “I guess so” | + 5 to Barret if he is in your party + 3 to Aeris if she is in your party + 3 to Tifa if she is in your party + 2 to Yuffie if she is in your party |
| “Not interested” | − 5 to Barret if he is in your party − 3 to Aeris if she is in your party − 3 to Tifa if she is in your party − 1 to Yuffie if she is in your party |

After the old man explains his situation, he will ask Cloud if the team will help fight:
| Choice | Result |
|---|---|
| “All right” | + 5 to Barret if he is in your party + 3 to Aeris if she is in your party + 3 to Tifa if she is in your party + 2 to Yuffie if she is in your party |
| “Not interested” | − 5 to Barret if he is in your party − 3 to Aeris if she is in your party − 3 to Tifa if she is in your party − 1 to Yuffie if she is in your party |
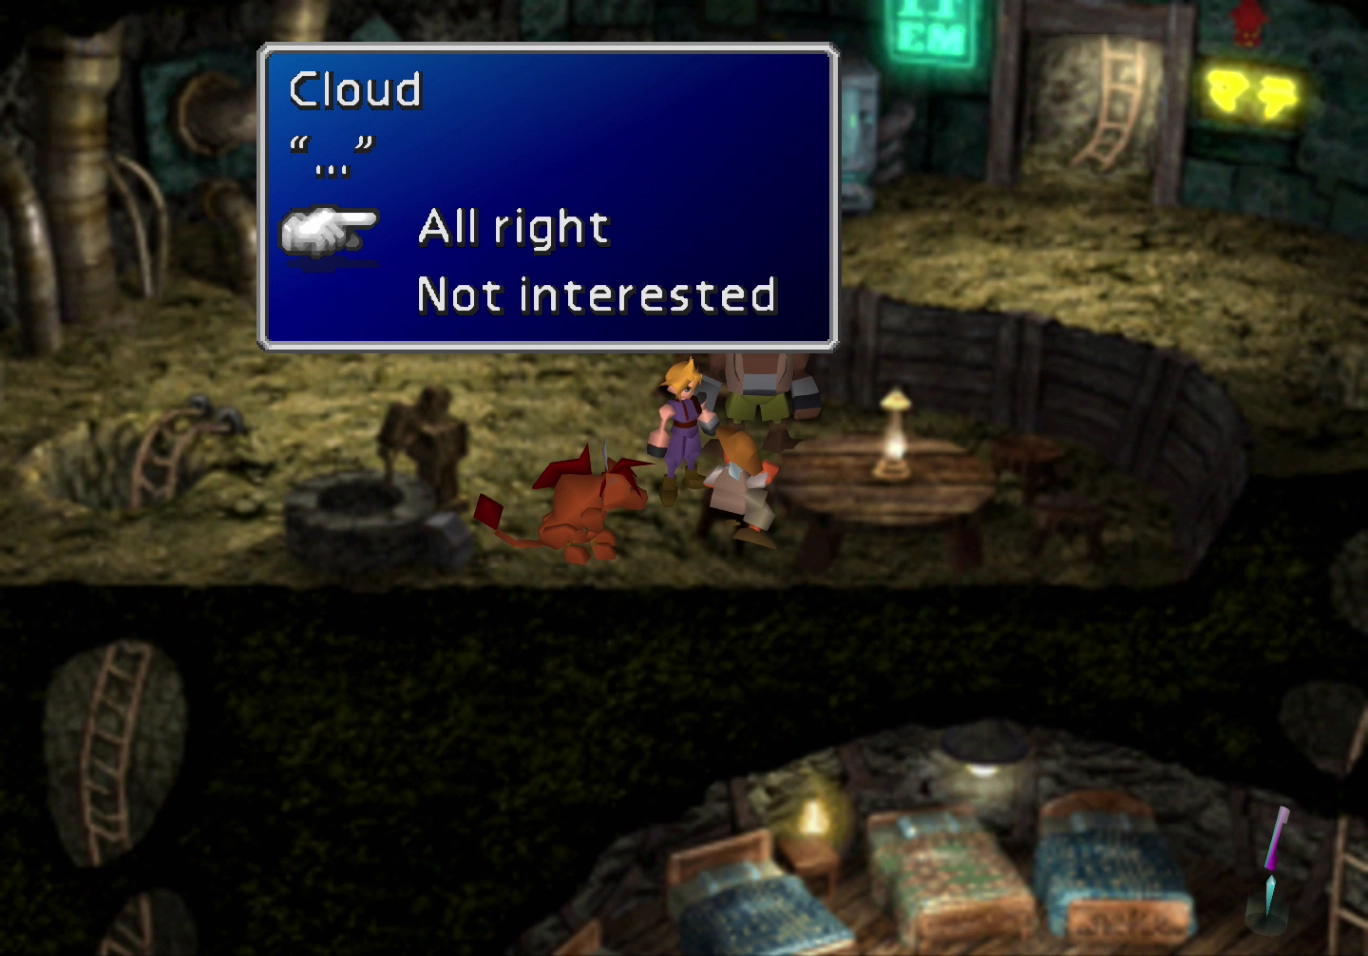
If you plan to obtain the  Best Bromance achievement/trophy, your best strategy in answering these questions is to remove Tifa and Aeris from your party before you speak to the old man. You can leave before actually engaging in the mini-game at Fort Condor.
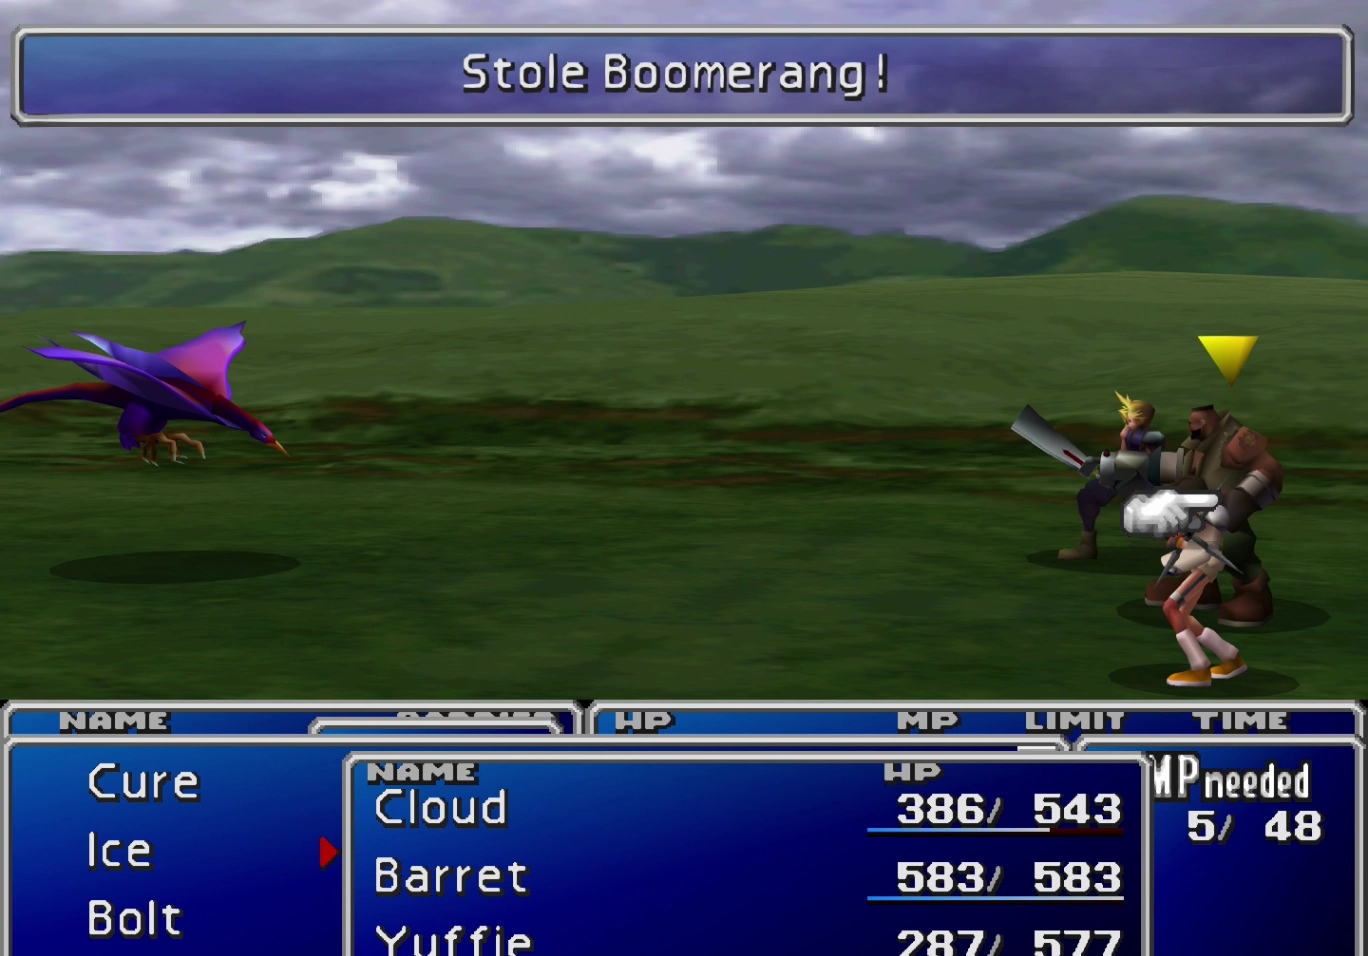
You can also steal a ![]() Boomerang weapon for Yuffie if you plan on using her. You can steal Boomerangs from a “Formula” enemy, as shown in the screenshot below. It has much better Attack and Attack % stats than the
Boomerang weapon for Yuffie if you plan on using her. You can steal Boomerangs from a “Formula” enemy, as shown in the screenshot below. It has much better Attack and Attack % stats than the ![]() 4-point Shuriken that she comes equipped with.
4-point Shuriken that she comes equipped with.
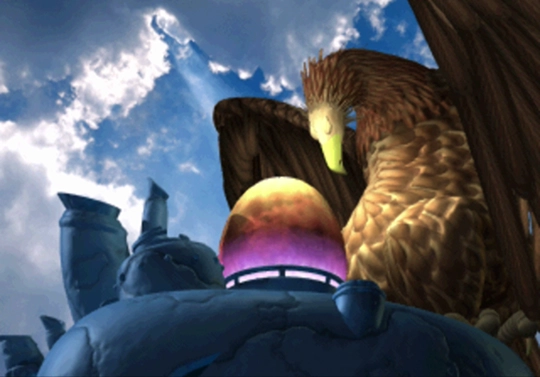
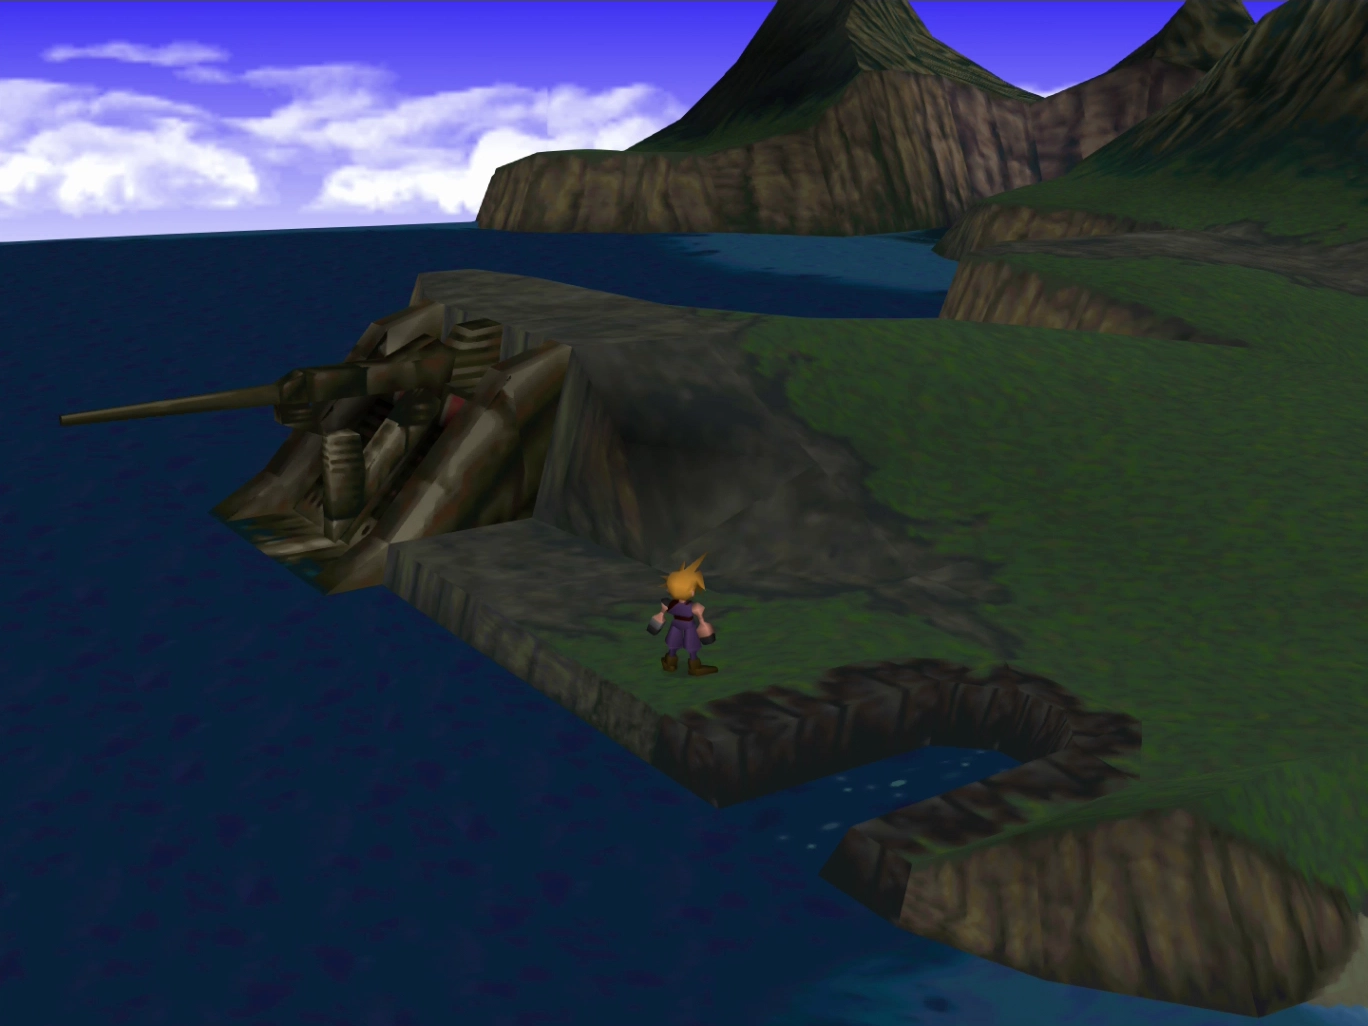
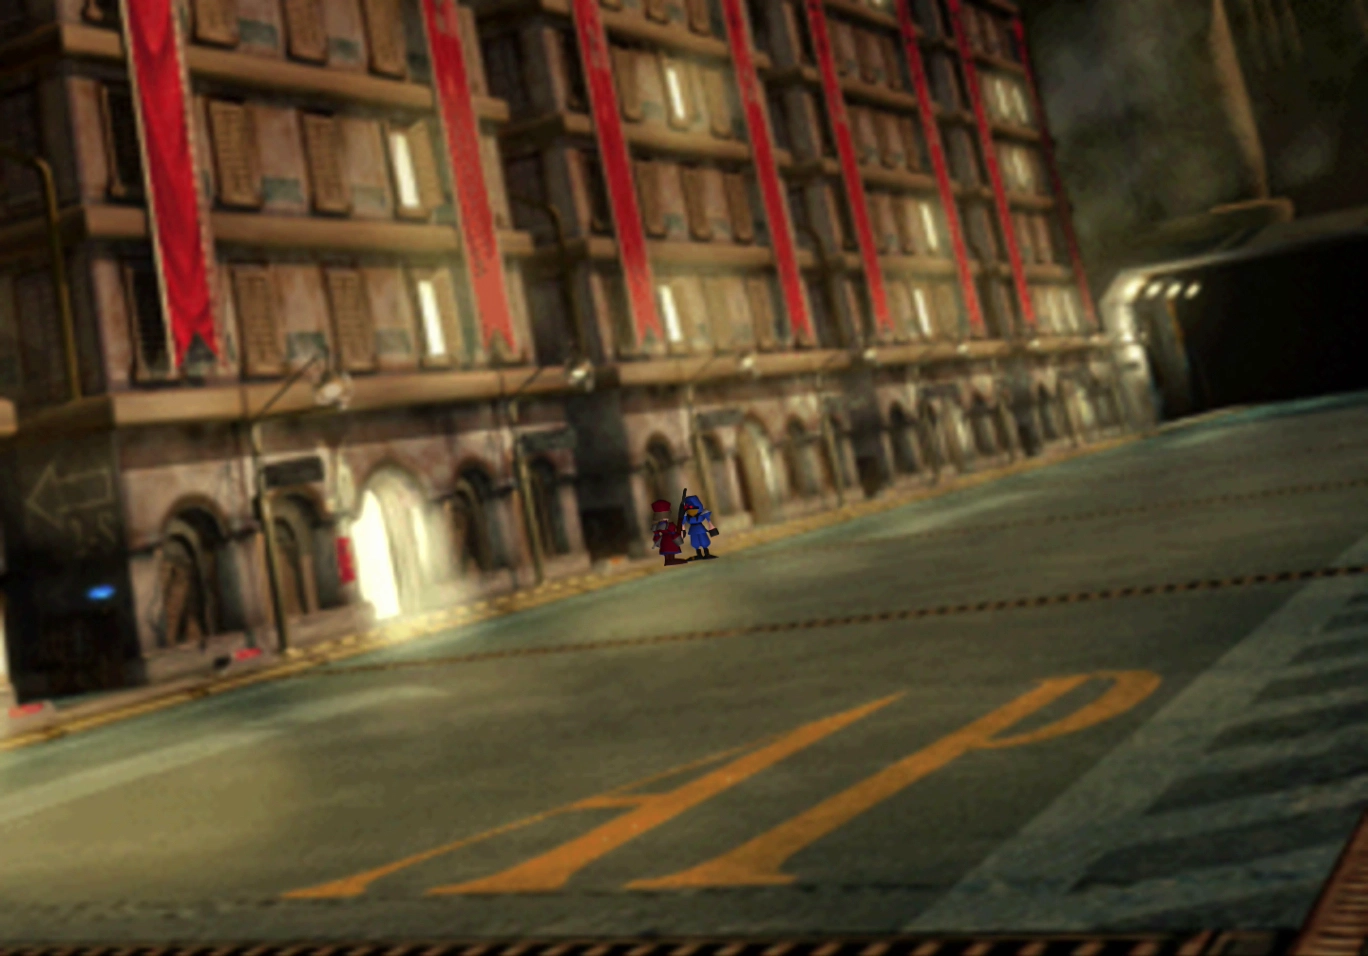
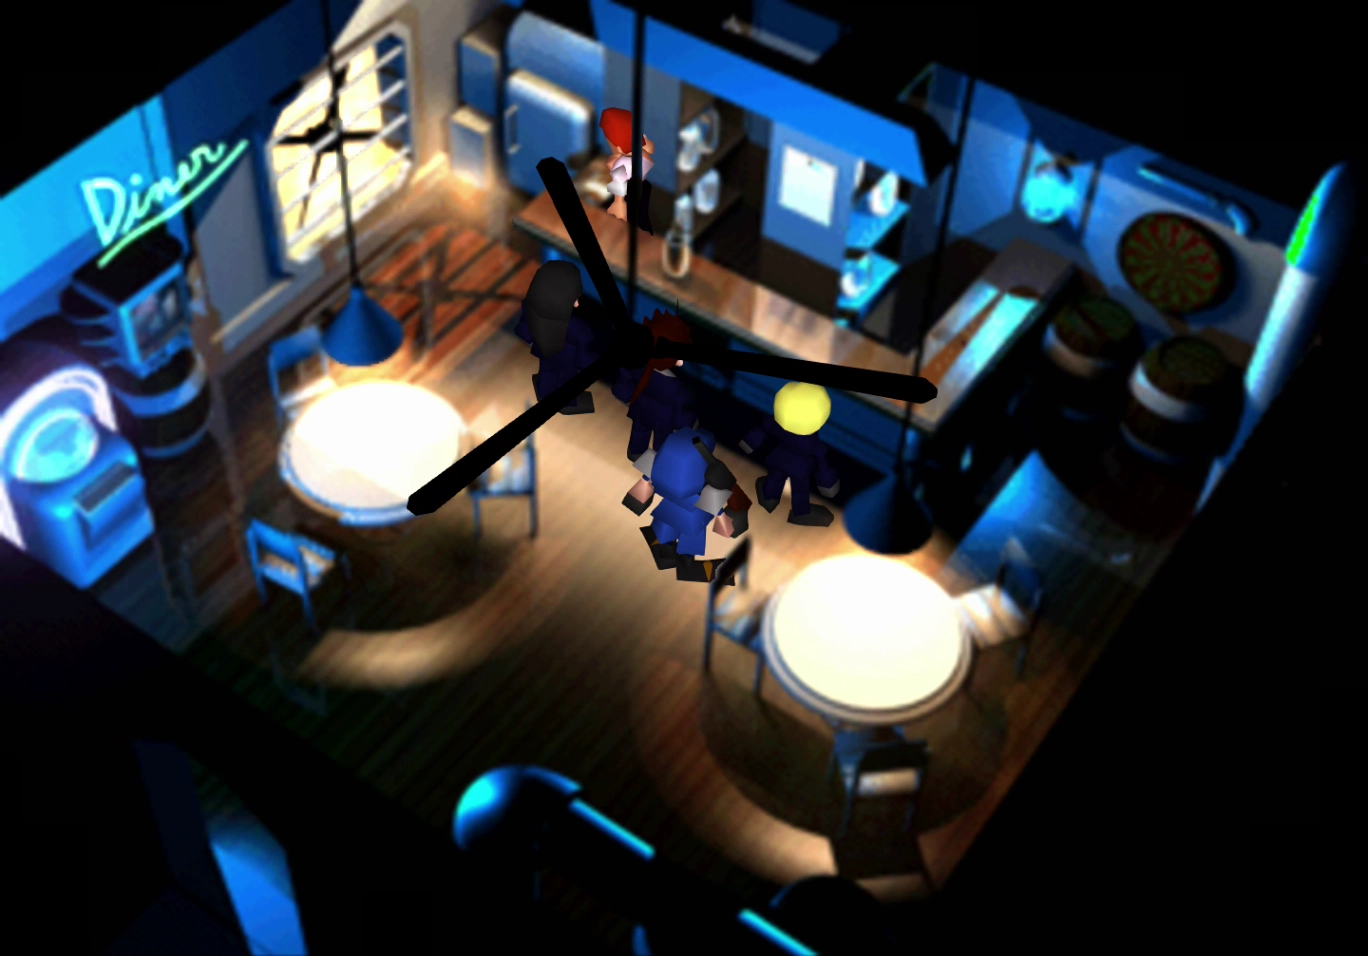
Continue onward to Junon, a city located on the west coast behind a small hill, as shown in the screenshot below.
Under Junon
The section of town you first arrive in is called “Under Junon,” a smaller section in the city located at the base of the wall surrounding Junon.

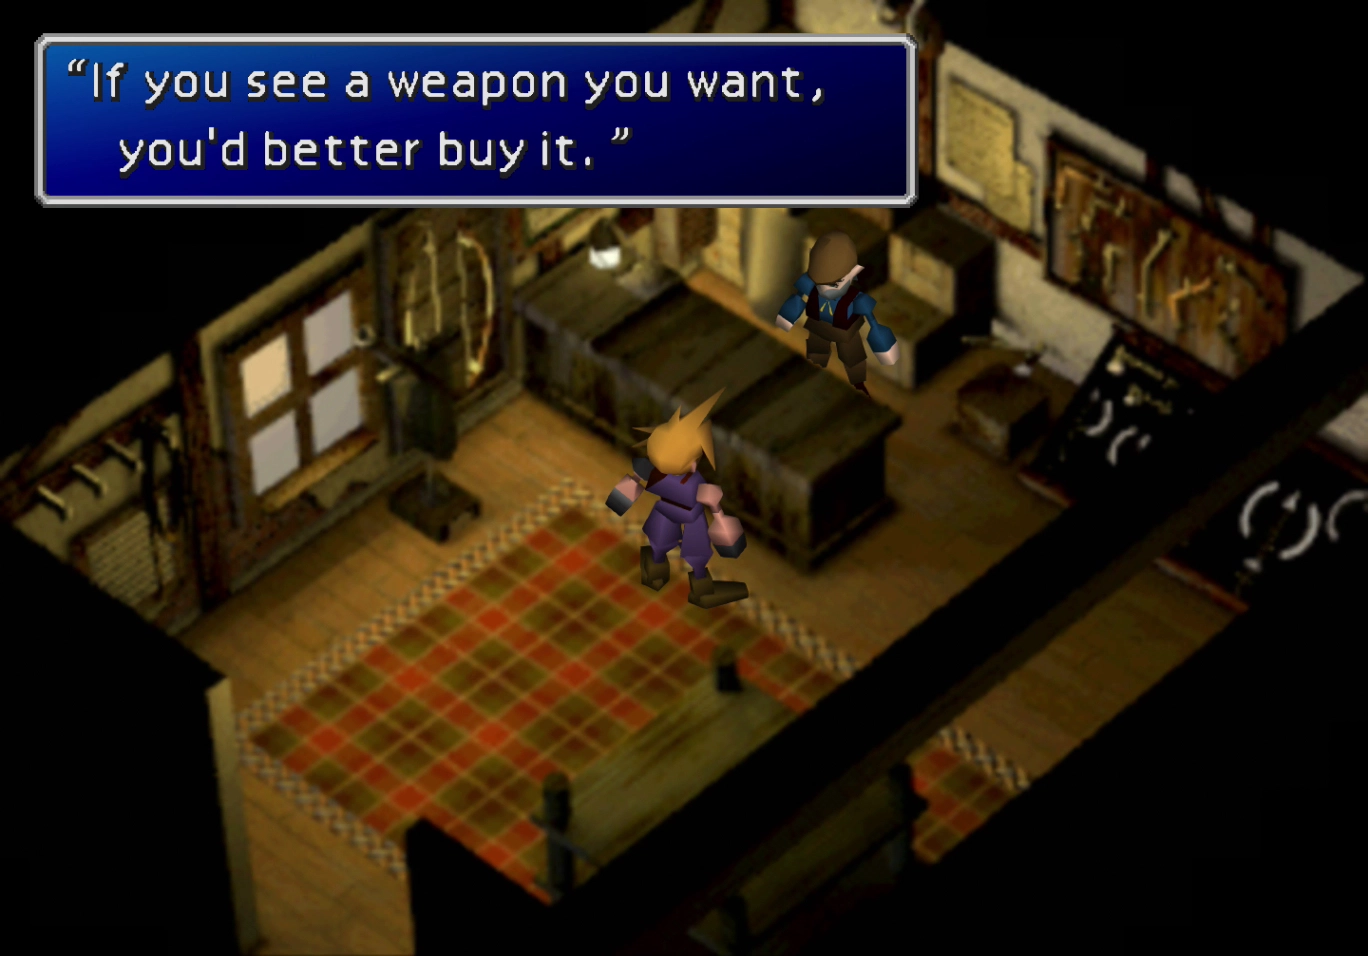
The Weapon Store near the entrance to town does not sell any actual weapons. You can purchase:
At this stage of the game, you should already have armor that is stronger than ![]() Mythril Armlets for most of your characters.
Mythril Armlets for most of your characters.
A boss battle is coming up, so be sure you equip your characters with any Materia they may need. Melee characters will not be able to attack the boss with regular physical attacks.
You can get around this by equipping melee characters with magic-based Materia (![]() Fire,
Fire, ![]() Ice,
Ice, ![]() Lightning), using
Lightning), using ![]() Long Range Materia, or just using characters with long-range attacks (Barret or Yuffie).
Long Range Materia, or just using characters with long-range attacks (Barret or Yuffie).
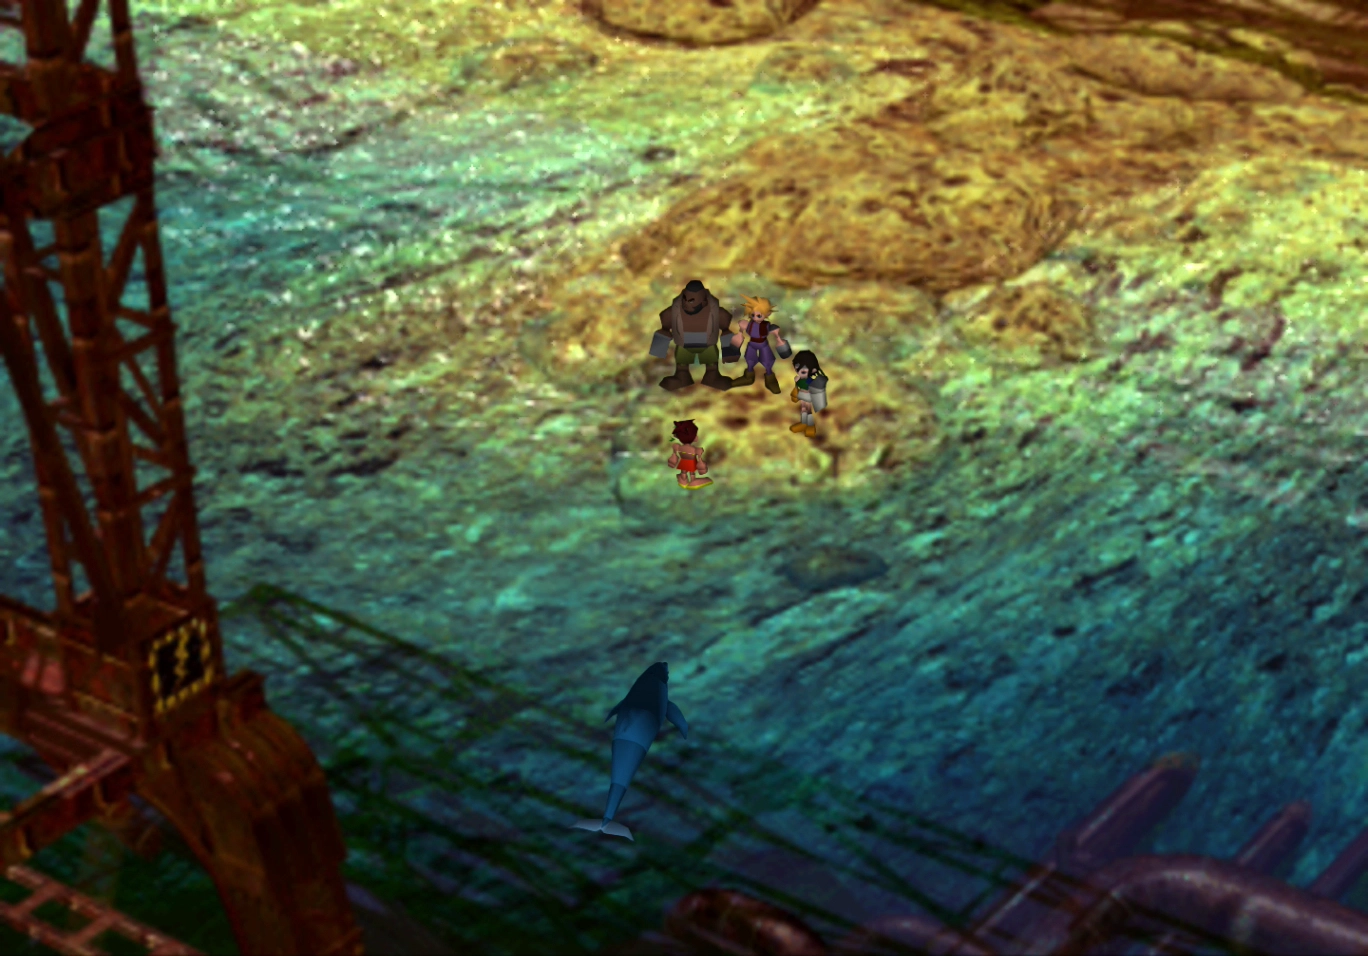
Go down to the beach for a cutscene involving Priscilla and “Mr. Dolphin.”
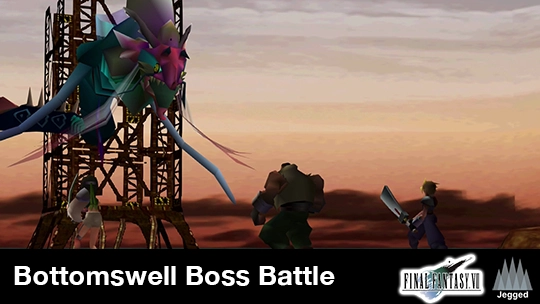
Boss Battle
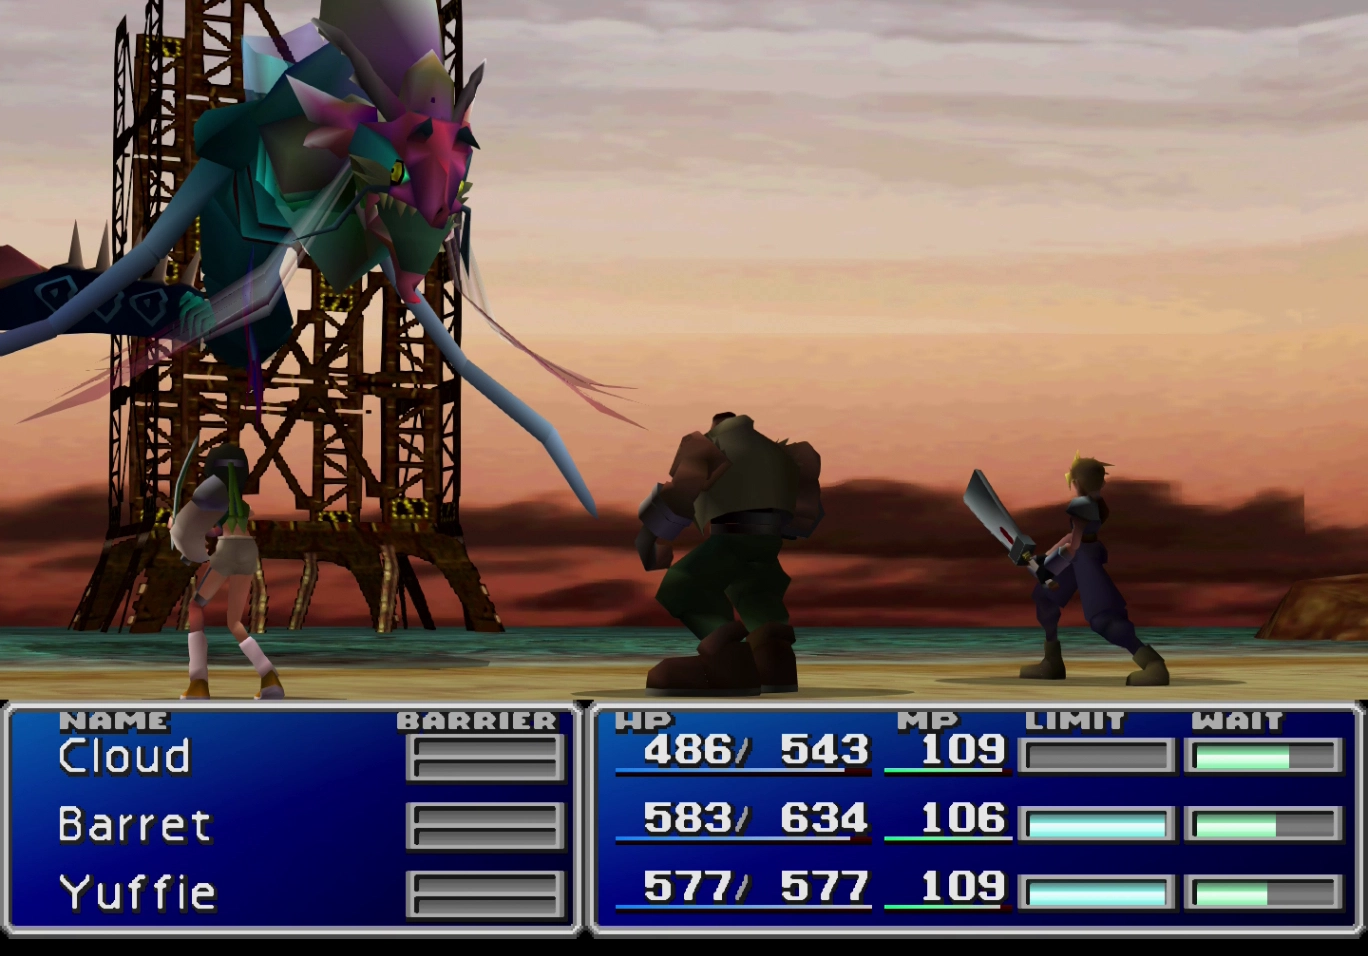
HP: 2,500
Reward: ![]() Power Wrist
Power Wrist
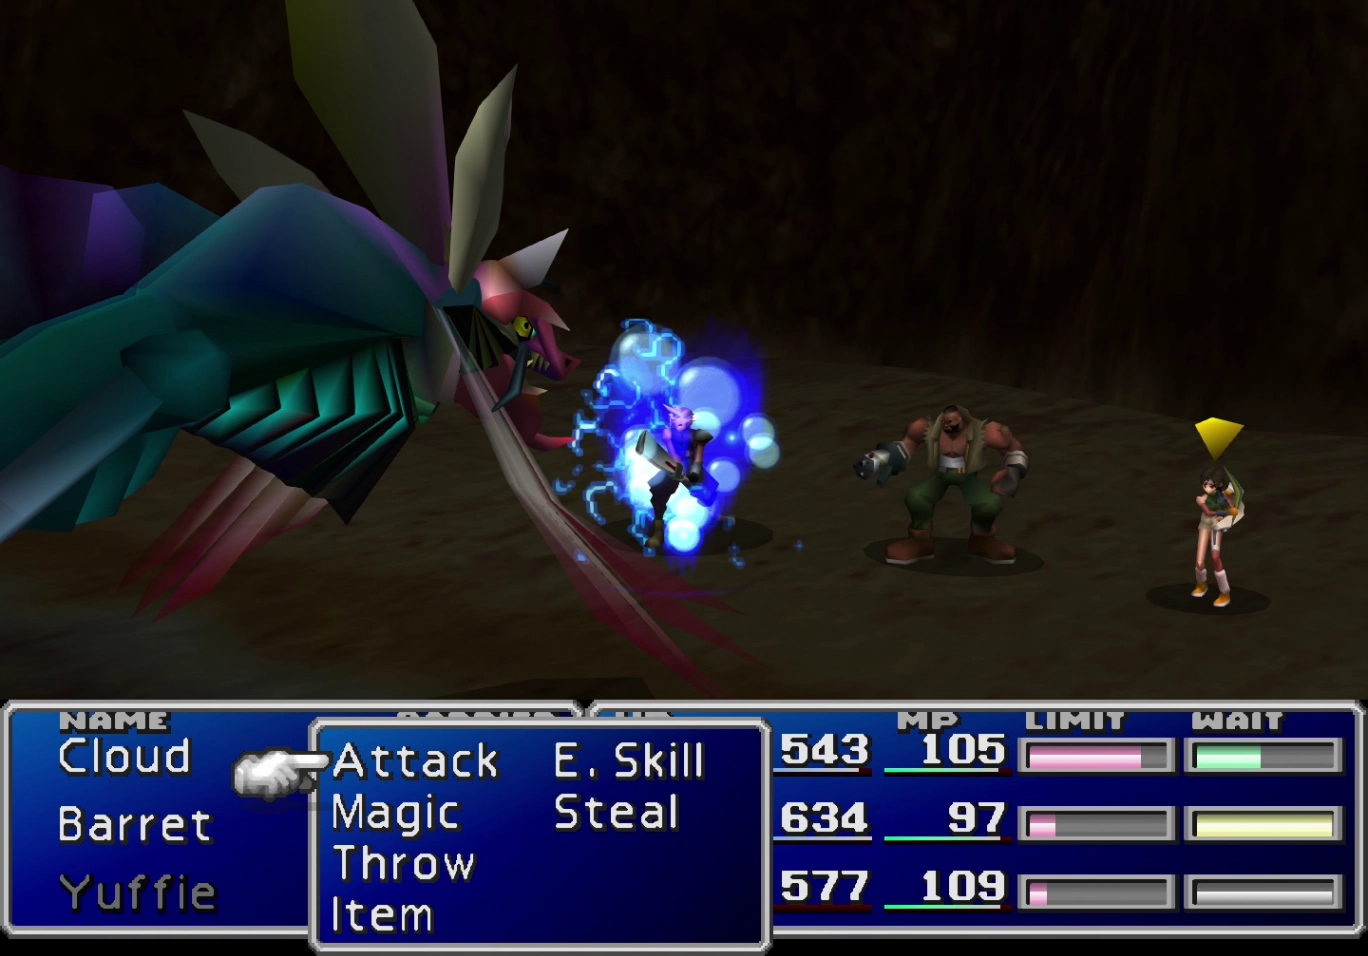
As mentioned above, you will not be able to use regular melee-based Attacks against Bottomswell. You can use ![]() Long Range Materia to allow a melee character to use attacks, and Barret and Yuffie can get around this by default as their attacks are long-ranged.
Long Range Materia to allow a melee character to use attacks, and Barret and Yuffie can get around this by default as their attacks are long-ranged.
Equip each of your other characters with magic Materia, ![]() Enemy Skill Materia (to use “Flame Thrower”), or the
Enemy Skill Materia (to use “Flame Thrower”), or the ![]() Choco/Mog Summon. Bottomswell is also susceptible to Bio, so use
Choco/Mog Summon. Bottomswell is also susceptible to Bio, so use ![]() Poison on him very early on in the fight.
Poison on him very early on in the fight.
Bottomswell will use a spell similar to Reno’s Pyramid attack called Waterpolo. It will prevent a character from moving or attacking, but this time, it will also leech HP from that character. You will have to use a magic spell to break it.
A video demonstration of this battle is included below for reference.
A video demonstration of how to successfully complete the fight against Bottomswell.
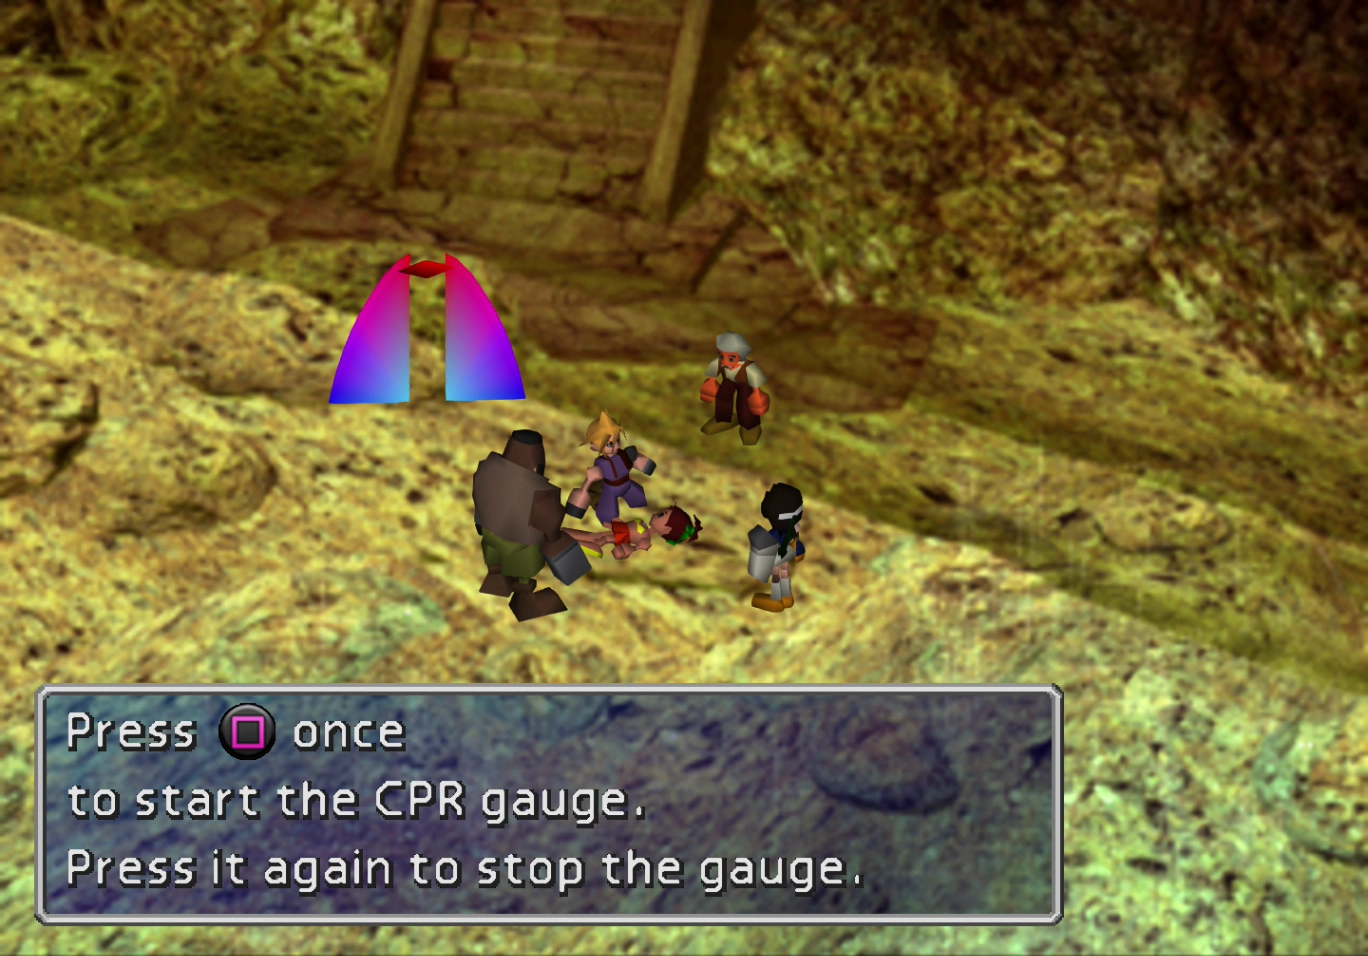
The group will notice Priscilla passed out and not breathing, lying on the beach. Cloud will have to perform CPR on her to bring her back to life.
A breath size indicator, shaped like two lungs, will be displayed on the screen indicating how full Cloud’s lungs are. He can break in up to 10 ‘ticks’ on the lung meter before he must exhale. It takes approximately 41 breaths to revive Priscilla.
You can aim for 8 or 9 ‘ticks’ on each exhale and not have to worry about going over the maximum of 10, which will restart the inhalation process.
The old man will take Priscilla away once you have revived her. Rather than follow the old man and Priscilla, go and speak to the lady in pink and red standing outside the house near the entrance. She will suggest that you “come in for a while.”
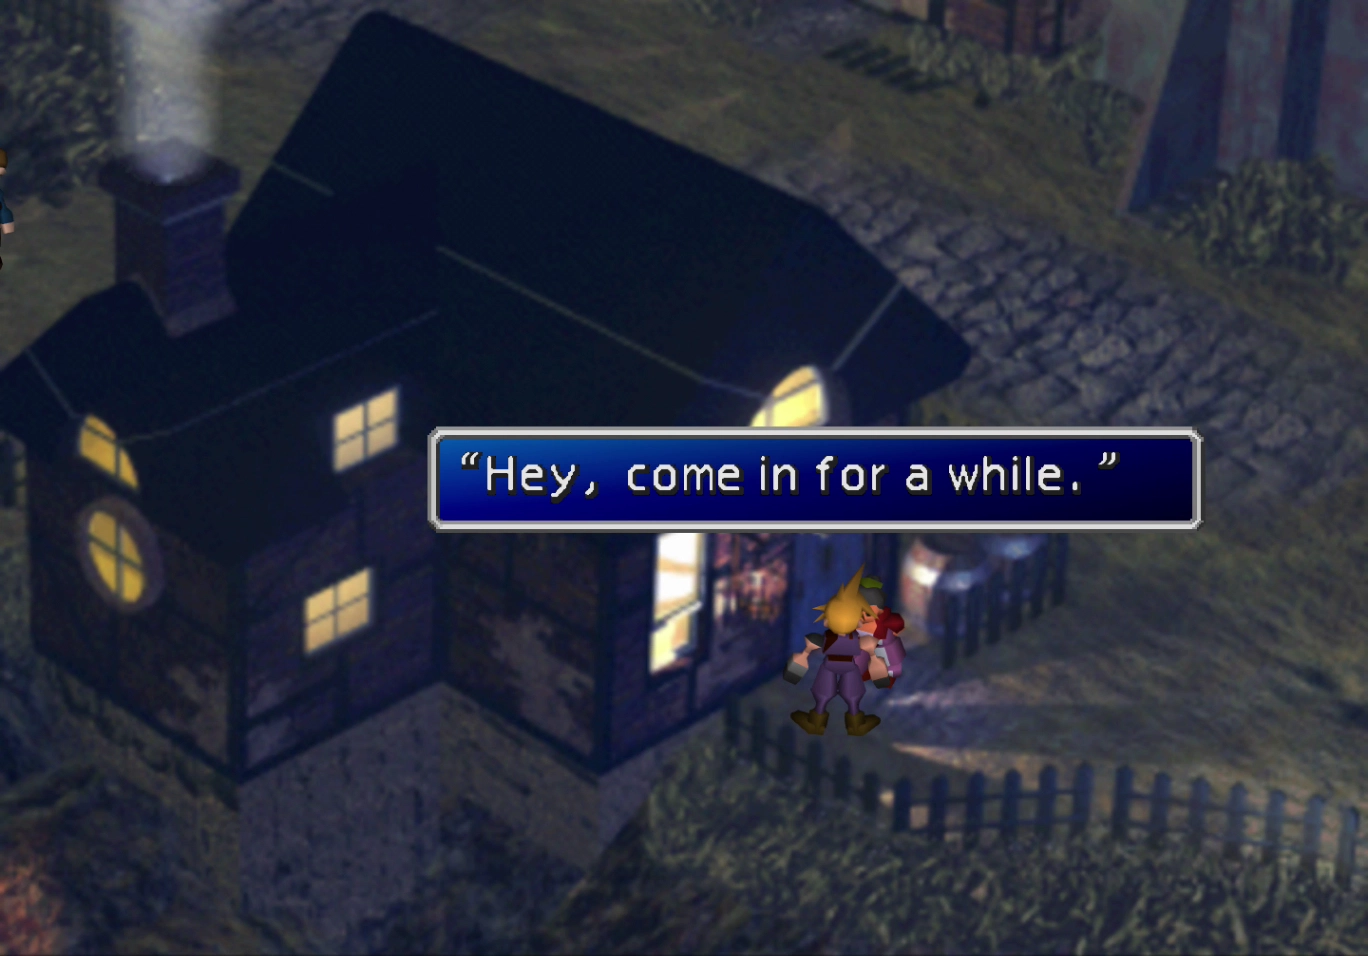
Choose to rest in the lady’s home when presented with the option to do so.
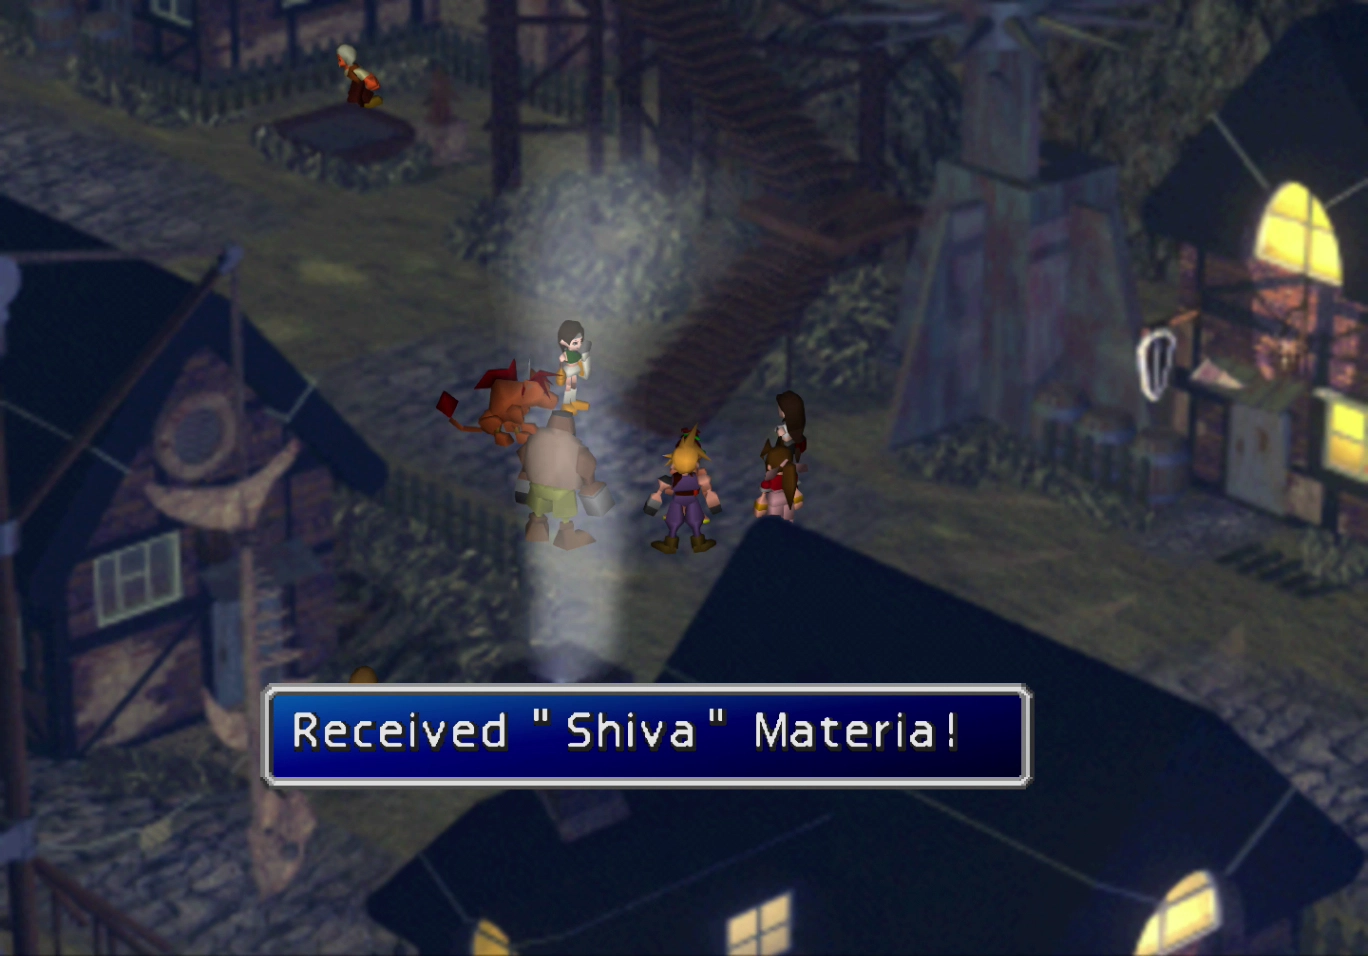
Follow the team out into the middle of town when Cloud awakens the next morning. Priscilla will emerge from the house once you try to climb up the steps. She will hand over an ‘amulet,’ which is the ![]() Shiva Materia, your next summon Materia.
Shiva Materia, your next summon Materia.
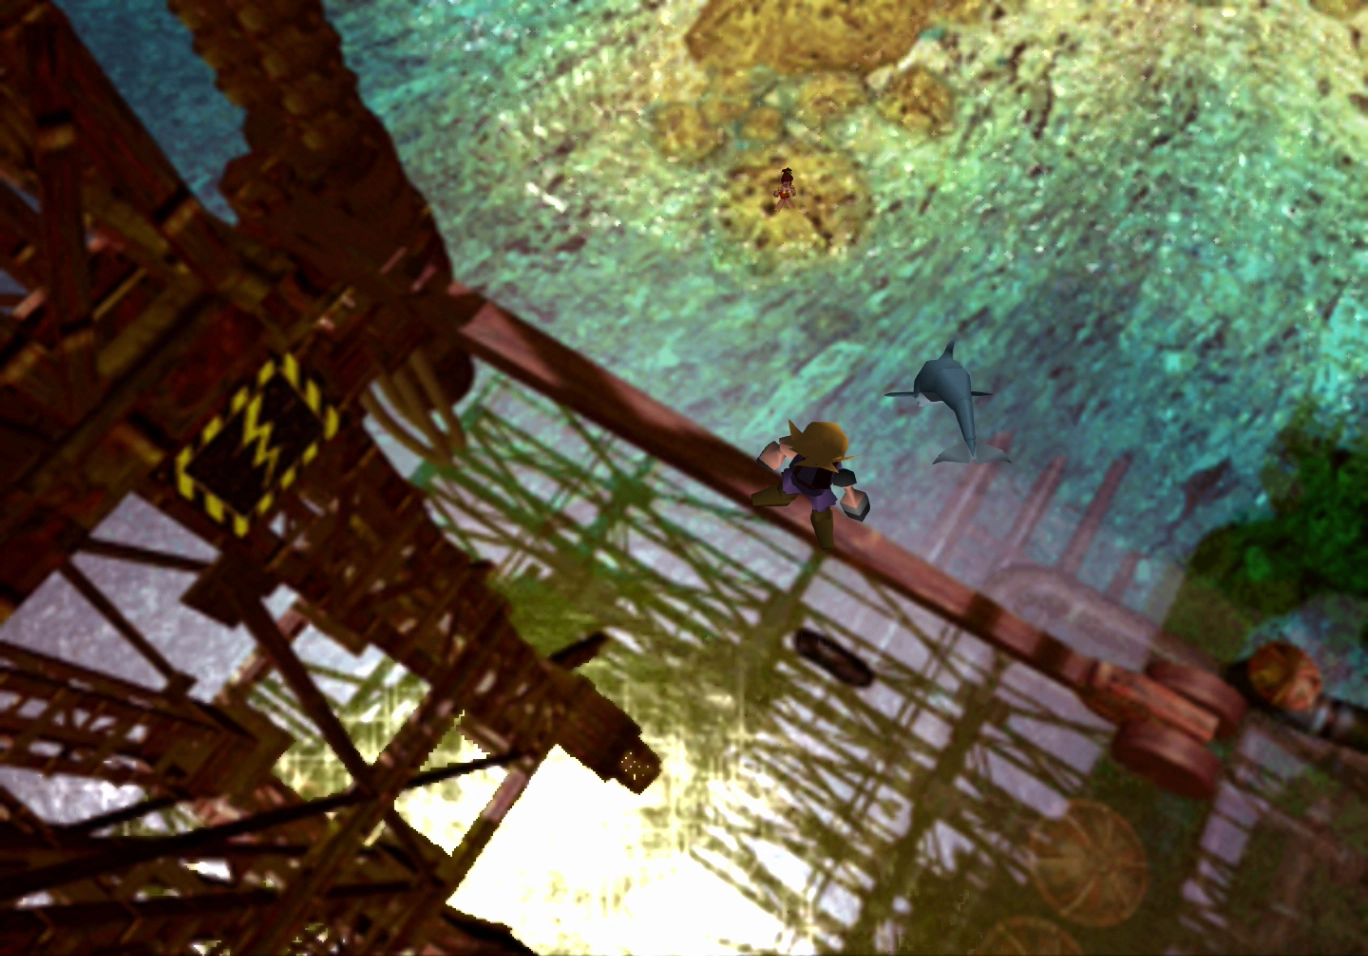
Follow Priscilla down to the beach again. She will call over “Mr. Dolphin” to try and help you get to the top of the transmission tower in the middle of the water.
There is an easy trick to getting “Mr. Dolphin” correctly aligned in the water to get Cloud up there. Rather than moving Cloud around at all, just blow the whistle twice in succession without moving. Cloud and Mr. Dolphin properly align themselves after the first jump to get you up on the second. Travel towards the base of the structure and climb up.
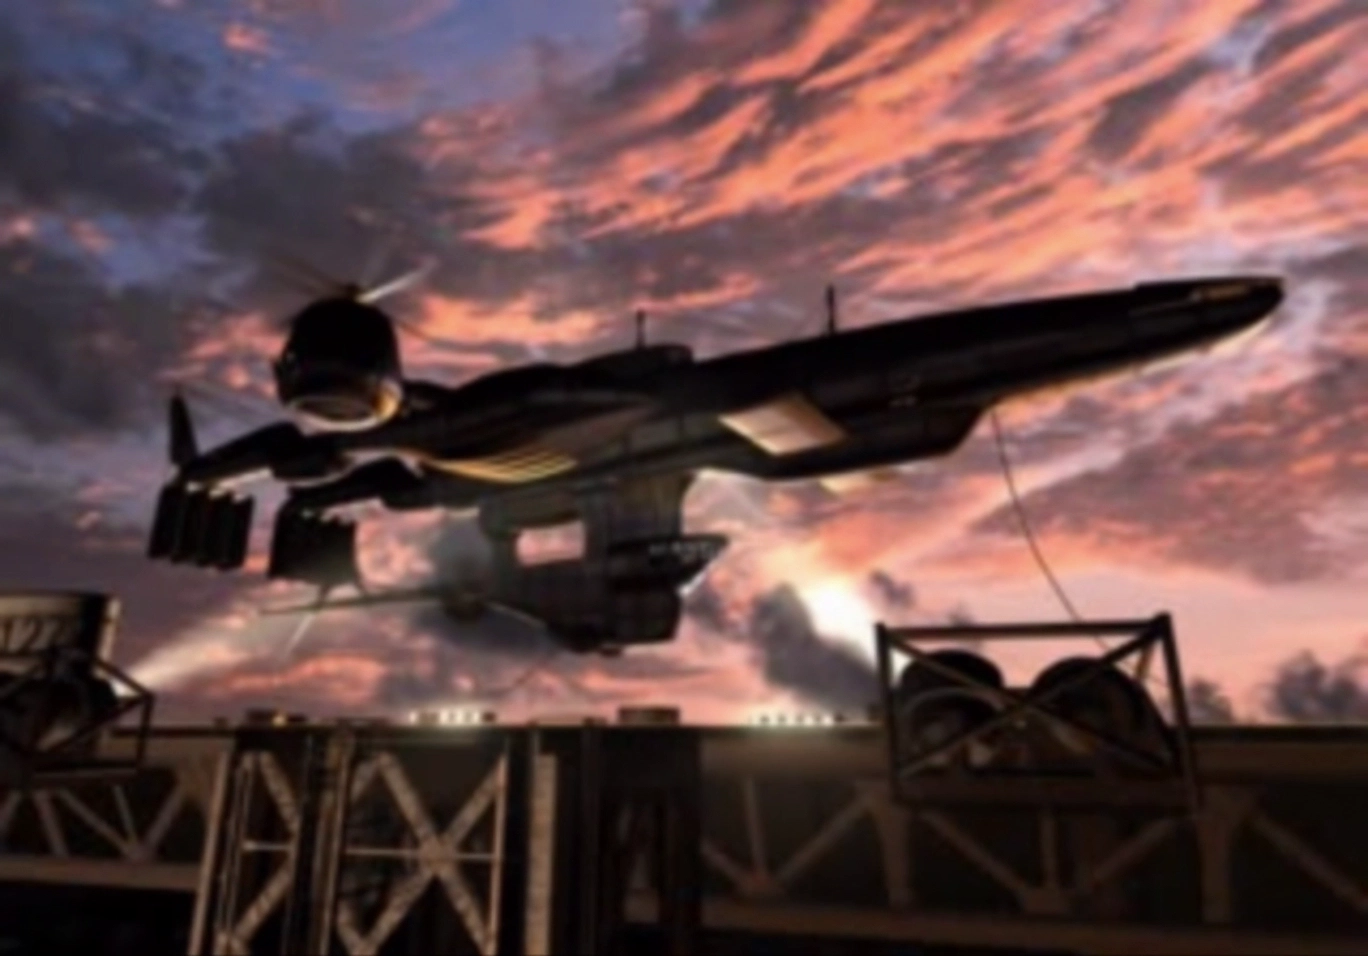
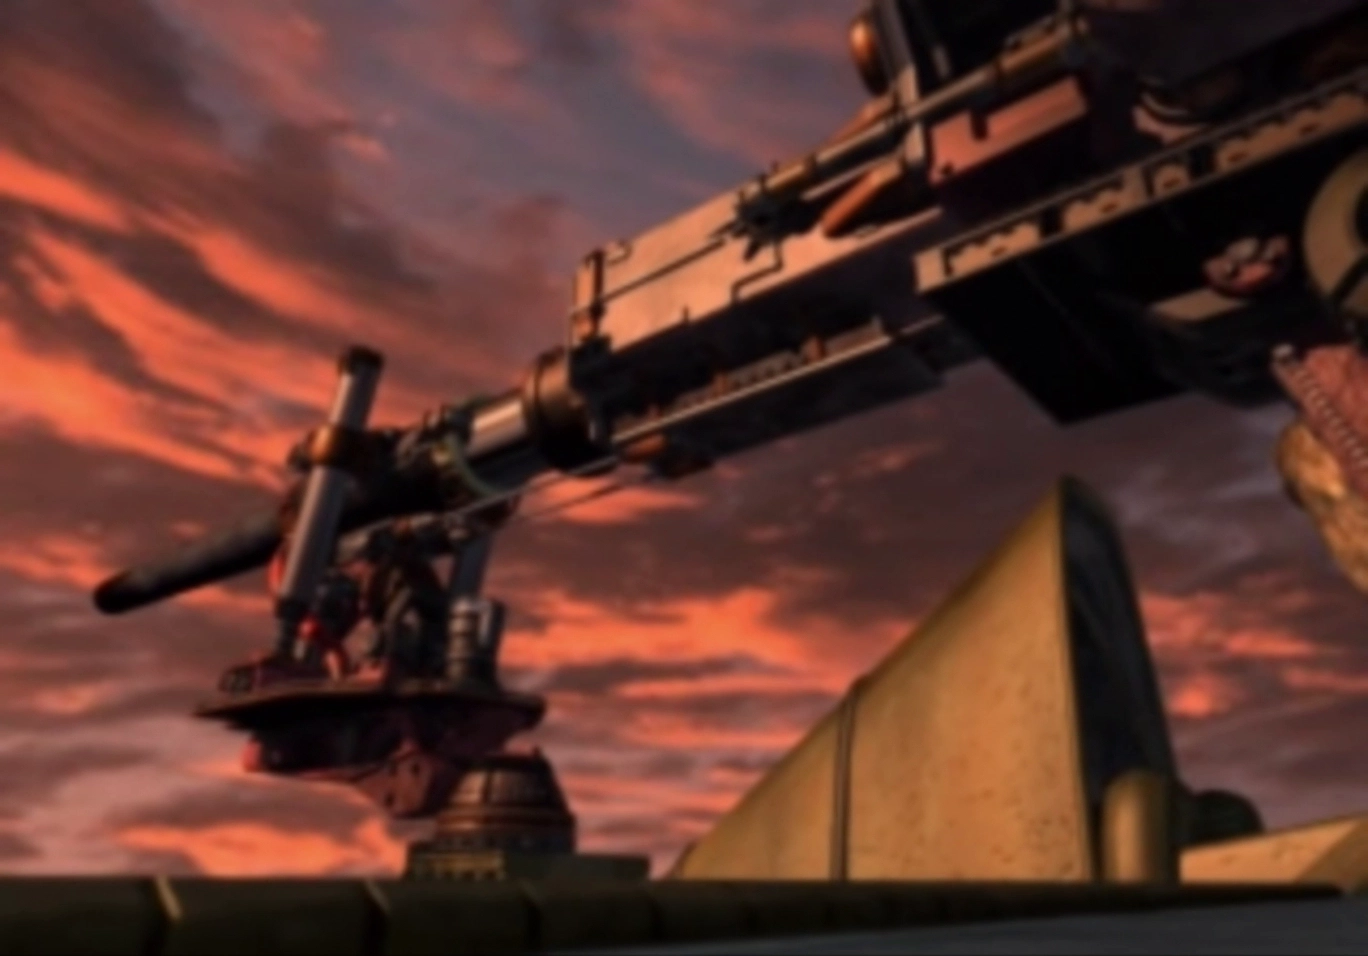
Junon Airport
This is your first glimpse at the Highwind! Walk towards the camera and then towards the control panel on the large platform. Use the control panel to lower the large platform. Walk towards the southeast to enter the Junon Airport barracks.
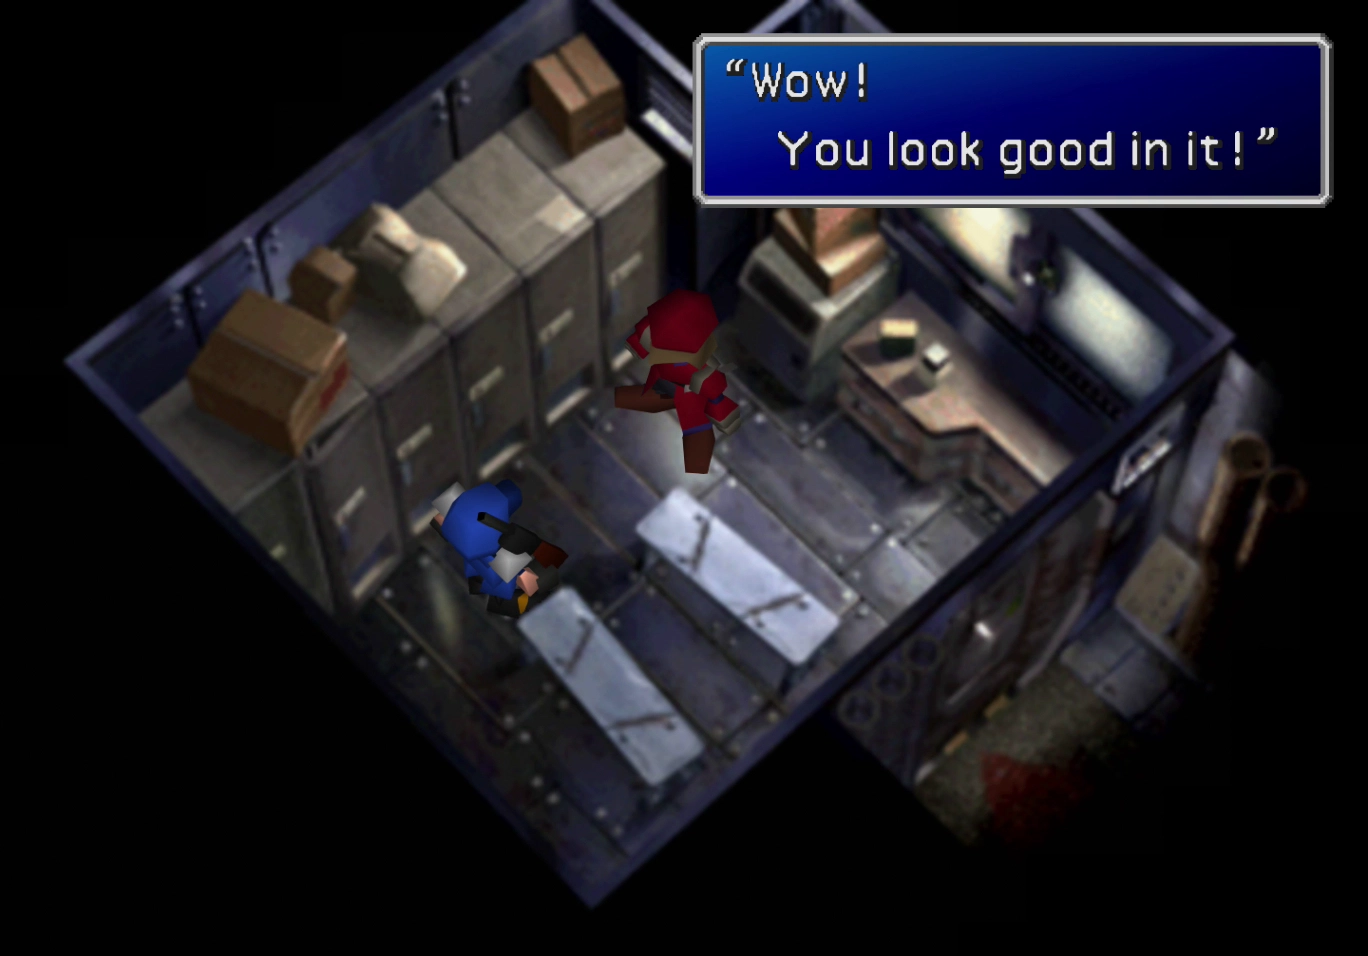
The red guard will scream at you to get into the changing room. Do what he says and open the locker to change into the Shinra Soldier uniform.
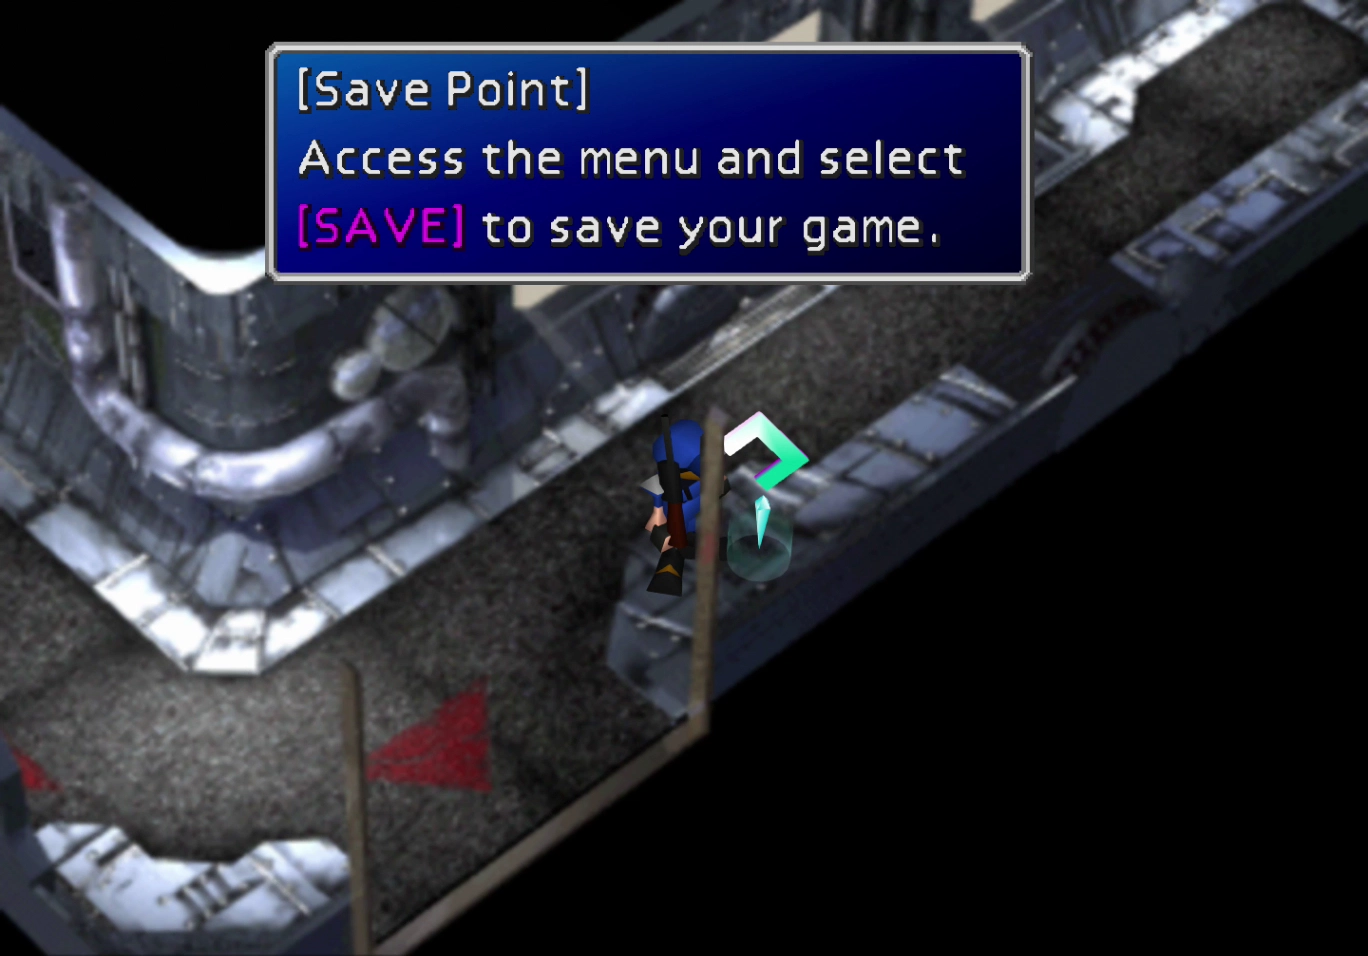
There is a ![]() Save Point just past the entrance to the Junon Airport Path, which you can grab after changing.
Save Point just past the entrance to the Junon Airport Path, which you can grab after changing.
Warning
Be sure to save your game at this point so that you can reset it if you plan to try the upcoming mini-game a few times. The “marching” mini-game can be a bit challenging and may require a few attempts.
Junon
Exiting the barracks leads into the large city of Junon.
This mini-game can be challenging even for long-time fans of the series. The rewards are based on the ratings, which are displayed in the bottom-right corner of the screen:
- Less than 29%, and you will receive a
 Grenade
 - Between 30% and 39%, and you will receive 6 Potions
- Between 40% and 49%, and you will receive 6 Ethers
- More than 50%, and you will receive 5,000 Gil
The video below demonstrates how to achieve above 50 percentage points, focusing on three main points outlined below.
Warning
You need to switch your controller to the default controller setting to successfully “march” once you are in formation (as shown in the video included below). Using a customized controller setting will cause the ![]()
![]()
![]() button to function incorrectly. This behavior is a glitch in the game’s programming, and there is no workaround.
button to function incorrectly. This behavior is a glitch in the game’s programming, and there is no workaround.
This issue does not affect newer versions of the game.
The three things you need to do to get above 50% are:
- Get down to the bottom right corner of the formation as soon as you can. The best way to do this is to run straight towards the camera and through the lines of soldiers as they pass. It’s much easier than trying to go around in the way shown in the examples.
- Keep Cloud in line with the Shinra Soldiers. It does not matter if their steps line up. The most important factor is that you are in a straight line, or as straight of a line as possible, not too far ahead or behind.
- Press


 (or
(or 

 in newer versions of the game) each time you see the words “Now” on the screen. The “Now” command will only come up if you are perfectly in line with the other Shinra Soldiers.
The command will continually pop up while you are in formation, and you can easily press it 8 or 9 times before the screen fades to black. Staying in line and pressing ![]()
![]()
![]() multiple times is the easiest way to get a high rating.
multiple times is the easiest way to get a high rating.
Use the video below to help you understand the timing:
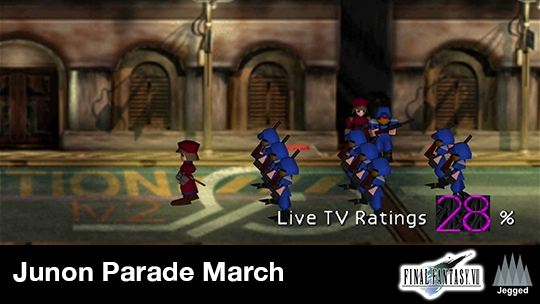
A video demonstration of how to successfully complete the Junon parade/march sequence and obtain a high audience score.
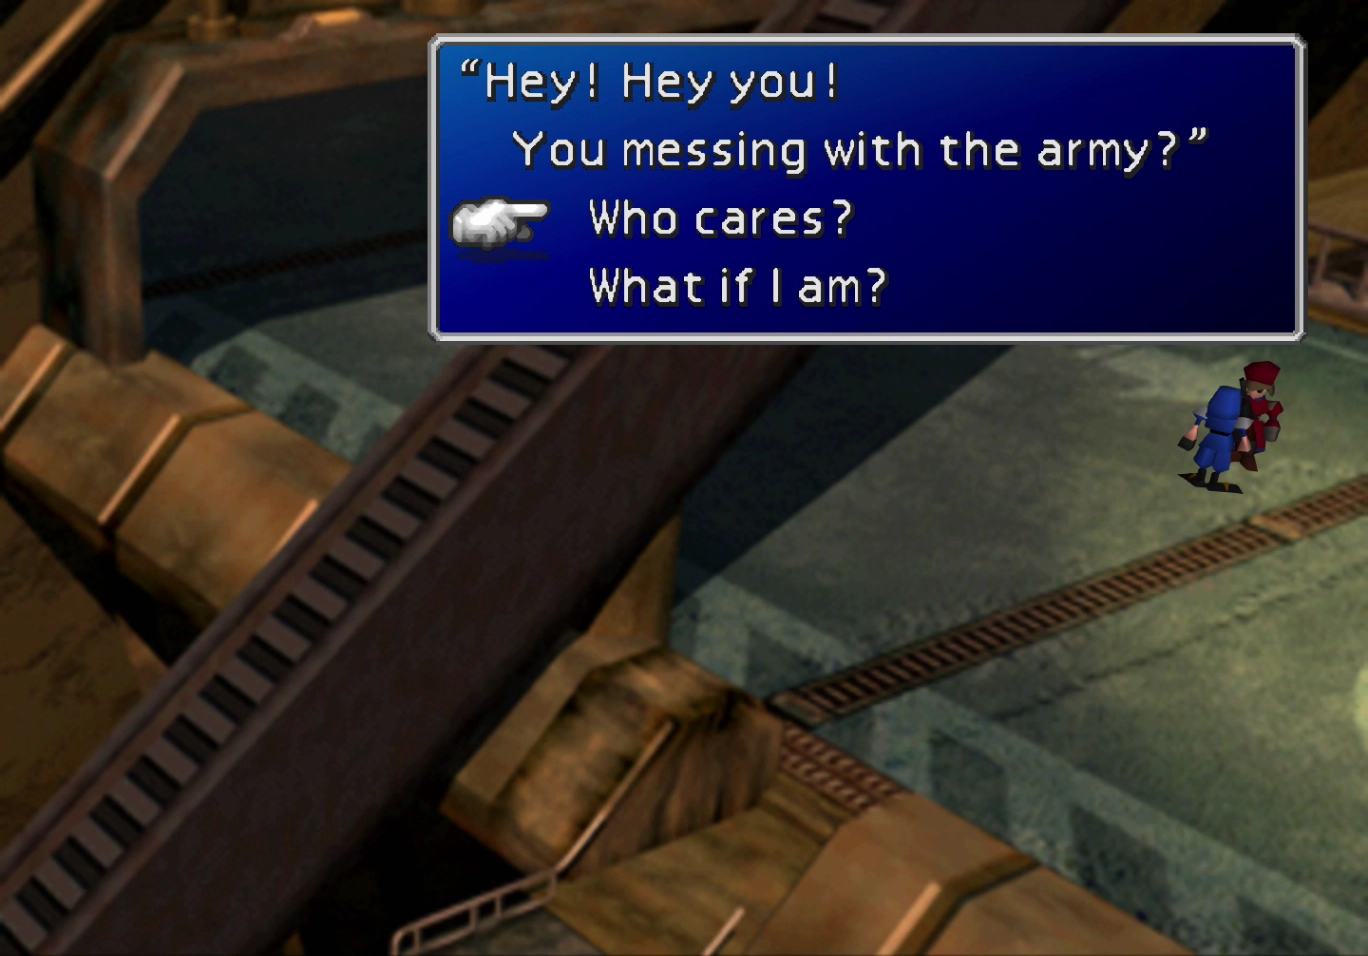
At the end of the following sequence involving Rufus and Heidegger, one of the Red Shinra Soldiers will ask you, “You messing with the army?” It does not matter which response you choose.
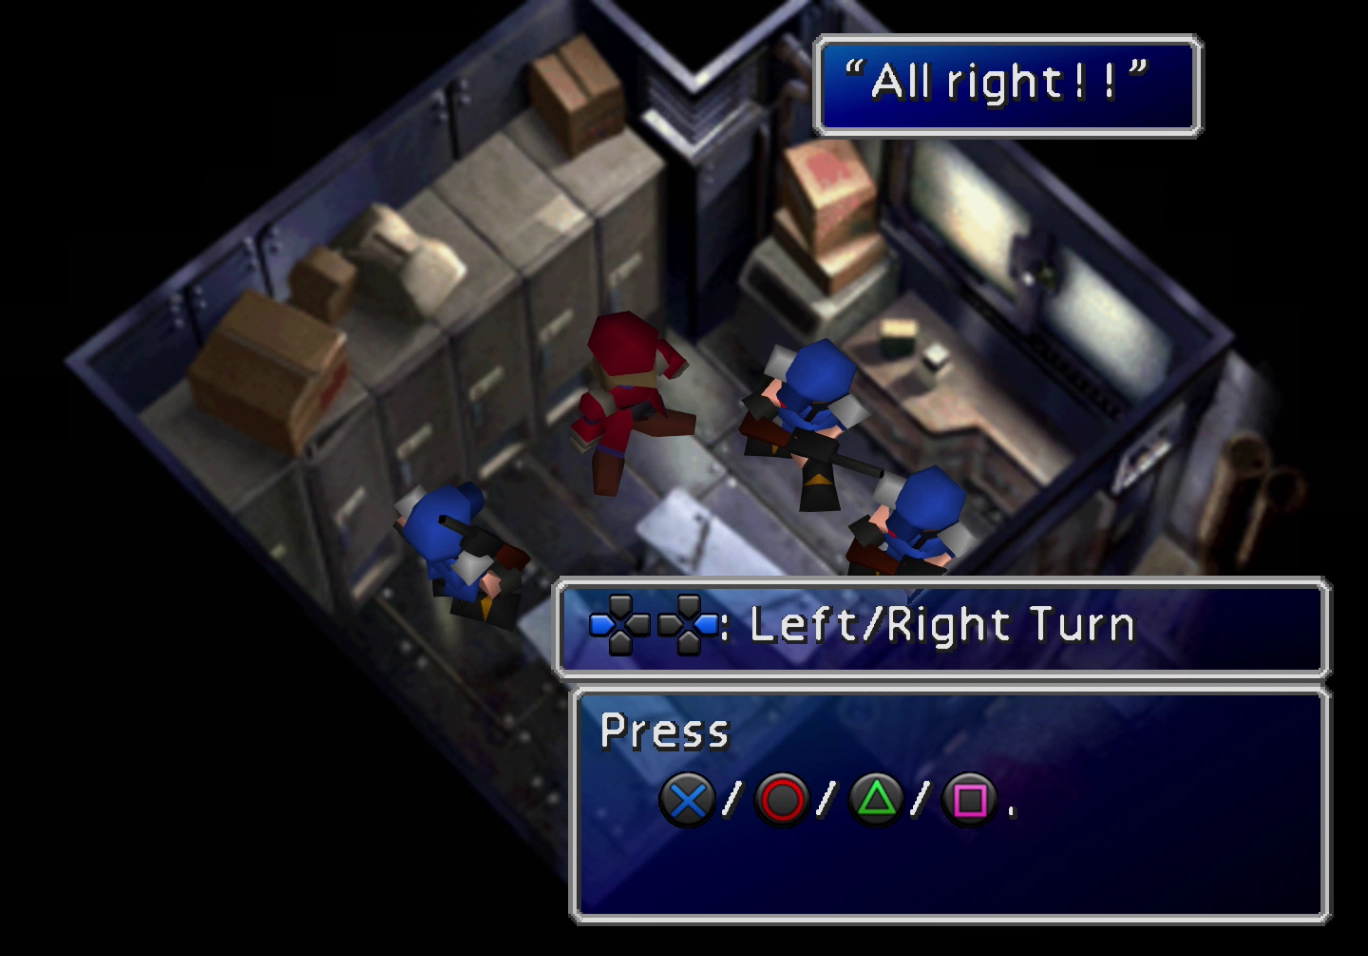
The next scene in the locker room will provide an opportunity to practice the next mini-game, which is essentially Simon Says, using the PlayStation controller’s buttons. Following the tutorial, you will be free to explore the city of Junon (also known as Upper Junon).
Upper Junon
The first store is the Materia Store which has a man standing out front. You can purchase the following:
Both Seal Materia and Revive Materia are new. ![]() Seal Materia will allow you to cast Sleepel and eventually Silence once properly leveled. These two spells are of questionable value, so you should avoid purchasing Seal Materia altogether.
Seal Materia will allow you to cast Sleepel and eventually Silence once properly leveled. These two spells are of questionable value, so you should avoid purchasing Seal Materia altogether.
![]() Revive Materia essentially replaces
Revive Materia essentially replaces ![]() Phoenix Downs as your method of reviving KO’d characters. The downside is that equipping Revive Materia will reduce that character’s Strength, Vitality, and Max HP, while increasing the character’s Magic, Magic Def, and Max MP.
Phoenix Downs as your method of reviving KO’d characters. The downside is that equipping Revive Materia will reduce that character’s Strength, Vitality, and Max HP, while increasing the character’s Magic, Magic Def, and Max MP.
As such, you should only equip it to a character who will focus on magic-based attacks (if you choose to equip it at all).
Travel down the alleyway to find the Weapon Shop. You can purchase the following weapons:
You may already have many of these weapons if you stole them from previous enemies listed earlier on in this guide, but you can purchase them in the shop if you missed any. You will find the Turks in the basement, but there is nothing else that you can do down there.
The Item Store is the next door to the left of the Weapon Store. You can restock the following items:
You may have noticed that some of your characters were afflicted with the ‘Sadness’ status effect after battles in the Junon Area. You can counteract this status effect, which causes the Limit Break bar to charge more slowly, by purchasing some ![]() Hypers.
Hypers.
The last doorway on the left leads to the Barracks (pictured in the screenshot below). Speak to the Shinra Soldier in the corner of the first floor to gain entry to the “Respectable Inn.”
Speaking to each of the Soldiers, as well as the ghosts in this area, will allow Cloud to explain certain aspects of the game to both the person he is speaking to and, by extension, you as the player. These explanations include more advanced information about Limit Breaks, Materia, and combat in general.
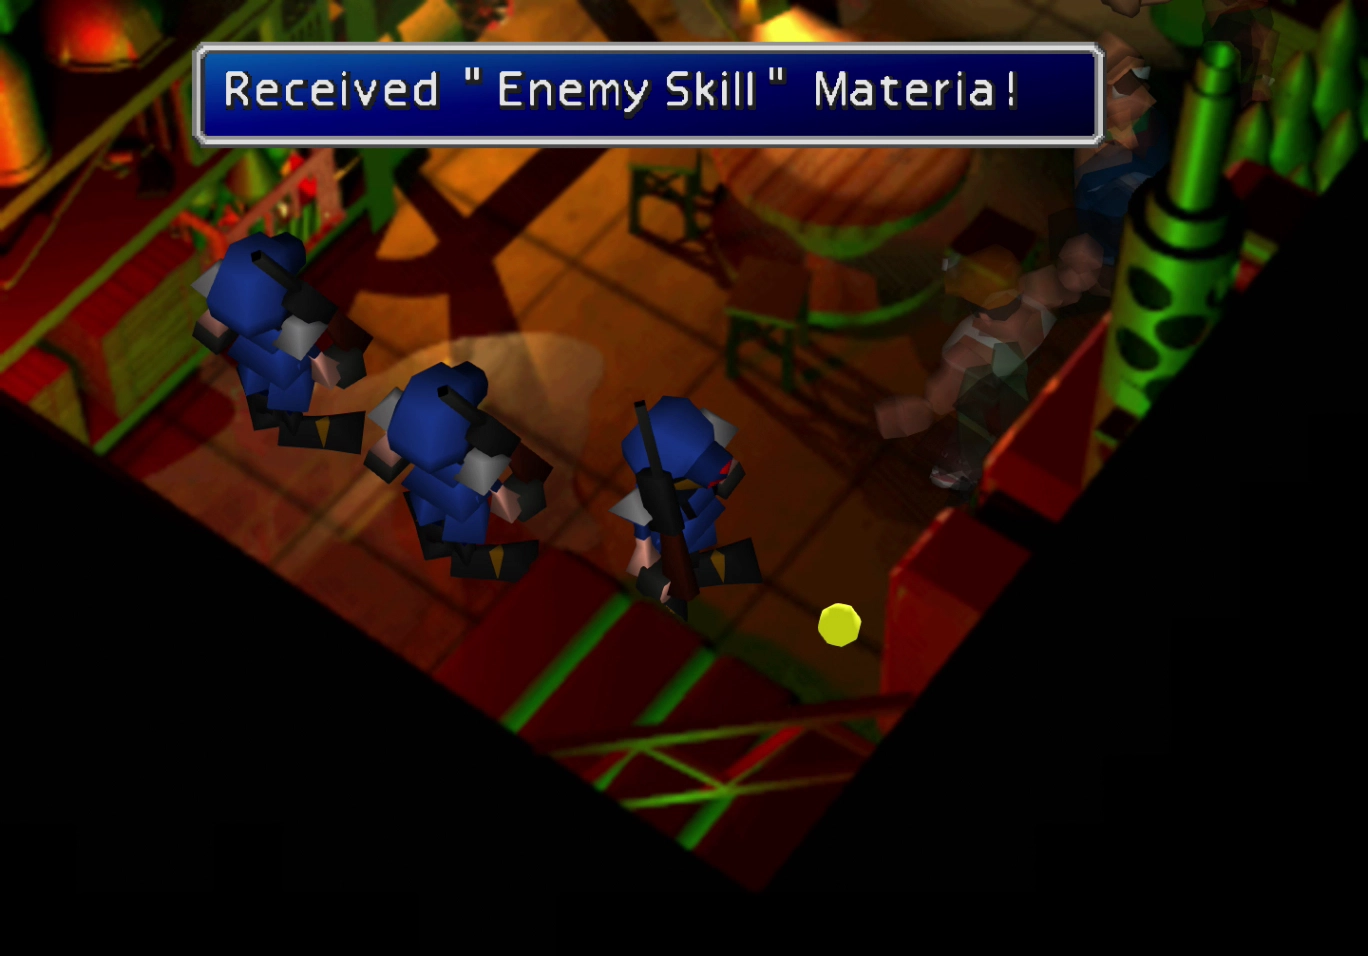
There is also an ![]() Enemy Skill Materia on the ground in the corner.
Enemy Skill Materia on the ground in the corner.
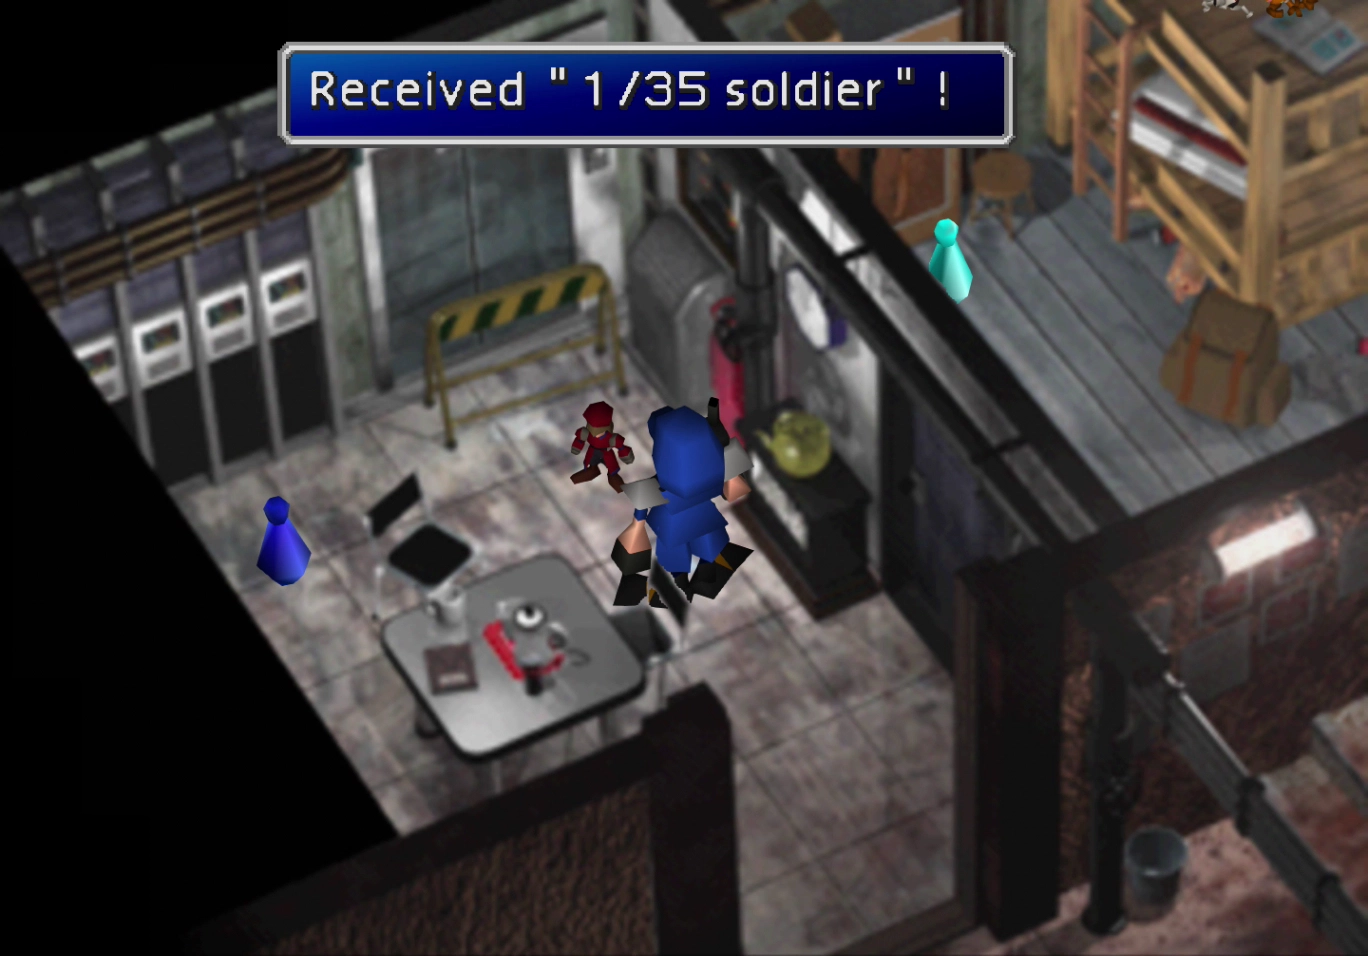
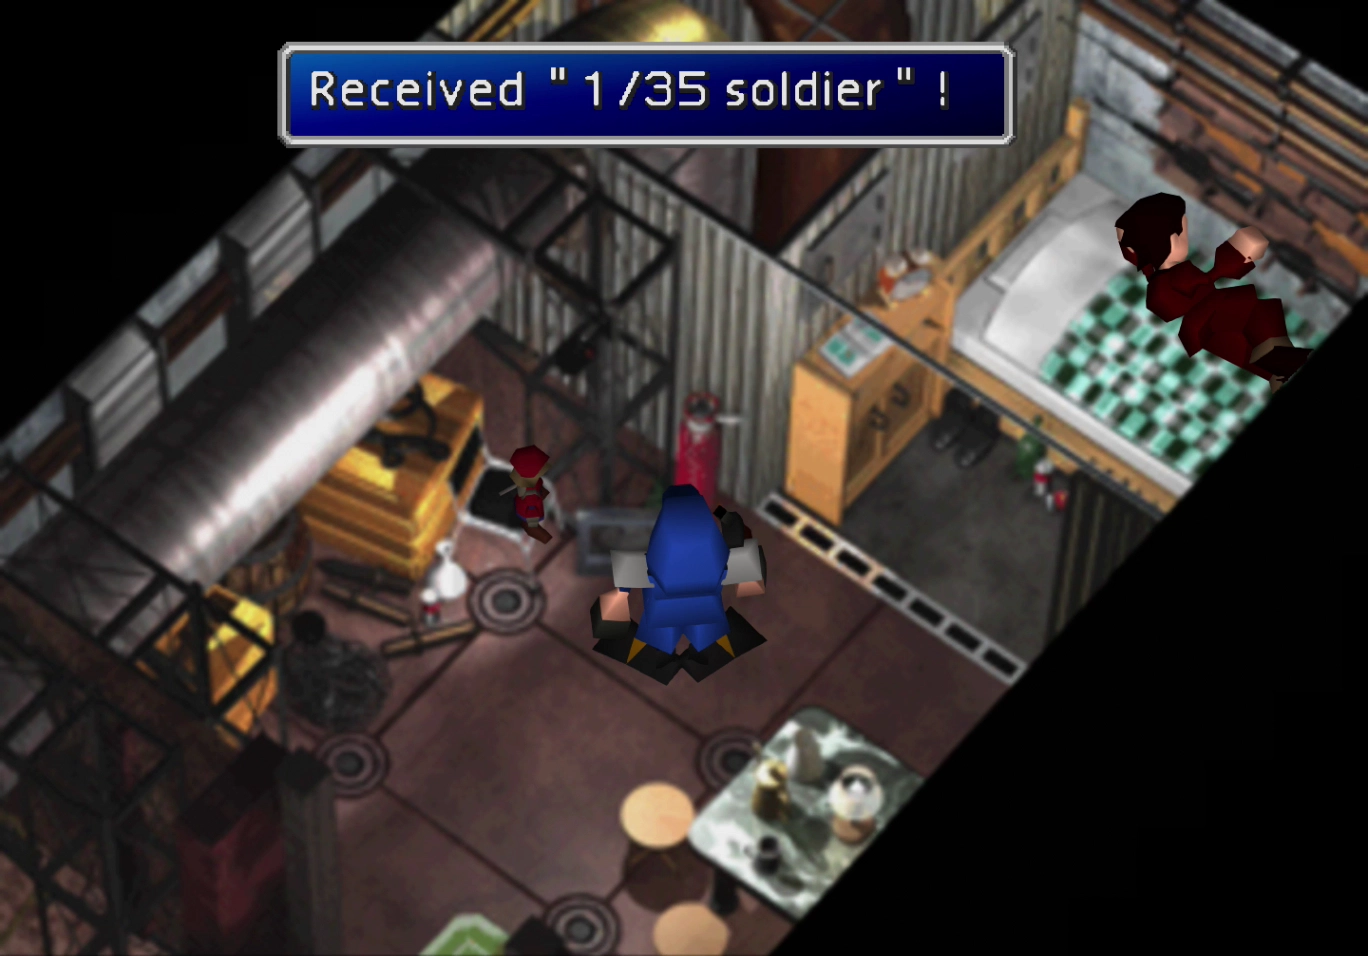
Proceed to the second floor of the Barracks to find a ![]() Mind Source, a
Mind Source, a ![]() Luck Source, and a
Luck Source, and a ![]() 1/35 Soldier lying on the ground. This 1/35 Soldier item has no actual use in the game and is one of the many superfluous items that you will come across. Oh well, there’s no point in leaving it behind.
1/35 Soldier lying on the ground. This 1/35 Soldier item has no actual use in the game and is one of the many superfluous items that you will come across. Oh well, there’s no point in leaving it behind.
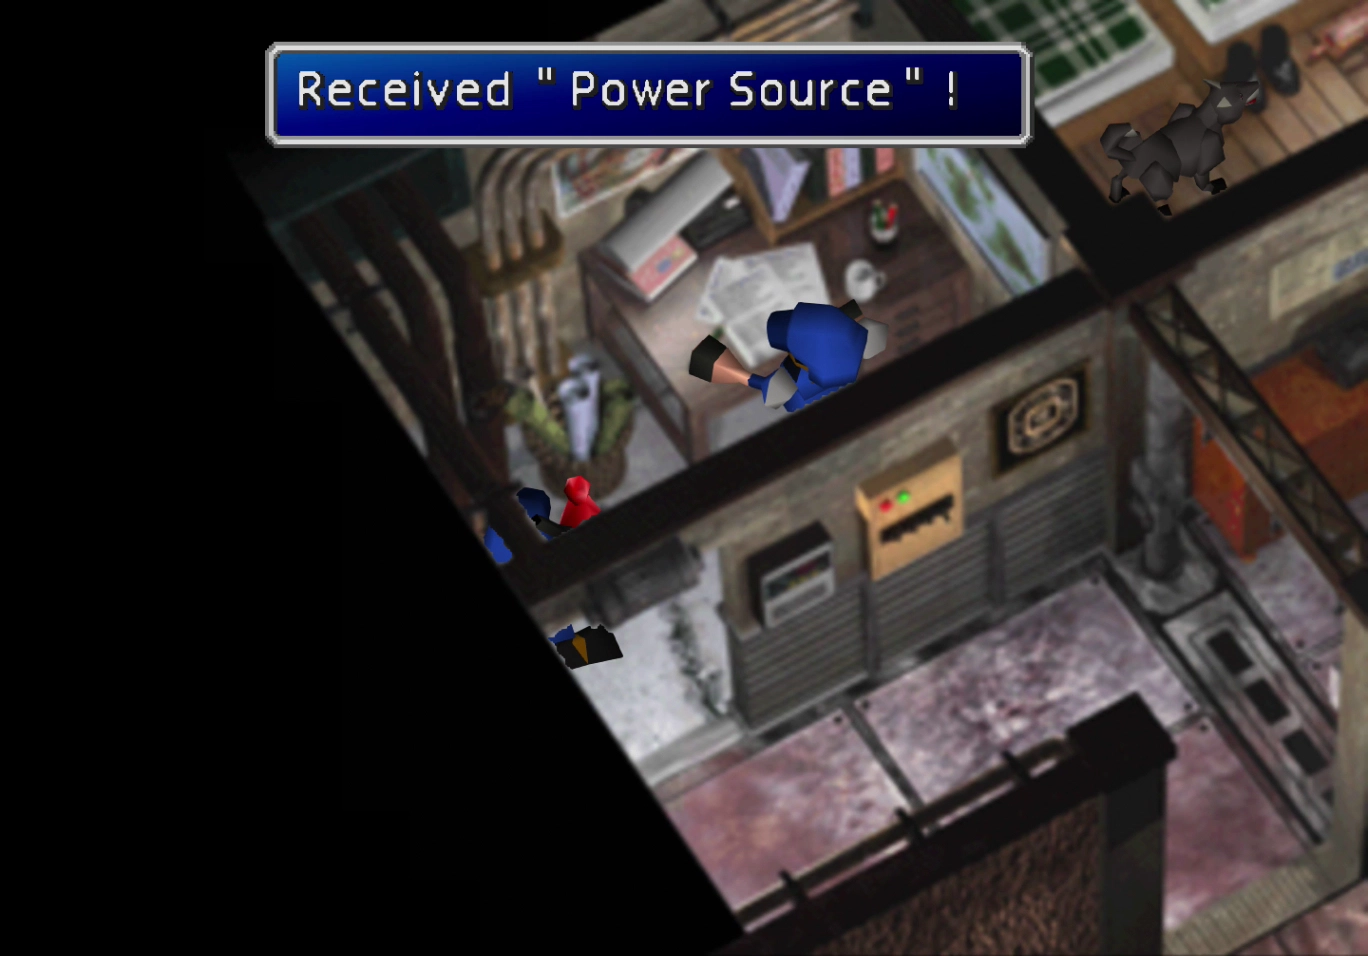
Finally, on the third floor, you will find a ![]() Power Source and
Power Source and ![]() Guard Source on the ground.
Guard Source on the ground.
Exit the barracks and proceed west down the main roadway, past the elevator and the small road leading south and into the other side of Junon.
Once you reach the opposite side of Junon, you will notice a group of soldiers, sailors, and guards running ahead of you. These are your teammates dressed up in disguise. The first doorway leads to the Shinra Member’s Bar, where you will find the last three Turks (but there is nothing else to do in this room).
The next door to the left leads to the Junon Inn. You can save at the ![]() Save Point here, but there is no point in resting because you have not engaged in a battle since your last rest in Lower Junon. There is a Materia Store on the second floor of the Inn where you can buy:
Save Point here, but there is no point in resting because you have not engaged in a battle since your last rest in Lower Junon. There is a Materia Store on the second floor of the Inn where you can buy:
On the third floor, you will find your first Item Store that specializes in the sale of Accessories. The two accessories that the shop sells (![]() Silver Glasses and
Silver Glasses and ![]() Headbands) do not necessarily warrant the steep prices (3,000 Gil), but you can purchase them if your goal is to collect all the weapons, armor, and accessories in the game.
Headbands) do not necessarily warrant the steep prices (3,000 Gil), but you can purchase them if your goal is to collect all the weapons, armor, and accessories in the game.
One door to the left leads to another Barracks. There is a ![]() Speed Source on the first floor and another “
Speed Source on the first floor and another “![]() 1/35 Soldier” on the second floor.
1/35 Soldier” on the second floor.

The last door to the left is another Weapon Shop that contains worse weapons than the one on the other side of Junon, so don’t waste your time. Continue to the northwest in the direction that your team ran to continue the story.
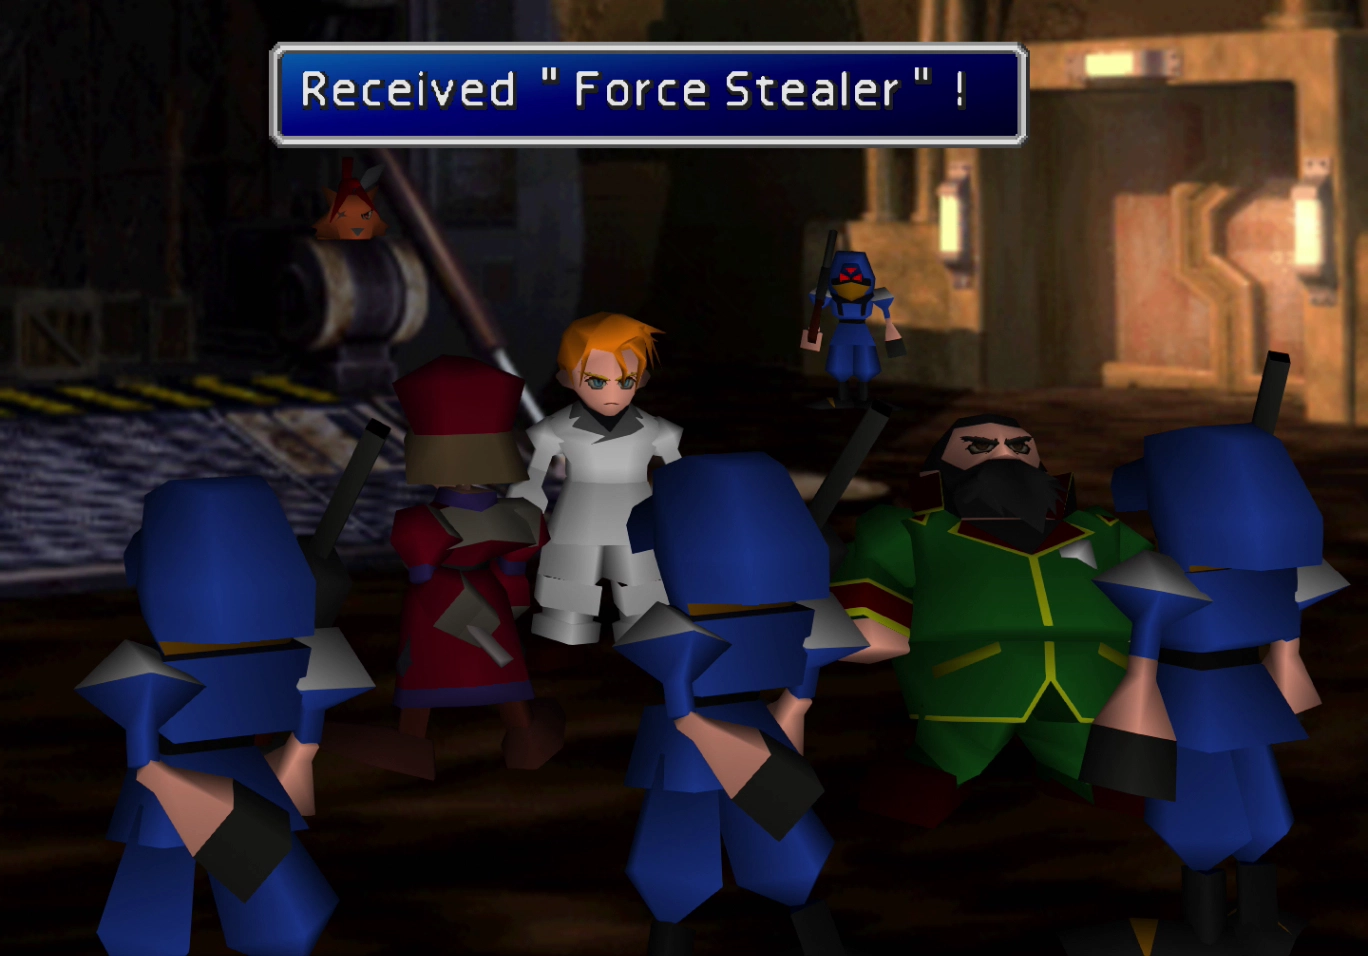
Now it’s time to play Simon Says. Press the buttons as the captain shouts out each command as quickly as you can. You will earn 10 points for each move you complete, but no points when you are turning right or left. You also get 30 points for completing the finishing move successfully.
Ensure that you are always facing the proper direction, or you will not receive any points, even if you complete the correct commands. The prizes that you receive will be based on President Rufus’ mood gauge and are as follows:
- Between 0 and 50 points will be
 Silver Glasses
 - Between 60 and 90 points will be an
 HP Plus Materia
 - 100 or more points will be a
 Force Stealer
Heidegger will give Cloud his reward once the demonstration is complete. Follow Rufus and Heidegger and jump on the Cargo Ship with the rest of your team once you are back in control of Cloud.
Make sure to equip Cloud’s ![]() Force Stealer if you were successful in obtaining it, as the Force Stealer has double Materia growth, which is excellent for speeding up the growth and leveling of your key Materia.
Force Stealer if you were successful in obtaining it, as the Force Stealer has double Materia growth, which is excellent for speeding up the growth and leveling of your key Materia.
The Cargo Ship will begin sailing to Costa del Sol, but the story will continue partway through the journey.