Ganon’s Castle
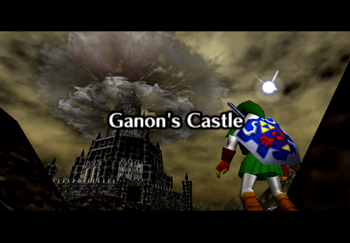
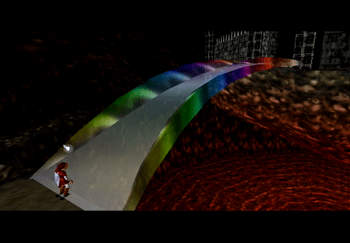
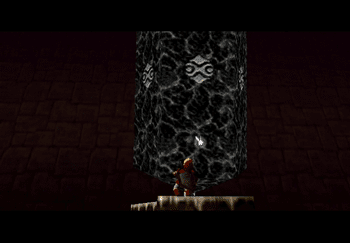
Approach Ganon’s Castle and a short cinematic will play involving Rauru the Sage. Rauru will gather the power of the six Sages to create a bridge leading to Ganon’s Tower.
Cross the rainbow bridge and enter the tower to begin the last dungeon of the game. Travel down the stairwell and past the Beamos.
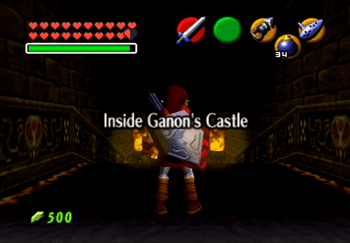
Inside Ganon’s Castle
This large room has a huge barrier blocking the center tower. The goal here is to complete each of the six elemental rooms powering the magical barrier in order to deactivate them.
Start off by taking a right and going through the doorway with the Shadow Emblem above it (the purple one). The purple door is in the back right corner.
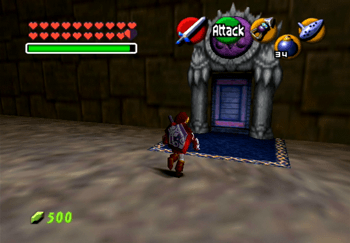
Purple/Shadow Trial
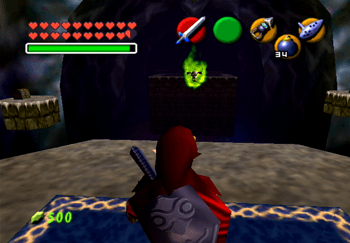
Use your ![]() Fire Arrows to light up the unlit torch on the left side of the room. Quickly run across the platforms that appear to reach the other side – be careful of the Green Bubble (flying skull enemy) as you pass.
Fire Arrows to light up the unlit torch on the left side of the room. Quickly run across the platforms that appear to reach the other side – be careful of the Green Bubble (flying skull enemy) as you pass.
Run directly past the Like Like and onto the next platform before the timer runs out. If you did not make it you will have to light the torch again using the ![]() Fire Arrows.
Fire Arrows.
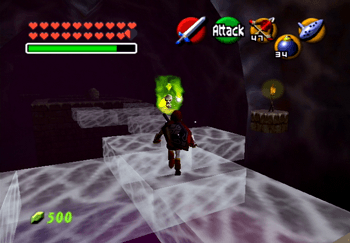
You now have to reach a switch on a floating platform down to the left. There are two methods that you can use to reach it; you can either light the unlit torch again with the ![]() Fire Arrows and run down the stairs that appear or you can use the
Fire Arrows and run down the stairs that appear or you can use the ![]() Hover Boots and run quickly out towards the platform.
Hover Boots and run quickly out towards the platform.
Step on the switch to make a large treasure chest appear and then ![]() Longshot up to the treasure chest. Open it to obtain the Golden Gauntlets – even more powerful than the Silver Gauntlets.
Longshot up to the treasure chest. Open it to obtain the Golden Gauntlets – even more powerful than the Silver Gauntlets.
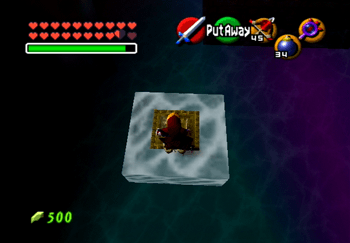
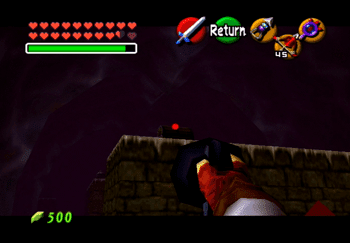
Use the ![]() Lens of Truth and look off to the left side of the screen to see an invisible pathway. Walk along the pathway to reach the switch on the other side of the room.
Lens of Truth and look off to the left side of the screen to see an invisible pathway. Walk along the pathway to reach the switch on the other side of the room.
The switch is rusty so you will have to use the ![]() Megaton Hammer in order to trigger it. Follow the invisible pathway leading towards the doorway at the end of the room and go through the door.
Megaton Hammer in order to trigger it. Follow the invisible pathway leading towards the doorway at the end of the room and go through the door.
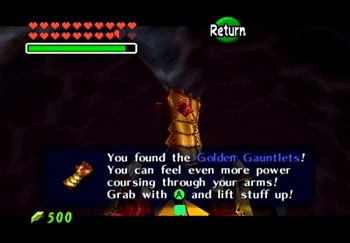
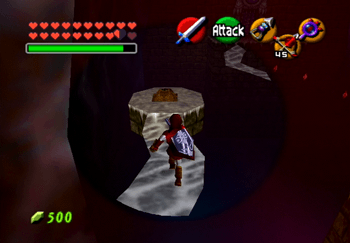
This is the first of six sources that are powering the magical barrier. Equip the ![]() Light Arrows and shoot one of them through the orange, glowing orb. This will cause the orb to burst and will cause Impa to appear. Impa will dispel the Shadow Barrier.
Light Arrows and shoot one of them through the orange, glowing orb. This will cause the orb to burst and will cause Impa to appear. Impa will dispel the Shadow Barrier.
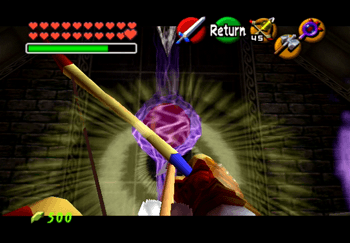
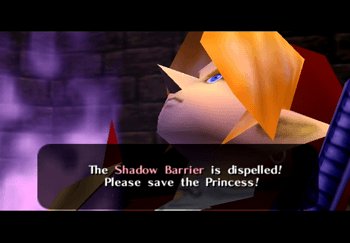
Now that you have the Golden Gauntlets there is another Great Fairy’s Fountain nearby that you can access:
Side Quests
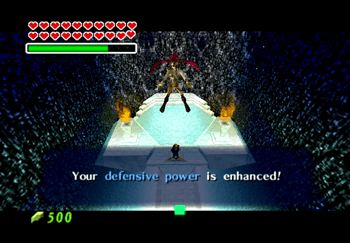
Use the new Golden Gauntlets to visit the last Great Fairy’s Fountain outside of Ganon’s Castle and obtain enhanced Defensive Power (white outlines around Link’s heart containers).
Re-enter Ganon’s Tower once you are done.
You can now go through the regular rotation and complete the remaining rooms in order. Head through the doorway with the Green / Forest Emblem.
Green/Forest Trial
Enter the room and defeat the Wolfos enemy that spawns in the center. Open the treasure chest that appears to receive a Blue Rupee.
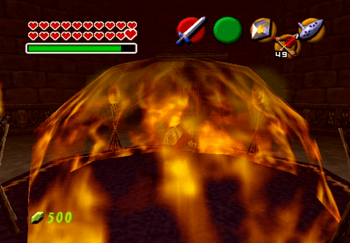
Use ![]() Din’s Fire to light the torches around the circle and then quickly aim and shoot a
Din’s Fire to light the torches around the circle and then quickly aim and shoot a ![]() Fire Arrow at the unlit torch above the doorway. Go through the doorway that unlocks.
Fire Arrow at the unlit torch above the doorway. Go through the doorway that unlocks.
The next room contains two fans on the far wall. Make sure not to run around while the fans are blowing and then use the ![]() Hover Boots and
Hover Boots and ![]() Longshot to reach each of the Silver Rupees.
Longshot to reach each of the Silver Rupees.
Start off by traveling over to the switch at the back left side of the room and step on it to make a target appear. You need this target pillar in order to reach one of the Silver Rupees.
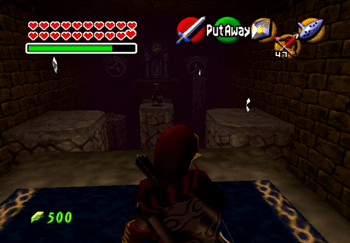
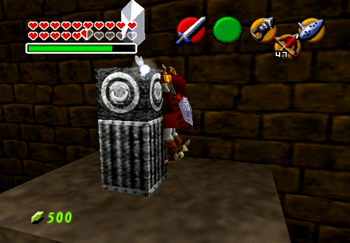
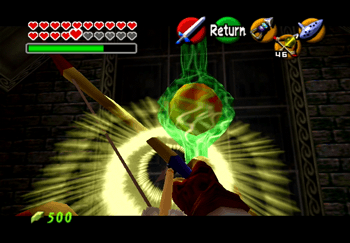
Enter the unlocked door and hit the orange orb with a ![]() Light Arrow to make Saria appear. Saria will destroy the next piece of the barrier. Continue to the right to reach the next room which is the Blue / Water Room.
Light Arrow to make Saria appear. Saria will destroy the next piece of the barrier. Continue to the right to reach the next room which is the Blue / Water Room.
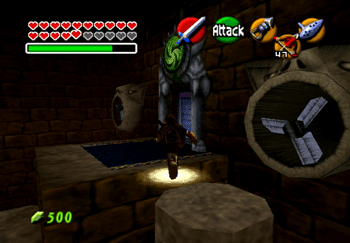
Blue/Water or Ice Trial
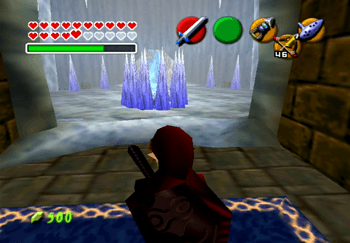
Destroy both of the Freezards in this room to unlock the door, but you can’t quite reach it just yet. The treasure chest on the left side of the room will freeze you if you open it but the treasure chest on the right side of the room contains a Recovery Heart.
Use one of your Bottles to capture some of the Blue Fire and then use it on the red ice on the far wall. Grab some more Blue Fire in one of your Bottles and then go through the unlocked door.
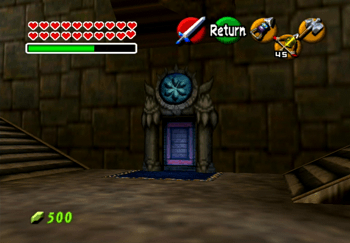
The next room contains a 2:00 minute timer that starts as soon as you enter. Assume that the door you enter from is on the south side of the room.
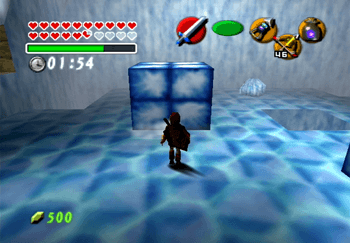
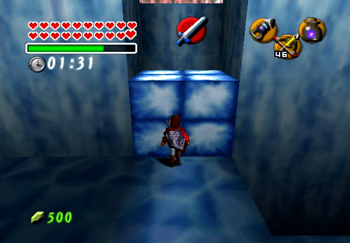
Run over to the block furthest away and push it east and then south. This will cause it to drop into the small crevasse in the ground. Push the second block east (over top of the now filled crevasse), north and then west.
Climb the block up to the red ice wall and use the Blue Fire to get through. Smash the rusty switch with the ![]() Megaton Hammer and then run over to the unlocked door.
Megaton Hammer and then run over to the unlocked door.
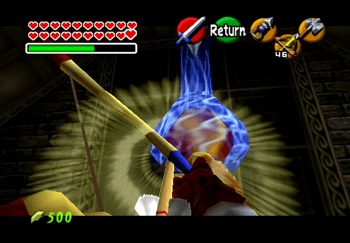
Aim another ![]() Light Arrow at the strange orange orb to make Princess Ruto appear. Princess Ruto will dispel the water barrier for you.
Light Arrow at the strange orange orb to make Princess Ruto appear. Princess Ruto will dispel the water barrier for you.
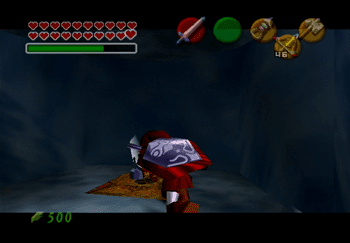
Continue to the right but go past the Purple / Shadow Door as you have already completed this room. Go into the Red / Fire Room.
Red/Fire Trial
The objective of this room is fairly straight forward. Collect all the Silver Rupees in the room to unlock the door at the back. There is a video below that demonstrates how to do this. Note that this room can only be completed if you have obtained the Golden Gauntlets from the Shadow Trial (purple room listed above).
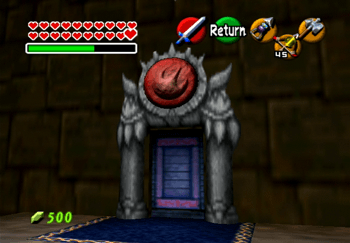
Start off by grabbing the Silver Rupee on the platform to the right. Follow the sinking platform around to the spinning statue that shoots fire and grab the Silver Rupee behind it.
Travel directly north (grabbing the Recovery Heart along the way on the sinking platform) and use the Golden Gauntlets to lift the large grey stone. Grab the Silver Rupee underneath.
Travel across the platform to the platform with the Torch Slug on it. Defeat the Slug and pick up the Silver Rupee. Jump across the grey stone which is now firmly planted in the lava to obtain the last Silver Rupee.
Reaching the unlocked door with the ![]() Longshot can be fairly difficult to time but make sure you take your time to line up the target properly. Use the video below to help guide you:
Longshot can be fairly difficult to time but make sure you take your time to line up the target properly. Use the video below to help guide you:
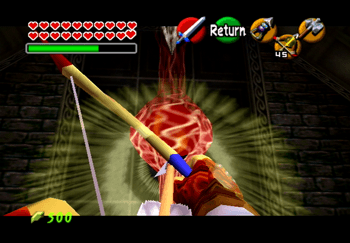
Shoot an arrow through the orange orb to make Darunia appear. Darunia will dispel the Fire Barrier and warp you outside the room again. Continue to the right to reach another large grey stone that you can throw out of the way. Get rid of it to reveal the Yellow / Light Door.
Yellow/Light Trial
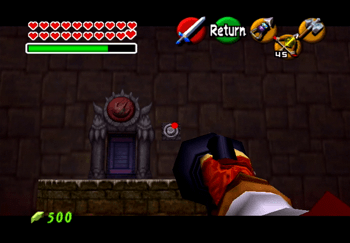
Use the Golden Gauntlets from the Shadow Trial room to remove the large stone blocking the entrance into the Light Trial.
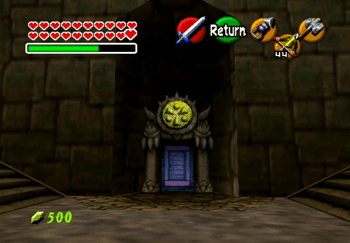
Use the ![]() Lens of Truth as soon as you enter the room to reveal the hidden Keese Bats flying around.
Lens of Truth as soon as you enter the room to reveal the hidden Keese Bats flying around.
There is also a Skulltula hanging from the roof in the center of the room. Open the treasure chest that appears in the center of the room to pick up a Small Key. Use the Small Key to open the door at the back of the room and go through.
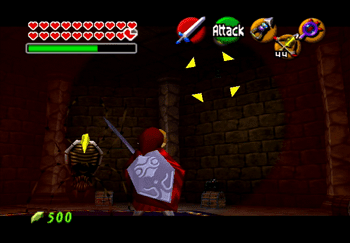
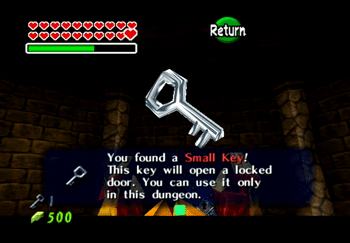
Stand on the Triforce on the ground and play Zelda’s Lullaby to make a treasure chest appear. Open up the treasure chest to receive another Small Key. Use the Small Key on the locked doorway and then proceed through.
Go around the room collecting the Silver Rupees. Four of the five of them are easy to obtain. The fifth Silver Rupee at the top of the pillar in the middle of the room can be obtained by looking for a target for the ![]() Longshot on the roof of the room.
Longshot on the roof of the room.
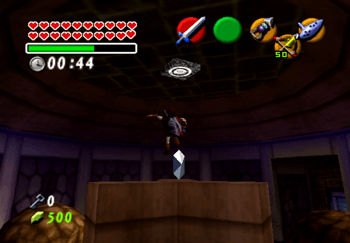
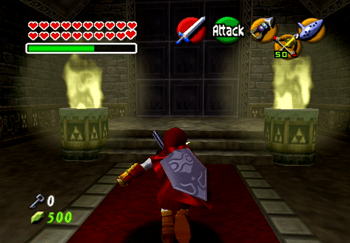
Enter the room that would normally contain the glowing orange orb but it won’t be there. Watch out in this room for a Wallmaster that will drop down on you. Use the ![]() Lens of Truth to see that there is another passageway through that leads to the actual Barrier generator. Hit it with a
Lens of Truth to see that there is another passageway through that leads to the actual Barrier generator. Hit it with a ![]() Light Arrow to destroy it. Rauru will appear and dispel the Light Barrier.
Light Arrow to destroy it. Rauru will appear and dispel the Light Barrier.
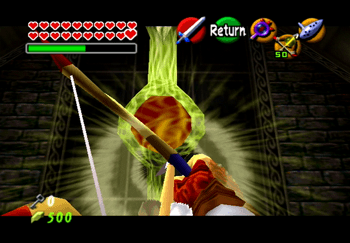
Head to the left to find the last barrier room.
Orange/Spirit Trial
Start off by destroying the Beamos with a ![]() Bomb. Aim the
Bomb. Aim the ![]() Longshot towards the target above where the Beamos was sitting to drop down onto another Silver Rupee.
Longshot towards the target above where the Beamos was sitting to drop down onto another Silver Rupee.
The rest of the Silver Rupees are guarded by spikes. Move the statues out of the way to get the Spikes to move through larger paths and then snag the Silver Rupees when you can.
If you are really impatient you can just roll directly into the spikes to obtain the Silver Rupee, though you will take some damage (not much with the Enhanced Defense upgrade).
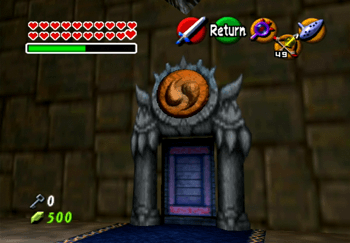
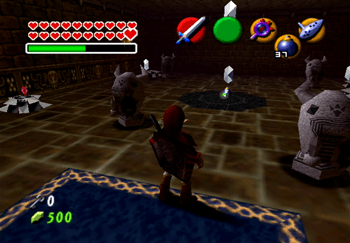
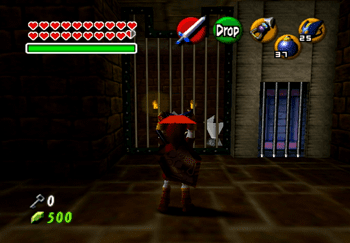
Destroy the two Torch Slugs and then use a Bombchu to hit the crystal switch on the other side of the room. Look for the hole up near the roof and then aim a Bombchu directly at the crystal. It will automatically explode when it touches it.
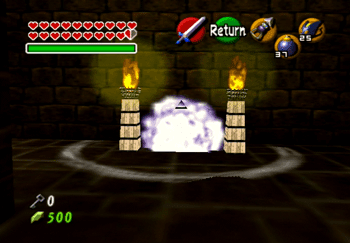
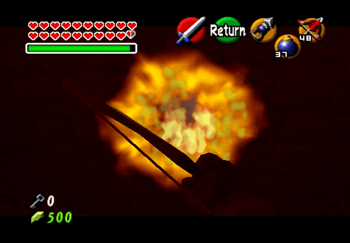
Use the ![]() Fire Arrows to destroy the cobwebs on the roof in the next room to cause the sun to come shining down. Following that, use the
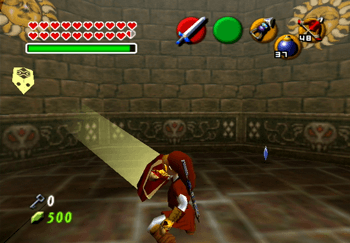
Fire Arrows to destroy the cobwebs on the roof in the next room to cause the sun to come shining down. Following that, use the ![]() Mirror Shield to reflect the light at the sun faces on the wall.
Mirror Shield to reflect the light at the sun faces on the wall.
Hitting the wrong sun will cause a Wallmaster to appear. The correct sun is to the right of the doorway that you enter from. Go through the unlocked door to find the last barrier generator.
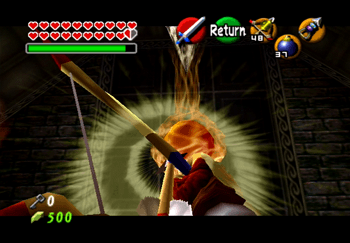
Fire one last ![]() Light Arrow at the glowing orange orb to make Nabooru appear. Nabooru will dispel the Spirit Barrier, which is the final barrier blocking the way into the central tower.
Light Arrow at the glowing orange orb to make Nabooru appear. Nabooru will dispel the Spirit Barrier, which is the final barrier blocking the way into the central tower.
You are now ready to take on Ganondorf!
