Kokiri Forest / Lost Woods
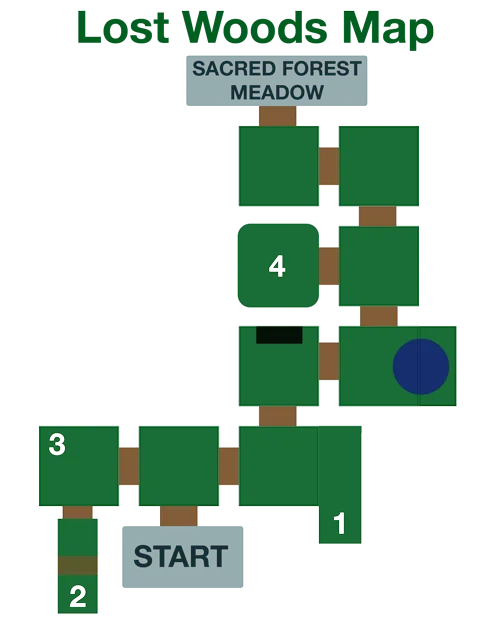
Return to the Kokiri Forest and then back into the Lost Woods. Use the map included below to help you navigate:
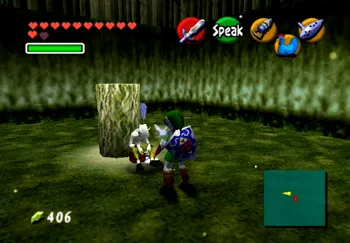
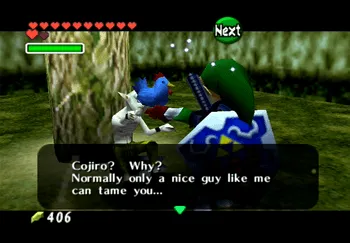
Take the first left to where the Skull Kid used to hang out. The creepy man from Kakariko Village is now sitting up against the tree stump. You can now complete another part of the Biggoron’s Sword side quest if you have been following along. Use the Blue Cucco, Cojiro, to wake the man up.
The man will ask you to deliver some “stuff” to the old hag in the potion shop in Kakariko Village. Agree to take the “stuff” which ends up being an Odd Mushroom. You now have a time limit for taking the Odd Mushroom to the old hag.
This is a regular run for the most part, but you will have to make use of Epona out in Hyrule Field. You can also use the Magic Bean Plant to speedily make it to the bridge to exit the Lost Woods / Kokiri Forest. Just drop off of the Magic Bean Plant when it hovers over the bridge.
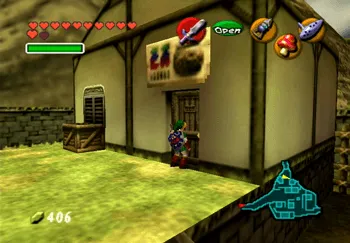
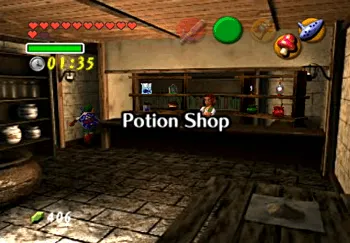
Ride back to Kakariko Village and enter the Potion Shop (the northernmost house on the right side, along the way to the Death Mountain Trail) and go through the passageway leading out back. Climb the steps and enter the red house to find another Potion Shop with the “old hag” inside.
Use the video below to help guide you:
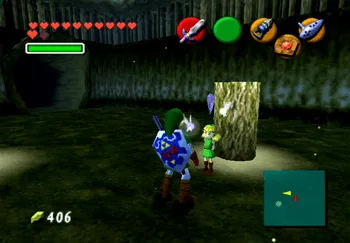
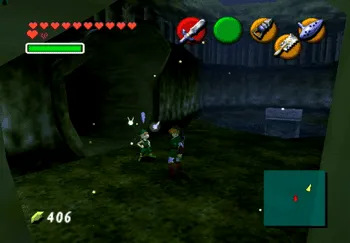
Head back to the Lost Woods to where the weird man was sitting. Instead of the man you will find a small girl. She will tell you that he is now lost and has become a Stalfos.
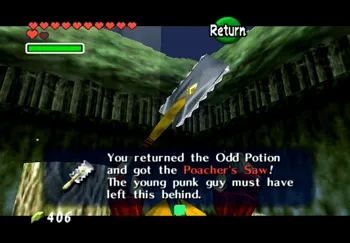
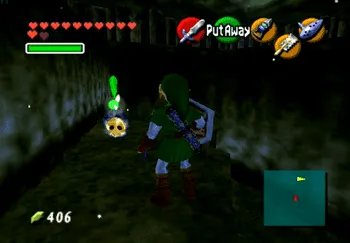
Use the Odd Potion near her (or while targeting her) and she will tell you that he left his saw and that you should give the medicine back to her. Agree to give it to her and she will provide you with the Poacher’s Saw.
From the entrance to the Lost Woods, travel right, then left, then right and then left and you will come across Mido again, who is blocking the pathway just like he did previously. He will not allow Link to pass. Pull out the ![]() Ocarina of Time and play Saria’s Song and he will allow Link to pass.
Ocarina of Time and play Saria’s Song and he will allow Link to pass.

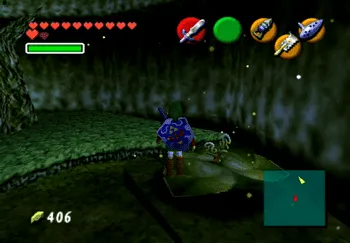
Go through the passageway and then take the first left. This will lead to the area where the two Business Scrubs were located. They are gone now, but if you planted a Magic Bean in this area you can now ride the Magic Bean sprout to the upper ledge where you will find a ![]() Gold Skulltula. Kill it and take the token (number 53 of 100). The next destination is the Sacred Forest Meadow.
Gold Skulltula. Kill it and take the token (number 53 of 100). The next destination is the Sacred Forest Meadow.
Sacred Forest Meadow
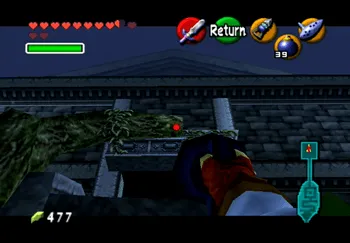
Leave the area and take a left, followed by another left and then a right. Your Stone of Agony should be causing the Rumble Pak to rumble as soon as you enter the area. Place a ![]() Bomb right near the entryway to reveal a secret cave.
Bomb right near the entryway to reveal a secret cave.
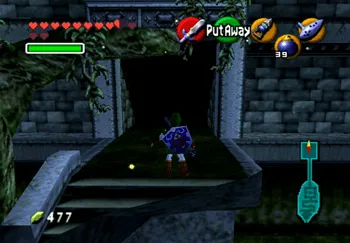
Drop down into the cave to find two Wolfos in this room that you need to defeat. Wait for them to attack for them to “drop their guard” afterwards allowing you to hit them without defending themselves. A treasure chest will appear that contains a Purple Rupee (worth 50 Rupees).


Exit back out to the Sacred Forest Meadow. Navi will interrupt you as you walk forward and explain that there are some narrow passages and that you may need to sneak up on some enemies using ![]() or
or ![]() Targeting.
Targeting.
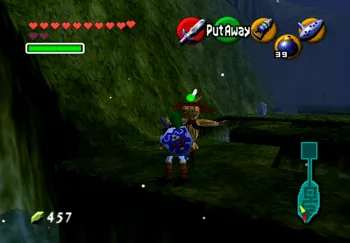
The enemies that wander through these areas are called Moblins. You cannot defeat them. Instead, you have to dodge around them by sneaking into their sight and causing them to run past you.

There is an alternative to trying to traverse the narrow corridors in this area. Near the front of the Sacred Forest Meadow (where the hole to the secret cave was located) you may have noticed Navi fly up to the top of one of the ridges.
Stand on the cave, pull out your ![]() Ocarina of Time and play the Scarecrow’s Song to make Pierre the Scarecrow appear.
Ocarina of Time and play the Scarecrow’s Song to make Pierre the Scarecrow appear.
Use the ![]() Hookshot to pull Link up to the upper levels and then walk across the platforms to the other side of the meadow.
Hookshot to pull Link up to the upper levels and then walk across the platforms to the other side of the meadow.

Once you get to the other end of the meadow (using either of the two methods), search the wall on the east side for a ![]() Gold Skulltula. Use your
Gold Skulltula. Use your ![]() Hookshot to destroy it and obtain the token (number 54 of 100).
Hookshot to destroy it and obtain the token (number 54 of 100).

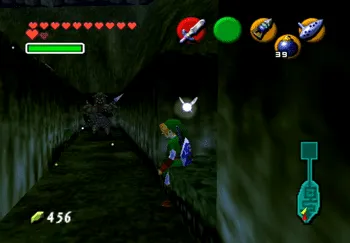
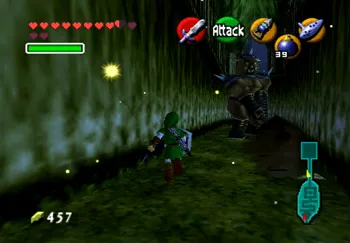
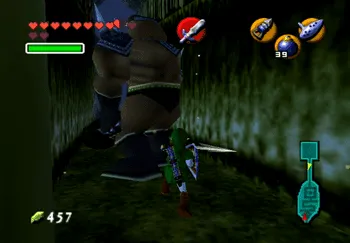
Travel up the stairway until you reach the hallway with another Moblin with a huge club. This Moblin will swing its club at you causing ripples to charge forward at you through the ground.
You have to dodge the ripples by strafing from side to side as they go past. You can destroy this Moblin once you get past him by turning around and attacking him with your ![]() Master Sword.
Master Sword.
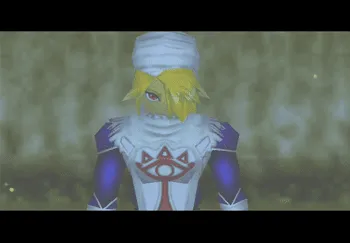
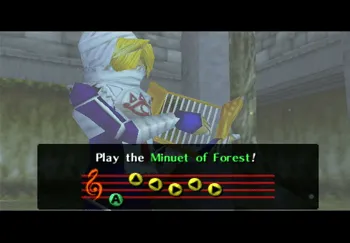
Continue down the pathway until you reach the area where you met up with Saria as young Link only to find that she is not there. Sheik will hop down from the treetops and will teach you the Minuet of Forest. You can warp back to this area at any time by playing the Minuet of Forest on the ![]() Ocarina of Time. Sheik will disappear after that.
Ocarina of Time. Sheik will disappear after that.
The next dungeon is located up through the stony doorway on the north wall. Use the ![]() Hookshot to hook onto the tree branch above the platform as shown in the screenshot below. Walk through the doorway to enter the Forest Temple.
Hookshot to hook onto the tree branch above the platform as shown in the screenshot below. Walk through the doorway to enter the Forest Temple.