Vercingetorix (Class A)
This is the last and the most difficult Mission in the game.
Prerequisites
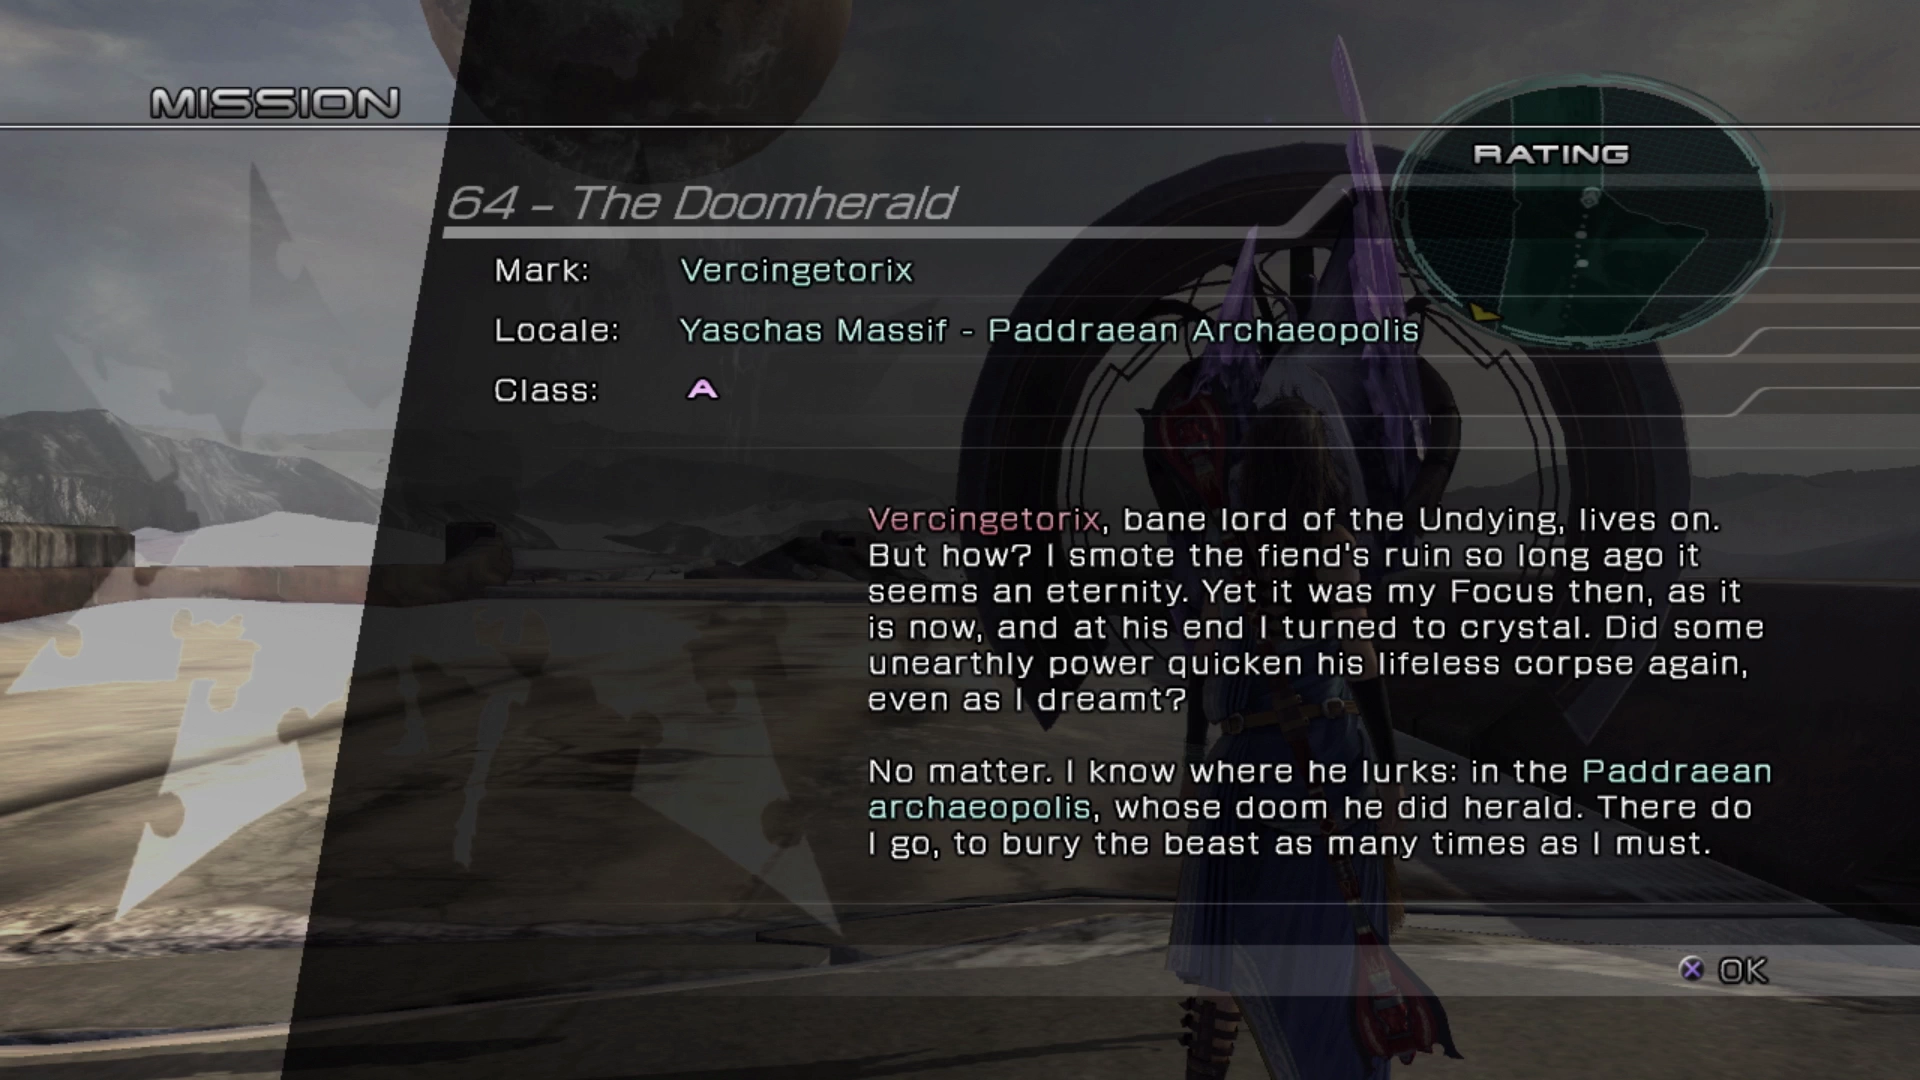
- Complete the Titan’s Trials / Faultwarrens
Cie’th Stone Location
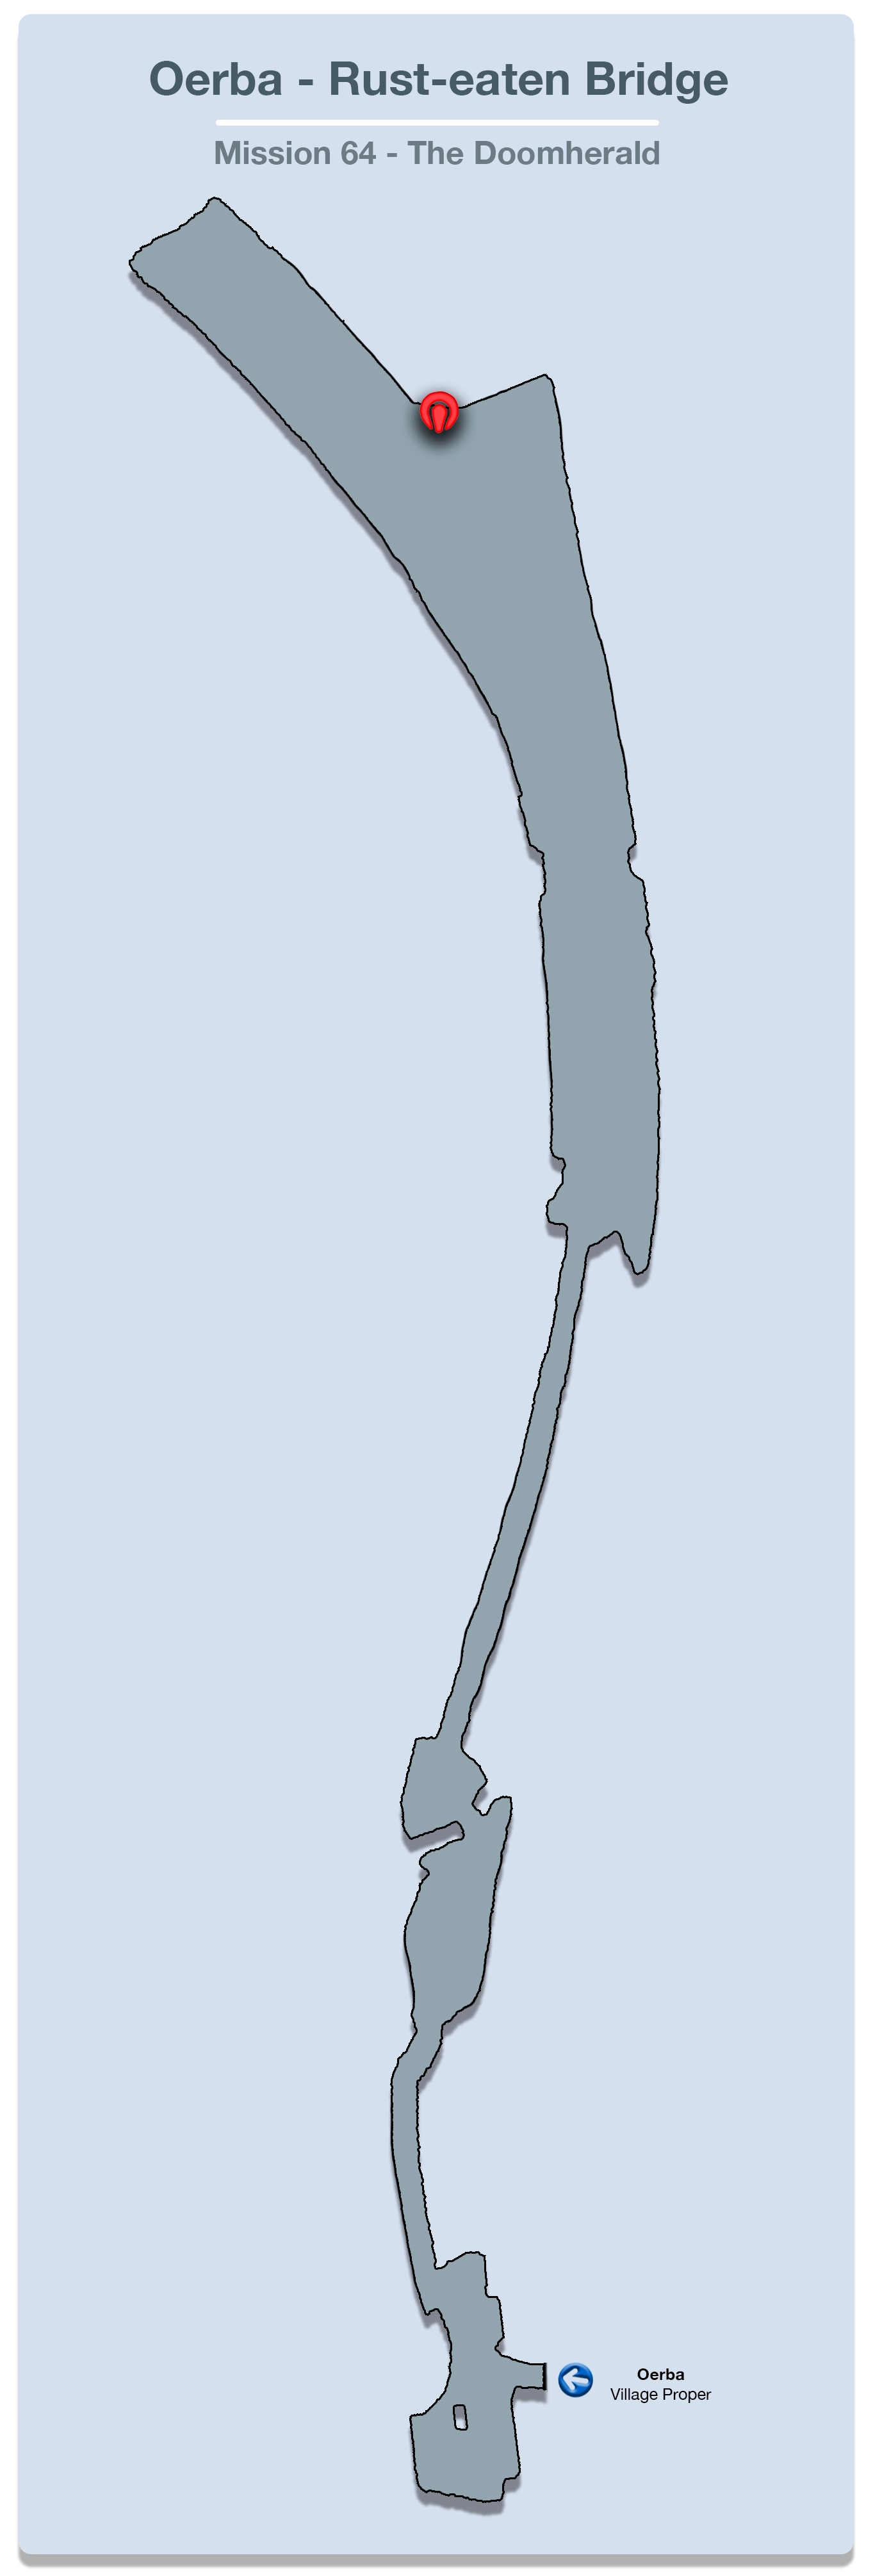
The Cie’th Stone for this Mission is located at the end of the pathway in Oerba where the team fights Barthandelus at the end of Chapter 11.
Mark Location
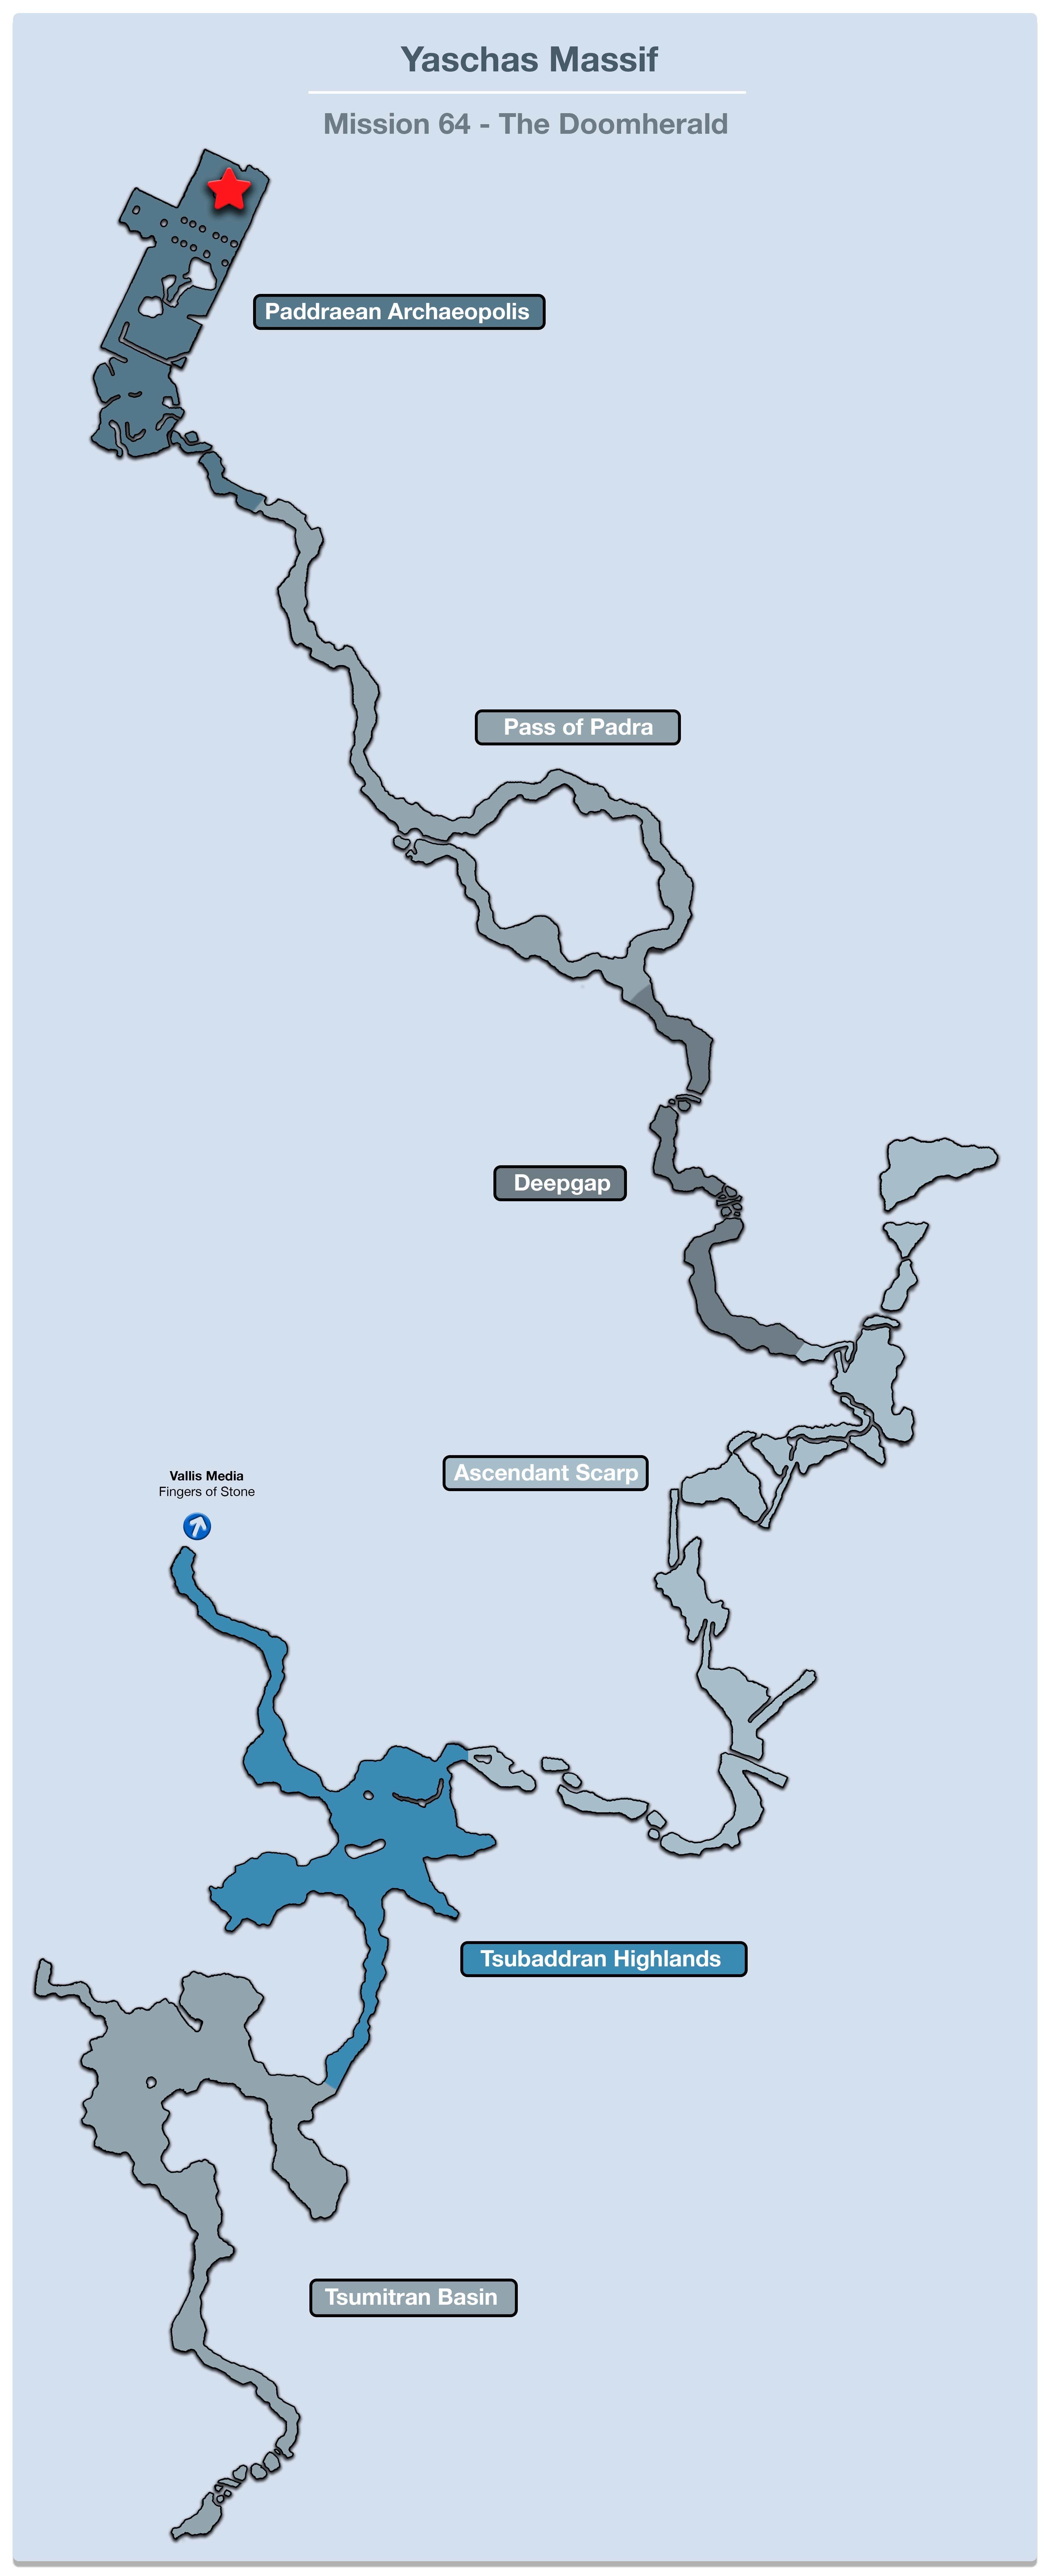
The mark for this Mission can be found in the Paddraean Archaeopolis area of the Yaschas Massif. You can teleport directly there using a waystone.
Battle Tactics
Mark Battle
Class: A
HP: 15,840,000
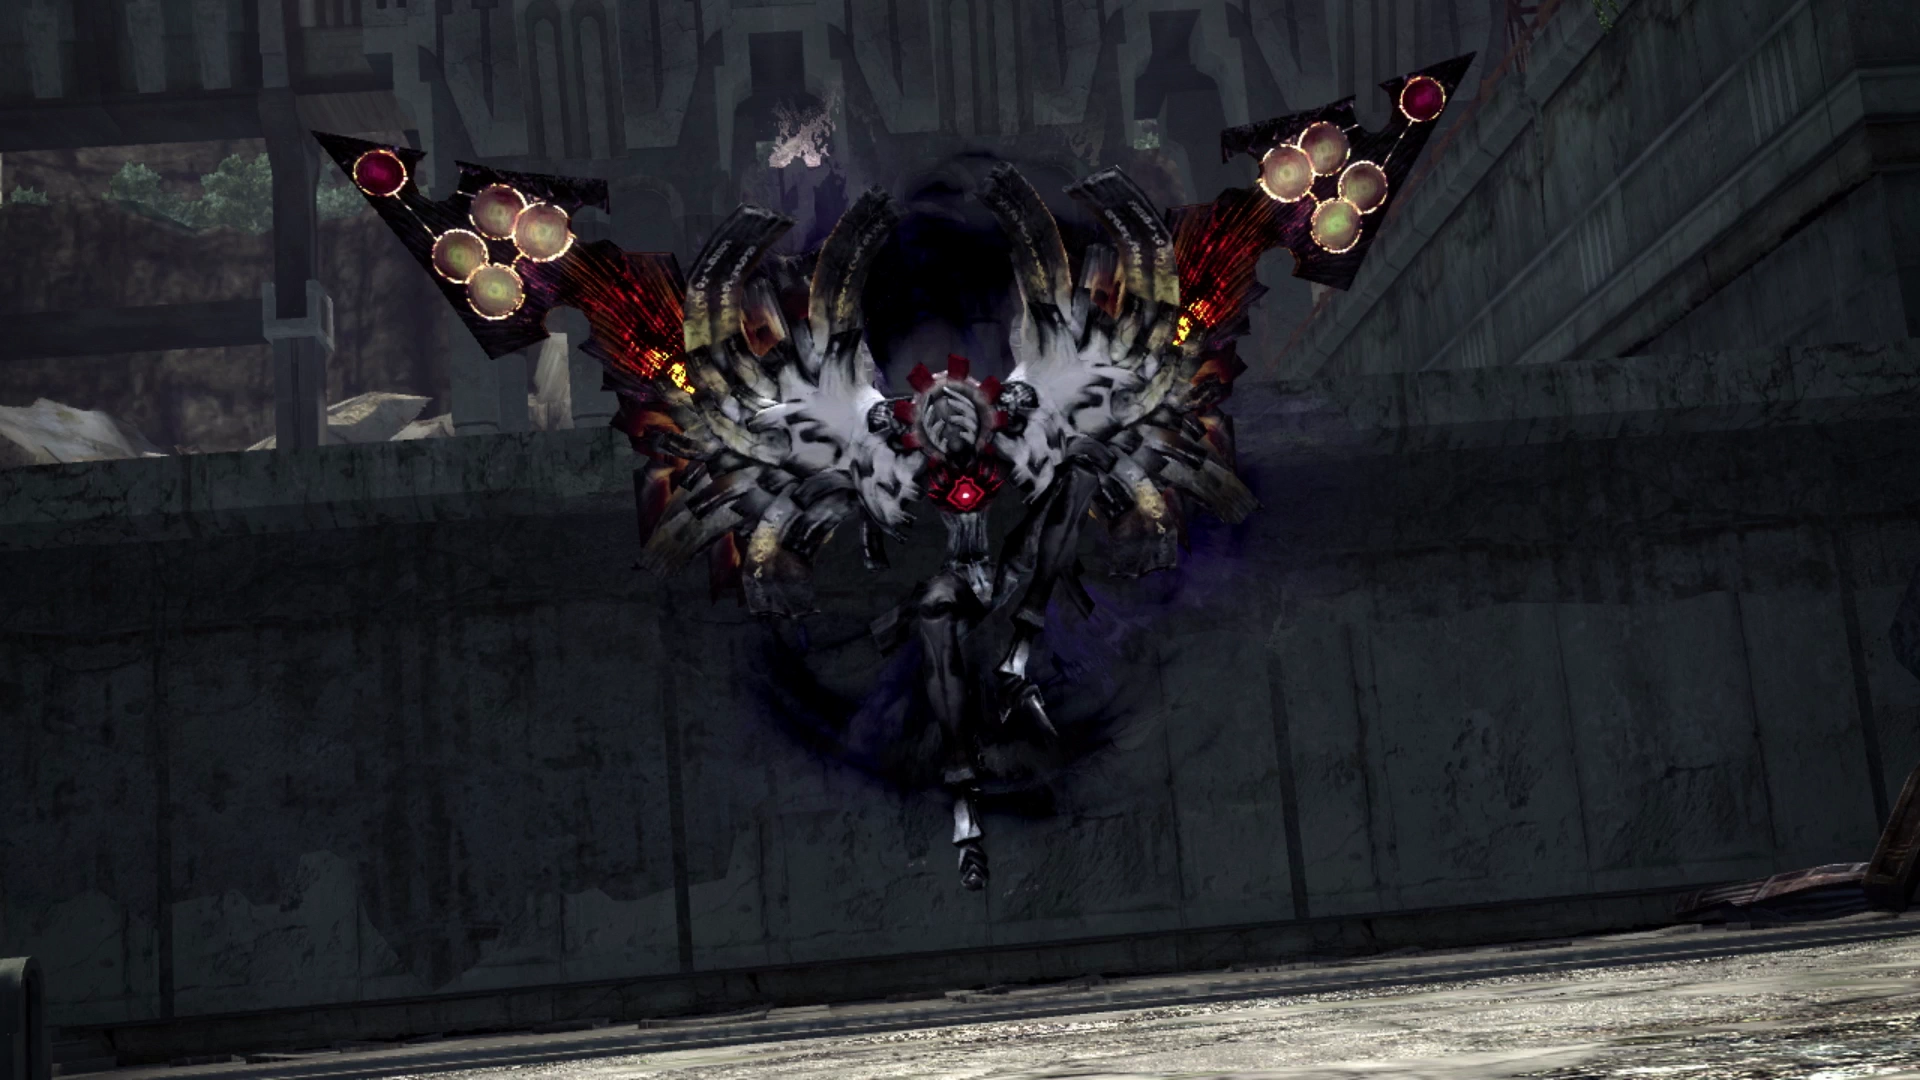
This is the most difficult Mission by far but the strategy for defeating Vercingetorix is all about reactions and timing. Your actions need to be reactive to the stage of the fight and what Vercingetorix is doing and your party will be fine, but this is a fairly challenging battle, and it’s recommended that your party members be fully leveled through their Crystariums. Consider doing some farming if they are not.
Vercingetorix has the following abilities and attacks (in addition to its normal physical attack):
- Impenetrable Aura: It will become invulnerable to all attacks for a brief period and it will recover 1% of its HP 8 times for a total of 8%. This will also remove and debuffs on it and reset its Chain Gauge.
- Putrescence: Deals damage and dispels two status effects.
- Wind Shear: Deals non-elemental damage to all targets either nine, fifteen, twenty-one or twenty-seven attacks (more as the battle progresses).
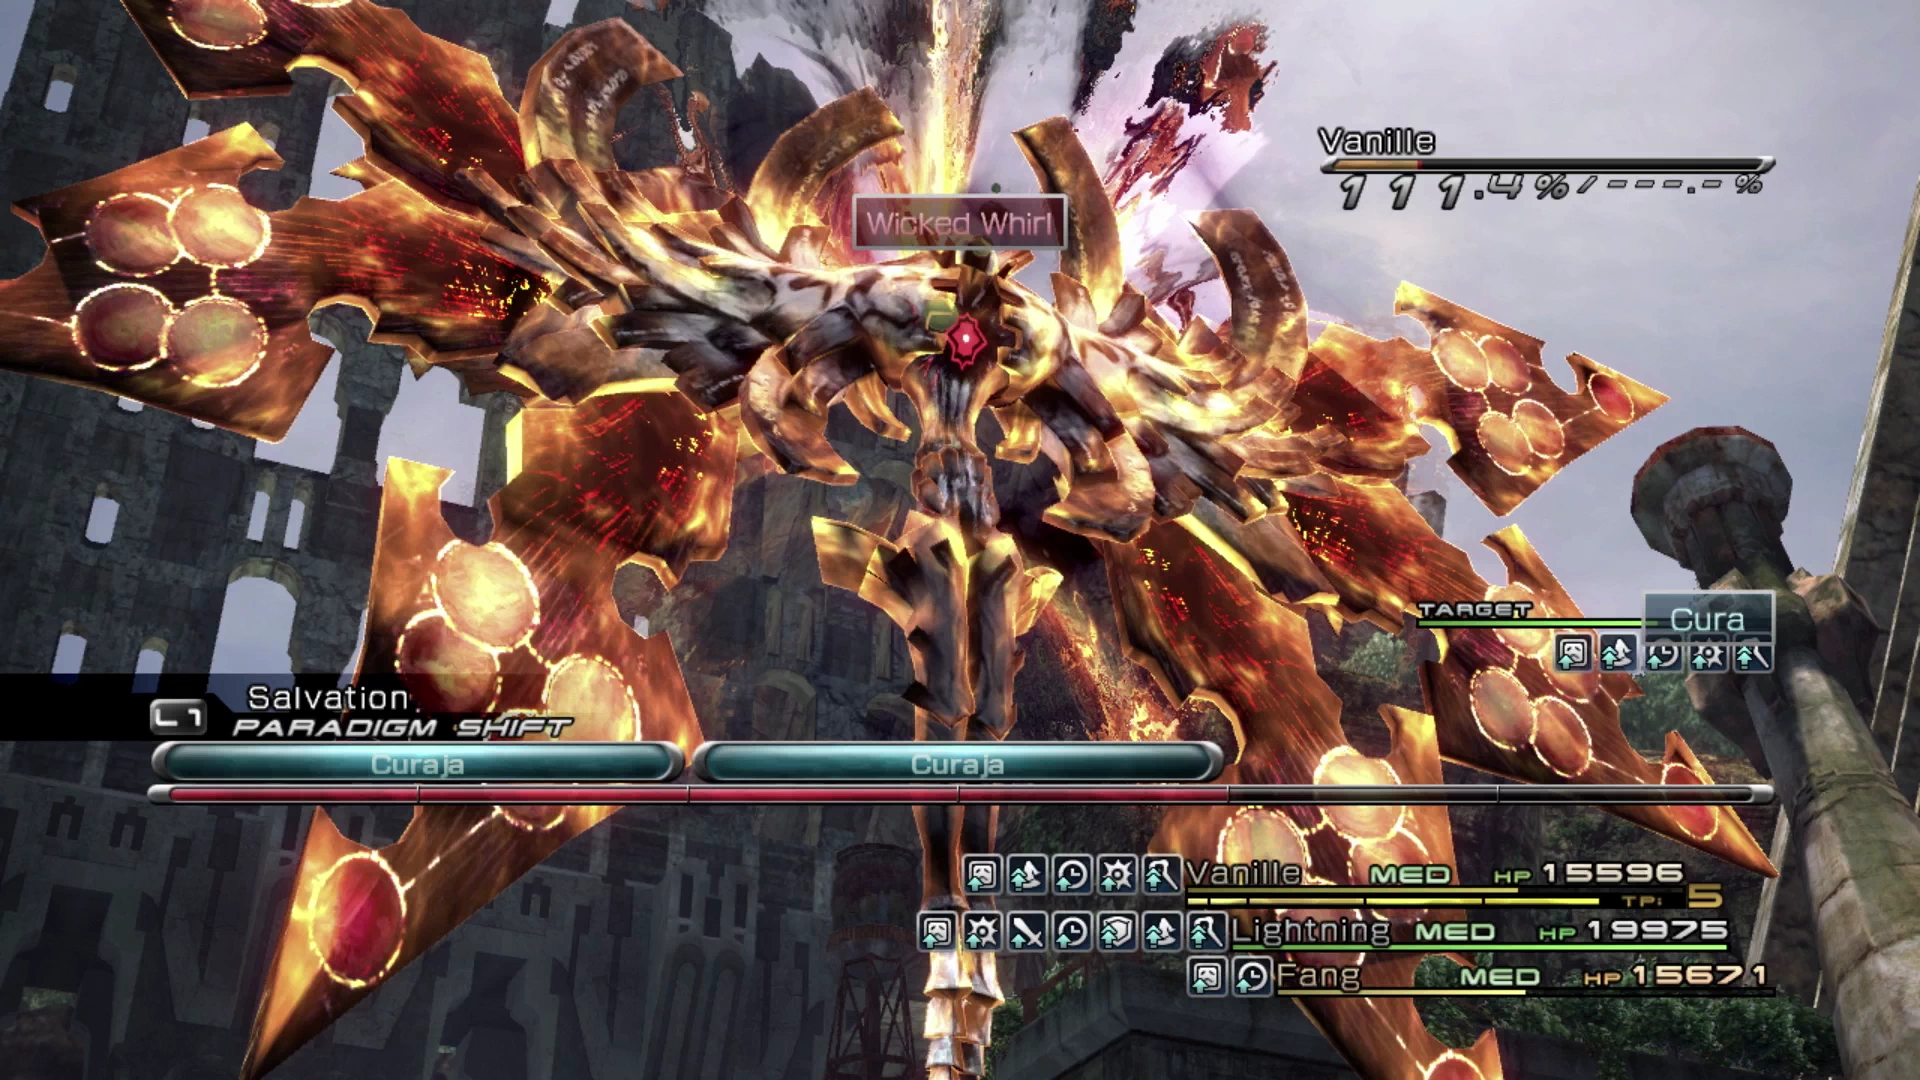
- Wicked Whirl: Deals non-elemental damage through fourteen attacks with a strong finisher dealing an incredibly high amount of damage.
More on how to deal with these attacks is in the strategy section below.
Preparation
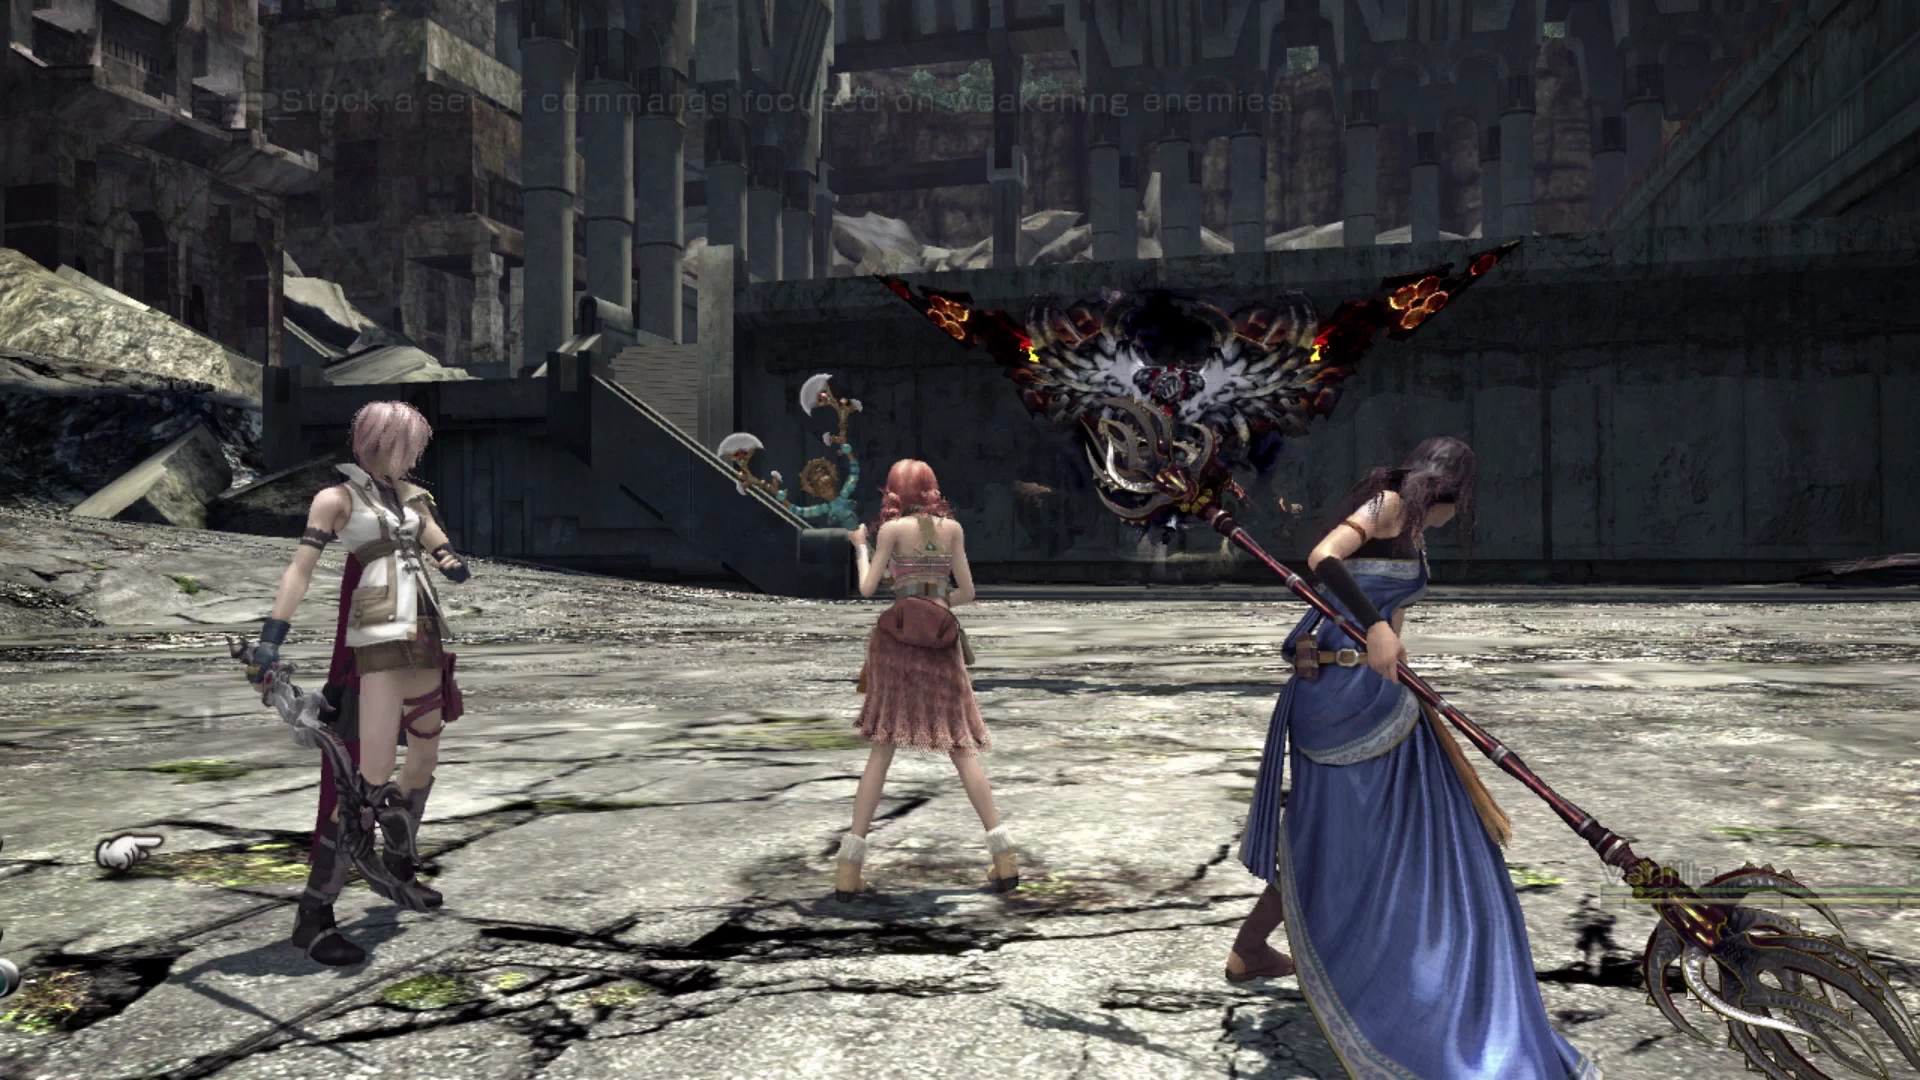
Include Fang, Lightning and Vanille in your party with Vanille as your party leader. Make sure Vanille has her ![]() Belladonna Wand equipped (or the upgraded version of it).
Belladonna Wand equipped (or the upgraded version of it).
- Cerberus (all
 Commandos)
 - Tri-disaster (all
 Ravagers)
 - Infiltration (all
 Saboteurs)
 - Rapid Growth (all
 Synergists)
 - Salvation (all
 Medics)
 - Tortoise (all
 Sentinels)
Equip your party members with accessories that will help them reduce the amount of damage they take including ![]() Royal Armlets and
Royal Armlets and ![]() Imperial Armlets. Make sure that their weapons and accessories are as upgraded as possible.
Imperial Armlets. Make sure that their weapons and accessories are as upgraded as possible.
Strategy
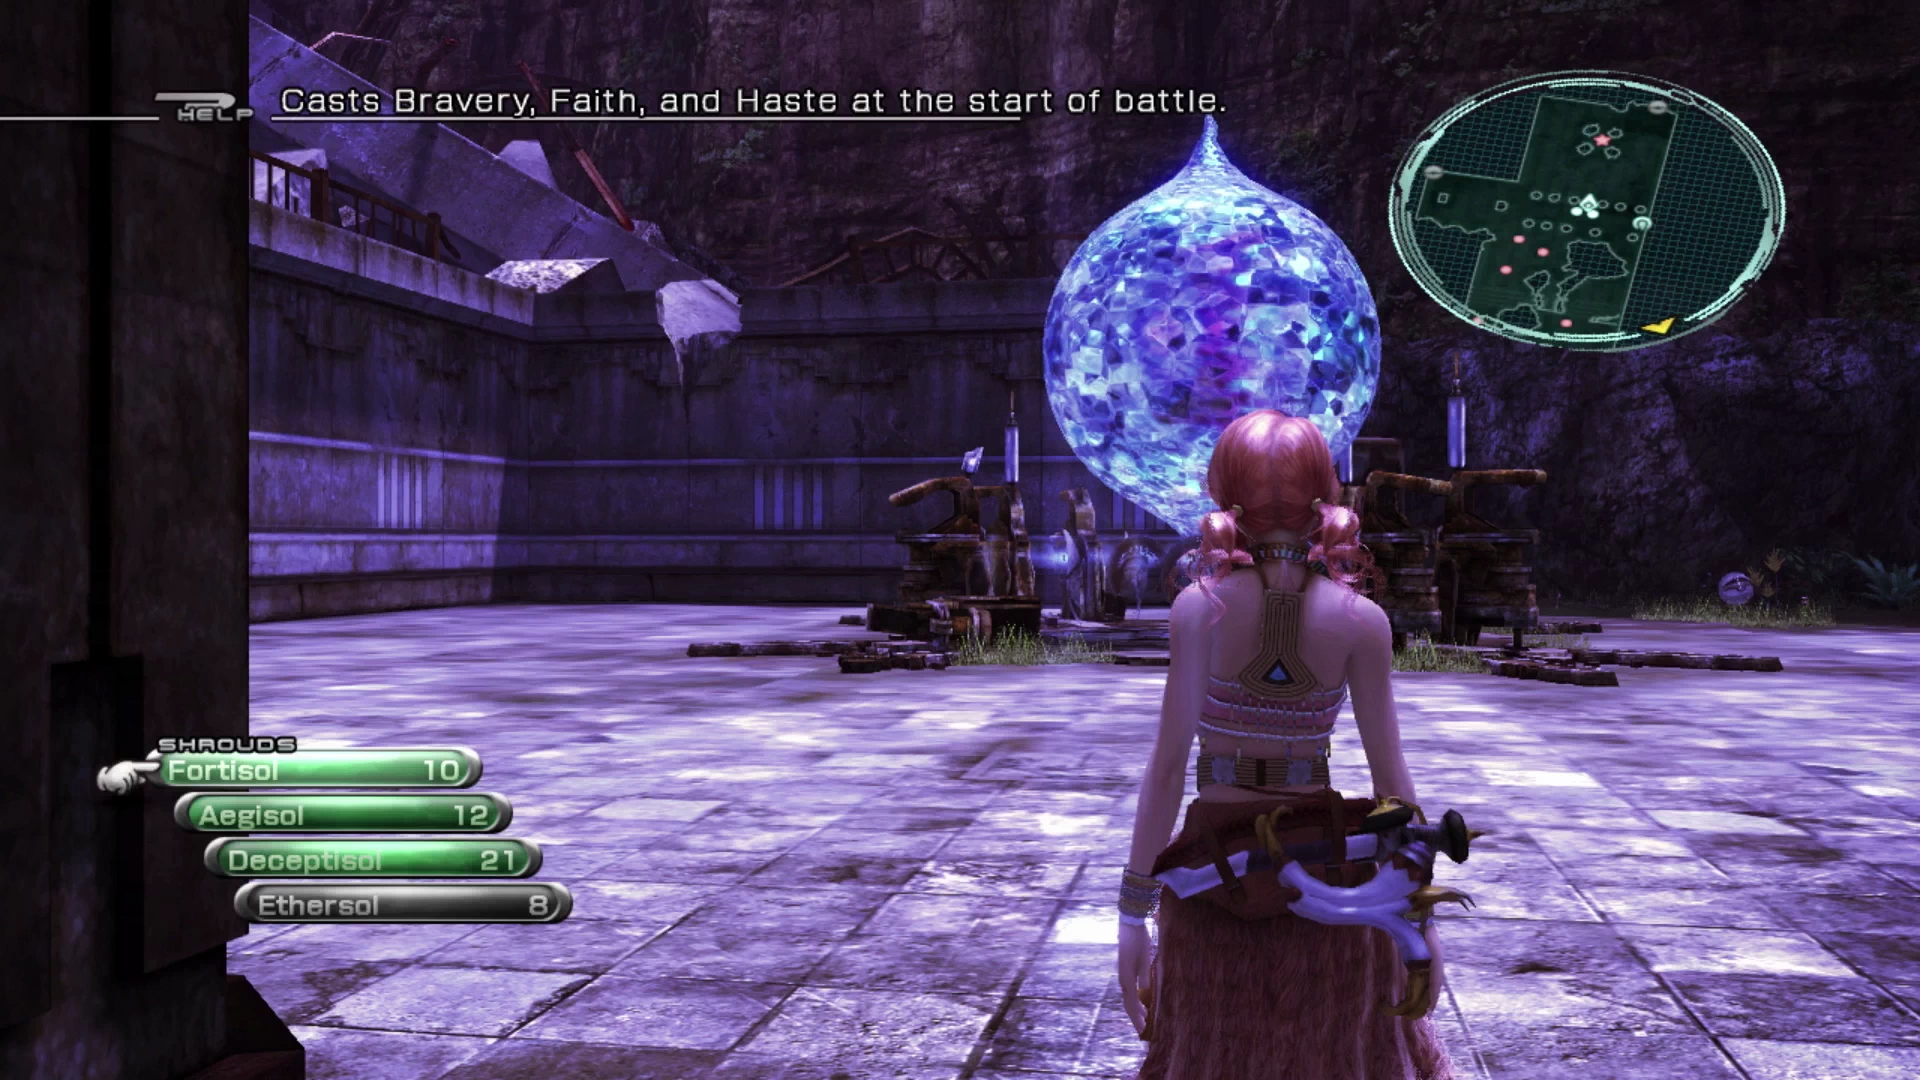
This is a good time to not be stingy with the ![]() Aegisol and
Aegisol and ![]() Fortisol. Because Vercingetorix’s Putrescence ability removed positive status effects, you’re going to be in a constant battle to try to keep them active, but all buffs are helpful!
Fortisol. Because Vercingetorix’s Putrescence ability removed positive status effects, you’re going to be in a constant battle to try to keep them active, but all buffs are helpful!
The two most important things to keep in mind for this fight are:
- Switch to Tortoise whenever you see Vercingetorix using Wicked Whirl as this will KO your party members otherwise (and may KO a party member or two anyway!)
- Vercingetorix is weak to the
 Poison status effect so keep it active at all times.
![]() Poison depletes 1% of the targets HP every 3 seconds which, when you look at Vercingetorix’s HP, ends up being a ton of damage. In fact, this will be the primary means of dealing damage to Vercingetorix, over and above anything that your
Poison depletes 1% of the targets HP every 3 seconds which, when you look at Vercingetorix’s HP, ends up being a ton of damage. In fact, this will be the primary means of dealing damage to Vercingetorix, over and above anything that your ![]() Ravagers or
Ravagers or ![]() Commandos can do, so the goal is to get this status effect active and reapplied after it falls off and then just survive. This is made much easier as well if you give Fang an opportunity to get
Commandos can do, so the goal is to get this status effect active and reapplied after it falls off and then just survive. This is made much easier as well if you give Fang an opportunity to get ![]() Slow active as a debuff while you are in the Infiltration Paradigm.
Slow active as a debuff while you are in the Infiltration Paradigm.
Use a ![]() Librascope at the start of the battle and then manually select “Abilities” to have Vanille cast
Librascope at the start of the battle and then manually select “Abilities” to have Vanille cast ![]() Poison as quickly as possible. It won’t take long before Vercingetorix will use “Impenetrable Aura”, and it’s at this point that you should quickly heal up your party members using Salvation and then swap to Rapid Growth to reapply positive status effects. Remember, these are going to be constantly falling off throughout the battle because of its Putrescence attack.
Poison as quickly as possible. It won’t take long before Vercingetorix will use “Impenetrable Aura”, and it’s at this point that you should quickly heal up your party members using Salvation and then swap to Rapid Growth to reapply positive status effects. Remember, these are going to be constantly falling off throughout the battle because of its Putrescence attack.
Play this fight defensively as Vercingetorix will be doing more and more damage as the battle progresses.
- First Attempt:
 Gold Watch, Datalog Entry: Analect XIII
 - Repeat Attempts:
 Bomb Core (x10)
Achievement/Trophy
You will automatically receive the Exorcist Achievement/Trophy after you have defeated all the Missions with undead marks. This is typically the last Missions required to reach this achievement, if you have been following the guide, but you may receive this Achievement/Trophy later on depending on your completion order.

Achievement/Trophy
You will receive the Galuf’s Frail Achievement/Trophy after you have completed all the Missions in the game. Like the Exorcist Achievement/Trophy above, it is typically received once the last Mission is completed which is typically this one.
