
Crystarium Explanation
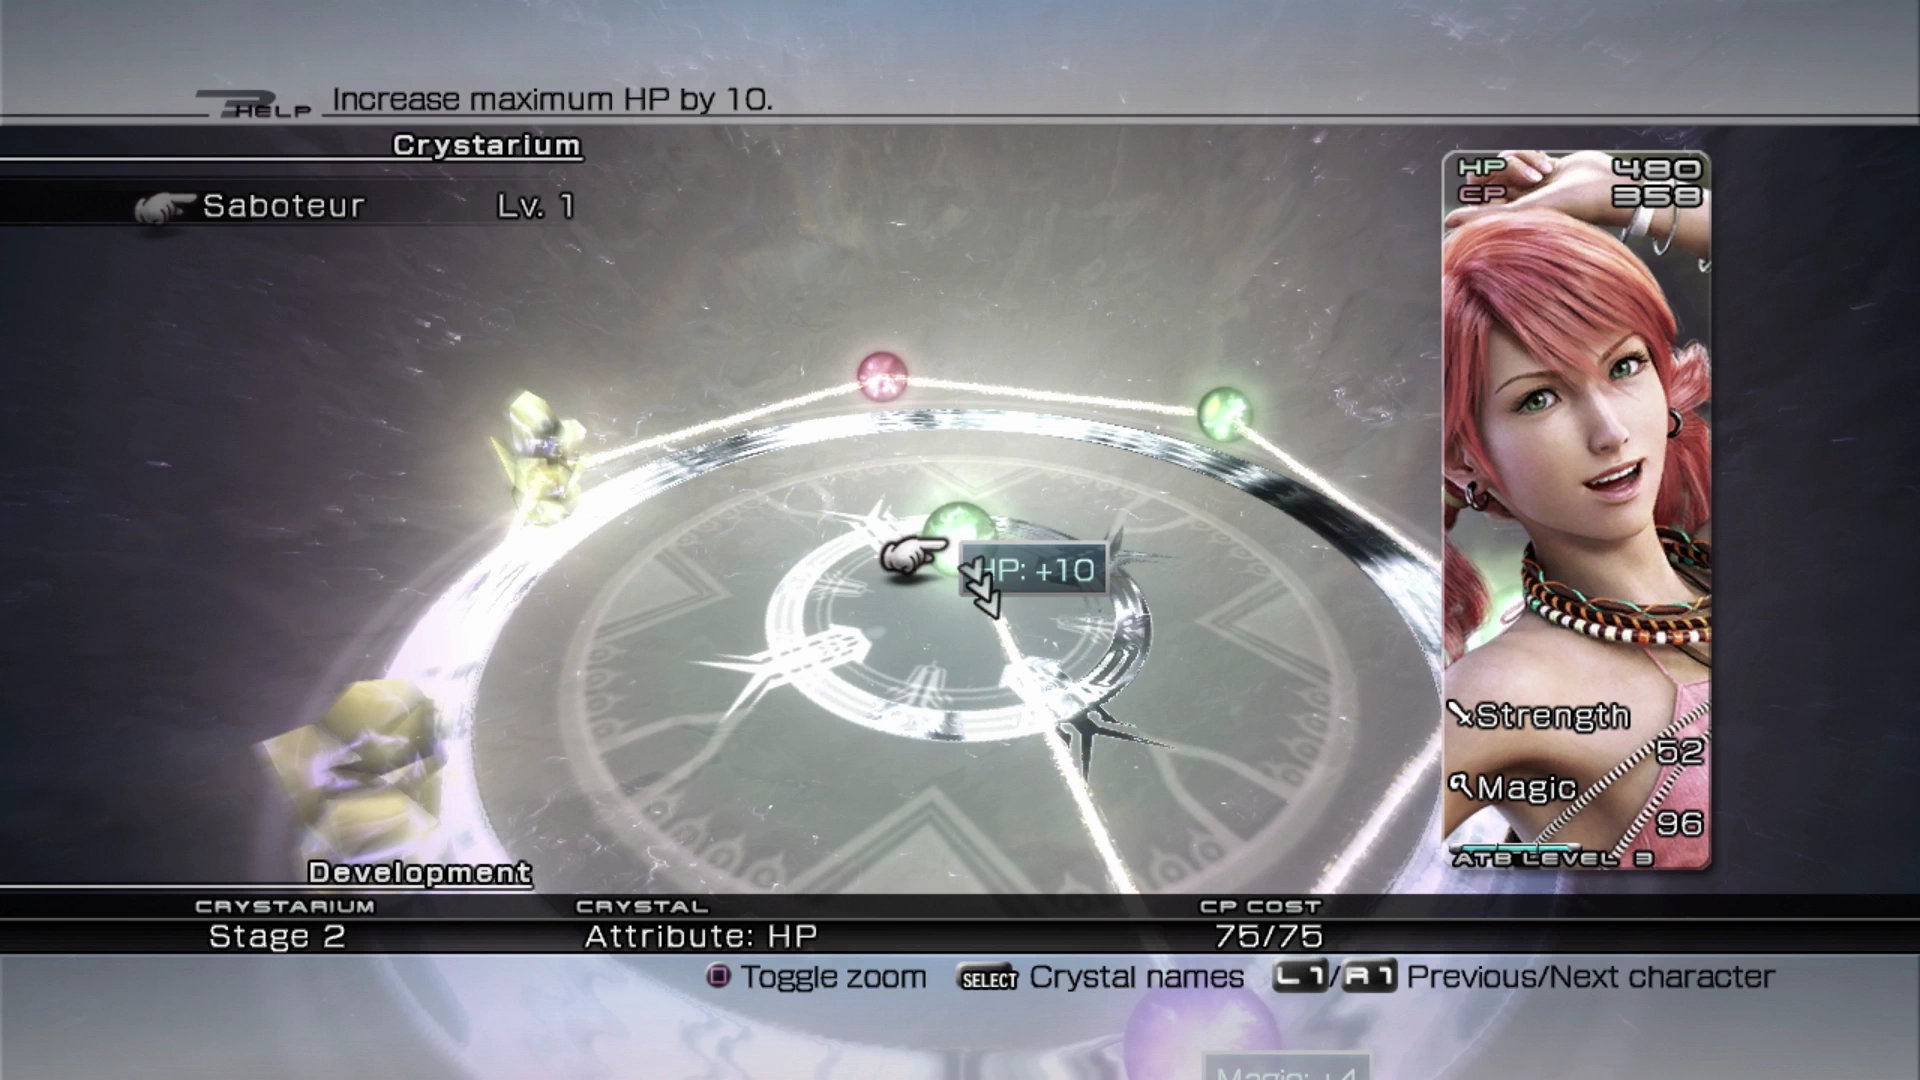
The Crystarium system replaces the traditional system seen in some of the earlier Final Fantasy games, which included gaining experience points (EXP), or ability points (AP), and leveling your characters up from level 1 to level 100. Instead, the Crystarium system allows each character to earn Crystogen Points (CP) at the end of each battle which can be spent in different ways within the Crystariums available to each character.
To its detriment though, the Final Fantasy XIII system of expanding a Crystarium does not actually provide that much in the way of customizing your characters; the choices available to you as you spend your CP are very limited. There are a few forks and paths available, and you can choose which Crystarium role to spend CP in (![]() Commando,
Commando, ![]() Ravager,
Ravager, ![]() Medic, etc.), but beyond that, options are very limited. A few things to be aware of:
Medic, etc.), but beyond that, options are very limited. A few things to be aware of:
- Unlocking a stat attribute, such as Strength, Magic or HP, will permanently increase that character’s stats no matter which role they are in
- Unlocking an ability, such as
 Blitz or
  Cure, makes that ability available only when the character is in that specific role (i.e. only a
  Medic can use Cure)
 - Unlocking a technique, such as
 Quake or Libra, allows that character to use that technique by spending Technical Points (TP) after selecting it from the technique menu, and this can be done in any role
 - ATB Crystals and Accessory Crystals unlock either an ATB bar or an Accessory slot for the character no matter which role they are in
- Role Level Crystals only impact the role that they’ve been unlocked for
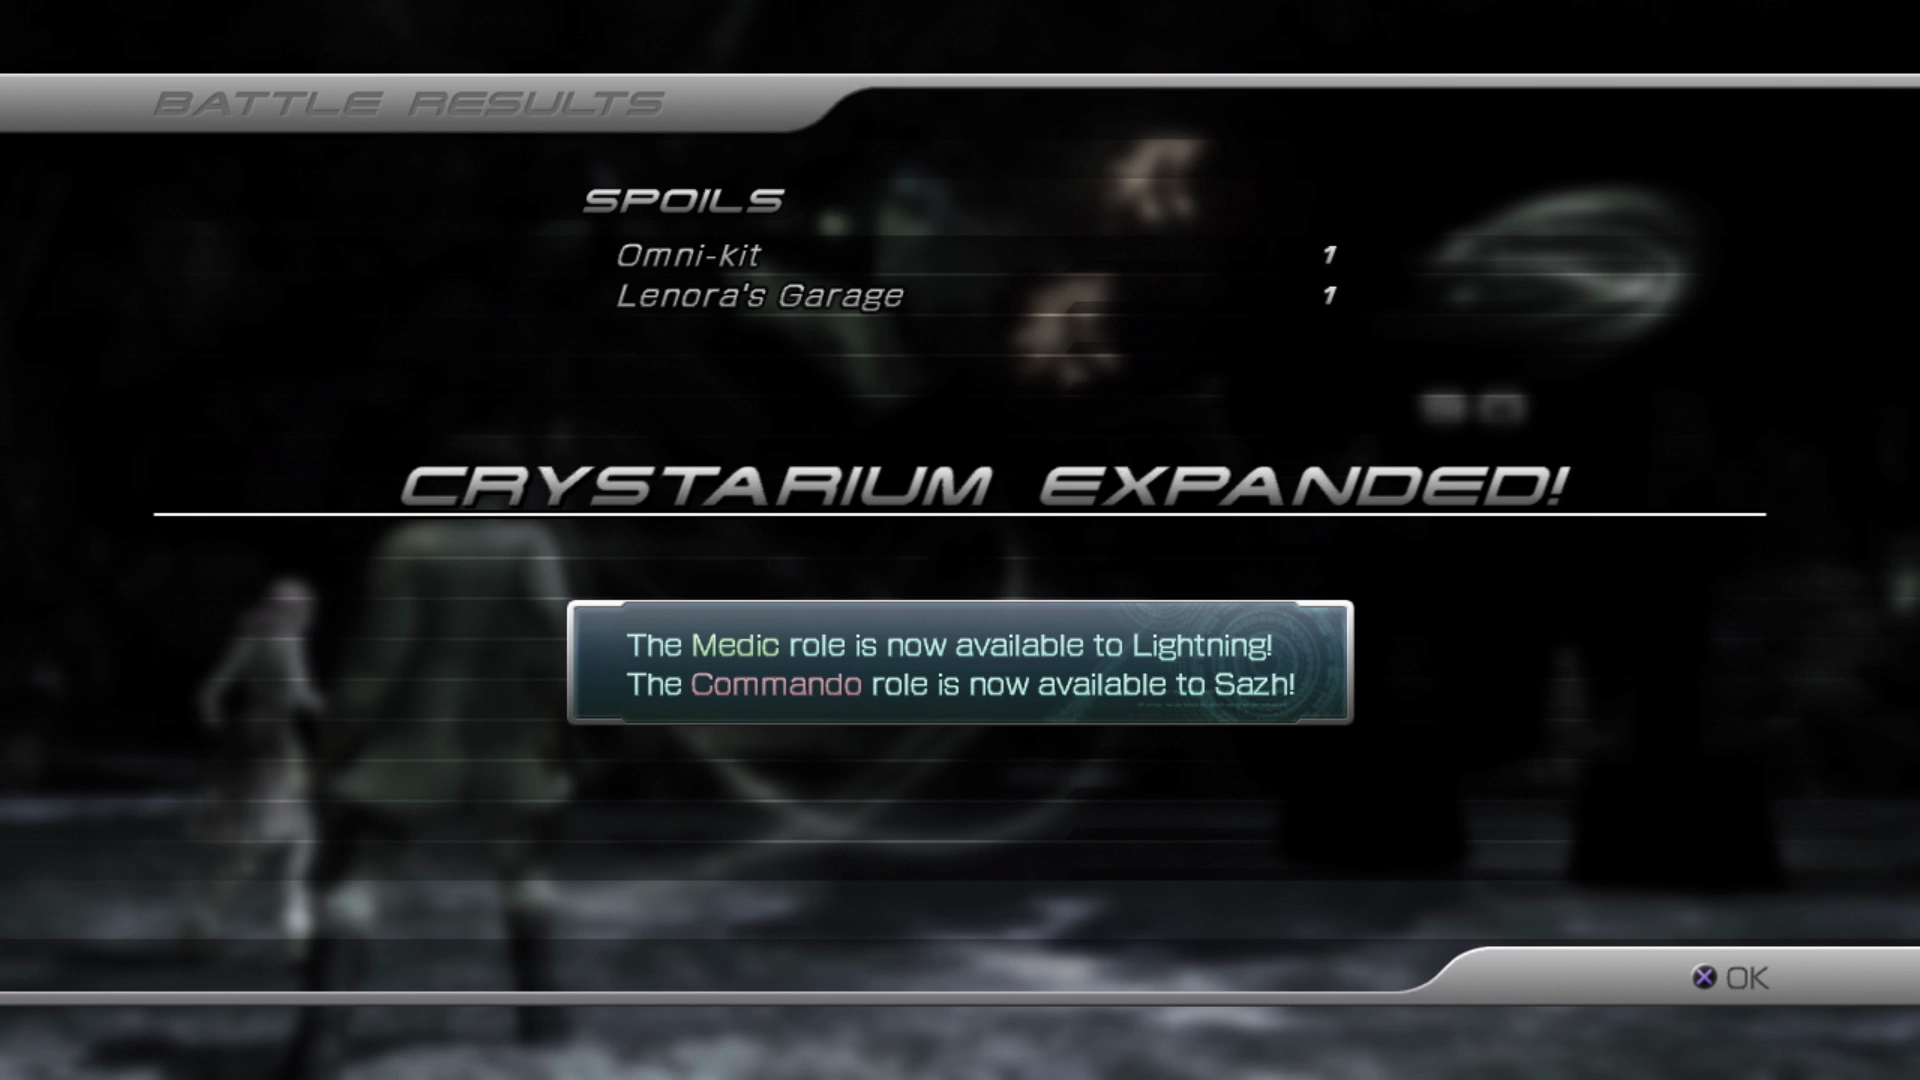
Expanding the Crystarium
The Crystarium will become available once you reach Chapter 3, and it will expand once you reach the end of each of the chapters listed below:
| Chapter | Crystarium Level |
|---|---|
| Chapter 3 - Lake Bresha | Stage 1 |
| Chapter 4 - The Vile Peaks | Stage 2 |
| Chapter 5 - The Gapra Whitewood | Stage 3 |
| Chapter 6 - The Sunleth Waterscape | Stage 4 |
| Chapter 7 - Palumpolum | Stage 5 |
| Chapter 9 - The Palamecia | Stage 6 |
| Chapter 10 - The Fifth Ark | Stage 7 |
| Chapter 11 - Oerba | Stage 8 |
| Chapter 12 - Eden | Stage 9 |
| Chapter 13 - Orphan’s Cradle | Stage 10 |
Character Strengths/Weaknesses
It will be fairly evident as you play through the game, but each of the characters are better suited to some roles over others. This is outlined in detail in the Best Party page of the Tips and Tricks section, however, with that being said, all characters will eventually gain access to all 6 different roles and Crystariums. Note that the preferred roles of each character are denoted with a under their character section. Use the links below to navigate directly there:
- Lightning’s Crystariums
- Sazh’s Crystariums
- Snow’s Crystariums
- Hope’s Crystariums
- Vanille’s Crystariums
- Fang’s Crystariums
You should be sure to spend your Crystogen Points (CP) in each character’s most proficient roles, which are denoted as you progress through the Walkthrough section, but there is room for some customization based on your own play style. Here are the preferred role suggestions which are outlined in greater detail in the Best Party section of the guide:
| Character | Roles |
|---|---|
| Lightning | Primary: Secondary: |
| Sazh | Primary: Secondary: |
| Snow | Primary: Secondary: |
| Hope | Primary: Secondary: |
| Vanille | Primary: Secondary: |
| Fang | Primary: Secondary: |
Spending Choices
Looking for more help with how to effectively spend your Crystogen Points? Check out the Development and Choosing Abilities page below:

More advanced tactics for spending Crystogen Points (CP) in each character’s Crystarium including spending priorities and character’s strengths and weaknesses.