Dollet SeeD Exam Scoring
Warning
This page explains exactly how your SeeD rank is determined during the Dollet Field Exam Mission, including encounters and events that occur throughout the mission. If you haven’t completed the exam yet and want to go in blind, turn back now and come back after you’ve seen your results.
Overview
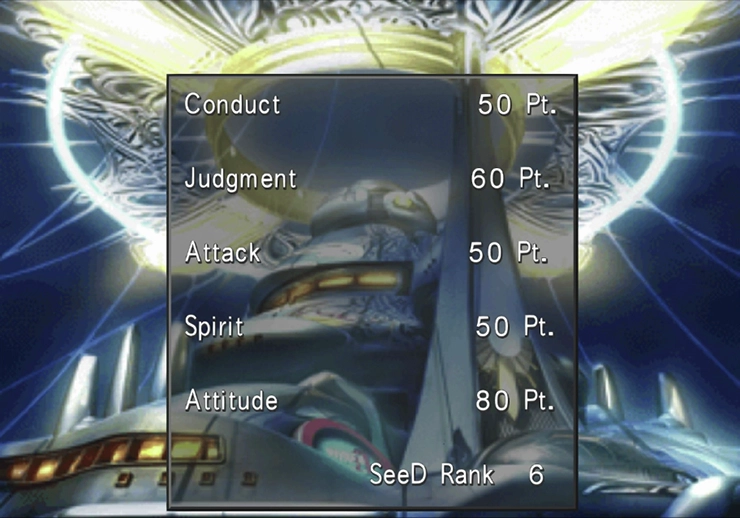
The SeeD rank you receive after the Dollet Mission is determined by a points-based system that looks at five categories: Judgment, Conduct, Attack, Spirit, and Attitude. These are pretty loose definitions, though, so it’s tough to know from looking at the scorecard alone what exactly your instructors are grading you on.
This page is intended to provide a deeper understanding of each of the five categories to help you strive for the highest possible SeeD rank, which will result in you earning more Gil early on in the game once you become a full-fledged SeeD member. Check out the SeeD Rank Guide for more information on how SeeD Ranks work.
Judgement
This category is based on the Ifrit encounter in the Fire Cavern, which takes place ahead of the Dollet SeeD Exam. Your score is determined by how much time is left on the timer when you defeat Ifrit. It doesn’t matter whether you select the 10, 20, 30, or 40 minute timer; all that matters is how much time is left on the timer when Ifrit is defeated.
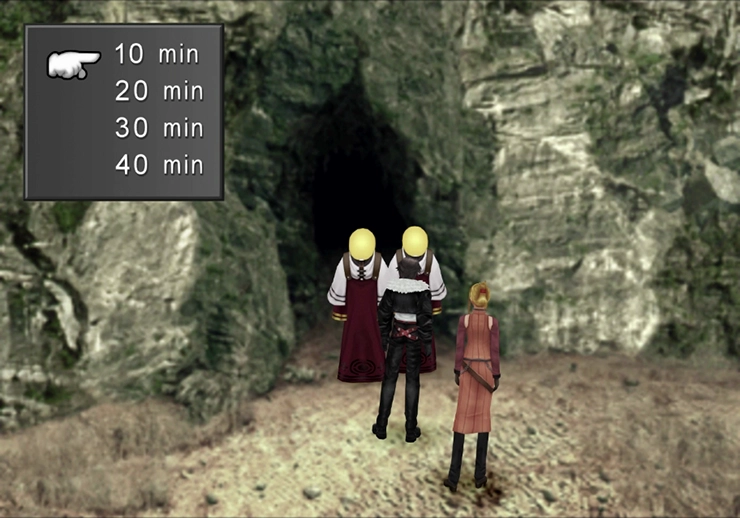
Just be careful, though, because the timer sometimes continues running through the victory fanfare screen and the GF naming screen. Close those two screens quickly!
The score you receive for “Judgement” works like this:
| Timer | Report Card Score | Actual Score (Used in Rank Calculation) |
|---|---|---|
| 0 to 7 seconds | 100 | 100 |
| 8 to 29 seconds | 90 | 80 |
| 30 to 59 seconds | 80 | 70 |
| 1:00 to 1:59 | 70 | 50 |
| 2:00 to 2:59 | 60 | 50 |
| 3:00 to 9:59 | 50 | 0 |
| 10:00 to 10:59 | 40 | −50 |
| 11:00 to 11:59 | 30 | −60 |
| 12:00 to 12:59 | 20 | −70 |
| 13:00 to 13:59 | 10 | −90 |
| 14:00 to 14:59 | 5 | −90 |
| 15:00 or more | 0 | −100 |
Conduct
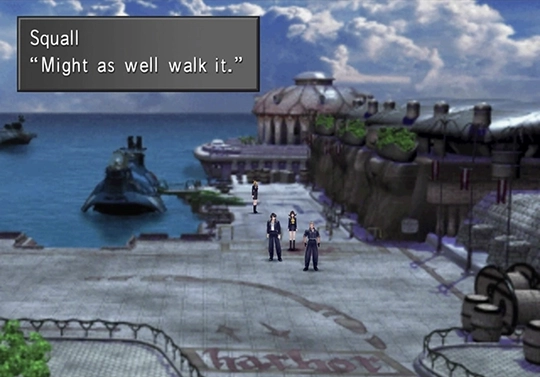
This category is related to how quickly you can get back to the beach after the X-ATM092 begins chasing you away from the Communication Tower. Reaching the beach with 25:00 remaining on the timer will get you the maximum score, and to do this, you’ll need to read ahead in the guide:
- On the screen where Selphie jumped off the cliff, you’ll need to run to the left as quickly as possible to avoid a battle with X-ATM092.
- The pathway downward requires you to walk, instead of running, to avoid an encounter.
- Run as quickly as possible on the third screen.
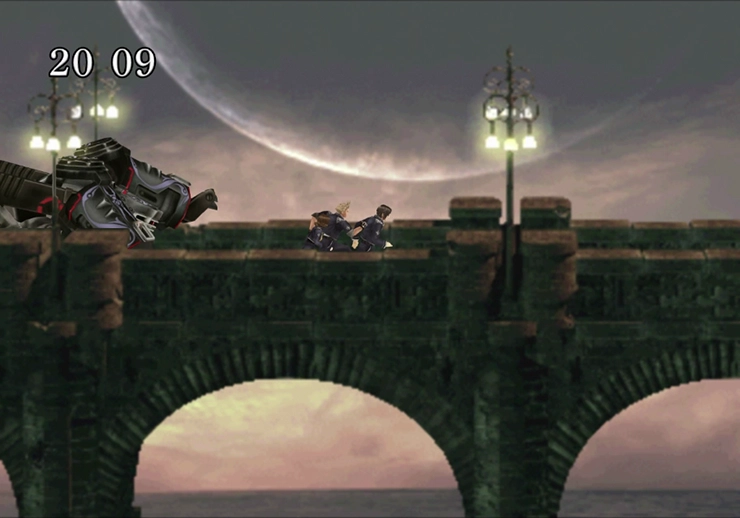
- On the bridge, run to the right, but wait until you hear X-ATM092 jump over you. Once it does, spin back around and run to the left. X-ATM092 will jump over you one more time so that it is back behind you again. Flip around again and go to the right, and the boss won’t jump over you again, so you are free to run to the end of the bridge.
- Do not hide in the pub when given the option.
Here is the scoring breakdown for Conduct based on how much time is left on the 30:00 timer:
| Time Remaining | Report Card Score | Actual Score (Used in Rank Calculation) |
|---|---|---|
| 25:00 or more | 100 | 80 |
| 24:00 to 24:59 | 90 | 70 |
| 23:00 to 23:59 | 80 | 60 |
| 20:00 to 22:59 | 70 | 50 |
| 19:00 to 19:59 | 60 | 30 |
| 17:00 to 18:59 | 50 | 20 |
| 15:00 to 16:59 | 40 | 10 |
| 10:00 to 14:59 | 30 | 0 |
| 6:00 to 9:59 | 20 | −30 |
| 3:00 to 5:59 | 10 | −50 |
| 0:00 to 2:59 | 10 | −5 |
Attack
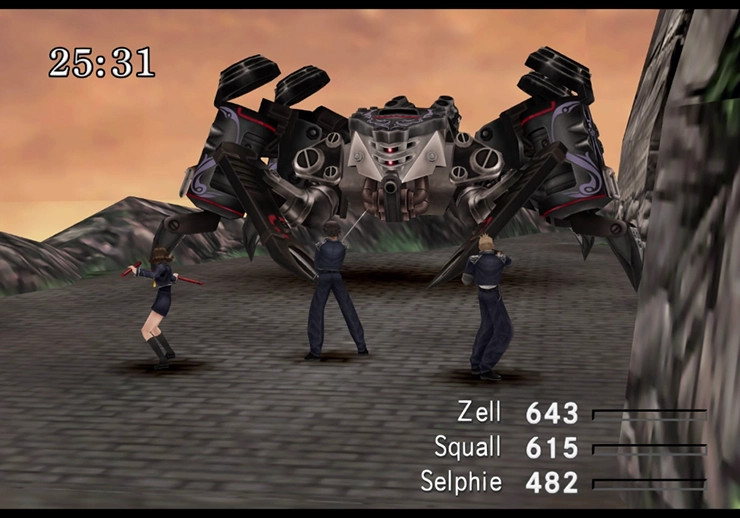
This category is based on the total number of enemies you defeat during the mission. A maximum score requires you to kill 75 or more enemies across the duration of the exam. Note that kills in the Fire Cavern don’t count, and enemies defeated by a Guardian Force also don’t count. The battle against Biggs, Wedge, and X-ATM092 does count (the first time you fight it).
Unfortunately, the only tip for bumping up this score is to go out of your way to trigger random encounters, but this hurts the other categories, so this is usually the one you skip over. At most, you should aim to get 20 to 25 kills. You don’t need to get maximum scores across all categories to get the maximum SeeD rank. Here is the breakdown:
| Kills | Report Card Score | Actual Score (Used in Rank Calculation) |
|---|---|---|
| 75 or more | 100 | 100 |
| 50 to 74 | 80 | 75 |
| 25 to 49 | 80 | 50 |
| 20 to 24 | 50 | 50 |
| 15 to 19 | 30 | 0 |
| 10 to 14 | 20 | −50 |
| 0 to 9 | 0 | −100 |
Spirit
This category looks at how many times you flee from battle during the mission. The fewer times you escape from battle, the higher your score will be.
The first battle against X-ATM092 on the Communications Tower is scripted. You cannot defeat the boss during this fight, so you have to flee, but this one mandatory escape is the one freebie you get. Escaping just once will get you a perfect score.
It’s possible to defeat X-ATM092 after this first encounter, but it’s fairly difficult to do. You’ll have to fully deplete its HP a total of five times, so you’ll reduce your “Conduct” score, but you get a 100-point bonus if you do manage to defeat it, which offsets the loss of points. It’s up to you whether you go for the extra challenge.
Attitude
The scoring for this category is determined by the decisions you make during this section of the game. You start with 100 points and lose points every time you make the “wrong” choice. Here are the choices you need to be aware of:
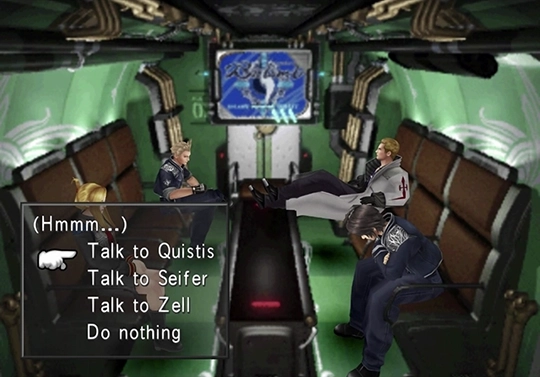
- Talking to an NPC or party member during the mission will deduct 1 point. This includes Zell, Seifer, Selphie, and the other SeeD candidates. From the moment you put on your uniform, don’t talk to anyone unless you’re forced to as part of the story.
- Talking to Biggs after defeating him at the Communications Tower will deduct 2 points.
- Ignoring Seifer’s order to look out the transport sub window when he tells you to will deduct 1 point.
- Approaching the communications tower before Seifer gives the order will deduct 1 point.
- Jumping off the cliff after Selphie instead of taking the long way around will deduct 5 points.
- Failing to save the dog from X-ATM092 in the town square will deduct 10 points.
- Hiding in the pub during the X-ATM092 chase sequence will deduct 20 points.
In other words, be fast, don’t talk to anyone, don’t take any shortcuts, and don’t forget to save the dog! This is the easiest category to get a high score in.

The Final Score
The formula for your final score is:
((500 + Sum of Modifiers) / 100) + Bonus
A perfect or near-perfect run requires preparation before the exam even starts. Choose the 10-minute timer in the Fire Cavern, aim to beat Ifrit with as little time remaining as possible, fight as many enemies as you can during the mission, flee from X-ATM092 only when necessary, move quickly back to the beach, and avoid unnecessary conversations or detours. The reward is a higher starting SeeD rank, which directly translates to more Gil from every salary payment for the rest of the game.
Use the following links to return to the walkthrough: