
Desert Palace
Once you have defeated Ark at Oeilvert, the game will automatically return to the other four party members who were left in the prison cells back at the Desert Palace. There is quite a bit of talking before the game continues with you in control of Regent Cid.
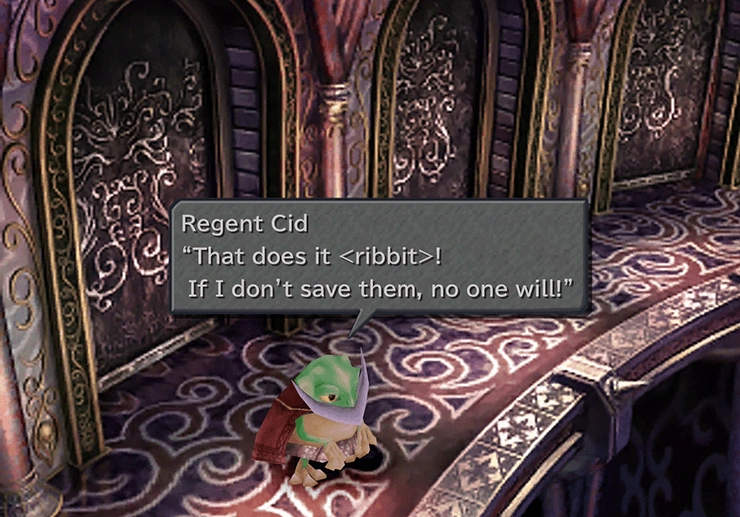


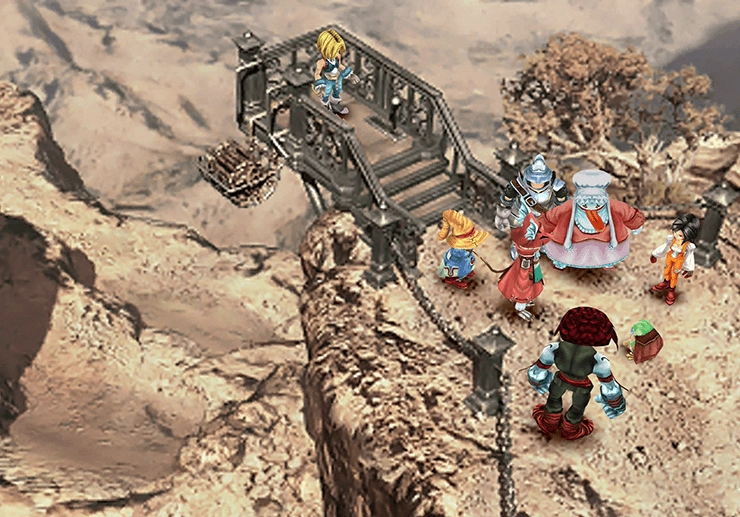
Travel south down the pathway and then to the right to start up a small mini-game that entails sneaking past a large red creature called Hedgehog Pie as Regent Cid.
The mini-game is similar to the “Red Light/Green Light” game. You can only move when Hedgehog Pie is not looking. Mash the ![]()
![]()
![]() button every time it looks away. You have plenty of time to complete the mini-game, so don’t rush.
button every time it looks away. You have plenty of time to complete the mini-game, so don’t rush.
That said, you can make the game much easier if you intentionally fail a few times. Cid will move farther with each button press, and the Hedgehog Pie will not see you as easily if you have failed a couple of times.
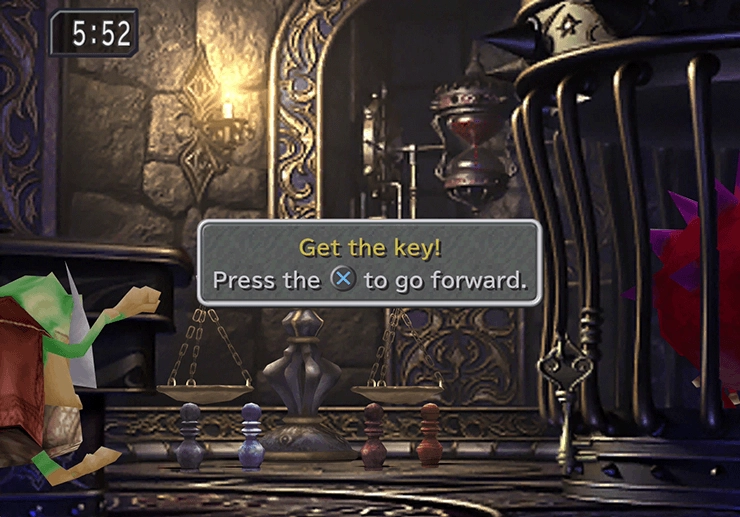
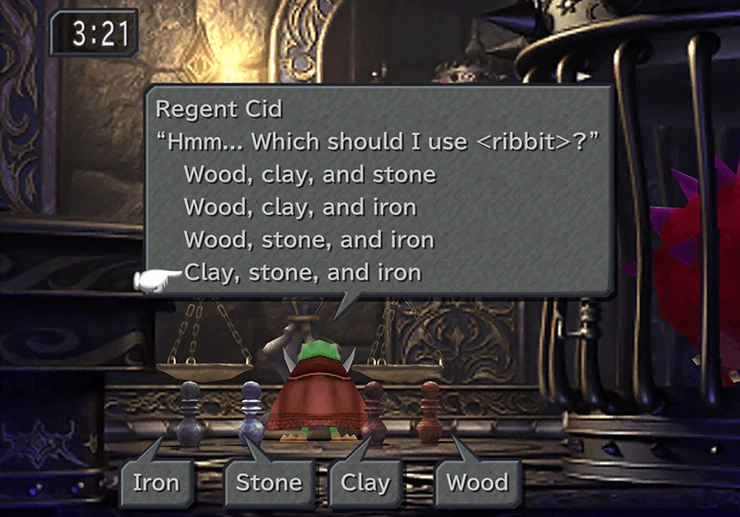
The second mini-game involves placing some weights on a scale in order to allow Cid to climb to the top. Start by examining the weights so that Cid can determine what each weight is made of. Then, put the Clay, Stone, and Iron weights onto the scale and have Cid climb to the top. That’s everything you need to do as Regent Cid.
The game continues back out in the Desert Palace dungeon with your other four party members. Take some time to equip each of them with new equipment and set up their Abilities.
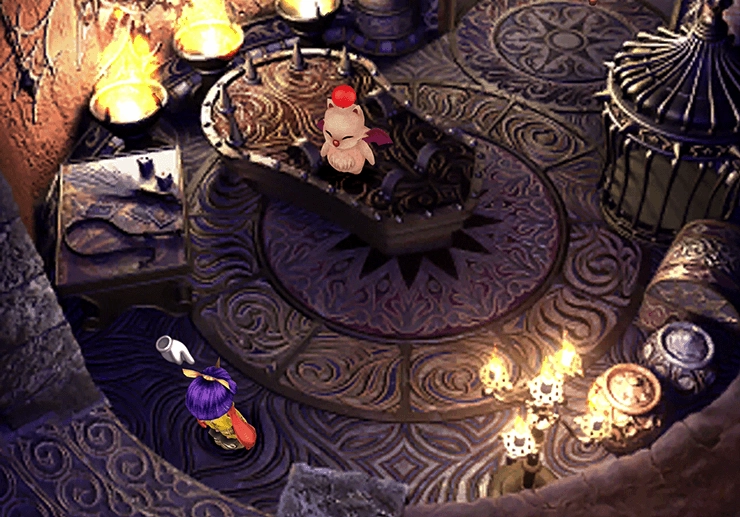
Take the right pathway to find a Moogle named Mojito. Select the Mognet option to pick up the letter from Mojito to Mogsam. You can purchase many of the same items from Mojito as you could from ![]() Mooel at the Mogshop.
Mooel at the Mogshop.
Remember that if you added Quina as part of your ‘Desert Palace’ party, and if you had Quina eat a Whale Zombie back when you gained access to the Blue Narciss, you can use the ![]() LV5 Death spell to destroy most of the enemies in this area.
LV5 Death spell to destroy most of the enemies in this area.
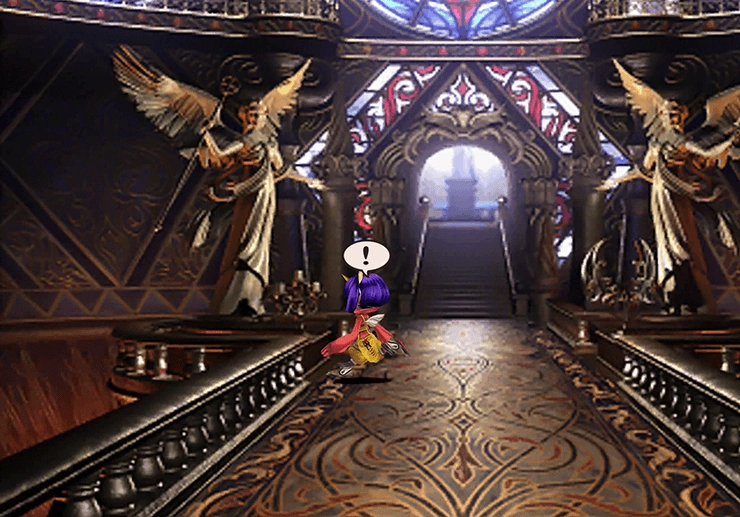
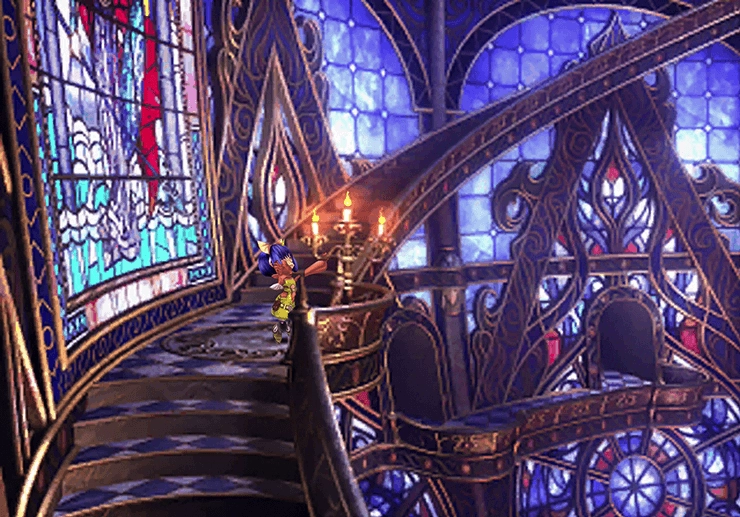
Return to the previous room (where all the party members emerged from their cells) and go directly across to the left and into the next room. Go across the hallway and up the stairs to enter the actual Desert Palace dungeon.
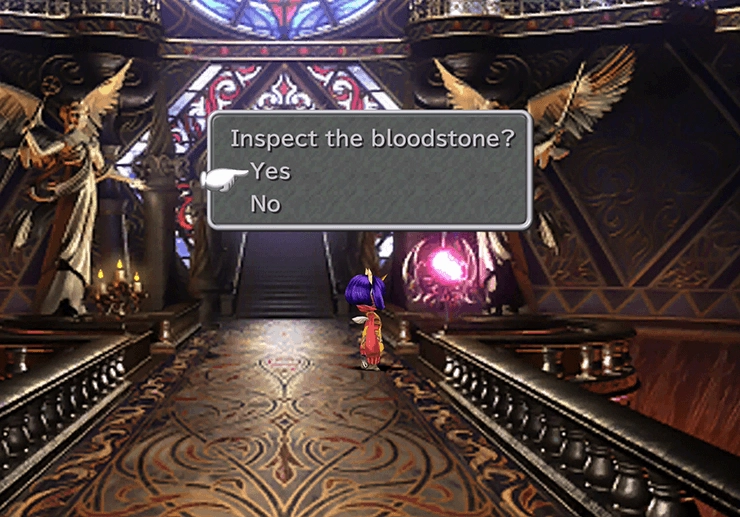
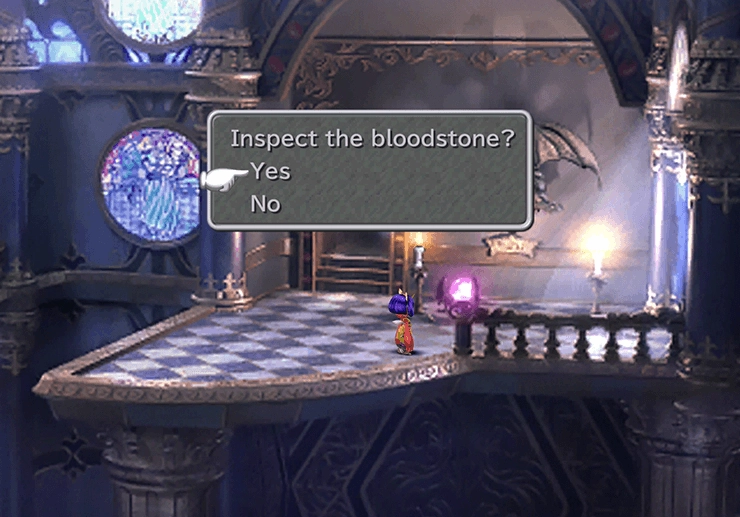
Start by lighting up the candle on the left side of the walkway by touching it. Lighting it will cause the orb on the right side of the hallway to light up.
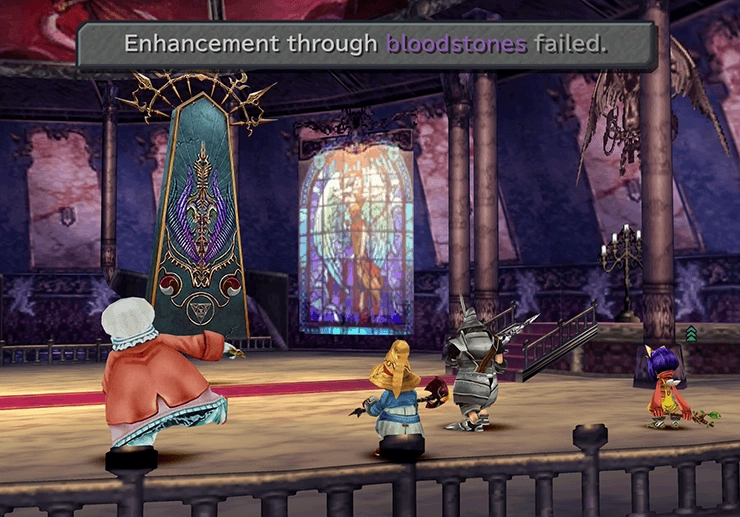
Touch the orb and choose to inspect the bloodstone to receive a ![]() Promist Ring. Continue down the walkway and up the stairs at the back of the room.
Promist Ring. Continue down the walkway and up the stairs at the back of the room.
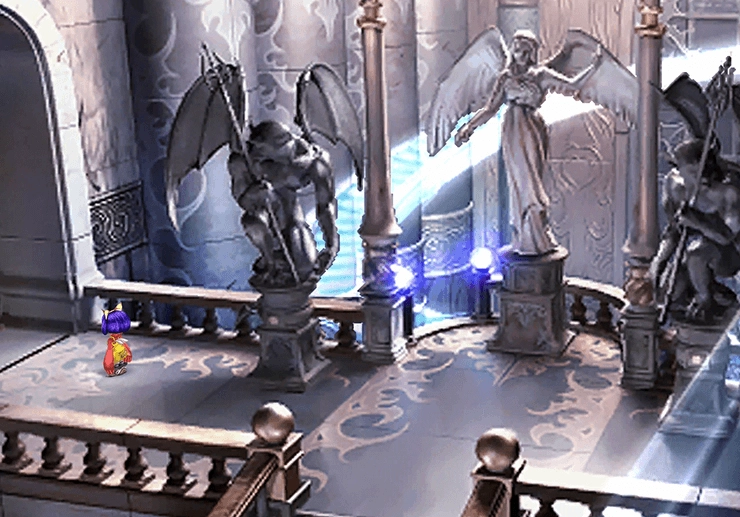
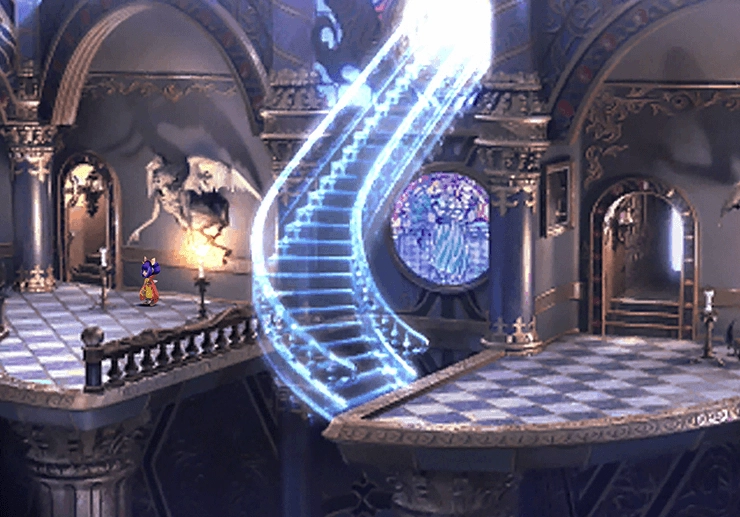
Move towards the front of the statues and then run to the left and right sides of the screen, past both statues. Doing so will cause a glowing staircase made of light to appear. Follow the light staircase up and out of the room.
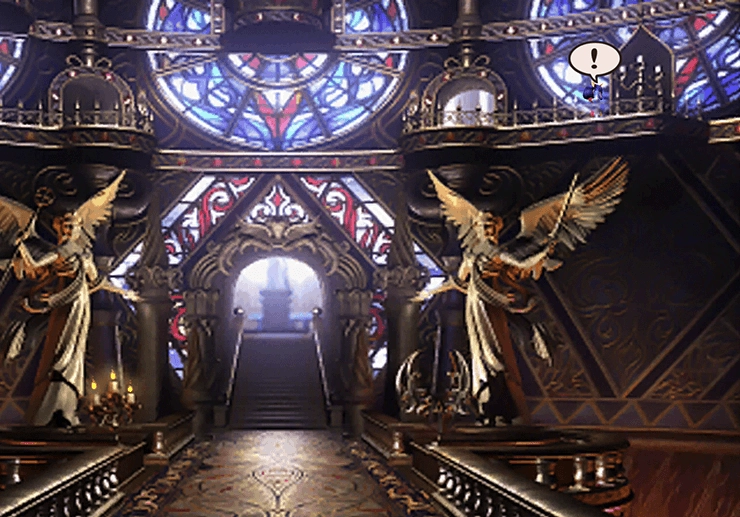
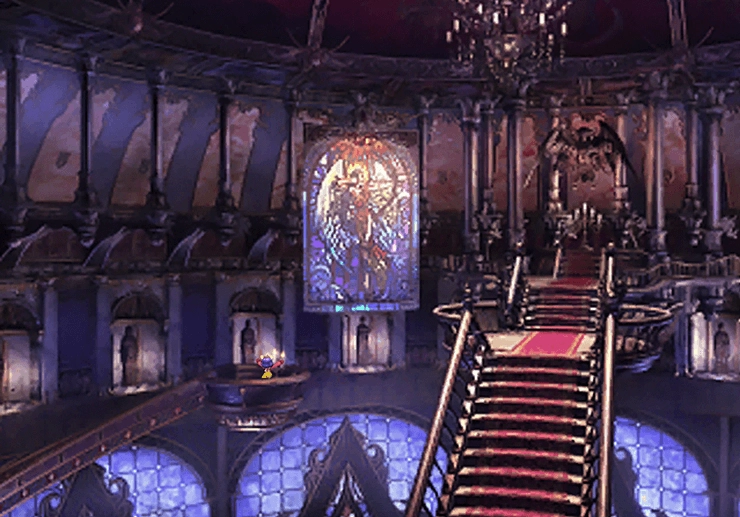
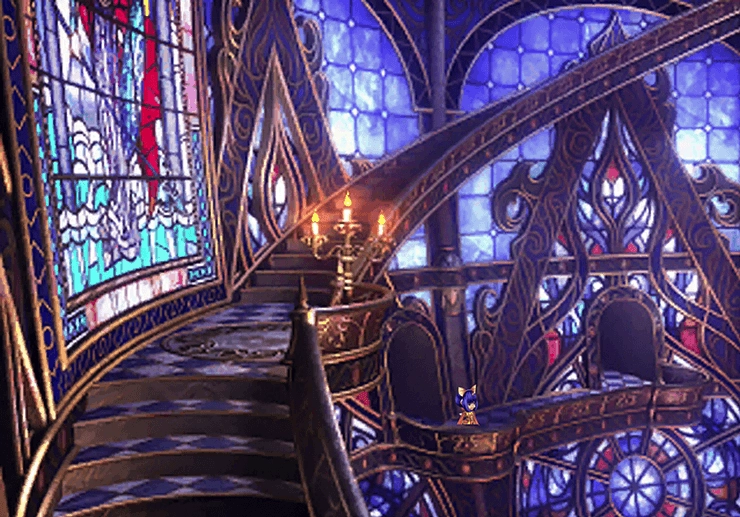
Light the candlestick on the right side of the upper balcony and then return to the previous room to find a treasure chest on the lower platform. Open it up to obtain a pair of ![]() Fairy Earrings.
Fairy Earrings.
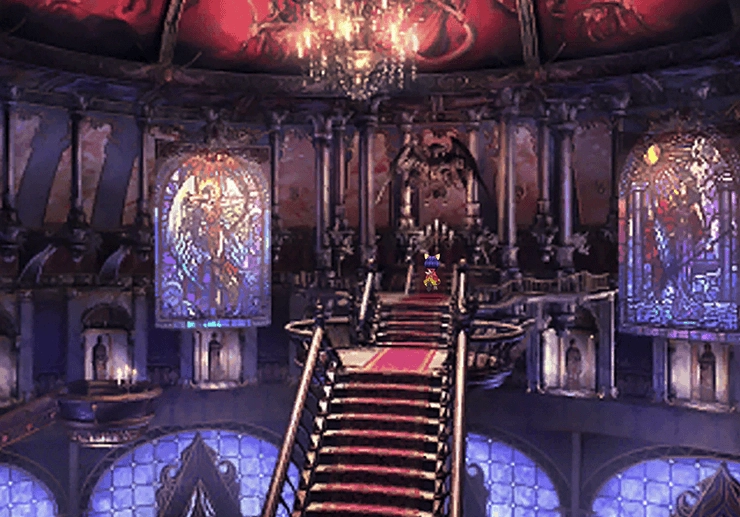
Go through the opening on the left side of the room and up the stairs into the next area (referred to as the Fire Chamber on the menu screen).
Fire Chamber
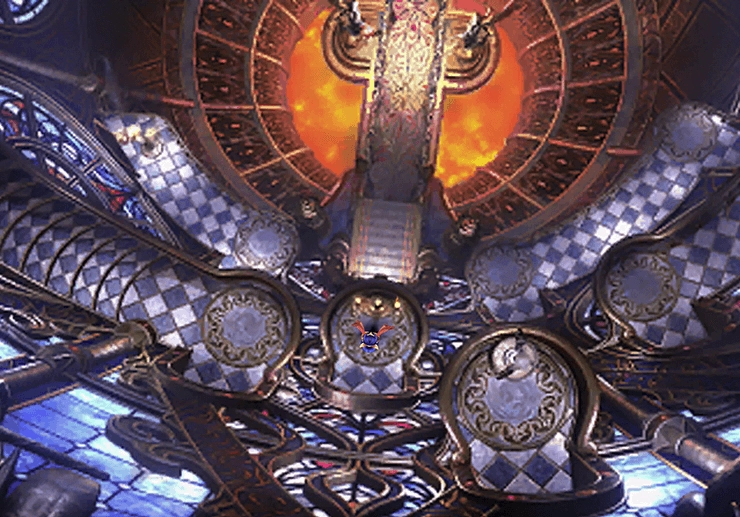
There are three large, golden chalices at the top of the staircase. Touch each of them to cause flames to appear. Touching them will also cause some of the blocked doors in this room to open up. Go through the doorway and into the next room.
Go through the passageway and into the opposite side of the Fire Chamber room. On the right side of the room, only light the chalice on the lower-left side to make the statues on the other side of the room disappear.
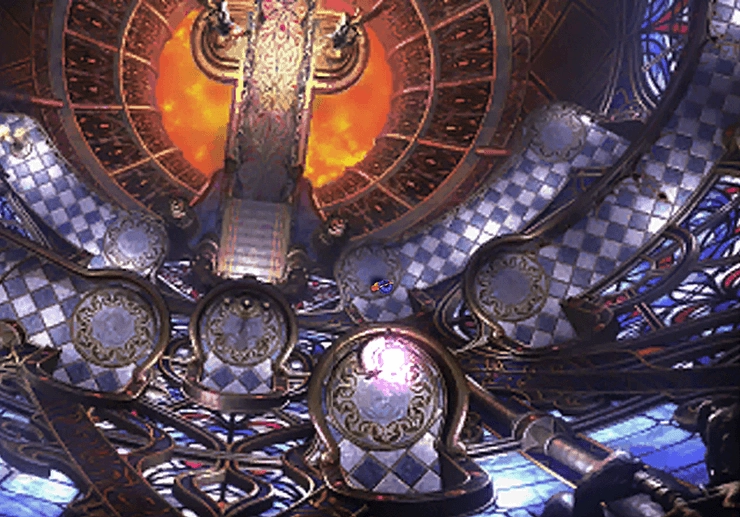
Travel back around and cross into the center of the Fire Chamber room (by walking across the spot where the statues used to be), and then light the two candles in the center of the room to cause the second wall of statues to disappear.
Light the other two chalices on the right side of the room. The last chalice to light up is at the bottom of the screen down the red stairs. Light it up to cause the bloodstone to illuminate.
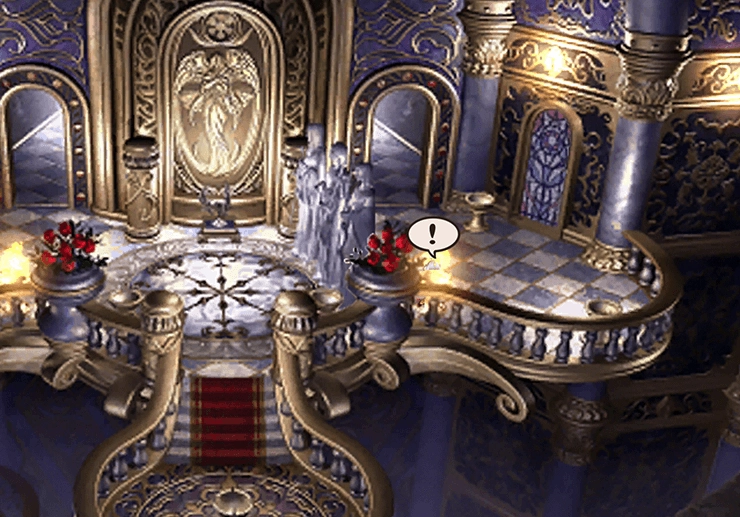
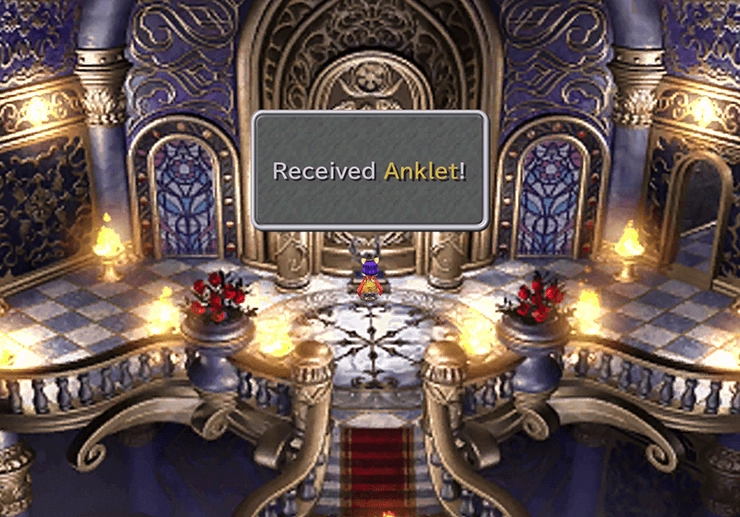
Touch the bloodstone to receive an “Offering of Power,” an ![]() Anklet. Exit the Fire Chamber room using the newly opened doorway on the right side of the room.
Anklet. Exit the Fire Chamber room using the newly opened doorway on the right side of the room.
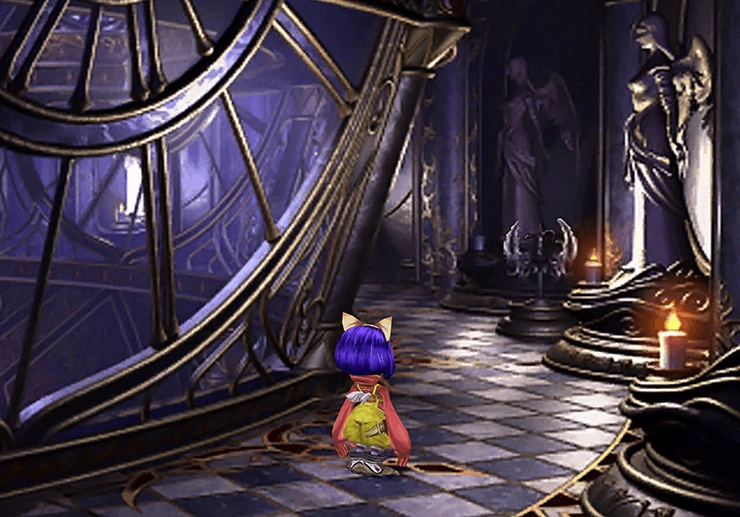
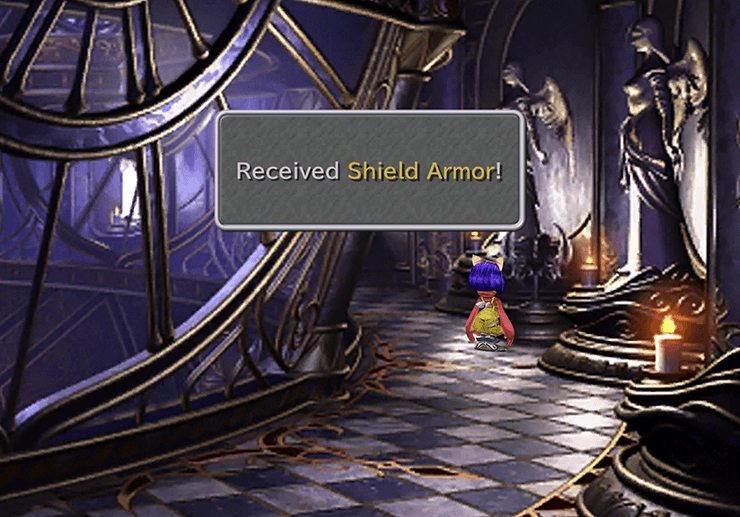
The next hallway has two lit candles on the right side of the screen and one unlit candle at the back of the room. Light the last candle to illuminate the bloodstone.
Inspect the bloodstone to receive an “Offering of Power,” another ![]() Shield Armor. Follow the pathway around and take the stairs up to the second level.
Shield Armor. Follow the pathway around and take the stairs up to the second level.
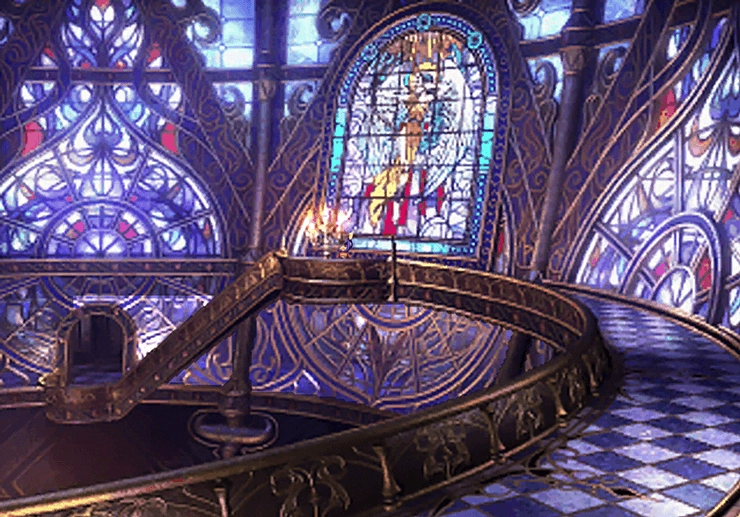
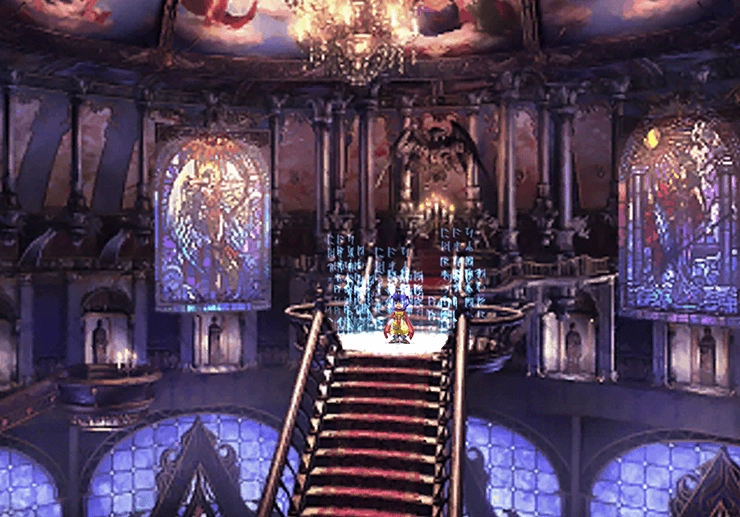
There is an unlit candle up on the second floor, right where your party member first appears. Touch it to cause it to light up, which will also illuminate the stained-glass window. Follow the pathway down towards the camera and into the next room.
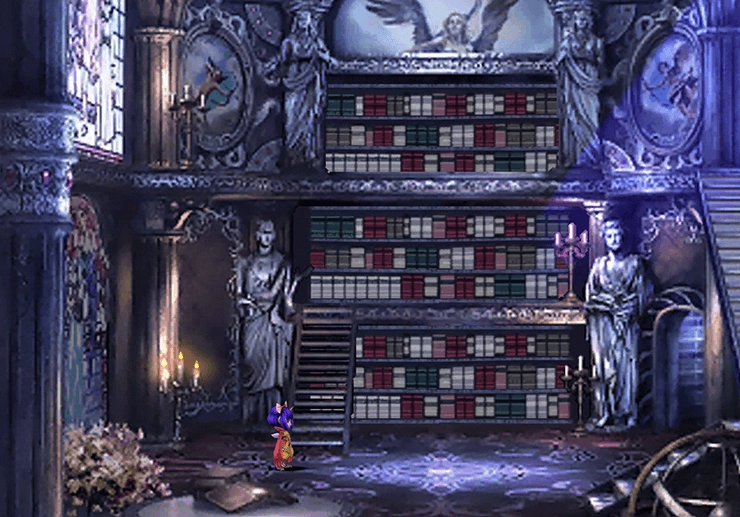
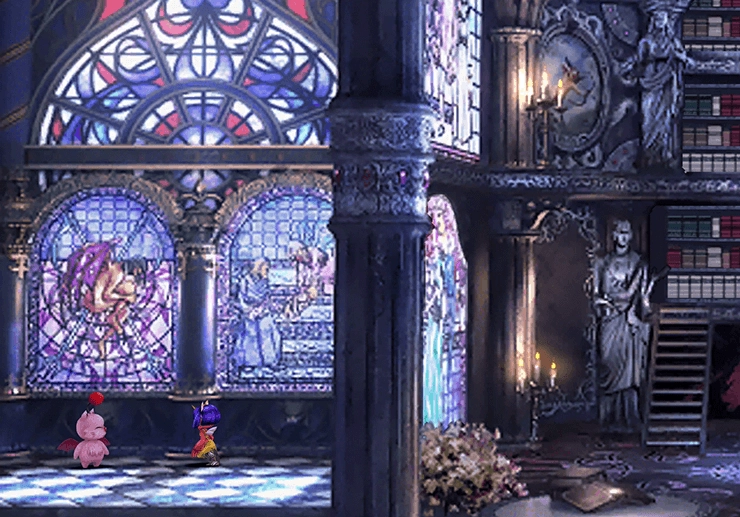
Library
The room that you enter will have a wall full of bookshelves on the back side. Light the candle in the back left corner to cause a stairway to appear on the right side of the room.
Climb the stairs and light the candle on the left side of the highest platform to raise the bookshelf.
Go through the passageway that appears to find another bloodstone out in the main stairwell room. Touch it to obtain an “Offering of Power,” an ![]() N-Kai Armlet. Vivi can use the N-Kai Armlet to learn the
N-Kai Armlet. Vivi can use the N-Kai Armlet to learn the ![]() Water spell, though you may already have one if you found Chocograph #9: Abandoned Lagoon.
Water spell, though you may already have one if you found Chocograph #9: Abandoned Lagoon.

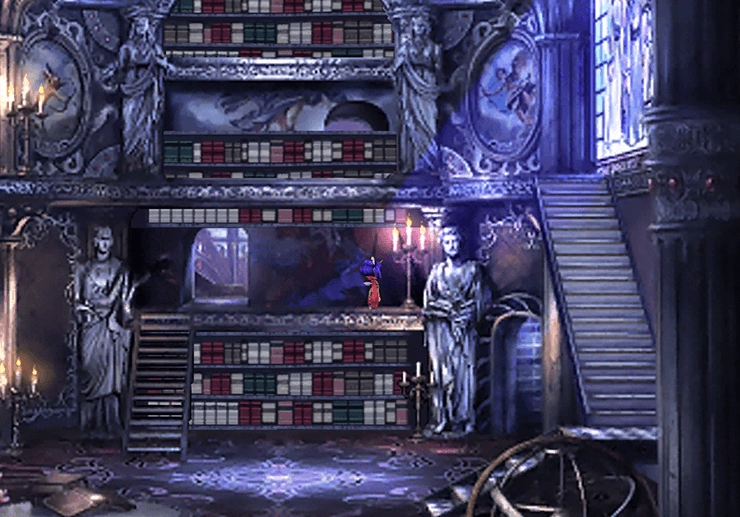
Return to the Library and light the candle on the middle level by climbing the stairs at the bottom of the room. The wall of books will rise, revealing another passageway. Go through it and up the stairs.
Light the candle on the right side of the stairs as you pass to light up another one of the stained-glass windows.
Continue up the stairs and light the candlestick at the top of the stairs to light up one more stained-glass window. Return to the Library once you’ve activated both.
Light the unlit candle on the bottom floor of the Library on the right side to reveal another hidden passageway behind the bookshelf. Go through the passageway, light the candle, and then return to the Library.
The wall on the left side of the Library will now be lit up, revealing an anti-chamber with Mogsam the Moogle hiding out in it. Give Mogsam the letter from Mojito by selecting the Mognet option and then save your game. Leave the room by going left of where Mogsam is standing.
Shadow Chamber
Start by lighting both of the candles in front of the gargoyle statue. Touch the bloodstone that lights up to receive the “Offering of Power,” this time it is a ![]() Black Hood. This hood is another good item for Vivi that will teach him the
Black Hood. This hood is another good item for Vivi that will teach him the ![]() Death spell.
Death spell.
Touch the candle to the left of the gargoyle statue to extinguish it, and then go through the doorway to the left of the statue. Follow the balcony around and through to the other side of the Shadow Chamber.
Light the two candles in front of the winged statue to light up the bloodstone on this side of the room. Touch the bloodstone to receive an “Offering of Power,” a ![]() Venetia Shield. Have Steiner equip the
Venetia Shield. Have Steiner equip the ![]() Venetia Shield, which will allow him to learn the
Venetia Shield, which will allow him to learn the ![]() Auto Float and
Auto Float and ![]() Counter abilities.
Counter abilities.
Extinguish the candle on the left side of the statue, and a glowing staircase of light will appear. A boss battle is coming up, so you should speak to Mogsam one more time, use a ![]() Tent, and save your game.
Tent, and save your game.
Equip your characters with the ![]() Body Temp Ability if they have it, and then proceed up the stairs. Light the final candle at the top of the stairs to initiate the boss battle.
Body Temp Ability if they have it, and then proceed up the stairs. Light the final candle at the top of the stairs to initiate the boss battle.
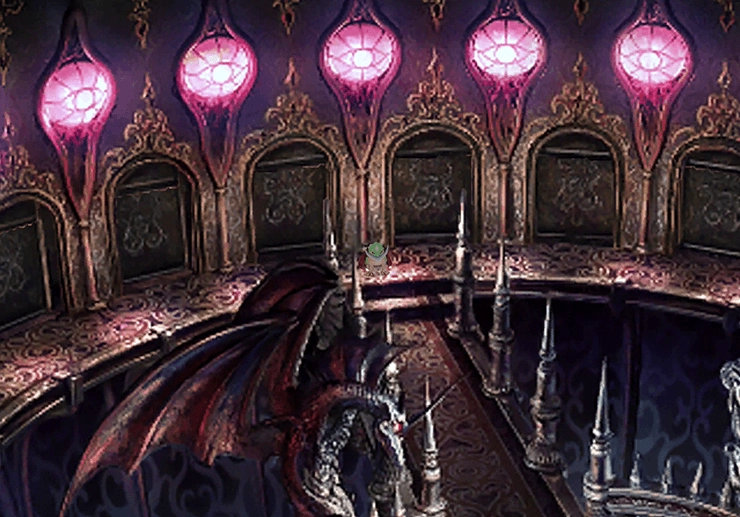
Boss Battle

Level: 36
HP: 12,119
Valia Pira will be a much easier fight if you found all the bloodstones listed above. If you have attempted this fight and lost but did not follow this guide all the way through and did not obtain all the bloodstone items, you should go back and complete those steps.
This boss will only use magic abilities, so cast ![]() Reflect on each of your party members or have Eiko use the
Reflect on each of your party members or have Eiko use the ![]() Carbuncle summon if she is in your party. The battle will automatically end if the Valia Pira’s HP or MP reaches 0, which means that you can use “Magic Hammer” and “Osmose” abilities offensively to end the fight as well. Use all of your party members’ strongest attacks, such as
Carbuncle summon if she is in your party. The battle will automatically end if the Valia Pira’s HP or MP reaches 0, which means that you can use “Magic Hammer” and “Osmose” abilities offensively to end the fight as well. Use all of your party members’ strongest attacks, such as ![]() Water,
Water, ![]() Water Sword,
Water Sword, ![]() Holy, and summons to bring the boss down quickly.
Holy, and summons to bring the boss down quickly.
Steal:
- (Nothing)
These are the odds each time a steal connects. The ![]() Master Thief ability raises a very rare steal to 12.5%. Check out the How Stealing and Enemy Drops Work page for more information.
Master Thief ability raises a very rare steal to 12.5%. Check out the How Stealing and Enemy Drops Work page for more information.
Drops:
A video demonstration of this battle is included below for reference.
Video Guide

A video demonstration of how to successfully complete the fight against Valia Pira.
Helpful Hint
Eiko will be removed from the party for an extended period following the end of this battle. Remove any of the unique/powerful items she has so that other characters can use them while she is away.
Touch the candle after the fight and then stand on the lit-up platform in the center of the room to warp up. The game will transition back to Zidane’s party. Walk back over to the teleport on the right side of the screen and use it to initiate some cutscenes.
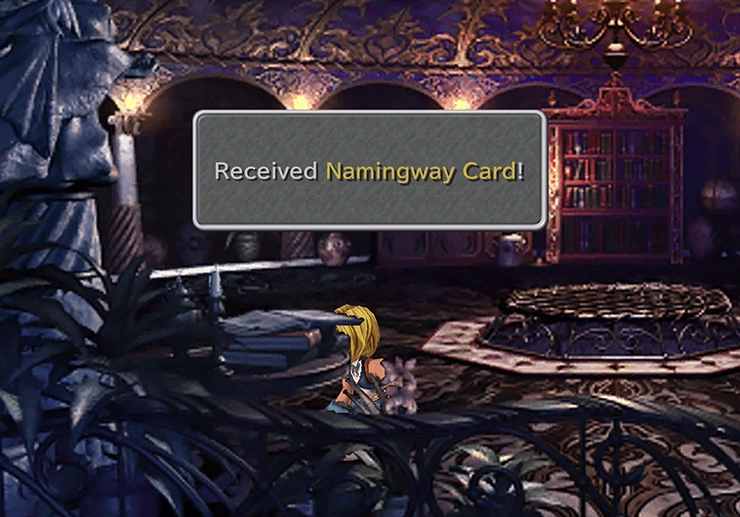
You will be given the option to select your party members again. Choose three team members (Eiko will not be an option) and then pick up the ![]() Namingway Card on the table on the left side of the room.
Namingway Card on the table on the left side of the room.
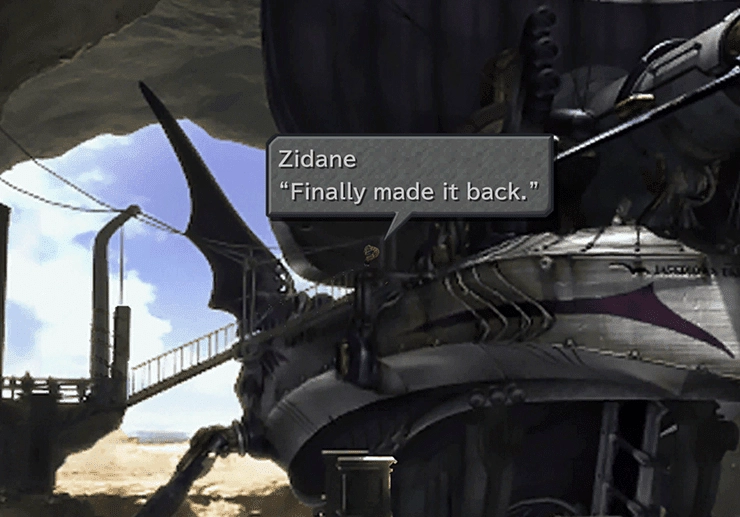
Go back out to the Airship Dock and continue past the platform where the dock used to be and out the back of the cavern. The team will reach a new area with a platform and a ladder. Flip the switch on the platform to drop the ladder down and then climb down the ladder and run across the cliffs back out onto the world map.
The Blue Narciss will automatically follow the Hilda Garde 1 to the Lost Continent. There will be a few more scenes aboard the ship. The next destination is the city of Esto Gaza, but there are a few things you can do before heading there, which are detailed on the next page.