
Ozma
Ozma is an optional superboss that you can battle within Final Fantasy IX. This fight is the most challenging battle in the game, and a great deal of preparation is required to bring Ozma down. Defeating Ozma is a requirement for obtaining the “To Ozma and Back” Achievement/Trophy in the PlayStation, Xbox, and Nintendo Switch versions of the game.
Level: 99
HP: 55,535

Preparation
Before taking on this battle, make sure that you have completed the Friendly Monsters side quest and the Chocobo Hot & Cold side quest (more information is included below). You may also want to consider leveling up your characters (to at least 60+).
Side Quests
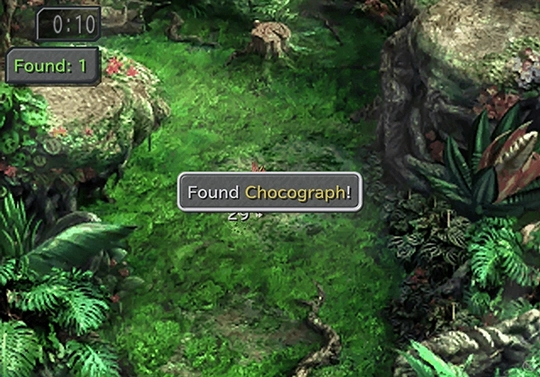
Finding each of the Chocographs in the Chocobo’s Forest, the Chocobo’s Lagoon, and the Chocobo’s Air Garden.
Side Quests
A list of locations where you can find Friendly Monsters throughout the game. Providing various jewels to the Monsters will reward you with a ton of AP and, eventually, a Rosetta Ring from Yan.
Tips and Tricks
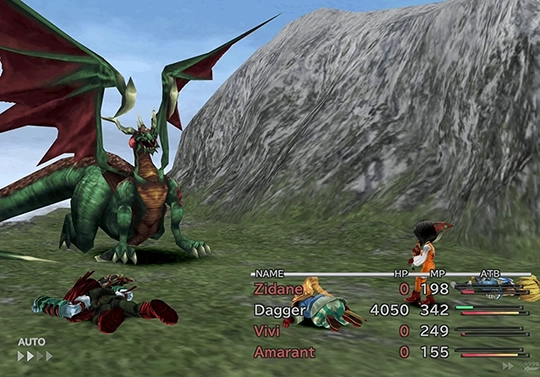
Use a trick in the Popos Heights area of the Mist Continent to defeat Grand Dragons and very quickly level up your characters.
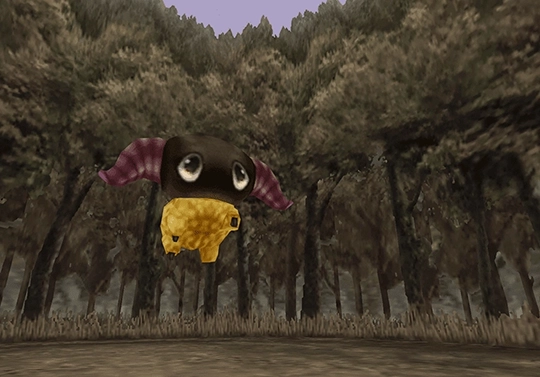
The last step in completing the Friendly Monsters side quest is locating Yan on Vile Island. When you give a Diamond to Yan, it will shout, “Thanks a lot! Now you can reach the round guy!” Yan is referring to Ozma when it talks about the ‘round guy’.
Completing this side quest changes the battle in two ways: physical attacks, which normally cannot reach Ozma, will now connect, and Ozma becomes weak to Shadow damage instead of absorbing it. This also means that Ozma’s own “Doomsday” attack will damage it while healing any party members equipped to absorb Shadow.
Location
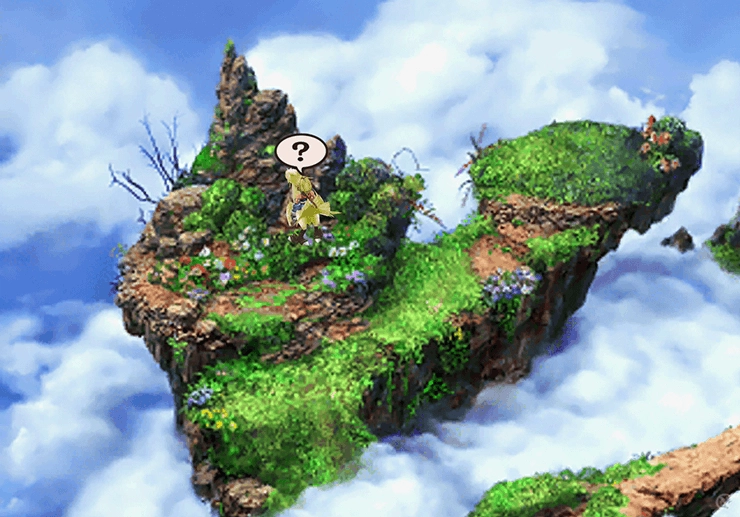
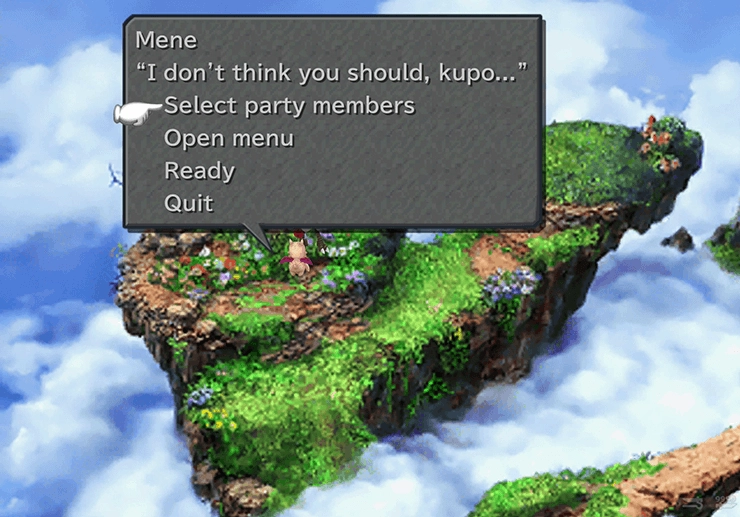
Ozma is located in the Chocobo’s Air Garden, which means that you need to have completed the Chocobo Hot & Cold side quest or at least gotten to the point where you can reach the Air Garden. Fly up to the Chocobo’s Air Garden and examine the cave at the back of the furthest island.
Mene will preemptively warn you that a dangerous battle lies ahead. Make sure you are fully prepared before initiating the battle (in other words, read ahead!).
The Battle
The key to defeating Ozma is understanding and planning around its attack pattern. Ozma will inflict several deadly statuses on your party, including:
- Curse (which will inflict Confuse, Darkness, Mini, Poison, and Slow)
- Berserk
- Mini
Some of its other moves include:
- Death and Level 5 Death
- Doomsday (shadow damage to the entire party and Ozma)
- Flare (non-elemental damage to a single target)
- Flare Star (non-elemental damage to a single target based on level)
- Holy and Level 4 Holy
- Meteor (random damage up to 9,999)
- Esuna (if inflicted with a status effect)
- Curaga (counterattack more likely to occur when Ozma has lower health)
- MP Absorb (if Ozma runs low on MP)
Holy and Death will typically only hit one party member, whereas Level 5 Death and Level 4 Holy will only hit party members with levels that are a multiple of 5 or a multiple of 4, respectively. However, Ozma will only cast these moves if a party member has a level that is a multiple of 5 or a multiple of 4. It will not cast either of these moves if all party members would evade it.
The same rule also applies to status effects. Ozma will not use Berserk or Mini if all of your party members are immune to those statuses. The problem, though, is that Ozma is more likely to use its other, more powerful attacks, such as Meteor, if it is not casting less powerful attacks, such as Berserk, Mini, etc. Therefore, it is important that you only protect your party members against what is required so that Ozma will still use moves like Curse.
As a result of this mechanic, it is beneficial to have at least one of your party members be a level that is a multiple of 4 and a multiple of 5. Casting Holy and Death spells that only hit one party member (that you can revive) is preferable to an attack like Meteor, which can randomly wipe your entire party.

The Strategy
Ensure that you come to the battle prepared and have some of your party members be a level that is a multiple of 5 or a multiple of 4. The general strategy for Ozma is to minimize the opportunity it has to use devastating attacks against your party. You can reduce this likelihood by encouraging Ozma to use less powerful attacks (which it will not do if your party members are ready to take on this damage).
All of your party members should have the ![]() Clear Headed and
Clear Headed and ![]() Antibody support abilities equipped. Additionally, physical attackers should have the
Antibody support abilities equipped. Additionally, physical attackers should have the ![]() Bright Eyes support ability equipped, but non-physical attackers should not.
Bright Eyes support ability equipped, but non-physical attackers should not.
Each party member will also need to have the Reflect status active at all times, either by equipping a ![]() Reflect Ring or by equipping the
Reflect Ring or by equipping the ![]() Auto-Reflect ability to prevent Berserk.
Auto-Reflect ability to prevent Berserk.
When selecting your party members, make sure that they have access to the ![]() Auto-Regen ability. The
Auto-Regen ability. The ![]() Auto-Life ability is of questionable utility, as it requires a significant number of ability points to enable, and it is a one-time use only. A better strategy is to include party members who can cast Auto-Life, such as Quina and/or Amarant (using
Auto-Life ability is of questionable utility, as it requires a significant number of ability points to enable, and it is a one-time use only. A better strategy is to include party members who can cast Auto-Life, such as Quina and/or Amarant (using ![]() Aura Chakra).
Aura Chakra).
Quina is a good party member to include for several reasons: s/he can also use ![]() Angel’s Snack to clear the party of negative status effects and can use
Angel’s Snack to clear the party of negative status effects and can use ![]() Frog Drop to inflict fixed amounts of damage (including if Quina is inflicted with the Mini status!).
Frog Drop to inflict fixed amounts of damage (including if Quina is inflicted with the Mini status!).
Equip your party members with equipment that will help them absorb shadow damage, including ![]() Pumice Pieces,
Pumice Pieces, ![]() Ninja Gear,
Ninja Gear, ![]() Demon’s Mail, and
Demon’s Mail, and ![]() Egoist’s Armlets. This will cause Ozma to heal your party if or when it casts Doomsday, and it will damage itself. It will also make Vivi’s
Egoist’s Armlets. This will cause Ozma to heal your party if or when it casts Doomsday, and it will damage itself. It will also make Vivi’s ![]() Doomsday spell incredibly useful during the battle.
Doomsday spell incredibly useful during the battle.
Additionally, if you have Vivi and/or Amarant in your party, make sure that they equip their ![]() Return Magic ability. This ability will cause them to bounce Doomsday back to Ozma (twice if both of them are in your party), dealing massive damage to Ozma and healing your party.
Return Magic ability. This ability will cause them to bounce Doomsday back to Ozma (twice if both of them are in your party), dealing massive damage to Ozma and healing your party.
Ozma’s mechanics allow it to use counterattacks between each of your party member’s moves. To counteract this, ensure that you line up all your party member’s attacks so that they can use them at the same time rather than using their attacks as soon as their ATB bar fills.
Finally, as a last resort, if you are still having trouble with this battle, you can use the Boosters included in the PlayStation 4 re-release of the game (![]()
![]()
![]() +
+ ![]()
![]()
![]() ,
, ![]()
![]()
![]() ,
, ![]()
![]()
![]() ,
, ![]()
![]()
![]() ) to make the battle much easier.
) to make the battle much easier.
Steal:
 Elixir (common)
 Robe of Lords (uncommon)
 Dark Matter (rare)
 Pumice Piece (very rare)
Drops:
Congratulations, you have defeated the most difficult battle in the game!
Achievement/Trophy
Defeating Ozma is required to obtain the  To Ozma and Back Achievement/Trophy.