Ice Cavern
The Ice Cavern is not a standard dungeon or temple like the other ones that Link has faced. It is very similar to the Bottom of the Well mini-dungeon in that its only purpose is the item you receive as a reward once the dungeon is completed – in this case, a pair of ![]() Iron Boots.
Iron Boots.
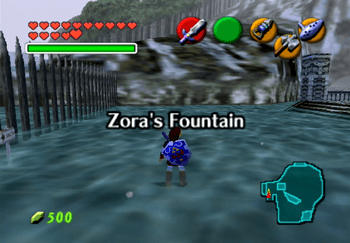
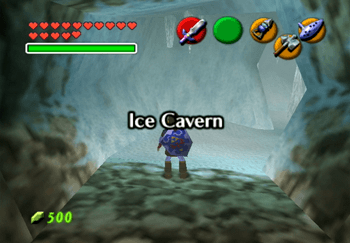
Start off by heading into the first room. You can slash at the dark blue icicles with your ![]() Master Sword to destroy them and clear the pathway. Watch out for the icicles hanging from the ceiling of the cave though as they will wiggle free and drop down onto Link as he passes under them.
Master Sword to destroy them and clear the pathway. Watch out for the icicles hanging from the ceiling of the cave though as they will wiggle free and drop down onto Link as he passes under them.
The first large room has a metal spike contraption circling around three enemies called Freezards. The Freezards intermittently blow frozen air outwards which can freeze and damage Link if he gets too close. Destroy all four Freezards (there is a fourth that will come out of hiding once you approach the other three) to release the lock on the door on the far side of the room.
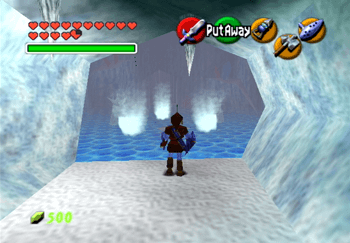
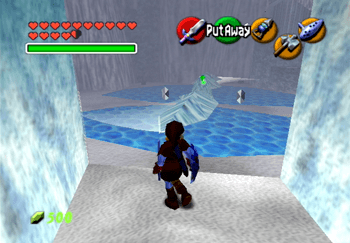
The next room at the end of the corridor has a large spinning chunk of ice that looks like a propeller in the center of the room that circles around counterclockwise. You need to travel around the room collecting the Silver Rupees that you see in order to open the next door.
The game allows you to Z or L Target the center of the propeller which may or may not help with navigation – it can certainly be done just as effectively without targeting.
There are three Silver Rupees in the center of the room that you can easily obtain as well as one Silver Rupee behind a wall of icicles that you can destroy. Use your ![]() Hookshot to target the
Hookshot to target the ![]() Gold Skulltula above this fourth Rupee and obtain the token (number 73 of 100).
Gold Skulltula above this fourth Rupee and obtain the token (number 73 of 100).
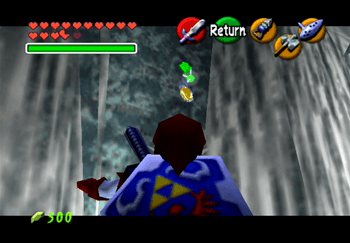
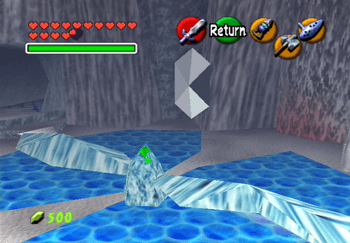
Climb up the platforms on the far side of the room and look outwards. Run and jump out into the middle of the room to obtain the fifth and final Silver Rupee. Climb back up the platform and go through the doorway which just unlocked.
The next part of the pathway contains another Freezard blowing icy winds in your direction. Run forward as soon as it has stopped blowing and slash at it with the ![]() Master Sword whilst dodging the metal spikes. Continue down the hallway and into the next room.
Master Sword whilst dodging the metal spikes. Continue down the hallway and into the next room.
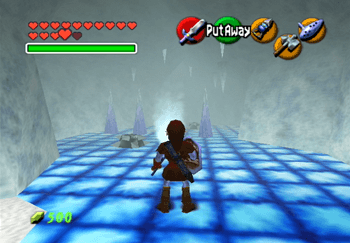
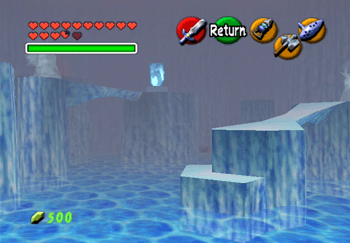
This large room has a number of platforms but only one that you can climb which is the one closest to the entrance (shown in the screenshot below). There are a few Ice Keese Bats flying around in the room as well so watch out for them as you travel up the platforms.
Use your ![]() Fairy Bow to take them out if you have any arrows on hand. Jump across the platforms until you reach the platform with the blue flame.
Fairy Bow to take them out if you have any arrows on hand. Jump across the platforms until you reach the platform with the blue flame.
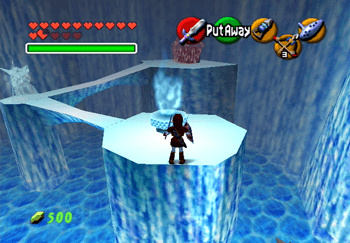
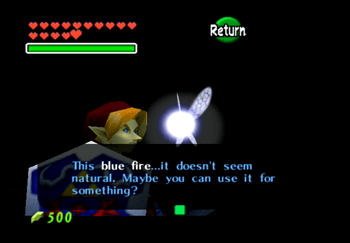
Navi will give you a heads-up as you approach saying: “This blue fire… it doesn’t seem natural. Maybe you can use it for something?.” This is a hint that you can capture the blue flame in a Bottle and use it elsewhere in the dungeon.
I would encourage you to capture as much Blue Fire as you can hold in your Bottles as you will be making extensive use of it throughout this dungeon. You should have four Bottles at this point if you have been following the strategy guide all the way through, so fill all four bottles with Blue Fire.
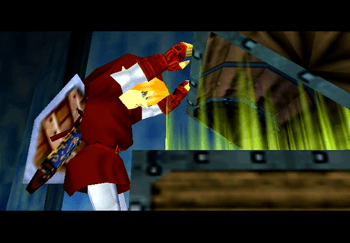
Cross the tiny walkway leading over to the Freezard nearby and destroy it. Continue along the pathway until you reach a large treasure chest covered by a red ice shield. Use some Blue Fire on the red ice to melt it away and then open up the chest to receive the Dungeon Map.
Use the Blue Fire on the red ice with the pot inside and then break open the pot to receive a Purple Rupee (worth 50 Rupees). Refill both of your empty Bottles with Blue Fire and then return to the room with the spinning ice propeller.
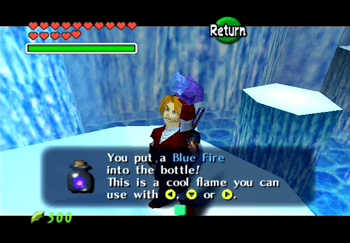
This room has two large red ice walls on either side of the room. The pathway leading off to the left (to the east, but this can be difficult to discern as you have not obtained the Compass yet) leads to the room shown in the screenshot below.
Destroy all the icicles and the three Ice Keese Bats and then use Blue Fire on the red ice blocks in this room. One will reveal a treasure chest that contains the Compass while the other will reveal a Piece of Heart (number 31 of 36).
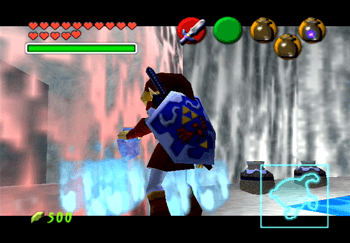
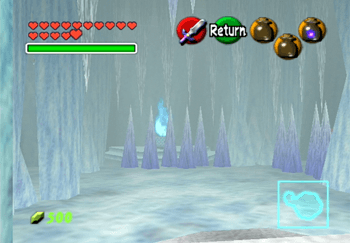
There is also a ![]() Gold Skulltula very close to the area where the Piece is Heart is located. Spin around and look on the back of the nearby pillar to see it. Destroy it with the
Gold Skulltula very close to the area where the Piece is Heart is located. Spin around and look on the back of the nearby pillar to see it. Destroy it with the ![]() Hookshot and pick up the token (number 74 of 100).
Hookshot and pick up the token (number 74 of 100).
Refill each of your Bottles with Blue Fire using the nearby torch and then exit the room. Cross the room with the large ice propeller and go through the doorway on the opposite side (blocked by red ice).
There are a ton of Ice Keese Bats in this next room (shown in the screenshot below). You should kill all them first and foremost as completing this room while they attack you is very difficult. Use your ![]() Fairy Bow or your
Fairy Bow or your ![]() Hookshot if you have run out of arrows. There is another
Hookshot if you have run out of arrows. There is another ![]() Gold Skulltula on the eastern wall. Use your
Gold Skulltula on the eastern wall. Use your ![]() Hookshot to kill it and then pick up the token (number 75 of 100).
Hookshot to kill it and then pick up the token (number 75 of 100).
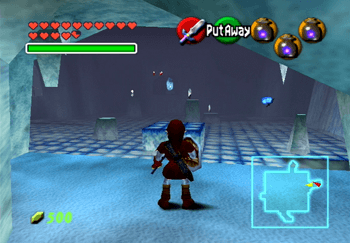
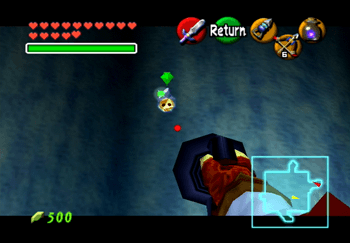
The first Silver Rupee is very easy to obtain – it is located on a platform that Link can simply approach and climb onto to pick up. Obtaining the other Silver Rupees involves pushing around the block/platform near the entrance to this room (shown in the screenshot below).
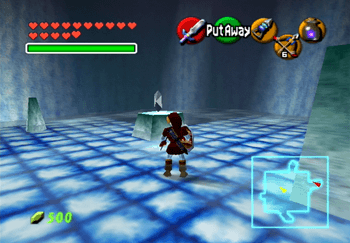
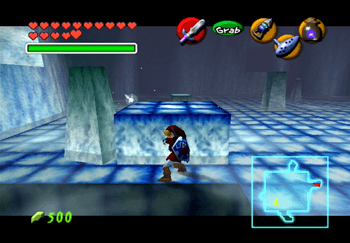
Start off by pushing it forwards, to the west, to obtain the Silver Rupee on the top of the rock. Push the block to the north from here towards the raised cave. Hop up into the cave and use some Blue Fire on the red ice to reveal the next Silver Rupee.
From here, push the block either west or east which will cause it to slide off the platform, but will also cause it to reappear near the entrance of the room (effectively resetting its position).
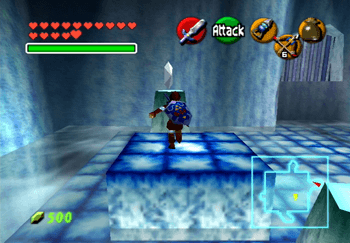
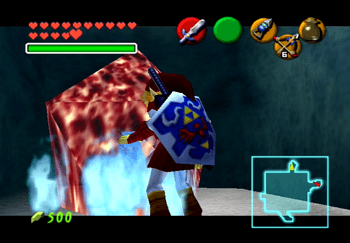
Push the block to the south this time and then climb onto it to pick up the Silver Rupee on the top of the rock. Push it west from here towards the Red Rupees and the Blue Fire Cauldron.
Climb up onto the rock to obtain the last Silver Rupee which will release the locked door on the south side of the room. Push the block off the platform by pushing it to the south to reset it again.
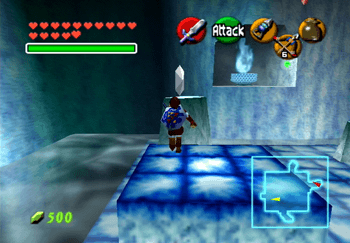

You can push the block west, then south, then west, the south, and then west one more time if you need to get up to the Blue Fire and refill any of your Bottles. Otherwise, starting from where the block respawns, push the block south, then west, then north, then east and then south again to get it to land in front of the door that unlocked.
Proceed down the corridor until you reach the part of the pathway blocked by three red ice structures. You only need to melt one of the red ice structures that contain a pot in order to proceed. Both of them contain a Recovery Heart. Proceed through the doorway and into the next room.
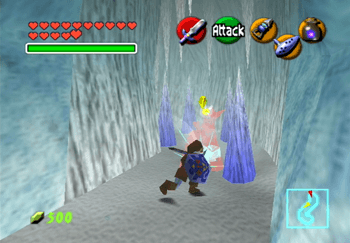
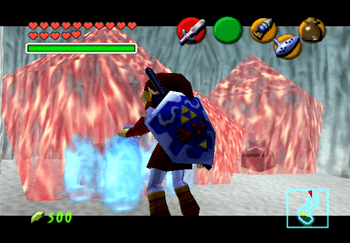
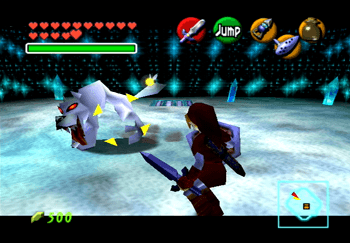
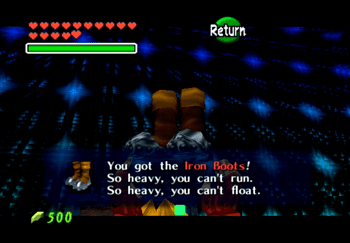
This next cool looking room contains a White Wolfos which appears as soon as you move forward. This Wolfos is as easy to defeat as the previous ones that you have fought before. Defeating it will cause a treasure chest to appear. Open the treasure chest to obtain the ![]() Iron Boots.
Iron Boots.
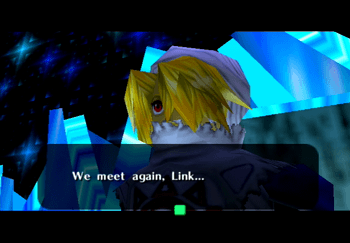
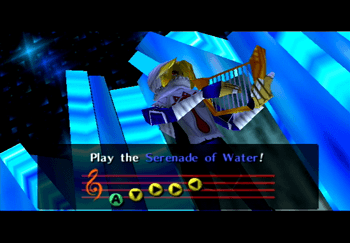
Sheik will appear behind Link in this room and will tell link about Princess Ruto and the Water Temple. Sheik will also teach Link the Serenade of Water which can be used to transport him to Lake Hylia at any time. Stock up on Blue Fire with all of your Bottles before you leave and then head back to the Zora’s Fountain.
There are a few things that you can do with Blue Fire before you proceed to Lake Hylia.

