Fire Temple
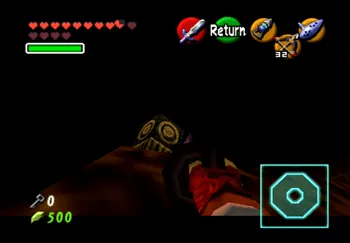
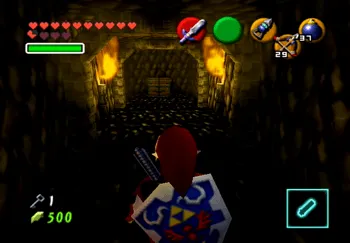
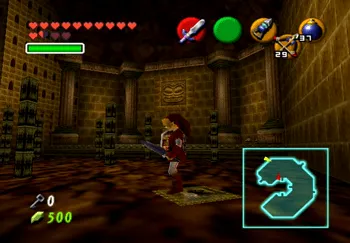
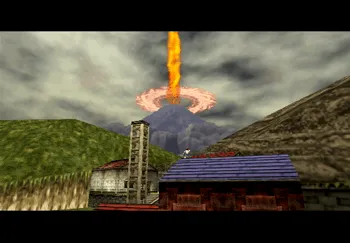
Play the Bolero of Fire to warp to the Death Mountain Crater. Walk forward into the Temple and climb down the ladder in the hole.
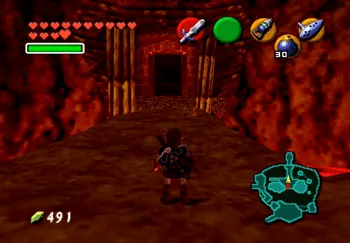

The first room contains some stairs with doors on both the left and right sides of the upper floor. Watch out for the Fire Keese bats flying around. You can use either your ![]() Hookshot or your
Hookshot or your ![]() Fairy Bow to take them out. Go through the doorway on the left side (as it is the only one open).
Fairy Bow to take them out. Go through the doorway on the left side (as it is the only one open).
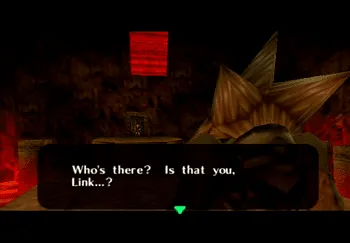
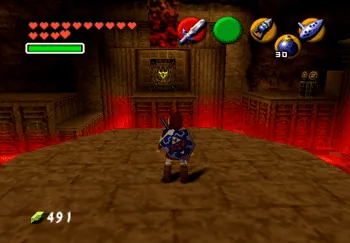
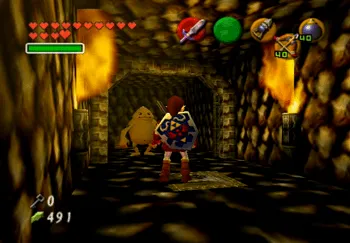
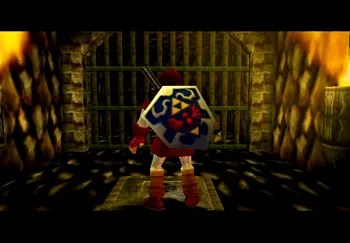
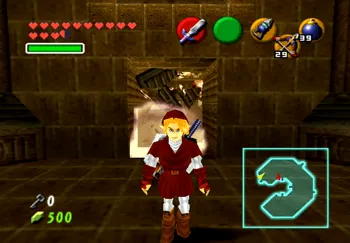
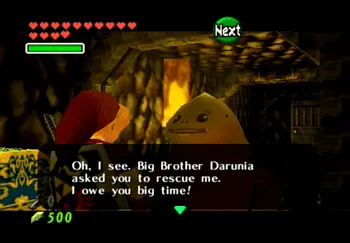
Link will run into Darunia in the next room. He will comment on how much Link has grown, talk about the dragon Volvagia, and explain that he will go on ahead to try and seal up the evil dragon. The door that Darunia proceeds through is the Boss Door but it will be a fair amount of time before you can proceed through this door.
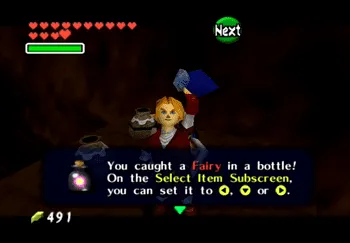
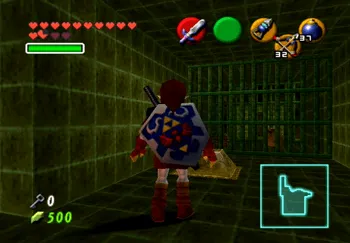
You can start off by jumping off to the right side of the room onto the platforms. Use your ![]() Hookshot to reach the final platform and then climb up to where the pots are sitting. There are two Pink Fairies in these pots which you can capture in your empty Bottles so that you have a few extra lives. Jump across the platforms on the left side of the room and step on the switch in front of the jail cell. This will deactivate the doorway releasing the Goron inside.
Hookshot to reach the final platform and then climb up to where the pots are sitting. There are two Pink Fairies in these pots which you can capture in your empty Bottles so that you have a few extra lives. Jump across the platforms on the left side of the room and step on the switch in front of the jail cell. This will deactivate the doorway releasing the Goron inside.
Speak to the Goron to free it and it will provide you with a “secret” for saving it. You won’t need this hint though because you have this strategy guide.
The Goron will run out of the cell allowing you to access the treasure chest behind it which contains a Small Key. Backtrack to the entrance and use the Small Key on the door on the right side of the room.
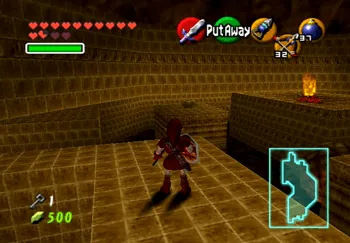
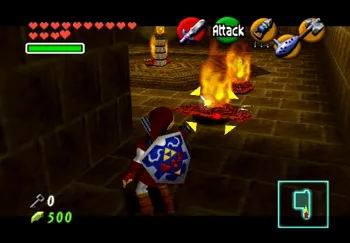
This next room is huge and it has a ton of lava spread across it. The lava will eventually do damage to Link if he stands on it, but this actually takes a long time due to the ![]() Goron Tunic, so feel free to walk across the lava for short durations.
Goron Tunic, so feel free to walk across the lava for short durations.
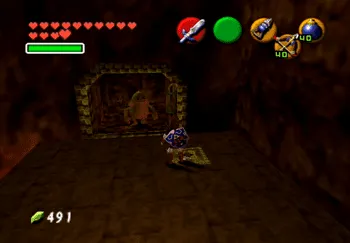
Travel to the right side of the room to find a small platform with a strange looking wall on one side. Use a ![]() Bomb on the wall to blow it up and reveal another doorway that leads to yet another imprisoned Goron. Step on the switch to release the Goron, speak to it, and then open the treasure chest behind it to obtain another Small Key.
Bomb on the wall to blow it up and reveal another doorway that leads to yet another imprisoned Goron. Step on the switch to release the Goron, speak to it, and then open the treasure chest behind it to obtain another Small Key.

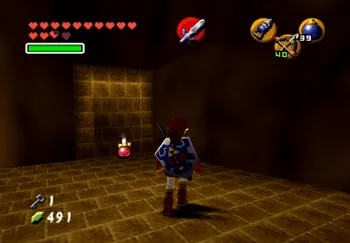
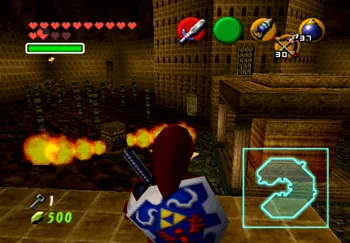
Travel to the exact opposite side of the large lava room. There is a crevasse on the left side of the room with a door. Go through the door to find another Goron trapped in a cell.
Stand on the switch to release the door and then speak to the Goron. Grab the treasure chest behind the Goron to pick up another Small Key.
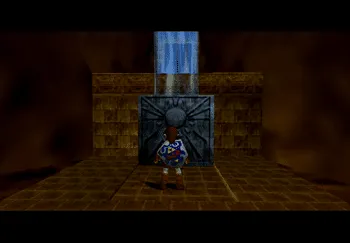
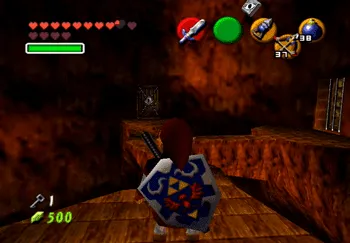
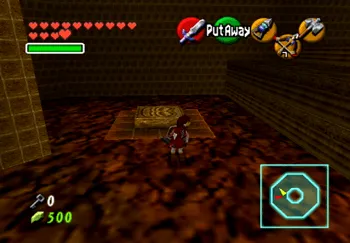
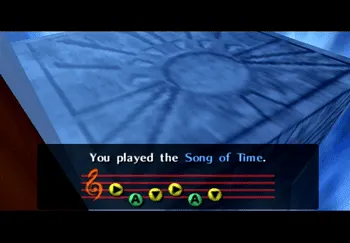
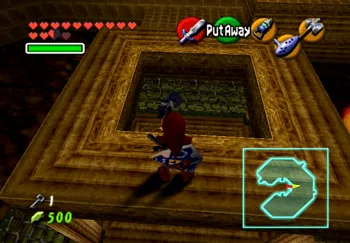
Exit the room and stand on the platform. As you walked under the platform you likely noticed that there was a Stone of Time (the large blue stone) up above the door. Pull out the ![]() Ocarina of Time and play the Song of Time to move the block down to the lower level. Climb on to the block and up to the doorway on the upper level.
Ocarina of Time and play the Song of Time to move the block down to the lower level. Climb on to the block and up to the doorway on the upper level.
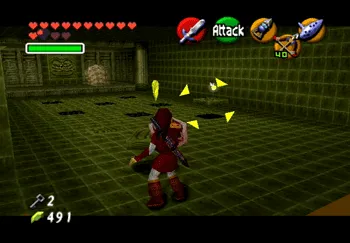
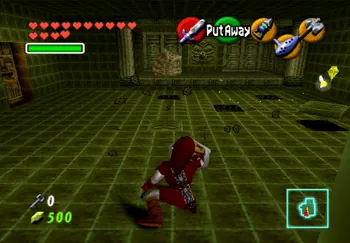
The next room contains a multitude of floor tiles that will come shooting towards Link as soon as he enters. Face Link towards the left (the direction that the floor tiles come flying in from) and hold up your ![]() Hylian Shield using the
Hylian Shield using the ![]() Button.
Button.
Wait there until the floor tiles stop coming at you. Watch out for the Like Like enemy near the back of the room (the weird creature that looks like a sea cucumber) which will try to swallow Link and potentially steal a piece of equipment.
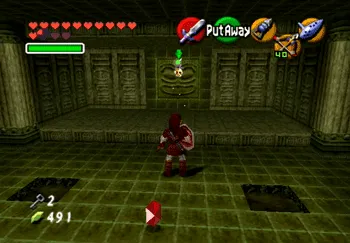
The best option is to defeat the creature from a distance – use either the ![]() Fairy Bow or the
Fairy Bow or the ![]() Hookshot to stun the creature and then attack it with the
Hookshot to stun the creature and then attack it with the ![]() Master Sword. Destroy the
Master Sword. Destroy the ![]() Gold Skulltula on the wall and pick up the token (number 66 of 100).
Gold Skulltula on the wall and pick up the token (number 66 of 100).
Exit this room and return to the large room full of lava. Proceed through to the other side of the room (which would now be on Link’s left side) following the bridge along. Use a Small Key on the doorway to go through.
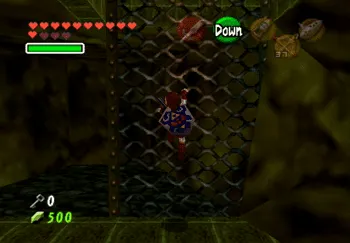
Move forward and Link will automatically slide down the wooden platform into the middle of the room past the chain-link fence. Before you climb the chain-link fence leading upward, pull out the ![]() Fairy Bow, aim upwards, and take out the two Fire Keese bats. They can be fairly difficult to see up there but you will save yourself a ton of hassle if you take them out now.
Fairy Bow, aim upwards, and take out the two Fire Keese bats. They can be fairly difficult to see up there but you will save yourself a ton of hassle if you take them out now.
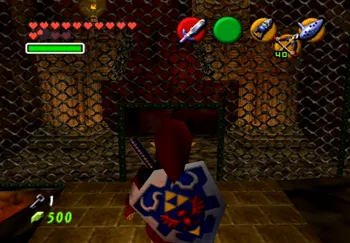
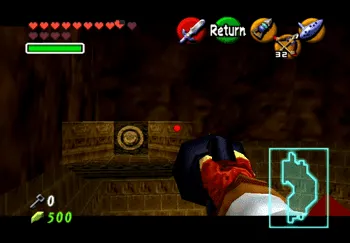
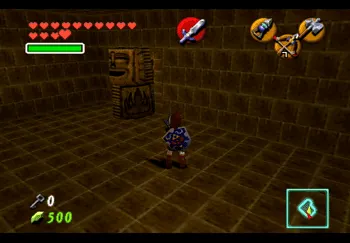
Climb up the fence, walk along the fences at the top of the room, jump down onto the pillar and then push the large yellow block with the face on it into the center of the room. Placing it on the flames that shoot out of the center of the room will cause it to rise and fall over and over again. Raise up into the next room and then proceed through the locked doorway.
The next room has a new creature inside it that Link has not encountered before called a Torch Slug. Destroy the two Torch Slugs and work your way up both platforms. Look across to the other side of the room to see a large white crystal sitting next to a movable block.
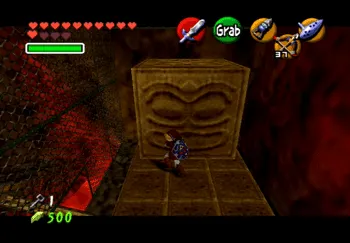
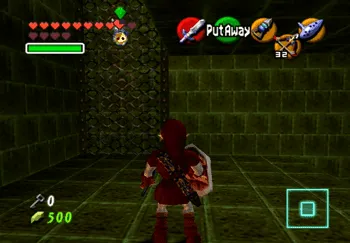
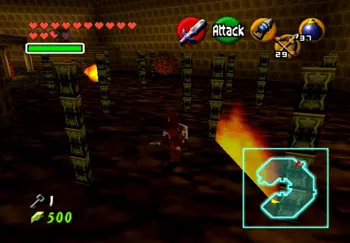
Jump over to where the crystal is located and push the block off the ledge. Drop down and pull the block out even further until it locks in place and then climb on it. Face the direction of the chain fence and jump over to the platform that you can reach in that direction (shown in the screenshot below).
You can now climb up to the top of the room but you will find that the fence that you can climb is blocked by some flames. Peek over the ledge back down at the crystal switch and hit it with your ![]() Hookshot.
Hookshot.
This will cause the flames at the top of the platform to deactivate. Quickly climb up to the top of the platforms and climb the chain-link fence before the flames reactivate.

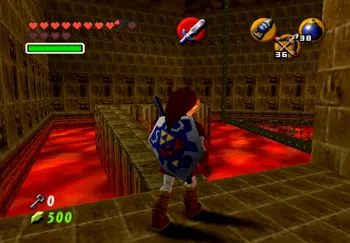
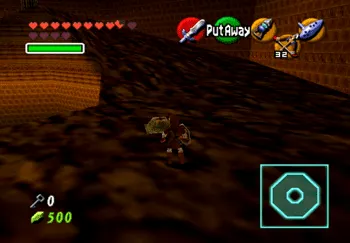
The next room is another large room with a number of moving boulders rolling between each of the pathways. You do not have the option of switching to a first-person view in this room and will have to navigate the corridors looking at Link from the top down. You are currently located on the east side of the room (as shown on your Map in the Map Sub Screen).
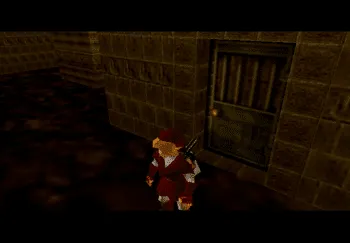
The first destination is directly north, heading left from the doorway. Follow the large wall around until you reach a crevasse in the with with a door in it (shown in the screenshot below). Go through the door to find another Goron in a prison cell. Step on the switch to release it and then pick up another Small Key.
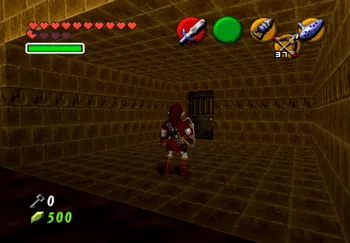
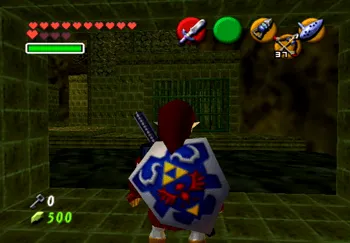
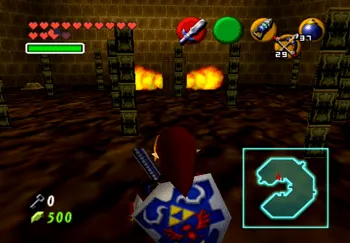
Exit the corridor/cell area and face forward, away from the door, as shown in the screenshot below. Follow the path forward and take an immediate left, followed by another left.
You should hear a ![]() Gold Skulltula. Swing your
Gold Skulltula. Swing your ![]() Master Sword at the wall to find that it makes a weird noise that is different from the other walls. Use a
Master Sword at the wall to find that it makes a weird noise that is different from the other walls. Use a ![]() Bomb on the wall to reveal a hidden area where a Gold Skulltula is hiding. Kill it and take the token (number 67 of 100).
Bomb on the wall to reveal a hidden area where a Gold Skulltula is hiding. Kill it and take the token (number 67 of 100).
Now travel all the way to the southern portion of the large room with the boulders. You will find another Goron in a prison cell with another switch. Release this Goron as well to pick up another Small Key. Head to the west side of the room to find a locked door that you can access. Use one of the two Small Keys to get through the door.
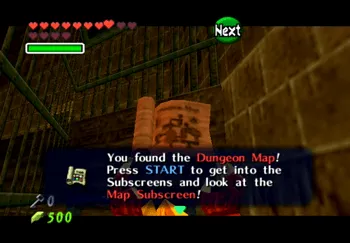
The next room has one locked door that you can access with a Small Key, one door that has bars blocking passage and a small grey eye up on the wall. Falling into the pit in this room will lead you back down to the large room with all ![]() Hookshot to hit the open eye which will close it and open the door on the right side of the room. Go through the doorway and open the treasure chest to obtain the Dungeon Map. Now proceed through the locked doorway using your Small Key.
Hookshot to hit the open eye which will close it and open the door on the right side of the room. Go through the doorway and open the treasure chest to obtain the Dungeon Map. Now proceed through the locked doorway using your Small Key.
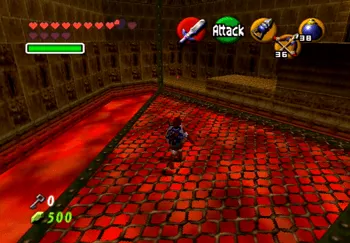
This next room has a large plateau that leads out into a pit of lava. Walk out onto the plateau and jump onto the caged platform and a firewall will flare up behind Link and start chasing towards him. Run along the caged platform to the opposite side of the room. Climb up the two ledges and go through the doorway up top.
You will find yourself back in the room with all the rolling boulders. Start off by turning to the right and playing the Scarecrow’s Song. Pierre the Scarecrow will appear on the upper platform. ![]() Hookshot to him, turn around, and then
Hookshot to him, turn around, and then ![]() Hookshot onto the platform above the doorway with the
Hookshot onto the platform above the doorway with the ![]() Hookshot target on it.
Hookshot target on it.
Once you land on the platform it will automatically begin raising upward into a room with a door. Go through the door to find a room with a ![]() Gold Skulltula in it (at the top of the chain-link fences). Kill it to obtain your next token (number 68 of 100).
Gold Skulltula in it (at the top of the chain-link fences). Kill it to obtain your next token (number 68 of 100).
Climb up the grate past where the Gold Skulltula was sitting to find another platform with another door. Go through the door to enter a huge, round room. There is another ![]() Gold Skulltula just off to the left on the wall of the large circular stone wall (number 69 of 100).
Gold Skulltula just off to the left on the wall of the large circular stone wall (number 69 of 100).

There is a switch near here that will disable a fire wall around a treasure chest when you step on it but you have to reach the treasure chest before the flame reactivates.
The only way to do this is to make use of the ![]() Hookshot target just up ahead to avoid climbing up the steep parts of the pathway. Run as quickly as you can to reach the treasure chest which contains a Huge Rupee (worth two hundred Rupees). Now travel back to the room with all the boulders (on the upper level).
Hookshot target just up ahead to avoid climbing up the steep parts of the pathway. Run as quickly as you can to reach the treasure chest which contains a Huge Rupee (worth two hundred Rupees). Now travel back to the room with all the boulders (on the upper level).
Jump directly across forward onto the platform with the Torch Slug and defeat it. Use a ![]() Bomb on the floor with the crack in it nearby and climb the chain-link fence down the hole.
Bomb on the floor with the crack in it nearby and climb the chain-link fence down the hole.
Follow the pathway around to find another Goron that you can release from its prison cell and another treasure chest with a Small Key. Go back up to the room with the boulders and ignore the other side of the prison cell as you will be back here.

Look to the southeast side of the large room to see a platform with another switch on it. The easiest way to jump across to this switch is to aim for the ledge on the corner first shown in the screenshot below.
Dropping down below will cause you to have to run all the way back to this upper level. Step on the switch to free another Goron on the southernmost side of the large room. Jump across the platforms to reach the prison cell, release the Goron, and obtain another Small Key.

Drop down to the lower level and re-enter the room with the firewall. This time, instead of following the cage platform all the way around, jump off to the left side of the room towards the locked doorway.
You need to approach it from the far side in order to reach. Go through the two doorways to reach a large room with a ton of stuff going on (shown in the screenshot below).
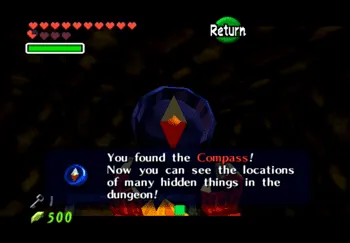
Jump off the platform aiming to the right and then follow the wall on the right side of the room forward to reach a door up ahead. Be careful though as there is a flame wall that will come up as you approach that you have to navigate around. Go through the door to find a large treasure chest that contains the Compass and then return to the previous room.
You now need to reach the southwest section of this room with the hidden flame walls. There is no easy way to go about this, so take your time, kill the Fire Keese as they approach, and try not to run into too many of the walls.
Go through the locked door shown in the screenshot below to enter the next room. There will be a Goron in this corridor locked in a prison cell with no button nearby to release him. Go through the doorway on the other side of the room.
This goal area of this next room is fairly obvious, there is a switch on the ground just up ahead on the left side of the room. Navigate to the button and step on it to remove the flame wall on the west side of the room.
You will have to move quickly to reach the area before the time runs out. The doorway attached to the wall is fake so use a ![]() Bomb on it to destroy it and reveal the actual door.
Bomb on it to destroy it and reveal the actual door.
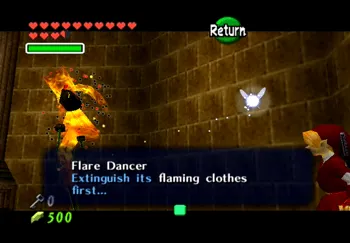
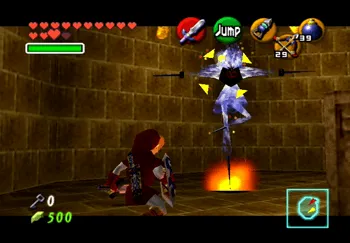
Flare Dancer
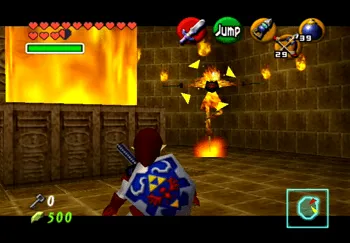
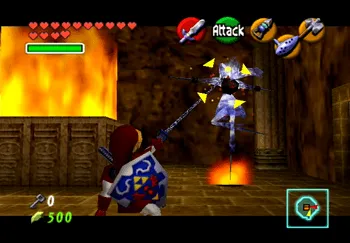
This next room contains a mini-boss battle against a flaming enemy called a Flare Dancer. The Flare Dancer will launch flames at you and then circle the platform. Dodge it as it circles the platform and then wait for it to start “dancing” again and shooting flames at you.
Use the ![]() Hookshot to pull the Flare Dancer out of its outfit allowing you to attack it with the
Hookshot to pull the Flare Dancer out of its outfit allowing you to attack it with the ![]() Master Sword. The naked Flare Dancer will run away from you pretty quickly so surprise it from the opposite side and attack it as it comes back around the pillar. Eventually it will jump back into the flames. Repeat the previous steps until you destroy it.
Master Sword. The naked Flare Dancer will run away from you pretty quickly so surprise it from the opposite side and attack it as it comes back around the pillar. Eventually it will jump back into the flames. Repeat the previous steps until you destroy it.
Jump onto the platform in the center of the mini-boss’s room to raise up to the next level. Climb up the chain-link fence on the south side of the room and then either use your ![]() Hookshot or drop a
Hookshot or drop a ![]() Bomb over the ledge to hit the crystal switch and disable the flames blocking the other chain-link fence.
Bomb over the ledge to hit the crystal switch and disable the flames blocking the other chain-link fence.
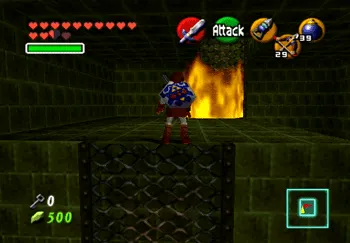
The first thing that you will need to do in this next room is travel around the room destroying each of the Fire Keese Bats. You then have to step on the switch and race over to the treasure chest before the flames reignite. There appears to be two pathways that you can take to reach the treasure chest but it is very difficult (if not impossible) to reach the chest by taking the long way.
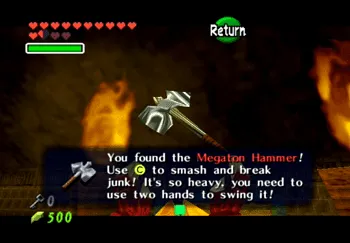
Race around the smaller ledge being careful not to fall. Open up the treasure chest to obtain the ![]() Megaton Hammer.
Megaton Hammer.

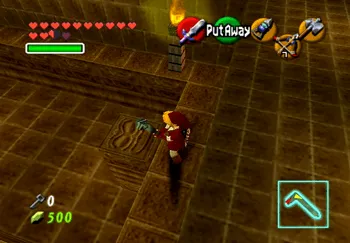
Travel down to the entrance to the room (which is fairly close to where the treasure chest is) and search for a square stone block near the doorway. Use the ![]() Megaton Hammer to smash the rock downward and reveal a pathway that Link can travel through.
Megaton Hammer to smash the rock downward and reveal a pathway that Link can travel through.
There will be two large, stone blocks blocking the doorway out of this room. Use the ![]() Megaton Hammer again to smash them out of the way. Go through the doorway but be ready to take care of two Fire Keese Bats as soon as you enter the next room.
Megaton Hammer again to smash them out of the way. Go through the doorway but be ready to take care of two Fire Keese Bats as soon as you enter the next room.
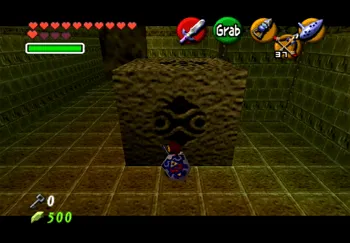
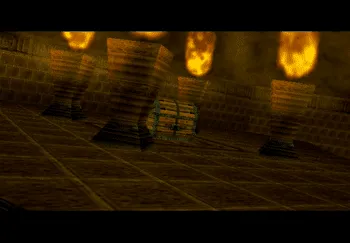
Travel to the back of the room after you have killed the first two Keese to find another two hanging out at the back. Pull out the ![]() Megaton Hammer again and use it to smash the block on the side of the pit (shown in the screenshot below). Smashing the block downward will cause the pit to drop down into a set of large stairs that Link can climb down.
Megaton Hammer again and use it to smash the block on the side of the pit (shown in the screenshot below). Smashing the block downward will cause the pit to drop down into a set of large stairs that Link can climb down.
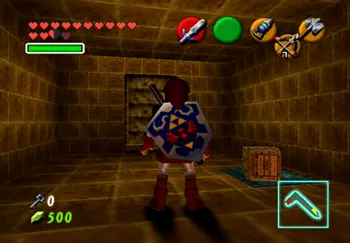
Grab one of the Boxes (exit the room and re-enter it if you accidentally destroyed both boxes) and set the Box on the blue switch at the bottom of the stairs to hold the door open for you.
There is another large stone block in this small room with a face on it. Use the ![]() Megaton Hammer to hit this block as well and then jump down the hole. You will land on the block back in the lower level with the disappearing flame walls.
Megaton Hammer to hit this block as well and then jump down the hole. You will land on the block back in the lower level with the disappearing flame walls.
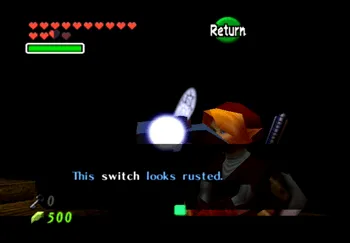
Climb up the block onto the upper ledge and approach the switch – Navi will inform you that the switch appears to be rusted. Smash the switch using the ![]() Megaton Hammer and then proceed through the doorway.
Megaton Hammer and then proceed through the doorway.

You will notice a Stone of Time (the blue stone) across the pathway as soon as you enter this next room. Pull out your ![]() Ocarina of Time and play the Song of Time to cause the stone to move down into the lower pathway. It also reveals a rusty switch where it used to be.
Ocarina of Time and play the Song of Time to cause the stone to move down into the lower pathway. It also reveals a rusty switch where it used to be.
Jump down onto the blue stone and then across to the ledge with the rusty switch and then use your ![]() Megaton Hammer to hit the switch. This will release the Goron down below from its prison cell. Speak to the Goron and pick up the next Small Key.
Megaton Hammer to hit the switch. This will release the Goron down below from its prison cell. Speak to the Goron and pick up the next Small Key.
Climb back up the blue stone onto the ledge and exit through the doorway that you came in from. Jump over onto the next platform to find another large face that looks like the previous ones – this is another stone that you can use your ![]() Megaton Hammer on.
Megaton Hammer on.
Use the hammer and this will cause the pillar to drop down to the lower level. Drop down the hole that was created and this will take you all the way back to the room where you met up with Darunia – the one that has the doorway that requires the Boss Key.
You can take this opportunity to jump back over to the northern side of the dungeon again and open up the pots to find a Pink Fairy (if you reset the game they will have returned). Otherwise, exit this room back to the entrance of the dungeon.
On the east side of the room is a large statue similar to the previous room blocking the doorway just like before, only now you have a ![]() Megaton Hammer in your possession, so use the hammer to knock the statue pieces out of the way and then proceed through the doorway. The door requires the Small Key that you picked up from the most recent Goron prison cell.
Megaton Hammer in your possession, so use the hammer to knock the statue pieces out of the way and then proceed through the doorway. The door requires the Small Key that you picked up from the most recent Goron prison cell.
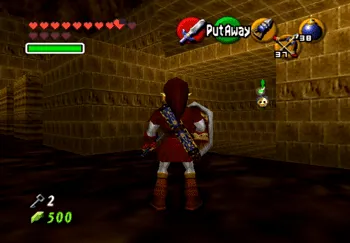
The next room is full of enemies – Fire Keese Bats and Torch Slugs. Defeat all the enemies in this room to open the locked door. There are another five floor tiles that will release and jump up at you again as you enter this room. Use the ![]() Button to pull up your
Button to pull up your ![]() Hylian Shield and block them as they approach you.
Hylian Shield and block them as they approach you.
Take care of the Like Like at the back of the room and then destroy the ![]() Gold Skulltula hanging out on the wall (number 70 of 100).
Gold Skulltula hanging out on the wall (number 70 of 100).
The next room contains another mini-boss fight against a Flame Dancer. The fight is exactly the same, so the tips and tricks for defeating it will not be repeated (check above if you are stuck). A treasure chest will appear after the fight that contains some ![]() Bombs.
Bombs.
Go through the unlocked doorway on the south side of the room to find another switch that you can use to free a Goron from a prison cell. The Goron will not tell you a secret this time and will just ask you to save Darunia. Open up the yellow and blue treasure chest to obtain the Boss Key and then travel back to the Boss Door and go through it.
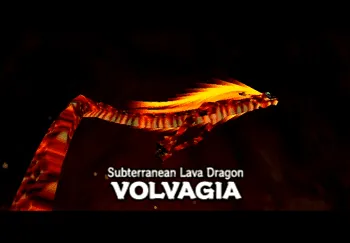
Volvagia
Subterranean Lava Dragon
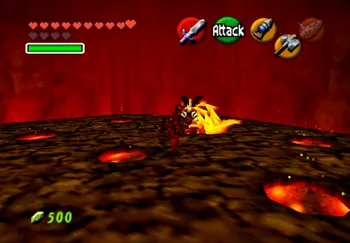
Volvagia is one of the easier bosses to defeat. It resembles a game of whack-a-mole. Wait for Volvagia to poke its head out of one of the holes and then hit it with the ![]() Megaton Hammer.
Megaton Hammer.
Watch out for when it swings its flaming hair and then go in for the attack. You can then hit it with the ![]() Master Sword while it is stunned. Make sure to dodge its attacks once it comes flying out of one of the holes and dodge the rocks as they come falling down (watch for the shadows) you will be good to go.
Master Sword while it is stunned. Make sure to dodge its attacks once it comes flying out of one of the holes and dodge the rocks as they come falling down (watch for the shadows) you will be good to go.
This completes the Fire Temple. Darunia will give Link the ![]() Fire Medallion.
Fire Medallion.
The next destination is the Zora’s Fountain, but there are a number of side quests and items that you can obtain before you head there. Check out the next page for more information.