
Kairos Gate
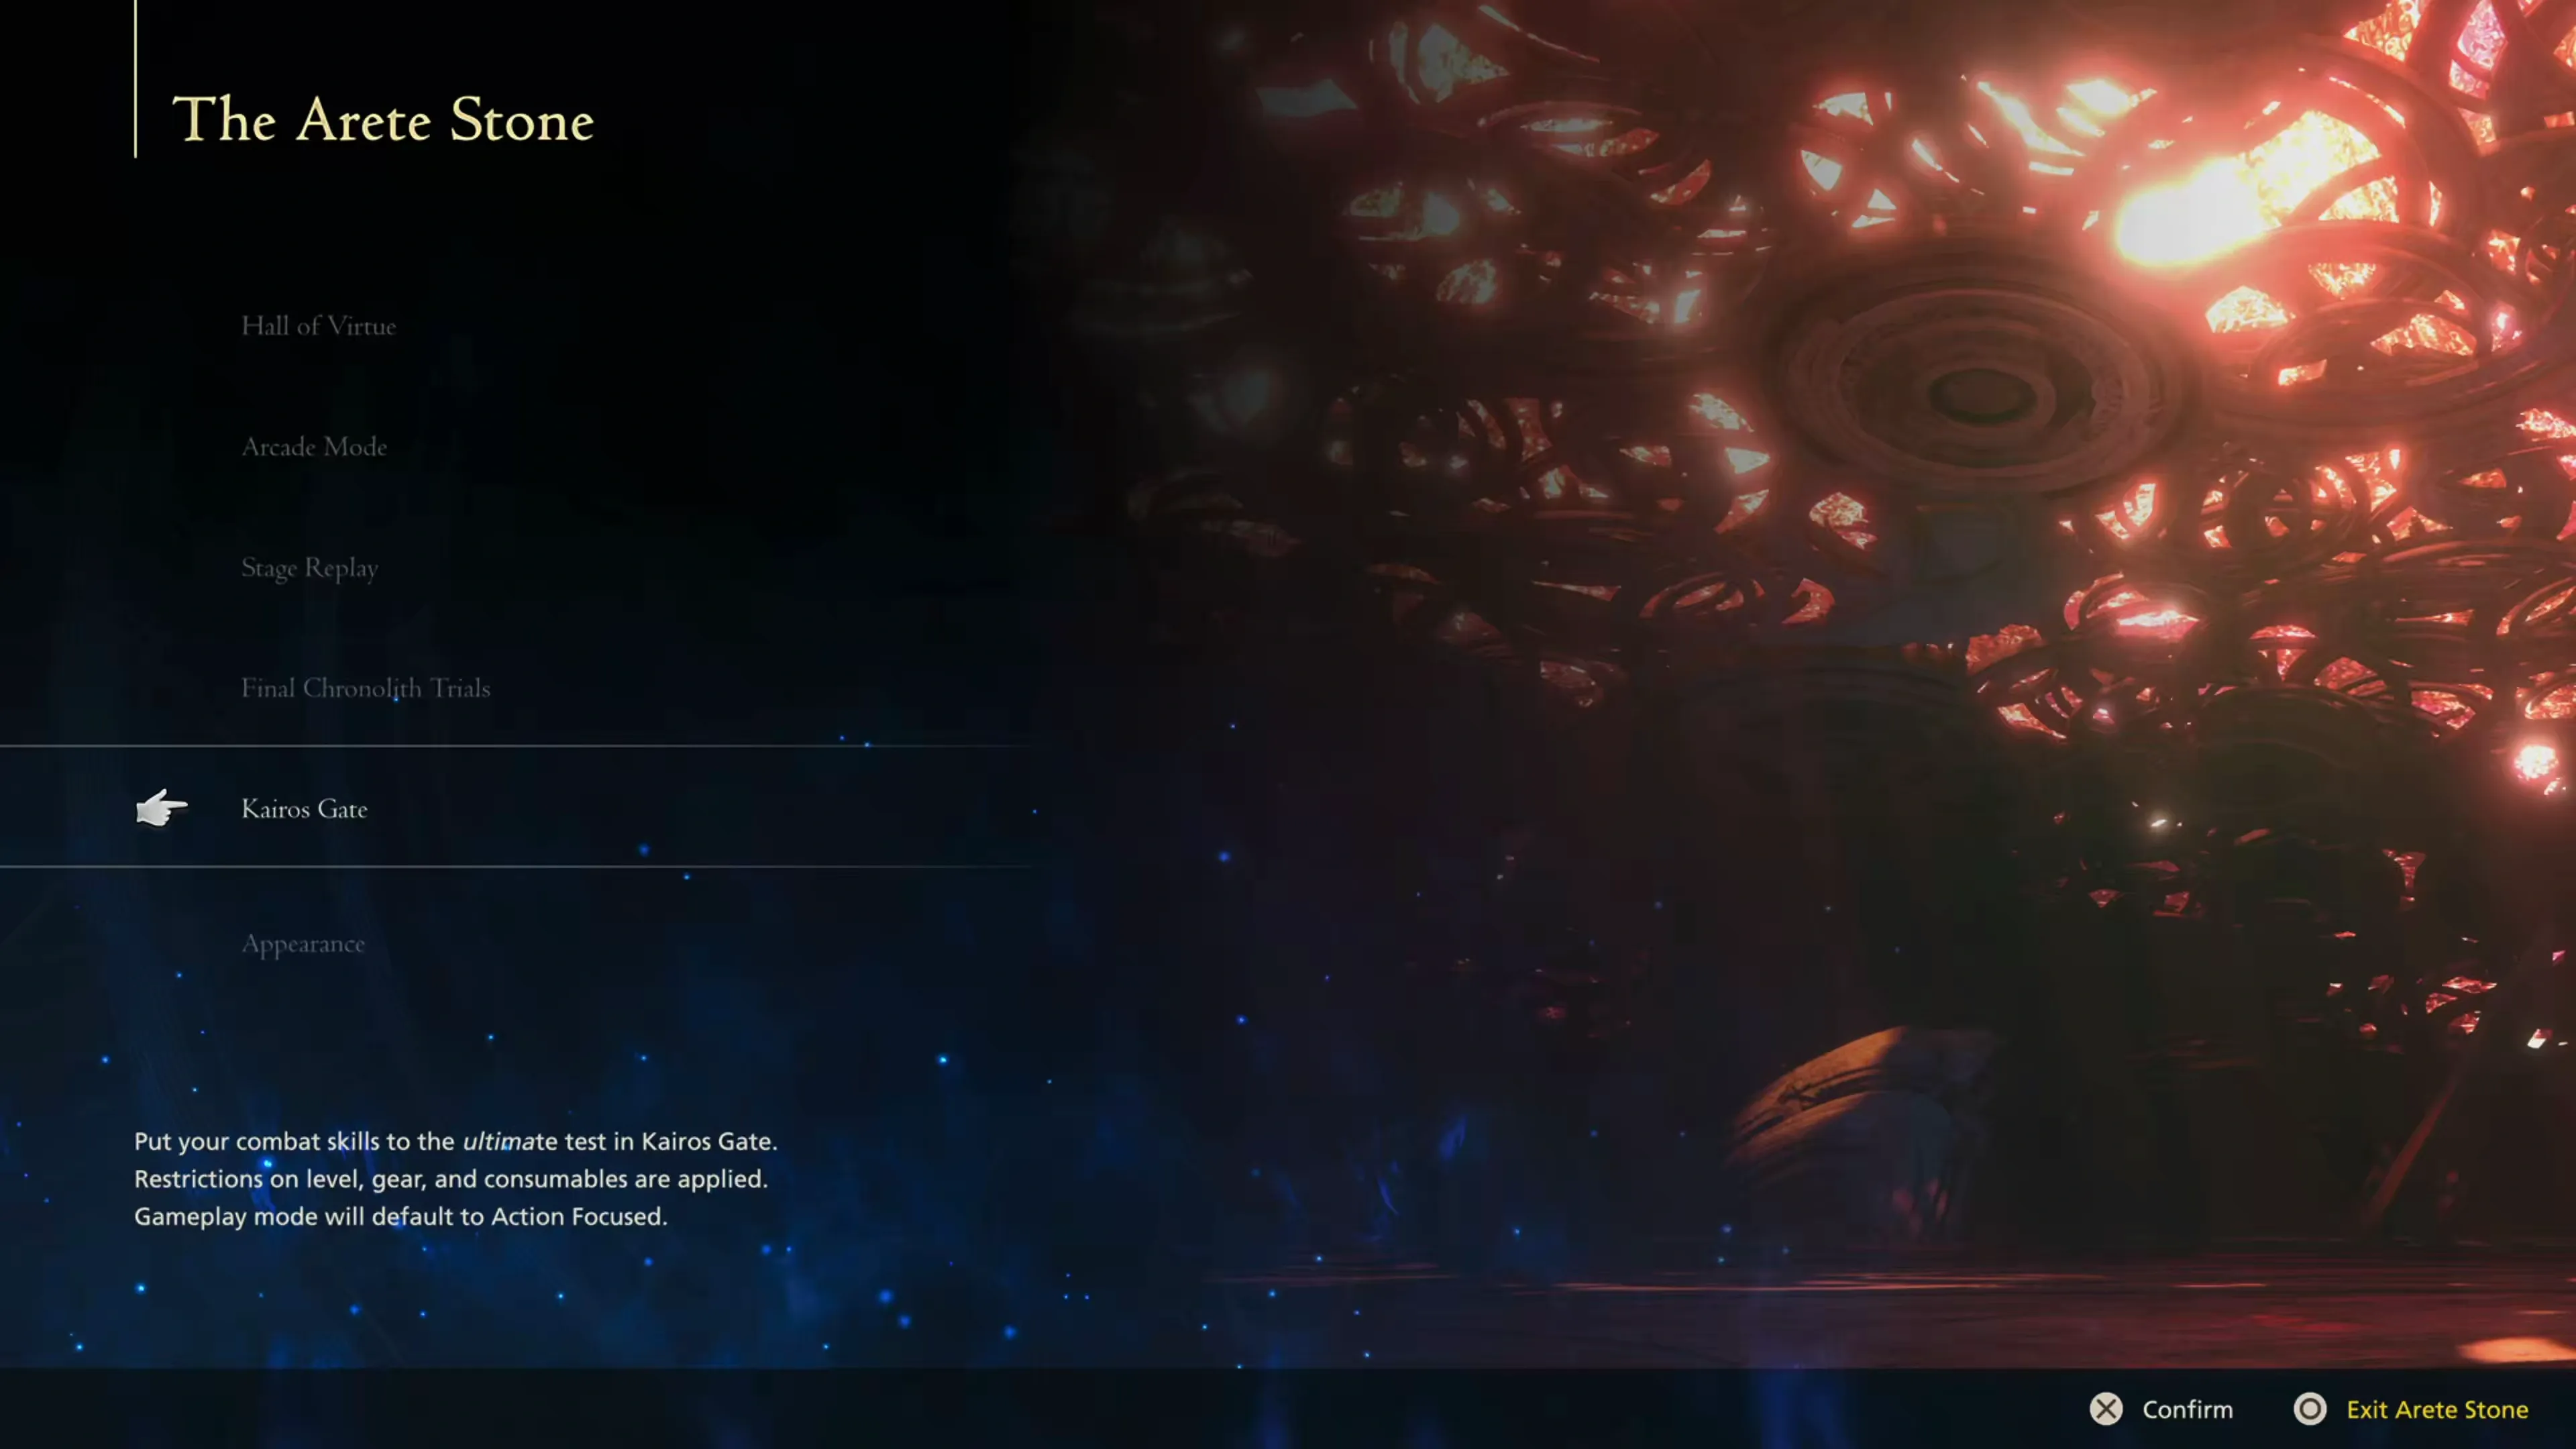
The Kairos Gate is an optional Side Quest that you can participate in once you have completed ![]() The Rising Tide DLC Expansion and defeated Leviathan. You can access it by activating the
The Rising Tide DLC Expansion and defeated Leviathan. You can access it by activating the ![]() Arete Stone in the
Arete Stone in the ![]() Hideaway and selecting the “Kairos Gate” option. This page is broken up into the following sections:
Hideaway and selecting the “Kairos Gate” option. This page is broken up into the following sections:
- Overview
- Strategy and Earning High Scores
- Technical Bonus, Stars, and Combos
- Eikonic Ability Setup
- Enhancements (EP) and Boons (BP)
- Rewards
Overview
Kairos Gate is a series of back-to-back battles you’ll face, very similar to the Chronolith Trials Side Quest, which pits you against groups of enemies in each of the Kairos Gate Circles (20 in total). The game mentions that you can change your “Gear and Eikons” and your “Abilities,” but you actually can’t change your Gear. You’ll be using some default gear provided by the game, but you can also change…
 Eikonic Ability Sets
 Eikonic Abilities and
  Ability Points
- Enhancements and Boons (which are discussed below)
When you first access the Kairos Gate, the number of options and introduction screens can be overwhelming, but this Side Quest is relatively straightforward. Here are the key points you need to know:
- Each Kairos Gate has more formidable enemies than the last, and the 5th, 10th, 15th, and 20th Gates have bosses.
- Earning a higher “Score” will earn you more
 Enhancement Points (EP) and
  Boon Points (BP), making it a bit easier to take on the more challenging Gates at the end (discussed below).
 - Defeating enemies as quickly as possible can be helpful, but defeating them in a way that maximizes your combos and gets you a higher score is even more important.
- Clive’s HP will only be partially refilled at the end of each Circle, and there is no way to heal, so try not to take too much damage.

Strategy and Earning High Scores
The obvious goal of these challenges and progressing through each of the Circles is to defeat the enemies while not taking too much damage and keeping Clive alive, but there’s a bit more to it than that. In addition to staying alive, your primary/secondary goal is to earn a high score.
For these fights, you won’t have access to any of your gear or accessories. Clive will be equipped with default gear which includes:
Most players won’t care too much about the High Score Leaderboard, but earning a higher score will also earn you more ![]() Enhancement Points (EP) and
Enhancement Points (EP) and ![]() Boon Points (BP), which are helpful (if not necessary) for working your way through some of the more difficult Circles. If you continue to get low scores in many of the earlier Circles, you may find yourself struggling to defeat enemies later on or to stay alive when Clive takes damage. So how can you earn a higher score?
Boon Points (BP), which are helpful (if not necessary) for working your way through some of the more difficult Circles. If you continue to get low scores in many of the earlier Circles, you may find yourself struggling to defeat enemies later on or to stay alive when Clive takes damage. So how can you earn a higher score?
Technical Bonus, Stars, and Combos
Abilities that you’ve previously utilized to get through some of the game’s most difficult fights, like ![]() Diamond Dust,
Diamond Dust, ![]() Arm of Darkness/Zantetsuken, and
Arm of Darkness/Zantetsuken, and ![]() Judgment Bolt, are still somewhat helpful in Kairos Gate. However, other abilities can help you build up a Technical Bonus more quickly.
Judgment Bolt, are still somewhat helpful in Kairos Gate. However, other abilities can help you build up a Technical Bonus more quickly.
A good place to start if you want to understand the full breakdown is to head to the “Hall of Virtue” at the ![]() Arete Stone and try out different abilities. Attacks that have a higher star ranking () next to them when they flash on the right side of the screen will trigger a higher technical bonus. But the true goal is to execute combos; get lots of attacks on enemies quickly and in succession to get the Technical Bonus multiplier up to its maximum of x3.0.
Arete Stone and try out different abilities. Attacks that have a higher star ranking () next to them when they flash on the right side of the screen will trigger a higher technical bonus. But the true goal is to execute combos; get lots of attacks on enemies quickly and in succession to get the Technical Bonus multiplier up to its maximum of x3.0.

In the next section, you’ll find an overview of some Eikonic Abilities that you may want to swap into your Eikonic Ability Sets because of their potential to provide a high Technical Bonus and larger combos. However, a video is also included below, which highlights how your strategy should change for the Kairos Gate.
In this video, you will see ![]() Jump being utilized along with
Jump being utilized along with ![]() Deadly Embrace to pull an enemy up into the air, followed by a complete
Deadly Embrace to pull an enemy up into the air, followed by a complete ![]() Melee Attack /
Melee Attack / ![]() Magic Burst combo. As you can see, doing this a few times, even on low-level enemies, helps drive up the Technical Bonus multiplier up into the x1.5 to x2.0 range before you begin utilizing other Eikonic Abilities. Switching targets helps to keep each of the enemies alive longer so you can build up an even higher Technical Bonus and combo.
Magic Burst combo. As you can see, doing this a few times, even on low-level enemies, helps drive up the Technical Bonus multiplier up into the x1.5 to x2.0 range before you begin utilizing other Eikonic Abilities. Switching targets helps to keep each of the enemies alive longer so you can build up an even higher Technical Bonus and combo.
This demonstration shows the use of ![]() Will-o’-the-Wykes, which isn’t really necessary in the first Circle. Still, you can use this strategy at the beginning of many of the Circles (or certain waves within the Circle). The protective barrier of “Will-o’-the-Wykes” will prevent Clive from taking damage during this opening sequence from a random ranged projectile or if an enemy accidentally gets too close.
Will-o’-the-Wykes, which isn’t really necessary in the first Circle. Still, you can use this strategy at the beginning of many of the Circles (or certain waves within the Circle). The protective barrier of “Will-o’-the-Wykes” will prevent Clive from taking damage during this opening sequence from a random ranged projectile or if an enemy accidentally gets too close.

A video demonstration of executing a combo in the Kairos Gate.
If nothing else, this video will give you a sense of the strategies you’ll want to employ as you progress through the Circles. It’s certainly more than just about your speed (although that is an important factor). Building up combos and Technical Bonuses is much more critical.
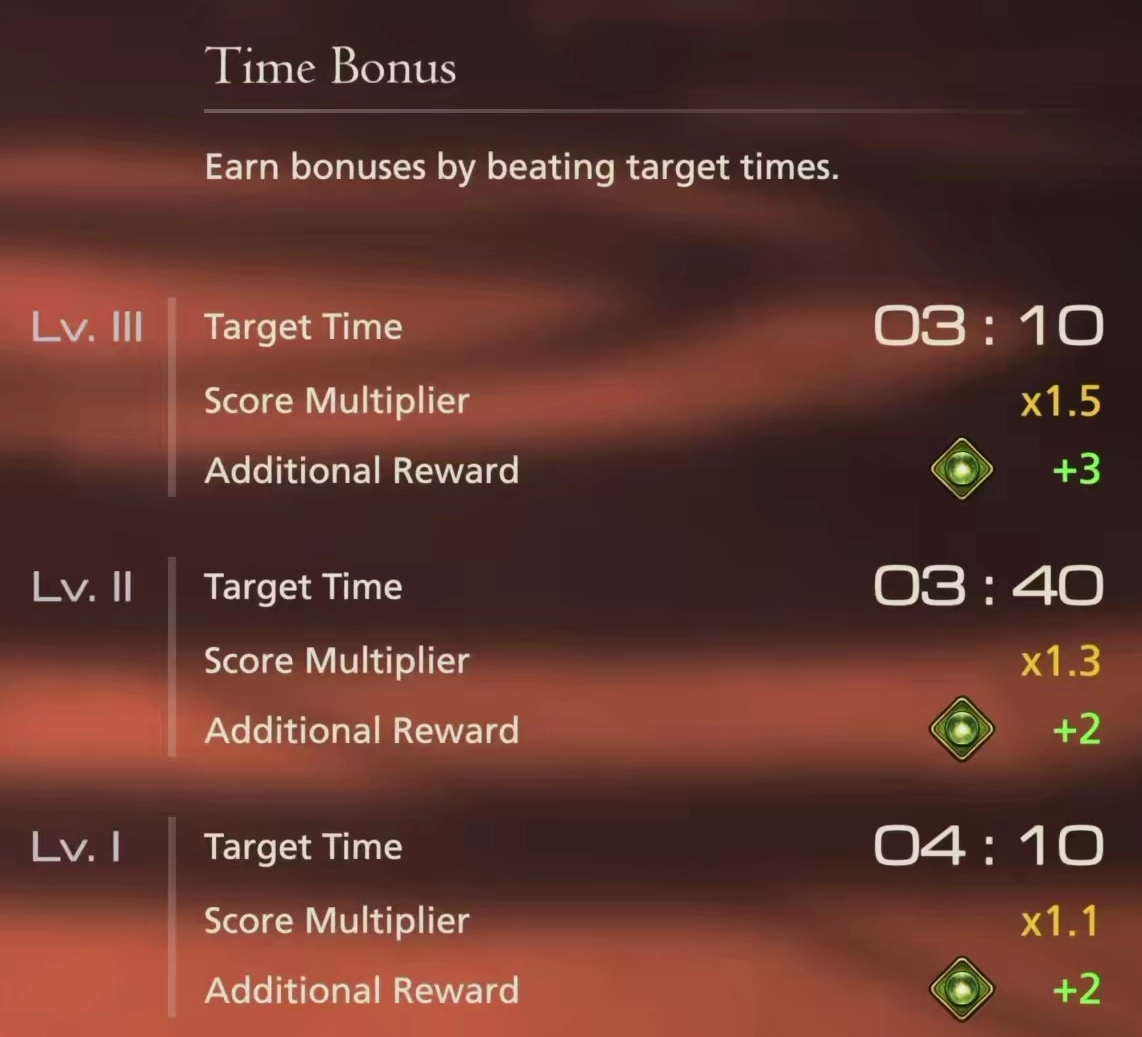
You do receive a score multiplier depending on whether you meet the target time, as shown below:
Eikonic Ability Setup
Considering that achieving a higher Technical Bonus is as important as, or even more critical than, defeating enemies quickly, which Eikonic Abilities should you prioritize? Here is a list of Eikonic Abilities you may want to consider swapping into your set:
| Eikonic Ability | Details |
|---|---|
| This ability continues to be a good choice, and it’s something you should practice using if you haven’t been using it for your regular playthrough. Using this ability allows you to extend combos and keep the Technical Bonus meter high, and it’s useful for all kinds of situations. | |
| There’s a good chance that you were already using Deadly Embrace for “Deadly Takedowns” (if nothing else), but this ability plays an even more crucial role in the Kairos Gate Circles. You can use it to build an early Technical Bonus (as shown in the Kairos Gate Demonstration Video), you can use it to pull airborne enemies and far-away enemies towards Clive to keep a combo going, and, just like before, you can still use it on bosses and stronger enemies to trigger a “Deadly Takedown.” This ability also pairs well with |
|
| This ability generally isn’t recommended during a regular playthrough of the game because it has several drawbacks, but it’s actually quite helpful for building combos against groups of small enemies. Use Aerial Blast to group up enemies, and, because it doesn’t deal too much damage, you can finish them off with finisher attacks. Using it on bosses can be problematic, as it makes it more difficult to see what the boss is doing and dodge its upcoming attacks, but if you pair this with |
|
| This ability mostly functions as a means of preventing damage from stronger attacks. During the Kairos Gate Circles, this can prove very helpful throughout. But it also serves another great purpose—it causes damage to nearby enemies, which can be helpful for preventing the Technical Bonus multiplier from falling too fast. | |
Instead, switch over to using Thunderstorm, which allows you to attack enemies that are very far away, and it continuously builds up the multiplier quickly. Additionally, if you’re close enough to an enemy (or if the enemy is staggered), you’ll hit it with the initial spin part of the attack too, maximizing its potential to add points and deal damage. |
|
| These abilities are all just as useful in the Kairos Gate as they are during a regular playthrough. Click on the abilities if you’d like to learn more about how to use each of them effectively in battle, but otherwise, if you’ve been using them already, you should be familiar with how to get the most out of them. | |
| Adding this ability and activating it as often as possible can be helpful for triggering more attacks against an enemy in quick succession and building up the Technical Bonus multiplier. | |
| This is an extremely powerful ability to use in the Kairos Gate. Use it early in the fight to get it to charge and then, ideally, use it against a group of enemies to build up the Technical Bonus multiplier extremely quickly. It still works against single targets, but it isn’t nearly as effective. |
Abilities to avoid are those that deal heavy damage without building up Technical Bonus points or the multiplier. This includes ![]() Judgment Bolt,
Judgment Bolt, ![]() Tsunami,
Tsunami, ![]() Earthen Fury, and
Earthen Fury, and ![]() Arm of Darkness / Zantetsuken. Other abilities have other things that make them impractical. For example,
Arm of Darkness / Zantetsuken. Other abilities have other things that make them impractical. For example, ![]() Diamond Dust will scatter enemies around the map, making them harder to attack, and
Diamond Dust will scatter enemies around the map, making them harder to attack, and ![]() Wings of Light / Megaflare has far too much downtime while you wait for it to charge.
Wings of Light / Megaflare has far too much downtime while you wait for it to charge.
Try experimenting with different Eikonic Abilities, as many players have found success using less common abilities like ![]() Ice Age,
Ice Age, ![]() Mesmerize, and
Mesmerize, and ![]() Deluge, among others.
Deluge, among others.

Enhancements (EP) and Boons (BP)
At first, these two methods of upgrading Clive may appear more complicated than they actually are. To summarize, Enhancement Points can be spent on Enhancements that permanently upgrade Clive, and Boons are temporary buffs that Clive will receive that last for a certain number of Kairos Gate Circles. So what should you spend them on?
Well, as outlined in some of the sections above, your goal in the Kairos Gate isn’t to deal maximum damage and defeat enemies as quickly as possible. Instead, you want to maximize your Technical Bonus and score multipliers for each of the circles. As such, your goal with both EP and BP should be to focus on upgrades that make this easier.
Enhancements
| Good | Average | Bad |
|---|---|---|
| 1) Boon Duration 2) Boon Potency |
1) Maximum HP 2) Maximum Defense |
1) Attack Potency 2) Eikonic Ability Potency |
In the first Circles, spend all of the Enhancement Points you earn on increasing “Boon Duration” and “Boon Potency.” The Boons you can activate provide Clive with all sorts of useful benefits. The longer they last and the more potent they are, the better.
Once they’ve both been fully leveled up to “Max” or 5/5, swap over to “Maximum HP” and “Maximum Defense,” which will help with some of the more difficult fights later on in the run. “Maximum HP” should be prioritized over defense because the HP recovery Clive gets is a percentage of his overall HP, meaning the healing he receives at the end of each circle will be more effective.
Lastly, ignore “Attack Potency” and “Eikonic Ability Potency” altogether. Your goal isn’t to kill enemies more quickly than you need to. In fact, you can still earn an “S” rank even if you don’t trigger the time bonus multiplier, as long as you build your Technical Bonus combos effectively.
Boons
| Good | Average | Bad |
|---|---|---|
| 1) Score Bonus 2) Stagger Score Bonus 3) Eikonic Ability Score Bonus 4) Aerial Attack Improvement |
1) HP Regain Potential 1) Precision Dodge HP Regain 1) Post-battle HP Recovery 2) Near Death Resilience 2) Limit Break Potency |
1) Berserker Ring 2) Damage Boost 3) Counter Potency |
The first and most important upgrade is “Score Bonus,” which you won’t be able to afford for the first Circle, but you shouldn’t need it. Keeping this active for every Circle will help maximize your Technical Bonus Score and will help to increase the Enhancement Points and Boon Points you receive at the end of the battle.
“Stagger Score Bonus” and “Eikonic Ability Score Bonus” are second behind “Score Bonus” for the same reasons; they help to build up your score, which is the most important thing. If you want to, you have the option of adding “Aerial Attack Improvement” as well, which will increase the effectiveness of the opening ![]() Deadly Embrace combo demonstrated in the Kairos Gate Demonstration Video.
Deadly Embrace combo demonstrated in the Kairos Gate Demonstration Video.
Once you’ve activated the score-related Boons, you can move on to defensive Boons, which will be helpful as the battles increase in difficulty. Choosing between the five listed above in the ‘average’ column is dependent on the player. They all offer benefits, but in different ways, so read through the descriptions and make a choice based on your own play style.
Boons that should be avoided are listed in the ‘bad’ column. “Berserker Ring” does increase Clive’s damage after successfully executing a ![]() Precision Dodge, but this prevents him from executing a complete
Precision Dodge, but this prevents him from executing a complete ![]() Melee Attack with
Melee Attack with ![]() Magic Burst, which is one of the best ways to build up the Technical Bonus multiplier. “Damage Boost” and “Counter Potency” increase Clive’s damage, so they should be avoided for the same reasons mentioned in the enhancements section above (ending battles too quickly).
Magic Burst, which is one of the best ways to build up the Technical Bonus multiplier. “Damage Boost” and “Counter Potency” increase Clive’s damage, so they should be avoided for the same reasons mentioned in the enhancements section above (ending battles too quickly).

Rewards
Here are the rewards you can earn by completing each of the Kairos Gate Circles. Note that once you’ve already earned the reward, you’ll earn ![]() Rhema instead, which is a valuable item that can be sold for
Rhema instead, which is a valuable item that can be sold for ![]() Gil.
Gil.