
Long Gui
Long Gui is another one of the large Oretoises that appear after you have completed all the Missions in the Cie’th Stone Circle. Along with Shaolong Gui and, to a lesser degree, Adamantoise, these are the hardest battles you will face in the game.
Long Gui can be thought of as an upgraded version of Adamantoise which is an enemy you may be familiar with if you’ve spent any time using the Farming Adamantoise guide to stock up on ![]() Platinum Ingots and
Platinum Ingots and ![]() Trapezohedron.
Trapezohedron.
So which one is a Long Gui?
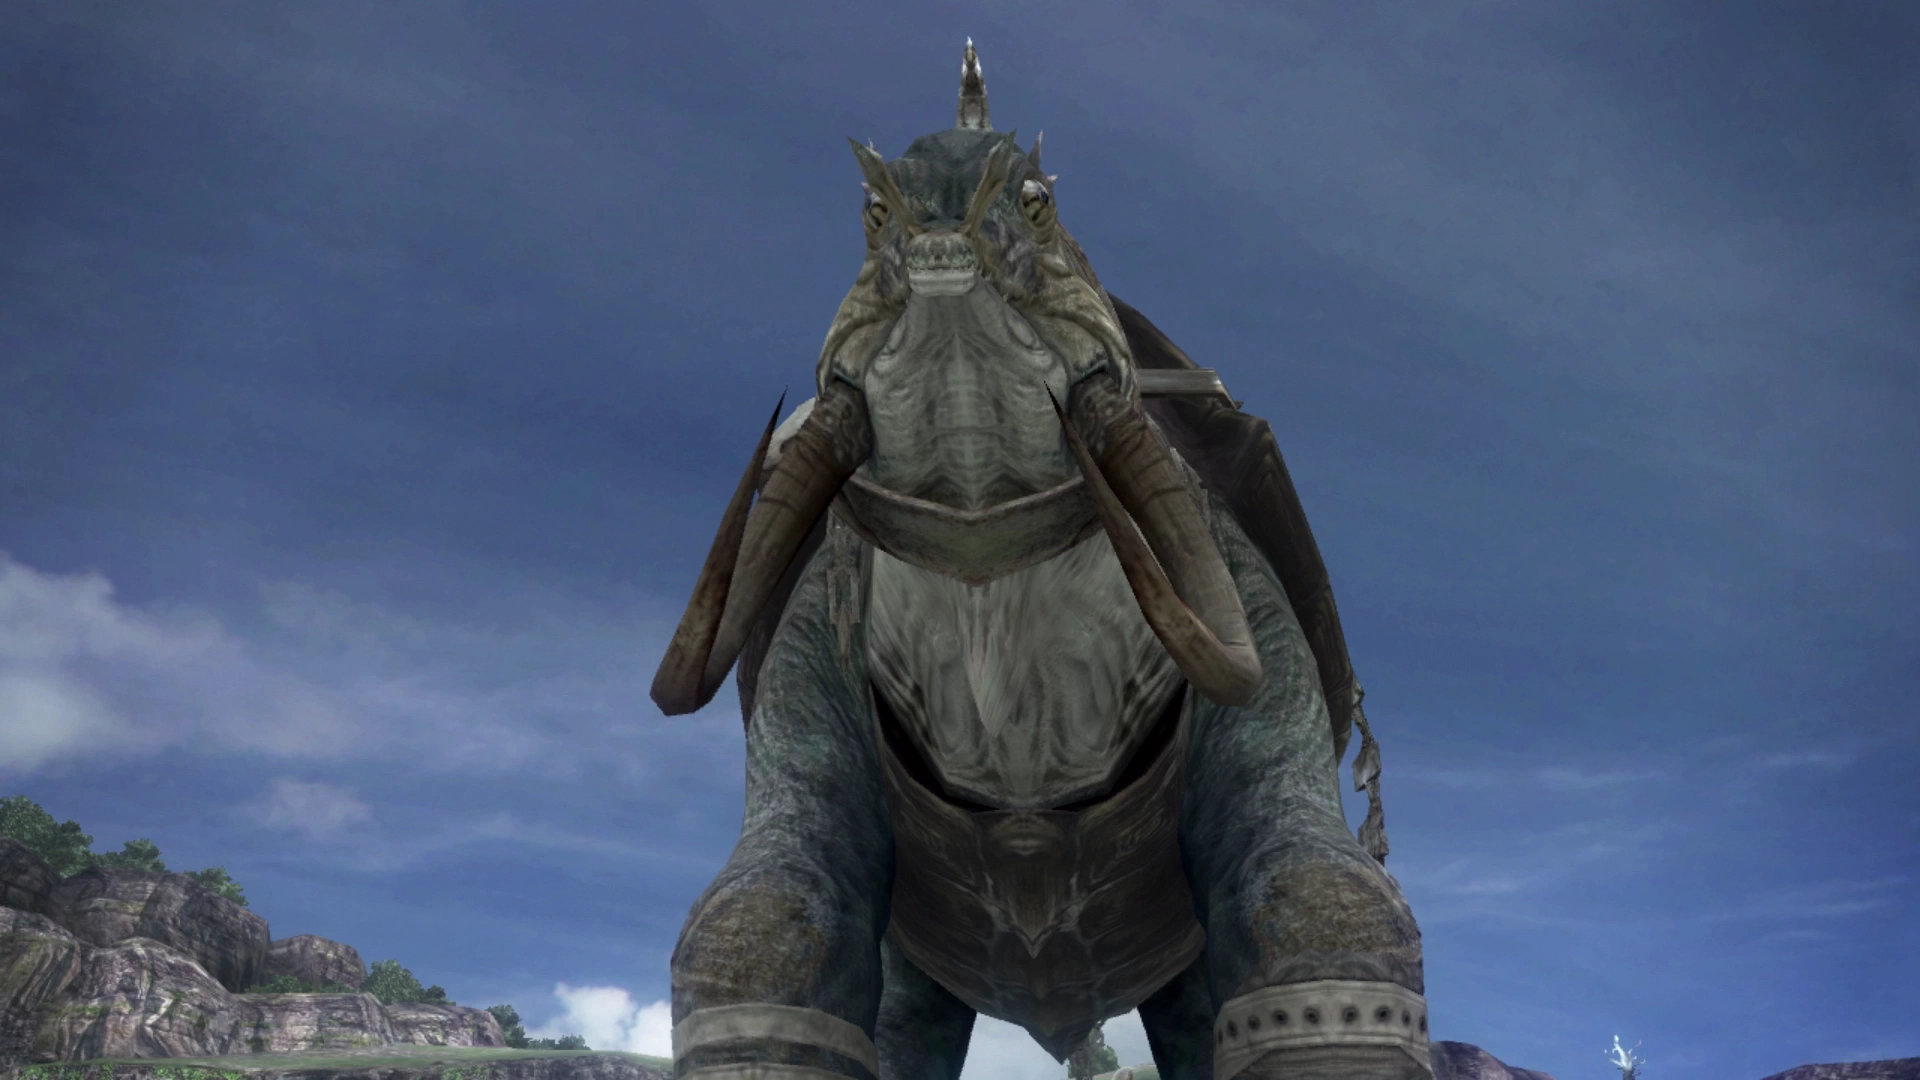
All the Oretoises look very similar, but the differences are noted in the table below, and you may need to open the images and enlarge them to pick up on the subtle differences. While it’s not particularly helpful, you’ll immediately know if you’re facing a Shaolong Gui or a Long Gui because they will use “Quake” or “Ultima” to open the battle.
| Oretoise | Description | |
|---|---|---|
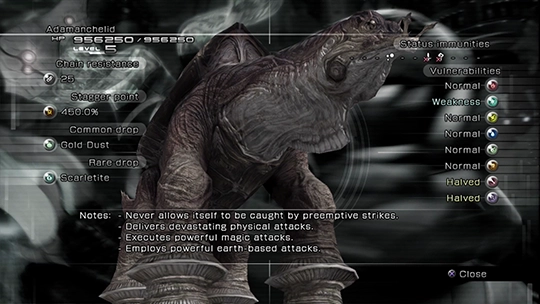
| Adamanchelid | Smallest oretoise, brown, missing both tusks and does not have chains.
|
|
| Adamantortoise | Larger oretoise, brown, has two tusks with one of them broken, also has chains. These disappear from the Archylte Steppe after completing 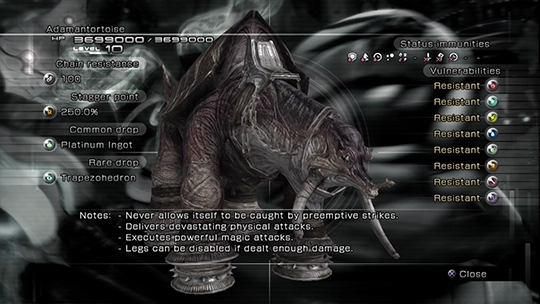
|
|
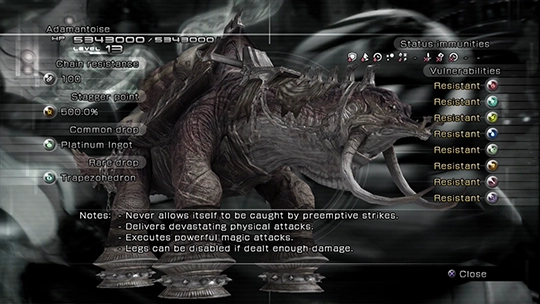
| Adamantoise | Larger oretoise that looks nearly the same as an Adamantortoise. It is light brown, has chains, but the biggest difference to watch for is its unbroken tusks and larger harness.
|
|
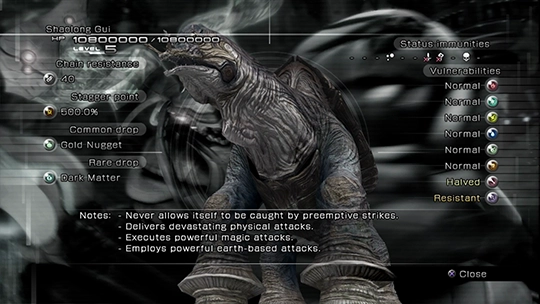
| Shaolong Gui | Looks similar to an Adamanchelid (the smallest Oretoise) with no tusks, no chains and no harness, but has a light blue tinted color.
|
|
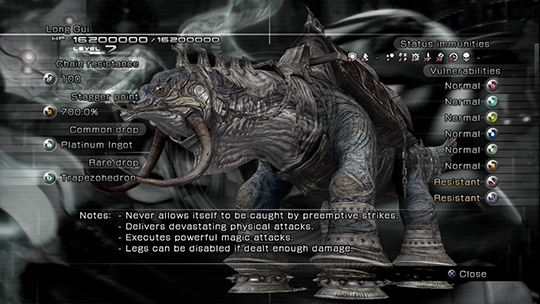
| Long Gui | Looks similar to an Adamantortoise or Adamantoise (the larger Oretoise) with unbroken tusks, chains and a harness, but has a lightly blue tinted color (barely noticeable in the screenshot).
|
Why challenge one?
Long Gui is the Oretoise you need to defeat in order to earn the Adamant Will Achievement/Trophy, but this is a very difficult boss. They have a 25% chance to drop a ![]() Platinum Ingot but they have a much higher chance to drop a
Platinum Ingot but they have a much higher chance to drop a ![]() Trapezohedron. In fact, its five times higher, moving from 1% to 5%.
Trapezohedron. In fact, its five times higher, moving from 1% to 5%.
Still, even with the increased drop percentage, it is not typically recommended that you farm Long Guis for this item as you can purchase them for ![]() 2,000,000 at the
2,000,000 at the ![]() R&D Depot shop. Farming that much Gil will take a long time, but Long Guis can be fairly difficult to defeat, and therefore, not very easy to farm. And there are some random elements to this fight that can make it pretty frustrating (random attack timing, random damage amounts based on target, etc.).
R&D Depot shop. Farming that much Gil will take a long time, but Long Guis can be fairly difficult to defeat, and therefore, not very easy to farm. And there are some random elements to this fight that can make it pretty frustrating (random attack timing, random damage amounts based on target, etc.).
Preparation
Just like for the battle against Shaolong Gui, your characters should be leveled all the way through their Crystariums and have strong and highly leveled weapons equipped before attempting this fight.
Focus on equipping your characters with leveled up physical and magical resistance gear. This includes ![]() Royal Armlets and
Royal Armlets and ![]() Imperial Armlets ideally leveled up to , which is relatively cheap to do. Additionally, you can help streamline these fights by equipping your characters with a
Imperial Armlets ideally leveled up to , which is relatively cheap to do. Additionally, you can help streamline these fights by equipping your characters with a ![]() Rainbow Anklet which minimizes the chances of Shaolong Gui’s “Bay” attack causing the
Rainbow Anklet which minimizes the chances of Shaolong Gui’s “Bay” attack causing the ![]() Daze effect.
Daze effect.
If you have to choose which of your characters get the better defensive items, choose to give them to Lightning, as she will be closer to Long Guis Left and Right Forelegs and will take more damage when it stomps.
Boss Battle
This battle is very similar to fighting an Adamantoise but it is much harder. Long Gui is capable of dealing significantly higher damage and will deal attacks that are powerful enough that you will have to shift your strategy and attack pattern on the fly.
It has 16,200,000 HP but both of its forelegs also have 1,080,000 each. Let’s start off by going over Long Guis attacks, many of which you should be familiar with at this point:
| Attack | Description |
|---|---|
| Stomp | A regular physical attack where Shaolong Gui will stomp the ground and cause physical damage to all party members. This attack will also interrupt any actions your team members are performing, so keep an eye on status buffs that you queue up when your party members are |
| Quake | An earth-based magic attack that hits all targets. |
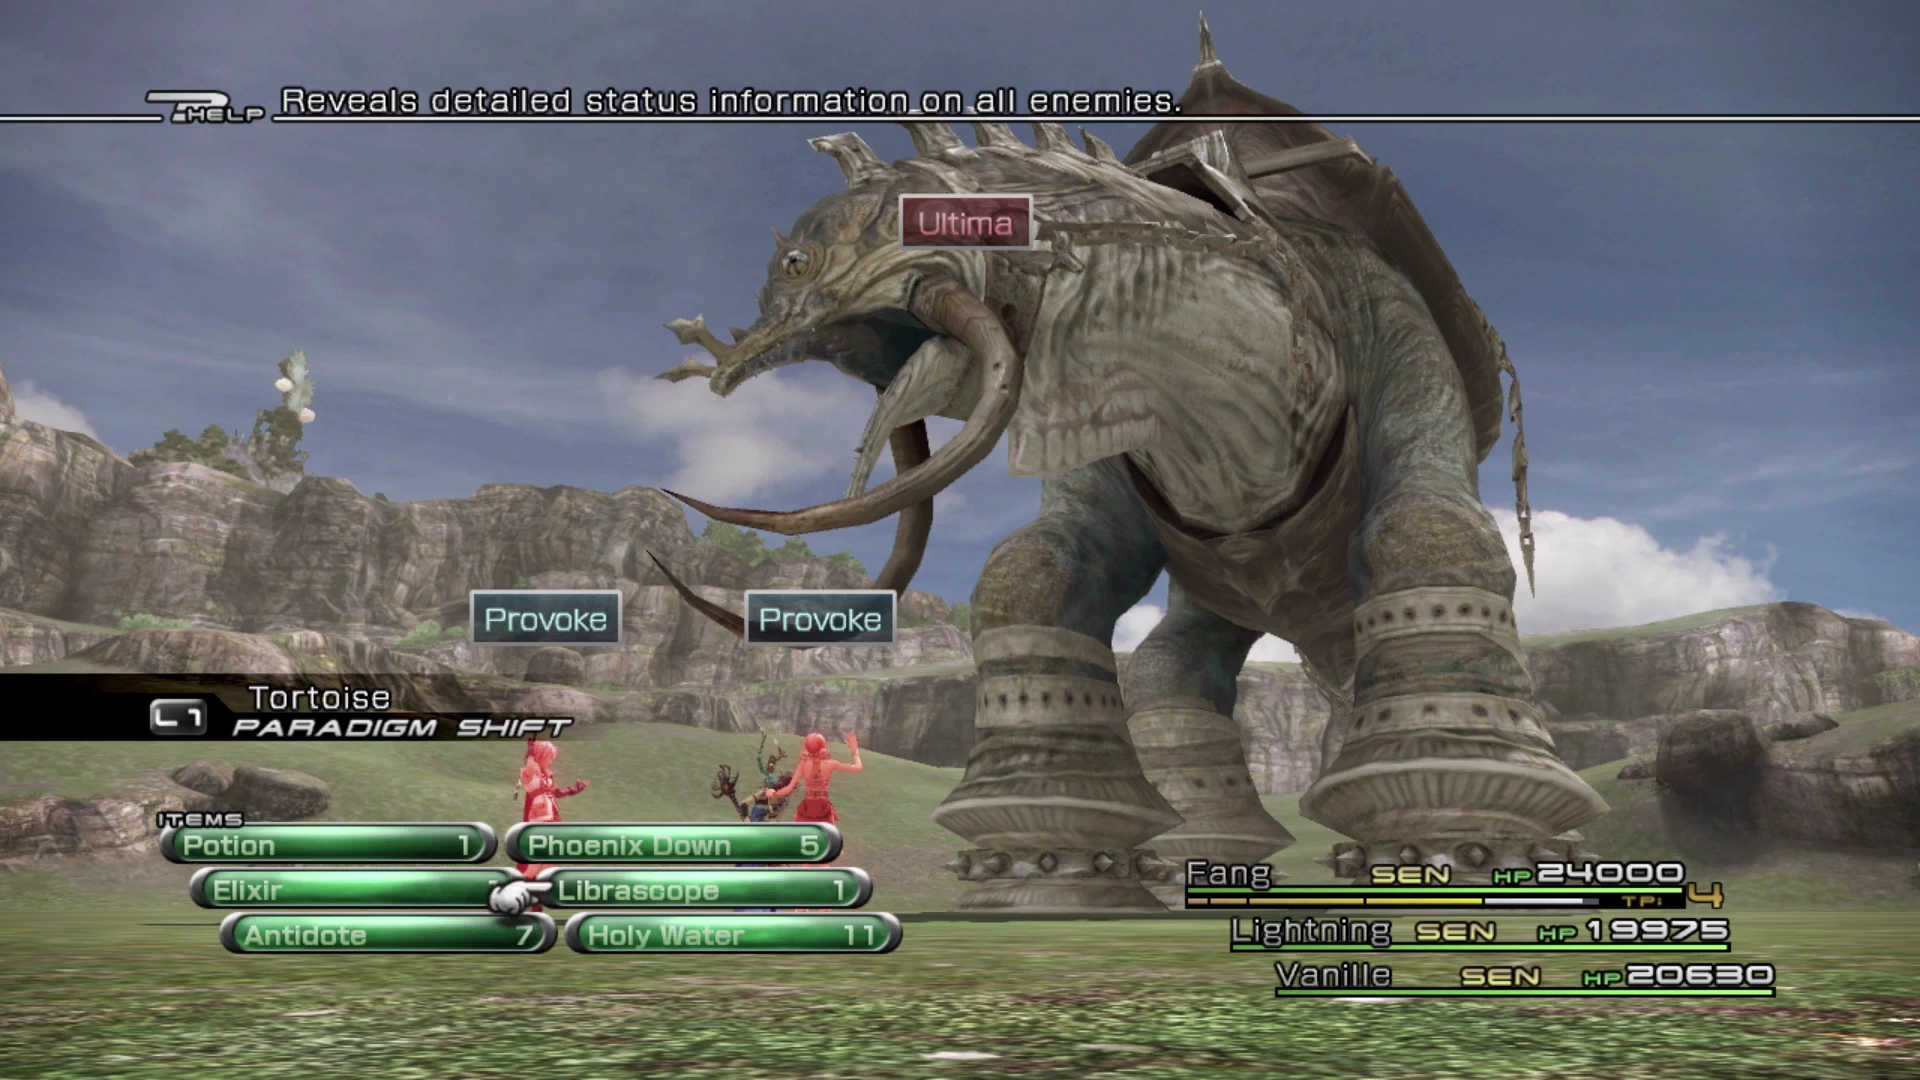
| Ultima | Long Gui’s most powerful attack. It hits for a lot of damage, but there is a short gap of time between when it uses the move and when the damage hits, allowing you to Paradigm shift if you’re quick and you need to be quick in order to get through this fight. Long Gui will always use this attack at the start of the fight. |
| Roar | Similar to Shaolong Gui’s “Bay” attack, this attack does a high amount of damage, but even worse than the damage is the fact that it can remove multiple buffs from your team members that will need recast. Even worse than that is that it has the potential to |
| Doom | This fight should not take 20 minutes, but Shaolong Gui will cast |
You may have noticed that all these attacks are the same as Shaolong Gui’s attacks, so why is this fight so much harder? It’s not just that you have to power through both of the legs. The biggest challenge comes from the frequency of Long Gui’s attacks; they come in very quick succession and start to come even faster when Long Gui is below 50% HP.

Additionally, it will typically take two Staggers to bring Long Gui down, meaning the second half of the fight is a balancing act of trying to keep your characters alive and well positioned to deal with another heavy damage attack, while also dealing enough damage to the forelegs and eventually Long Gui to bring it down.
Your party members should include Fang, Lightning and Vanille. Make sure that Vanille has her ![]() Belladonna Wand equipped to increase the likelihood of debuffs being successfully cast, and consider investing in additional components if required to get all of your character’s weapons fully leveled. Then set up the following Paradigms:
Belladonna Wand equipped to increase the likelihood of debuffs being successfully cast, and consider investing in additional components if required to get all of your character’s weapons fully leveled. Then set up the following Paradigms:
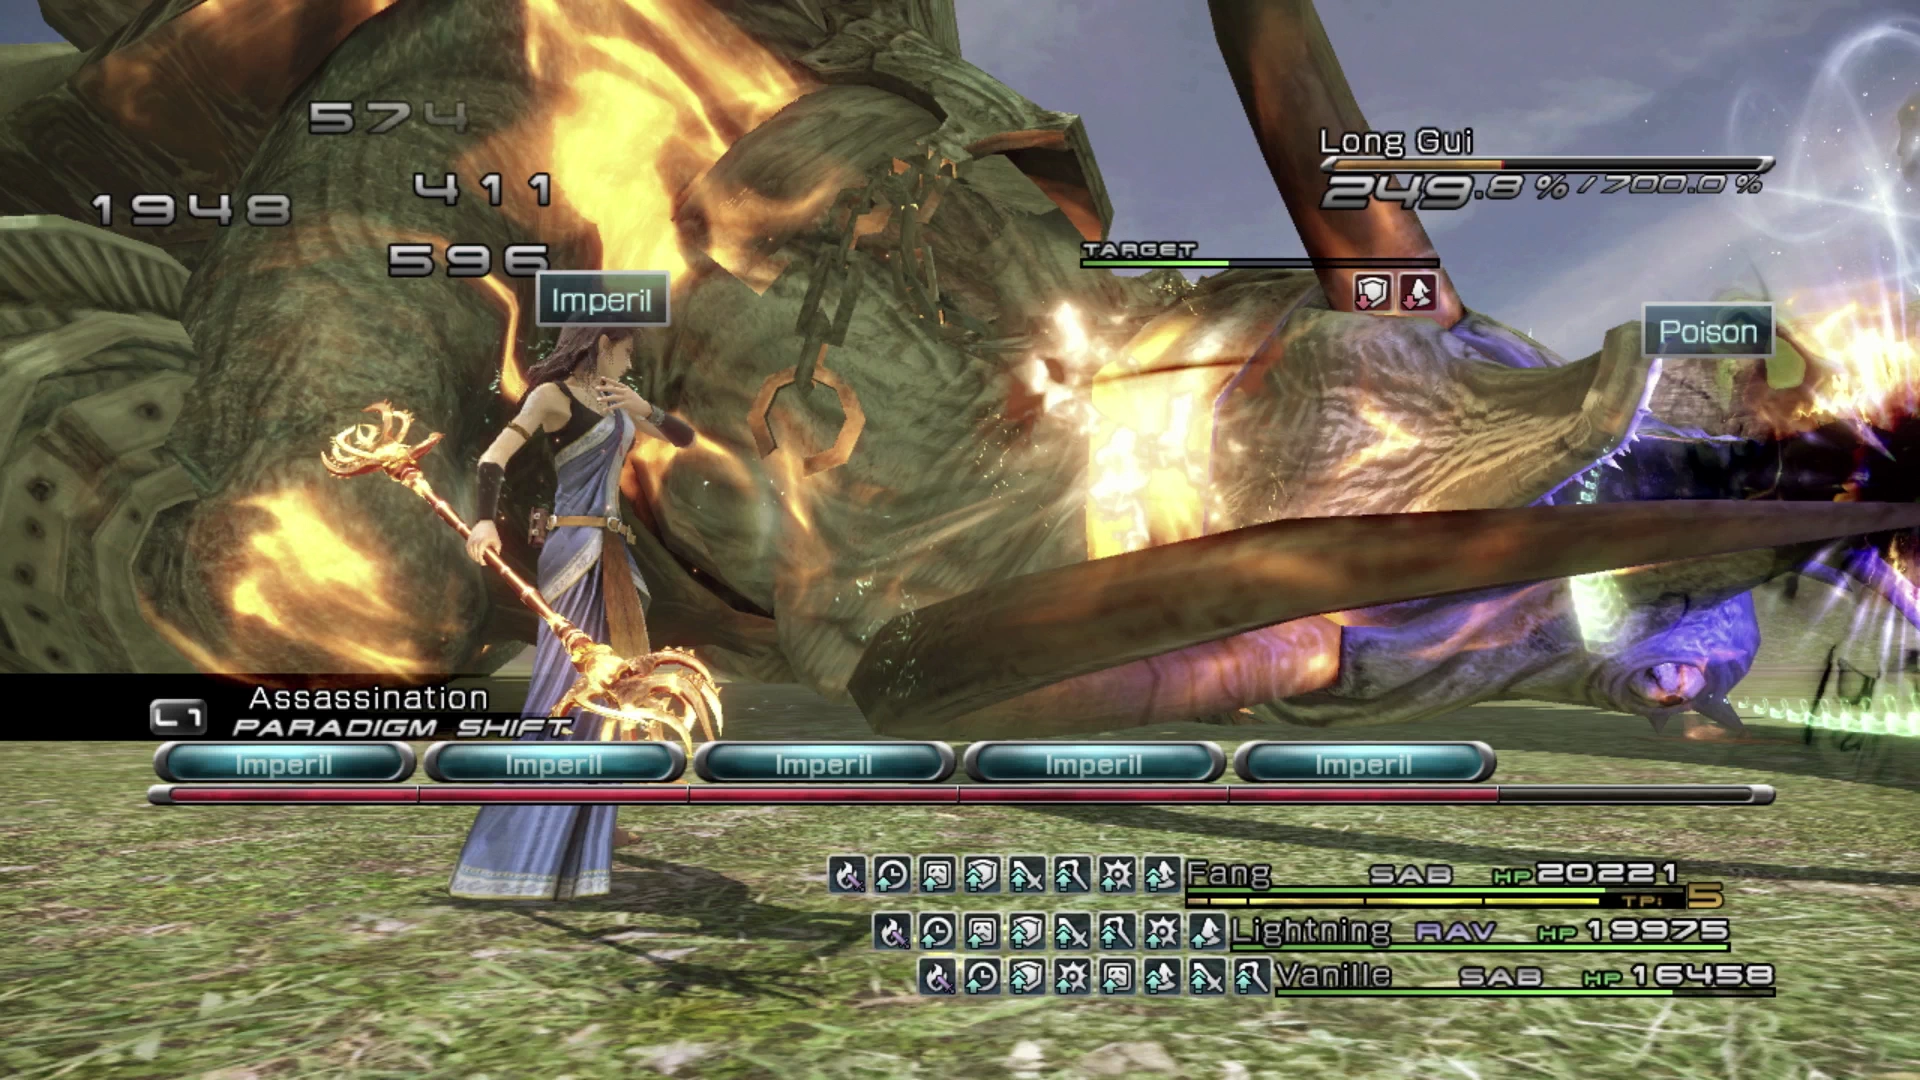
In the Assassination Paradigm, setup Lightning as a ![]() Ravager. There isn’t really a situation that calls for all three characters being
Ravager. There isn’t really a situation that calls for all three characters being ![]() Saboteurs, Fang and Vanille will be able to get the required debuffs up without Lightning’s help, so you may as well have her pump out some damage and build the Chain Bonus as a
Saboteurs, Fang and Vanille will be able to get the required debuffs up without Lightning’s help, so you may as well have her pump out some damage and build the Chain Bonus as a ![]() Ravager.
Ravager.
In the Perseverance Paradigm, setup Fang, who is your party leader, as the Saboteur, with Lightning and Vanille functioning as healers. Two healers is plenty, so while your two party members are healing up your team, you can manually cast the best status ailments as a ![]() Saboteur.
Saboteur.
Make sure that your default Paradigm is Tortoise which you should shift back to any time you see “Ultima” or “Roar” being cast (less important for “Roar” but helps to reduce damage if you’re fast). Any time your party members have low HP, or if “Ultima” has just been cast, switch to Perseverance so that your party members can start healing up your group.
While this is happening, focus on getting debuffs applied to your next target (Left Foreleg, Right Foreleg and then Long Gui itself). Your debuff priority should be: ![]() Imperil,
Imperil, ![]() Deprotect,
Deprotect, ![]() Deshell, with
Deshell, with ![]() Curse being less helpful but apply it if you need to take a break to heal. Manually select the ability you want to use but then keep an eye on when it’s actually applied. Sometimes this can take multiple ATB bars, if you’re unlucky, but if it’s applied early, press
Curse being less helpful but apply it if you need to take a break to heal. Manually select the ability you want to use but then keep an eye on when it’s actually applied. Sometimes this can take multiple ATB bars, if you’re unlucky, but if it’s applied early, press ![]()
![]()
![]() to cancel the other casts and swap over to the next debuff. This will help you get through all them as quickly as possible.
to cancel the other casts and swap over to the next debuff. This will help you get through all them as quickly as possible.
Here are some additional advanced tips:
- Your three characters each have Sentinel abilities, namely
 Deathward but especially Reprieve, which will save them when they’re low HP or would have otherwise KO’d them. You will quite often see them reduced down to 1 HP, but this is fine. Just heal them up and, as long as you’re not unlucky and immediately hit with another attack, you can proceed with the battle with no problems.
 - Make sure that Vanille gets time to cast
 Poison as a
  Saboteur on Long Gui when it is Staggered. It is only susceptible to Poison when both of its Forelegs have been defeated, and Poison does a ton of damage (based on a percentage of Long Gui’s HP), so make sure to get it active when you can.
 - Even when the first Foreleg is Staggered you may want to keep your party members in the Tri-disaster Paradigm rather than moving them into the Cerberus Paradigm. You may have noticed this already, or read up about it in the
 Commando Role section, but AI Controlled Commandos will purposefully switch to different targets in order to try and keep all the target’s Chain Gauges high. This is the exact opposite of what you want when you’re trying to deal as much damage as possible during a Stagger. If there are only two targets (Right Foreleg and Head), Cerberus can be quite useful, but otherwise stick to Tri-disaster which still deals quite a bit of damage.
 - An important reminder is that “Roar” removes a random number of buffs from your party members. If it removes important buffs like
 Protect and
  Shell, your party members will be taking heavy damage. It will slow things down in the second phase of the fight, but you may need to swap back to the Rapid Growth Paradigm to reapply both offensive and defensive buffs.
 - Once you take out Long Gui’s legs, it will stay down on the ground much longer than when it happens to an Adamantoise. This extra time can be used to rebuff your party members, apply debuffs (including Poison), heal up once the Stagger has ended, and reapply defensive buffs ahead of the second phase of the fight. Long Gui will always use at least one powerful attack, sometimes two, when it stands back up, so be ready to go on the defensive!
This is a tough fight so don’t be bothered if it takes a few attempts. The video below provides a demonstration of the fight completed with no ![]() Gold Watch which, if replicated, will get you 5 stars and the best loot. Best of luck!
Gold Watch which, if replicated, will get you 5 stars and the best loot. Best of luck!
Achievement/Trophy
You will automatically receive the  Adamant Will Achievement/Trophy after you defeat a Long Gui.