
Besaid Cloister of Trials
The Cloister of Trials that you complete throughout the game are puzzles that you must complete to proceed with the story of the game. There are secret areas that you can reach in each of them if you follow the steps outlined in this guide. Some of the secrets are pretty obvious, but most of them are quite challenging to uncover.
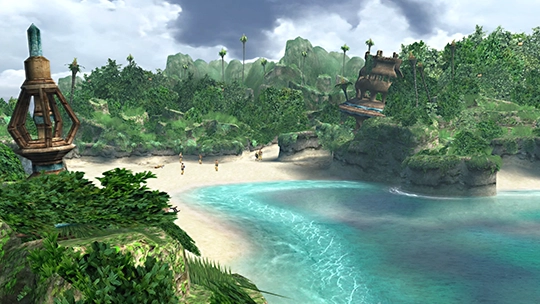
This Cloister is the first of the six Cloisters that you will face during your playthrough of the game. This trial begins after Tidus enters the Besaid Temple. Check out the Besaid Village Walkthrough page for more details.
Let’s get started!

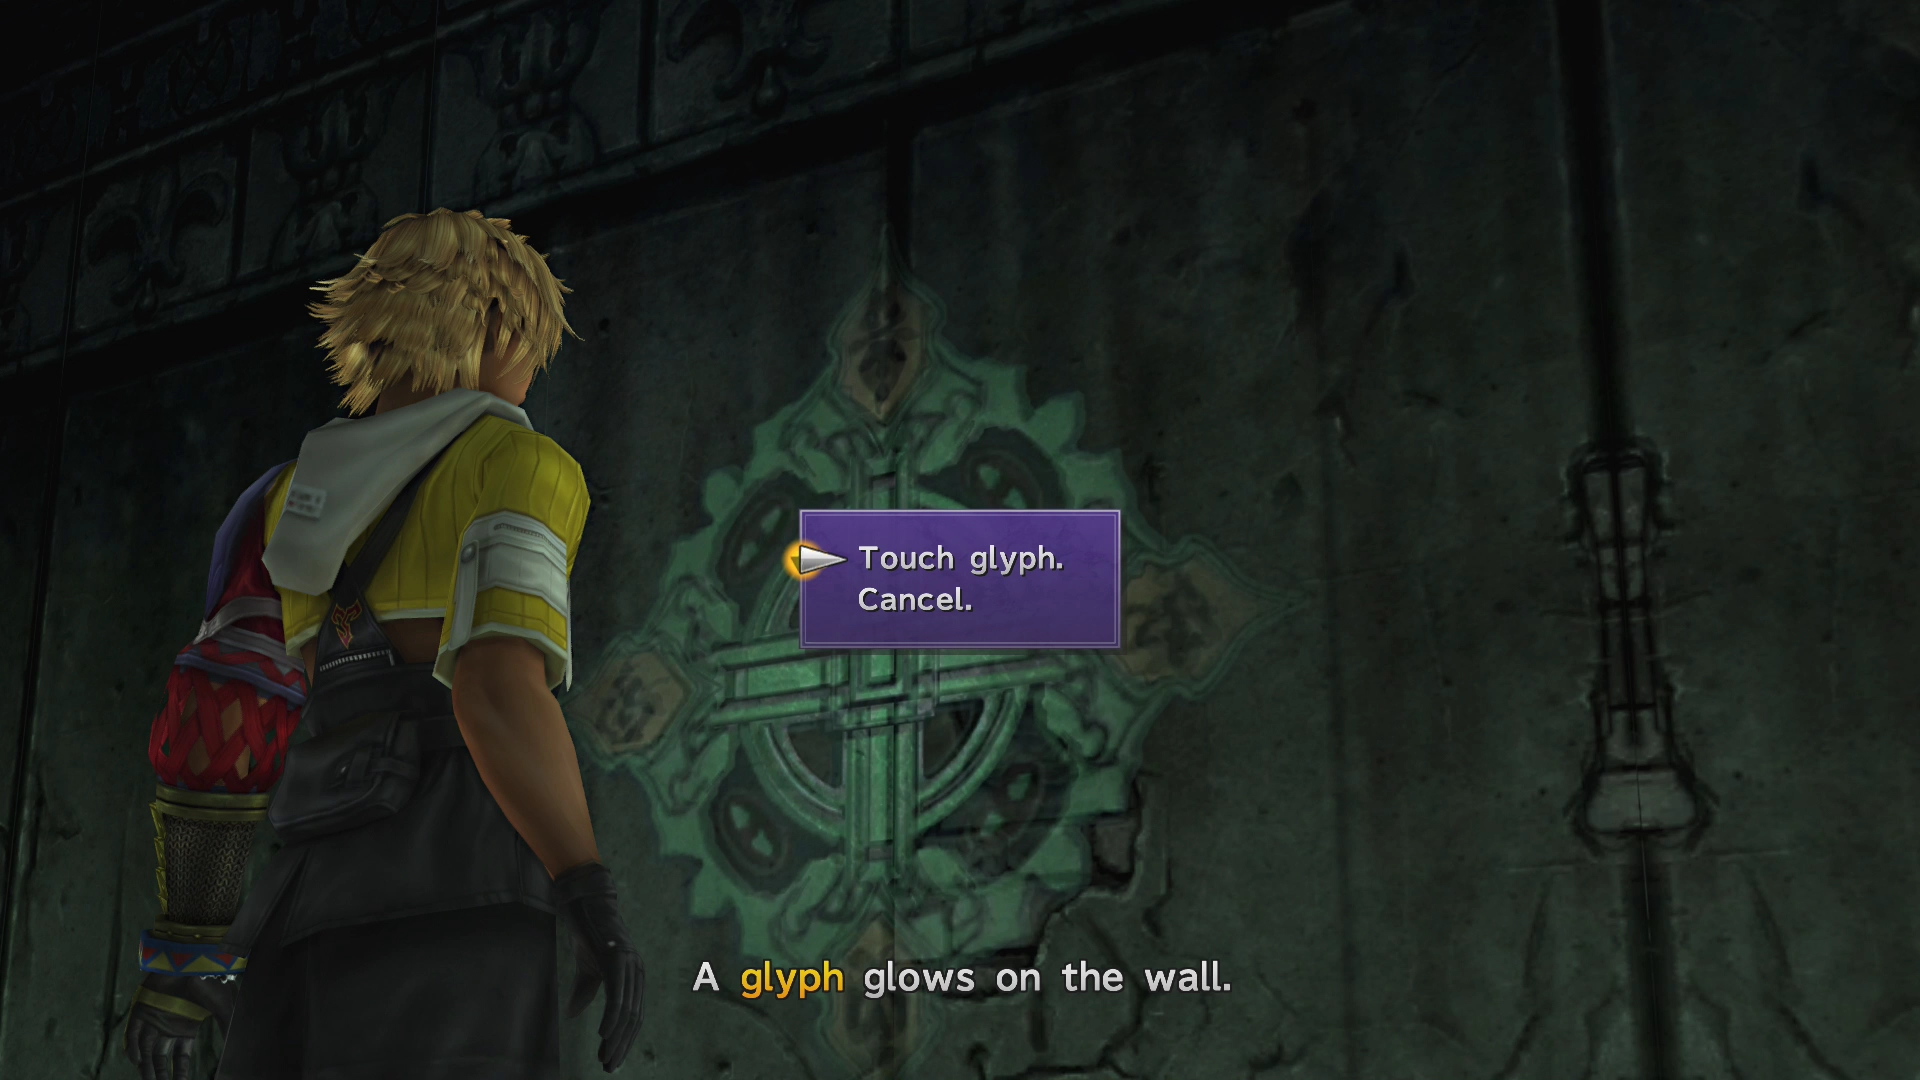
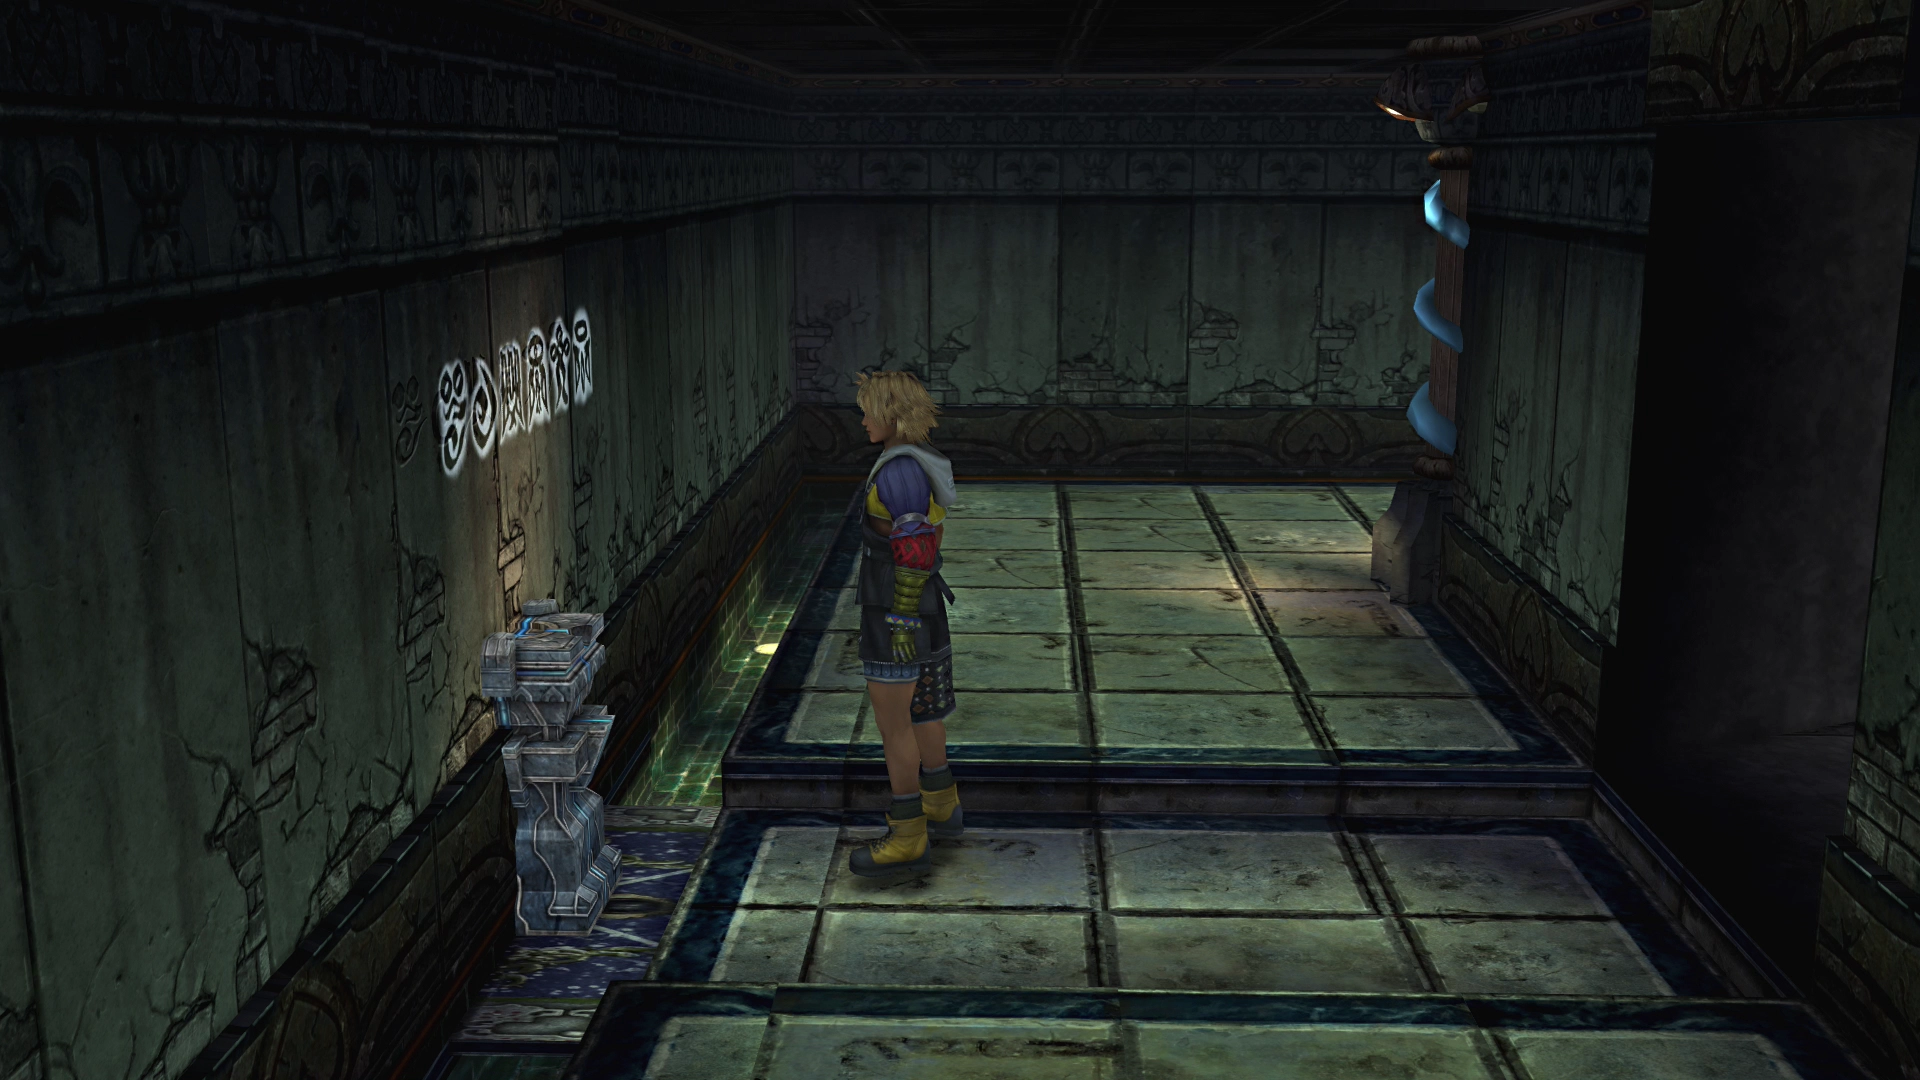
Start things off by examining the wall at the front of the room and touching the “strange glyph.” A second glyph will appear on the east wall. Touch the second one next.
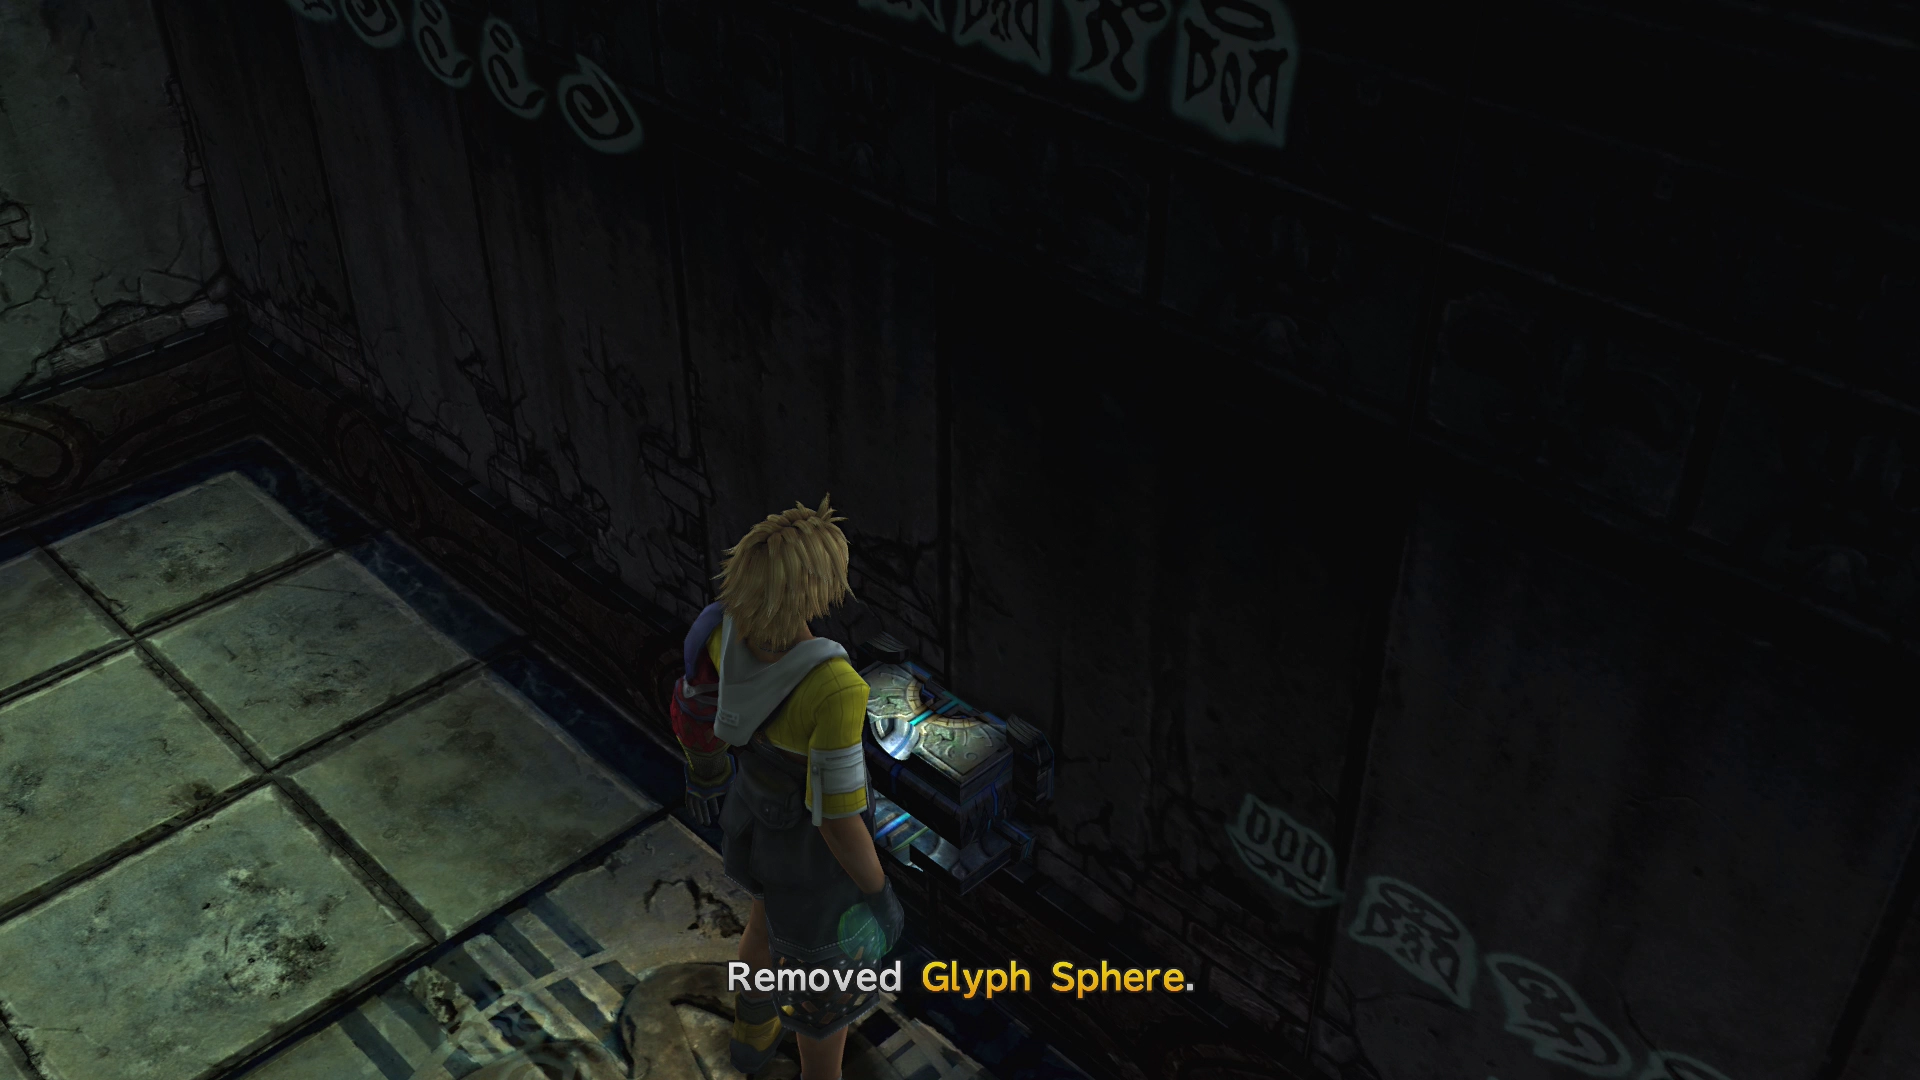
Go down the stairwell that appears, examine, and take the ![]() Glyph Sphere by pressing the
Glyph Sphere by pressing the ![]()
![]()
![]() button near the symbols on the wall.
button near the symbols on the wall.
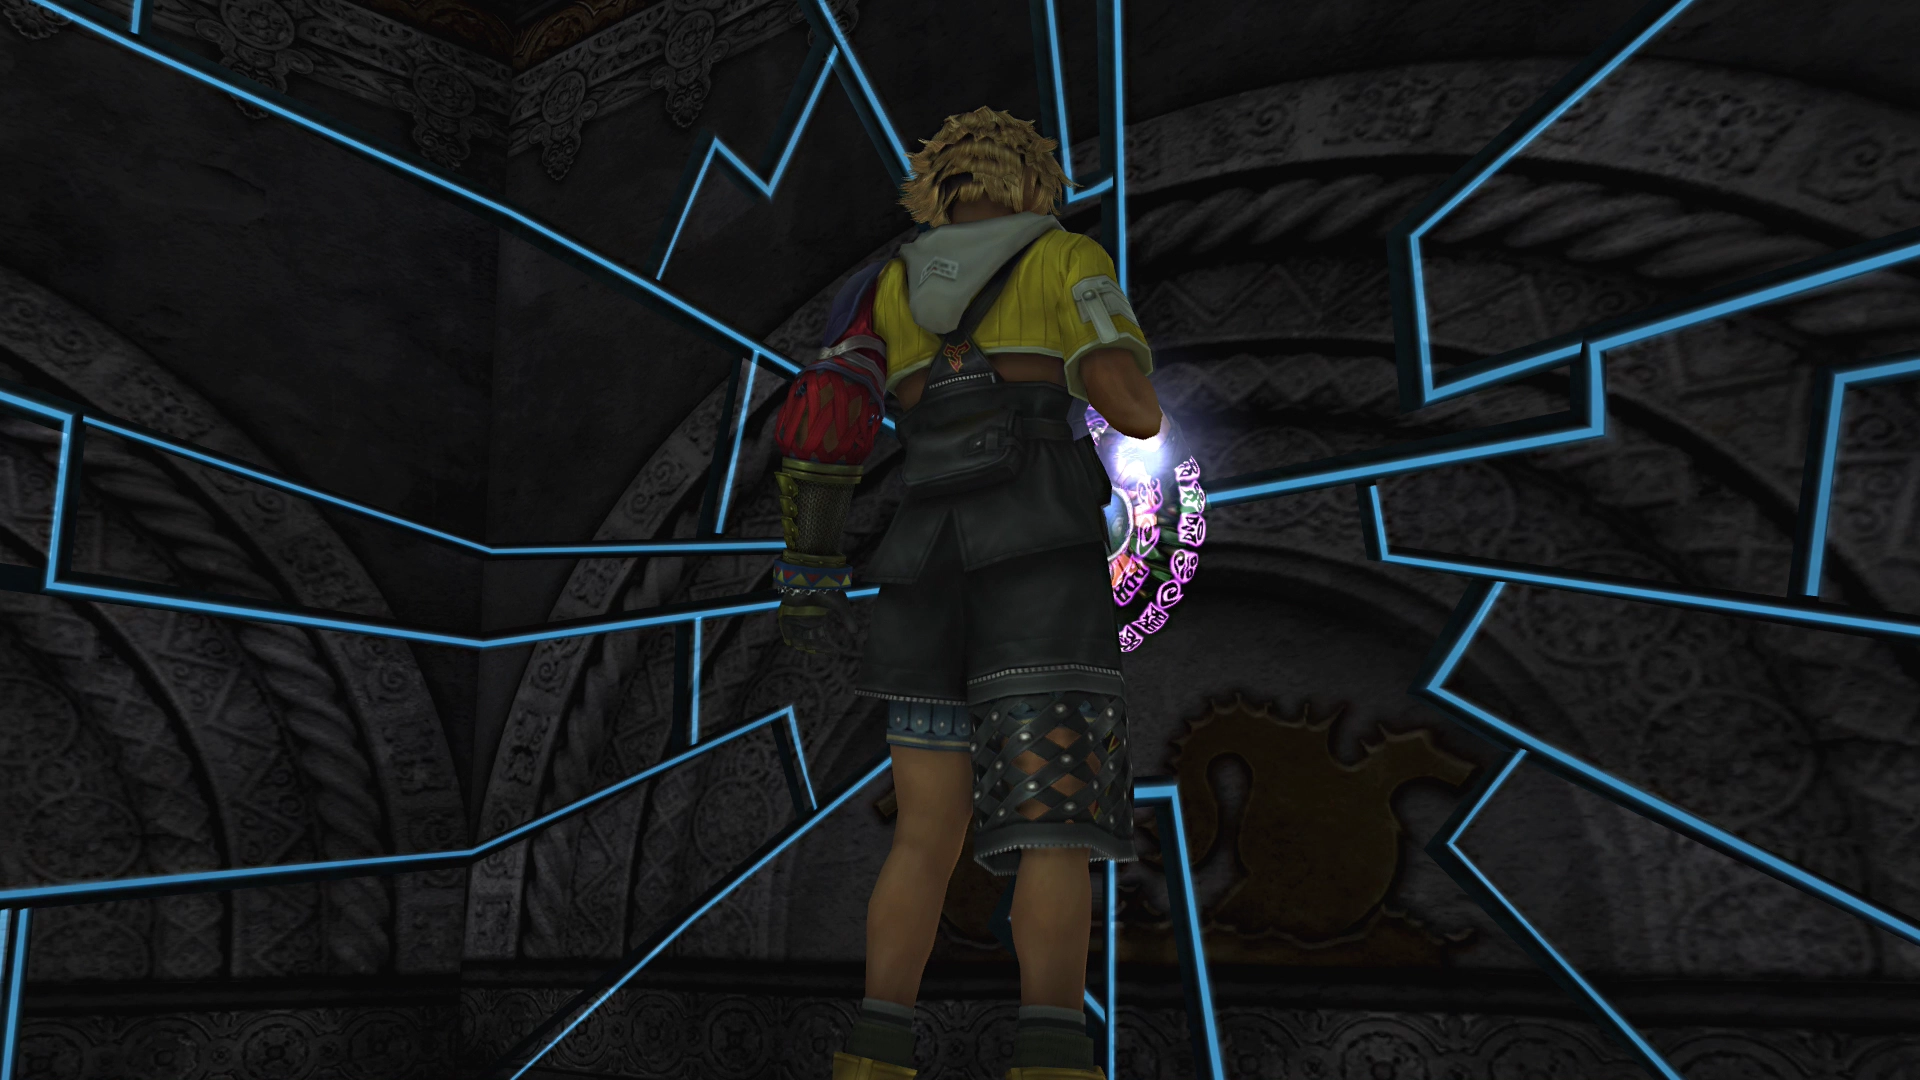
Continue down the stairwell and examine the door at the bottom. Tidus will place the ![]() Glyph Sphere in the door, which will cause it to open.
Glyph Sphere in the door, which will cause it to open.

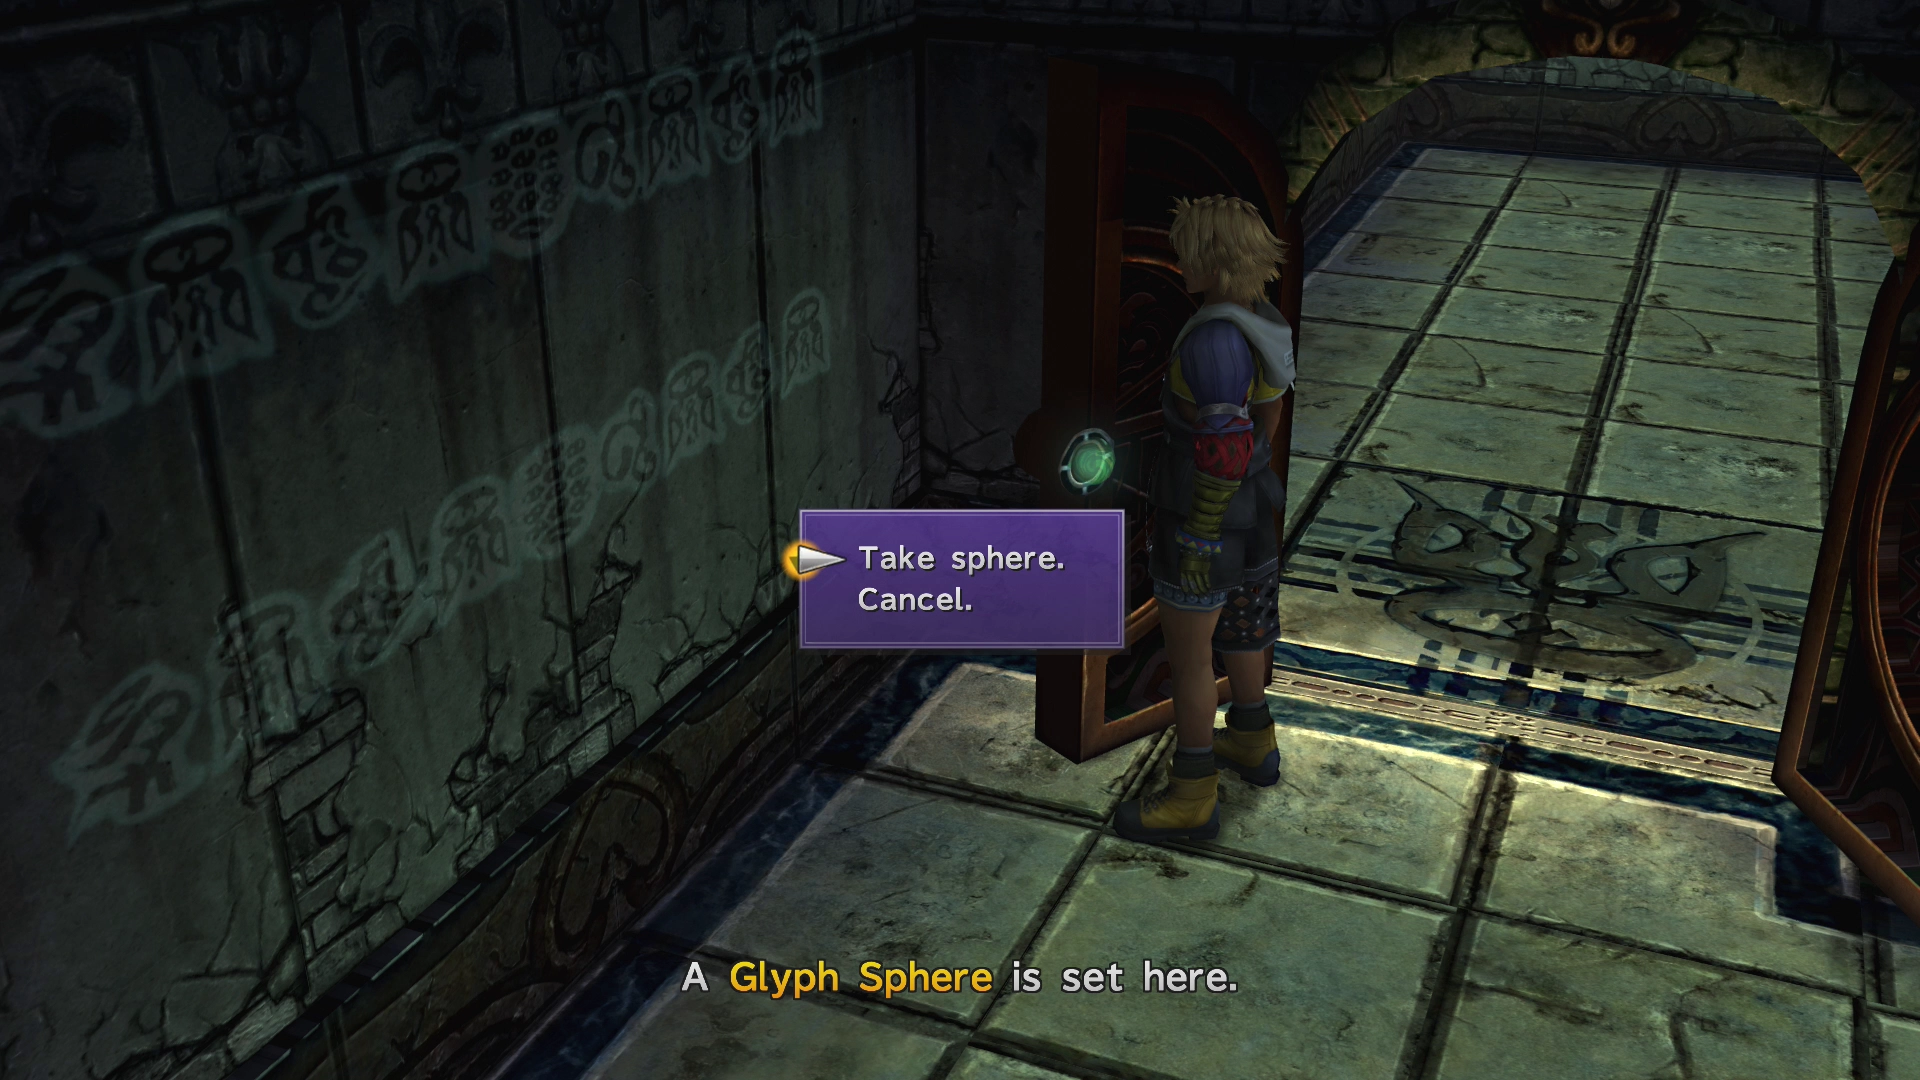
Take the ![]() Glyph Sphere out of the door and continue down the hallway.
Glyph Sphere out of the door and continue down the hallway.
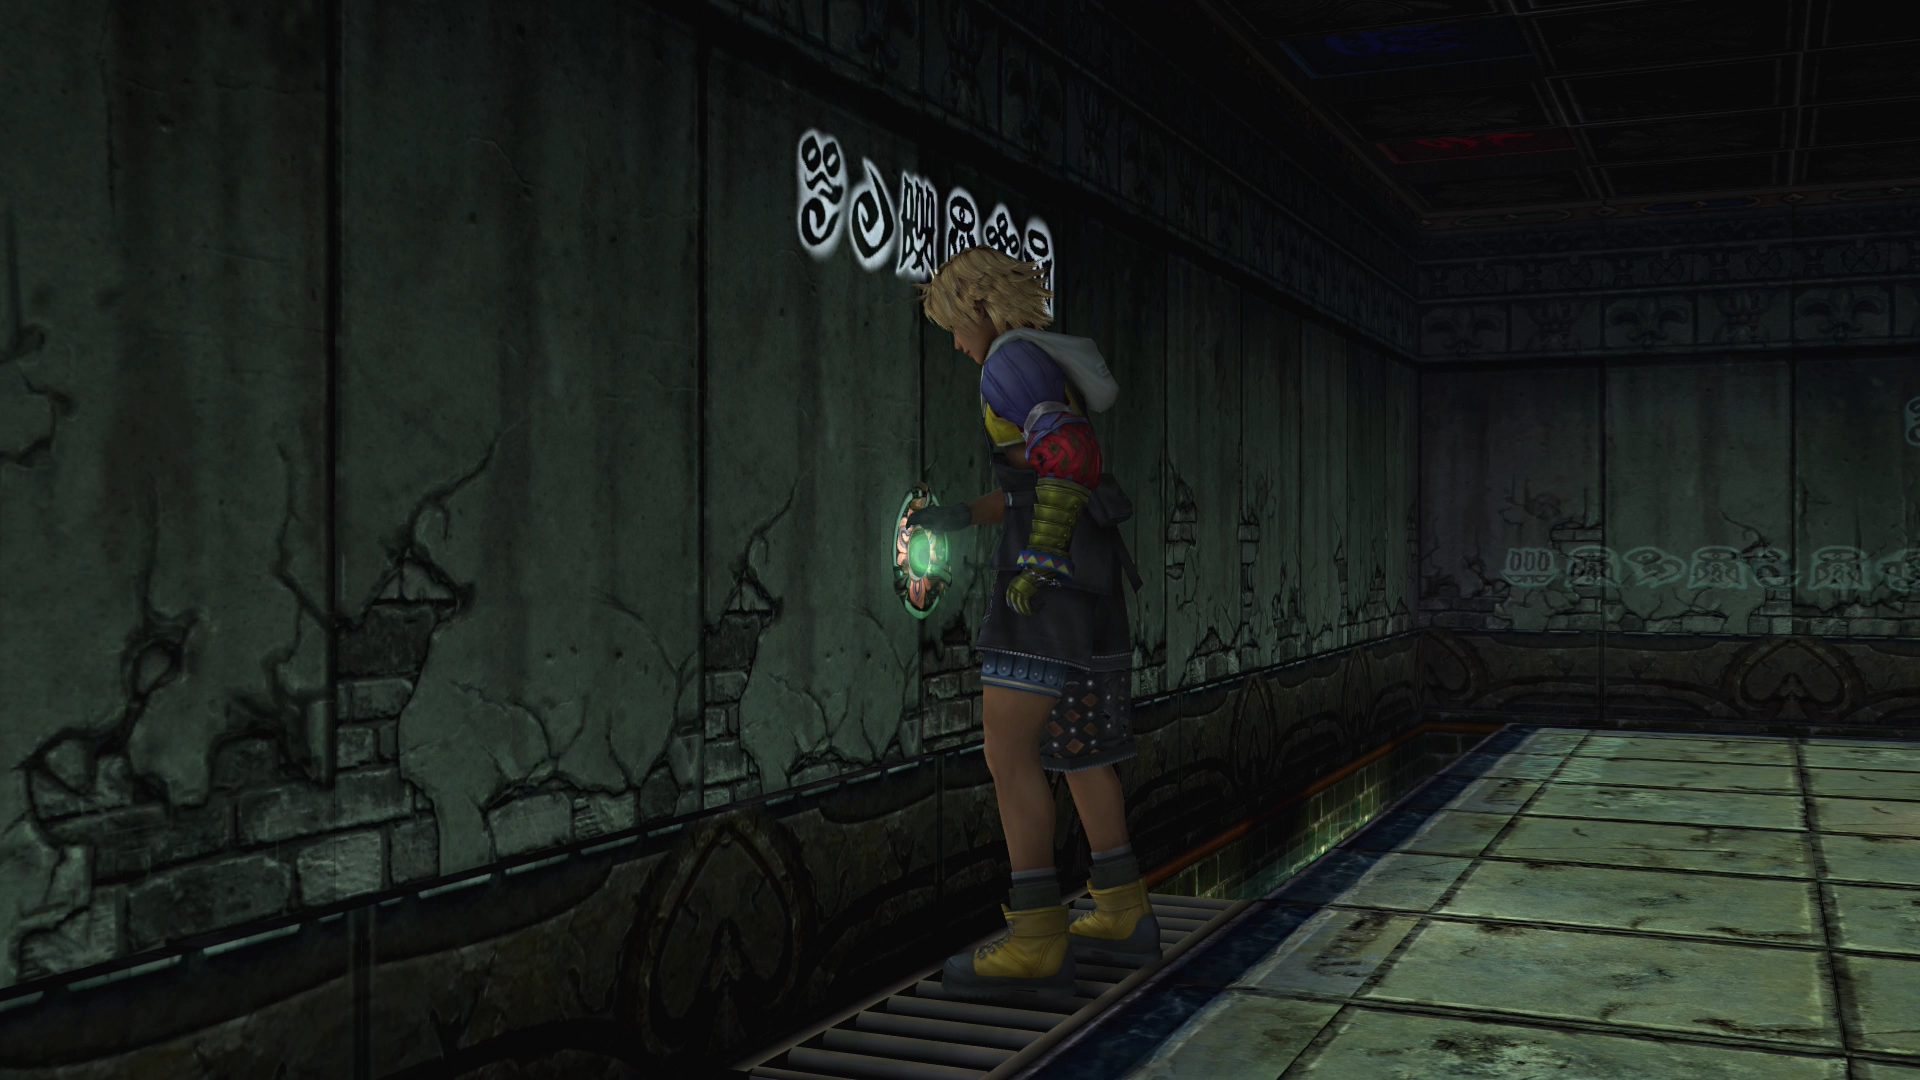
Insert the ![]() Glyph Sphere into the first recess you see on your left. The wall will move away, revealing the
Glyph Sphere into the first recess you see on your left. The wall will move away, revealing the ![]() Destruction Sphere (which you can ignore for now).
Destruction Sphere (which you can ignore for now).
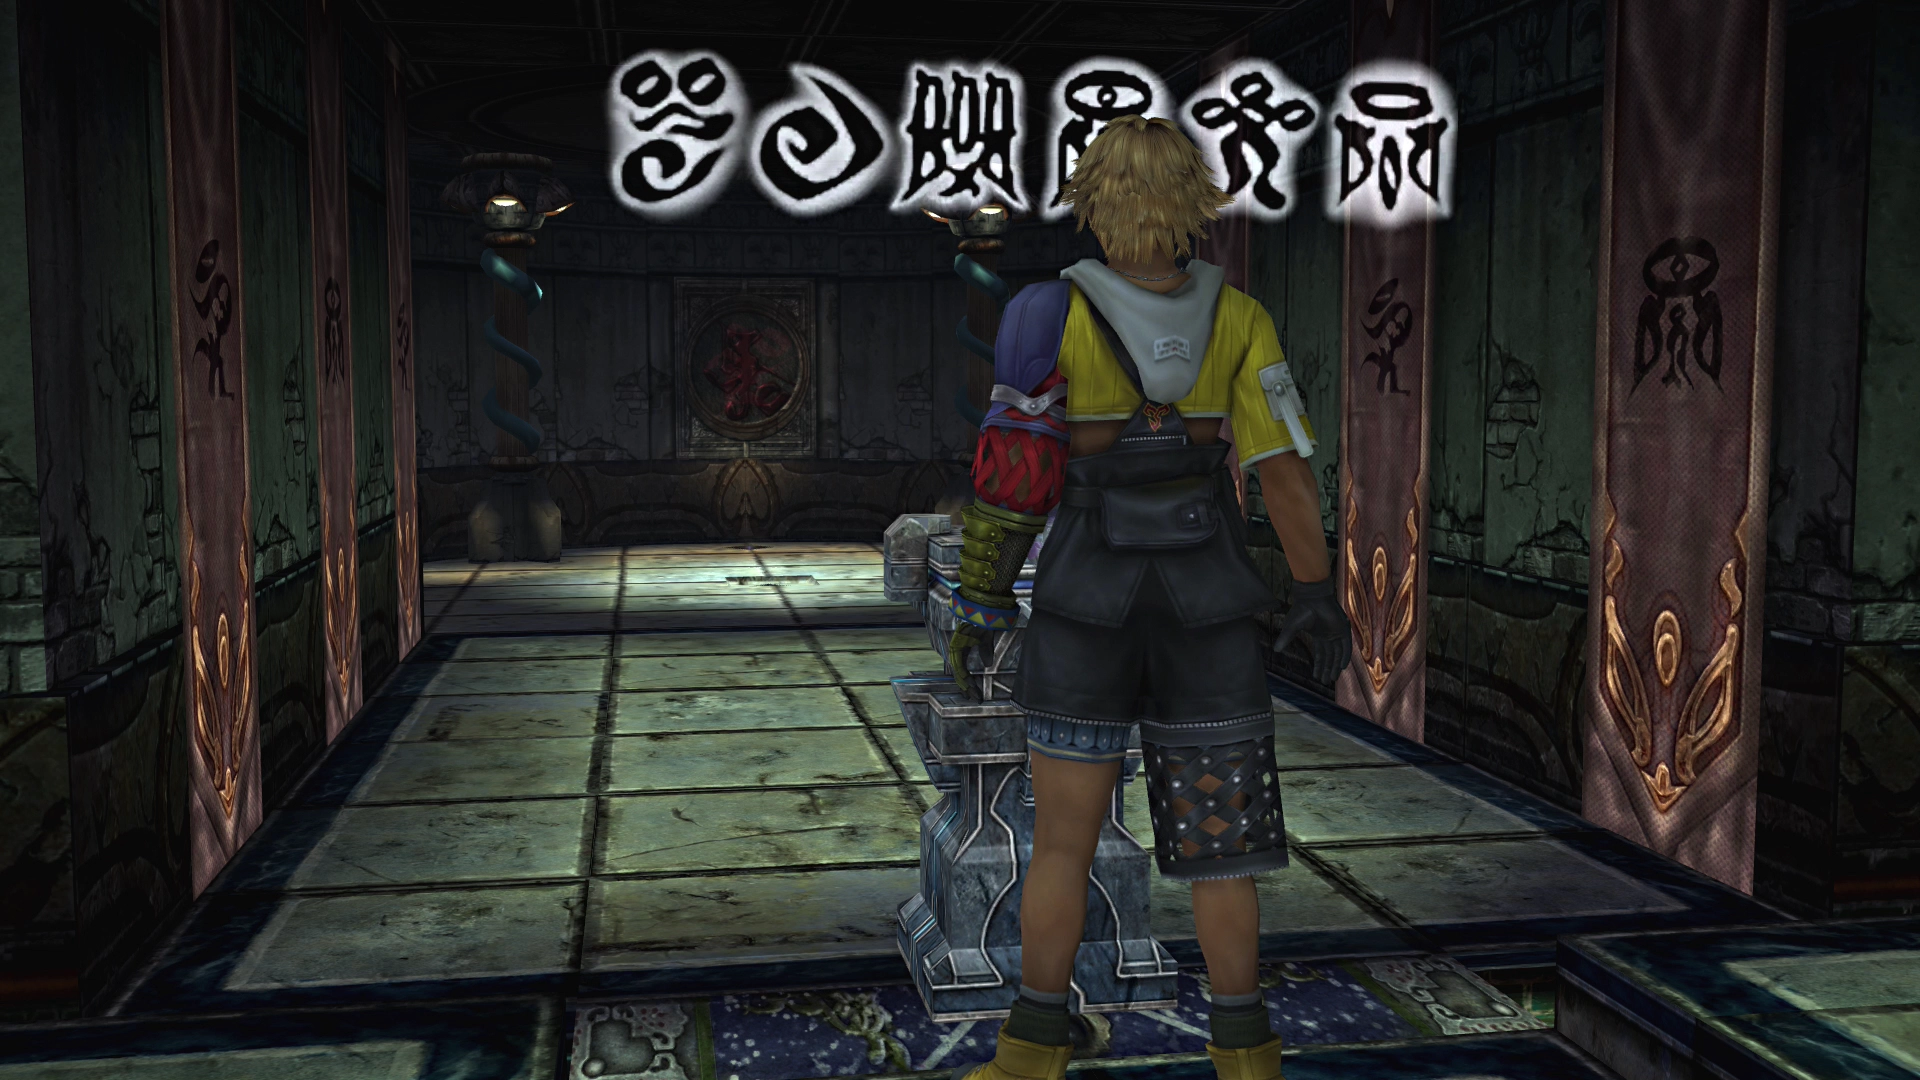
Continue down the hallway until you come across a pedestal (on the left) with some glyphs on the opposite side of the hallway.
Touch the glyphs across from the pedestal and then enter the room and obtain the ![]() Besaid Sphere.
Besaid Sphere.
You can place the ![]() Besaid Sphere in the pedestal directly across from this room. Inserting the
Besaid Sphere in the pedestal directly across from this room. Inserting the ![]() Besaid Sphere will cause this wall to disappear, and Tidus will push the pedestal into the room.
Besaid Sphere will cause this wall to disappear, and Tidus will push the pedestal into the room.
The instructions given by the game indicate that you should move the pedestal set with a sphere to the correct place, but before you do this, go back and pick up the ![]() Destruction Sphere.
Destruction Sphere.
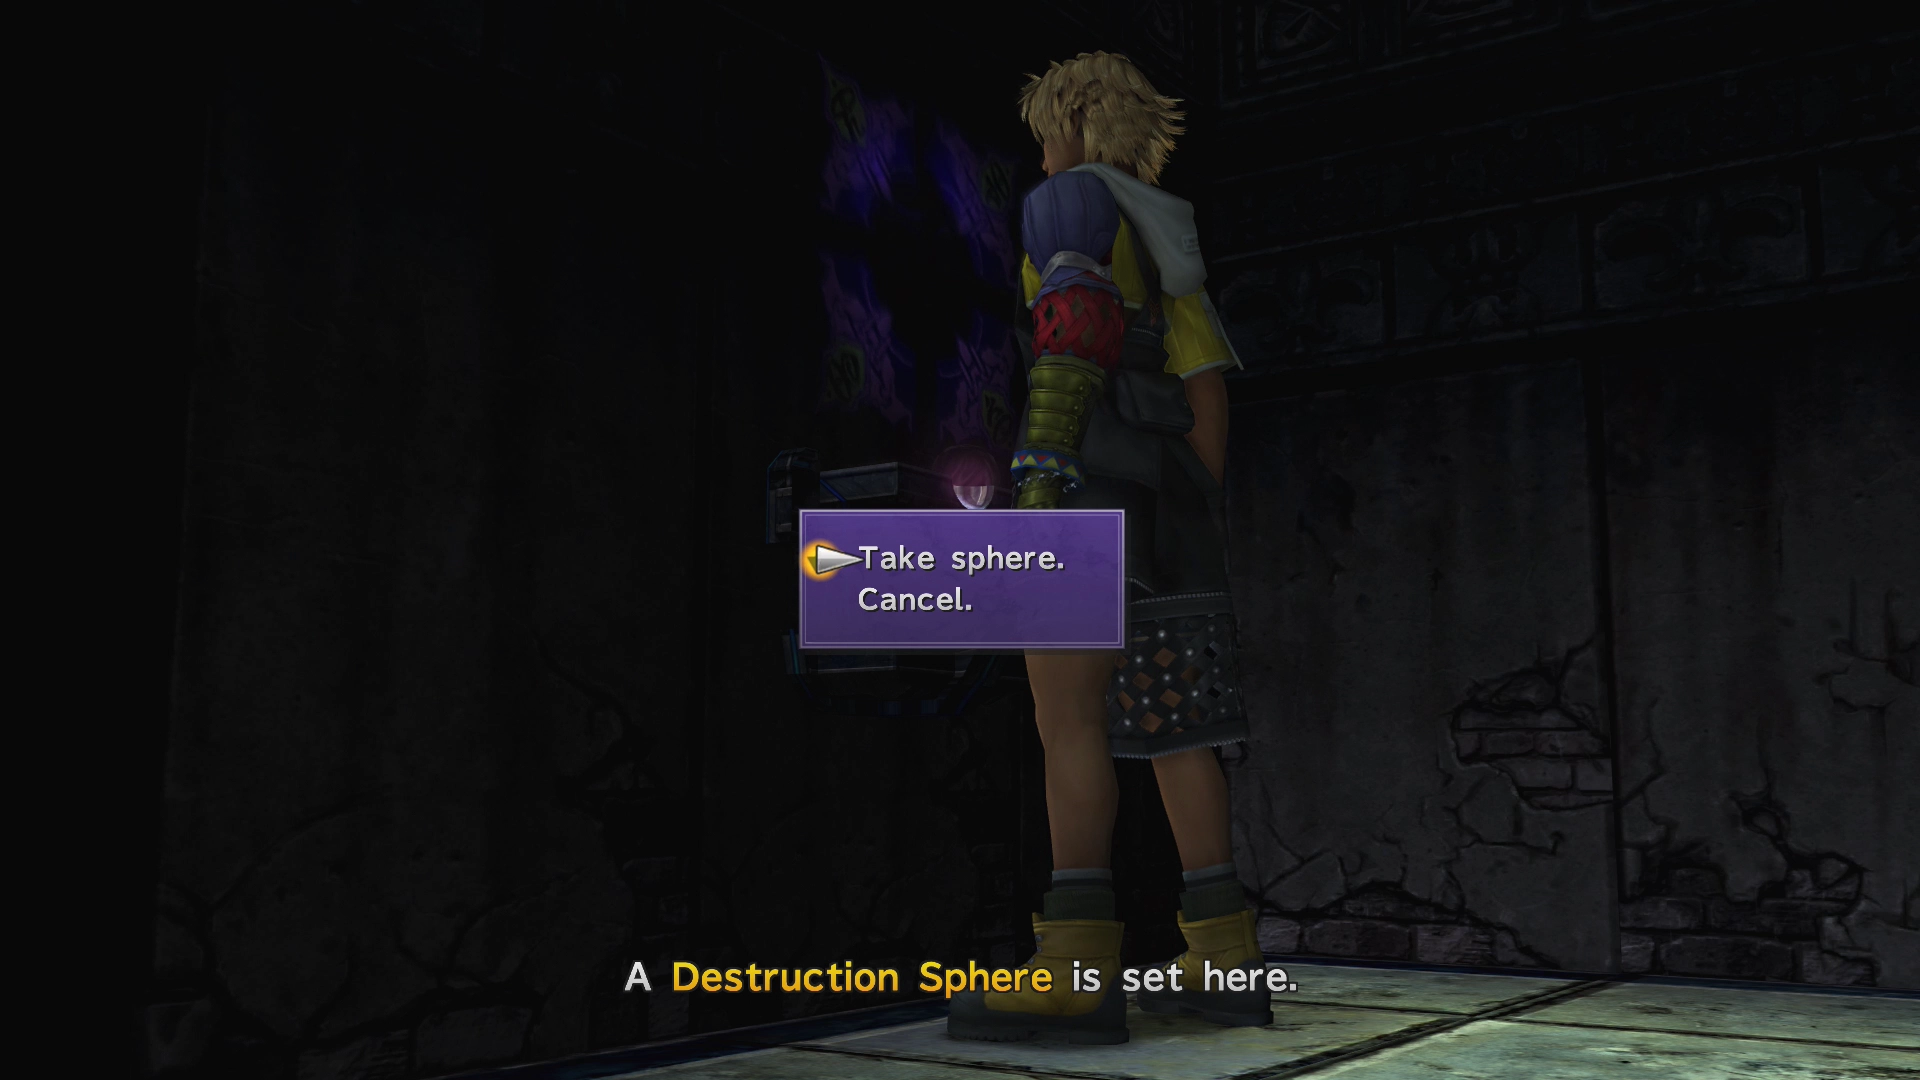
Place the ![]() Destruction Sphere where you found the
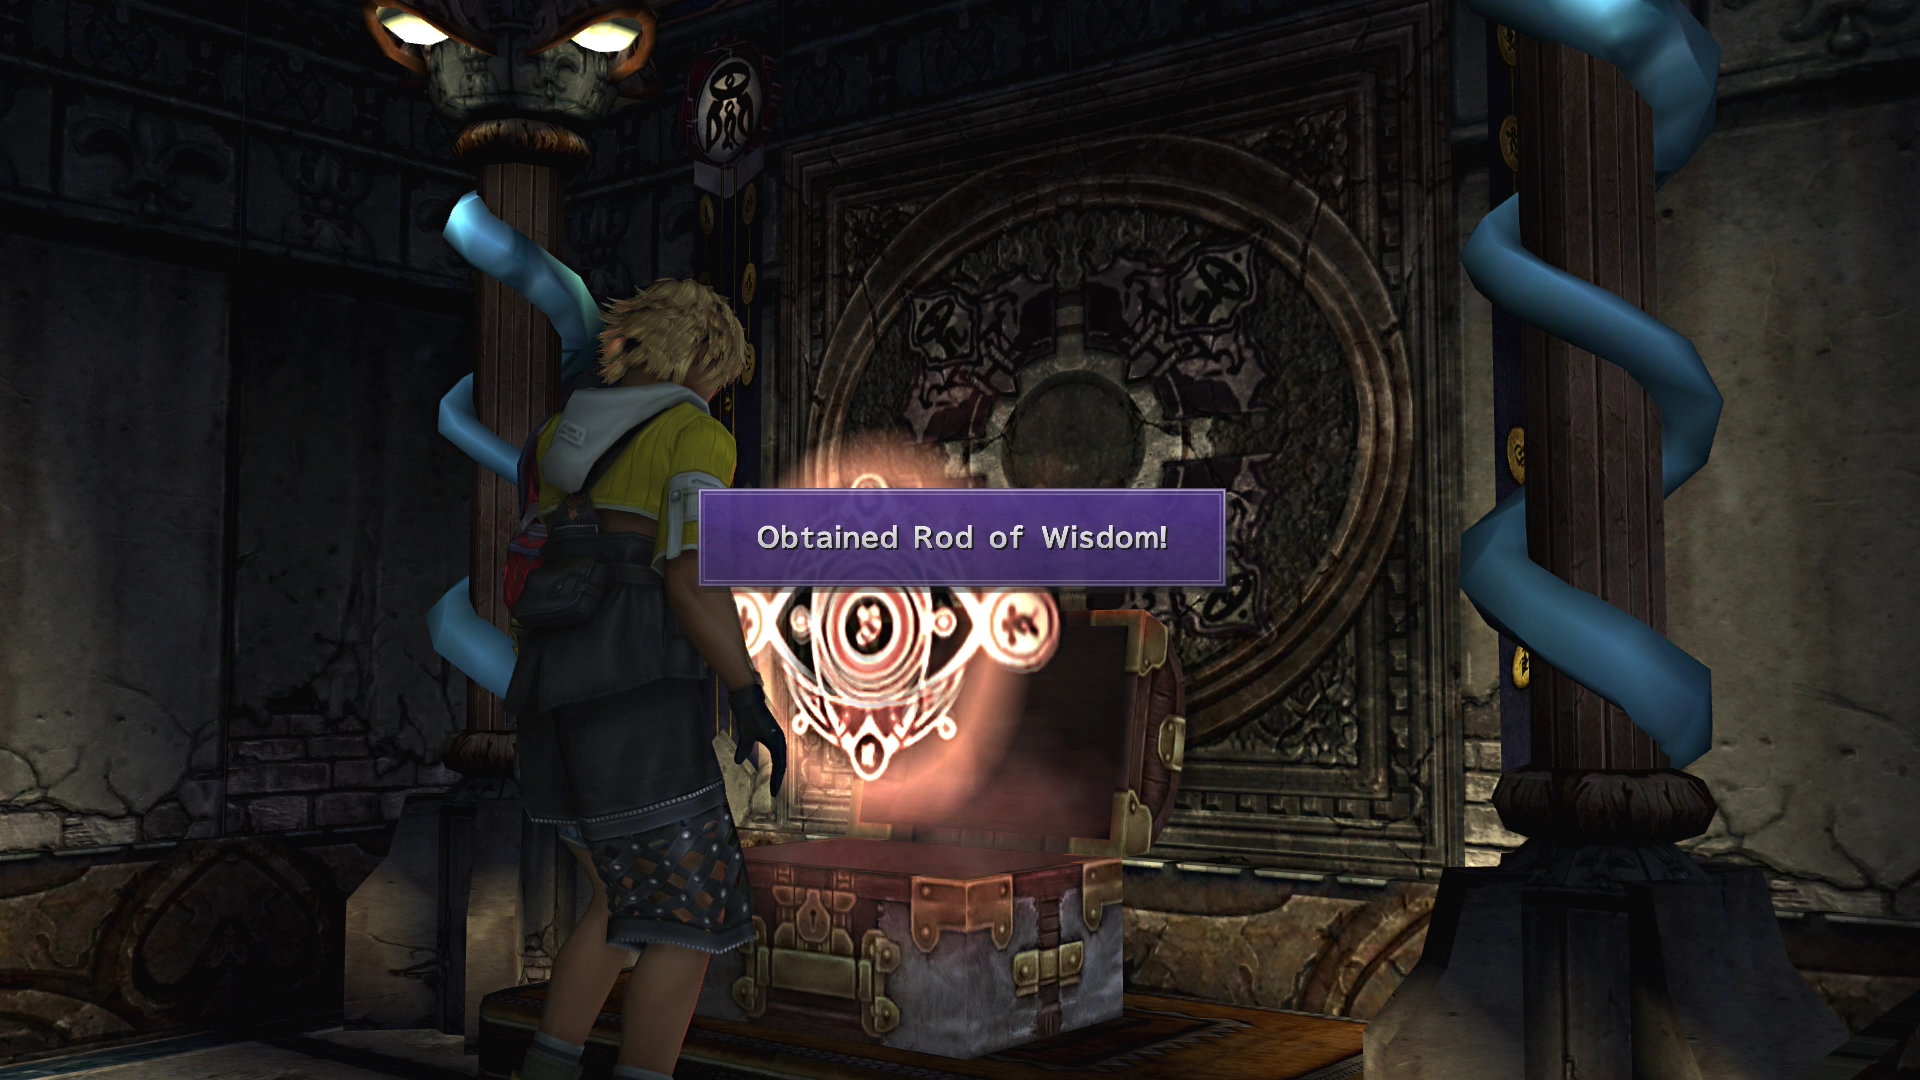
Destruction Sphere where you found the ![]() Besaid Sphere. The Destruction Sphere will destroy the wall at the end of the hallway, revealing a treasure chest. Open the treasure chest to receive the
Besaid Sphere. The Destruction Sphere will destroy the wall at the end of the hallway, revealing a treasure chest. Open the treasure chest to receive the ![]() Rod of Wisdom.
Rod of Wisdom.
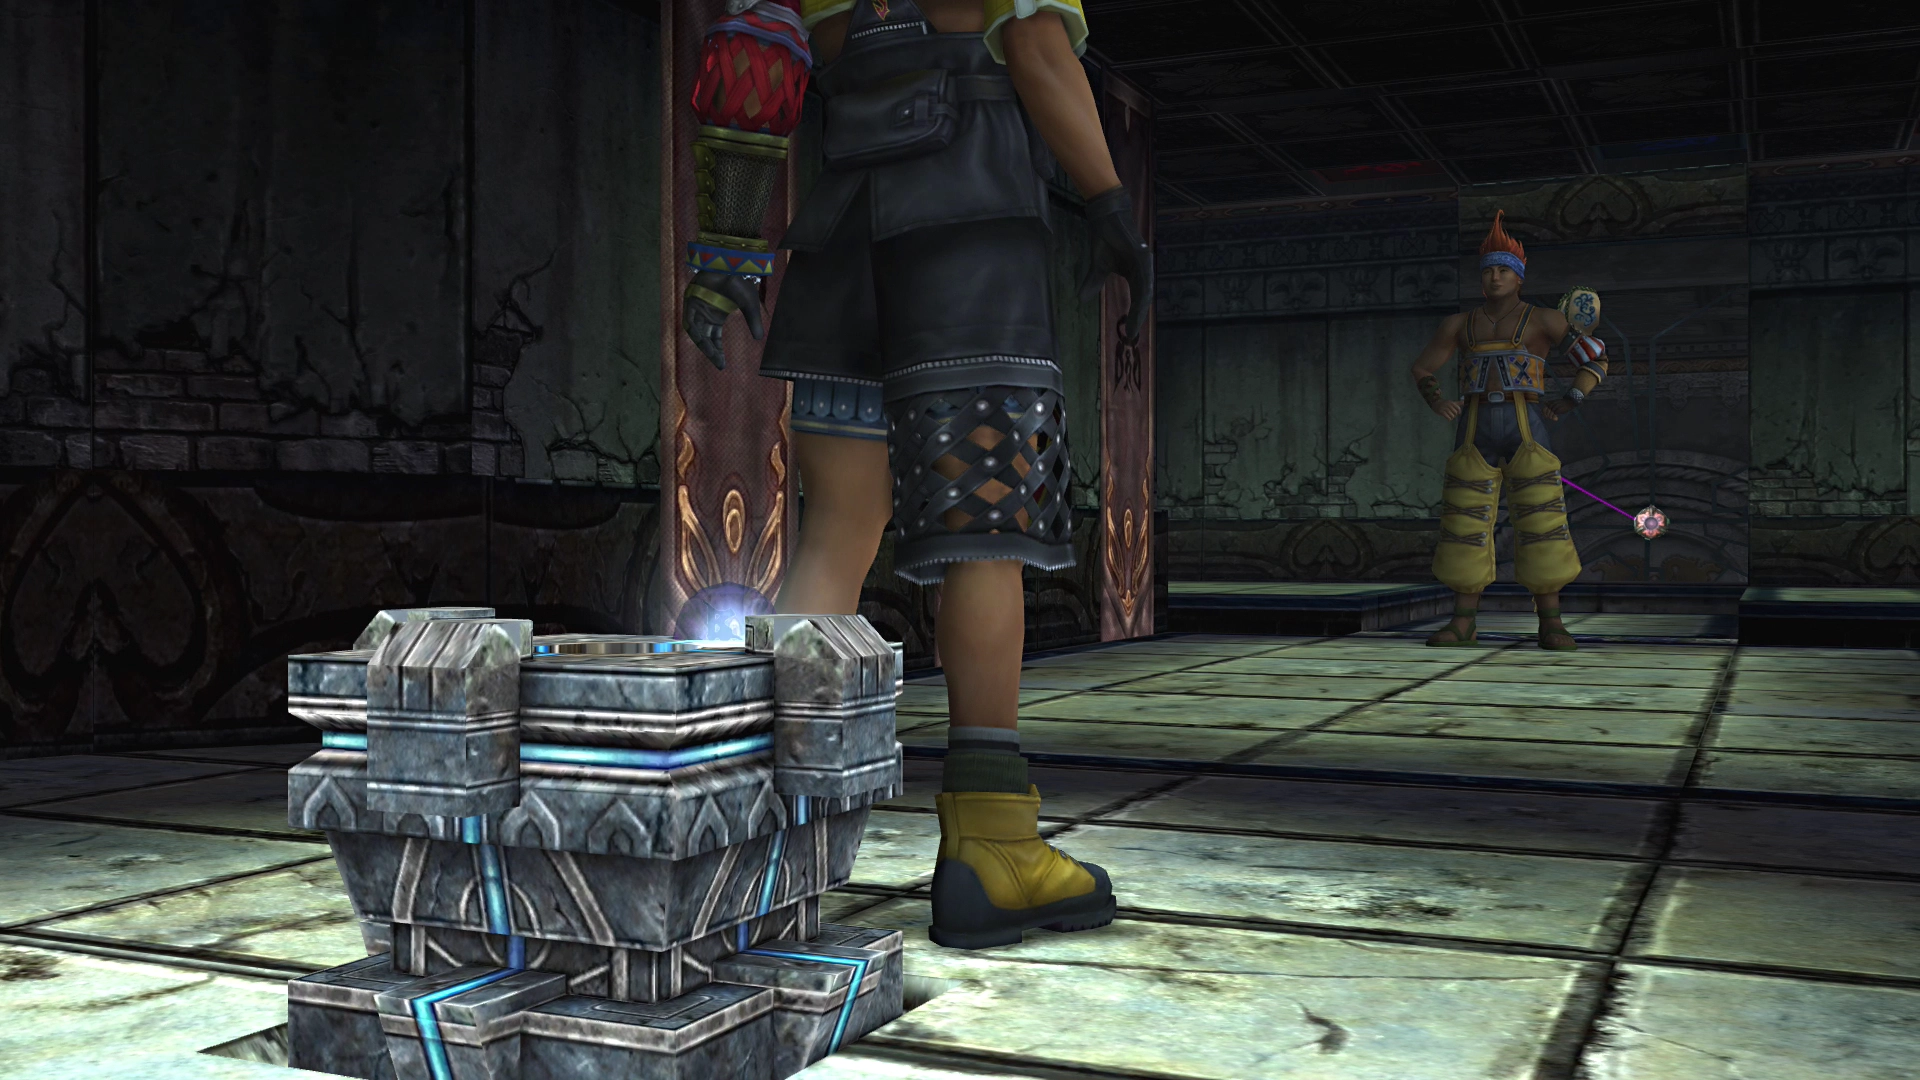
Now go back to the pedestal and use the control stick to push it into the center of the room.
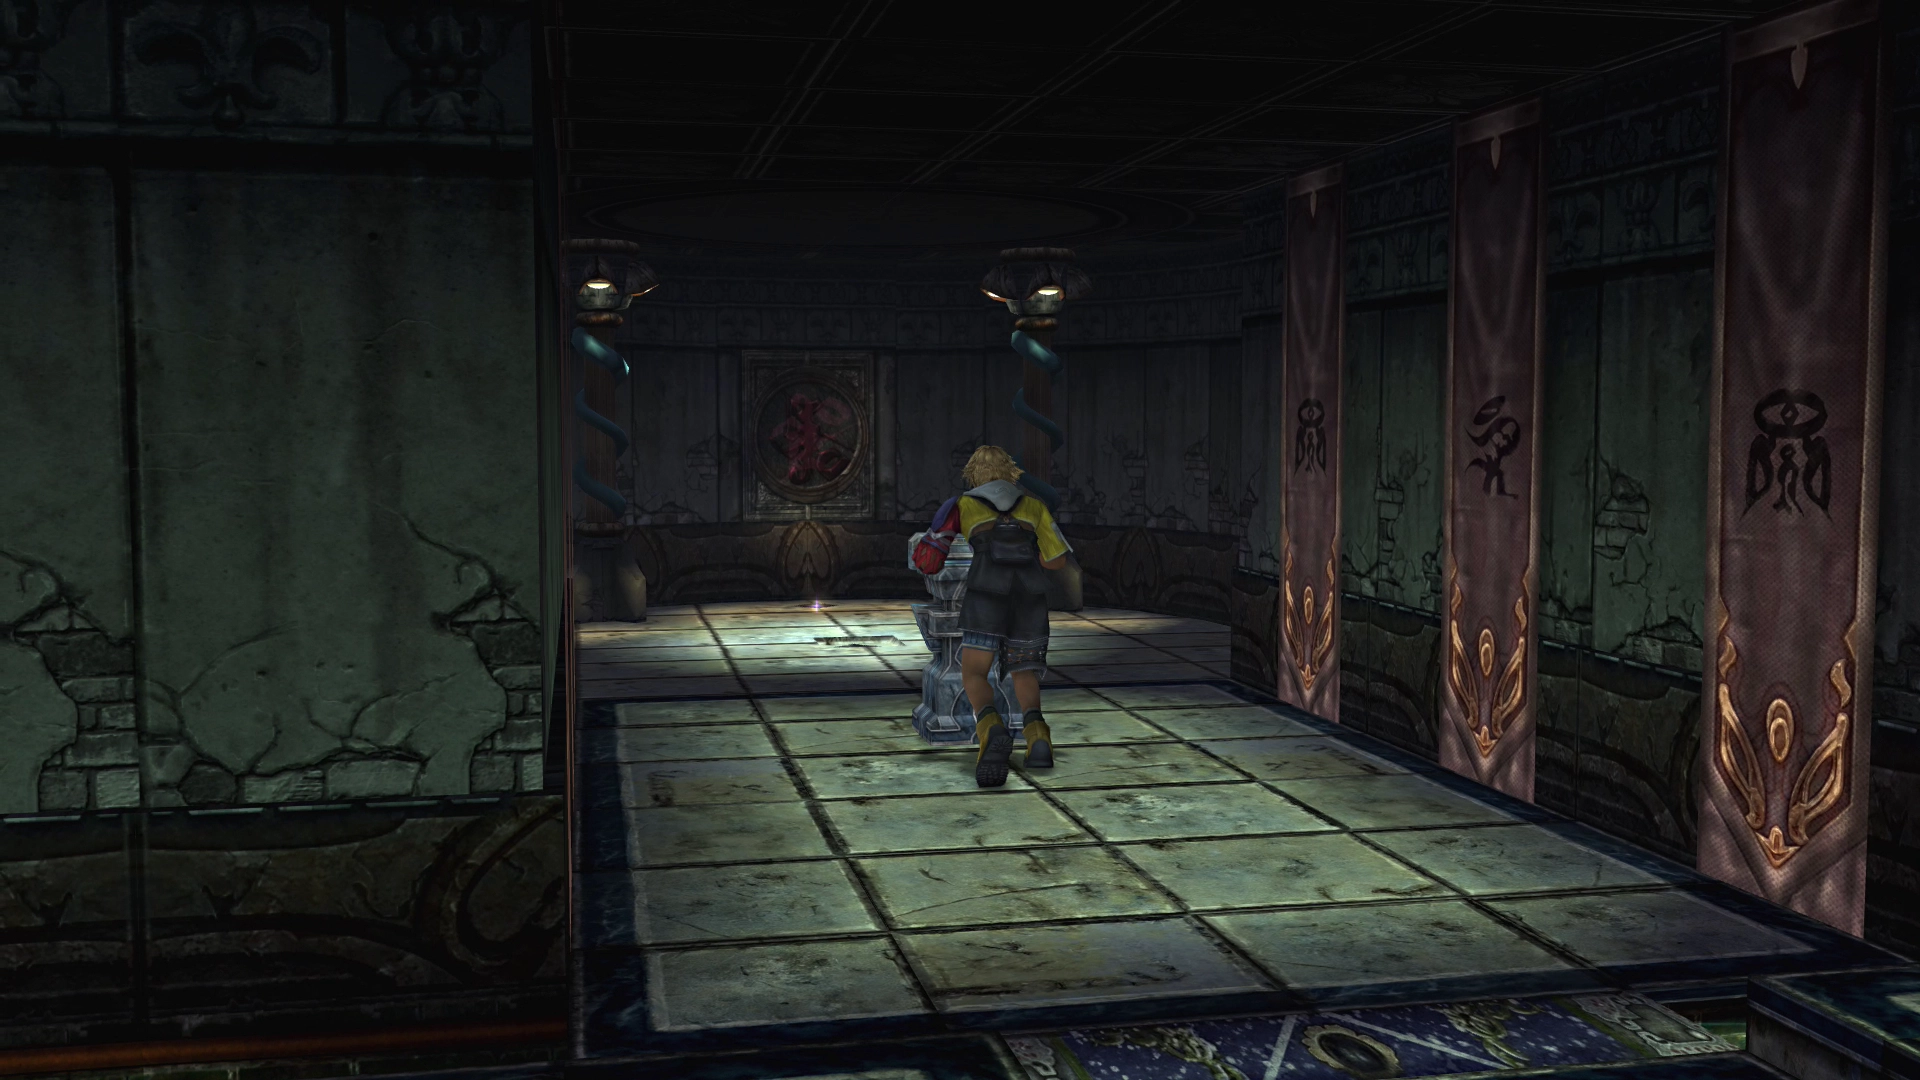
Wakka will come down and join Tidus, and this will conclude the Besaid Cloister of Trials. Use the link below to return to the walkthrough section.
Achievement/Trophy
You will receive  The Right Thing Achievement/Trophy after you complete the Besaid Cloister of Trials. Unfortunately, you won’t receive Trophies for completing any of the other Cloisters, though, for some reason…
Walkthrough Guide
Return to the Besaid Village walkthrough page where Tidus, Wakka, Lulu, and Yuna rejoin the townsfolk near the bonfire in the center of the village.