
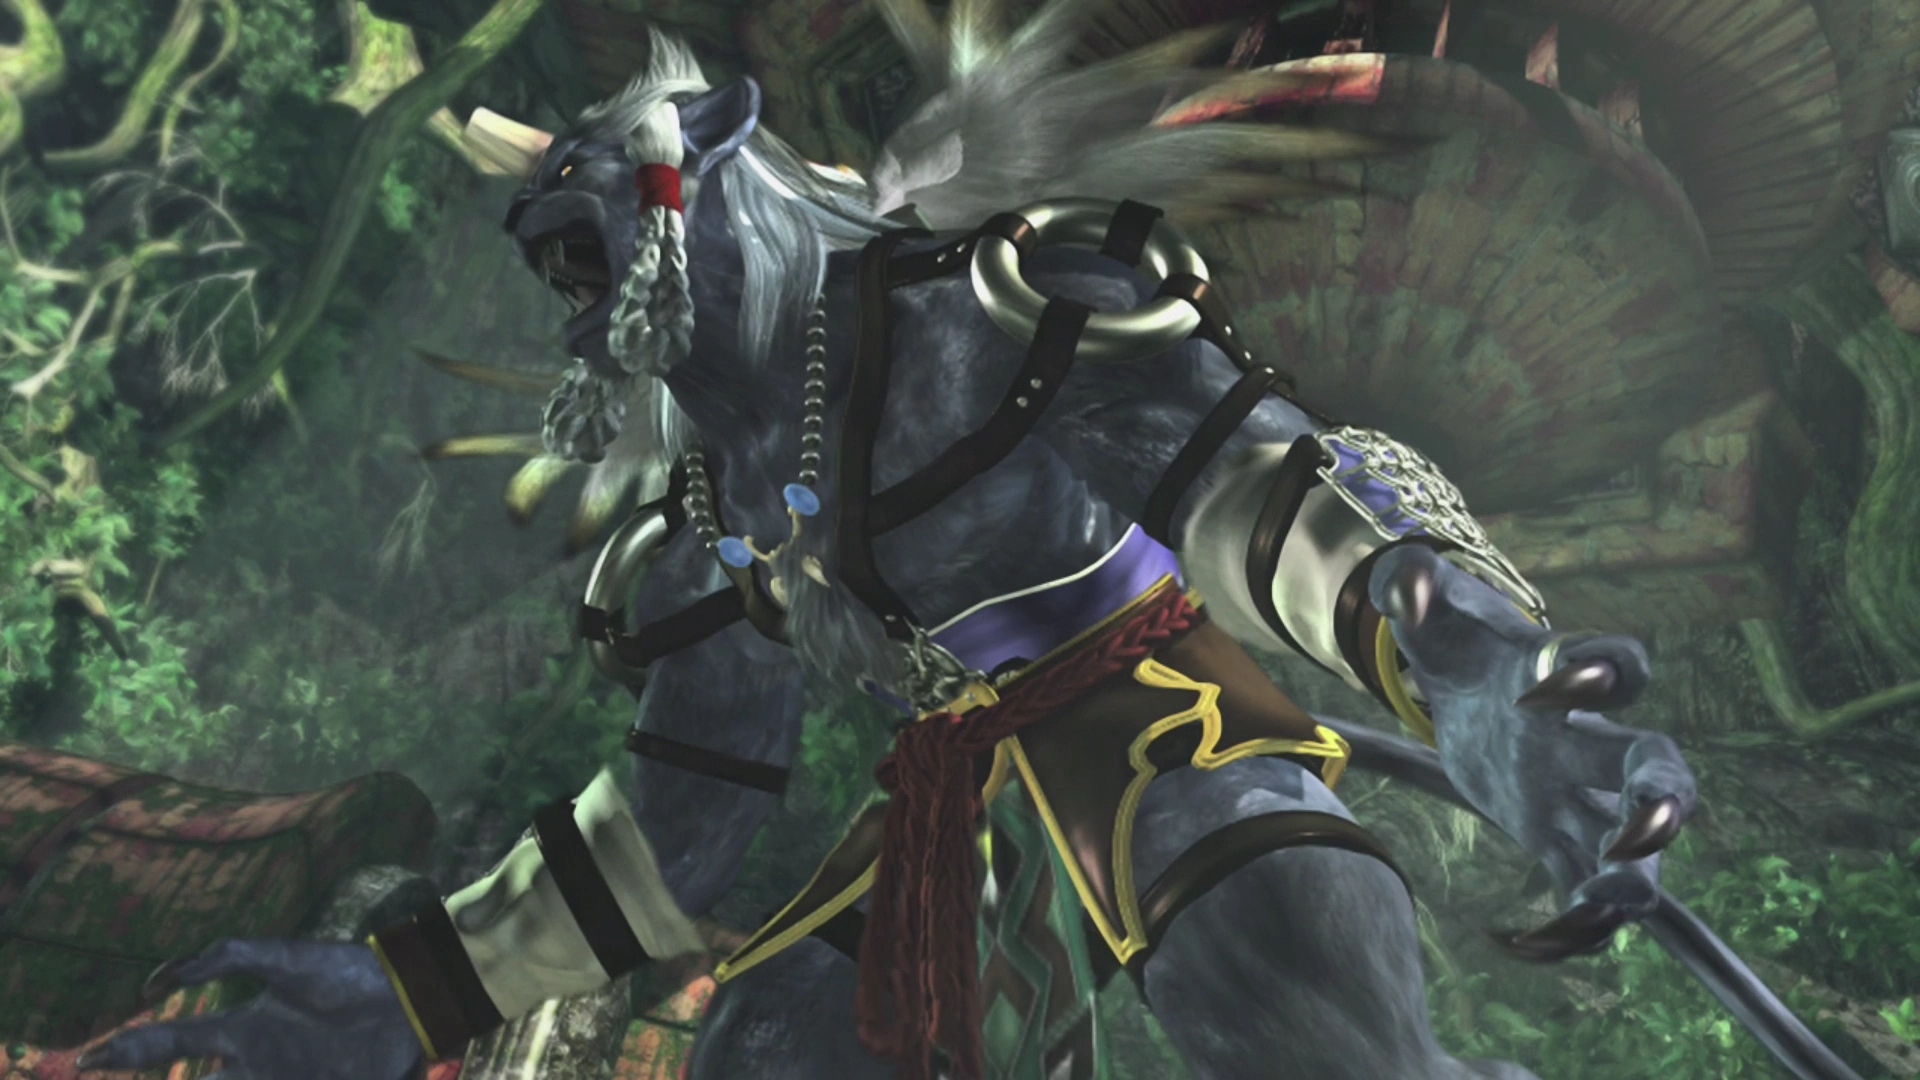
Kimahri
Kimahri joins the party as one of Yuna’s Guardians very early on in the game, as the team is getting ready to depart from Besaid Island.
| Overdrive: | Ronso Rage |
| Celestial Weapon: |
“A young man from the extremely reticent tribe known as Ronso. He has protected Yuna since her youth, but no one knows why. He can learn and use enemy techniques.”
Sphere Grid Path
Kimahri is the most flexible character in the game thanks to his unique position on the Sphere Grid. At first glance, it may look like his Sphere Grid options are limited, but this section of the grid leads into a number of other areas that allow him to branch into the paths of other characters, effectively allowing you to shape him into whatever role your party needs.
Here are some common Sphere Grid paths you can take:
- Rikku's Path (Recommended): Sending Kimahri down Rikku's path gives your party early access to
 Steal and Use, which are two of the most useful abilities in the game. This is especially valuable because Rikku doesn't join the party until much later in the game. Having a second character who can use items through the Use command is also helpful for tougher boss fights.
 - Tidus' Path: Following Tidus' path turns Kimahri into a solid physical attacker with access to abilities like
 Haste and Cheer. This gives your party a second speed-based damage dealer alongside Tidus.
 - Lulu's Path: Sending Kimahri down Lulu's path gives you a second mage, which can be useful in areas where you face enemies with elemental weaknesses frequently. Lulu's own magic stats tend to fall behind in the mid-game, so having Kimahri as a backup caster can fill the gap, though Kimahri isn't the greatest character when it comes to overall magic stats.
You can also send him down a hybrid path or switch directions using Key Spheres later in the game. In the endgame, all characters can complete the entire Sphere Grid, so Kimahri's early-game flexibility is where his value lies.

Additional Strengths
Kimahri has a few useful traits that are easy to overlook:
- His Lancet ability costs no MP and restores a small amount of HP and MP, making him self-sustaining in longer fights.
- He has access to
 Piercing weapons from the start, making him one of only two characters (alongside Auron) who can deal full damage to armored enemies.
 - His Ronso Rage Overdrive includes some genuinely useful abilities like "Mighty Guard" (Protect, Shell, and "NulAll" on the entire party) and "White Wind" (heals the entire party).
- He learns several Ronso Rage abilities early in the game, giving him options that other characters don't have access to yet.
Limitations
Kimahri is a jack-of-all-trades rather than a specialist. He won't outdamage Auron, outspeed Tidus, or outcast Lulu in the areas they specialize in. His Overdrive gauge tends to charge slowly because he often isn't the primary damage dealer or the one taking the most hits. In the late game, once other characters begin filling out their Sphere Grid paths, Kimahri's early versatility becomes less of an advantage.

Ronso Rage
Kimahri's Overdrive, Ronso Rage, functions similarly to the ![]() Enemy Skill Materia from Final Fantasy VII and to Quistis' Blue Magic Limit Break in Final Fantasy VIII. He learns new abilities by using Lancet on specific enemies throughout the game. Check out the Ronso Rage page in the Overdrives section for a full list of abilities and where to learn them.
Enemy Skill Materia from Final Fantasy VII and to Quistis' Blue Magic Limit Break in Final Fantasy VIII. He learns new abilities by using Lancet on specific enemies throughout the game. Check out the Ronso Rage page in the Overdrives section for a full list of abilities and where to learn them.