Inside Lord Jabu-Jabu’s Belly
This dungeon takes place inside the Lord Jabu-Jabu’s Belly and involves the rescuing and escaping with Princess Ruto to return her to Zora’s Domain and King Zora.


The first room contains two enemies that look like bubbles called Shaboms. Link’s ![]() Fairy Slingshot will not destroy them so these enemies will need to be attacked with Link’s Kokiri Sword.
Fairy Slingshot will not destroy them so these enemies will need to be attacked with Link’s Kokiri Sword.
There are also two Octoroks out in the middle of Lord Jabu-Jabu’s mouth that will fire Deku Nuts directly at Link. You can use a Deku Shield to reflect the nuts back at the Octoroks or use the Fairy Slingshot to attack them.
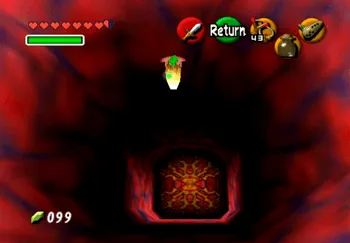
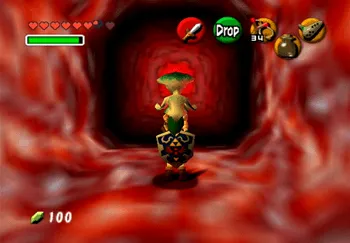
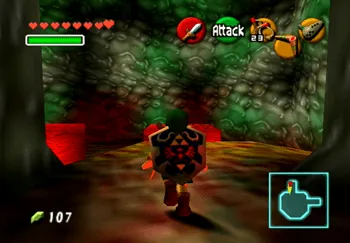
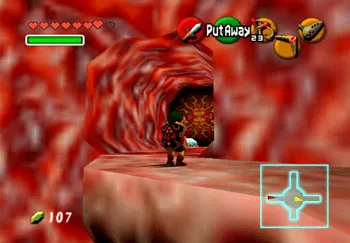
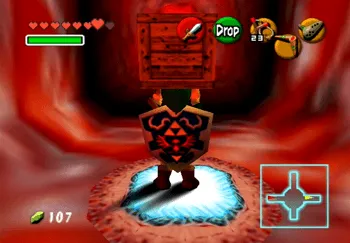
The last thing to do is to use Link’s ![]() Fairy Slingshot to hit the yellow protrusion on the roof in order to open the door leading further into Lord Jabu-Jabu.
Fairy Slingshot to hit the yellow protrusion on the roof in order to open the door leading further into Lord Jabu-Jabu.
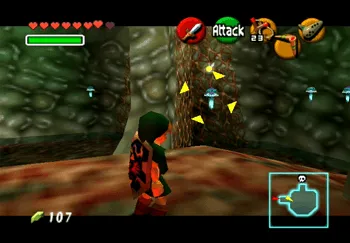
Watch out for the flying squid-like creature, called a Biri, as it will electrocute Link as soon as it makes contact. It is immune to shots from the ![]() Fairy Slingshot and will electrocute Link if he attacks using his Sword.
Fairy Slingshot and will electrocute Link if he attacks using his Sword.
You can either dodge the Biri and run around it or use a spin attack by pressing and holding the ![]() button. Run across the room and go through doorway on the opposite side of the room.
button. Run across the room and go through doorway on the opposite side of the room.
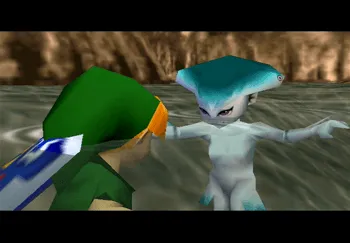
This room contains a few more Biri creatures floating around, but more importantly, this is where Link will first meet up with Princess Ruto once he ventures far enough into the room. Ruto will run away from Link and fall into a pit in on the side of the room—follow her down into the room below.
Speak to Princess Ruto again and she will explain that she has been going exploring in Lord Jabu-Jabu’s belly for some time now, however something seems to have changed. She will also briefly describe a precious stone that has gone missing – the third and final Spiritual Stone that Link is searching for. Talk to her again and she will agree to allow Link to carry her through the dungeon.
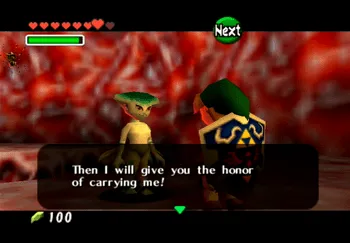
The remainder of the dungeon involves carrying Princess Ruto from room to room in order to complete each of the quests and puzzles. She will return to this spot if you leave her behind at any point. She will also disappear if you take too long in any of the rooms before picking her up again.
Note: If you accidentally jump off the ledge where Princess Ruto is sitting just use the vines on the far side of the room to climb back into the upper room and drop back down to where Princess Ruto is seated.
Ignore the ![]() Gold Skulltulas in this room for now. Pick up Princess Ruto and proceed through the open doorway closest to her. You can set her down near the entrance to the hallway if you’d like or just run through quickly while dodging each of the Shaboms.
Gold Skulltulas in this room for now. Pick up Princess Ruto and proceed through the open doorway closest to her. You can set her down near the entrance to the hallway if you’d like or just run through quickly while dodging each of the Shaboms.
Jump down off of the platform and then kill each of the creatures hiding in the ground (called Stingers). Walk over top of them to make them come up from the water and then use your ![]() Fairy Slingshot to take them out – two hits each.
Fairy Slingshot to take them out – two hits each.
Take out the ![]() Gold Skulltula attached to the vines next. Step on the yellow switch in the middle of the floor to raise the water level up and then climb the vines to retrieve the
Gold Skulltula attached to the vines next. Step on the yellow switch in the middle of the floor to raise the water level up and then climb the vines to retrieve the ![]() Gold Skulltula token (number 30 of 100). Toss Princess Ruto up onto the far ledge and then press the yellow button to raise the water level and jump onto that same ledge. Pick her up again and walk down the hallway.
Gold Skulltula token (number 30 of 100). Toss Princess Ruto up onto the far ledge and then press the yellow button to raise the water level and jump onto that same ledge. Pick her up again and walk down the hallway.
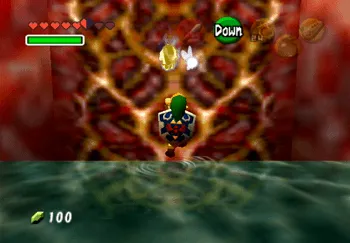
The doorway at the end of the hallway is locked – use your ![]() Fairy Slingshot to hit the switch up on the roof (similar to the switch at the entrance to Lord Jabu-Jabu’s Belly).
Fairy Slingshot to hit the switch up on the roof (similar to the switch at the entrance to Lord Jabu-Jabu’s Belly).

The next room contains another Octorok that will begin shooting nuts at Link as soon as he enters. Set Princess Ruto down and either deflect the nuts back at the Octorok using the Deku Shield or use the ![]() Fairy Slingshot to take it out. A platform will float down from above – jump onto it carrying Princess Ruto. This will lead you back up to the room where you first encountered the Princess.
Fairy Slingshot to take it out. A platform will float down from above – jump onto it carrying Princess Ruto. This will lead you back up to the room where you first encountered the Princess.
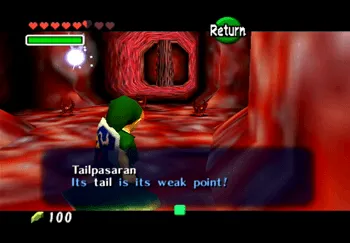
Walk all the way through the room dodging each of the pits that drop you down into the room below and go through the doorway on the opposite side. Set Princess Ruto down and deal with the Tailpasaran enemies if you wish to. They can be defeated with regular attacks from the Kokiri Sword or by using a Spin Attack (holding down the ![]() button and charging an attack). You can also just run past them if you prefer.
button and charging an attack). You can also just run past them if you prefer.
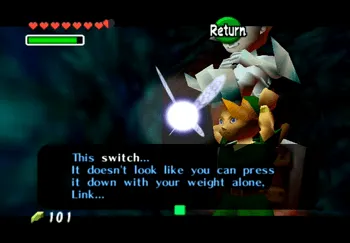
Travel down the pathway leading to the right and then step on the switch on the right side of the path. Navi will notify you that this switch requires more than just the weight of Link to press so make sure that you are carrying Princess Ruto when you step on it.
Kill all four of the Stingers in the room using jump attacks or the ![]() Fairy Slingshot. A treasure chest will appear in the center of the room – open it to obtain the
Fairy Slingshot. A treasure chest will appear in the center of the room – open it to obtain the ![]() Boomerang. Unsurprisingly, you will need to make extensive use of the Boomerang throughout the rest of this dungeon. Pick up Princess Ruto and exit the room.
Boomerang. Unsurprisingly, you will need to make extensive use of the Boomerang throughout the rest of this dungeon. Pick up Princess Ruto and exit the room.

Travel back out to the fork in the road (where you fought and killed the Tailpasaran enemies) and take the left pathway this time. There is another switch that you can jump on, but it will release as soon as Link steps off of it. Drop Princess Ruto on the switch and then go through.
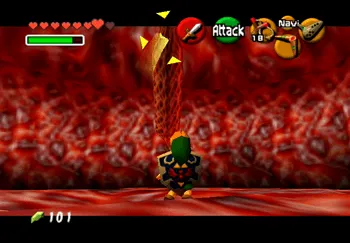
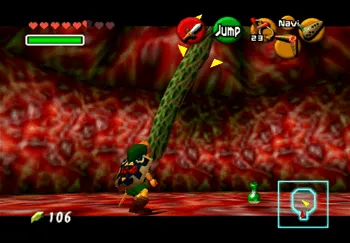
This is the first room where you need to make use of your ![]() Boomerang. Equip it to one of your
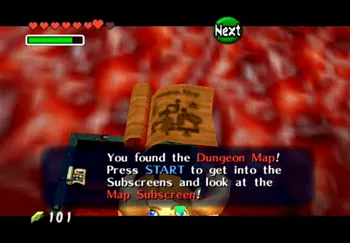
Boomerang. Equip it to one of your ![]() Buttons and then target the Parasitic Tentacle in the center of the room. Dodge the Tentacle’s attacks as you throw the Boomerang – hit it four times to kill it. Another treasure chest will appear in the middle of the room that contains the Dungeon Map.
Buttons and then target the Parasitic Tentacle in the center of the room. Dodge the Tentacle’s attacks as you throw the Boomerang – hit it four times to kill it. Another treasure chest will appear in the middle of the room that contains the Dungeon Map.
Exit the room and speak to Princess Ruto who will complain about you being inconsiderate and leaving her behind. Using her to hold down a switch is one of the few instances where you can leave her behind in a room and she will not disappear.

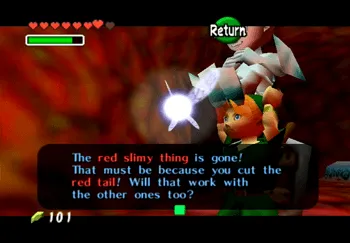
Take your first immediate left after exiting the last room (with the Dungeon Map inside) and the “red slimy thing” (aka the Tentacle) will be gone. Navi will confirm this as you travel down the pathway. Set Princess Ruto down and destroy the Shaboms in this room using your newly acquired ![]() Boomerang.
Boomerang.
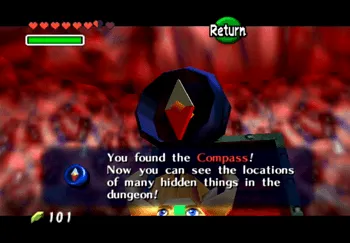
Use ![]() Targeting and get as close to the Shaboms as you can before you let fly with the Boomerang attacks. A treasure chest will appear in the center of the room that contains the Compass for this dungeon. Pick up Princess Ruto and exit the room.
Targeting and get as close to the Shaboms as you can before you let fly with the Boomerang attacks. A treasure chest will appear in the center of the room that contains the Compass for this dungeon. Pick up Princess Ruto and exit the room.
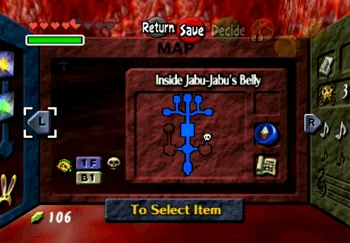
Travel back towards the room where you obtained the ![]() Boomerang – the right pathway from the fork where the Tailpasaran are located. You can use your Dungeon Map and Compass to help you find it – the door that you are looking for is in the northeast corner.
Boomerang – the right pathway from the fork where the Tailpasaran are located. You can use your Dungeon Map and Compass to help you find it – the door that you are looking for is in the northeast corner.
You will find another Parasitic Tentacle in this room that needs to be destroyed. No treasure chest will appear this time but this Tentacle needs to be destroyed in order to open another passageway in the previous area of the dungeon.
Exit the room and return to the fork in the road (where the Tailpasaran are located). Take the center path this time (which should now be open) and go through the doorway. This room contains another Parasitic Tentacle surrounded by Biri enemies.
The Biri enemies can be destroyed using your ![]() Boomerang as well – take out each of them and the Tentacle. Leave the room and return to the first room with the pits (where you first met Princess Ruto).
Boomerang as well – take out each of them and the Tentacle. Leave the room and return to the first room with the pits (where you first met Princess Ruto).
There used to be a large tentacle blocking one of the pits in this room which you should now drop through. The pit is the one located on the northwest corner of the room (furthest from the one that Princess Ruto originally dropped through).
Set Princess Ruto down and then use your ![]() Boomerang to kill the two
Boomerang to kill the two ![]() Gold Skulltula and to obtain each of their tokens. Note though that you still cannot
Gold Skulltula and to obtain each of their tokens. Note though that you still cannot ![]() Target a Gold Skulltula so you will have to manually aim at them (number 31 and 32 of 100). Pick up Princess Ruto again and go through the door on the west side of the room.
Target a Gold Skulltula so you will have to manually aim at them (number 31 and 32 of 100). Pick up Princess Ruto again and go through the door on the west side of the room.
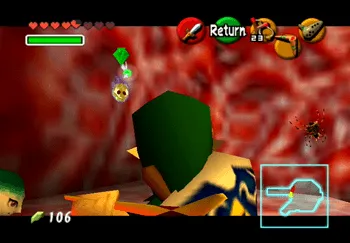
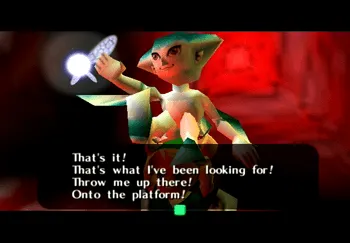
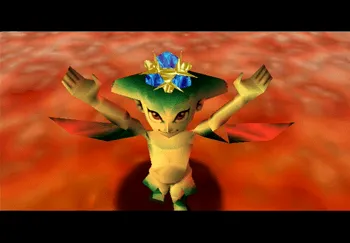
Princess Ruto will shout immediately as you enter the room as she notices the Spiritual Stone lying on a platform in the center of the next room. There is no way for Link to get up there but you can toss the Princess up there.
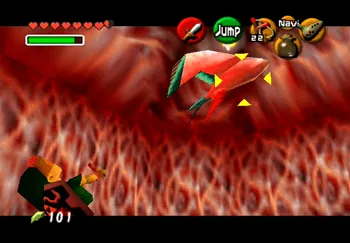
Throw her up and she will pick up the Spiritual Stone, but after she asks you to pick her up and take her home she will be transported to the upper room and a Bigocto will drop down to attack you.
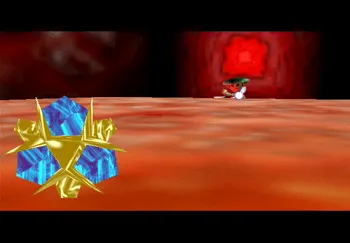
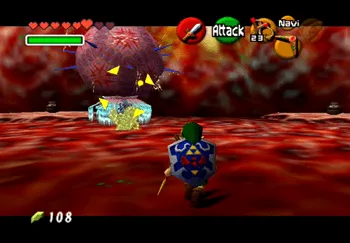
Bigocto
Bigocto will chase Link around the room which is circular. Be careful to dodge the spikes in the center of the room as you run around the central platform. The goal is to attack Bigocto from behind (as described by Navi).
Use your ![]() Boomerang as you get close to the back of Bigocto to hit and stun it. Attack it with your sword right after you stun it.
Boomerang as you get close to the back of Bigocto to hit and stun it. Attack it with your sword right after you stun it.

Step on the central platform after you have defeated Bigocto to be transported to the upper level. Run past the Biri enemies or use your ![]() Boomerang to take them out before you run past and go through the doorway on the south side of the room.
Boomerang to take them out before you run past and go through the doorway on the south side of the room.
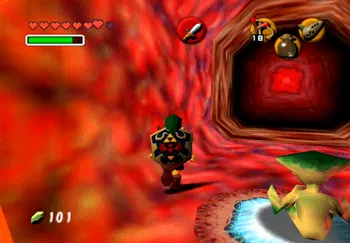
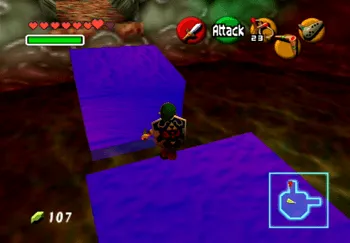
The ![]() Boomerang is the solution to all of your problems in the next room. The weird red moving blocks can be stunned to prevent them from moving by hitting them with the Boomerang and the Octorok can be killed with it as well. Jump across the two blocks and go through the doorway on the east side of the room.
Boomerang is the solution to all of your problems in the next room. The weird red moving blocks can be stunned to prevent them from moving by hitting them with the Boomerang and the Octorok can be killed with it as well. Jump across the two blocks and go through the doorway on the east side of the room.
Run across and jump on the small platform on the opposite wall. The platform will automatically drop to the lower level which you should recognize from the beginning of the dungeon.
There is another switch which you can now access, however this switch requires that something stay on the switch while Link proceed through. You no longer have Princess Ruto with you, so grab one of boxes on the outer pathway and set the box down on the switch. Proceed through the doorway.
It’s a good idea to start things off in the next room by destroying the Biri floating around the room with your ![]() Boomerang. There is a
Boomerang. There is a ![]() Gold Skulltula on the far wall the room. Use the Boomerang to kill it and then either climb the vines or use your Boomerang to retrieve the token (number 33 of 100).
Gold Skulltula on the far wall the room. Use the Boomerang to kill it and then either climb the vines or use your Boomerang to retrieve the token (number 33 of 100).
Climb the vines to the upper platform and then look northward to see another yellow switch. Your ![]() Fairy Slingshot cannot be used to hit this switch due to the webbing in the way so use the Boomerang instead (which takes an angular flight pattern around the webbing and can still hit the switch). Climb down and go through the last doorway to reach the final boss of the dungeon.
Fairy Slingshot cannot be used to hit this switch due to the webbing in the way so use the Boomerang instead (which takes an angular flight pattern around the webbing and can still hit the switch). Climb down and go through the last doorway to reach the final boss of the dungeon.
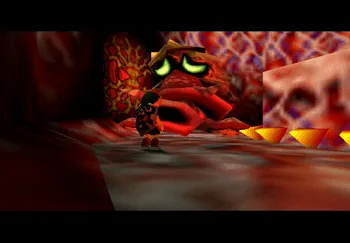
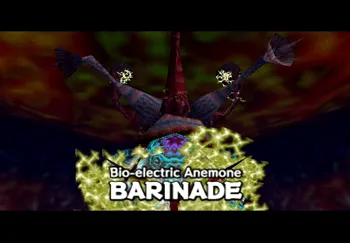
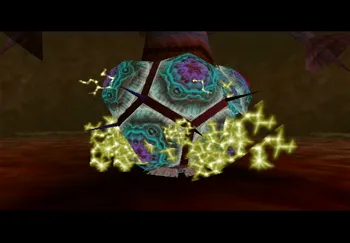
Barinade
Bio-electric Anemone
Barinade has an electric attack that it will use for the duration of the battle so make sure that you keep moving. Your first target are the red connectors that connect the top of Barinade to the walls. Destroy each of the three red connectors first and this will cause the jellyfish around Barinade’s body to disperse around the room.
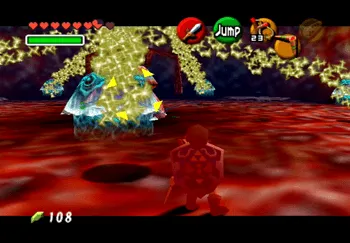
You can now either attack and destroy the jellyfish that surround the room or you can use the ![]() Boomerang on Barinade directly. Hitting Barinade will stun it allowing you to attack it with your Sword. Remember to use Jump Attacks to maximize the amount of damage done with each attack.
Boomerang on Barinade directly. Hitting Barinade will stun it allowing you to attack it with your Sword. Remember to use Jump Attacks to maximize the amount of damage done with each attack.
Barinade will jump back up with its jellyfish surrounding it. Continue to attack it with the ![]() Boomerang until an attack gets through and then destroy each of the jellyfish when it is stunned. Continue this pattern and repeat until Barinade is defeated.
Boomerang until an attack gets through and then destroy each of the jellyfish when it is stunned. Continue this pattern and repeat until Barinade is defeated.
Princess Ruto will be standing in the portal after you have defeated the last boss. Jump into the portal with her to exit the dungeon. The two will be transported out to the Zora’s Fountain where Princess Ruto will give Link the next Spiritual Stone, called the ![]() Zora Sapphire.
Zora Sapphire.
Your next destination is Hyrule Castle and then the Temple of Time, but there are a ton of side quests that can be completed before you head there now that you have the ![]() Boomerang in hand.
Boomerang in hand.