Inside the Great Deku Tree
Welcome to the Inside of the Great Deku Tree—the first dungeon of the game.
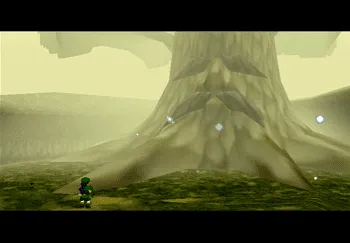
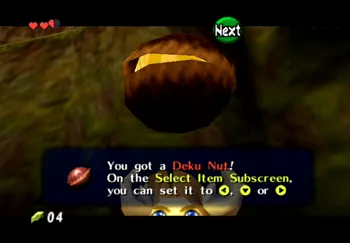
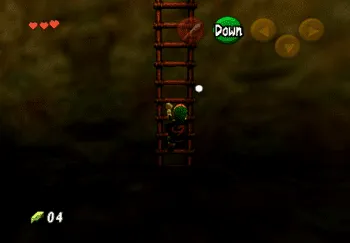
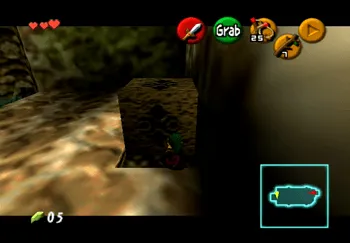
Your first objective when you enter the Great Deku Tree is to make it to the top of this first room. Start off by scrounging the bottom floor for a few items – it’s a good idea to pick up some Deku Nuts and Deku Sticks for later on. Then proceed up the ladder (not up the vines on the opposite wall).
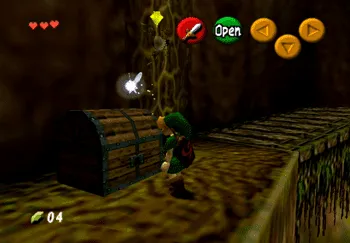
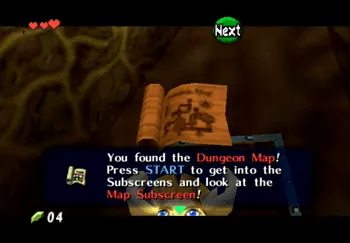
Follow the circular pathway up the tree stump and on the way up you will reach a treasure chest containing the Dungeon Map. Continue up the ramp until you reach the door at the end and enter it. The door will lock behind Link.
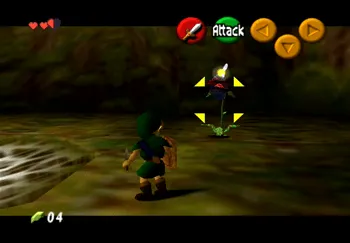
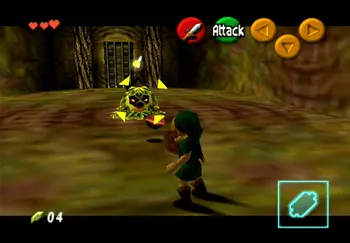
All you have to do to defeat the Deku Scrub is target him and hold the “R” button to raise your shield. This will cause the Deku Nuts that the Scrub is shooting at you to bounce back off your shield. Proceed through the next door.
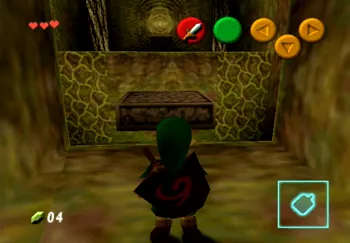
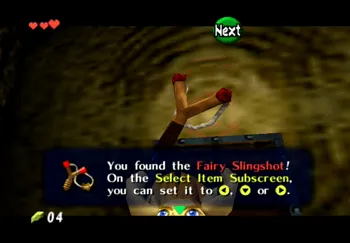
Jump across the platform and be as quick as you can because the platform will fall shortly after you land on it. Open the chest and you will receive the ![]() Fairy Slingshot.
Fairy Slingshot.
Re-enter the Equipment Submenu and attach the ![]() Fairy Slingshot to one of your
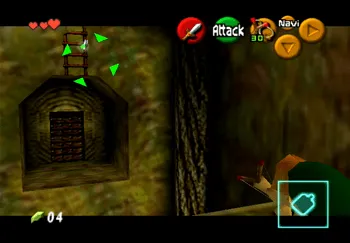
Fairy Slingshot to one of your ![]() buttons. Look back to where the platform fell and you will see a ladder on the wall above the doorway - Navi will fly over to it to point it out to you. Use the
buttons. Look back to where the platform fell and you will see a ladder on the wall above the doorway - Navi will fly over to it to point it out to you. Use the ![]() Fairy Slingshot to shoot it down. Then exit the room.
Fairy Slingshot to shoot it down. Then exit the room.
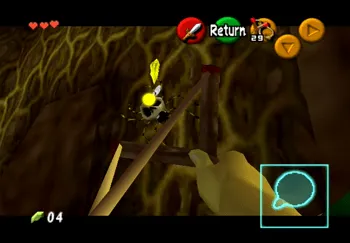
Head back to where you picked up the map and use the ![]() Fairy Slingshot to shoot the spiders off the wall. Use
Fairy Slingshot to shoot the spiders off the wall. Use ![]() Targeting to make the task much easier. Then climb the wall upward to the next platform. Go into the only door here on the top level of the Great Deku Tree.
Targeting to make the task much easier. Then climb the wall upward to the next platform. Go into the only door here on the top level of the Great Deku Tree.
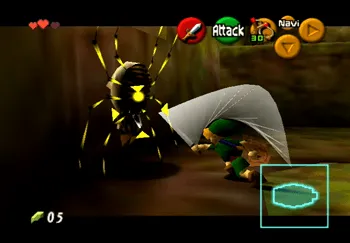
You’ll find a switch in this room on the right side which will make all the platforms in the center of the room rise. Start off though by heading to the crevasse in the south wall and a Skulltula will fall. You can defeat it by causing it to drop down and then waiting for it to spin around, revealing its weak side.
Hop back onto the previous platform and step on the switch to make the platforms rise. Run across the platforms and into the crevasse on the south wall (where you defeated the Skulltula that came down).
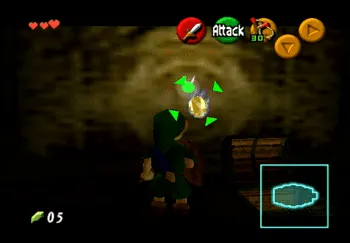
Open the treasure chest for a free Recovery Heart and then grab the ![]() Gold Skulltula on the back wall – you can’t target them so be careful when trying to destroy it (this is number 1 of 100).
Gold Skulltula on the back wall – you can’t target them so be careful when trying to destroy it (this is number 1 of 100).
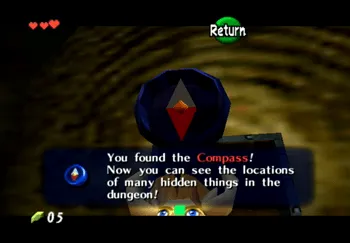
Go back and press the switch one more time and follow the raise platforms across to the far wall. Open the treasure chest and you’ll obtain the Compass.
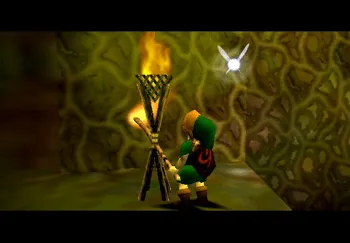
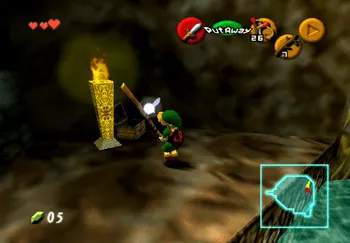
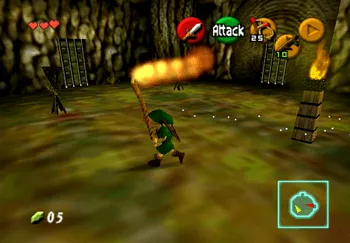
Equip your Deku Sticks to one of your ![]() buttons. Light the Deku Stick on fire using the torch near the entrance and use the lit stick to light the unlit torch on the opposite side of the entryway. Press B to pull out your sword to put the Deku Stick away quickly so that it doesn’t burn out (and waste the stick).
buttons. Light the Deku Stick on fire using the torch near the entrance and use the lit stick to light the unlit torch on the opposite side of the entryway. Press B to pull out your sword to put the Deku Stick away quickly so that it doesn’t burn out (and waste the stick).
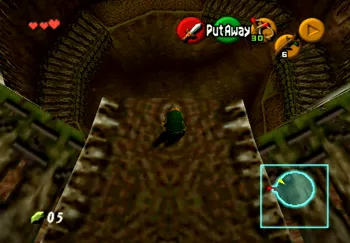
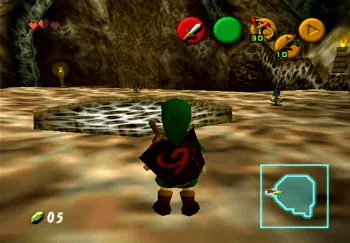
Exit the room back out to the upper platform of the main trunk. Approach one of the holes in the webbing to make a Skulltula drop down. Defeat it and then have link fall/drop down to the lower level while aiming for the web in the center of the lowest floor. If you aim Link properly as he rolls he will bust through the webbing taking you to an even lower level of the dungeon.
In this room you’ll find a ![]() Gold Skulltula on the wall with the webbing. Use your
Gold Skulltula on the wall with the webbing. Use your ![]() Fairy Slingshot to defeat it and climb up the vines to retrieve the golden token (number 2 of 100).
Fairy Slingshot to defeat it and climb up the vines to retrieve the golden token (number 2 of 100).
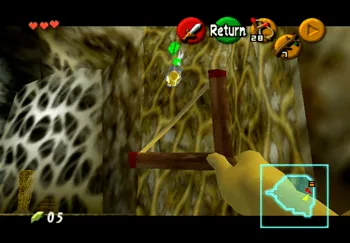
There is another ![]() Gold Skulltula hanging on the bars on the opposite side of the room. Use your
Gold Skulltula hanging on the bars on the opposite side of the room. Use your ![]() Fairy Slingshot to defeat this one too. The gold token is too high for Link to reach so you will have to take a running jump from the platform on the right side of the room (number 3 of 100).
Fairy Slingshot to defeat this one too. The gold token is too high for Link to reach so you will have to take a running jump from the platform on the right side of the room (number 3 of 100).
Step on the switch on the higher of the two platforms to cause one of the torches to light up. Behind this torch is a treasure chest you can open that contains a Recovery Heart.
Pull out one of your Deku Sticks, light it on fire, and jump down to the lower platform without allowing the flame to touch the water and go out, and light that wall of webs on fire. Go through the doorway that is revealed behind the webs.
There is another Deku Scrub in this room. Use the Deku Shield to reflect the Deku Nuts back at this scrub just like the previous one.
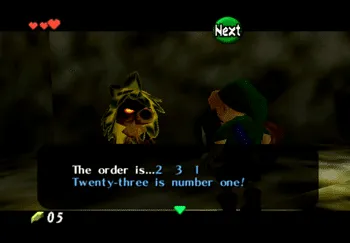
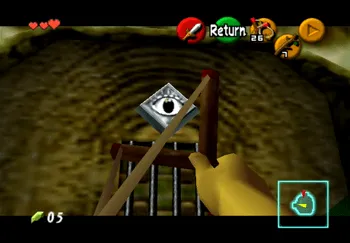
Approach the Deku Scrub once it jumps out of its hole and it will provide you with an order for defeating his brothers. The order is always 2, then 3, then 1. The door in this room has an eye above it—shoot that eye with the ![]() Fairy Slingshot and the door will open.
Fairy Slingshot and the door will open.
Navi will interrupt you as soon as you enter the next room but the concept is fairly simple. Find the switch underwater, press the ![]() button to dive in and have Link press it. Just use your shadow to judge where you are.
button to dive in and have Link press it. Just use your shadow to judge where you are.
Then go back to the ledge and jump on the floating platform and ride it under the spike pole. Kill the large Skulltula that drops down and then push or pull the block over. Climb up the block and go through the next door.
Use a Deku Stick in the next room to light up both of the torches. You can kill the enemies in this room if you have run out of Deku Sticks. Proceed through the doorway once you open it.
Watch out for the Skulltula directly ahead. Take out the three Gohma Larva that drop down in this room and then use a Deku Stick to light the web walls on fire. One of the revealed areas has a small tunnel that Link can use to get into the room you started in on the bottom floor.
Follow the tunnel through and then push the block you see off the ledge. You can now use this block as a step to help you get up and down between the two levels.

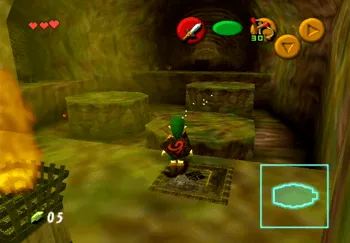
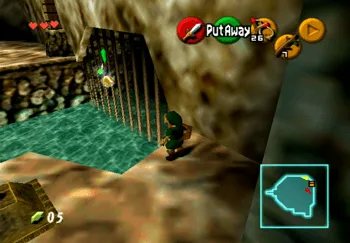
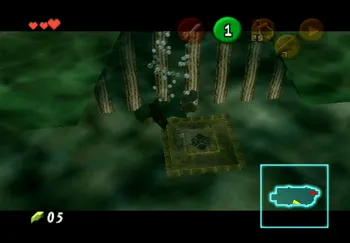
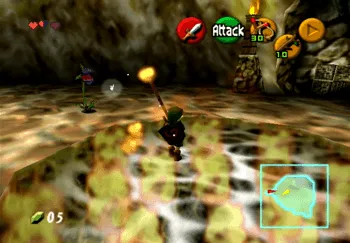
Jump down to the lower platform and use a Deku Stick to obtain some fire. Use the first to light up the web that’s on the ground up on the previous platform (as shown in the screenshot). Use a roll (by pressing the ![]() button while Link is running) to get the fire to touch the web on the ground. Drop down into the next area once the web has been removed.
button while Link is running) to get the fire to touch the web on the ground. Drop down into the next area once the web has been removed.
There are three Deku Scrubs in this room which have to be taken out in the order mentioned by the previous Deku Scrub. Take out the one in the middle first, then the one on the right side, then left side. Approach the one on the left once it pops out of its hole.
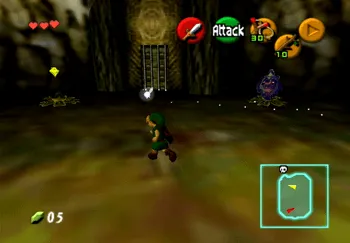
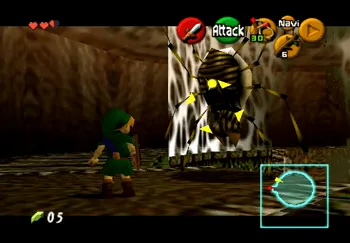
The next room contains the boss and final enemy of this dungeon. Stock up on items if you’d like and then use the ![]() button to have Link look up, revealing Queen Gohma on the roof of the room.
button to have Link look up, revealing Queen Gohma on the roof of the room.
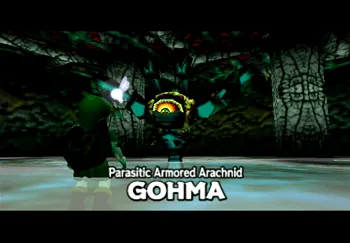
Queen Gohma
Parasitic Armored Arachnid
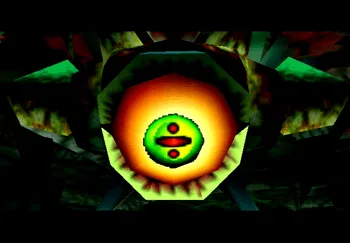
Queen Gohma will try to attack you and when she does her eye will turn red. Once this happens you need to hit her with your ![]() Fairy Slingshot – much easier to do using
Fairy Slingshot – much easier to do using ![]() Targeting.
Targeting.
She will be stunned after you hit her in the eye allowing you to run up to her and hit her with your Kokiri Sword. You can also hit her eye when she is on the roof just before she releases her Gohma Larva. Hit her enough times and she will die. That is all there is to it.
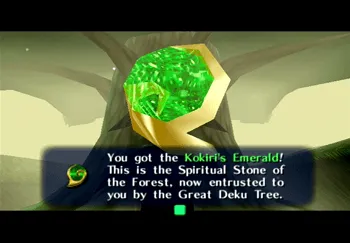
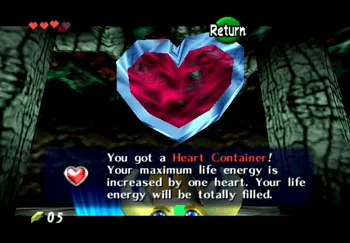
Grab the Heart Container at the conclusion of the battle and then jump into the glowing blue portal to finish the dungeon. Link will receive the ![]() Kokiri Emerald for successfully completing the Dungeon after a story about the Triforce and the three goddesses and the Great Deku Tree will pass away.
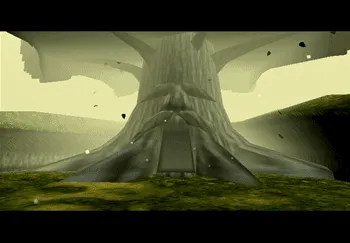
Kokiri Emerald for successfully completing the Dungeon after a story about the Triforce and the three goddesses and the Great Deku Tree will pass away.
Time to make your way to Hyrule Castle. Travel through Kokiri Forest and exit through the west pathway.