
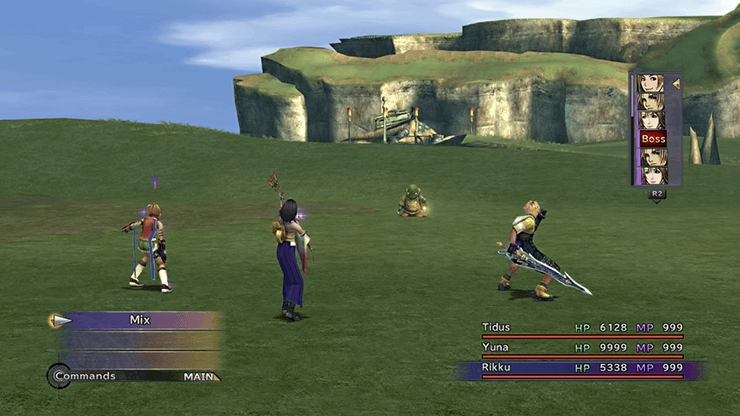
Mix
Rikku’s Overdrive is called “Mix.” At a casual glance, it looks like it’s just another version of ![]() Use, but you have the option of selecting two items which will be combined to form a new and more powerful effect. The full effects of Mix are available as soon as Rikku joins your party at the Moonflow, and there are an amazing number of powerful effects that she can trigger using her Overdrive.
Use, but you have the option of selecting two items which will be combined to form a new and more powerful effect. The full effects of Mix are available as soon as Rikku joins your party at the Moonflow, and there are an amazing number of powerful effects that she can trigger using her Overdrive.
How Mix Works
There are 64 unique Mix results that you can achieve by combining items. The outcome is determined by the combination of the two items you select, and has nothing to do with the order in which you select them. Mix effects range from massive damage to full party heals to game-breaking buffs. Mix is considered to be the most powerful Overdrive in the game due to the sheer versatility and strength of its possible results.
Key Mix Recipes
It’s worth noting that there are many combinations of items that yield different Mix results, so the lists on this page are not exhaustive. Instead, this page covers some of the more commonly used and readily available combinations.
| RARE | |
| DEFENSIVE | |
| STATUS | |
| NON-BASIC SPHERE | Any sphere except Power, Mana, Speed, and Ability Spheres (e.g. Lv. 1–4 Key Spheres, HP Sphere, etc.) |
| BUDGET | Cheap shop-buyable combos that don’t require rare items |
- Effect:
-
 Protect + Shell + Haste + Regen + Auto-Life on all allies.
- Pattern:
-
Any DEFENSIVE item + Any RARE item - Notes:
- Any Defensive + Rare pair works. Healing Spring + Underdog’s Secret or Light Curtain + Underdog’s Secret are among the easiest to stock.
- Effect:
-
Protect + Shell + Haste + Regen on all allies.
- Easiest recipes:
BUDGET -
 Chocobo Feather
+  MapHealing Spring
+  Grenade
 - Other recommended:
-
Bomb Core
+ Light Curtain / Lunar Curtain / Star CurtainFire Gem+ Lunar CurtainChocobo Feather+  Winning Formula
 - Notes:
- Chocobo Feather + Map costs almost nothing — Maps are only 50 Gil at Rin’s shops.
- Effect:
- All allies deal minimum 9,999 damage per hit and healing also floors at 9,999.
- Pattern:
-
Shining Gem
+ Any RARE item  Lv. 3 Key Sphere
+ Any RARE item Door to Tomorrow+ Any RARE item - Self-pairings:
-
Wings to Discovery
+ Wings to DiscoveryGambler’s Spirit+ Gambler’s Spirit - Notes:
- Wings to Discovery × 2 is the easiest recipe. You can win 30 from the Remiem Temple Chocobo Race. Lv. 3 Key Spheres can be stolen from Biran & Yenke.
- Effect:
-
Deals exactly 19,998 fixed damage to all enemies, ignoring
 Break Damage Limit.
- Recommended recipes:
- Notes:
-
Best used before you have Break Damage Limit since it deals a guaranteed 19,998 to all enemies regardless of your stats.
- Effect:
- Full HP & MP restore + cure all statuses + revive all KO’d allies at full HP.
- Easiest recipe:
BUDGET -
 Hi-Potion
+ Any NON-BASIC SPHERE - Other recommended:
-
Hi-Potion
+ Lv. 1 Key SphereMega-Potion+ Lv. 1 Key Sphere - Notes:
- Hi-Potions are cheap and widely available, making this one of the most accessible emergency heals. Rikku is the only character who can restore HP beyond 9,999 using this mix or Super Elixir.
- Effect:
-
 Cheer ×5 + Focus ×5 + Aim ×5 + Reflex ×5 + NulBlaze + NulShock + NulTide + NulFrost on all allies.
- Pattern:
-
Healing Spring
+ Healing SpringHealing Spring+ Any STATUS item Healing Spring+ Light Curtain / Lunar Curtain / Star Curtain - Notes:
- Healing Spring is always the first item. Doubling up on Healing Springs is the simplest recipe. Farm them from Kottos in the Monster Arena.
- Effect:
- 2× Overdrive gauge fill rate on all allies, stacks with Hot Spurs.
- Easiest recipes:
BUDGET -
Amulet
+ Amulet Megalixir
+ Lv. 1 Key Sphere - Other recommended:
-
Gambler’s Spirit / Underdog’s Secret
+ Elixir / Mana TabletTwin Stars+ Gambler’s Spirit - Notes:
- Amulet × 2 is the easiest recipe. Defeat Stratoavis at the Monster Arena to receive 4 Amulets. Megalixirs can be obtained by bribing Varuna or unlocking Shinryu.
- Effect:
- Small damage + guaranteed 100% Armor Break on all enemies, one of only two sources of guaranteed Armor Break in the game.
- Easiest recipe:
BUDGET -
 Ability Sphere
+ Ability Sphere - Other recommended:
-
Any two matching basic spheres + (Power + Power, Mana + Mana, etc.) - Notes:
- Basic spheres are plentiful, making this very cheap to produce. The only other source of guaranteed Armor Break is Auron’s Banishing Blade Overdrive. Frag Grenades can also be stolen from Mech Leaders and Splashers on Mt. Gagazet.
- Effect:
-
Very large damage +
 Full Break, Slow, Poison, Darkness, Silence, Sleep (8 rounds) on all enemies.
- Easiest recipes:
BUDGET -
Farplane Shadow / Farplane Wind
+ Lv. 1 Key SphereGrenade+ HP / MP / Defense / Strength Sphere - Other recommended:
-
Frag Grenade
+ Any NON-BASIC SPHERE Gold Hourglass+ Any NON-BASIC SPHERE or RARE item - Notes:
- Most grenade-type or debuff items combined with any non-basic sphere will produce this mix. Devastates anything not immune to statuses.
Rikku’s Utility
In addition to having the incredibly useful ![]() Steal and
Steal and ![]() Use abilities, the full range of “Mix” options gives Rikku the highest character utility in the game, and it’s not even close. Speedrunners of the game always choose Rikku because of how quickly you can start to abuse powerful Mix recipes, as noted above.
Use abilities, the full range of “Mix” options gives Rikku the highest character utility in the game, and it’s not even close. Speedrunners of the game always choose Rikku because of how quickly you can start to abuse powerful Mix recipes, as noted above.
Tips and Tricks
Wondering which characters you should include in your team when you have access to all seven characters? This section includes the pros and cons of each party formation option.