

Mt. Gagazet
Talk to Kimahri for another cutscene. After that, you can talk to Kimahri again, and he will say, “Ronso youth filled with anger. Hate Guado.” You’ll have three ways you can respond; once again, choose the middle option:
- “Stop them by force if you have to!”
- “You have to figure this out on your own.”
- “Why not just leave them alone?”
This is the answer that decides whether Kimahri gives you the Trainer Dressphere in Chapter 3.
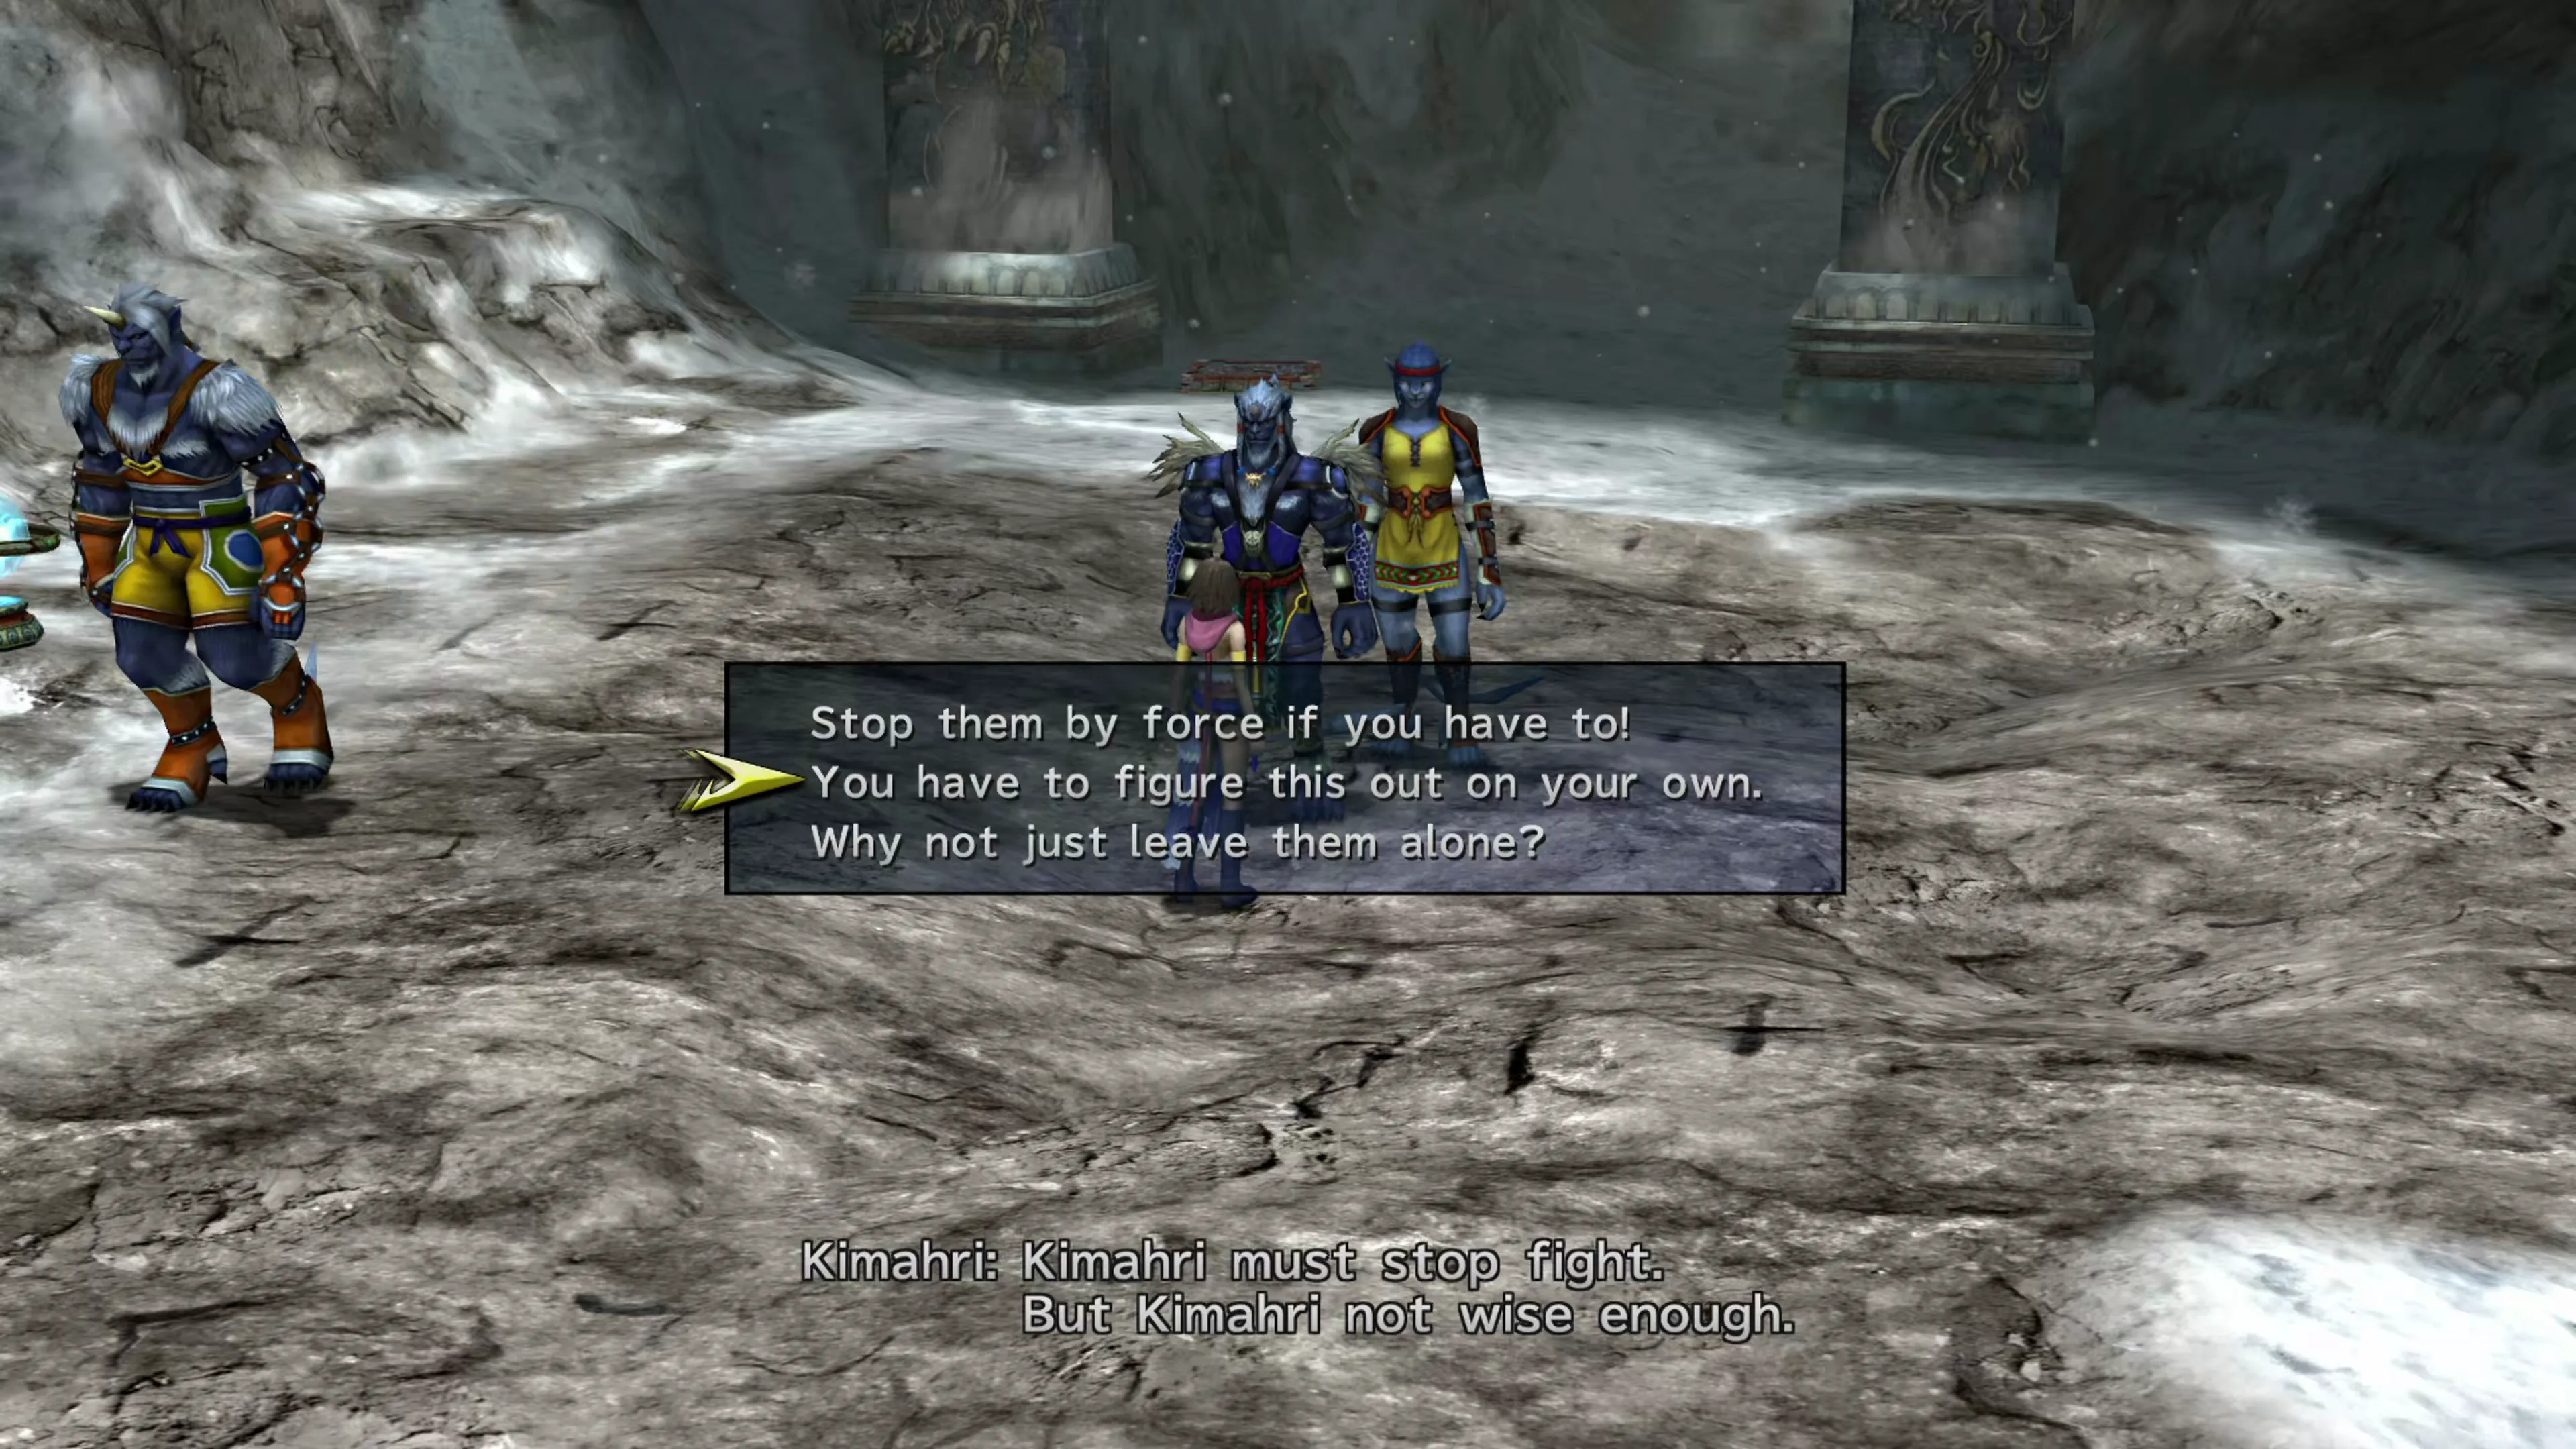
Just like your last visit, you’ll need to go around interacting with the Ronso here at the Mountain Gate (and one up at the Fayth Scar) to help build your rapport with their tribe. This is a requirement for some scenes (and a Dressphere) in a later chapter.
Use the table below and the screenshots to help you respond to each of the Ronso:
| Ronso Statement | Responses | Screenshot |
|---|---|---|
| “Worry is great burden on Elder’s shoulders.” | “He does seem very tired” “You should help Kimahri!” “Of course - he’s the elder.” | 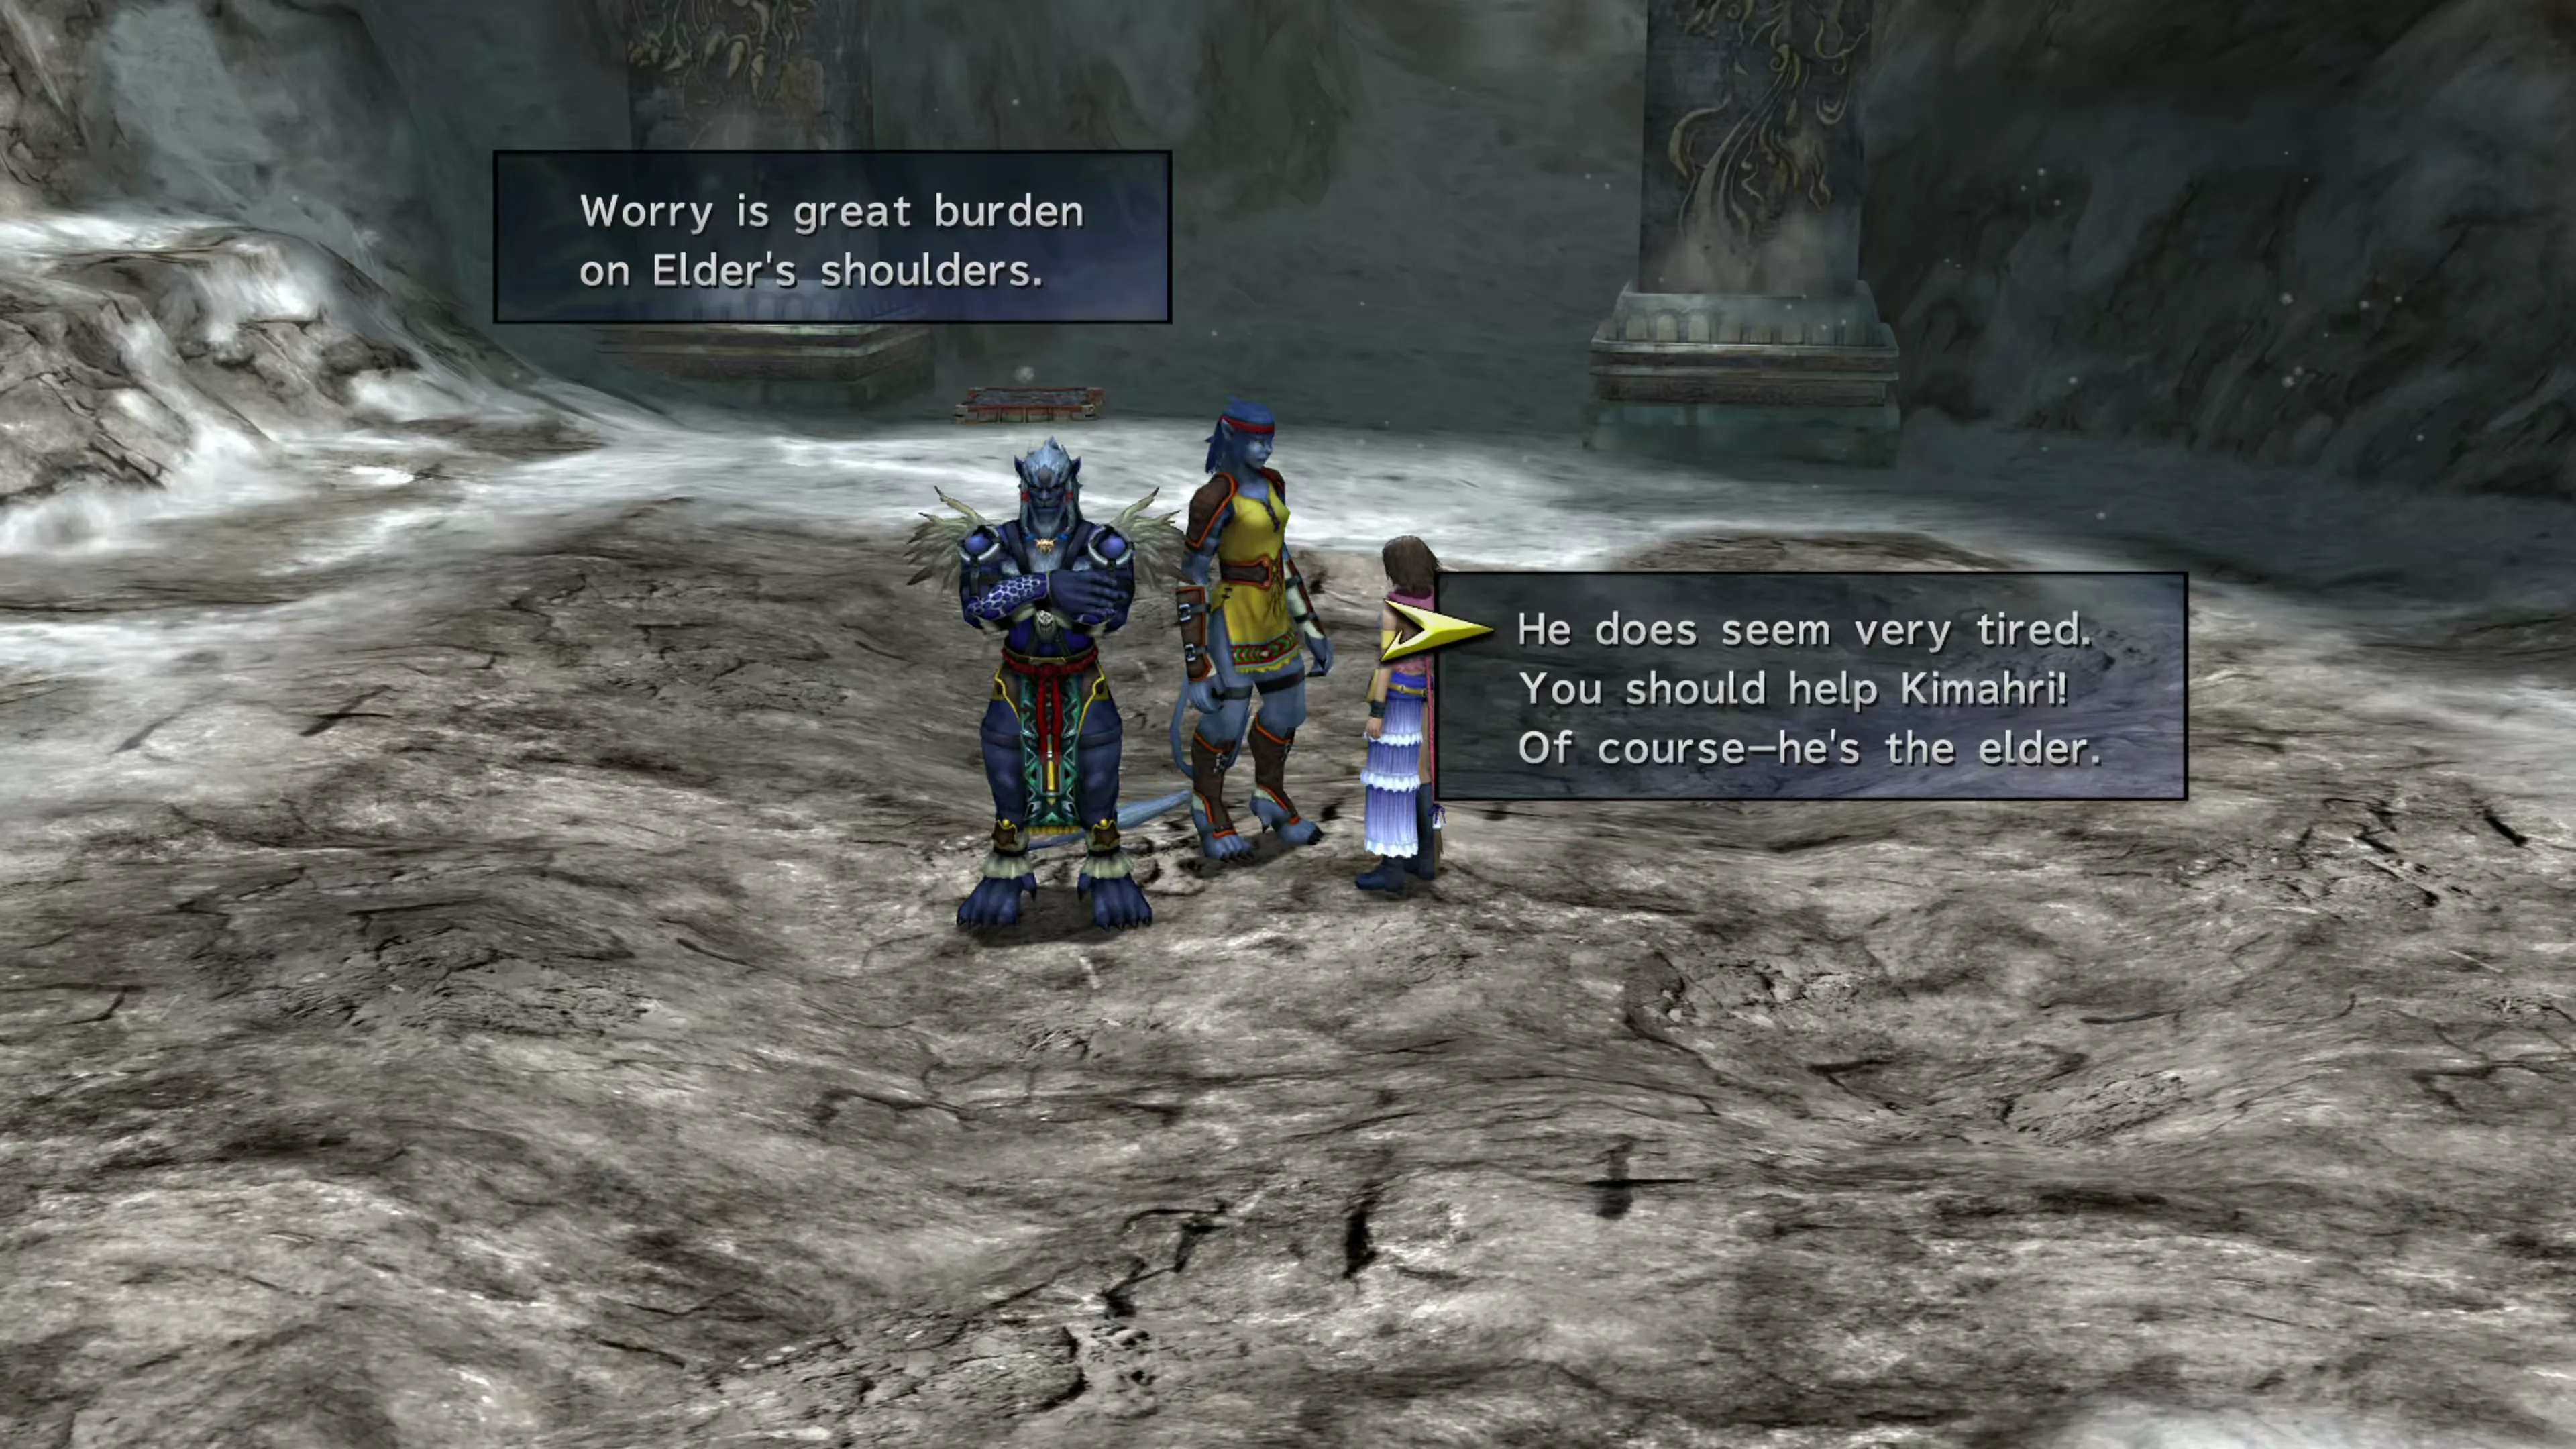 |
| “Ronso youth grow strong, destroy hated Guado. Garik swear to mountain! Garik avenge murdered Ronso!” | “Have you talked with Kimahri about this?” “What if the Guado retaliate?” “That won’t make anyone happy.” | 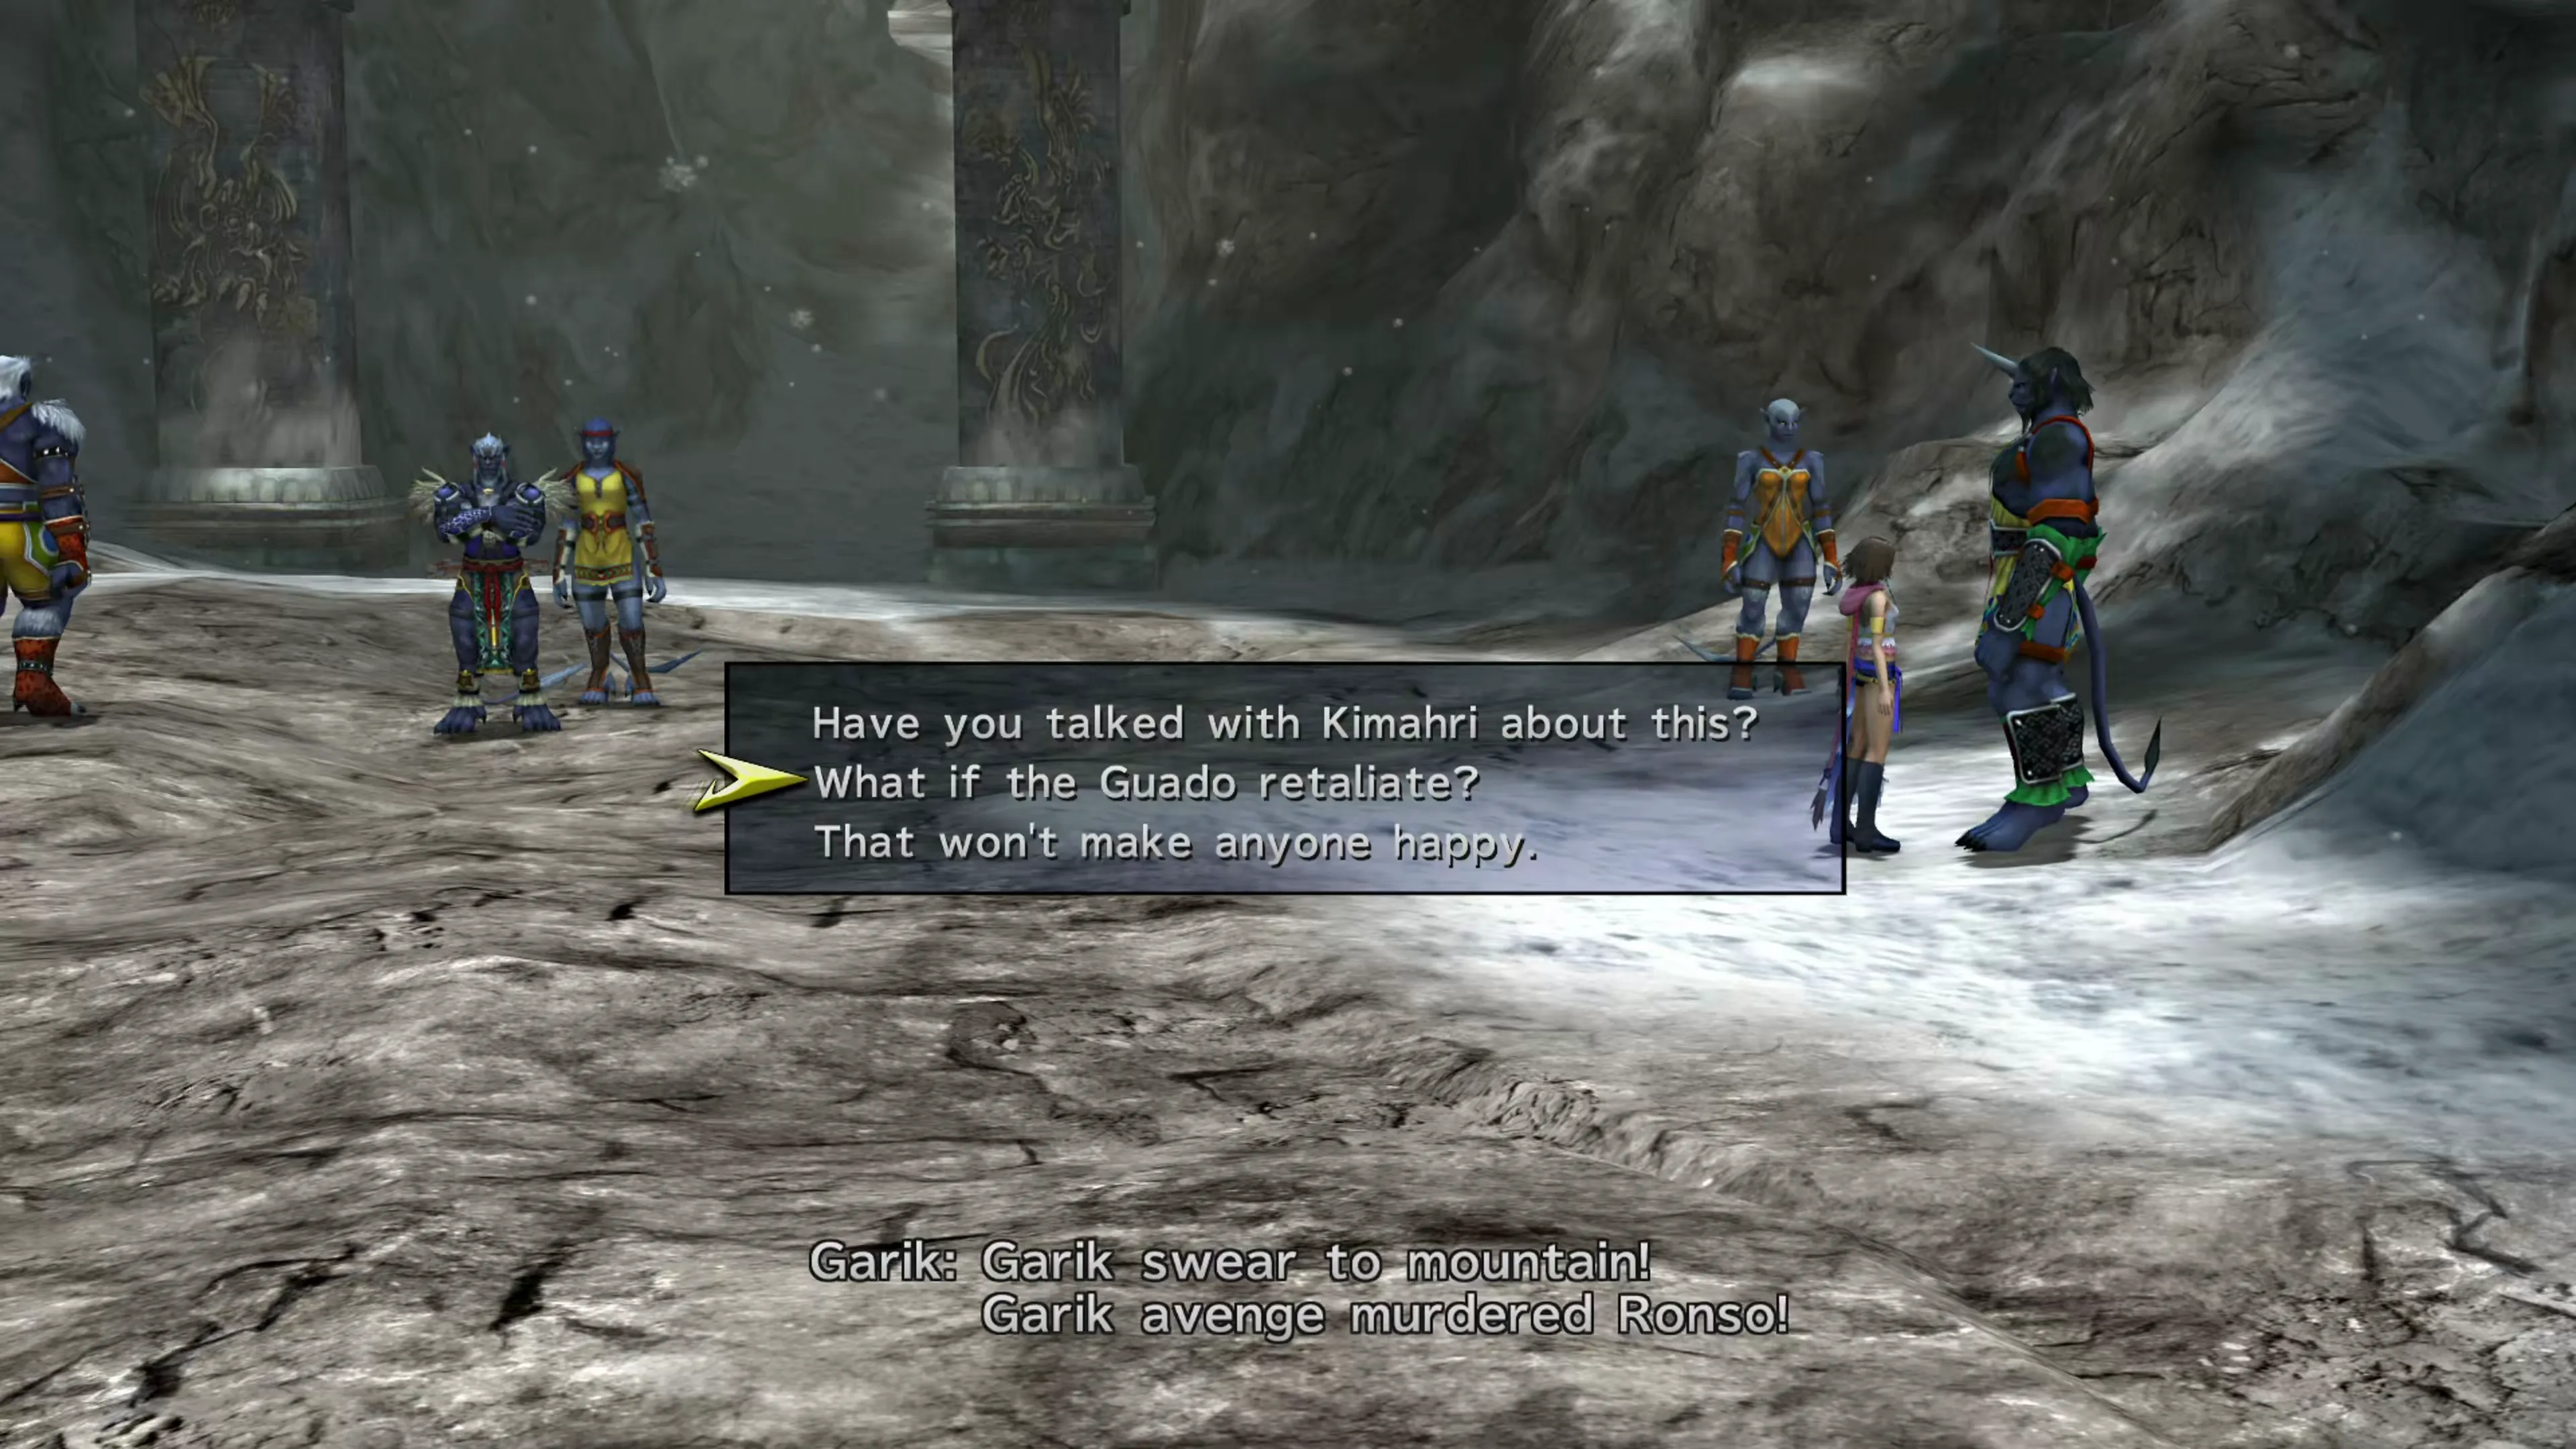 |
| “Al Bhed, too, suffer at hands of Guado. Guado is source of much chaos!” | “It’s not as simple as that” “Maybe that Guado really are to blame.” “The Al Bhed have put revenge behind them.” | 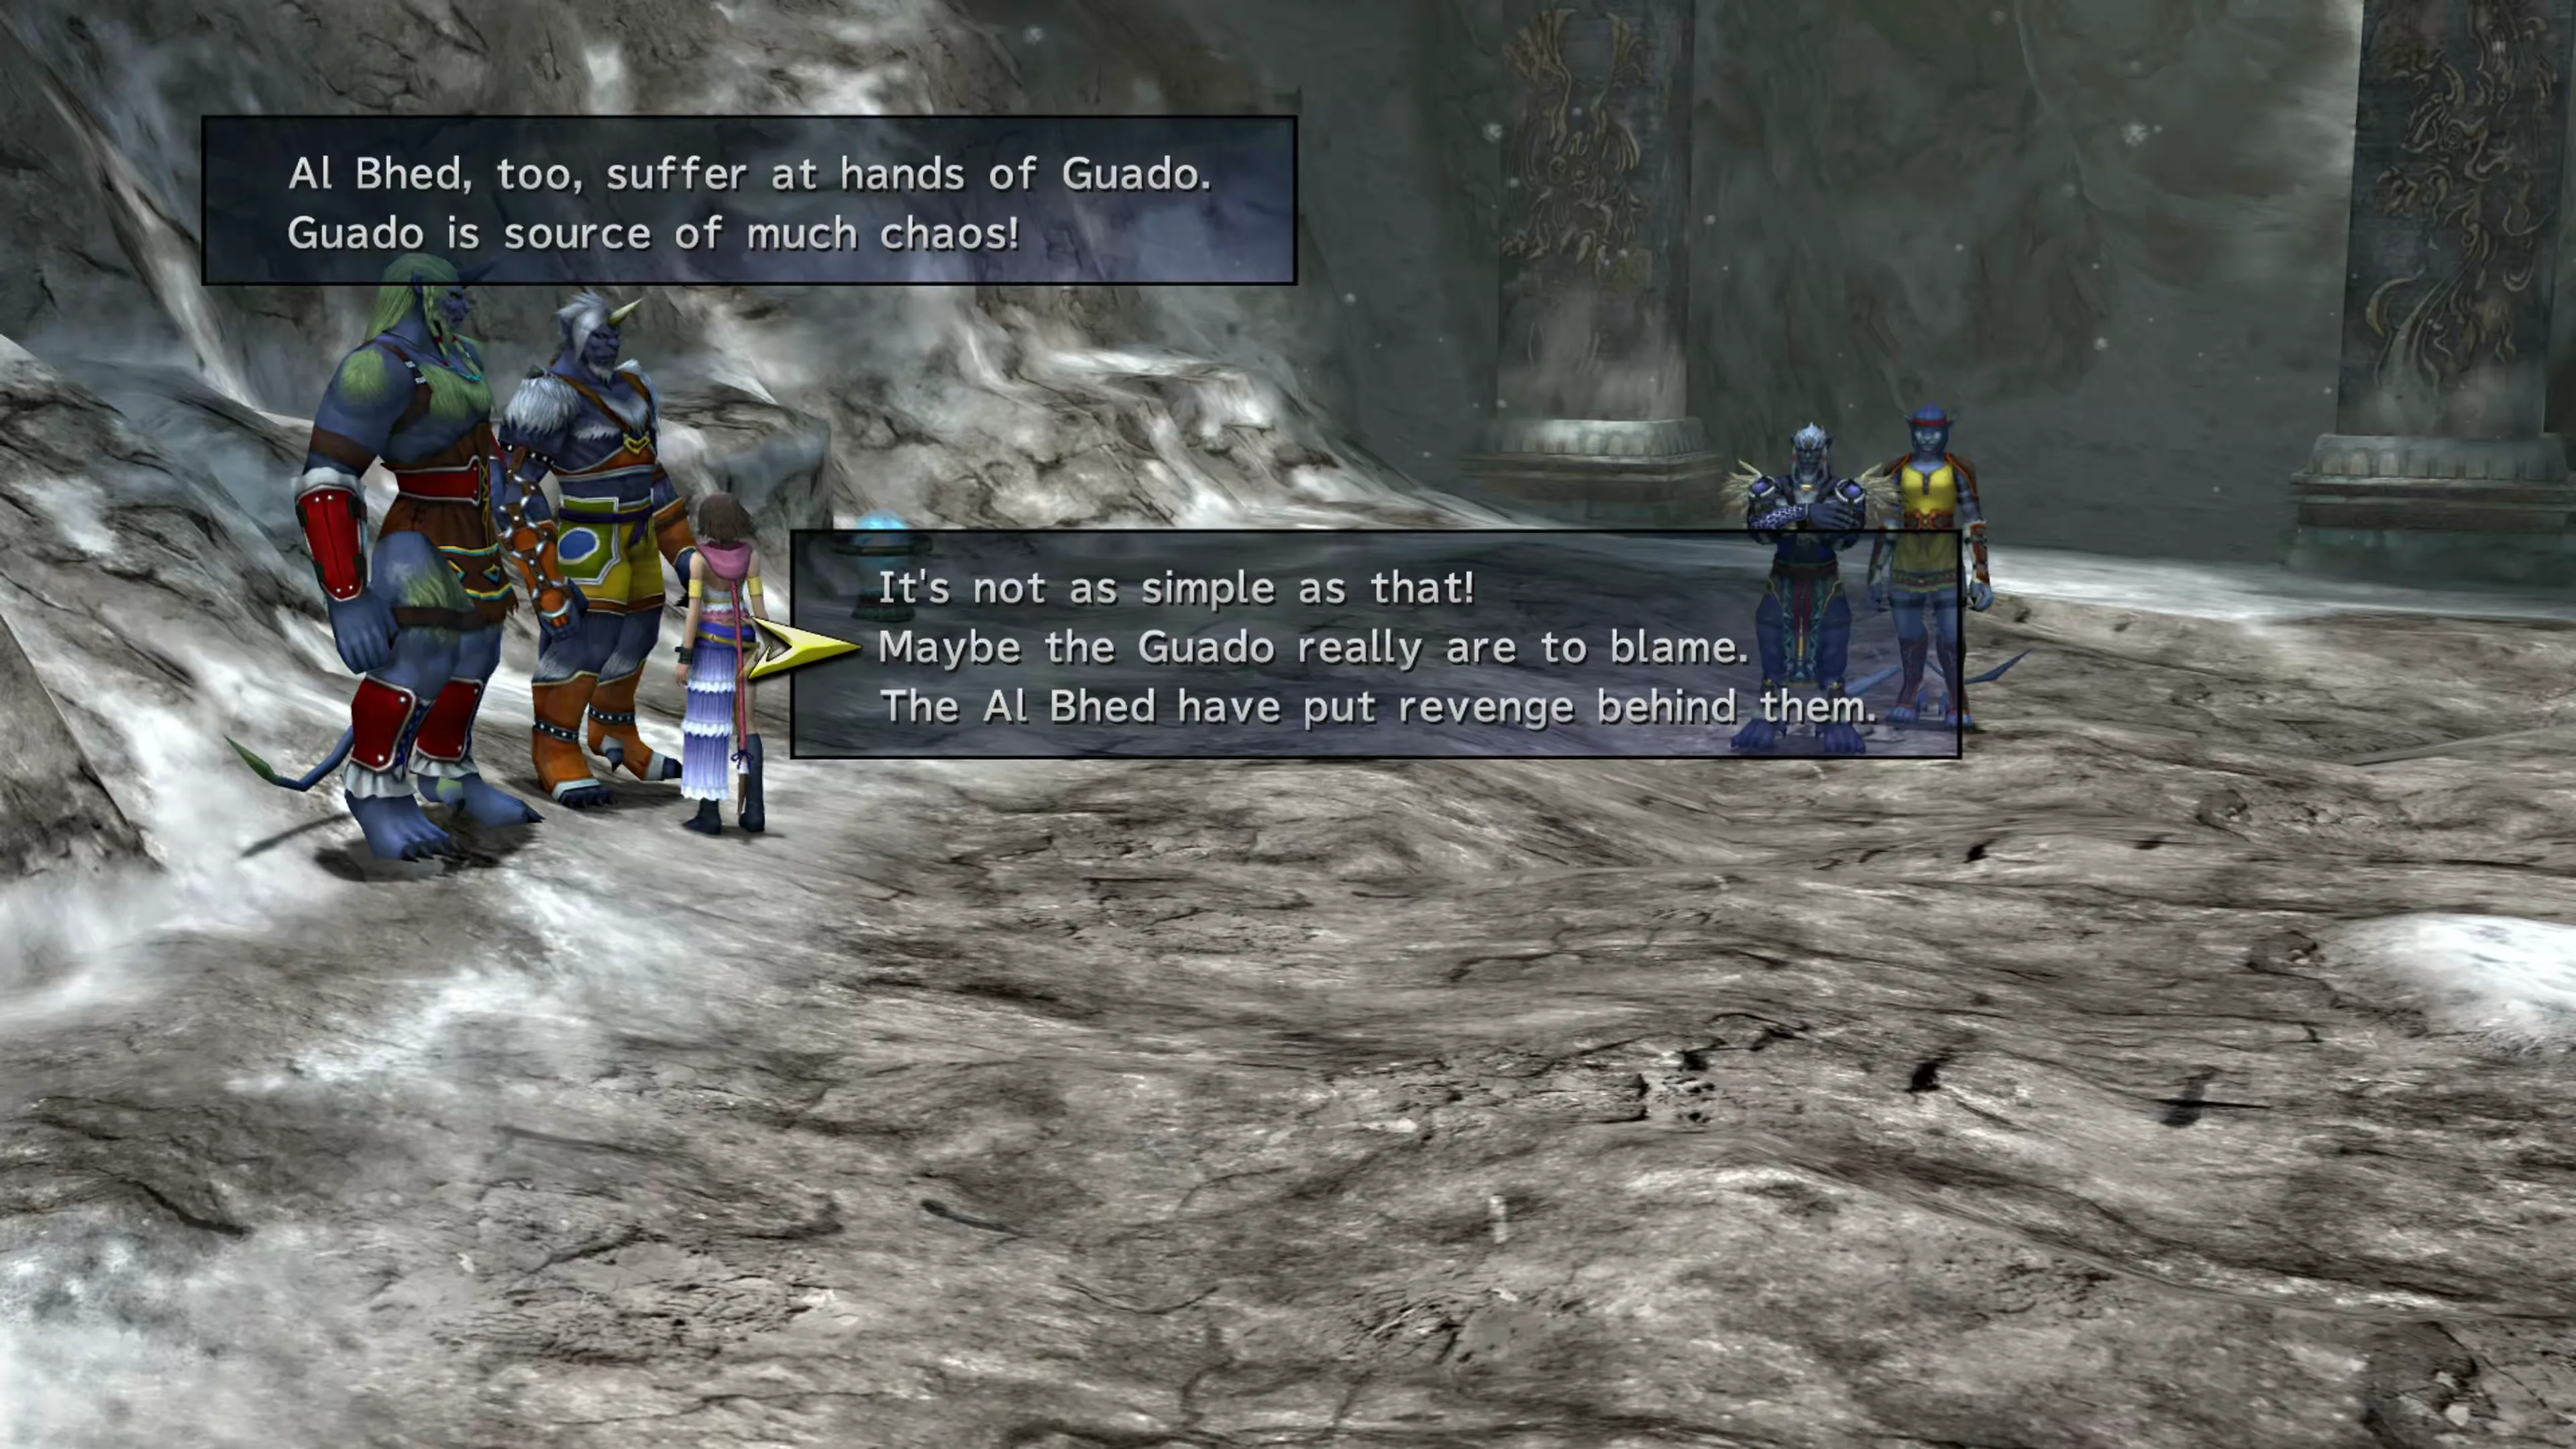 |
| “Guado must die for Ronso future!” | “You have to cool off and think.” “And what of the Guado?” “What future will that bring?” | 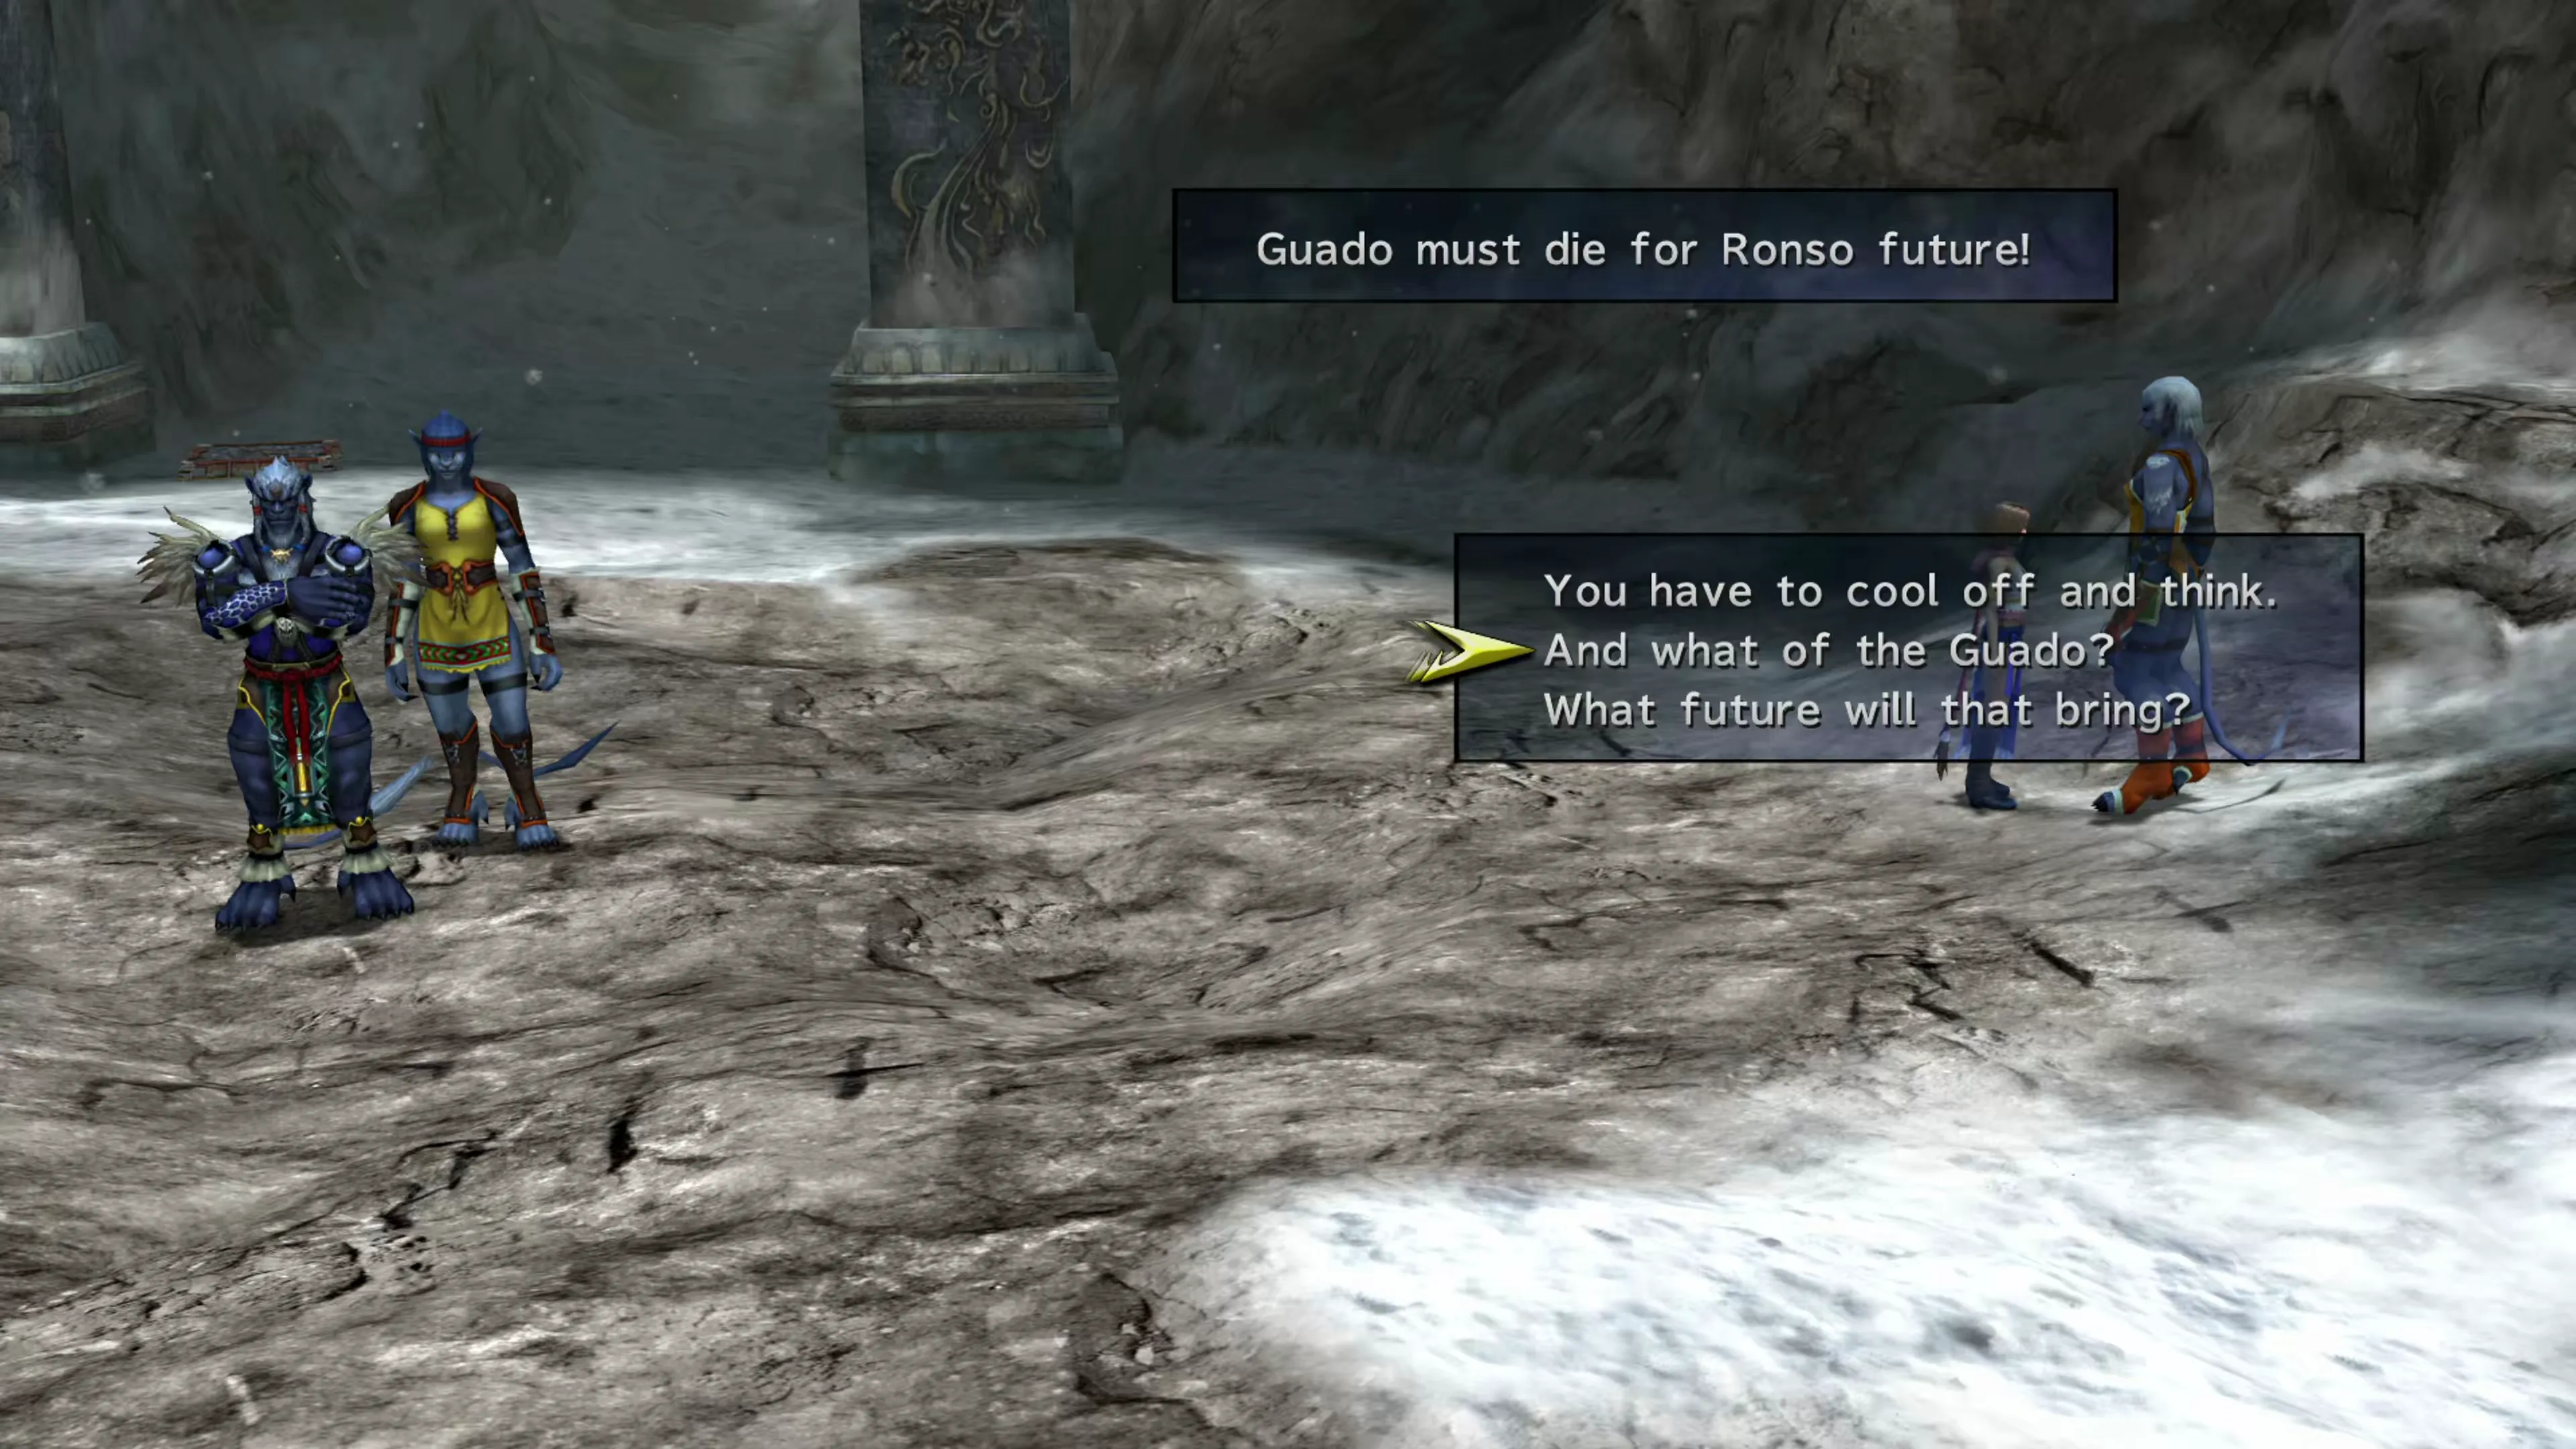 |
| “Garik will march, fight Ronso enemies. Fight Guado!” | “Can you think of nothing but fighting?” “Please, try to think about it some more.” “Will that make you satisfied?” | 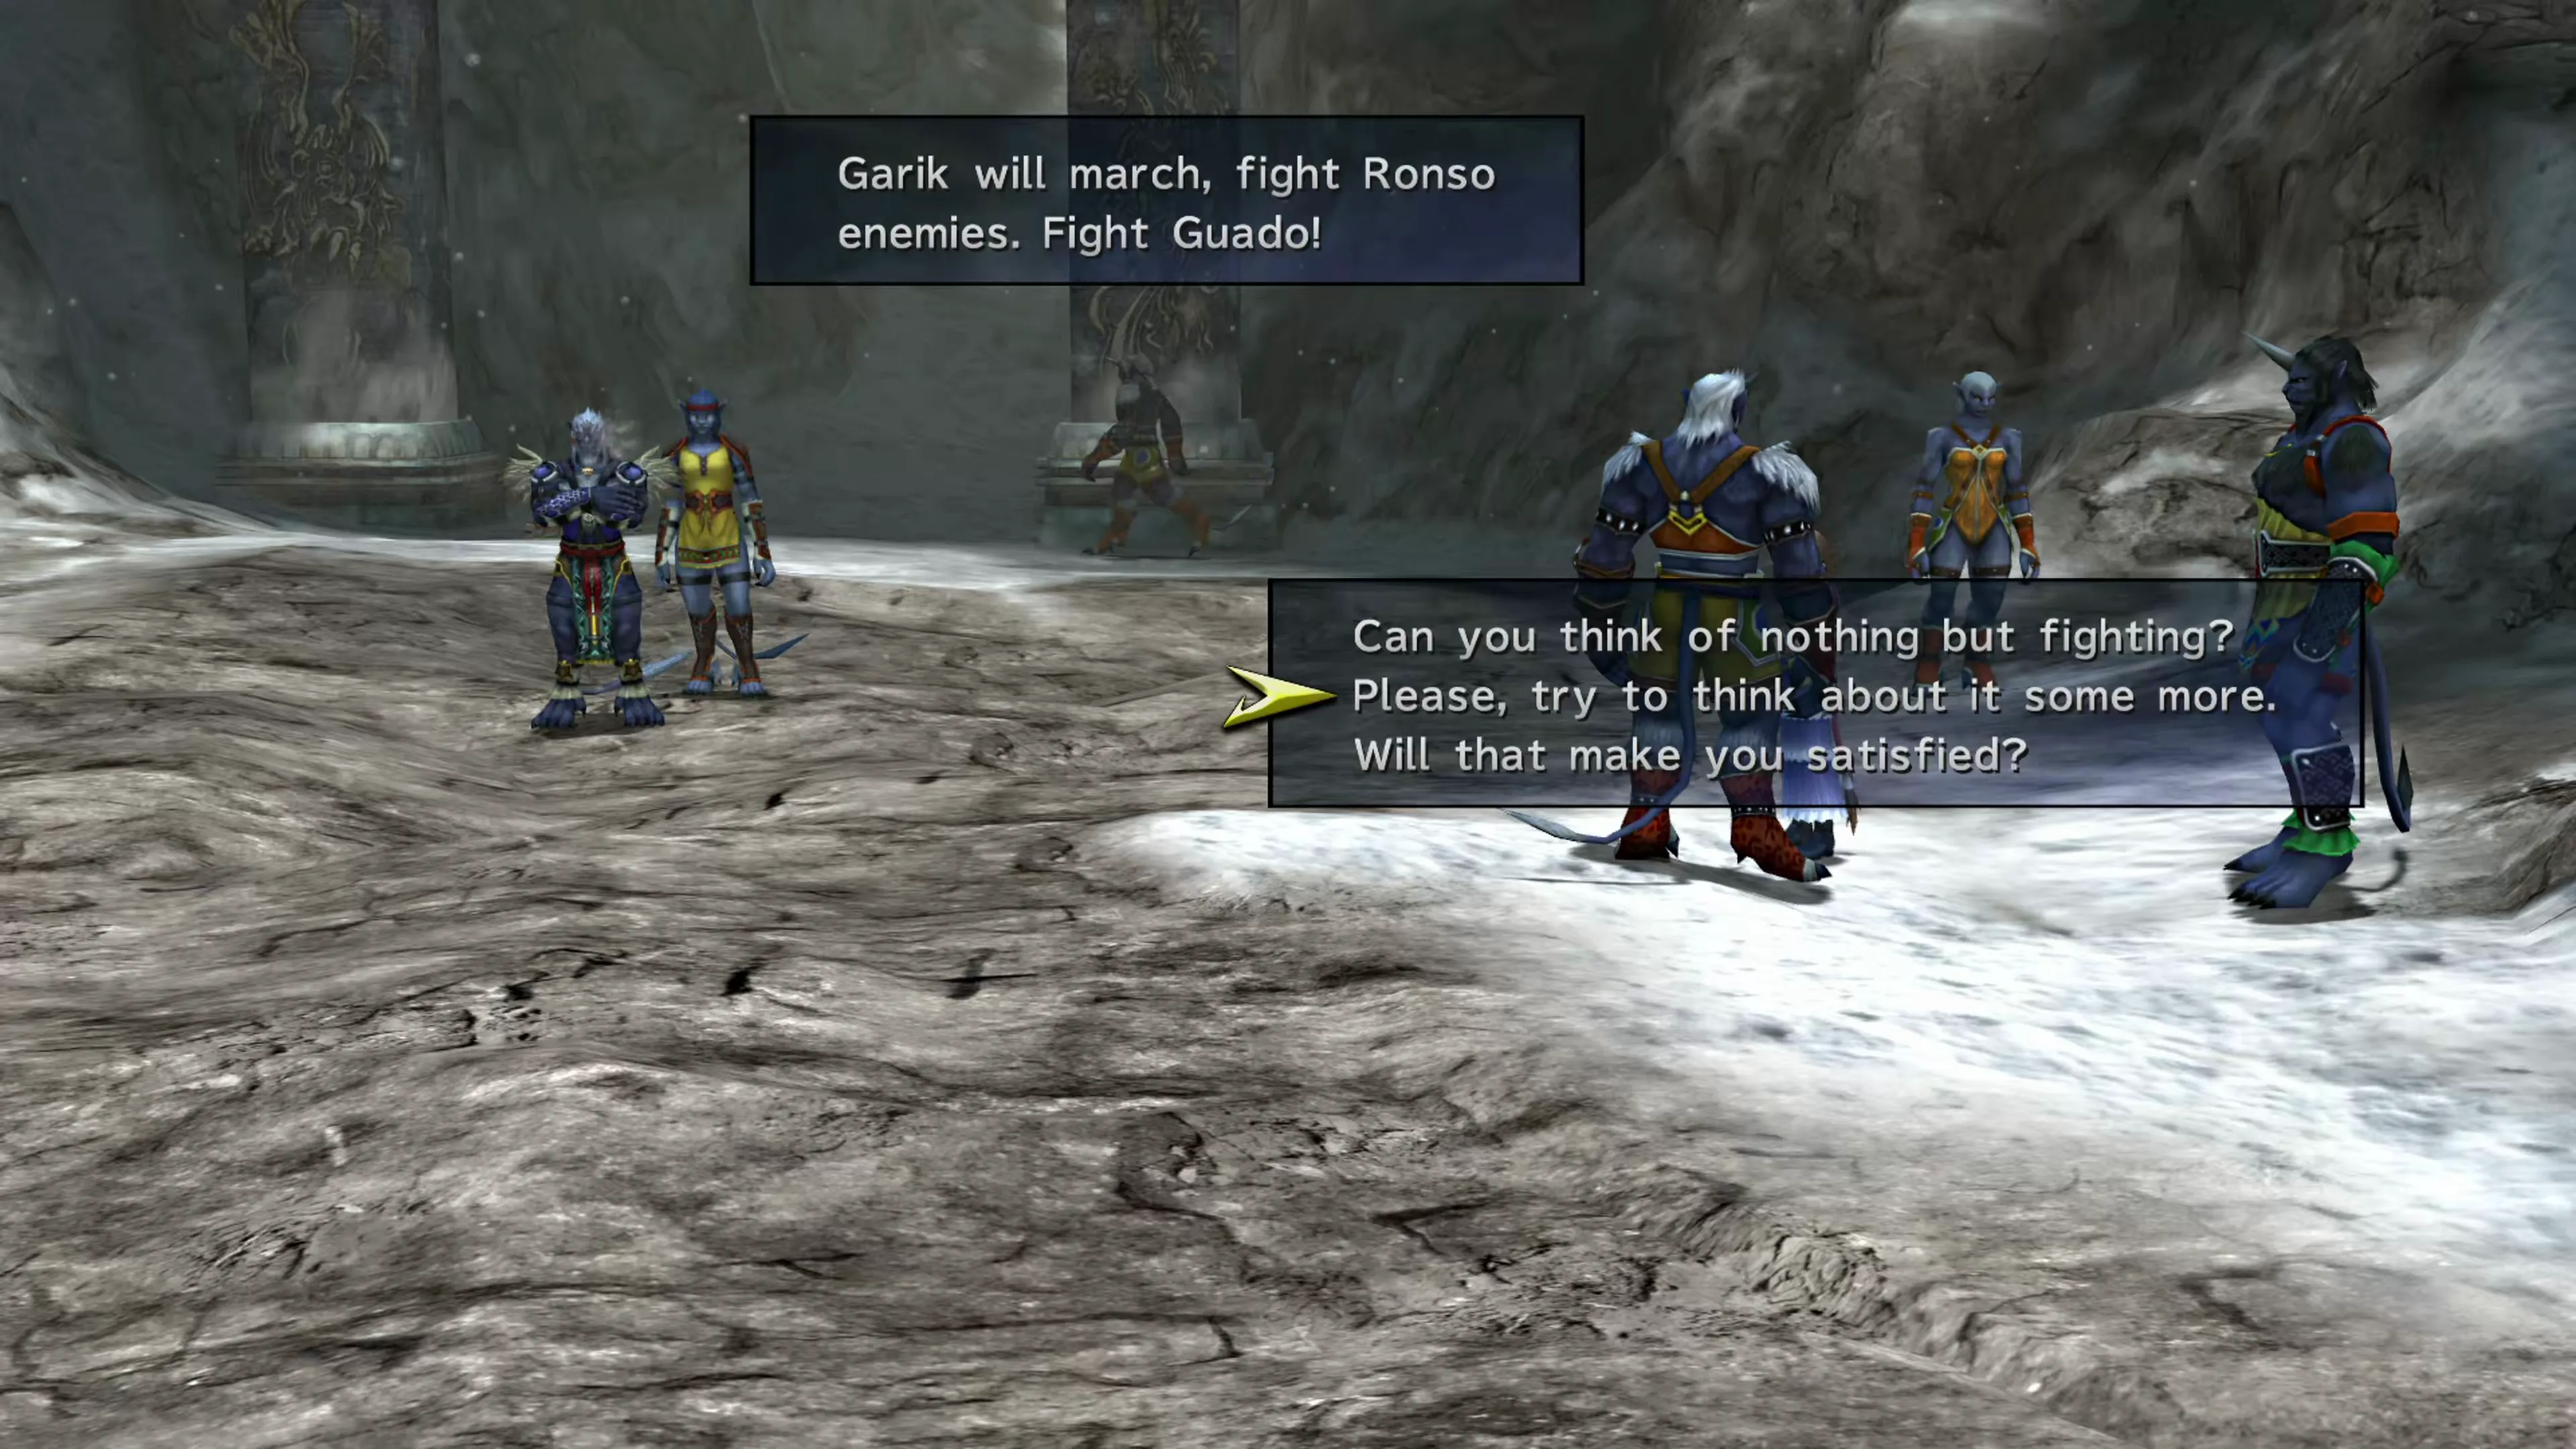 |
| “Elder is weakling. Garik move too slow! Guado will escape us!” | “They have to think everything through.” “Then… there won’t be anyone left to fight.” “There’s nothing we can do about it.” | 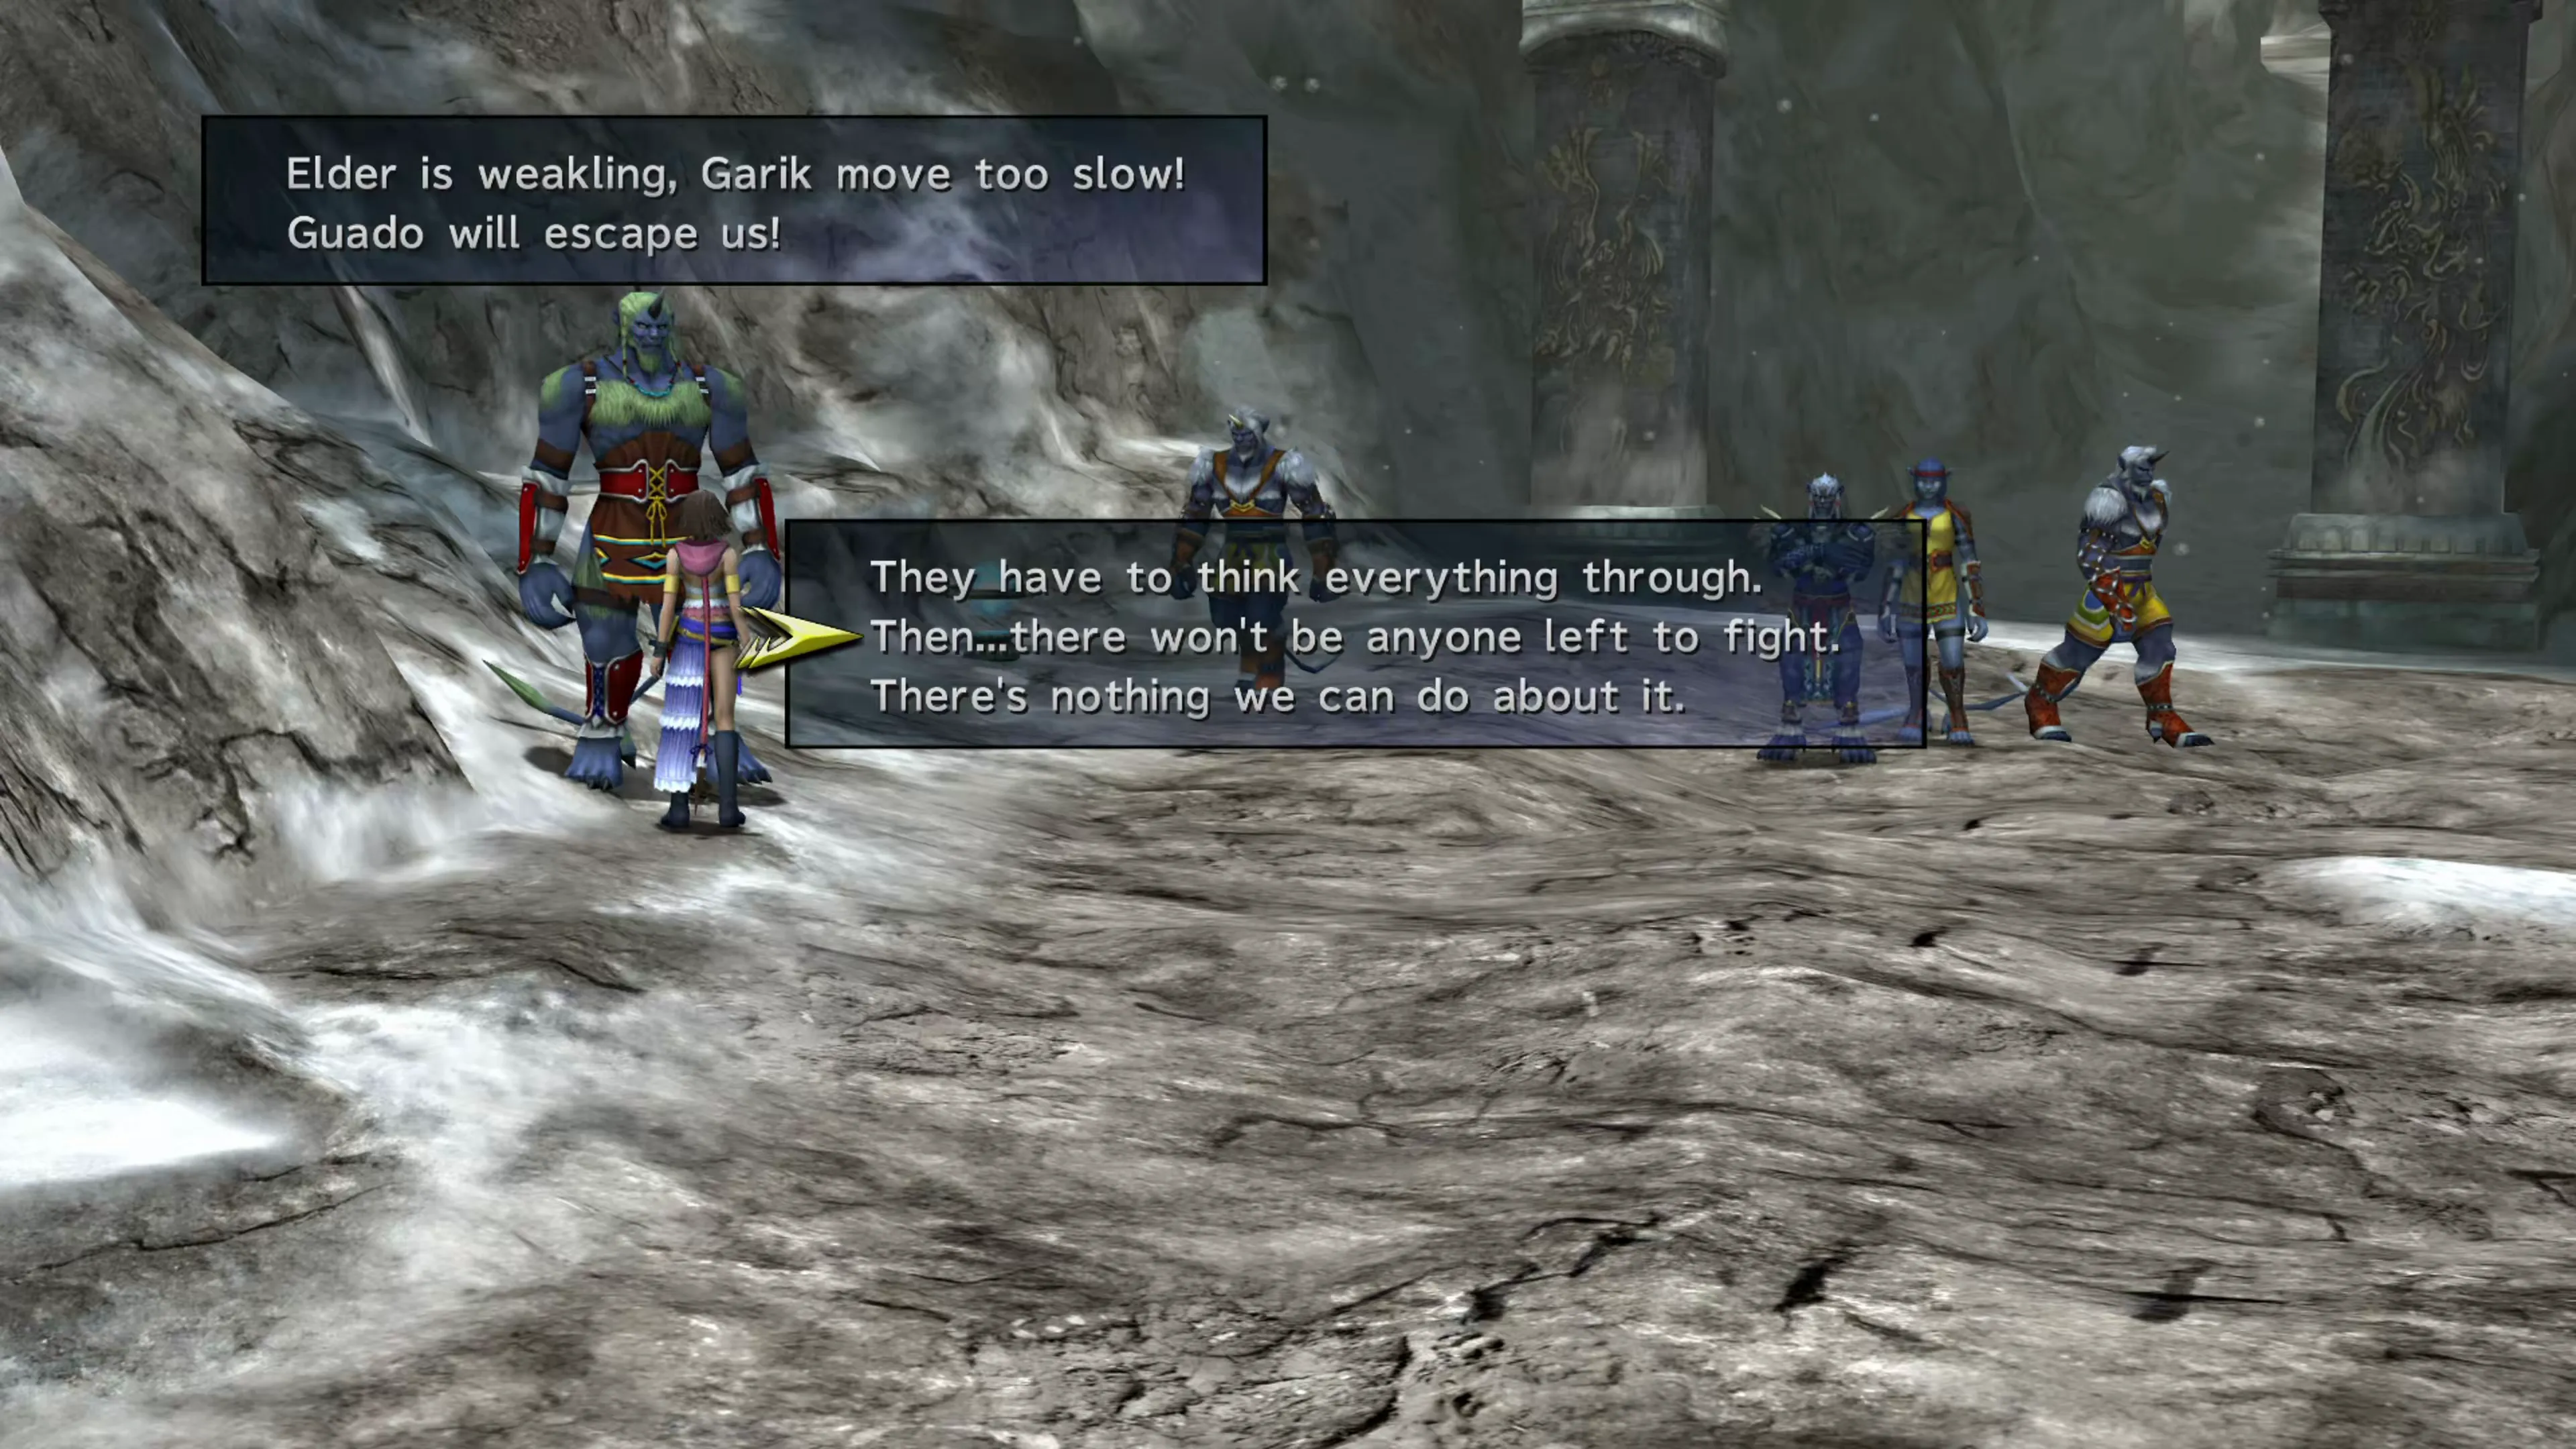 |
| “Many people come to sacred mountain uninvited. Sphere hunters are problem!” | “They’re searching for the mountain’s secrets.” “They should take better care of the mountain.” “That’s the way things are now.” | 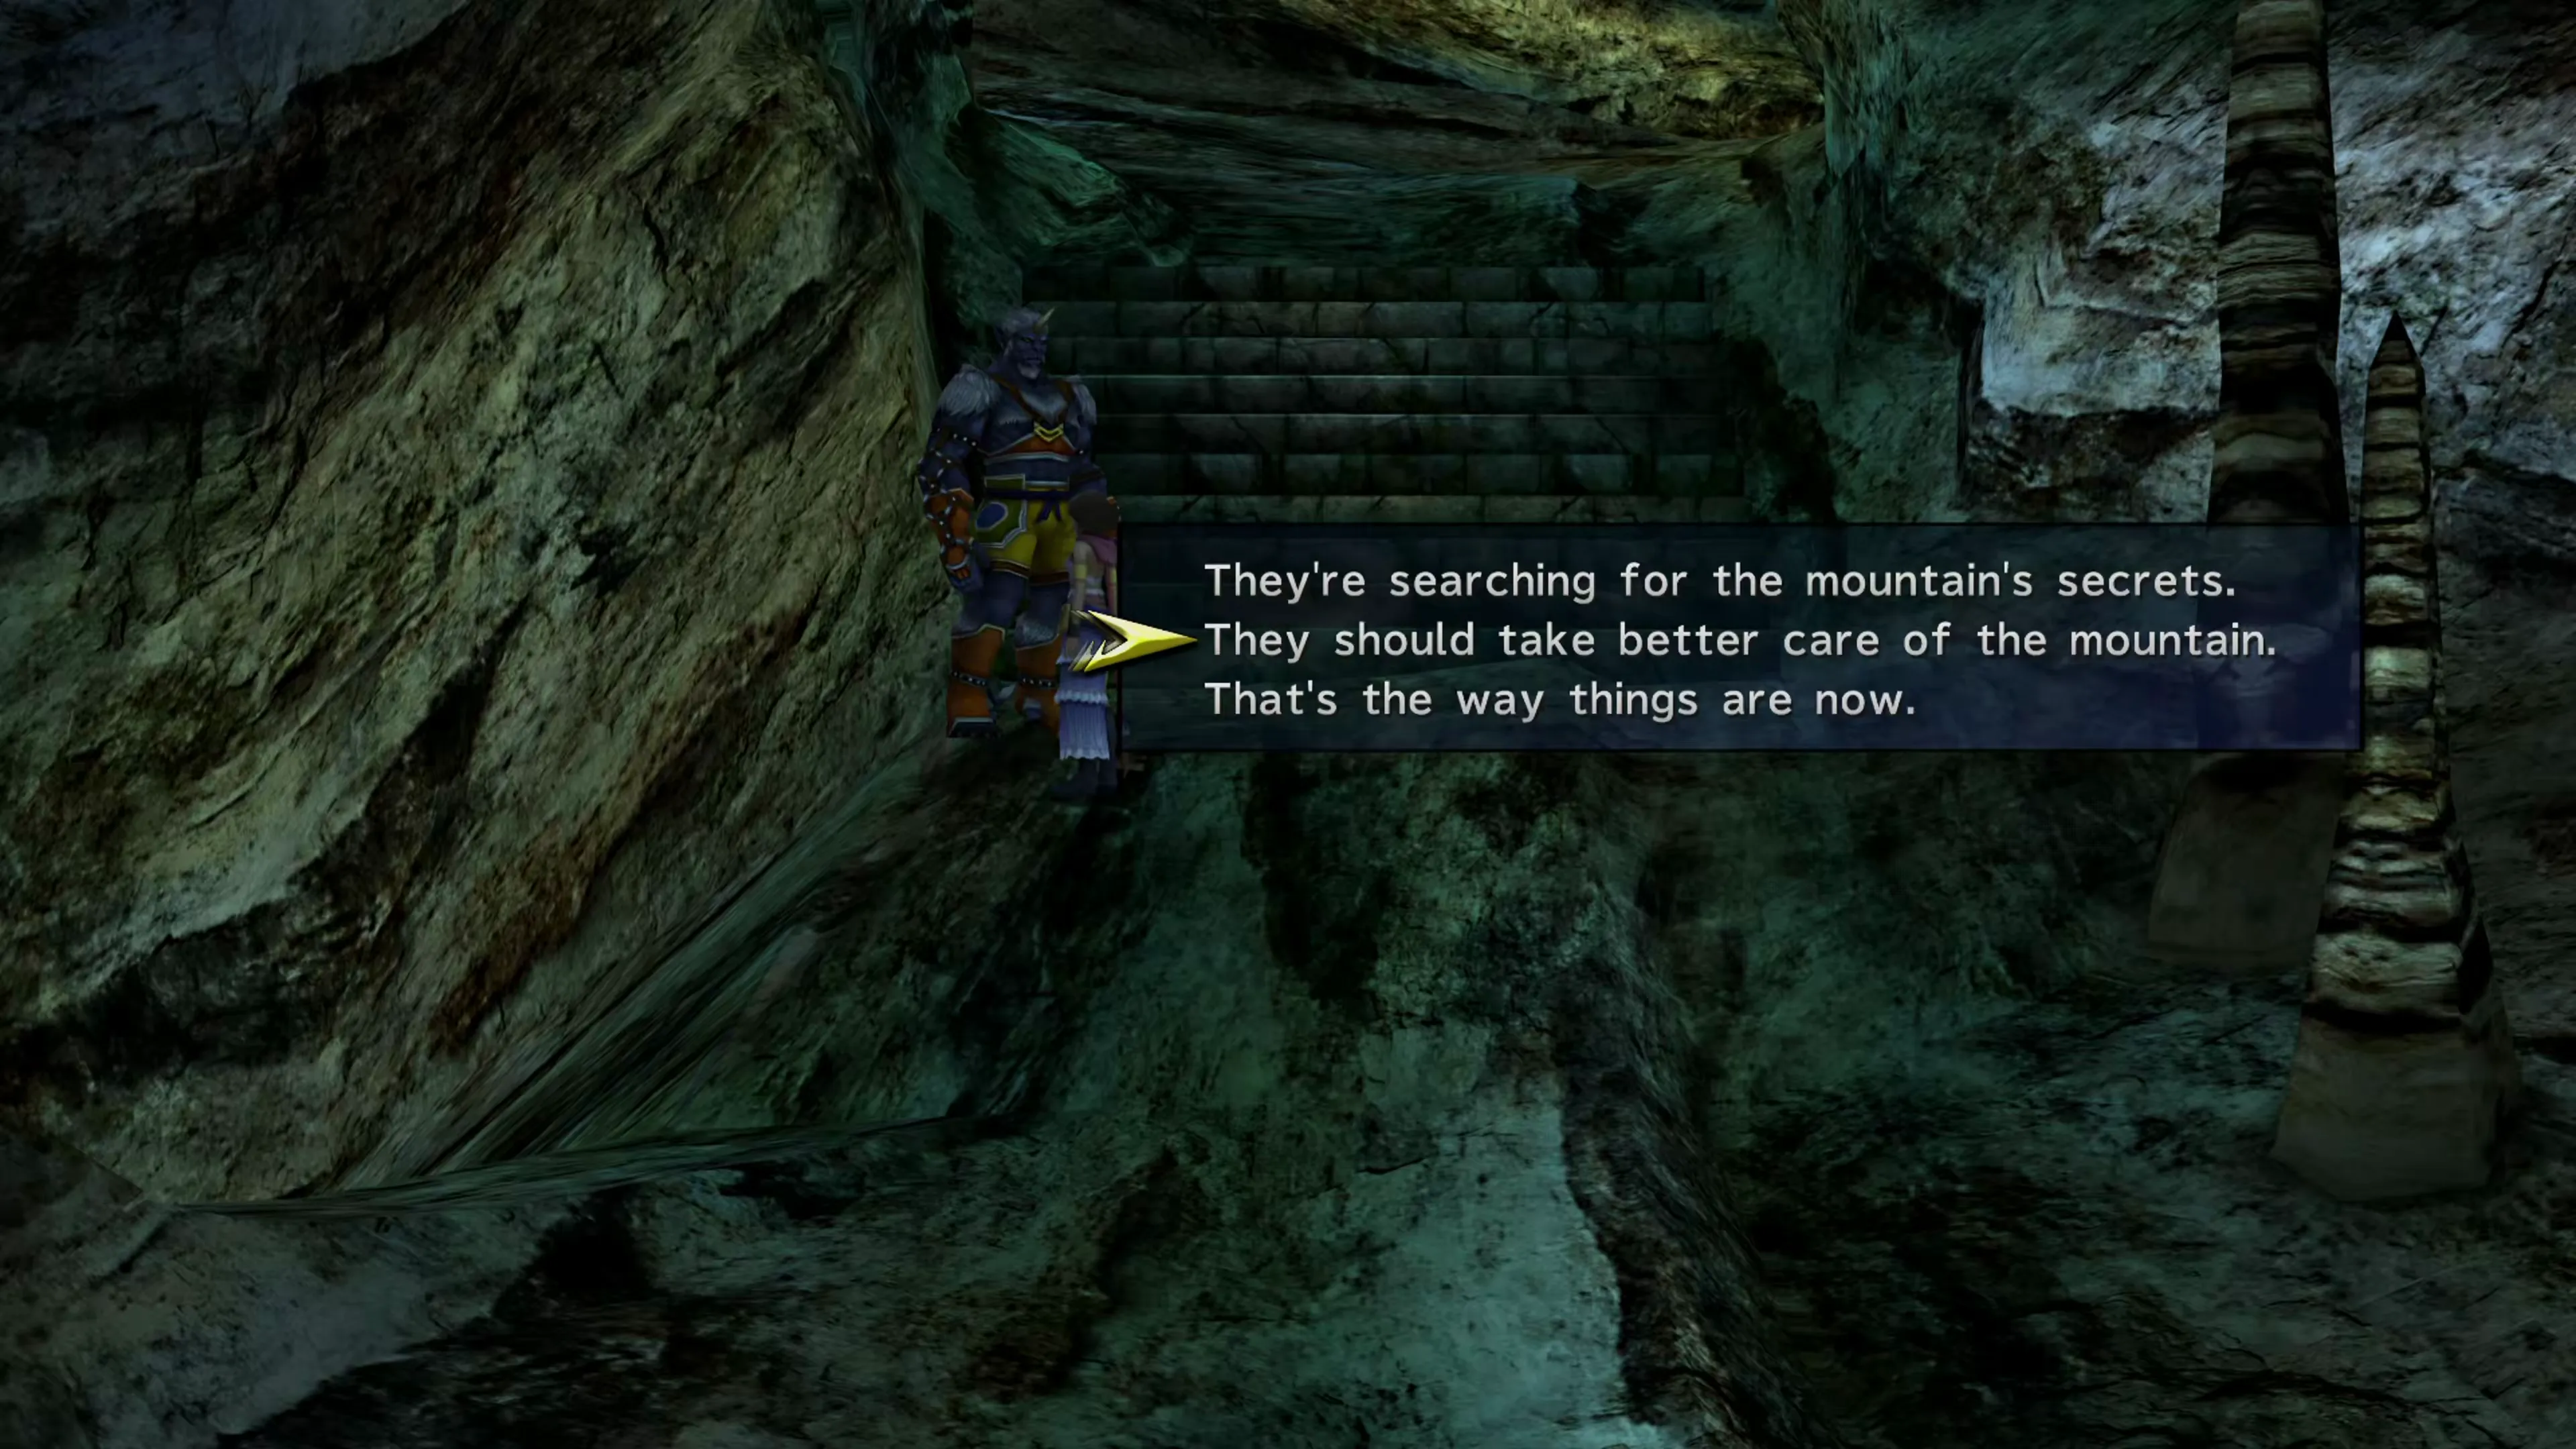 |
After teleporting up to the Fayth Scar to get the last Ronso, teleport back down to the Mountain Gate, and then teleport up to the Mountain Trail. Proceed up the mountain trail towards the red arrow, and keep following it past the Ronso you see along the trail.
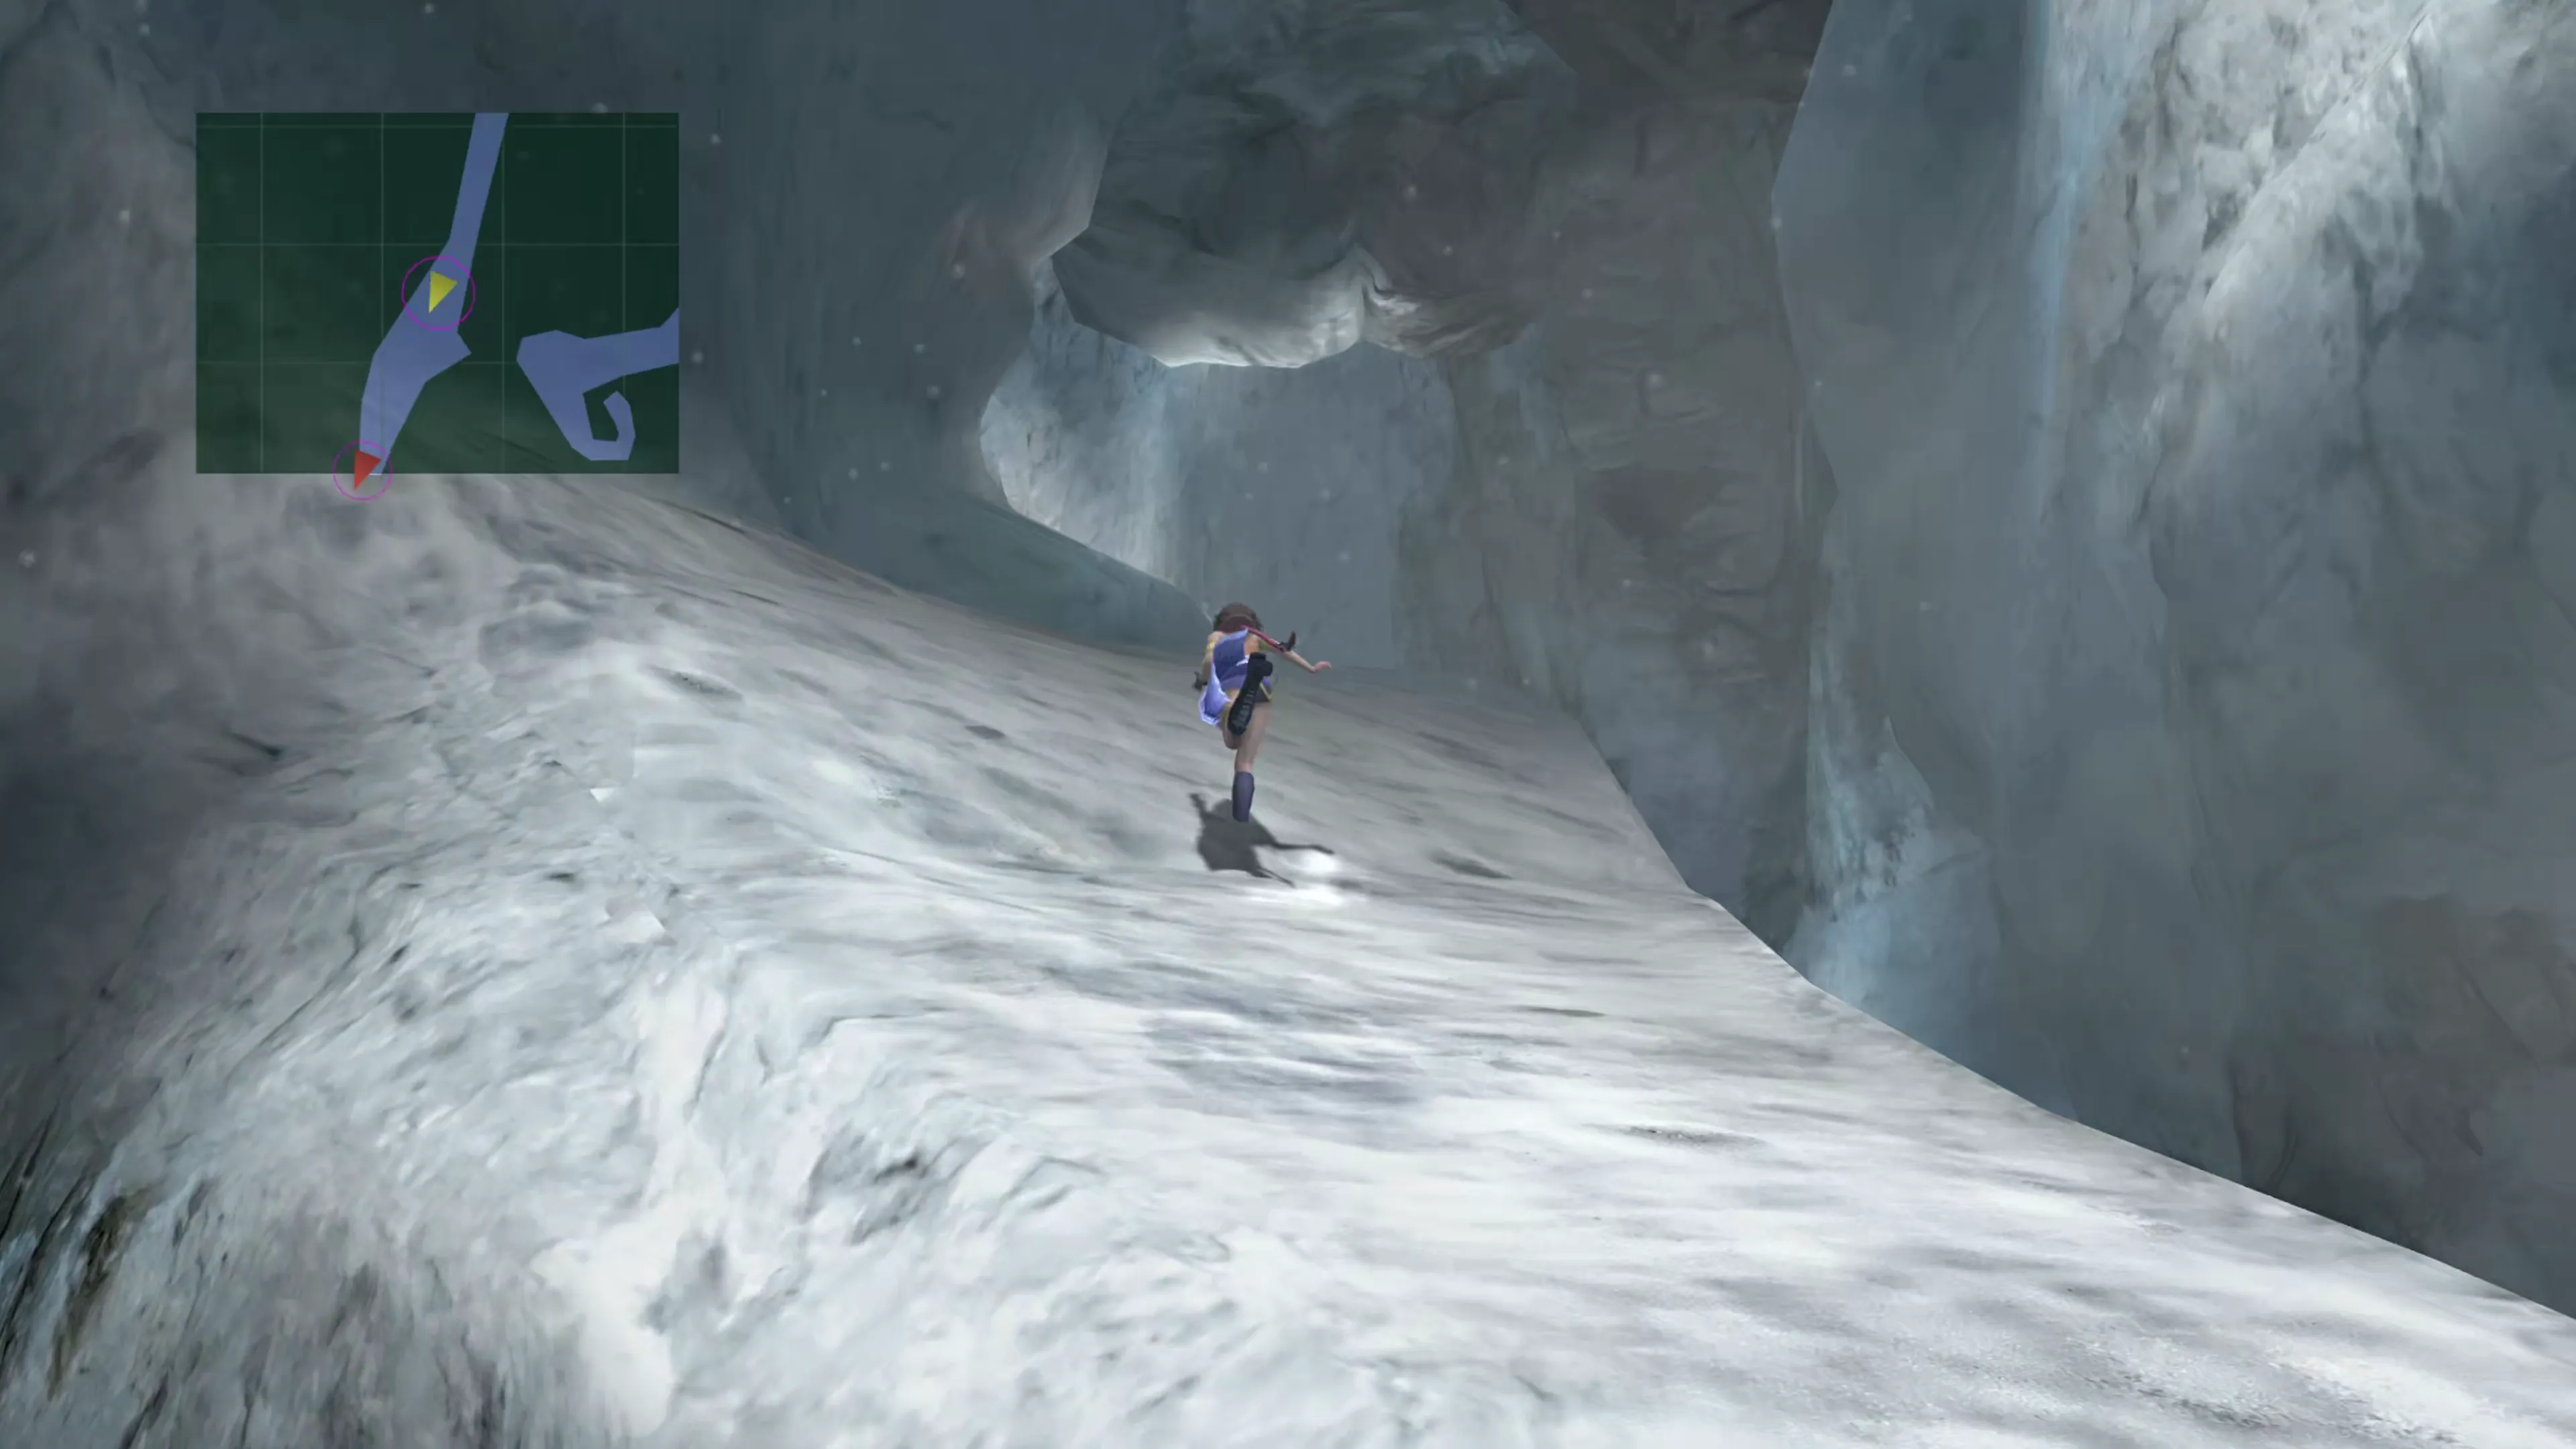
A short cutscene will play when you reach the top, and your next Mission officially kicks off.
Mission: Spring into Action
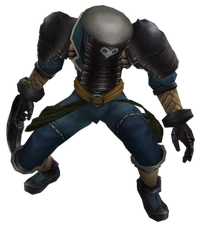
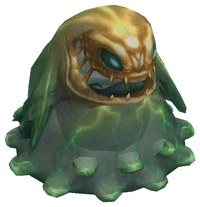
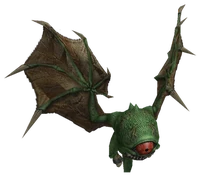
Much like the first Mission at Mt. Gagazet Floating Ruins, this Mission involves holding the 

 button and climbing a bunch of rocks. After the Mission begins, climb up the platform right in front of you. Use the map and screenshot below to help you find your way.
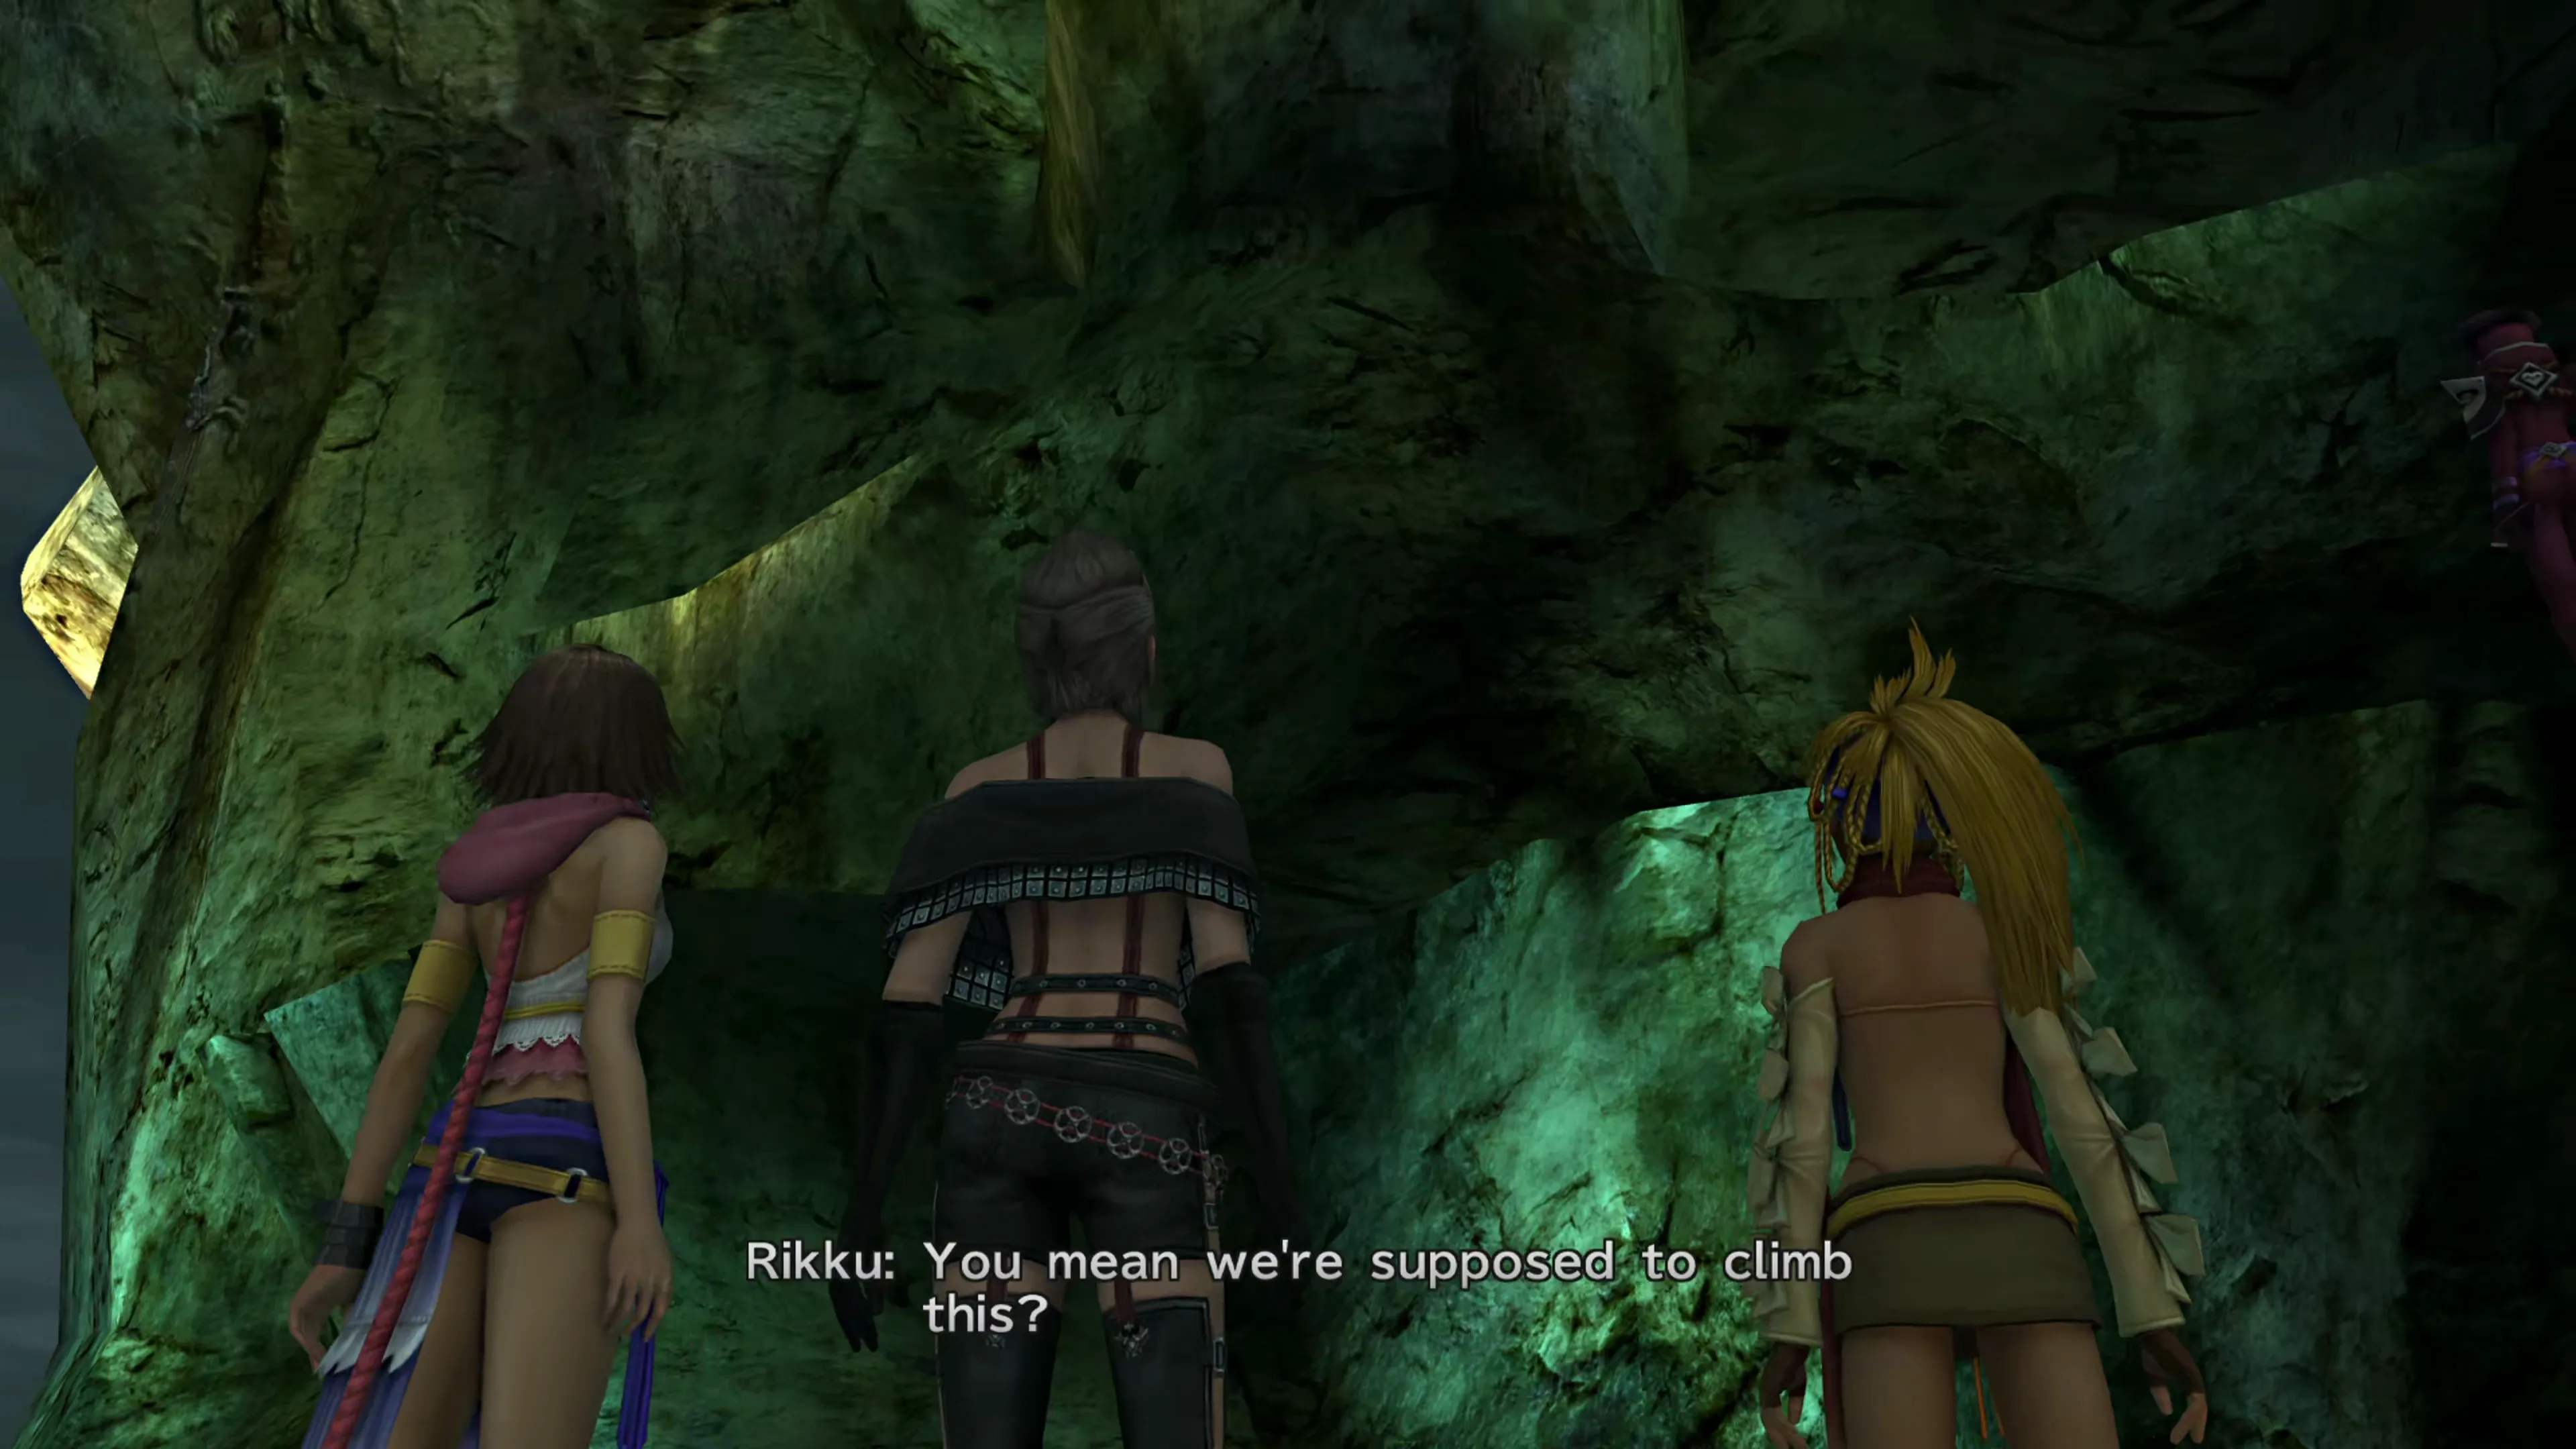
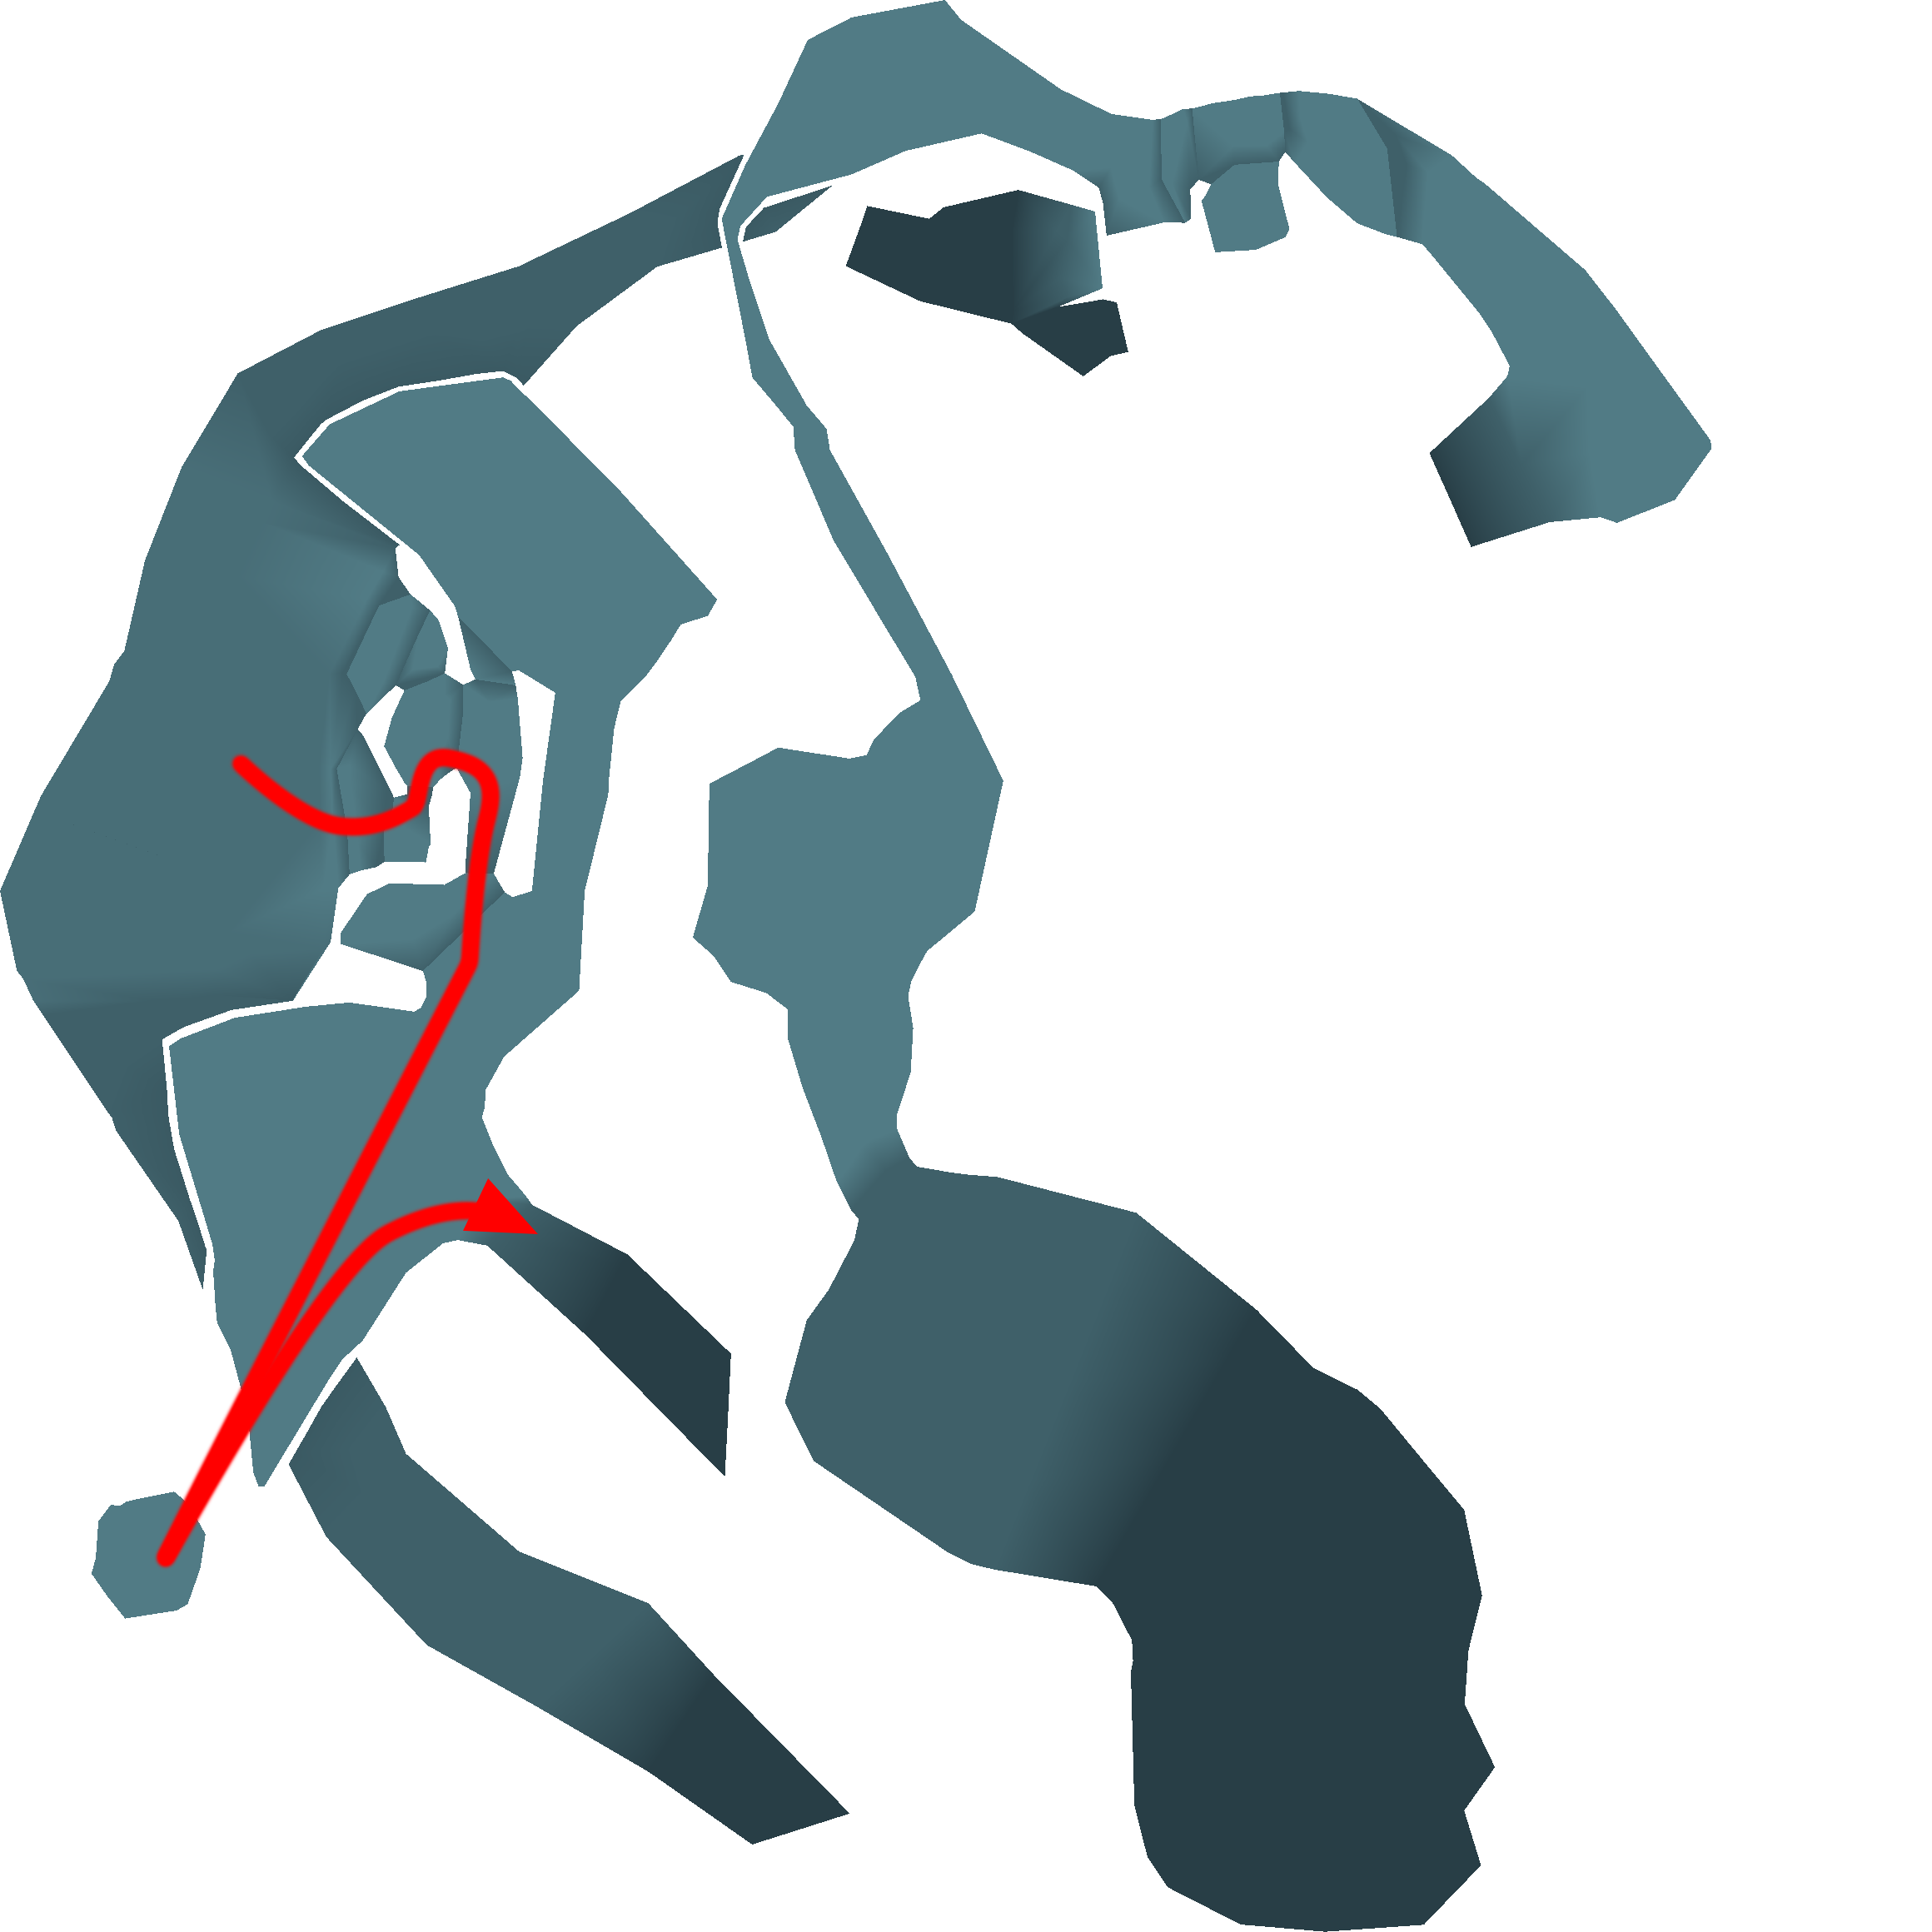
Up on the next platform, you’ll see a treasure chest on the right/south side of the mountain. The platform the chest is on will float away when you get too close to it, but all you have to do to prevent it from floating too far away is slowly walk towards the platform. You can reset this and try as many times as you want. The treasure chest contains an  Elixir.
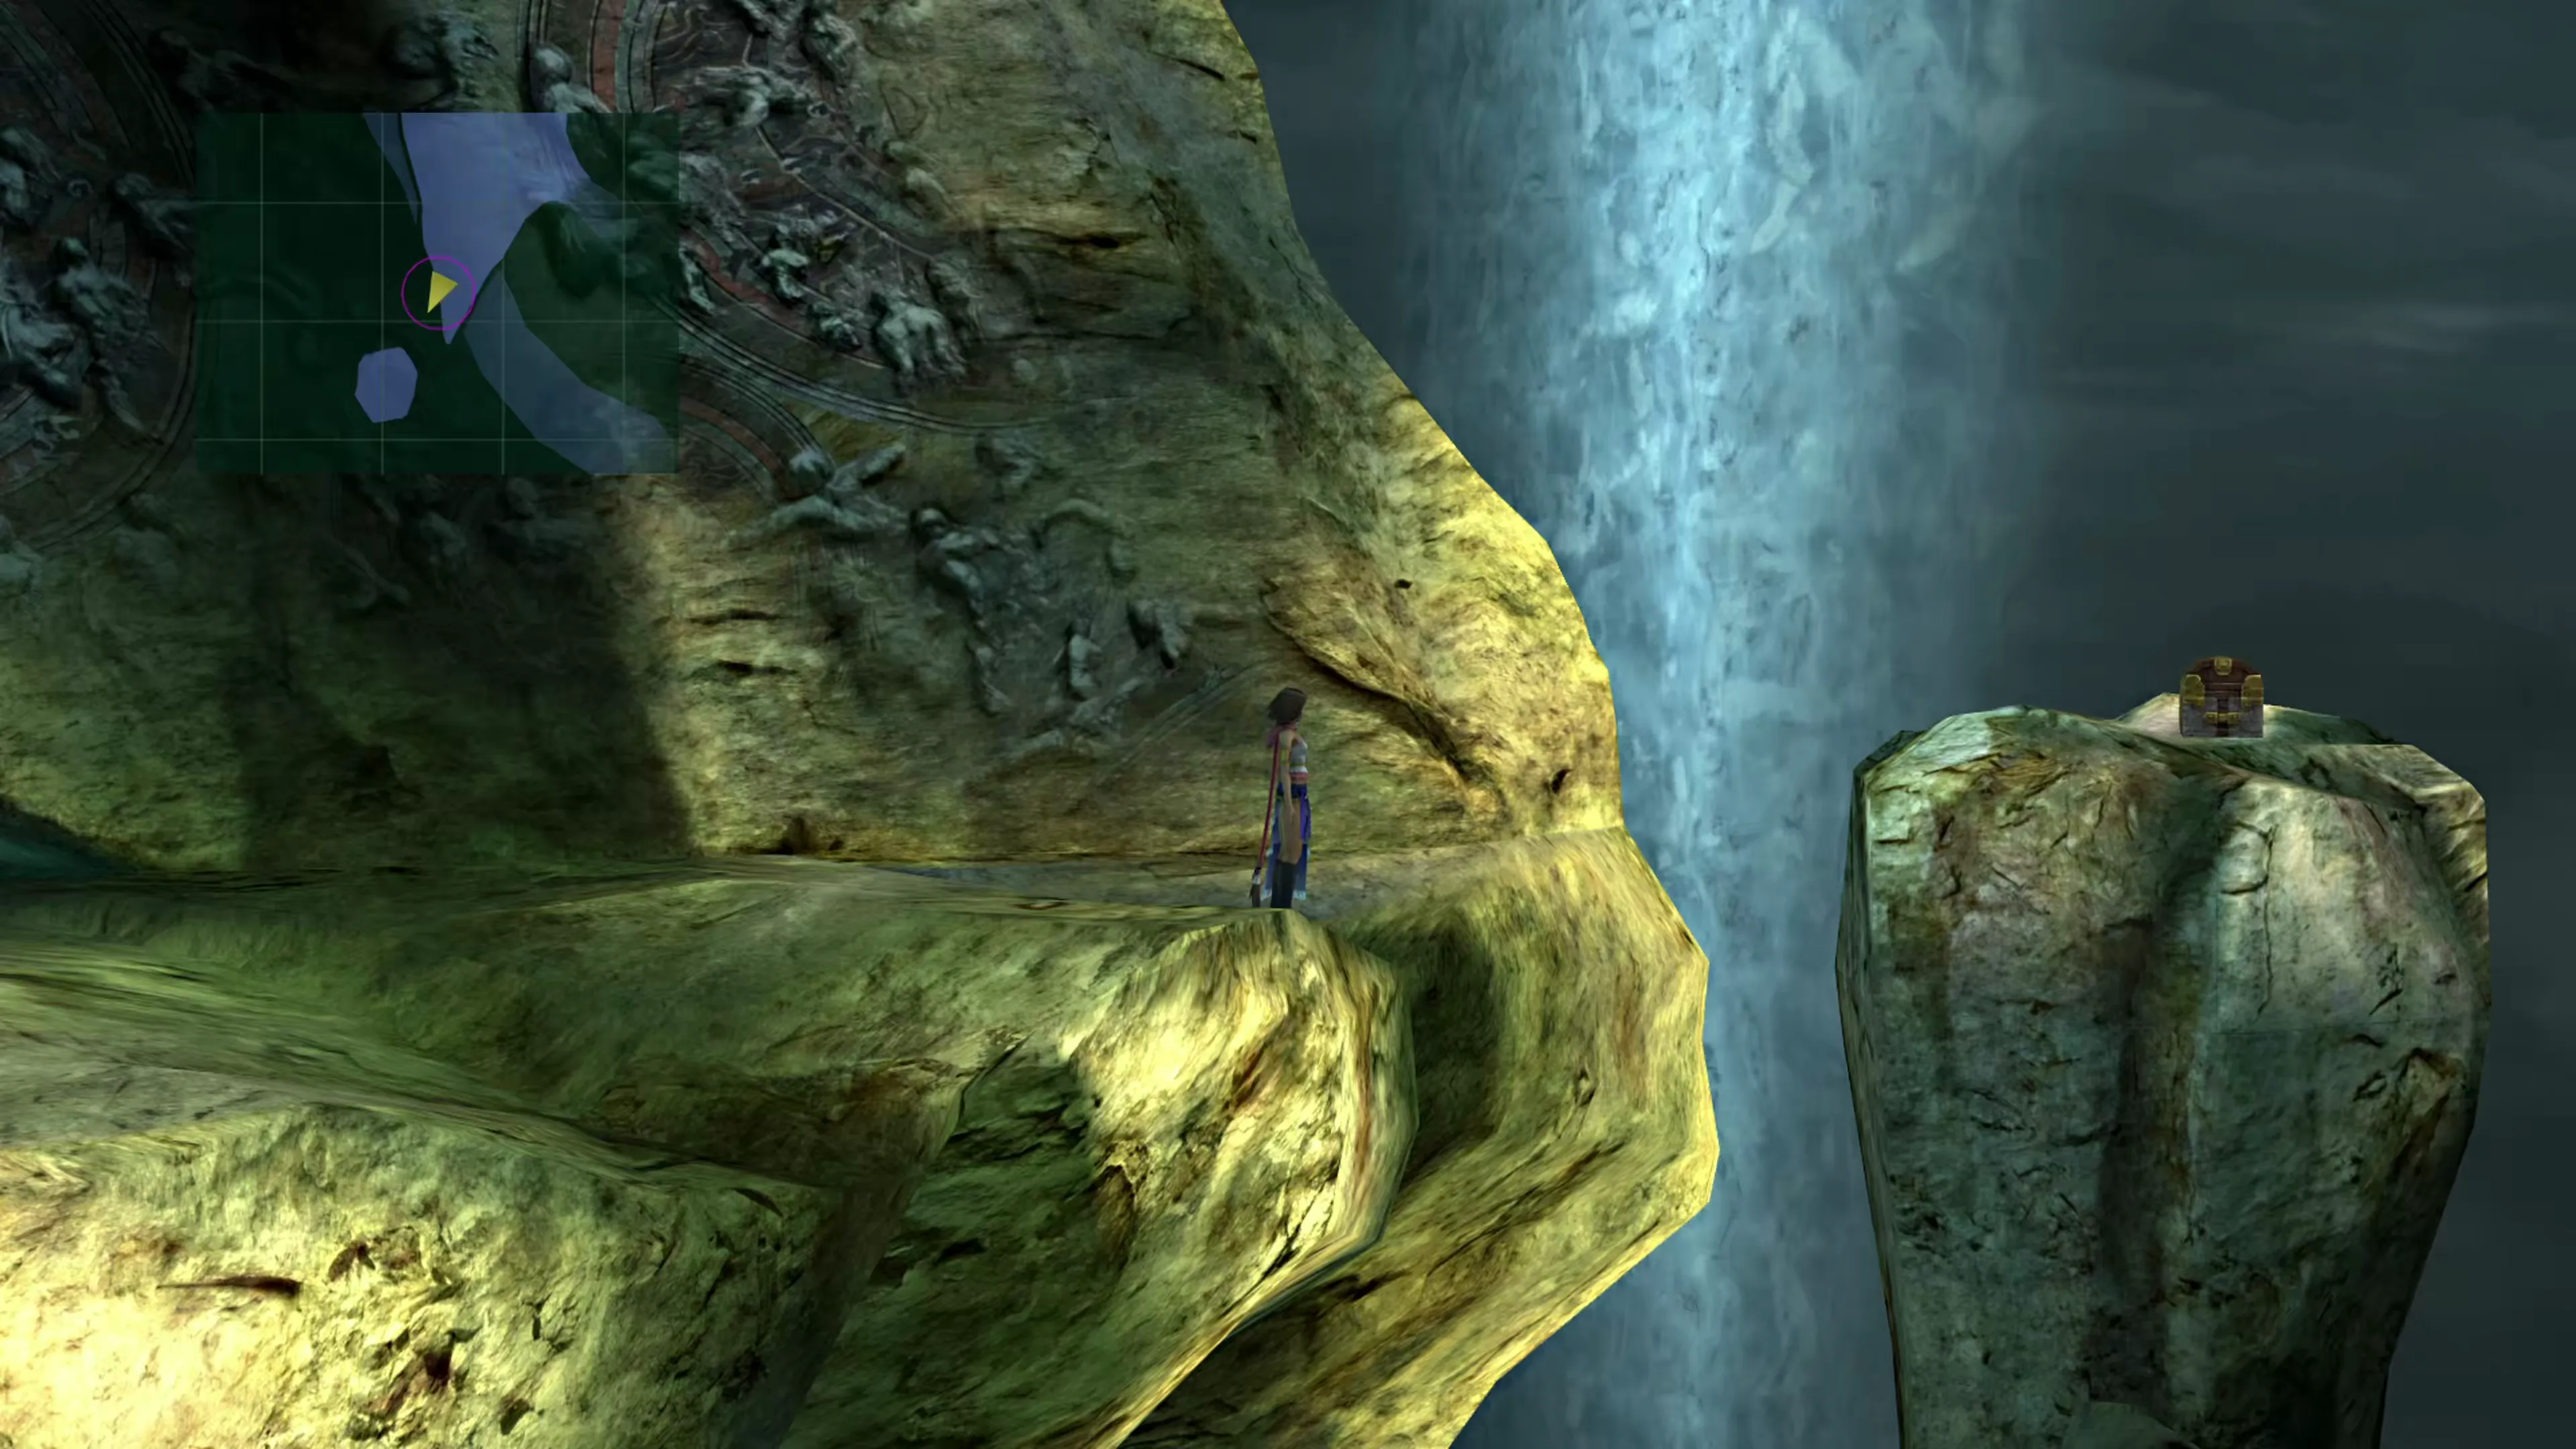
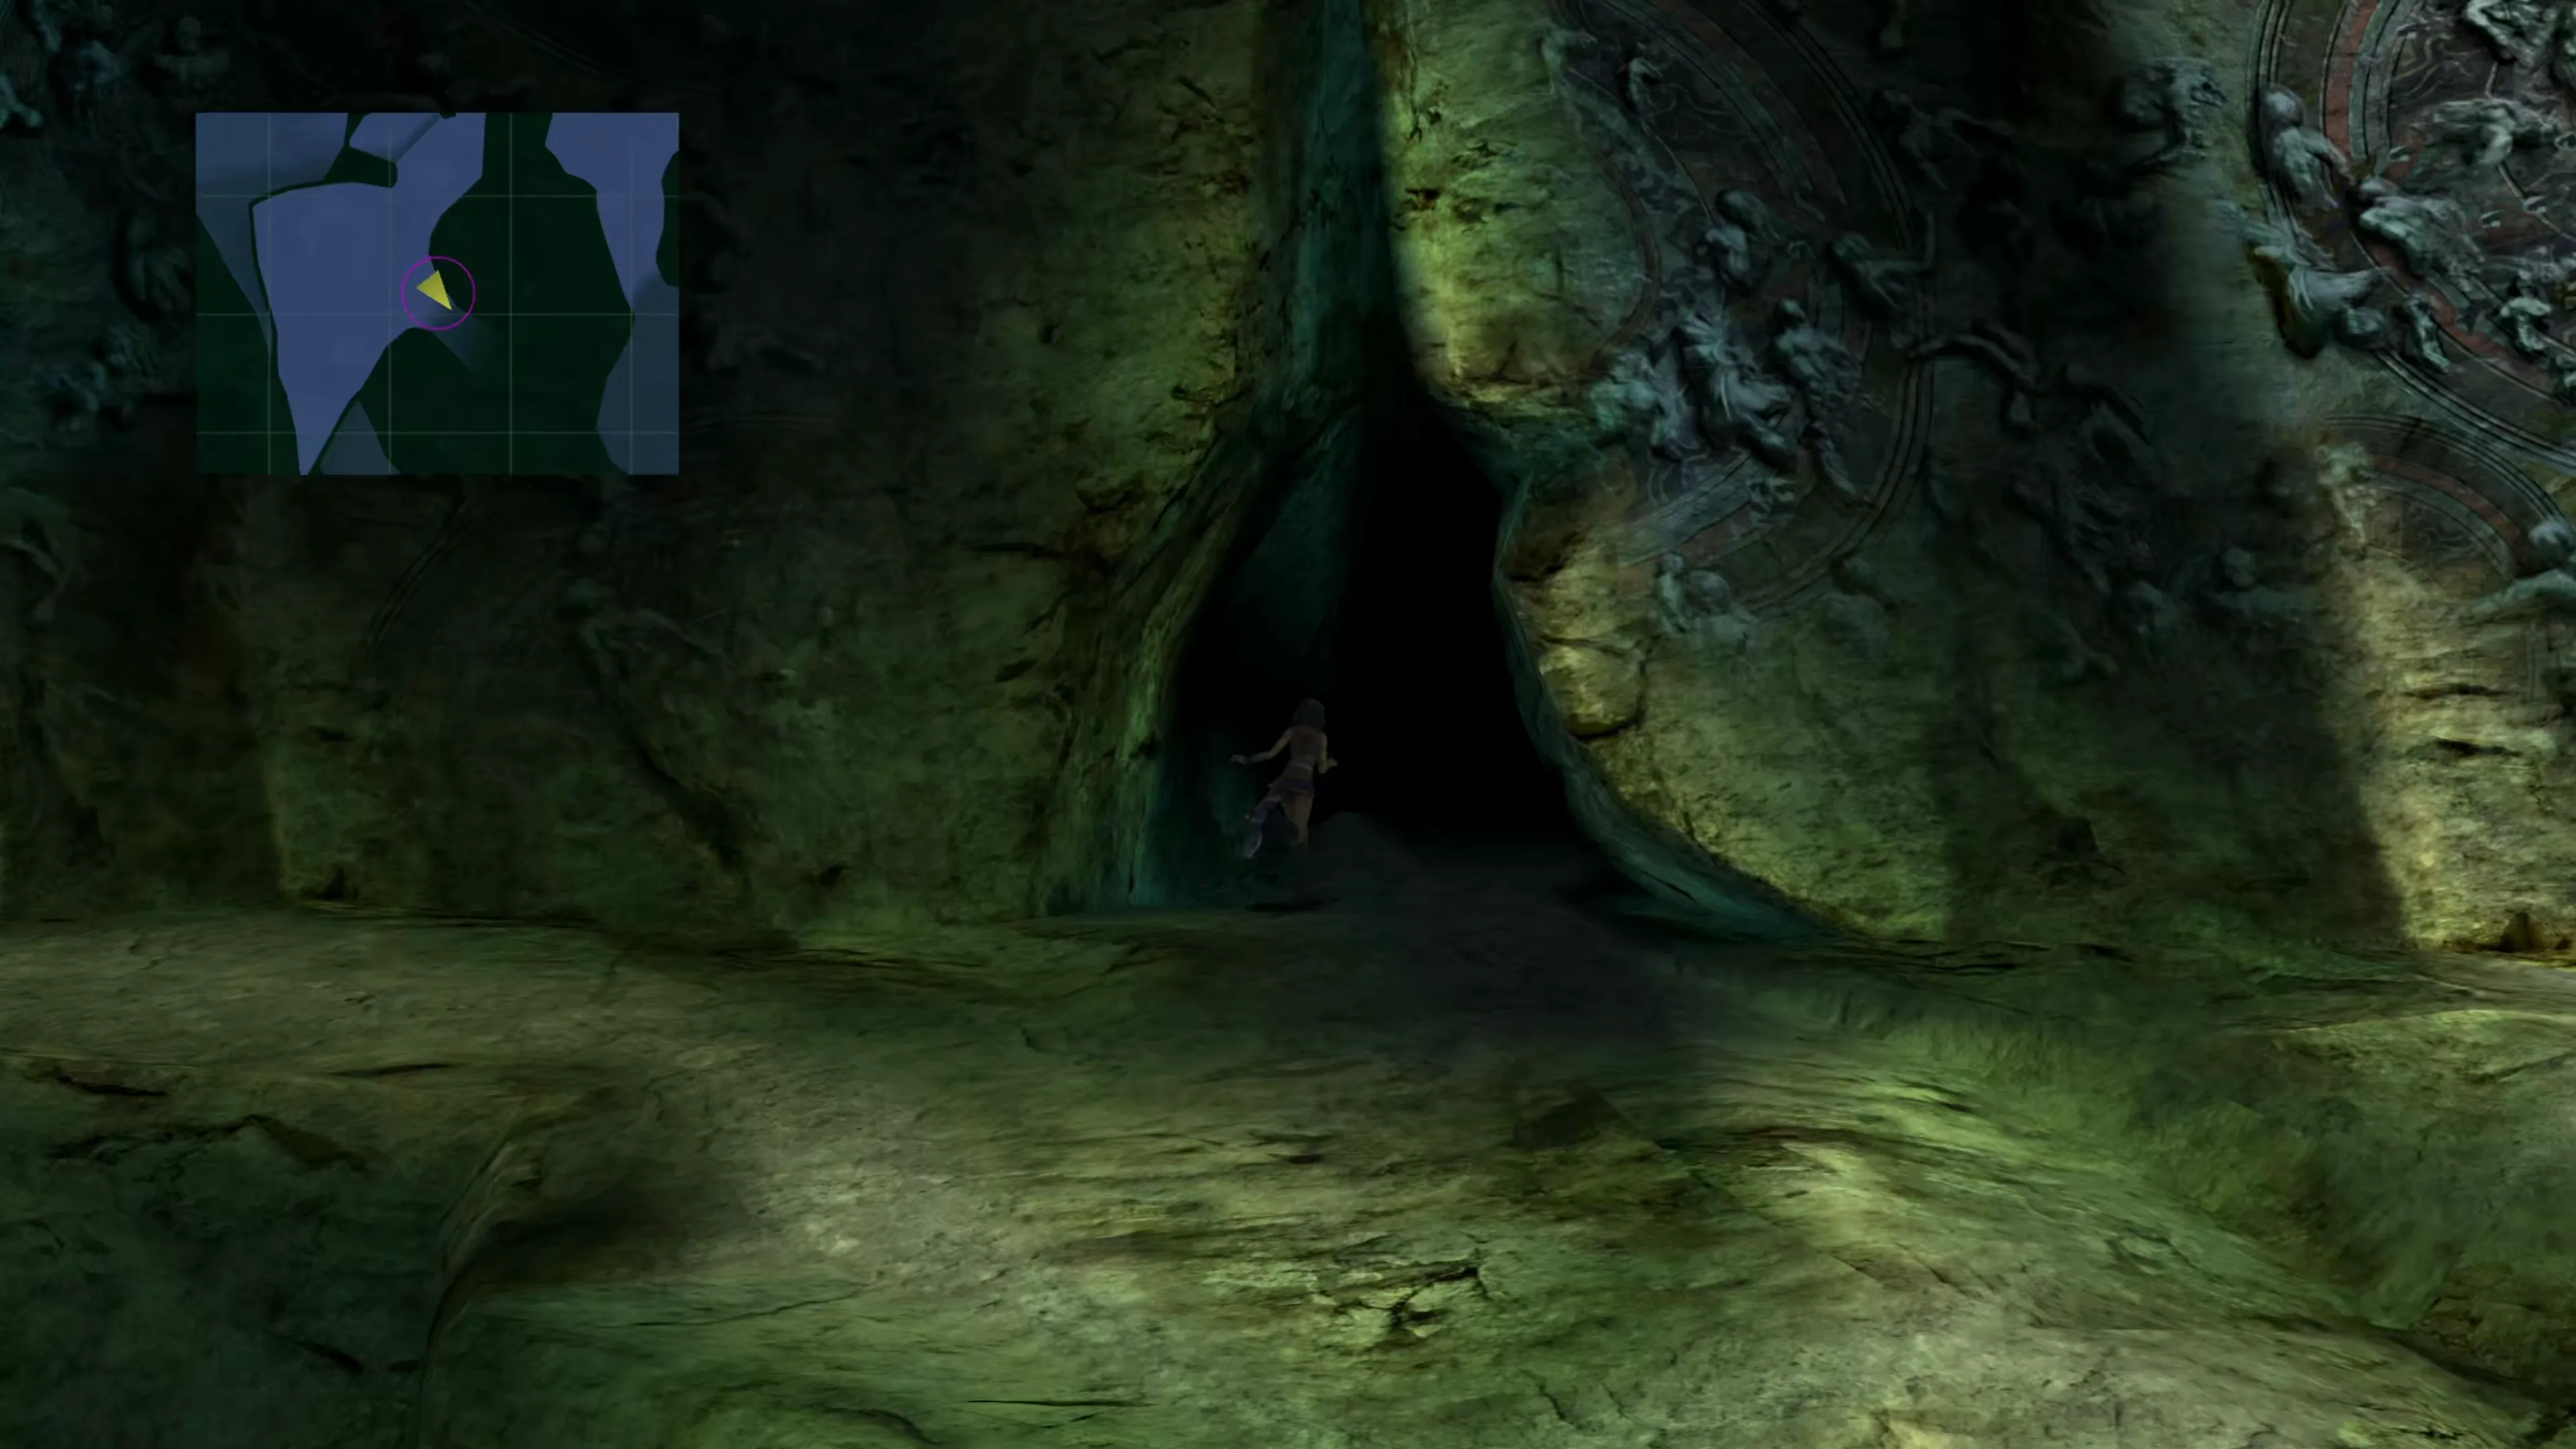
There’s a cave entrance nearby to the floating platform with the treasure chest. Go inside it.
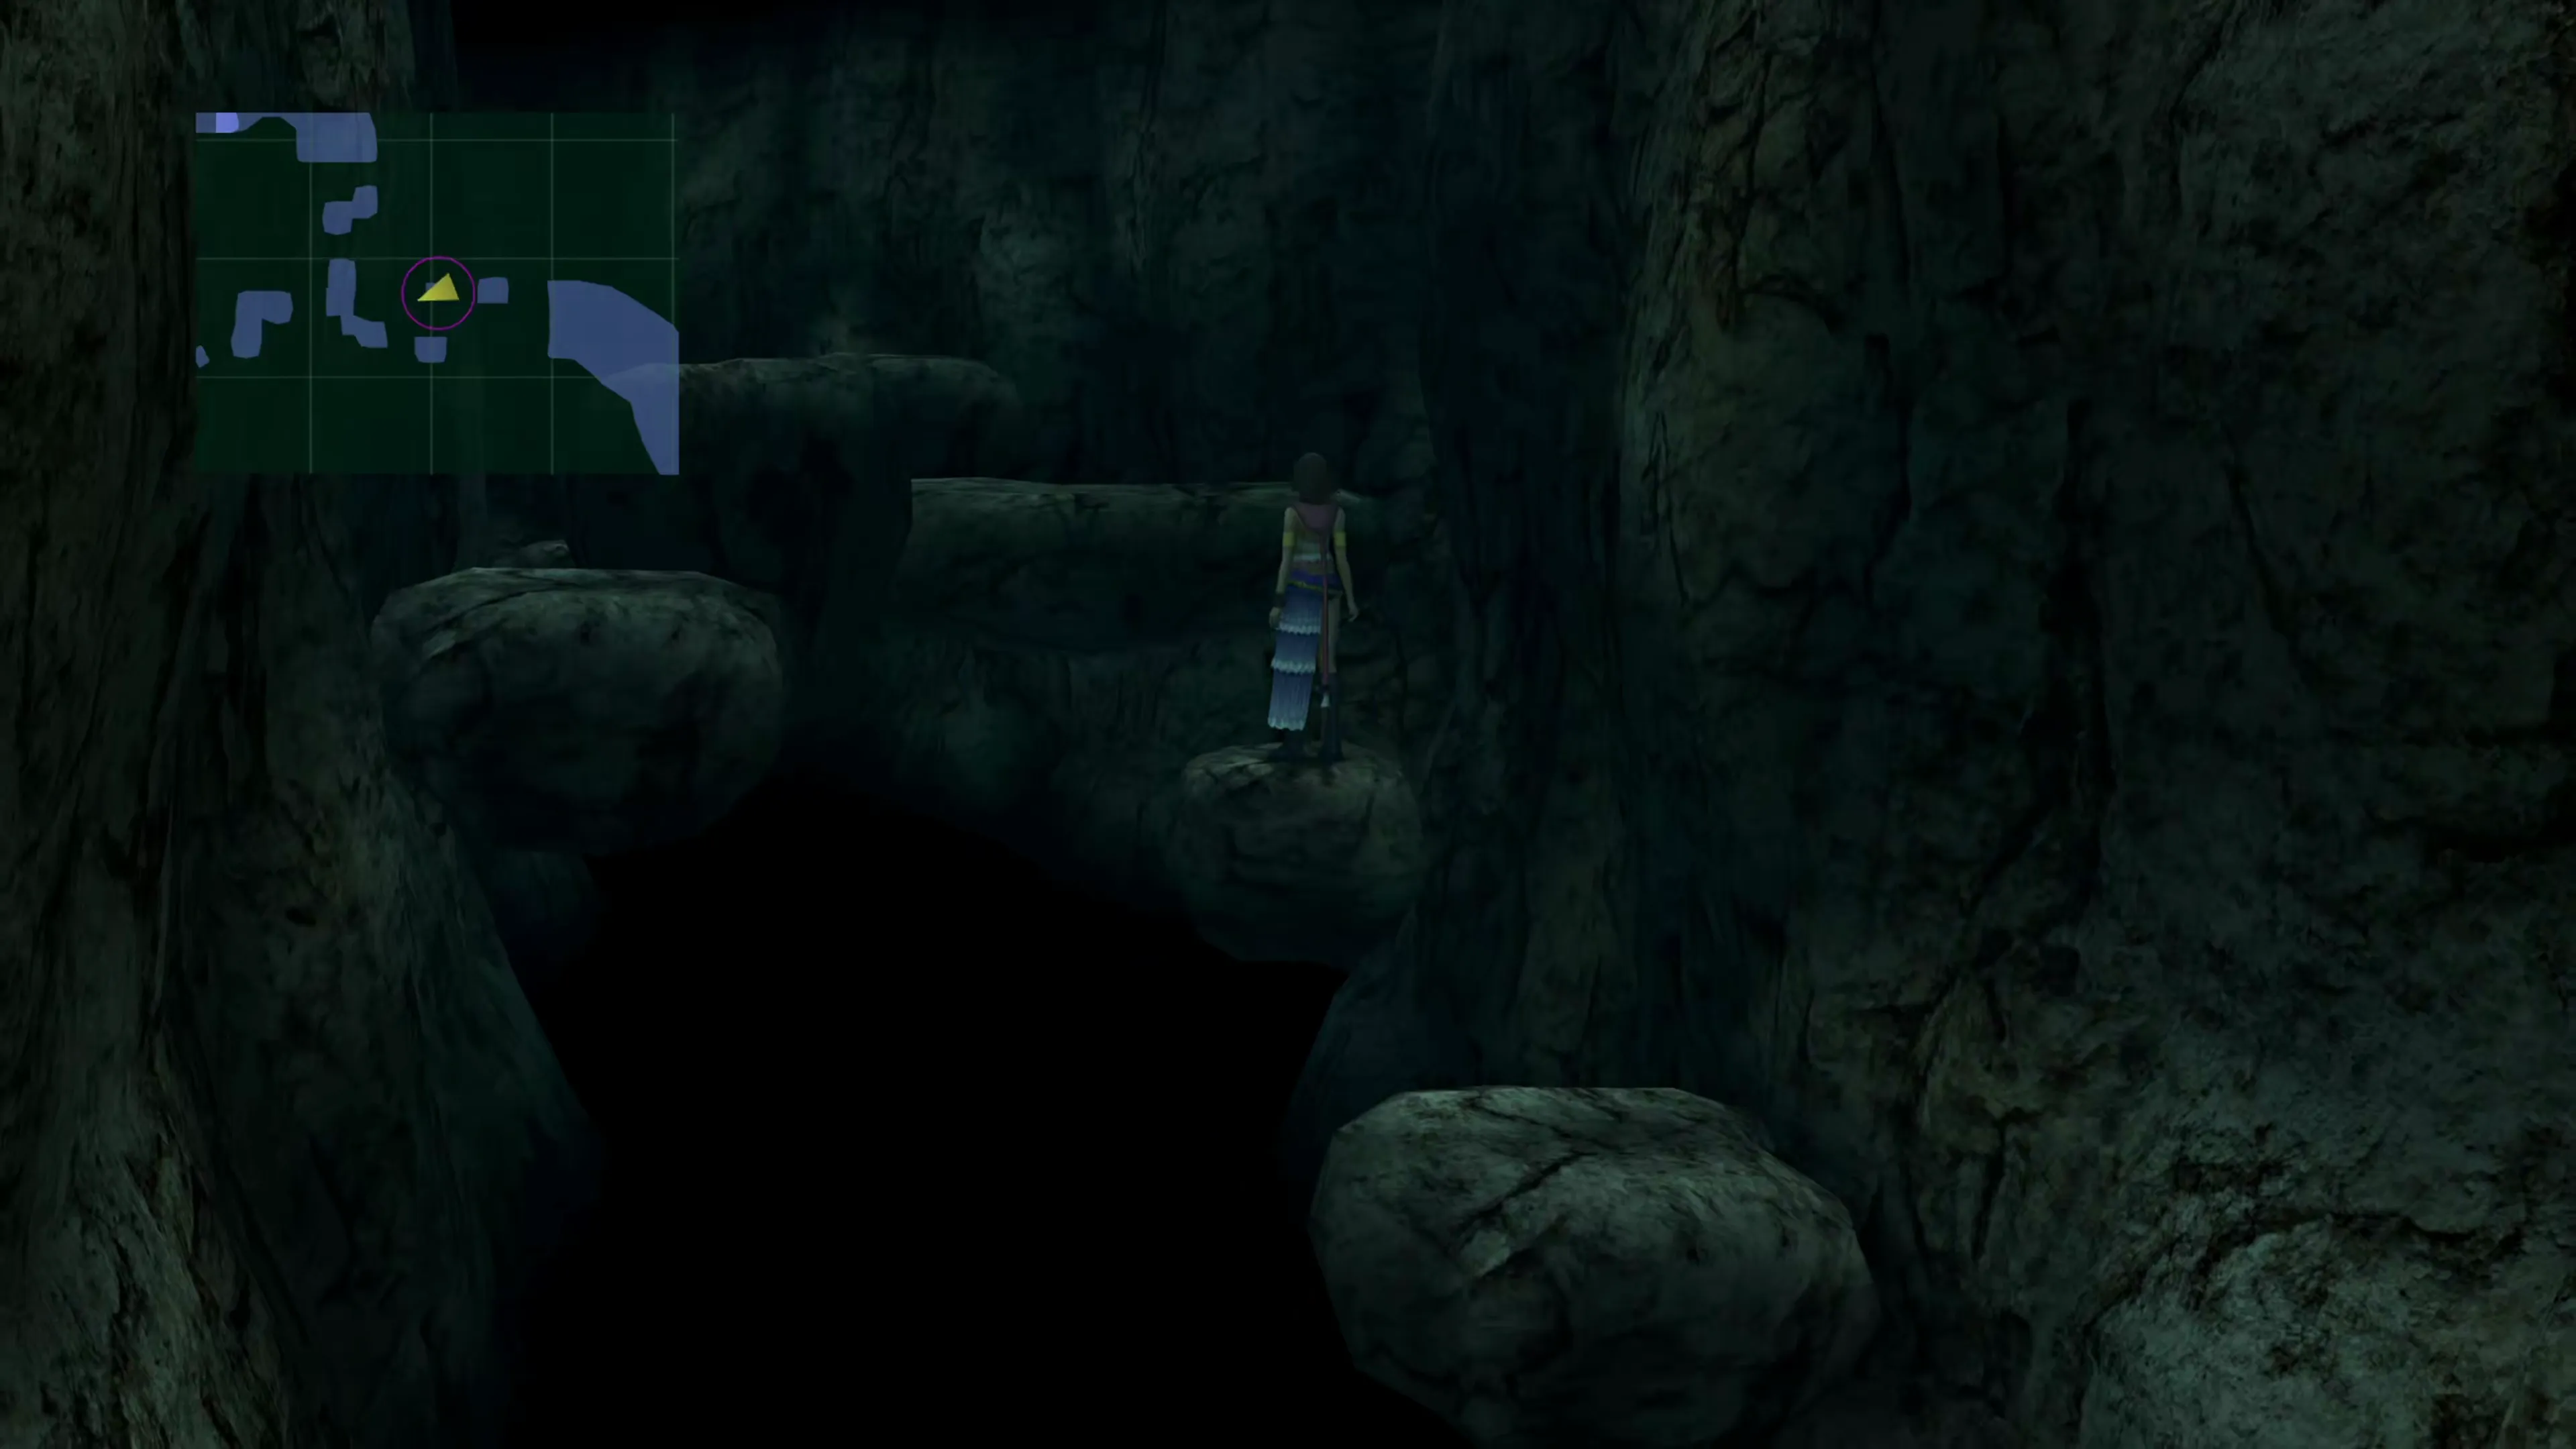
Continue through the cave, using the floating pedestals to jump over the gaping chasms, and you’ll see a pathway on the map that goes north (off to your right). You can follow this pathway around to find an optional treasure chest, but unfortunately it only contains a Hi-Potion. Exit the cave by continuing west.
Outside the cave, walk to the right, and you’ll see a  Save Sphere on the right side of the screen, and a Fem-Goon will drop down and run over towards it. You can head over and save your game if you want, but the path you need to take involves climbing the rock wall above the Save Sphere. Use the screenshot and the map below to help you find it.
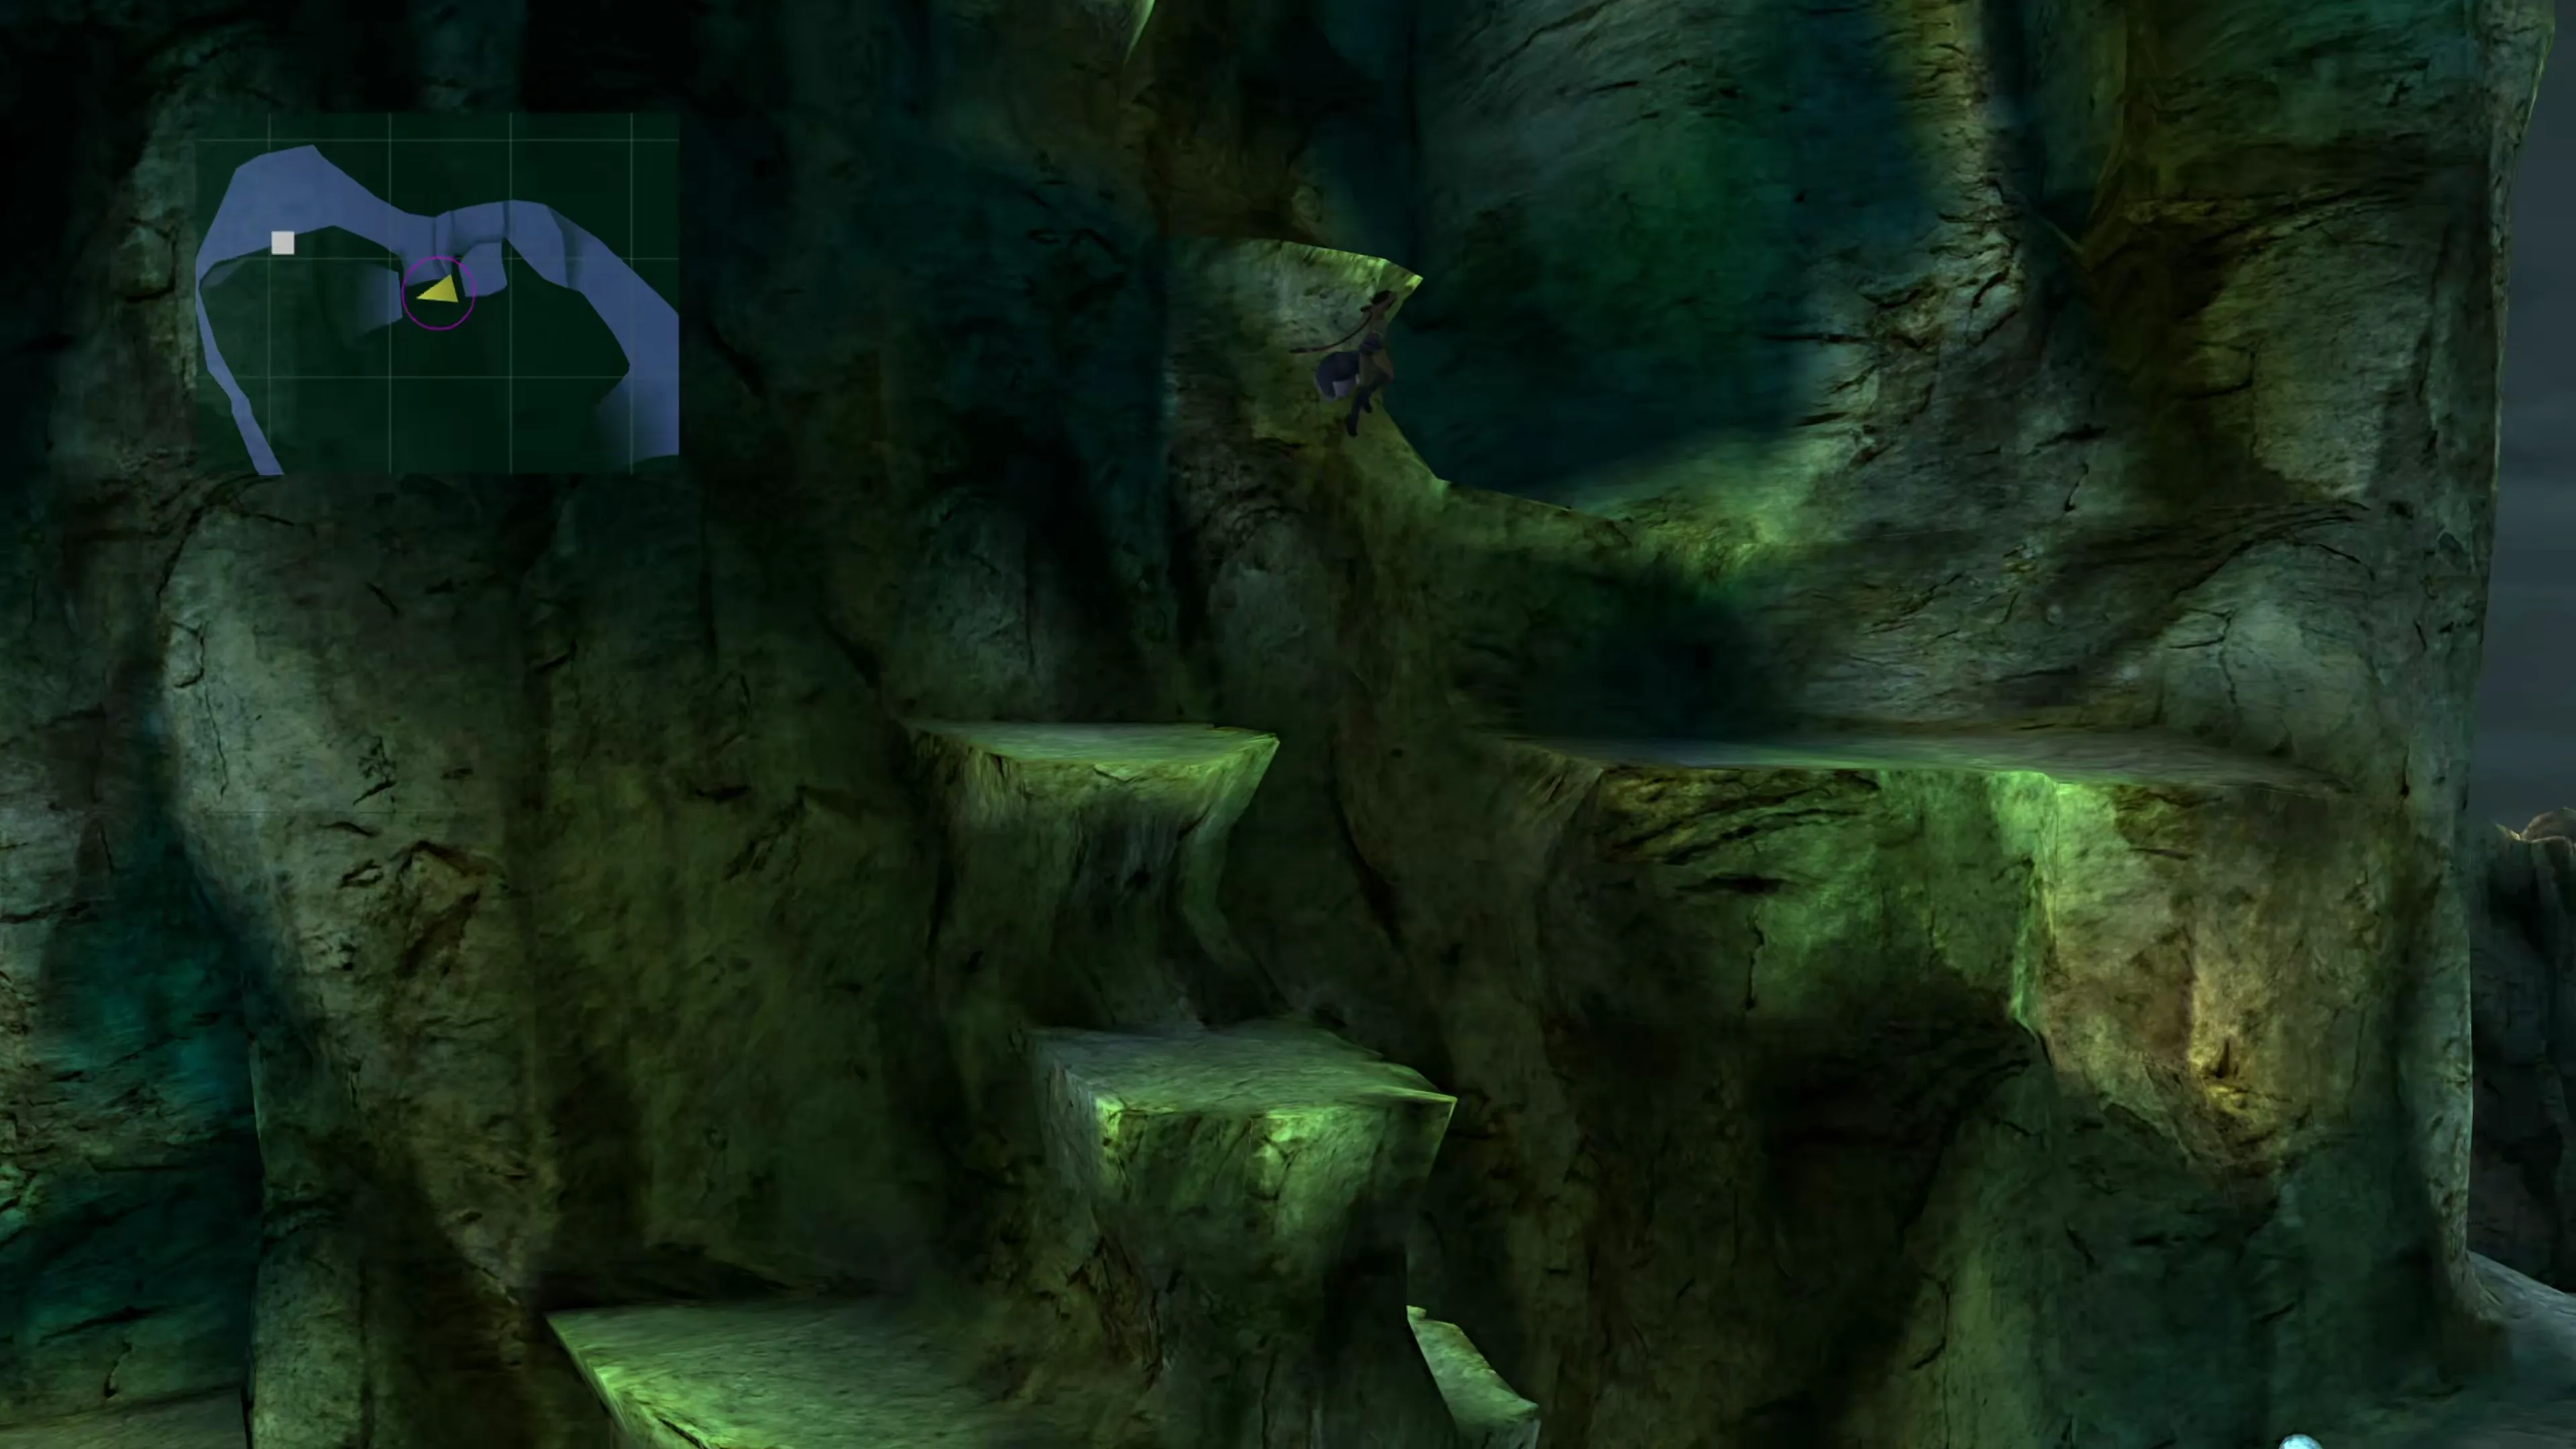
Floating Ruins Upper Tier - Level 2
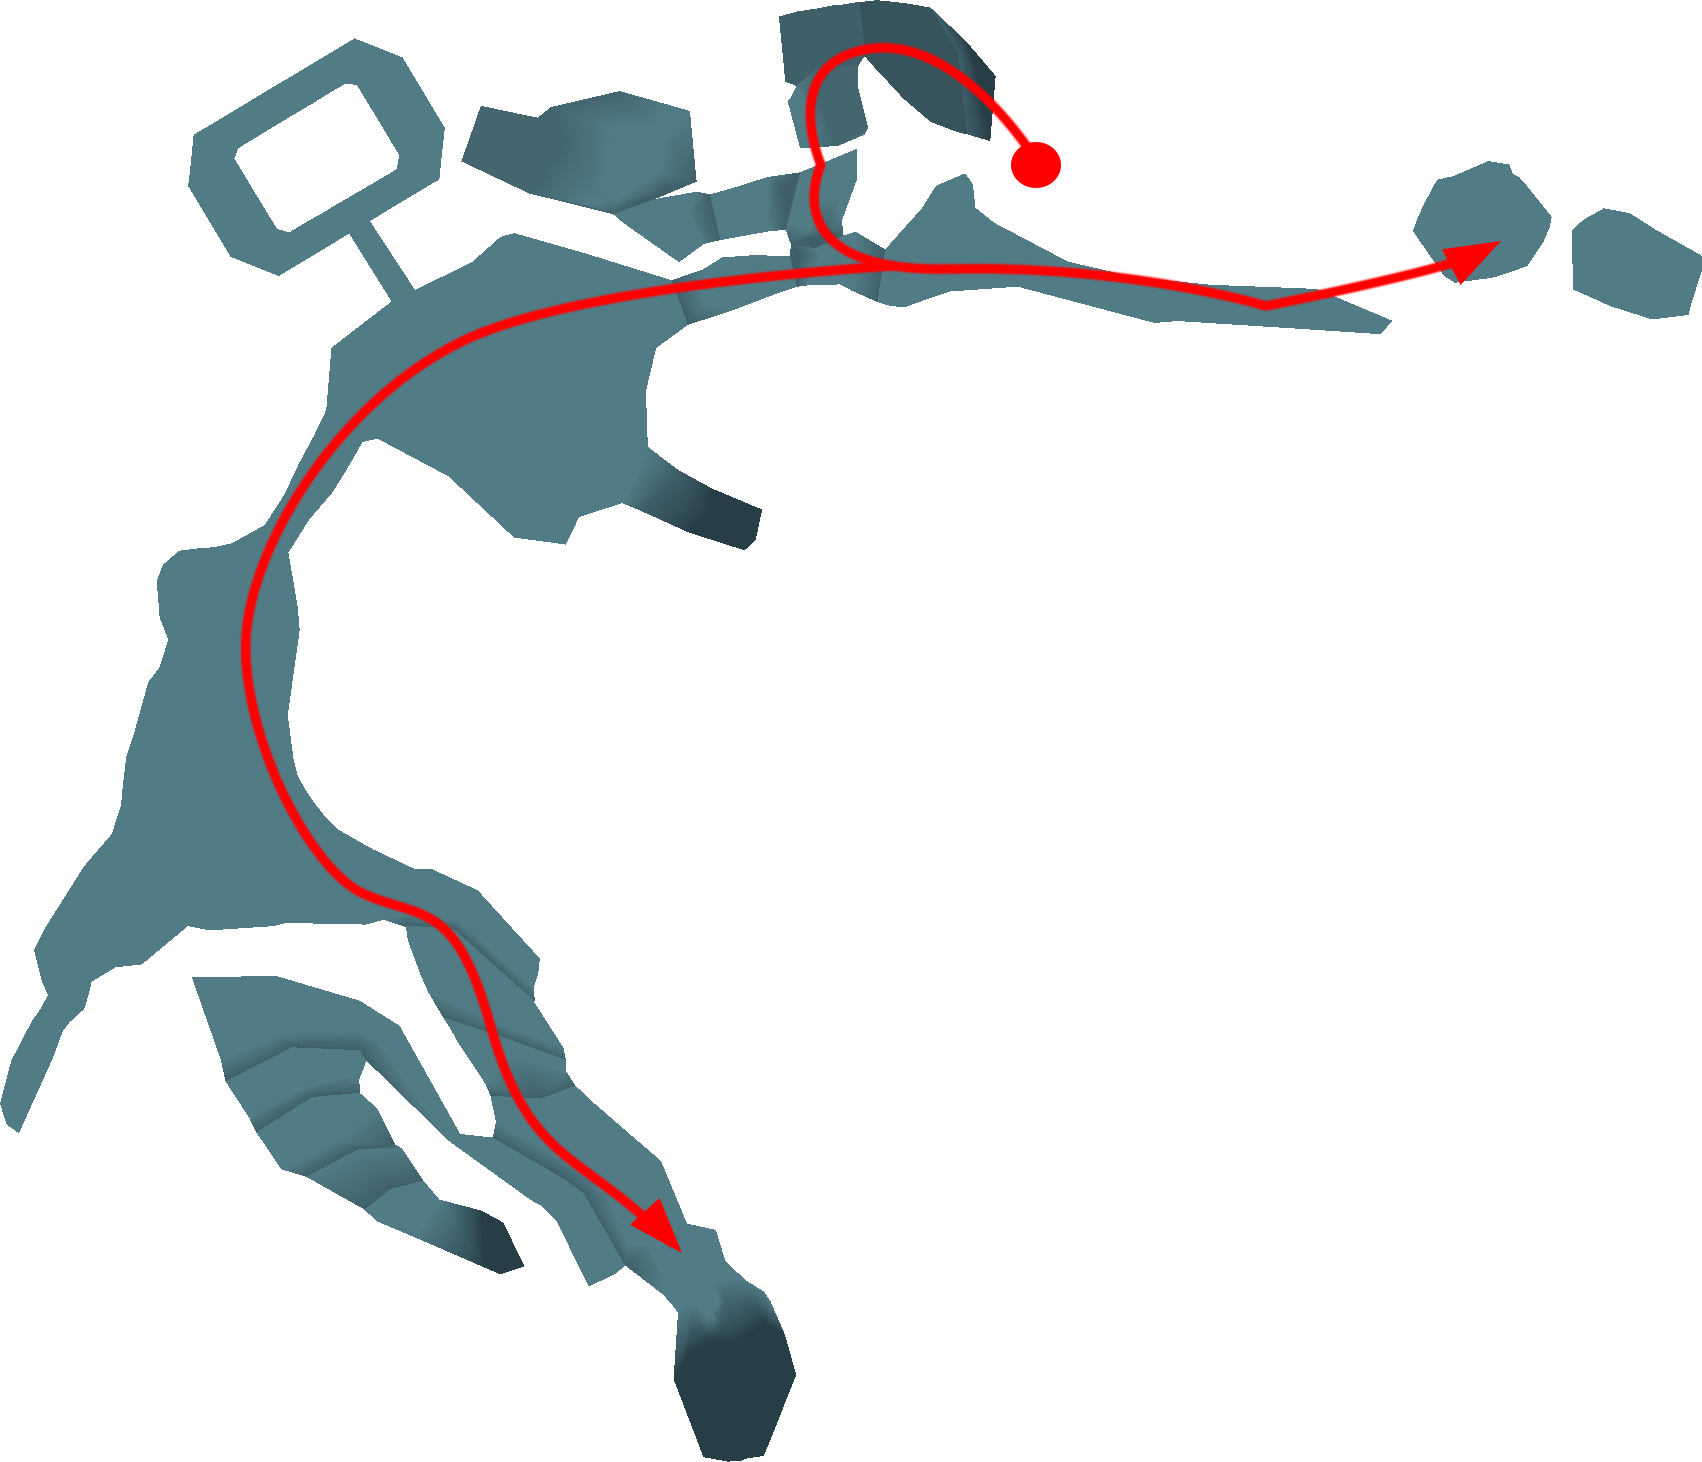

 1 1 |  White Cape White Cape |
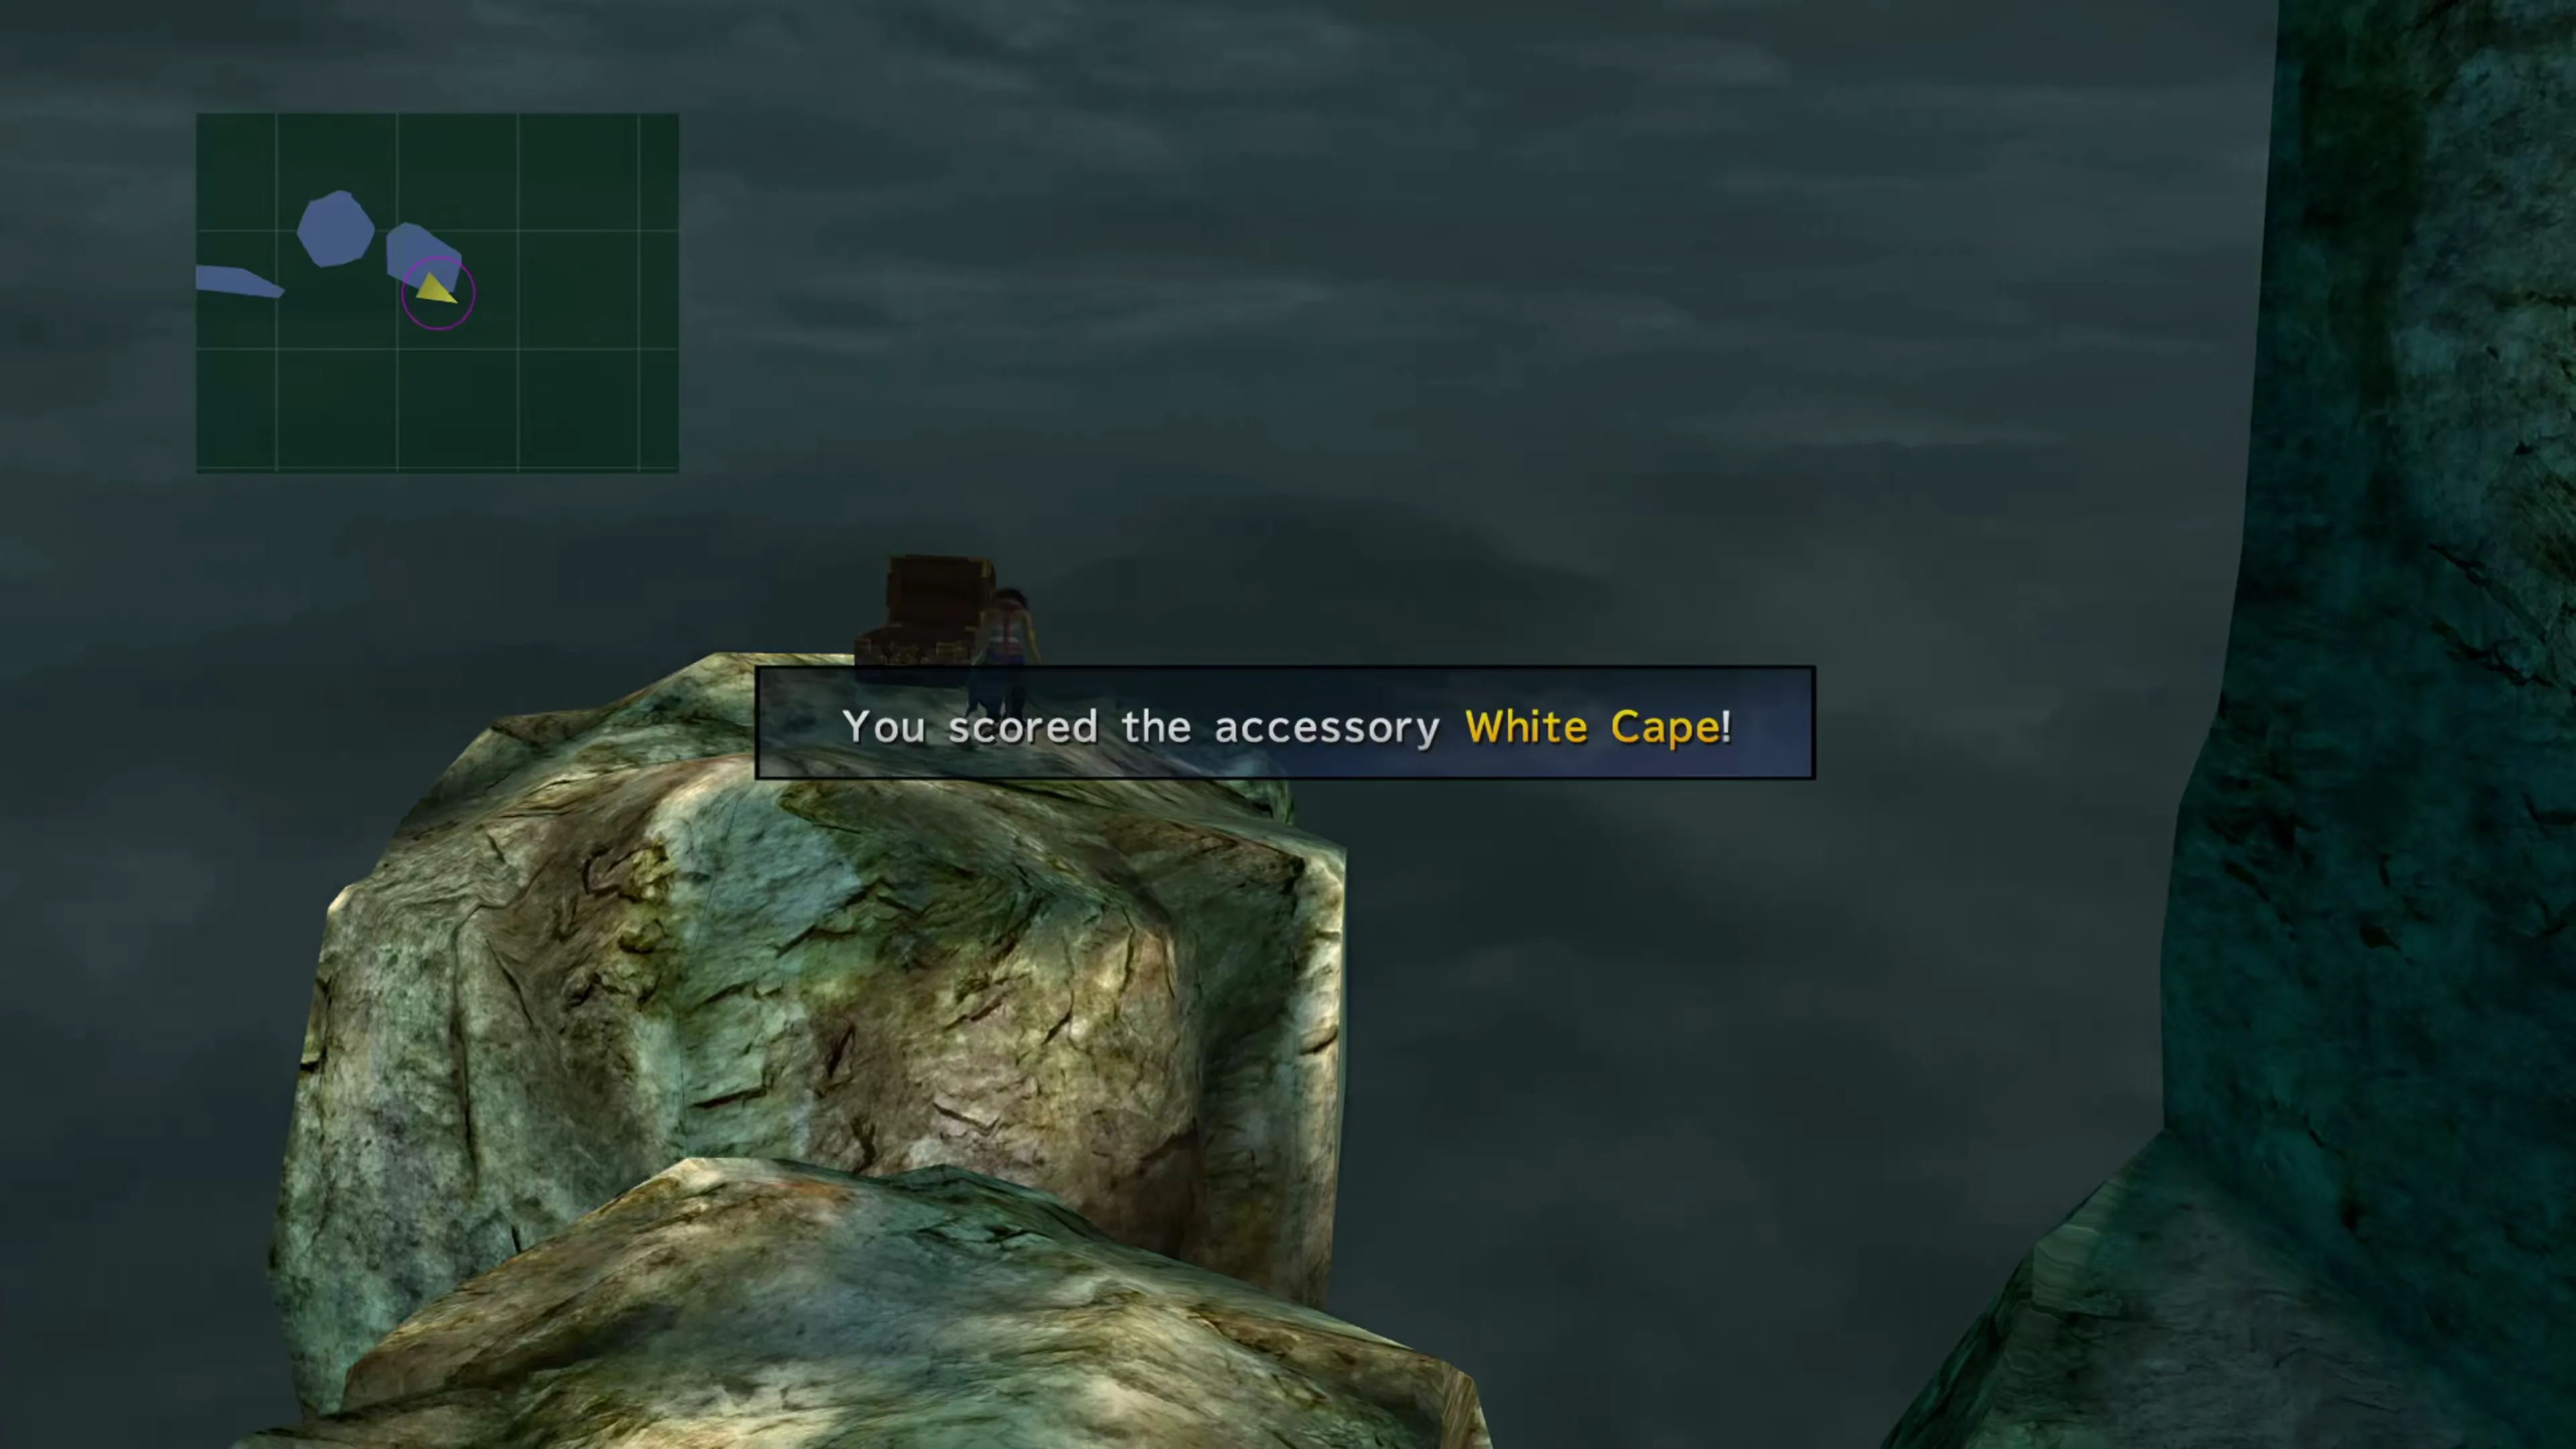
At the top, you’ll reach a spot where the pathway splits left and right again. Jump to the left and look for another floating platform with a treasure chest. Slowly walk towards it again, jump over, and open it to pick up a White Cape accessory.
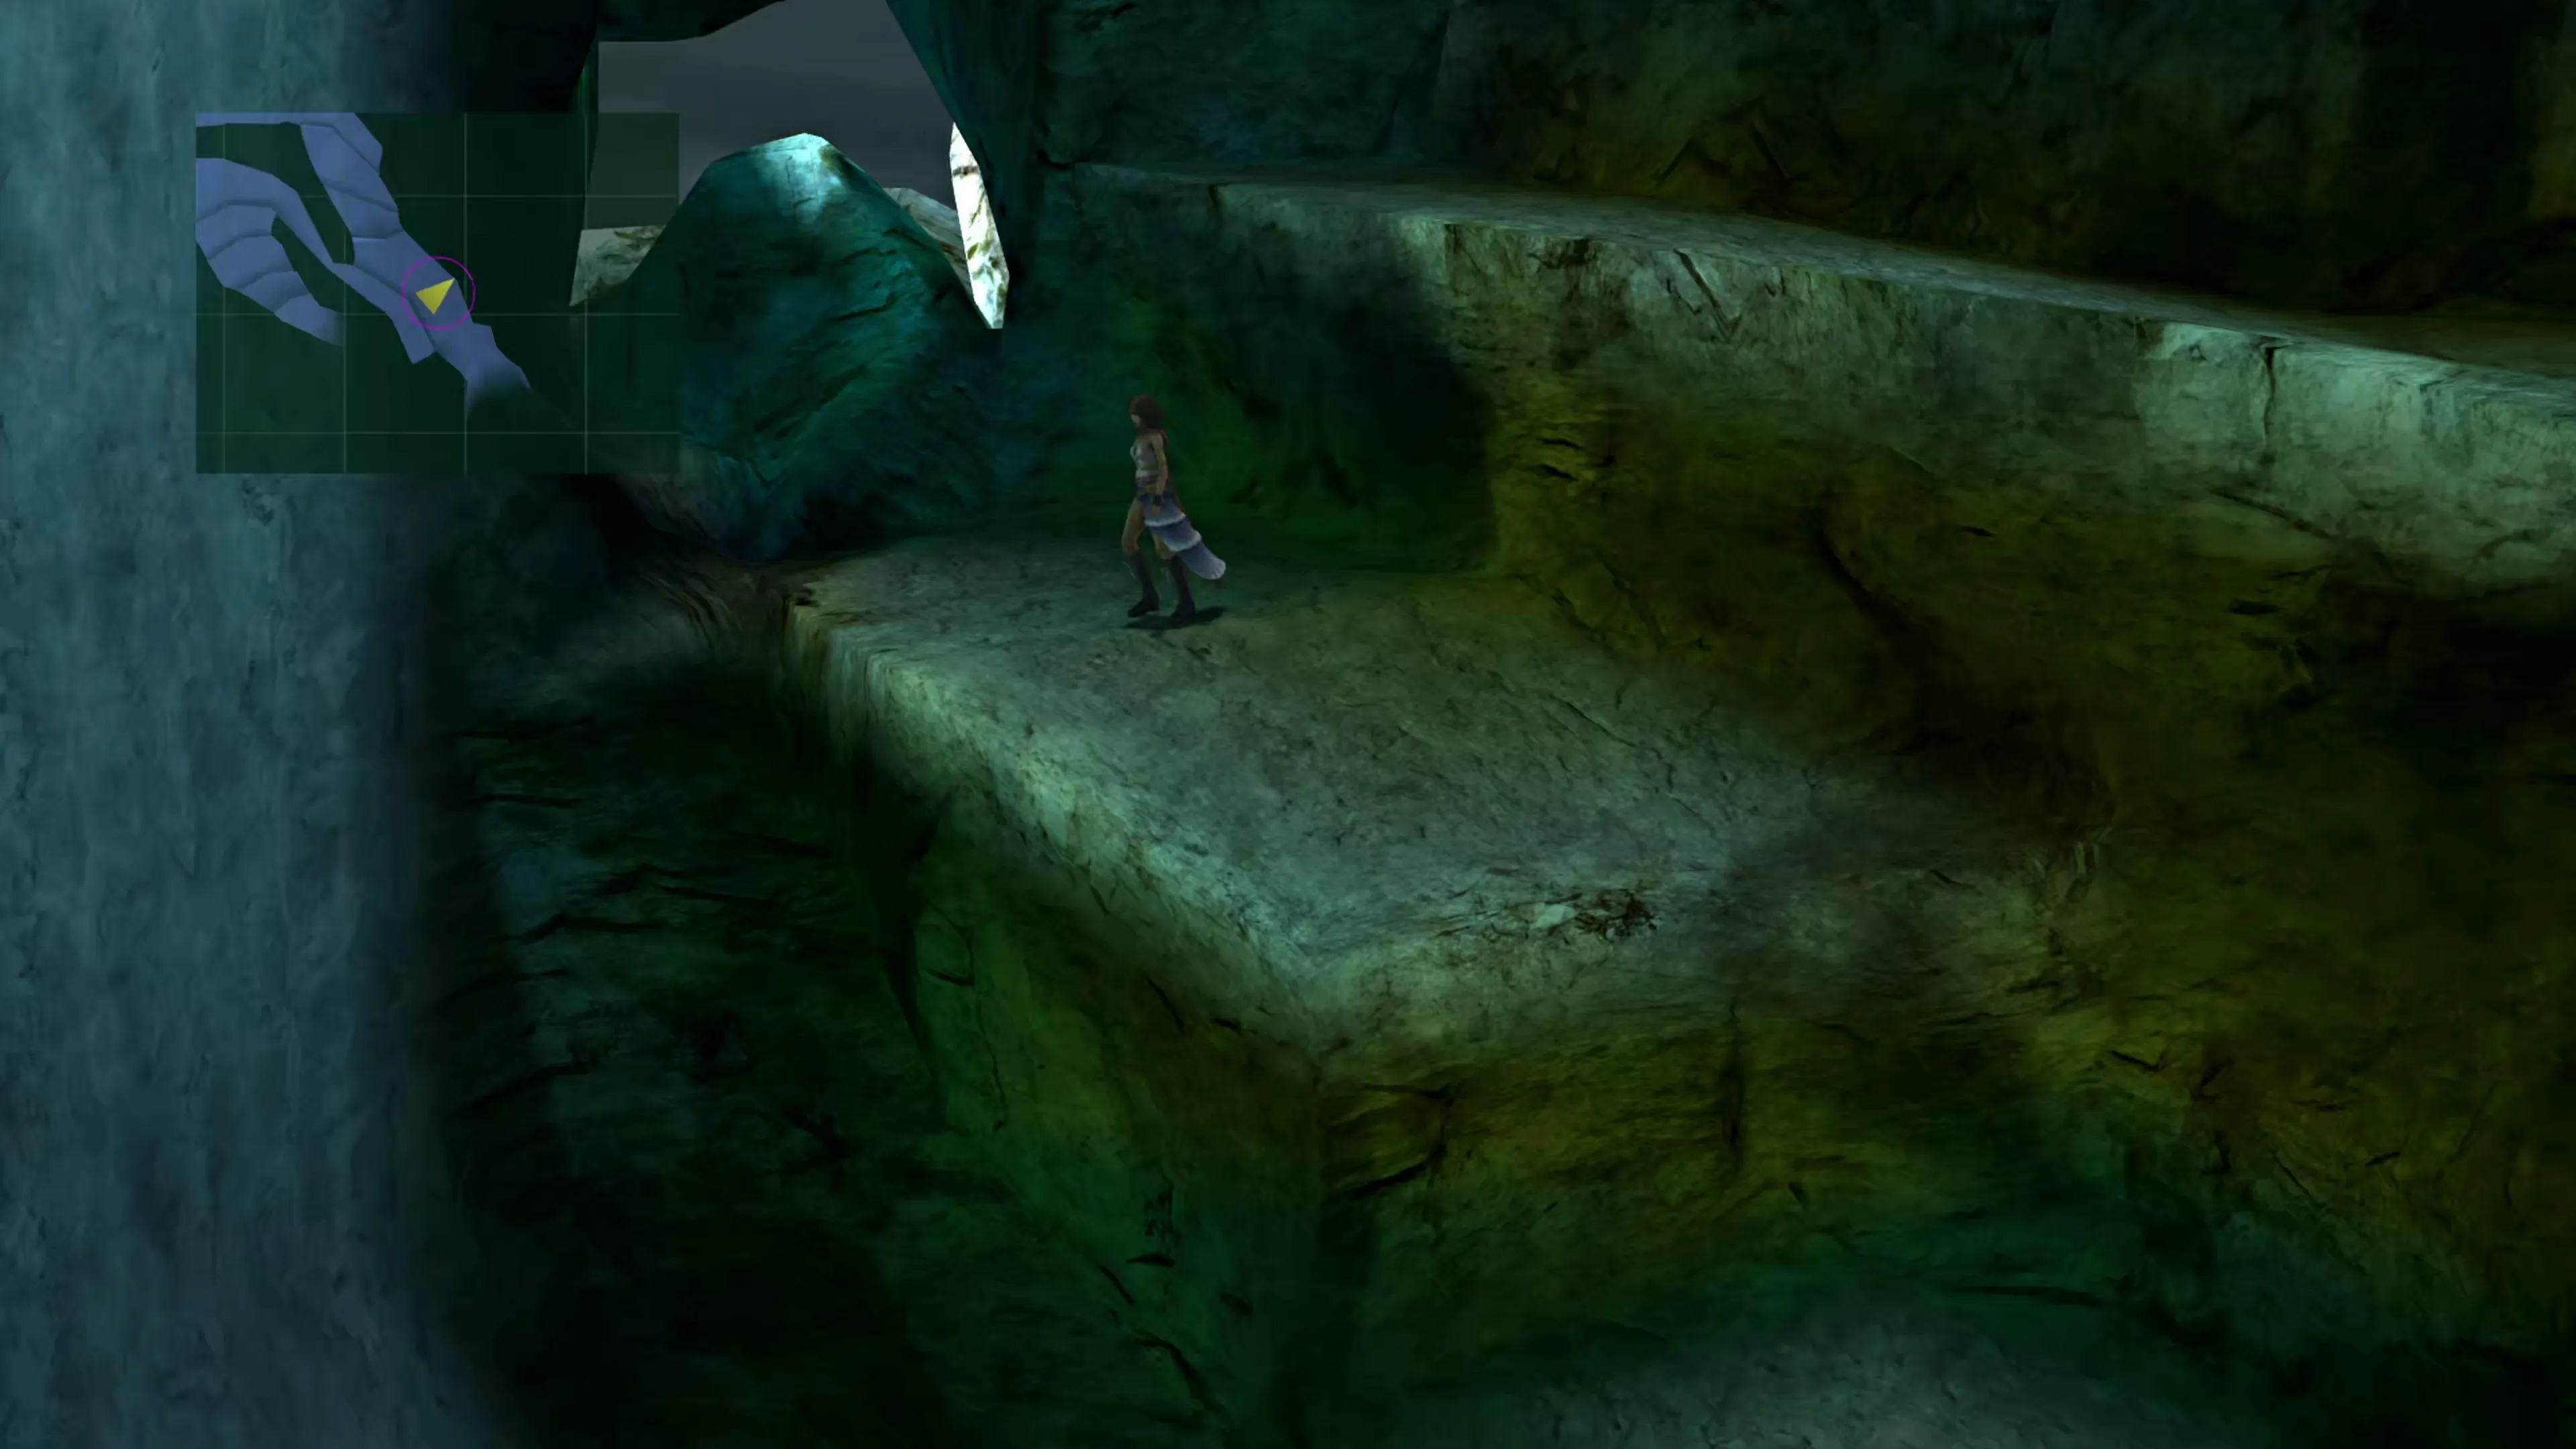
Now jump back over to the other side of the platform and look for a wall to the south that you can climb. Keep climbing up the wall, and look for a small crevice you can peek through toward the southeast. You don’t need to climb all the way to the top.
The team will get the third and final  Syndicate Uniform, exit the hot springs, and reach the Save Sphere from the other side. Save your game if you wish, and then walk a short distance west to trigger another cutscene involving the Leblanc Syndicate, who want their uniform back.
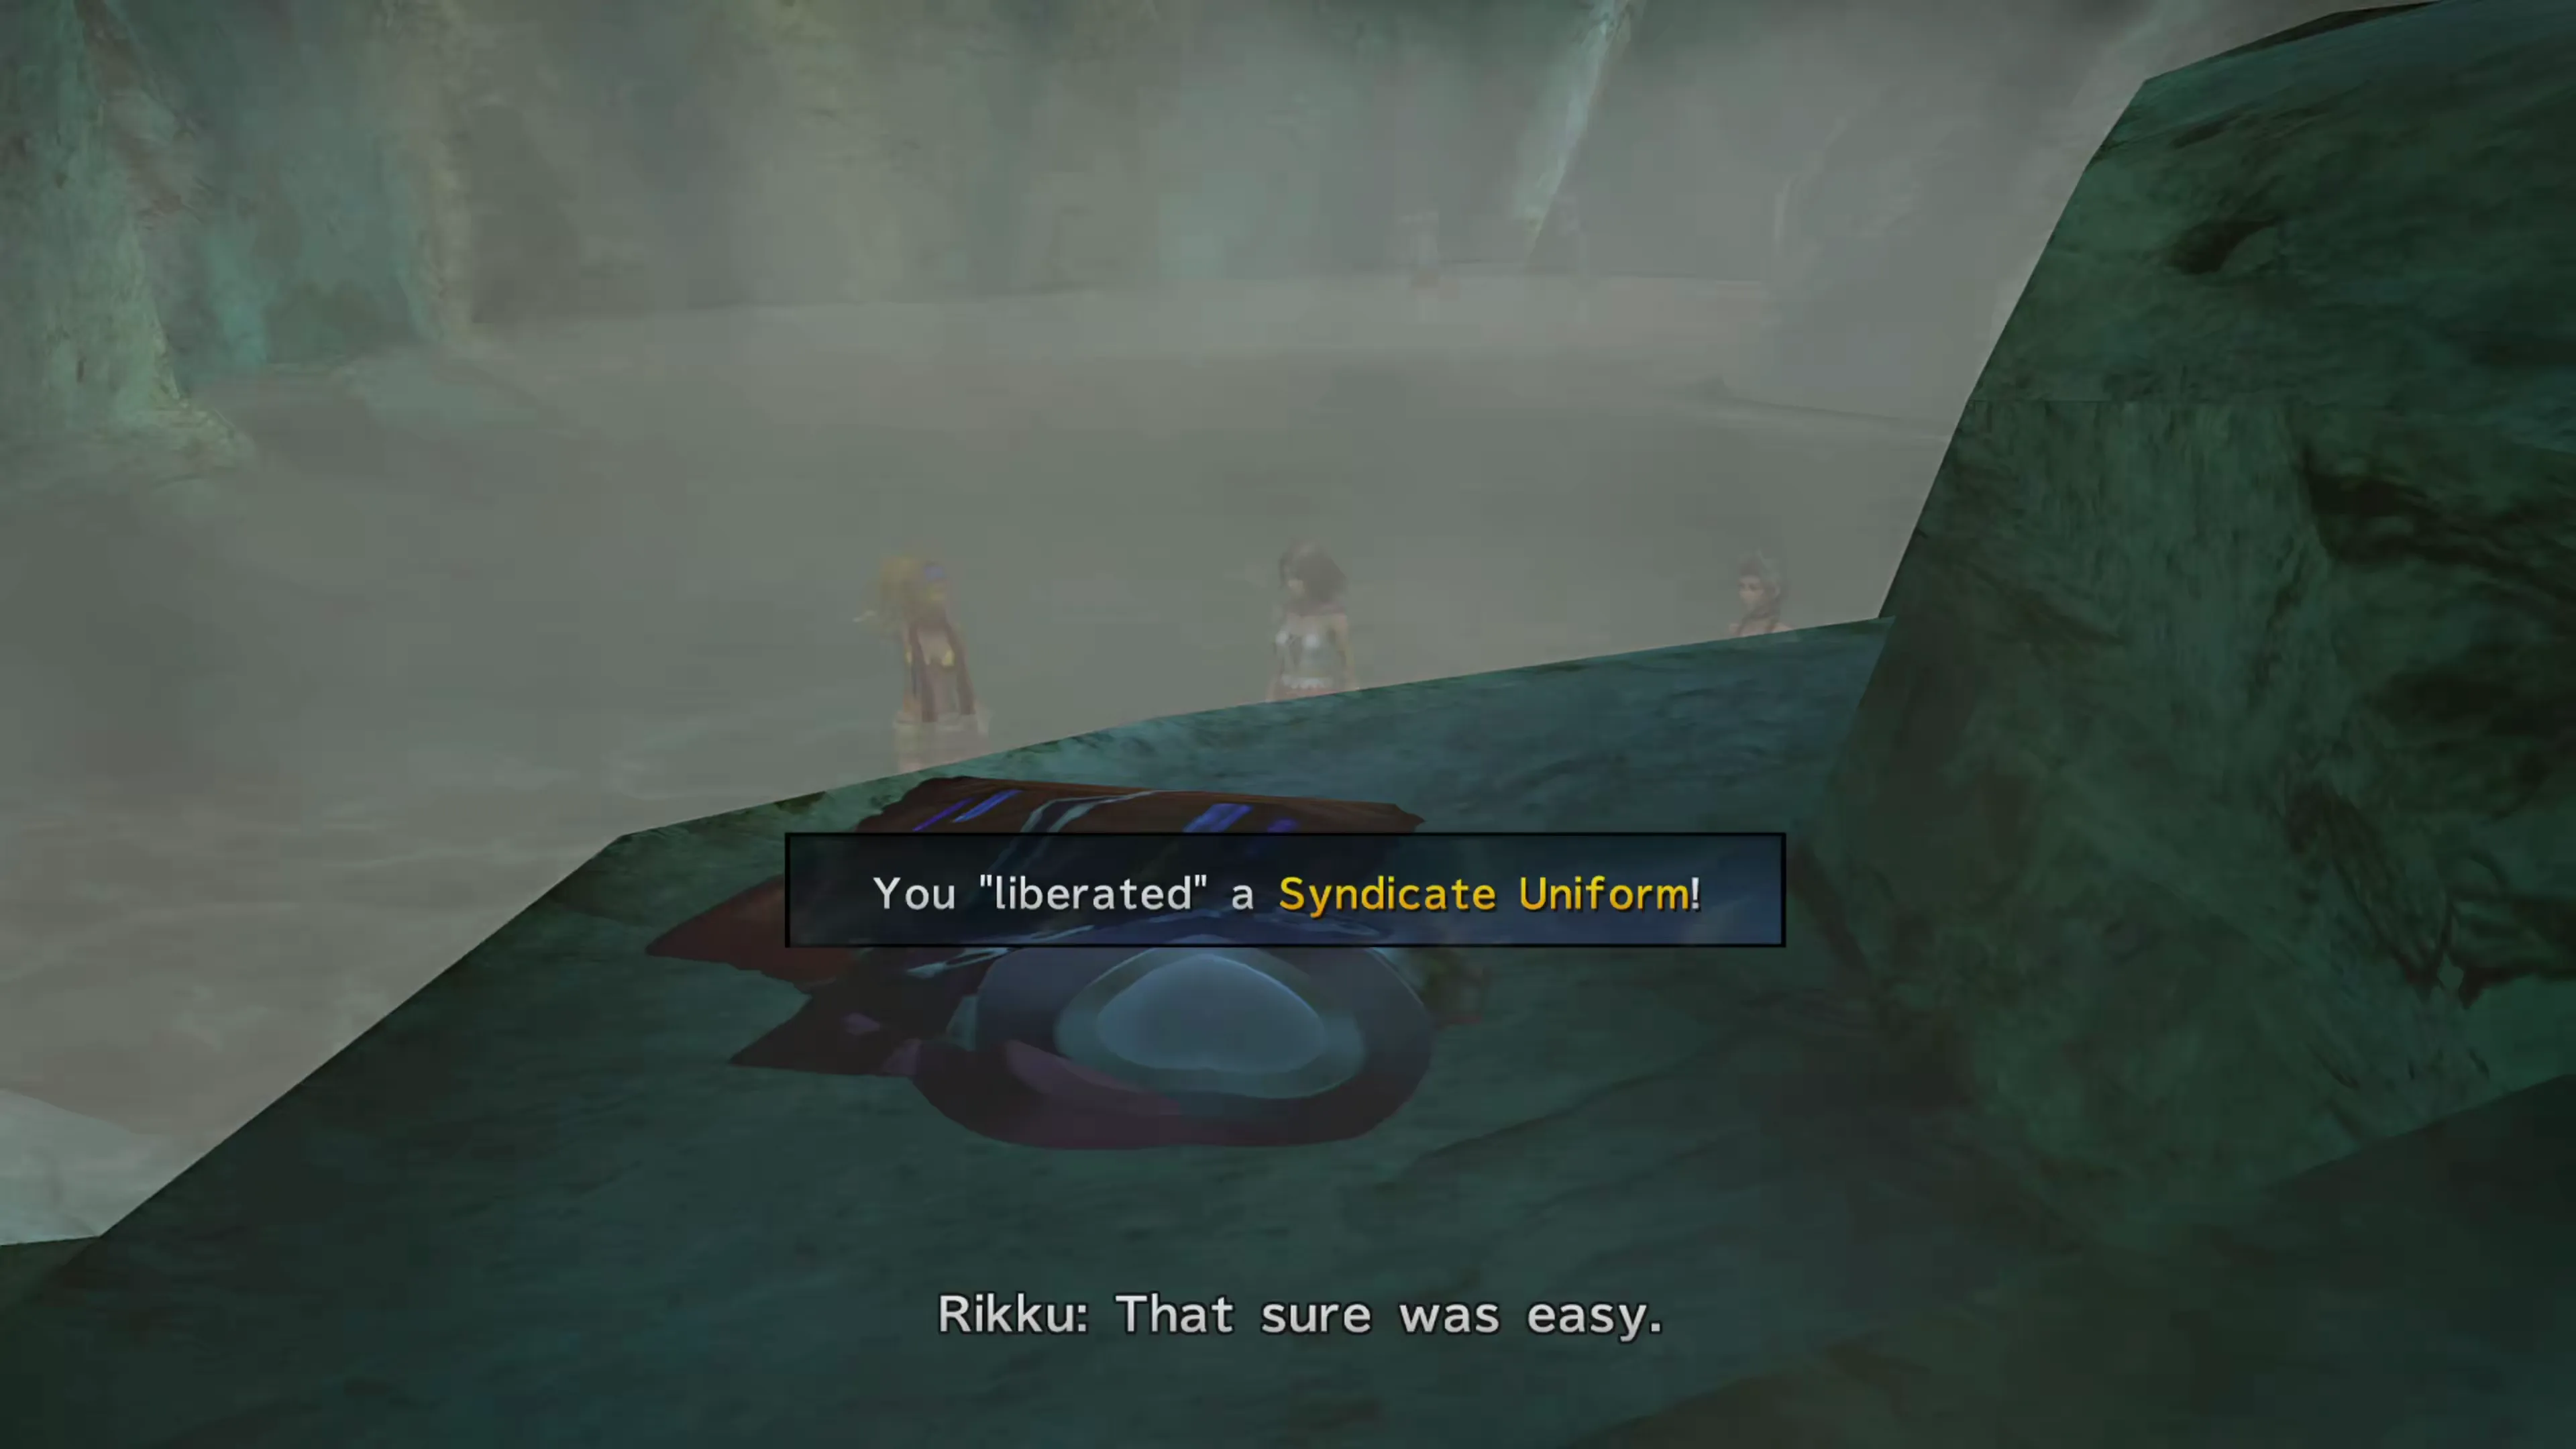
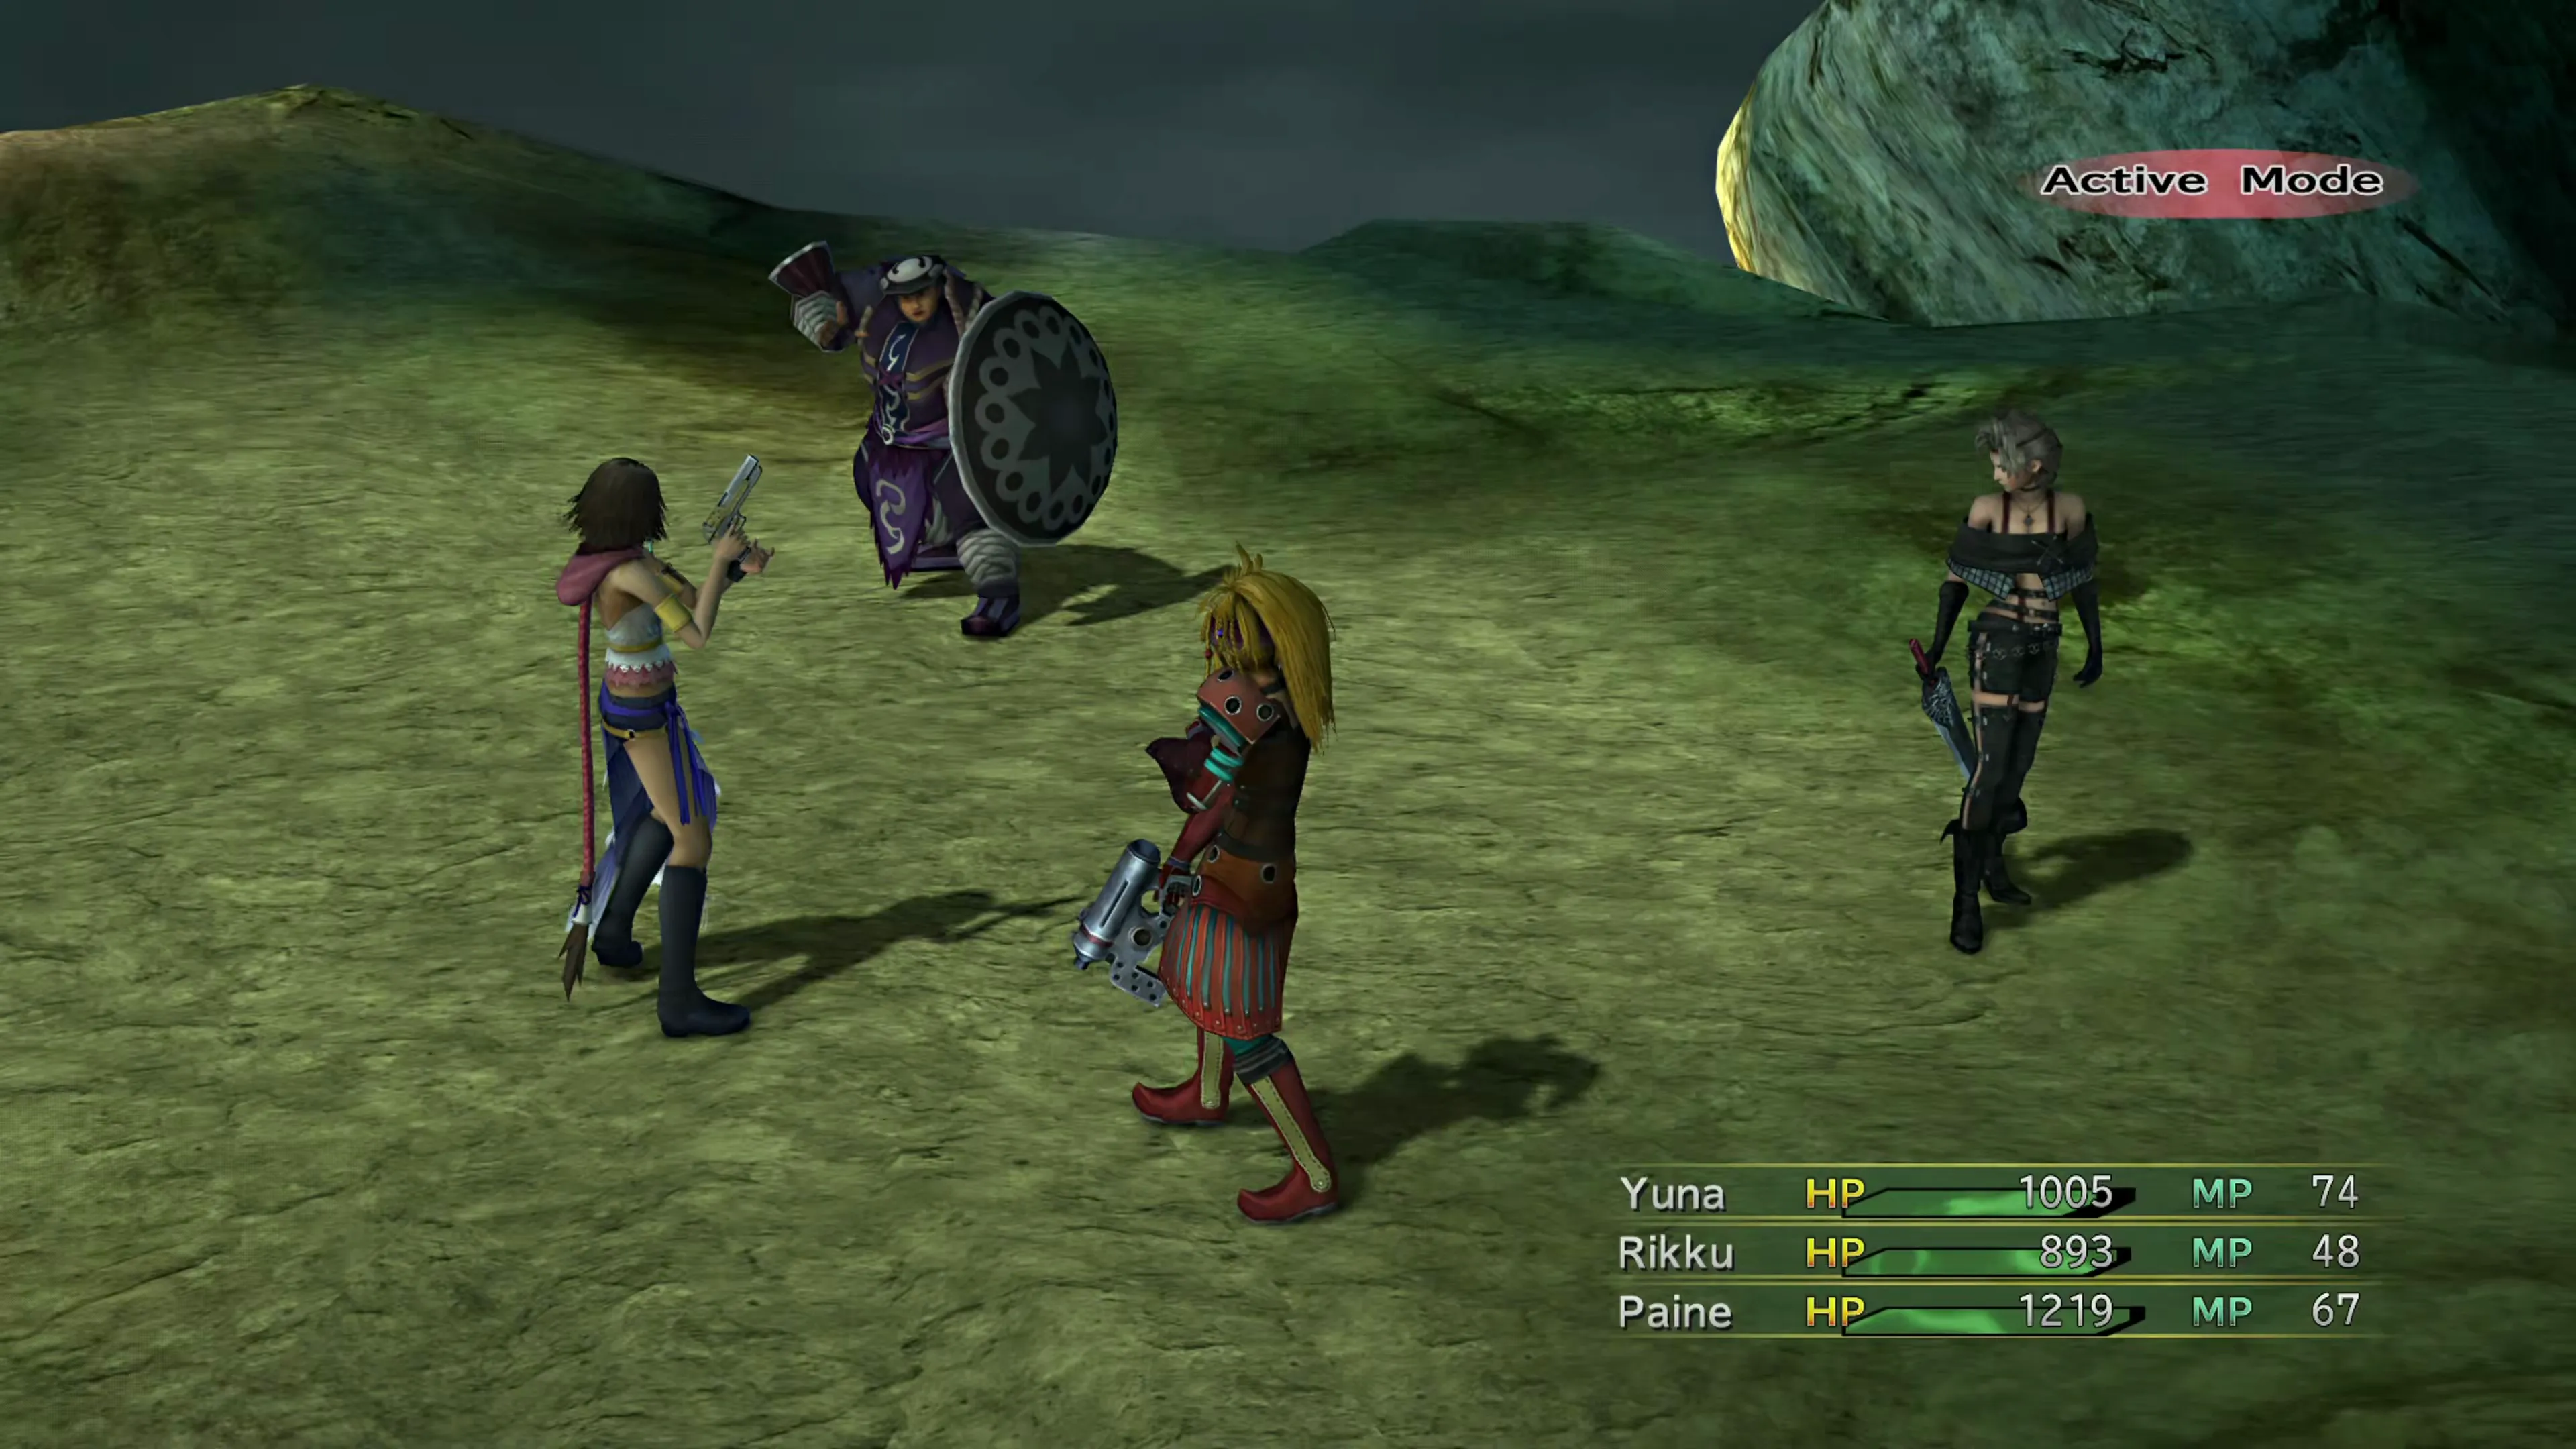
You’ll have to fight two Fem-Goons and a Viper Sniper, but this isn’t really a boss fight. Then you’ll have to fight Ormi on his own and, once again, this doesn’t really qualify as a boss fight; he goes down very easily, and you’ll get the  Stonehewn Garment Grid as a reward.
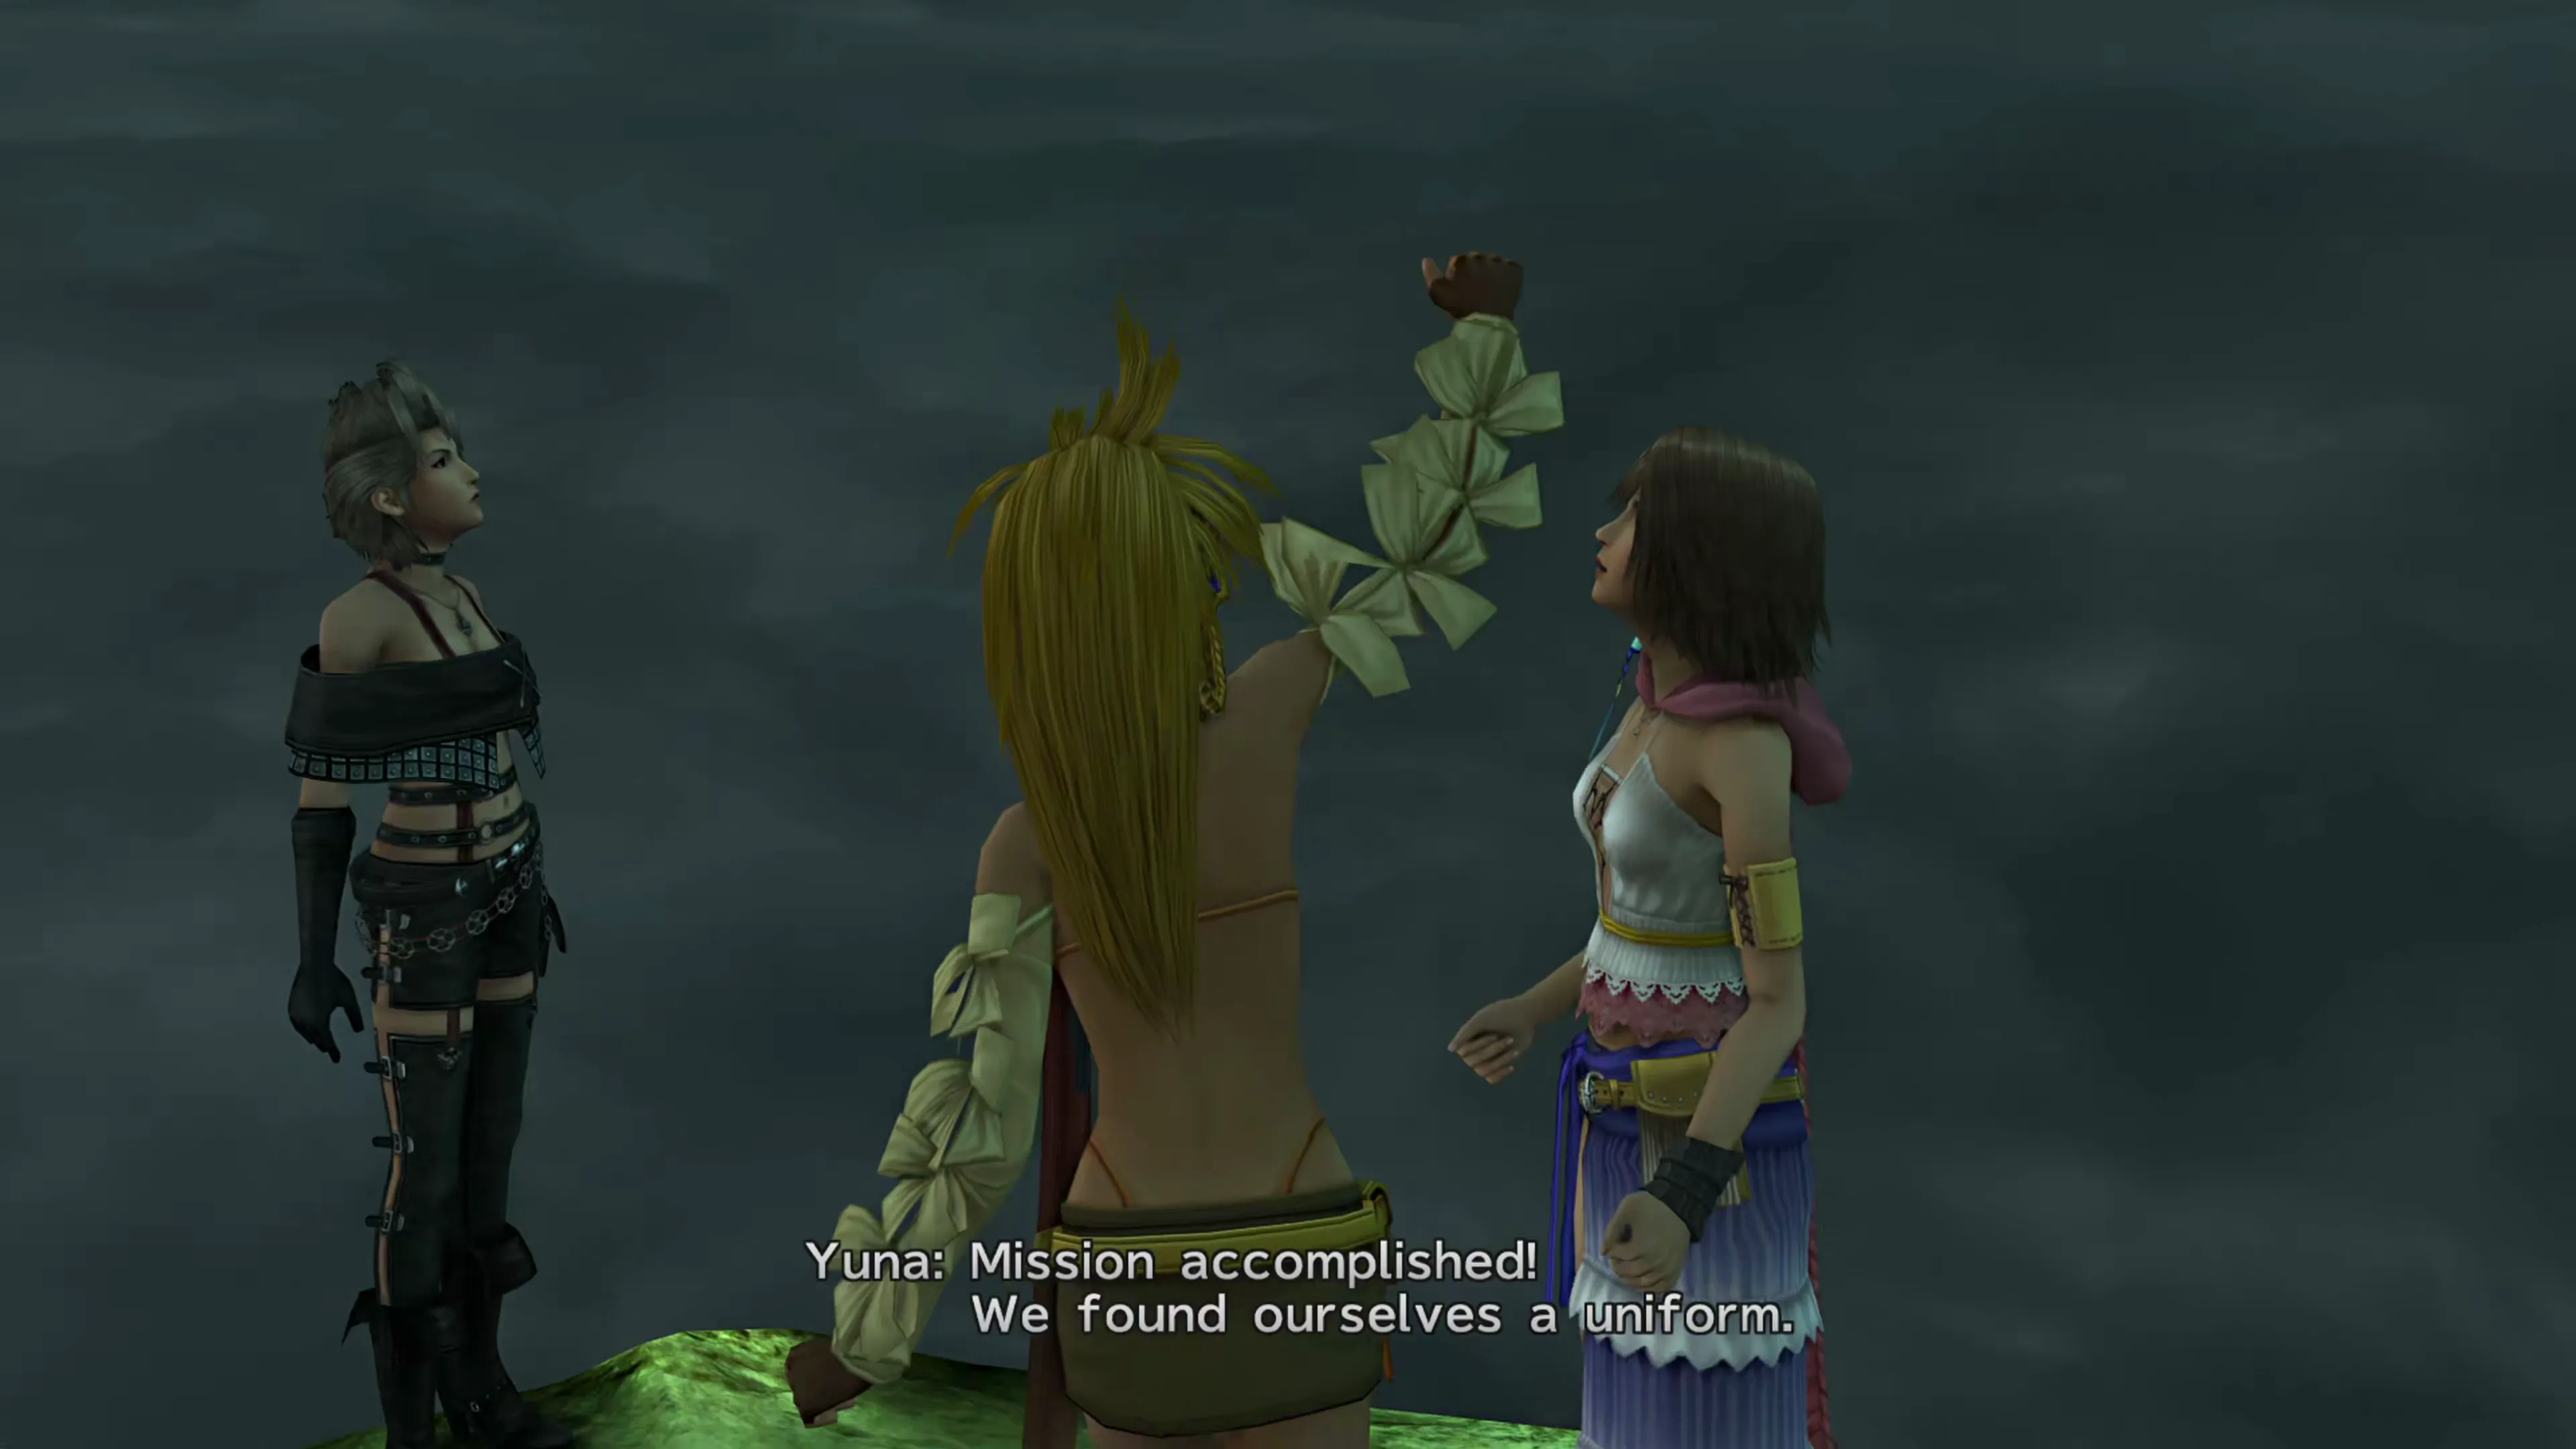
This will conclude the Mission. The team will automatically be returned to the Celsius, where a short scene will play out showing Yuna, Rikku, and Paine in their Syndicate Uniforms. You’ll also get the Bum Rush Garment Grid as a reward for collecting all three. The next destination is the Zanarkand Ruins.
Checking the “Mt. Gagazet Complete” box adds the Story Completion Percent for the automatic scenes in Mt. Gagazet.