

Equipping Creatures
You’ll be able to access Shinra’s “Creature Creator” as soon as you board the Celsius after the opening scenes in Luca. Shinra will turn around in his seat, and a small tutorial message will pop up on the screen explaining that you can now use “fiend trap pods” to capture fiends all across Spira.
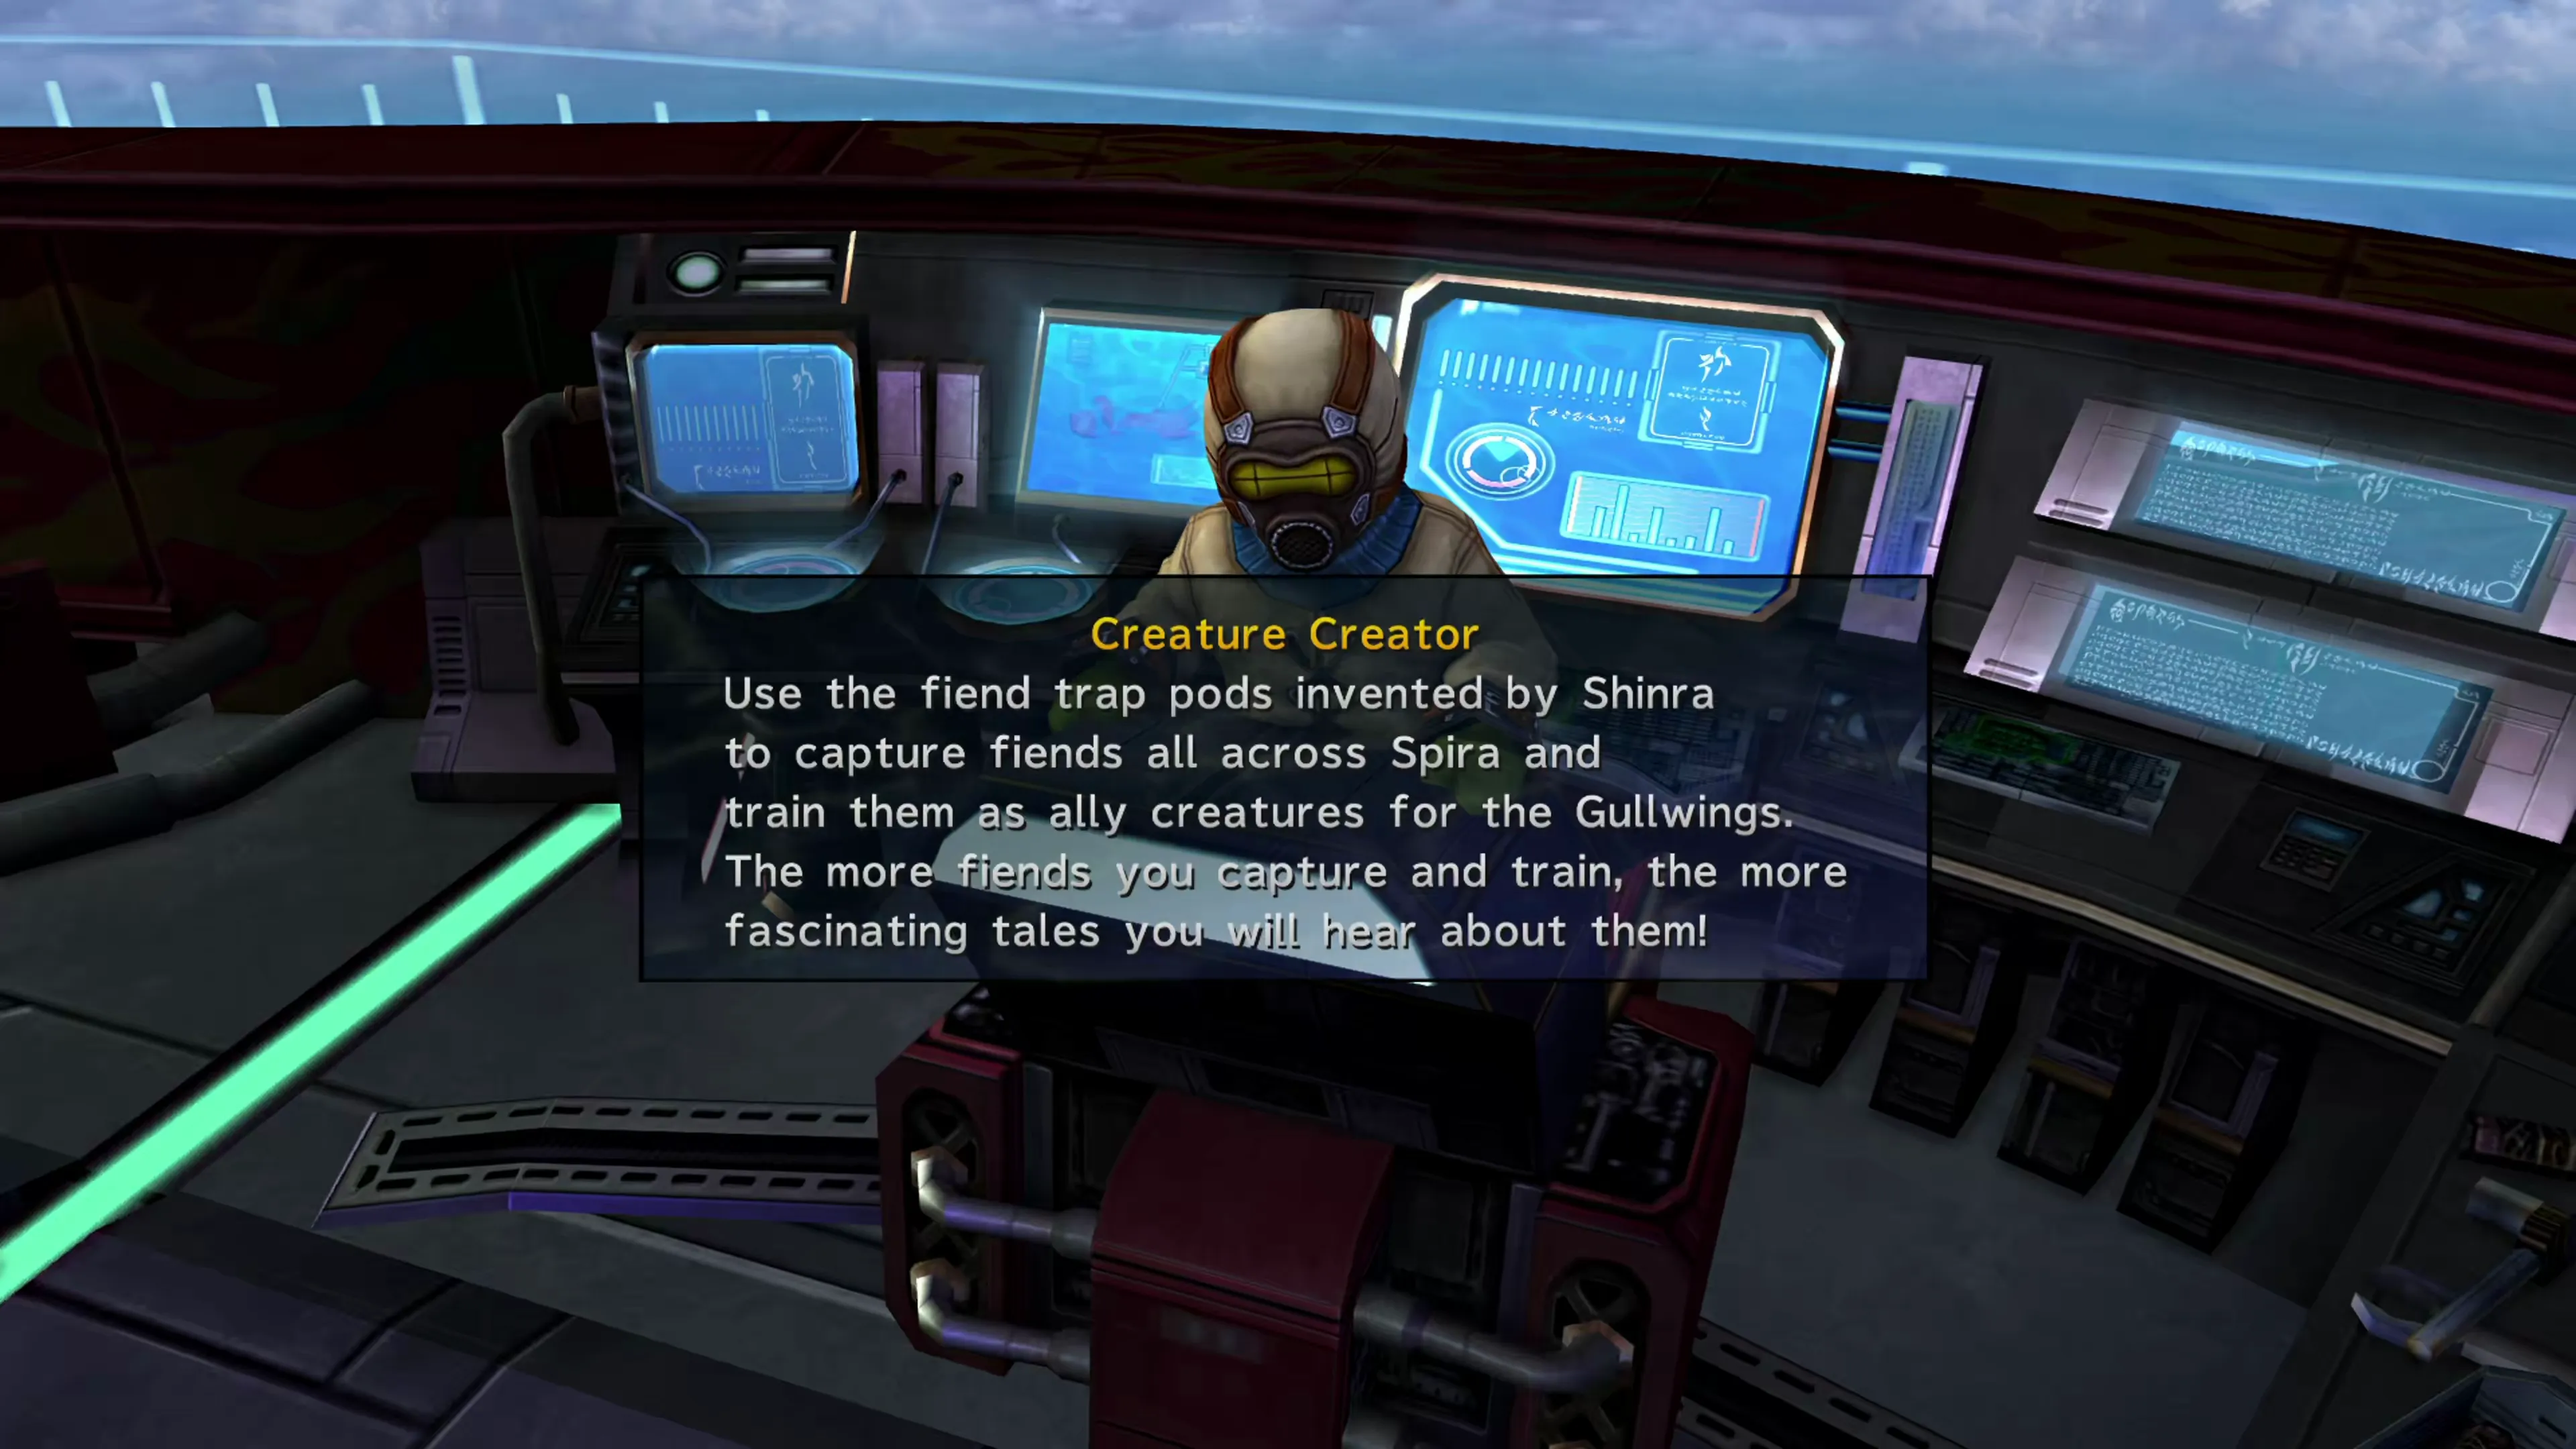
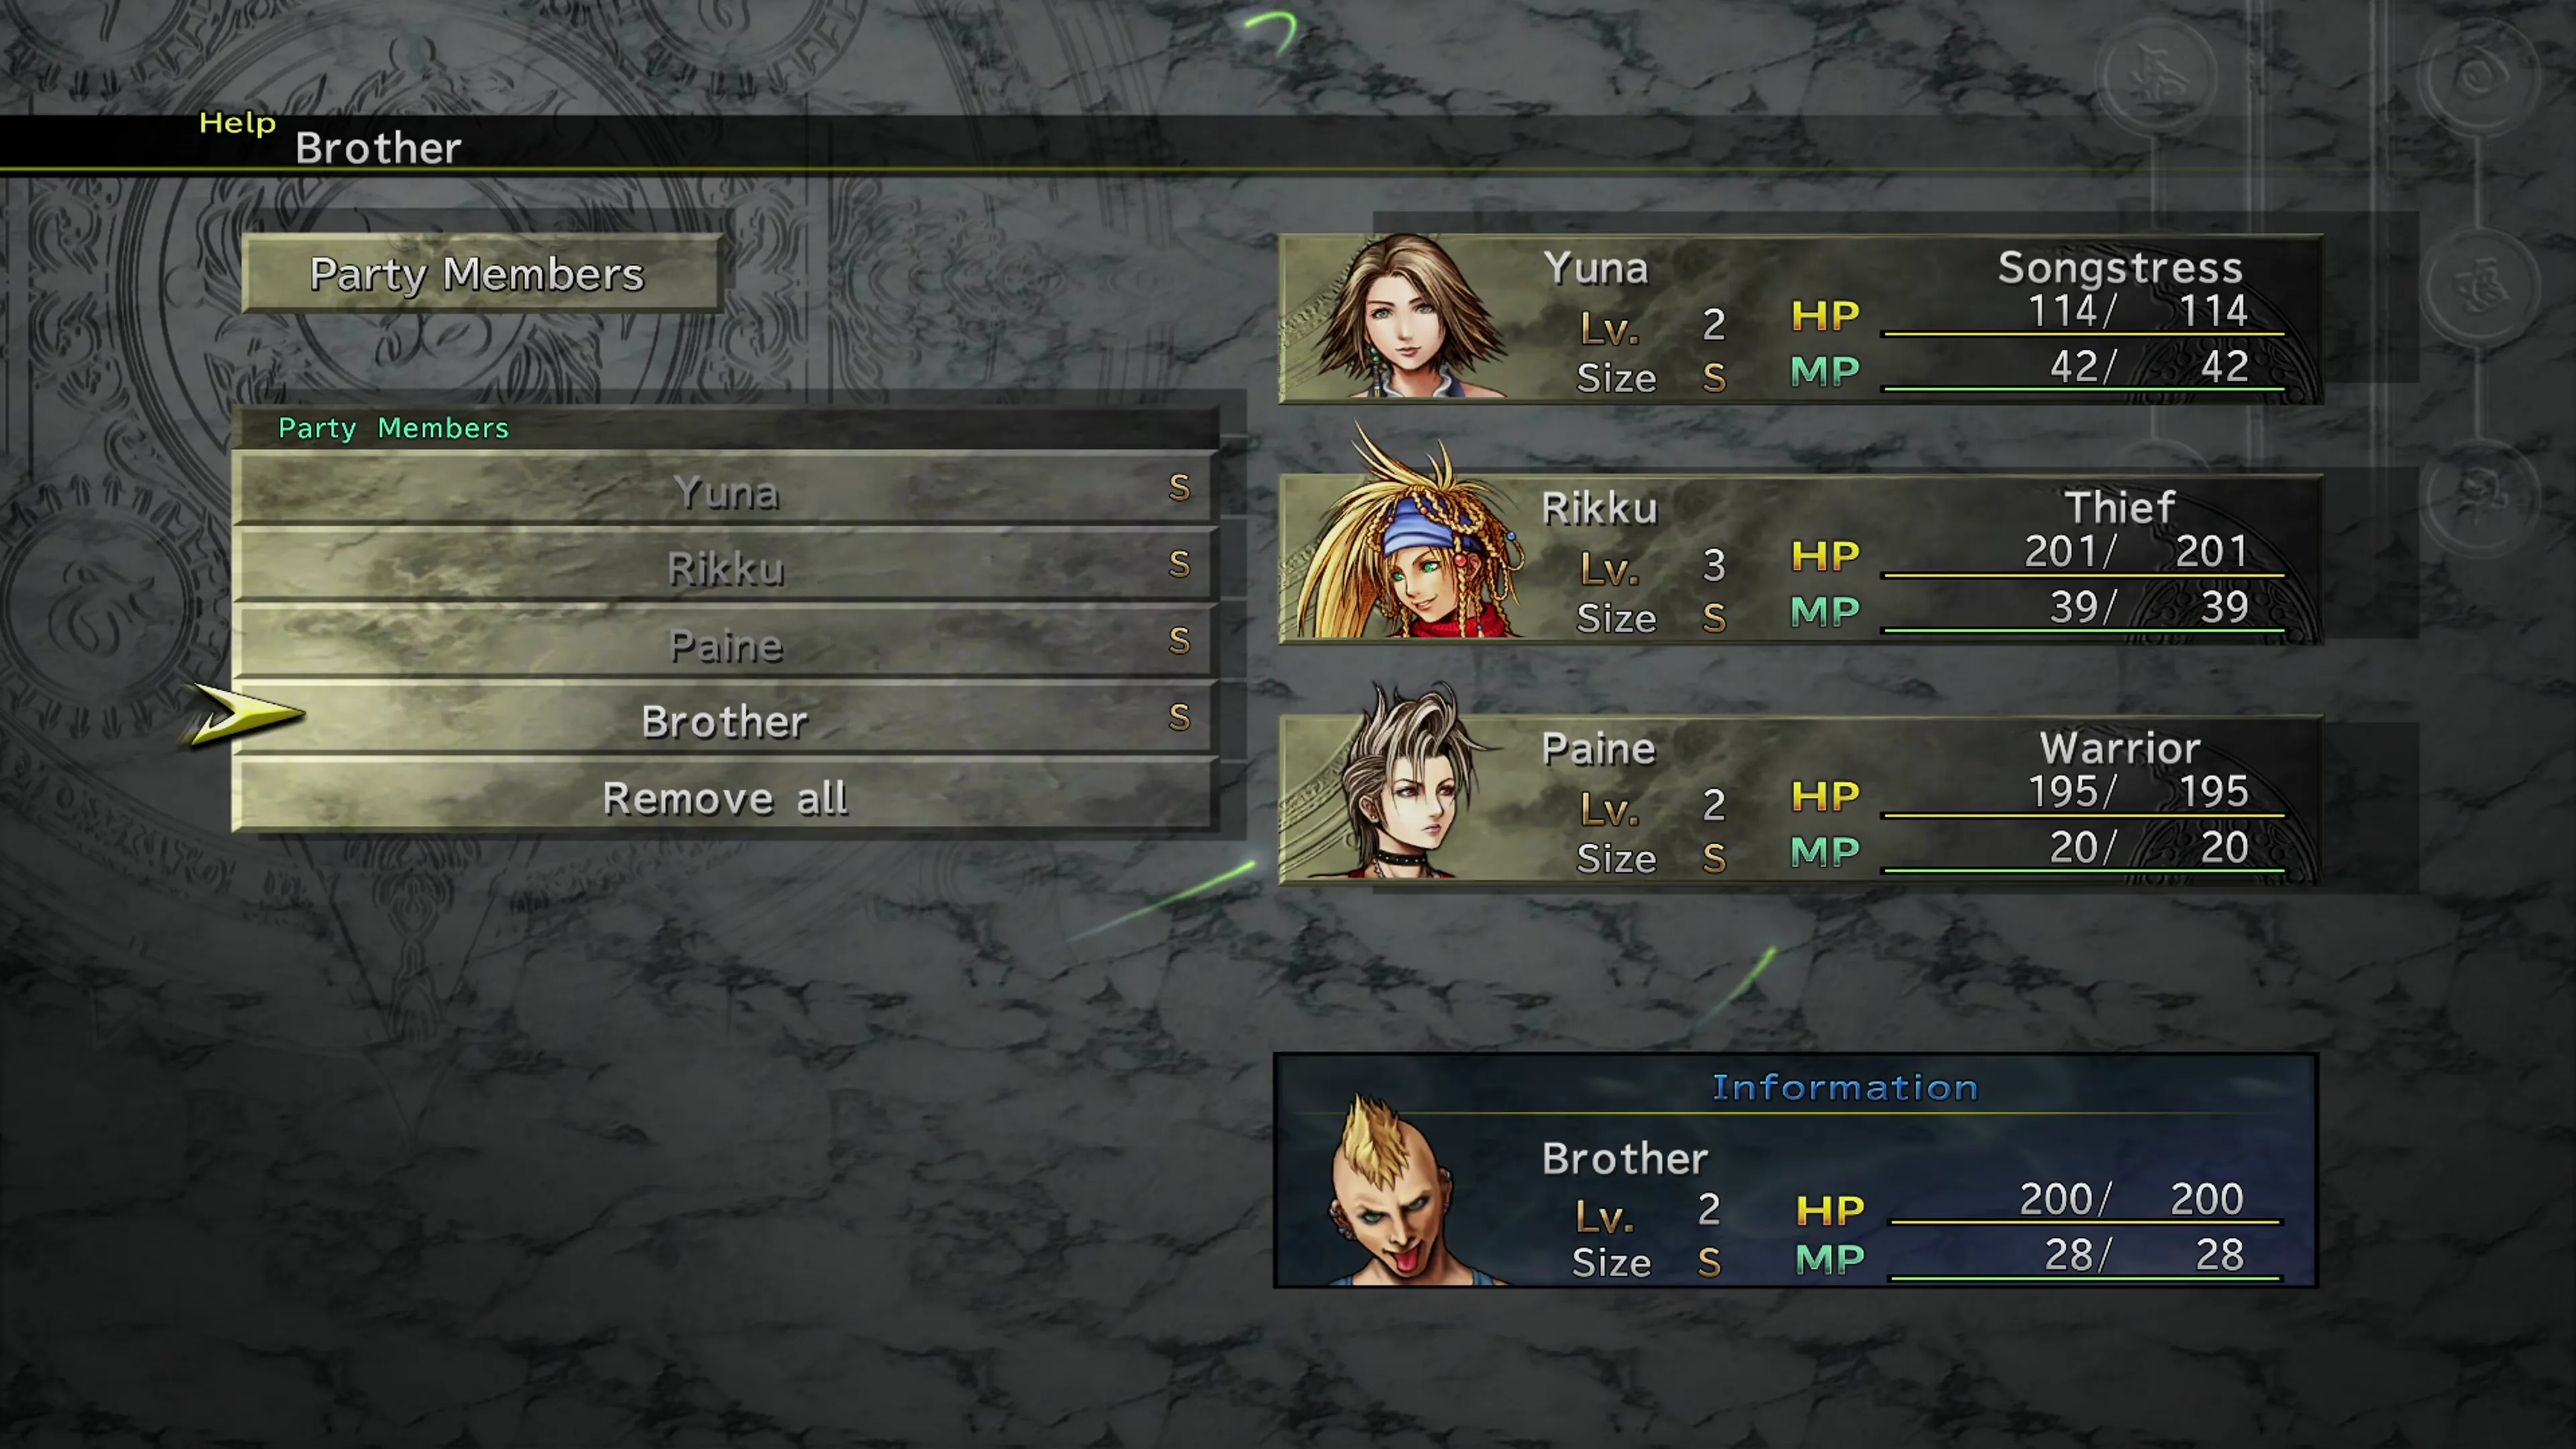
Speak to Shinra, and he will offer to give you a brief tutorial on how the Creature Creator works. It doesn’t matter whether you watch or skip his tutorial. Either way, you’ll have a new ‘creature’ in your party automatically, which you can see if you select the “Party Members” option in the game menu.
Shinra mentions this in his tutorial, but before you send any of your Pokemon creatures into battle with you, you’ll have to equip them with a Garment Grid and a Dressphere, and you’ll have the option to equip them with accessories as well.
Helpful Hint
If you plan to use your creatures in battle, make sure you pay attention to what happens when you equip them with certain Dresspheres. They can’t switch between roles, and it doesn’t change their abilities, but it does have a noticeable impact on their creature stats. Try to pick a Dressphere that’s in line with the role you expect the creature to play.
Additionally, if you have access to powerful Dresspheres like  Mascot, it’s almost always a good idea to equip those Dresspheres over anything else because of the massive stat boost that they provide.
Having the ability to equip accessories is a neat little trick you can use to help out your characters. As Shinra mentions, many of the accessories have different effects when they’re equipped to a creature, but there are two that don’t:
| Accessory | Effect |
|---|---|
 Charm Bangle Charm Bangle | An accessory that prevents enemies from attacking. |
| Lure Bracer | An accessory that increases the number of random encounters. |
Different occasions call for equipping either accessory. In some end-game dungeons, for example, you’ll want to equip a Charm Bangle to reduce interruptions and make navigation easier. In other locations, you’ll want to level up your characters or track down battles against specific fiends, and you may want to equip a Lure Bracer. As another example, this may help speed things up when you’re trying to fill out Shinra’s Bestiary in the Via Infinito.
Instead of equipping these two accessories to your three primary party members, consider equipping them to one of the creatures that is tagging along in your party. This has one major benefit: it frees up an accessory slot on another character.
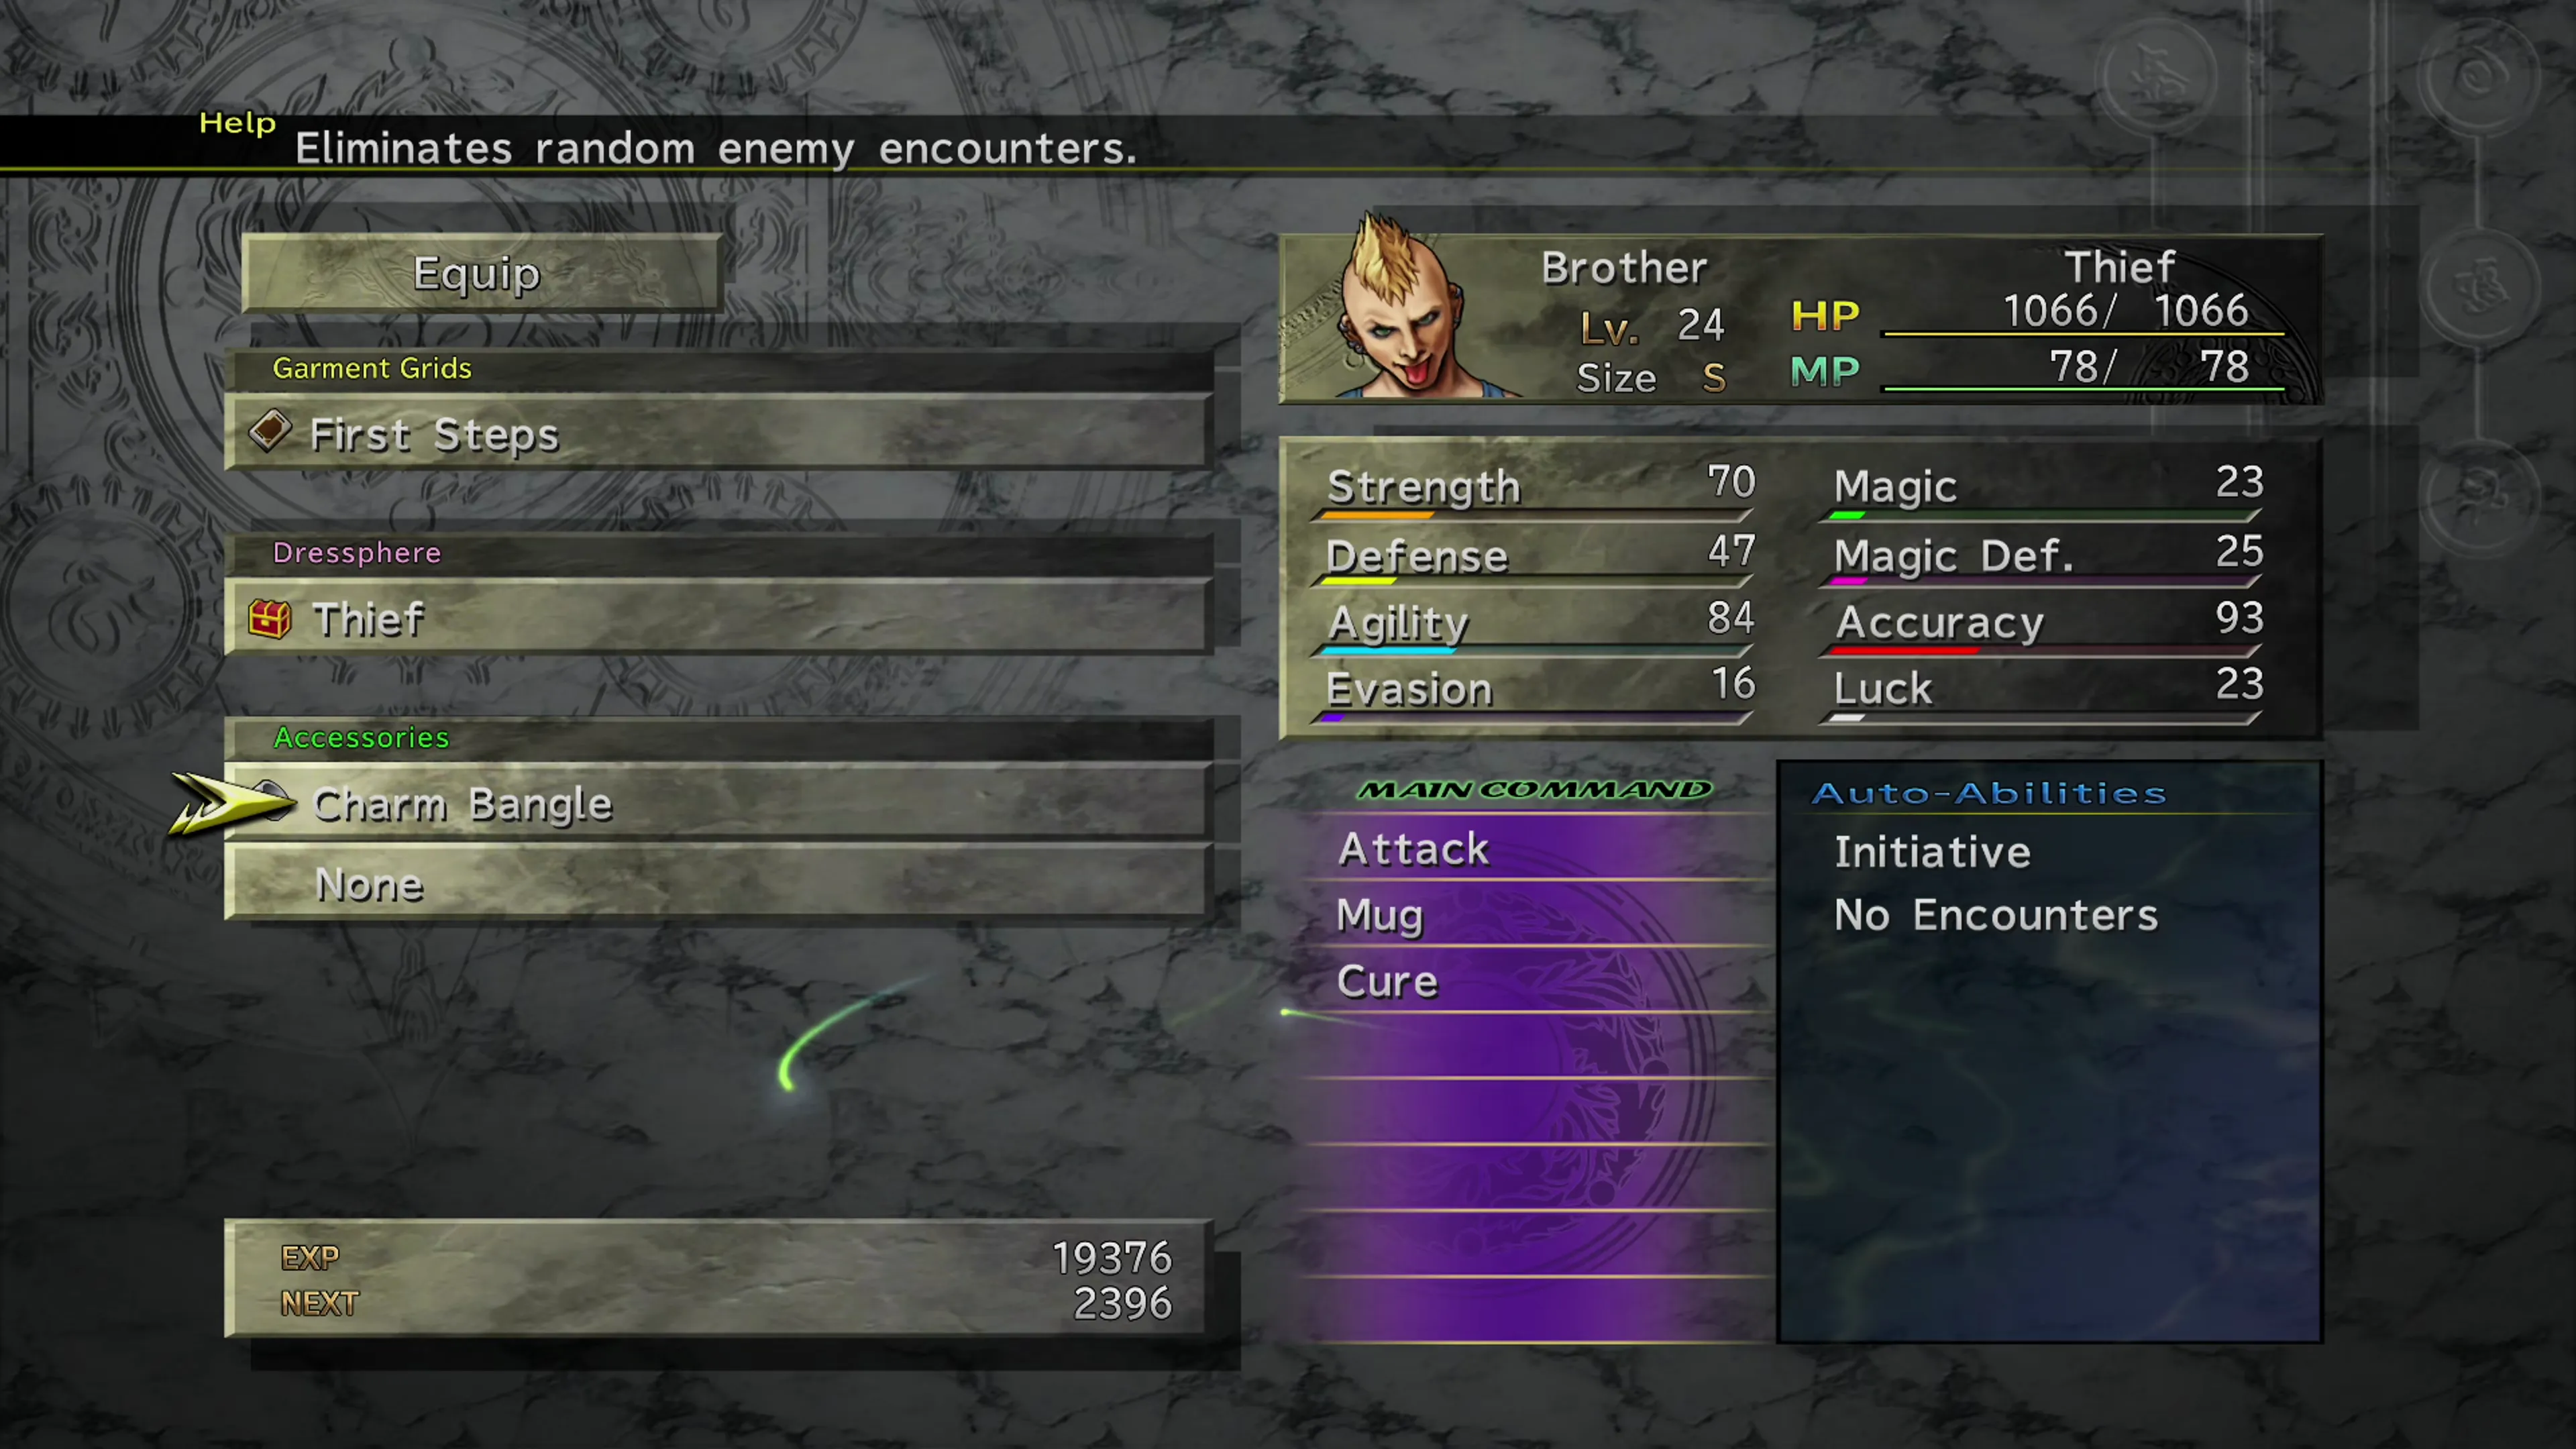
For example, instead of having Yuna equipped with a  Ribbon and a Lure Bracer while you try to speed up encounters in the Via Infinito, you can have her equip something more powerful and let your creature (Brother, if he’s still there) worry about equipping the Lure Bracer.
And the same principle applies to the Charm Bangle. In theory, you won’t be battling any fiends while a party member is wearing the Charm Bangle, but there are some forced encounters you may be thrown into. This includes boss battles and even creatures that appear on the maps, such as on the lower floors of the Via Infinito. Using this strategy gives you one extra accessory slot to play around with.