

Board and Level Layout
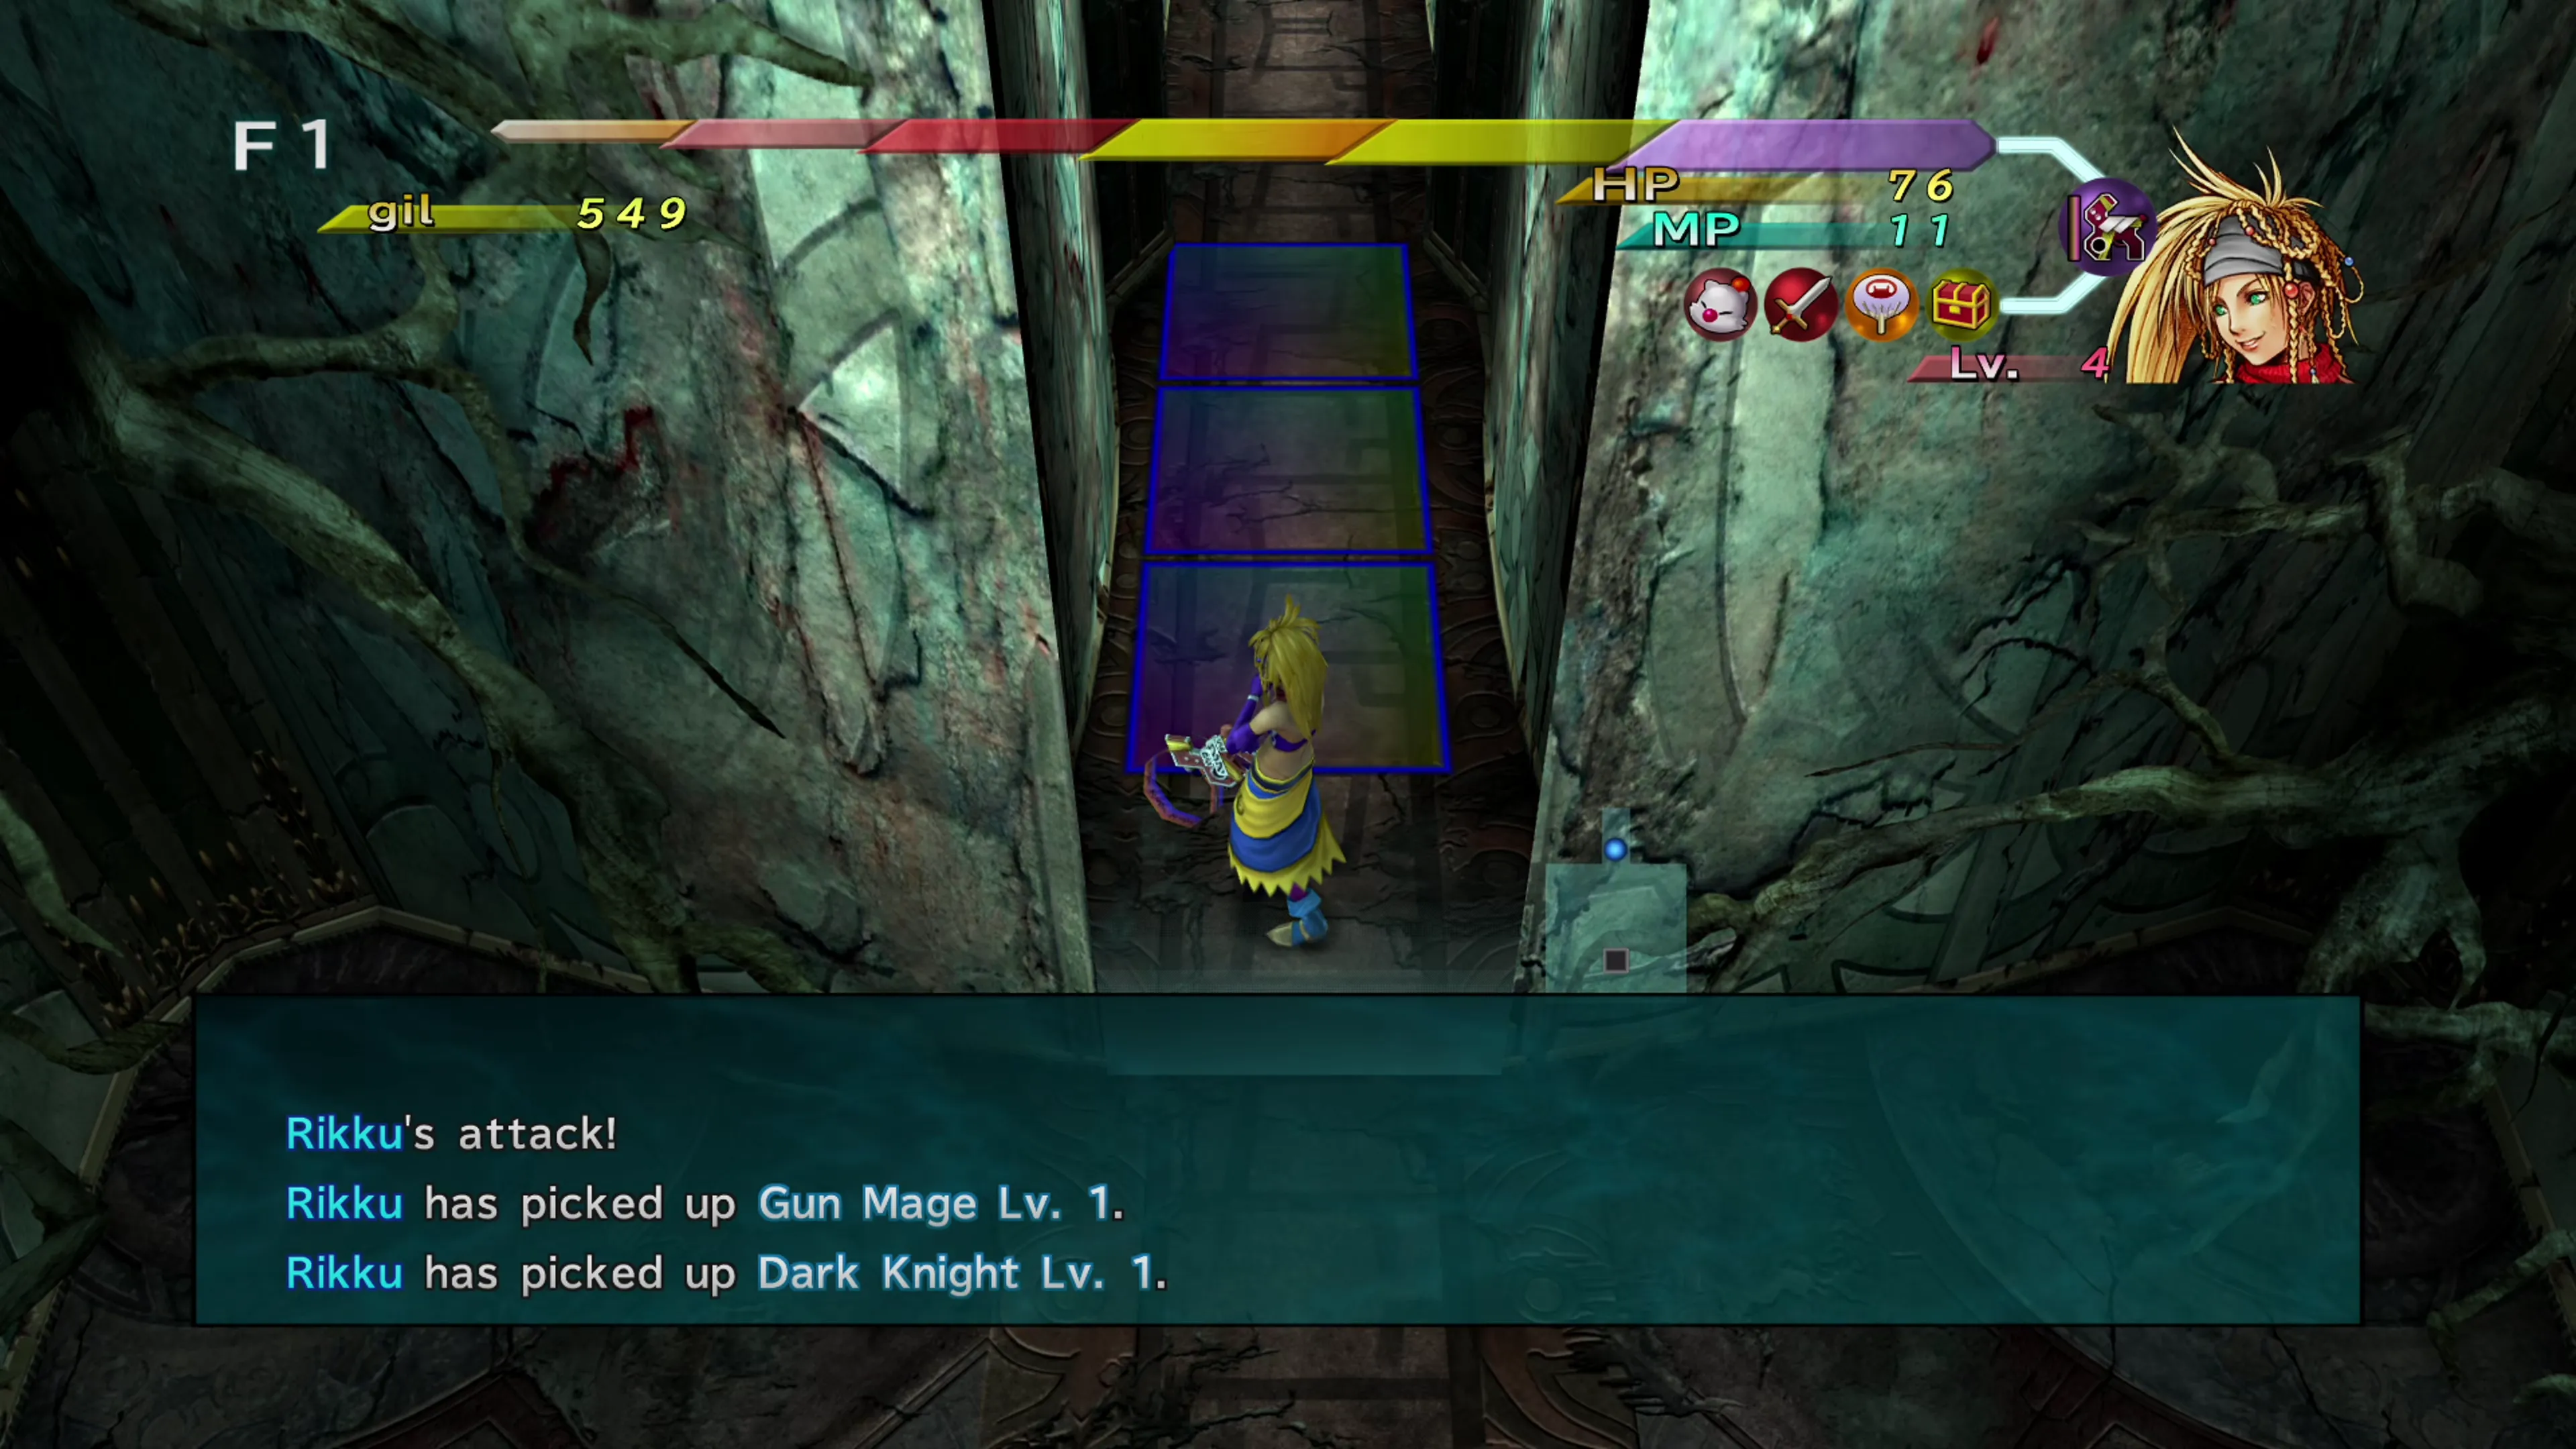
The movement and board of each floor in Final Fantasy X-2: Last Mission resembles a chessboard. Here’s an example of what one of the early floors looks like. These floors are made up of:
- Rooms
- Hallways
- Elevators
- Traps
Let’s go over each of these elements one by one.
Floor Layout / Rooms
The floors inside Iutycyr Tower are generated randomly the same way as the Cloisters are in the Via Infinito. There are common patterns, but each time you progress through the Tower you’ll see a different combination of rooms. This doesn’t matter, though, because the objective on each floor is to work your way through the rooms and find the elevator to the next floor.
Hallways and Corners
Hallways run between each room. Some enemies are inside rooms, and some can be found in the hallways, but enemies can’t cross the threshold from the hallways. You can use this tactic to keep enemies at a distance before you enter the room, so you always get the first attack in.
This strategy is covered in more detail in the Advanced Tips and Tricks section.
Last Mission

Tips for making the climb up Iutycyr Tower easier, including how to steal from the Founder, advanced movement techniques, and more.
The map helps you keep track of each floor:
- Enemies and stones are shown in red.
- Items are shown in white.
- Your character is the flashing light blue circle.
- Traps you’ve revealed are marked with a yellow X. Most traps stay hidden until you step on them, unless you have something equipped that reveals them.
Elevators
There are two different tiles you’ll see on the floor. There are trap tiles, outlined below, and the elevator tile, which looks like this:
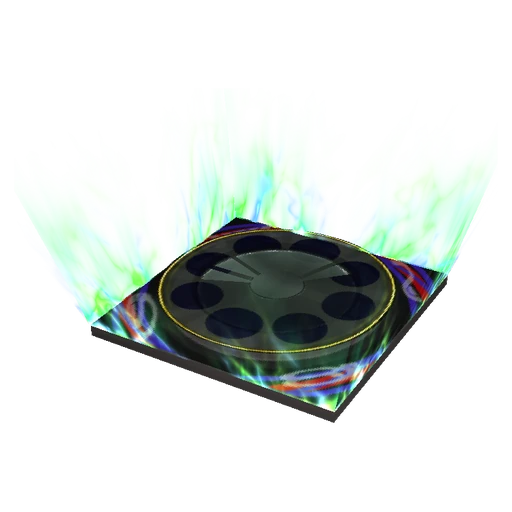
Your goal is to make it to the elevator… however, you don’t want to rush to the elevator and head up to the next floor too quickly. Picking up items and gaining experience are incredibly important, and this will be covered more in depth on the Advanced Tips and Tricks page.
When you reach a floor on a multiple of 5 (such as floor 5, 10, 15, 25, etc., except the boss floors), you’ll come across an elevator with pink straps on it that looks like the one below:
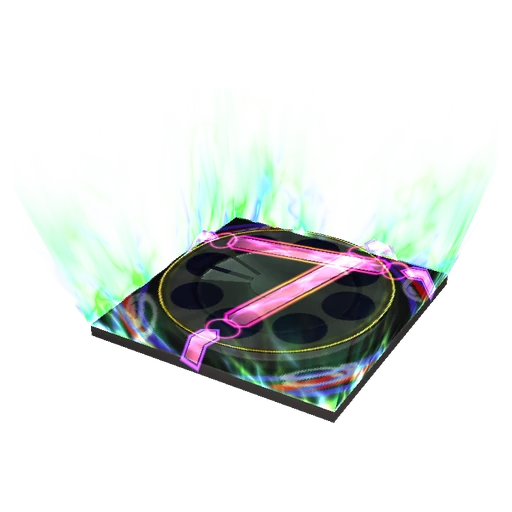
To activate these elevators, you’ll need to complete a set of actions, some of which aren’t intuitive. You can find a full list of the requirements to unlock the elevators in the Floor-by-Floor Guide section.
Last Mission
A guide to each floor of Iutycyr Tower, from the first floor up.
Traps
The other tile types you’ll encounter are invisible until you step on them. These are called trap tiles, and there are quite a few different types that you’ll see:
| Image | Trap |
|---|---|
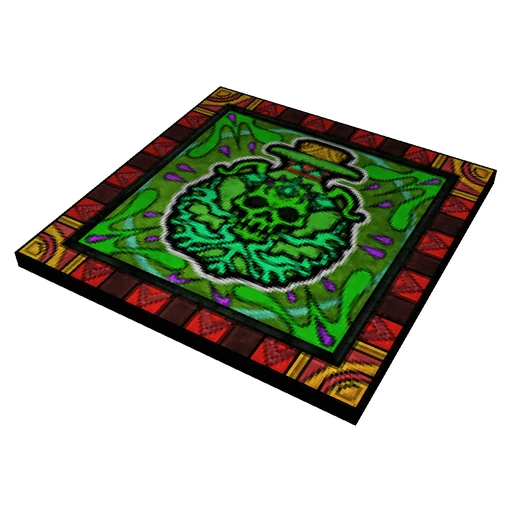 | Biospray Poison when stepped on. |
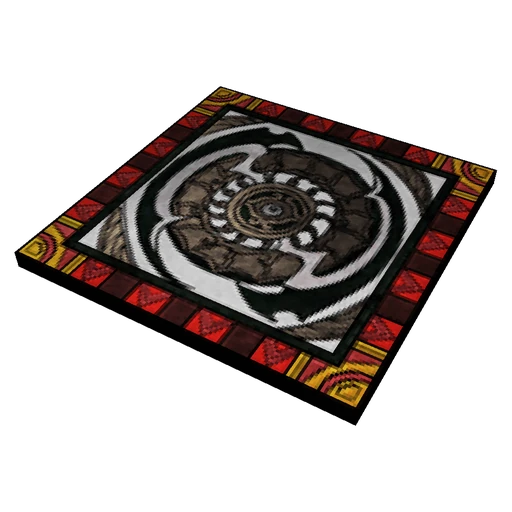 | Wind Slash Damage when stepped on. |
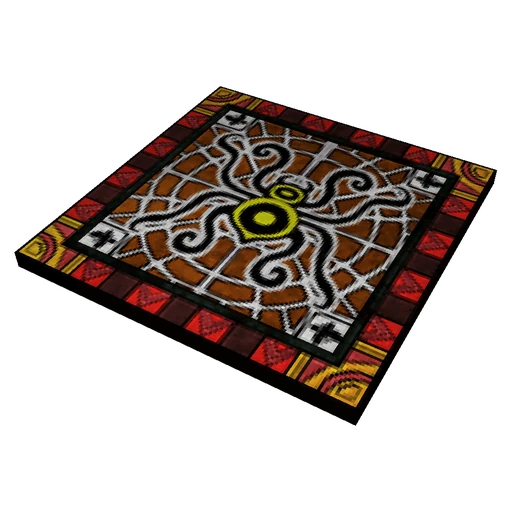 | Sticky Trap Immobile when stepped on (several turns). |
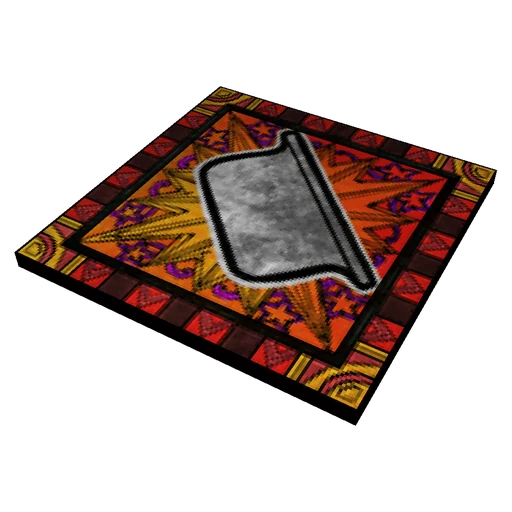 | Plummet Damage when stepped on (falling object). |
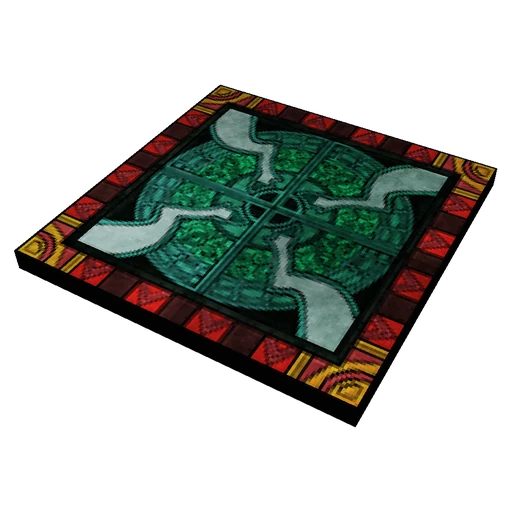 | Pit Trap Drop to floor below when stepped on. |
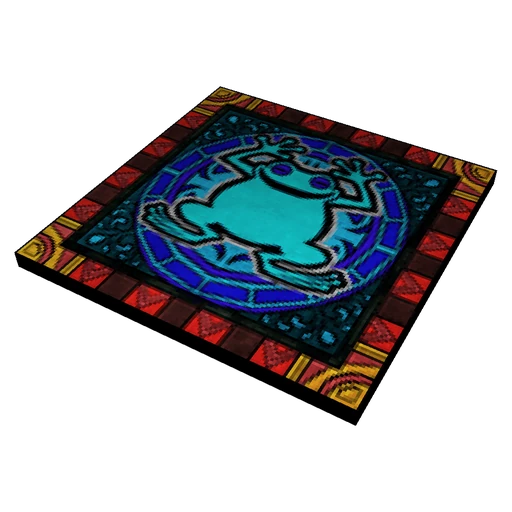 | Trampoline Warp to random area of floor when stepped on. |
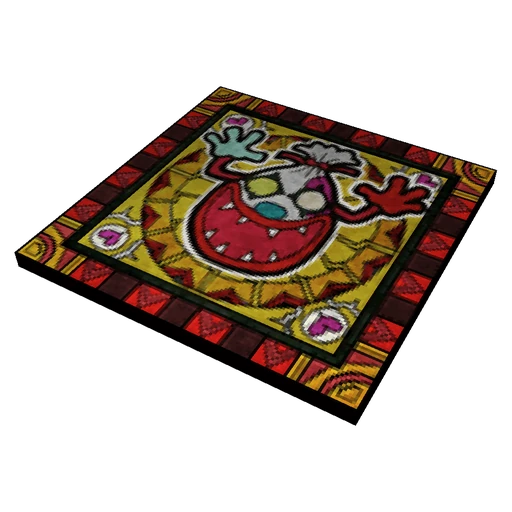 | Boo! Tile Scatters items from your inventory around the room. Enemies that step on it drop items. |
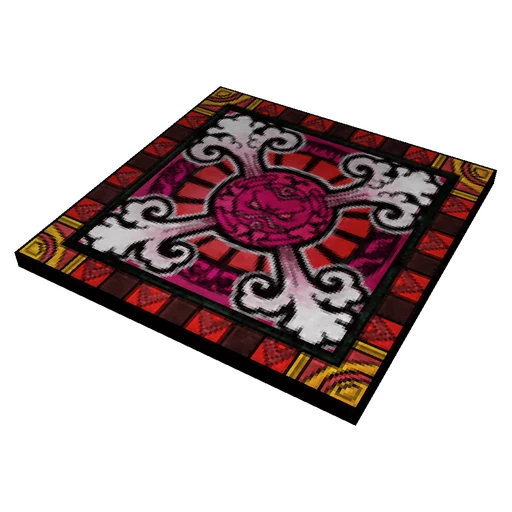 | Nefarious Pit Unequips all of your Dresspheres. Enemies that step on it fall asleep. |
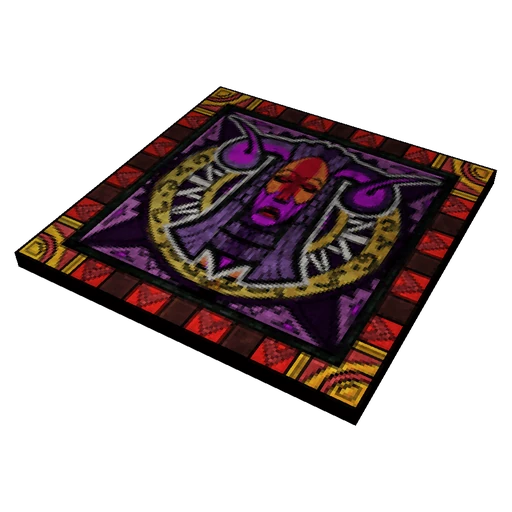 | Cursed Seal Curses one of your items, so it can’t be used or equipped, and an equipped item can’t be removed. Enemies that step on it are silenced.  Cursebreaking or Item Esuna removes the curse, and a cursed item can still be sold at a shop. Cursebreaking or Item Esuna removes the curse, and a cursed item can still be sold at a shop. |
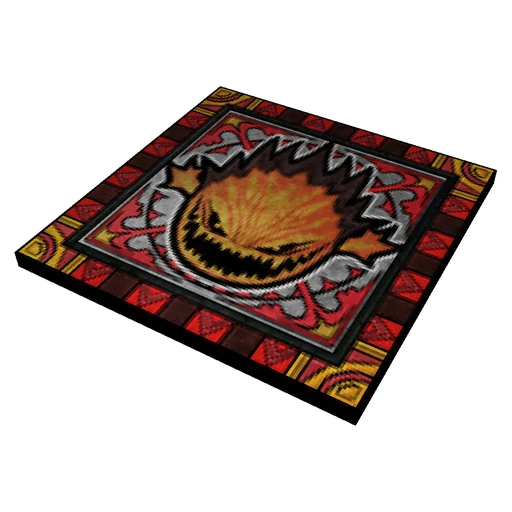 | Bomb’s Wrath Puts a BOOM countdown on one of your items, which is destroyed when it runs out. Enemies that step on it are slowed. Item Esuna removes BOOM, and the  Safety Pouch prevents it. Safety Pouch prevents it. |
These traps are annoying to deal with, and it’s much easier to work your way through the game if you activate an ability or accessory that makes traps easier to see and avoid. For example, the Thief Dressphere can detect traps with its Find Trap ability. You can also unlock an ability called  Evade Traps or equip a Stealth Cape, which has the same effect and allows you to ignore all of these traps entirely… and it’s worth doing!
Stones
You’ll run into two types of stones as you pass through the tower’s 80 floors. After seeing the first one or two, you may get the mistaken impression that you’ll encounter complex, interesting stone-related puzzles later in the tower… but that is not the case. You’ll run into just these two types of stones, and what you see is what you get:
| Image | Stone |
|---|---|
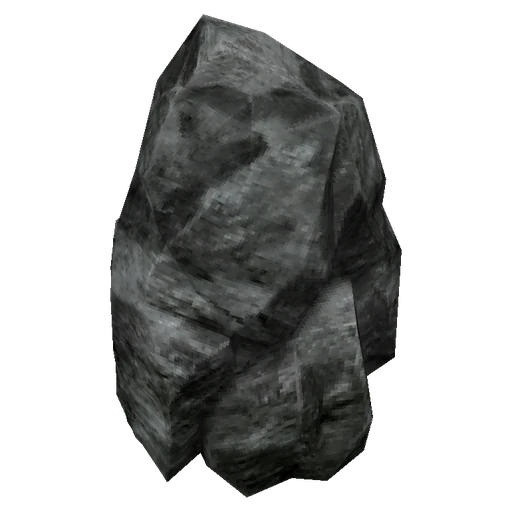 | Regular Grey Stone Hit it a few times for 1 damage each time; no matter how powerful your attacks have become, you’ll destroy it after a while. Stones sitting in a room almost always hide an item underneath, so they’re worth breaking. |
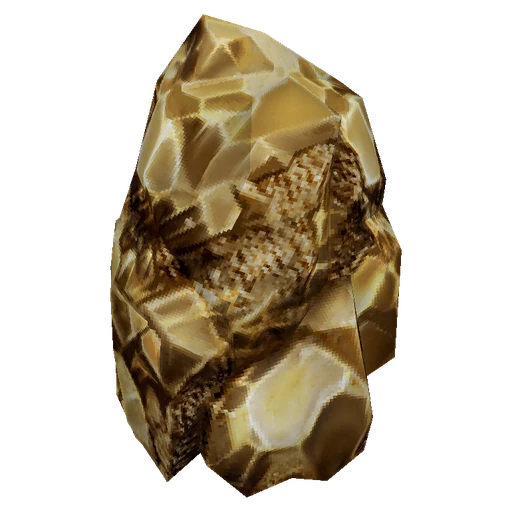 | Gold Stone Attack it to earn Gil equivalent to how hard you hit it with your attacks. This extra gold can help, but you don’t need much to get through the tower, so don’t go out of your way to hit it extra hard. |
Shops
Between random floors, you’ll sometimes wind up at a shop. The items for sale are random each visit, but here’s what can show up:
 Ether
EtherUp to Floor 55
Turbo EtherFloors 31–65
Premiere EtherFloors 56–79
ElixirAny floor, Secret Items only
Antidote DrinkUp to Floor 55 and Floors 66–79
Echo NectarAny floor
Vision AleAny floor
Viper ExtractAny floor
Dark OilAny floor
Silence JuiceAny floor
Esuna SalveFloors 31–70, plus up to Floor 15 with Secret Items
Enhancing PotionFloors 66–79
Growth TonicFloors 66–70, Secret Items only
Evolutionary WaterFloors 71–75, Secret Items only
Weakening PoisonFloors 66–79
Wind DropletAny floor
YubimelloAny floor
Prices are for a folio with 1 page; each extra page adds 400 Gil.
Save MemoFloors 71–79
Fleeing ManualFloors 76–79, Secret Items only
Tidying UpFloors 61–65 and 76–79, Secret Items only
The DressmakerFloors 66–75, Secret Items only
Trap Evading PrimerFloors 56–60, Secret Items only
Dress Fusion SecretsAny floor
Quake RecordsFloors 71–75, Secret Items only
Hope: A MemoirFloors 76–79, Secret Items only
Basic HealingUp to Floor 40
Invigorating TalesFloors 26–75
Essence of HealingFloors 56–79
Prices are for a Level 1 Dressphere; each extra level adds 500 Gil.
 Gunner
 Gun Mage
 Alchemist
 Warrior
 Samurai
 Dark Knight
 Berserker
 Songstress
 Black Mage
 White Mage
 Thief
Thief Trainer
 Lady Luck
 Mascot
 Psychic
 Festivalist
Items marked “Secret Items only” appear only while the Secret Items Auto-Ability is active.