

Creature Creator Overview
The Creature Creator unlocks very early on in the game. In fact, you’ll be able to access it right after you return to the Celsius after completing the opening sequence in Luca (outlined in the link below):
Walkthrough

Chapter 1 begins in Luca with the opening concert battle, the arrival on the docks, and the Moogle you should speak to for Story Completion.
The Creature Creator system is pretty simple, and it doesn’t require much extra learning before you can add and level creatures or battle with them in your party, if you choose. This section covers the basics of the Creature Creator and expands on the information Shinra provides in his Creature Creator tutorial.
As a reminder, though, the Creature Creator is only available in the International and HD Remaster versions of the game. Check out the link below for more information on the different game versions:
Tips and Tricks
What changed between the original release and the HD Remaster, plus the game modes available to you.
Video Guide
A video guide for the Creature Creator has also been put together. Use the link below if you’d like an overview of the Creature Creator in video form:
Video Guide
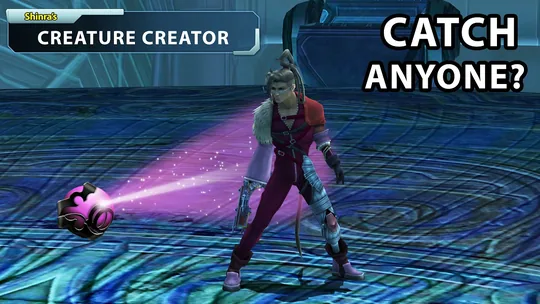
Video guide explaining how the Creature Creator works, from trapping fiends to capturing NPCs and even party rivals.
Trapping Creatures
The whole process begins with trapping creatures. The example Shinra uses in his tutorial is “capturing” Brother. Interestingly, you can “capture” other human characters and add them to your party, including the Leblanc Syndicate, Yaibal, Elma, Lucil, Baralai, Gippal, Nooj, and the list goes on. Most of them need a Trap Pod SP, and several come with conditions: Leblanc, Logos, and Ormi only appear in a New Game Plus, Elma and Lucil need the Awesome Sphere to go to the Youth League, and Baralai, Gippal, and Nooj only turn up after you complete the Den of Woe. Check out the Trap Creature page for where and when to find each one. You’ll get Brother in your party whether you watch the tutorial or not.
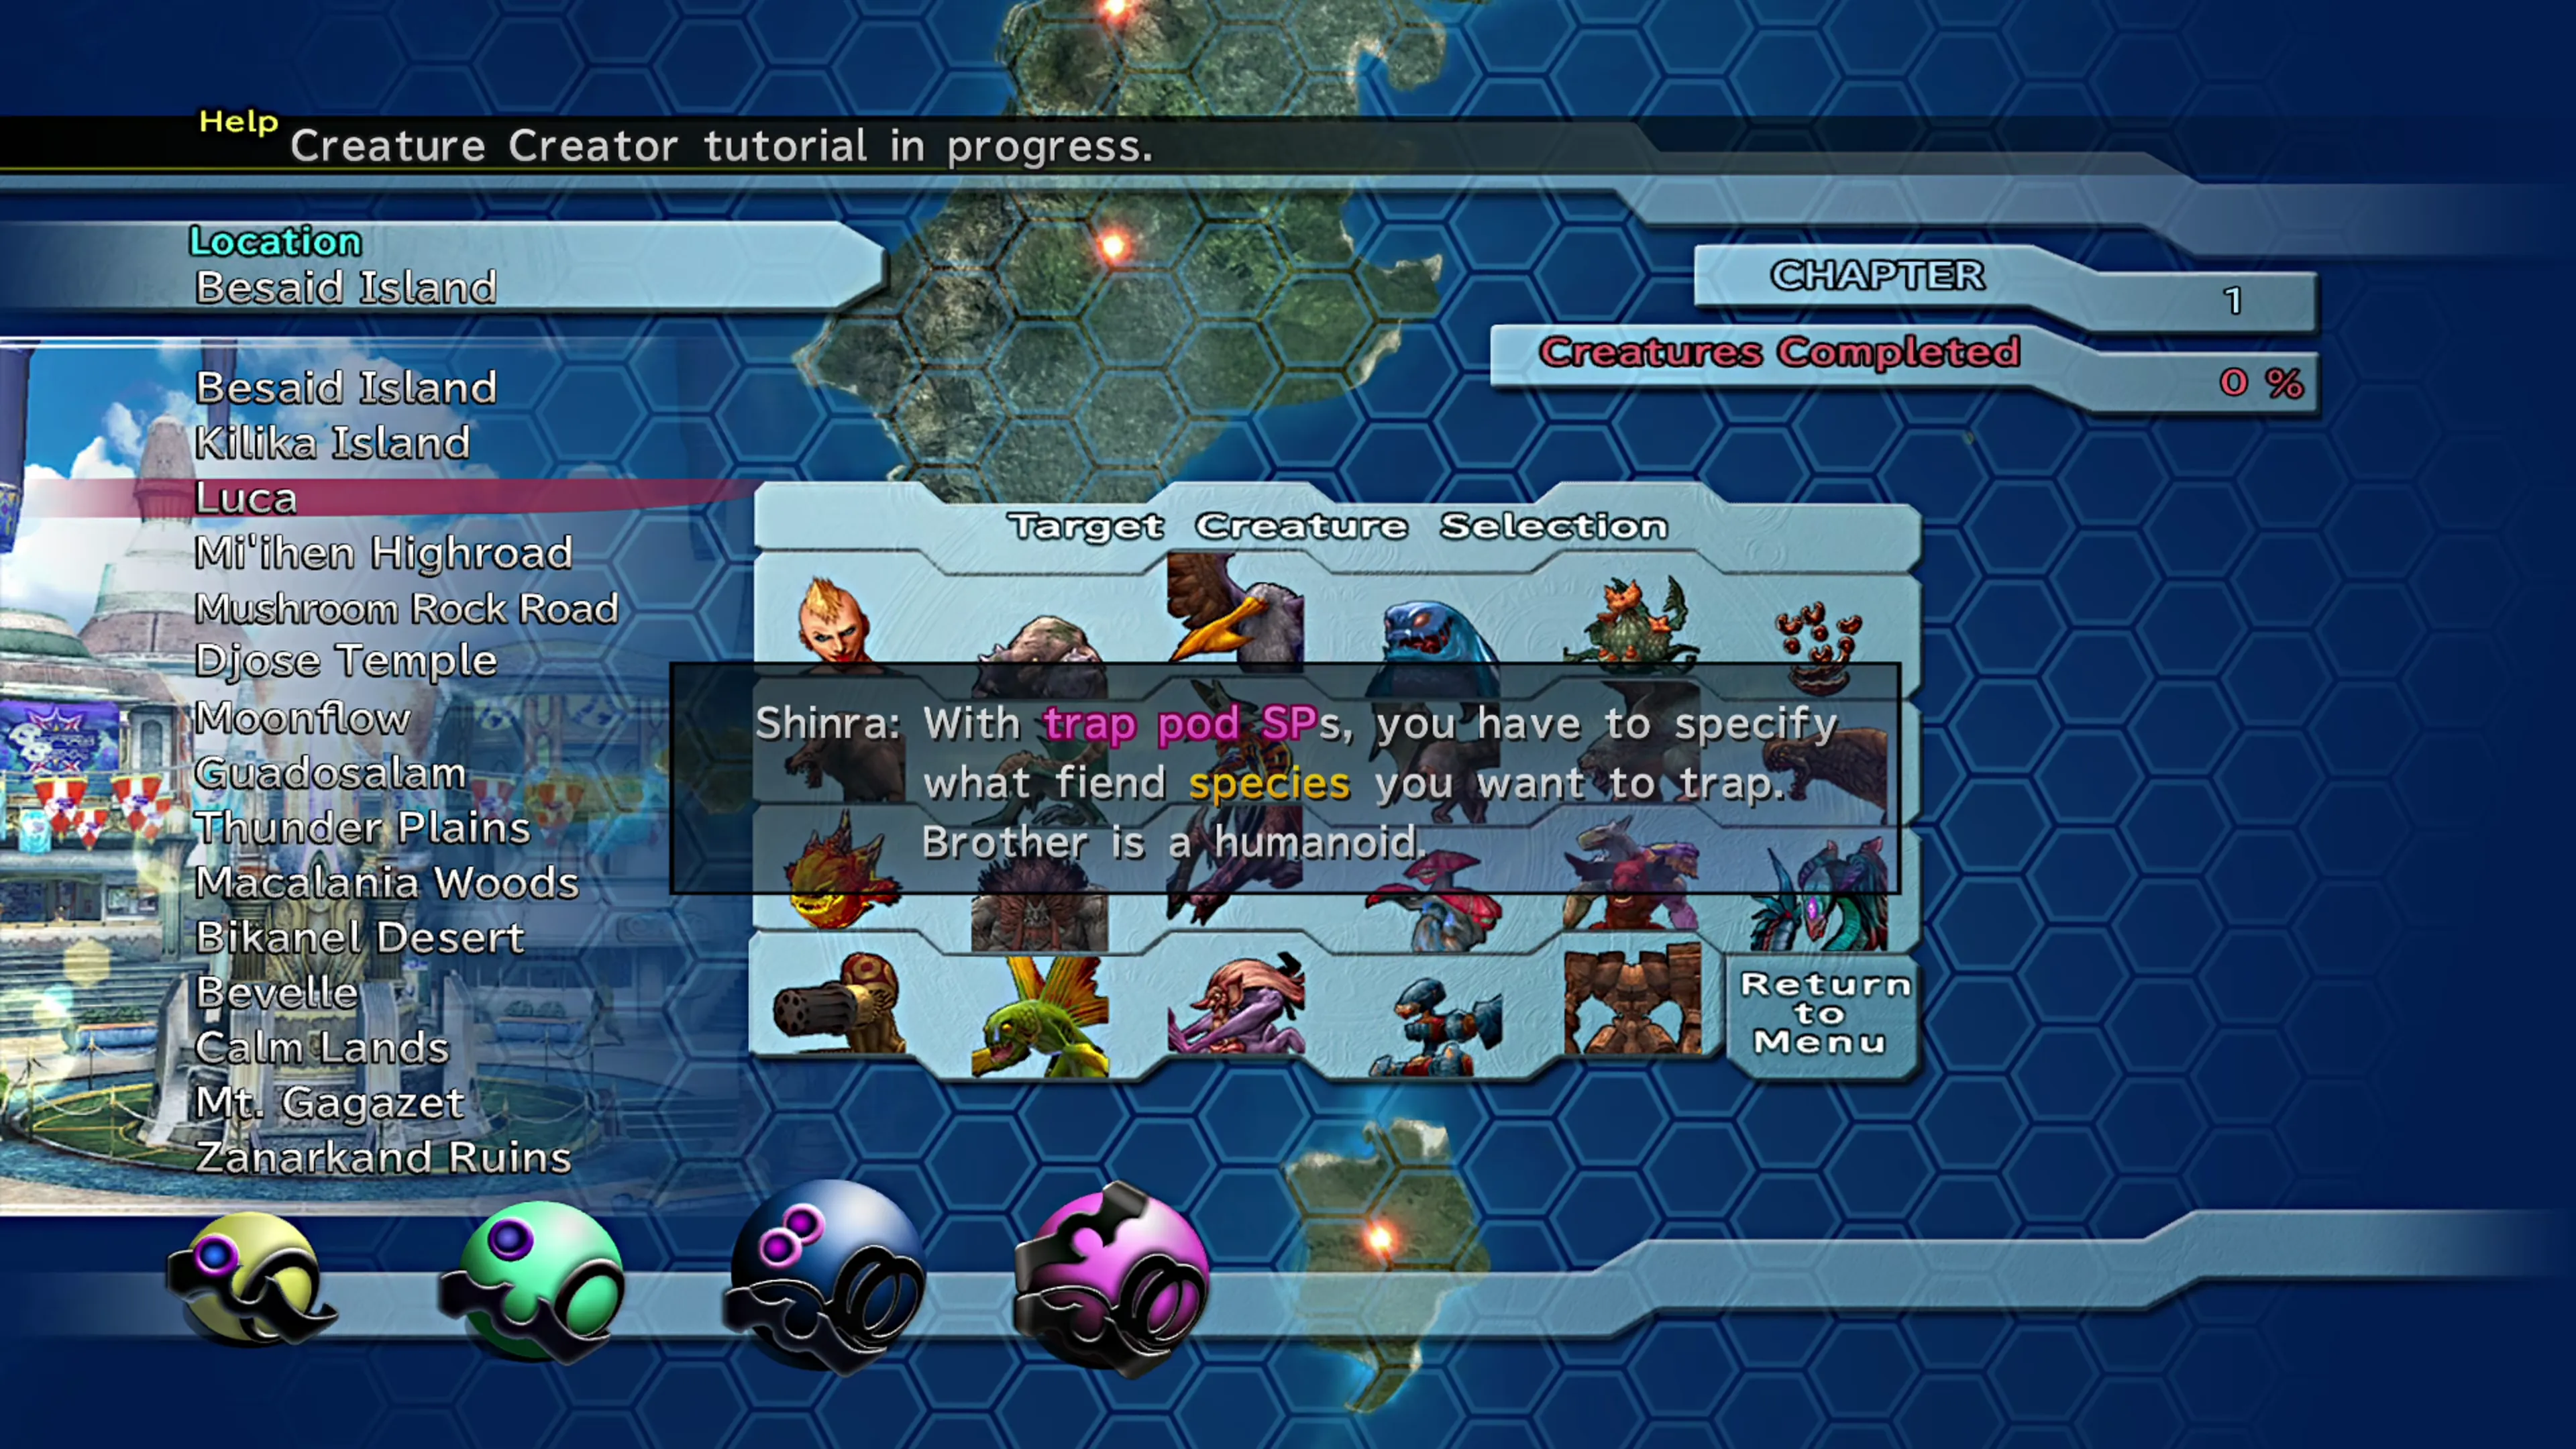
All you have to do is select a location and select a Trap Pod size. It should go without saying, but different locations and Trap Pod sizes change your odds of capturing different fiends, and it may take a few attempts before you capture the creature you’re hunting for.
For more information on Trap Pods, capturing creatures, and the list of creatures that you can capture, check out the Trap Creature section of the guide:
Creature Creator
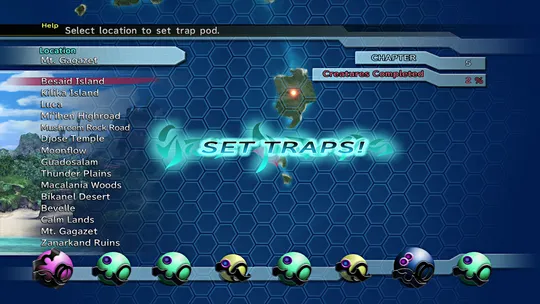
A walkthrough of how to target and trap specific creatures using Trap Pods.
If you run out of Trap Pods, you can earn more by completing another chapter of the game or by completing Fiend Arena tournaments (see below). You can only hold eight Trap Pods, so you’ll have to use some up (capture and release a creature) if you require a different Trap Pod size and then go hit up a tournament to earn more.
You can also earn Trap Pods by releasing a creature whose story is complete or by reducing your Trap Pod count down to zero. If you have no Trap Pods, just exit the Trap Creature screen and the game will automatically give you a Trap Pod S or Trap Pod M.
Lastly, you can only hold a maximum of 8 creatures. If you want to capture more, you’ll have to select one and release it.
Which Creatures Should You Use?
Well, you technically don’t have to use any. In fact, in many ways, Yuna, Rikku, and Paine are your most versatile party members, and the Creature Creator adds extra flair for players who want to experience the game differently. But if you do decide to add creatures to your party and want a Pokémon-style playthrough, you can learn more about which creatures offer the most utility by checking out the Best Creatures page in the Tips and Tricks section:
Tips and Tricks
Which creatures are worth capturing and raising, and what each one brings to your party.
Developing Creatures
Developing your creatures is straightforward as well. The majority of their growth will come from three places:
- They level up like your party members as they gain experience at the end of battles.
- They will learn new abilities as they’re hit by certain attacks in battle. Some of these ‘learned attacks’ are worth seeking out, depending on the creatures you’re planning on using in battle.
- Equip them with Garment Grids, Dresspheres, and Accessories (the Garment Grid and Dressphere are required, and the accessory is optional).
Shinra’s tutorial spends a lot of time explaining how to learn and unlearn abilities in the “Creature” menu. Just be careful, though, because this method will use up the item you select. For consumable items, like  X-Potions and Megalixirs, this isn’t a big deal, because you’ll find more. But “using” an accessory to learn an ability is not a good idea if you’ll end up expending a powerful accessory. For example, you would never want to use a
  Ribbon to learn an ability, no matter how powerful.
You can read more about how to develop your creatures in the “Developing Creatures” section:
Creature Creator
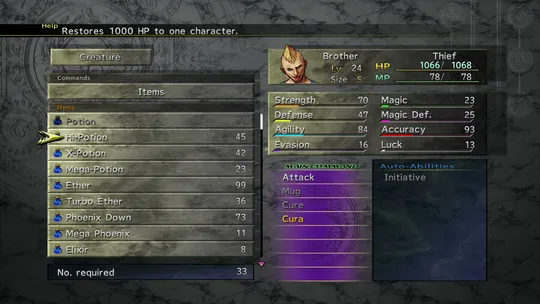
A brief explanation of how to equip your creatures and how to use items to teach them new abilities.
Using Your Creature in Battle
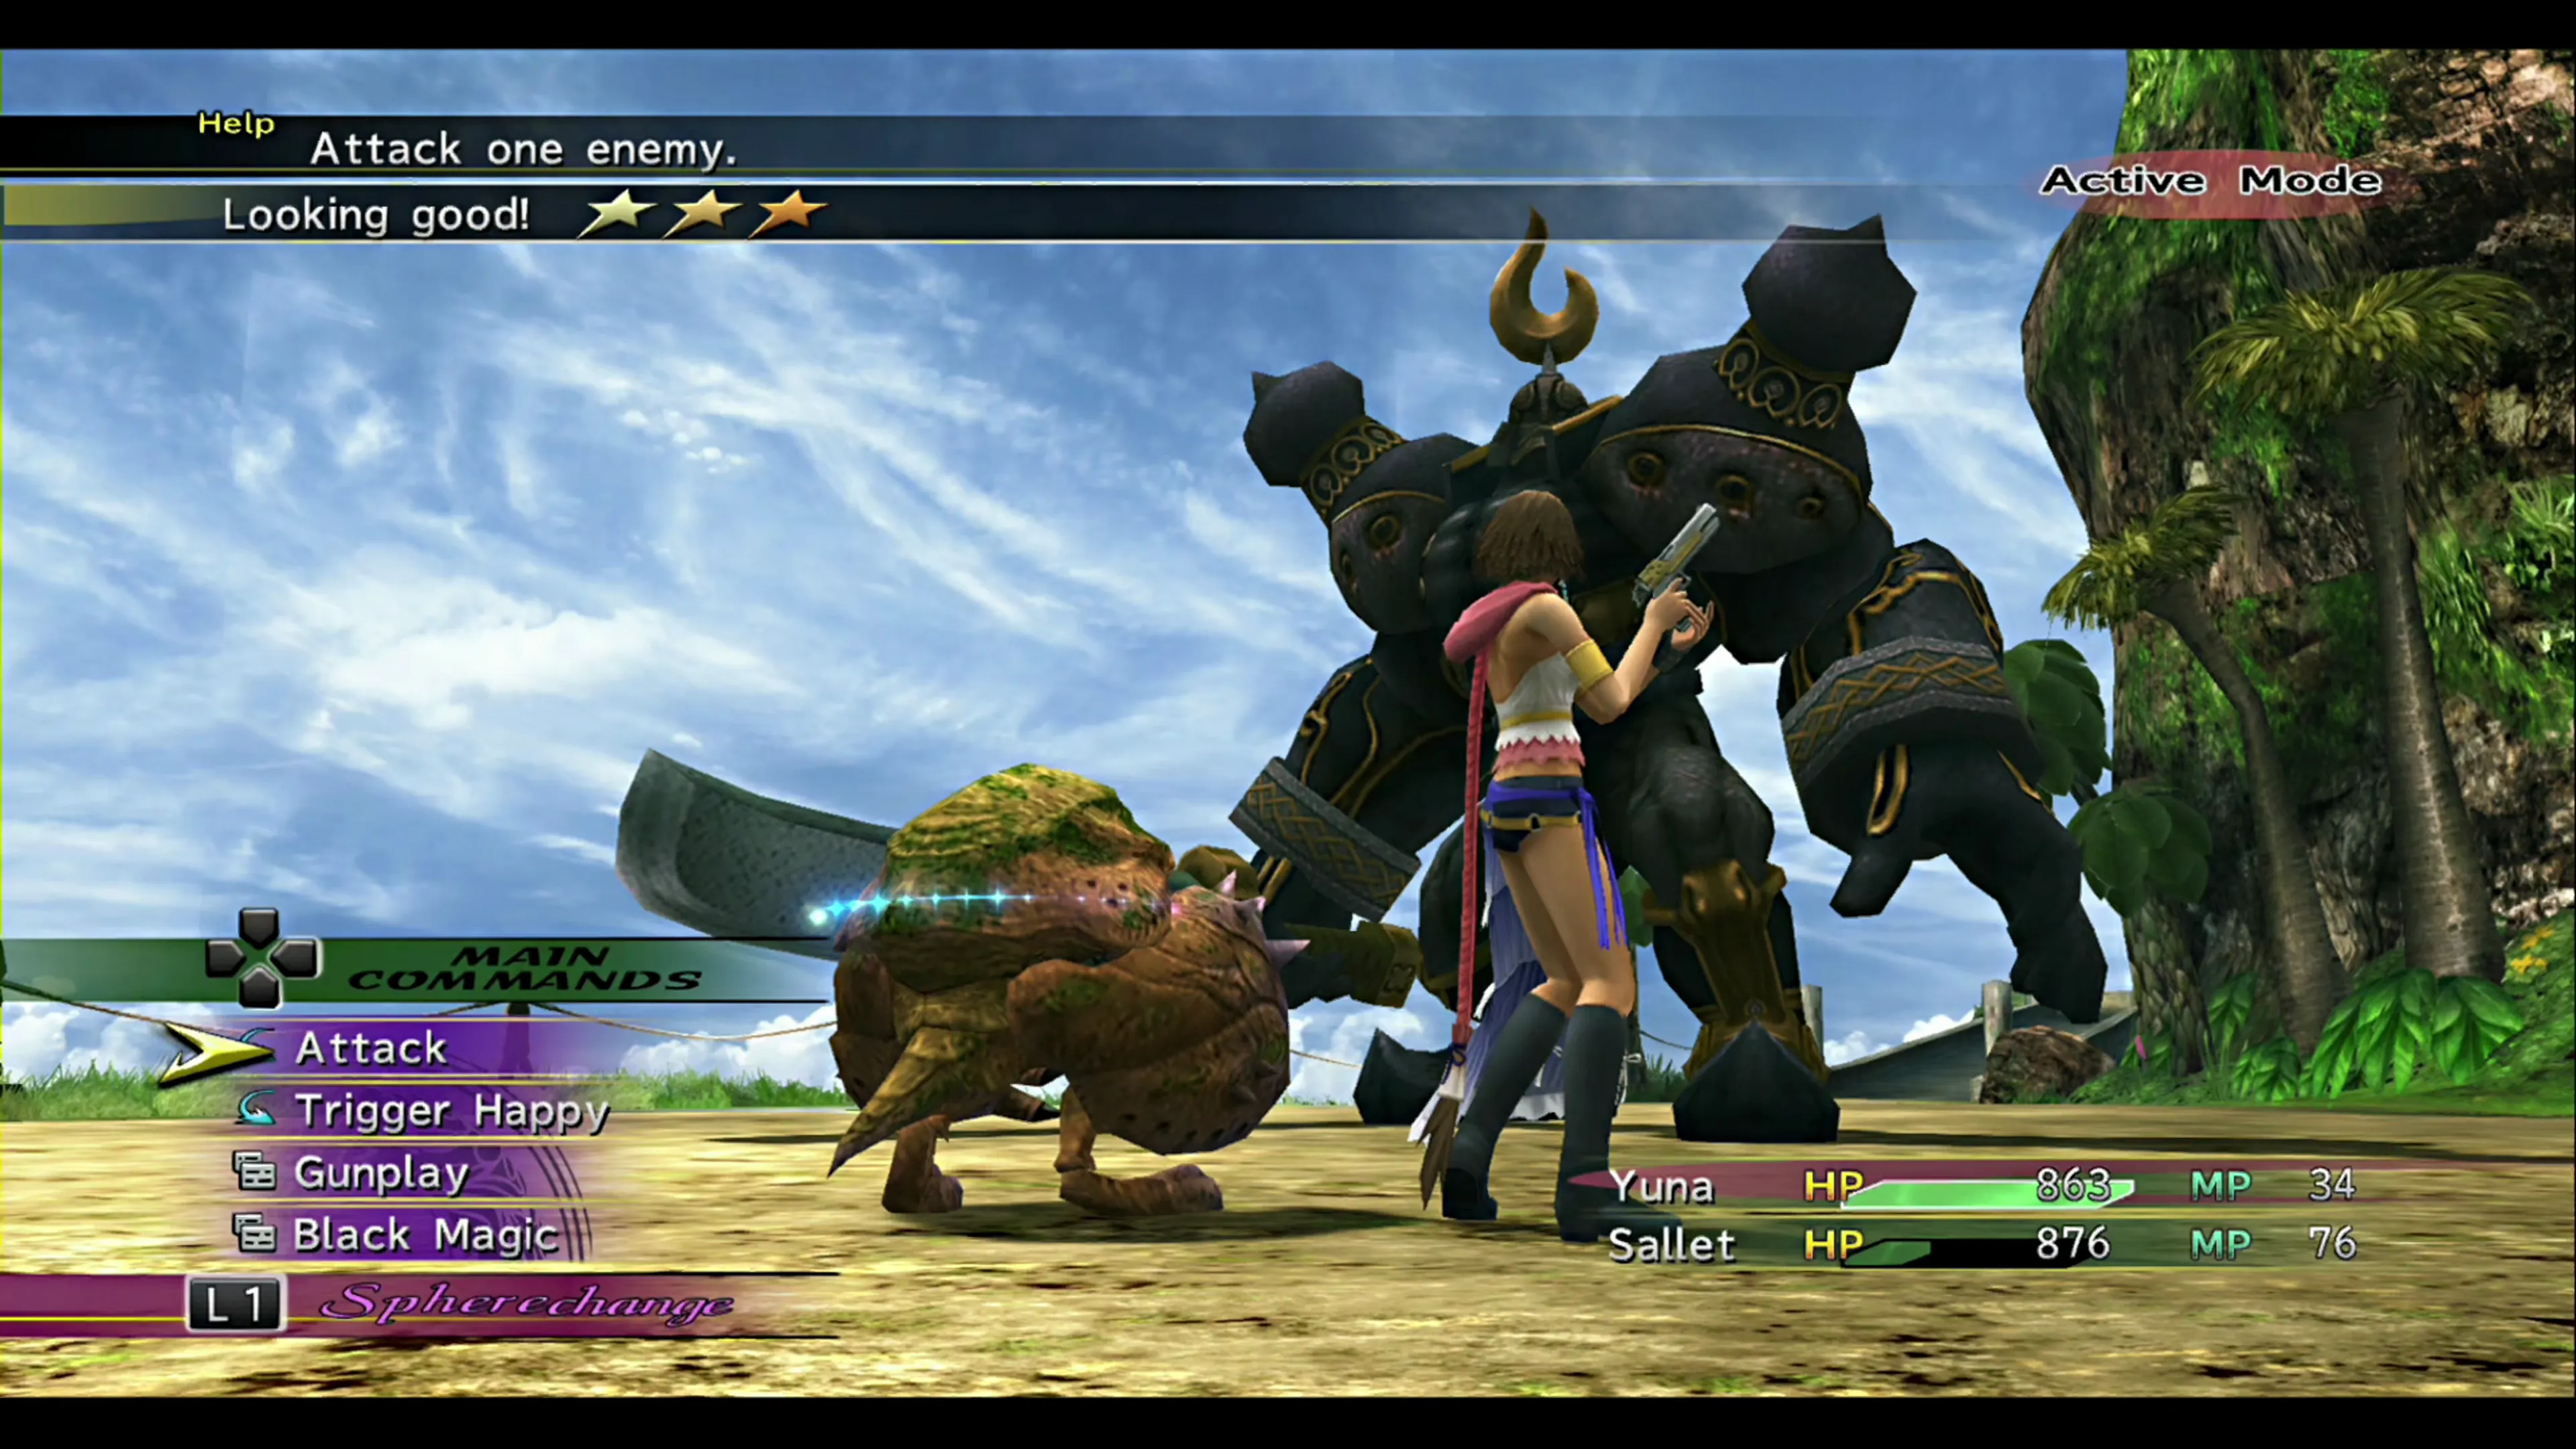
This is as straightforward as how it’s shown in battle. Navigate to the “Party Members” menu option and move party members into and out of the primary party on the right side of the screen. Just remember, like Shinra says, that adding a “Medium”-sized creature means you can add only one other party member, and adding a “Large”-sized creature takes up all three spots (so a large creature becomes your only party member).
Creature History and Story Levels
Leveling up a creature or making use of the Fiend Tale Bonuses you receive at the end of each chapter is required to unlock certain creatures in the Fiend Arena and to earn the  Lifetime Support achievement/trophy by viewing a complete ‘fiend tale’ (which not all creatures have).
Warning
Fiend Tale Bonuses are only available when you reach another chapter of the game or by winning a cup in the Fiend Arena (which is much harder). Because only four Chapter-related bonuses are available, and this option disappears after Chapter 4, you should consider capturing creatures early if you plan to do it at all.
Warning
A trapped creature joins your team at a level based on the average of Yuna, Rikku, and Paine, and its Fiend Tale only advances when it gains a level. A creature that joins at level 99 can never gain one, so it can never finish its story, and the Aeon Cup, the Fiend World Cup chain, and the Lifetime Support achievement/trophy all depend on finished stories.
If your party is near the level cap, start a New Game Plus or a new game in general before working on Fiend Tales. Captured creatures carry over with their abilities, and their levels reset to 1.
You can see your creature’s fiend tales by accessing the “Creature History” menu option in the Creature Creator. Check out the sections below to learn more about building up your creature’s story levels, which creatures have a ‘Fayth fragment’ instead of a story, and how to release your creatures:
Creature Creator
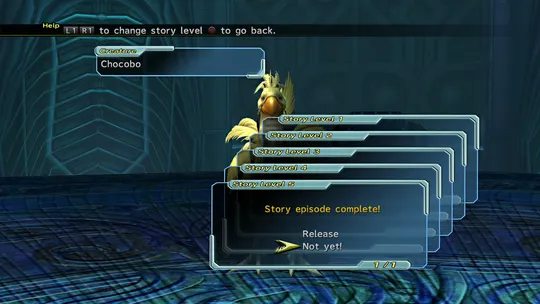
Leveling creatures up so you can view their story and release them to unlock Aeons in the Fiend Arena using Fayth fragments.
Controlling Your Creature in Battle
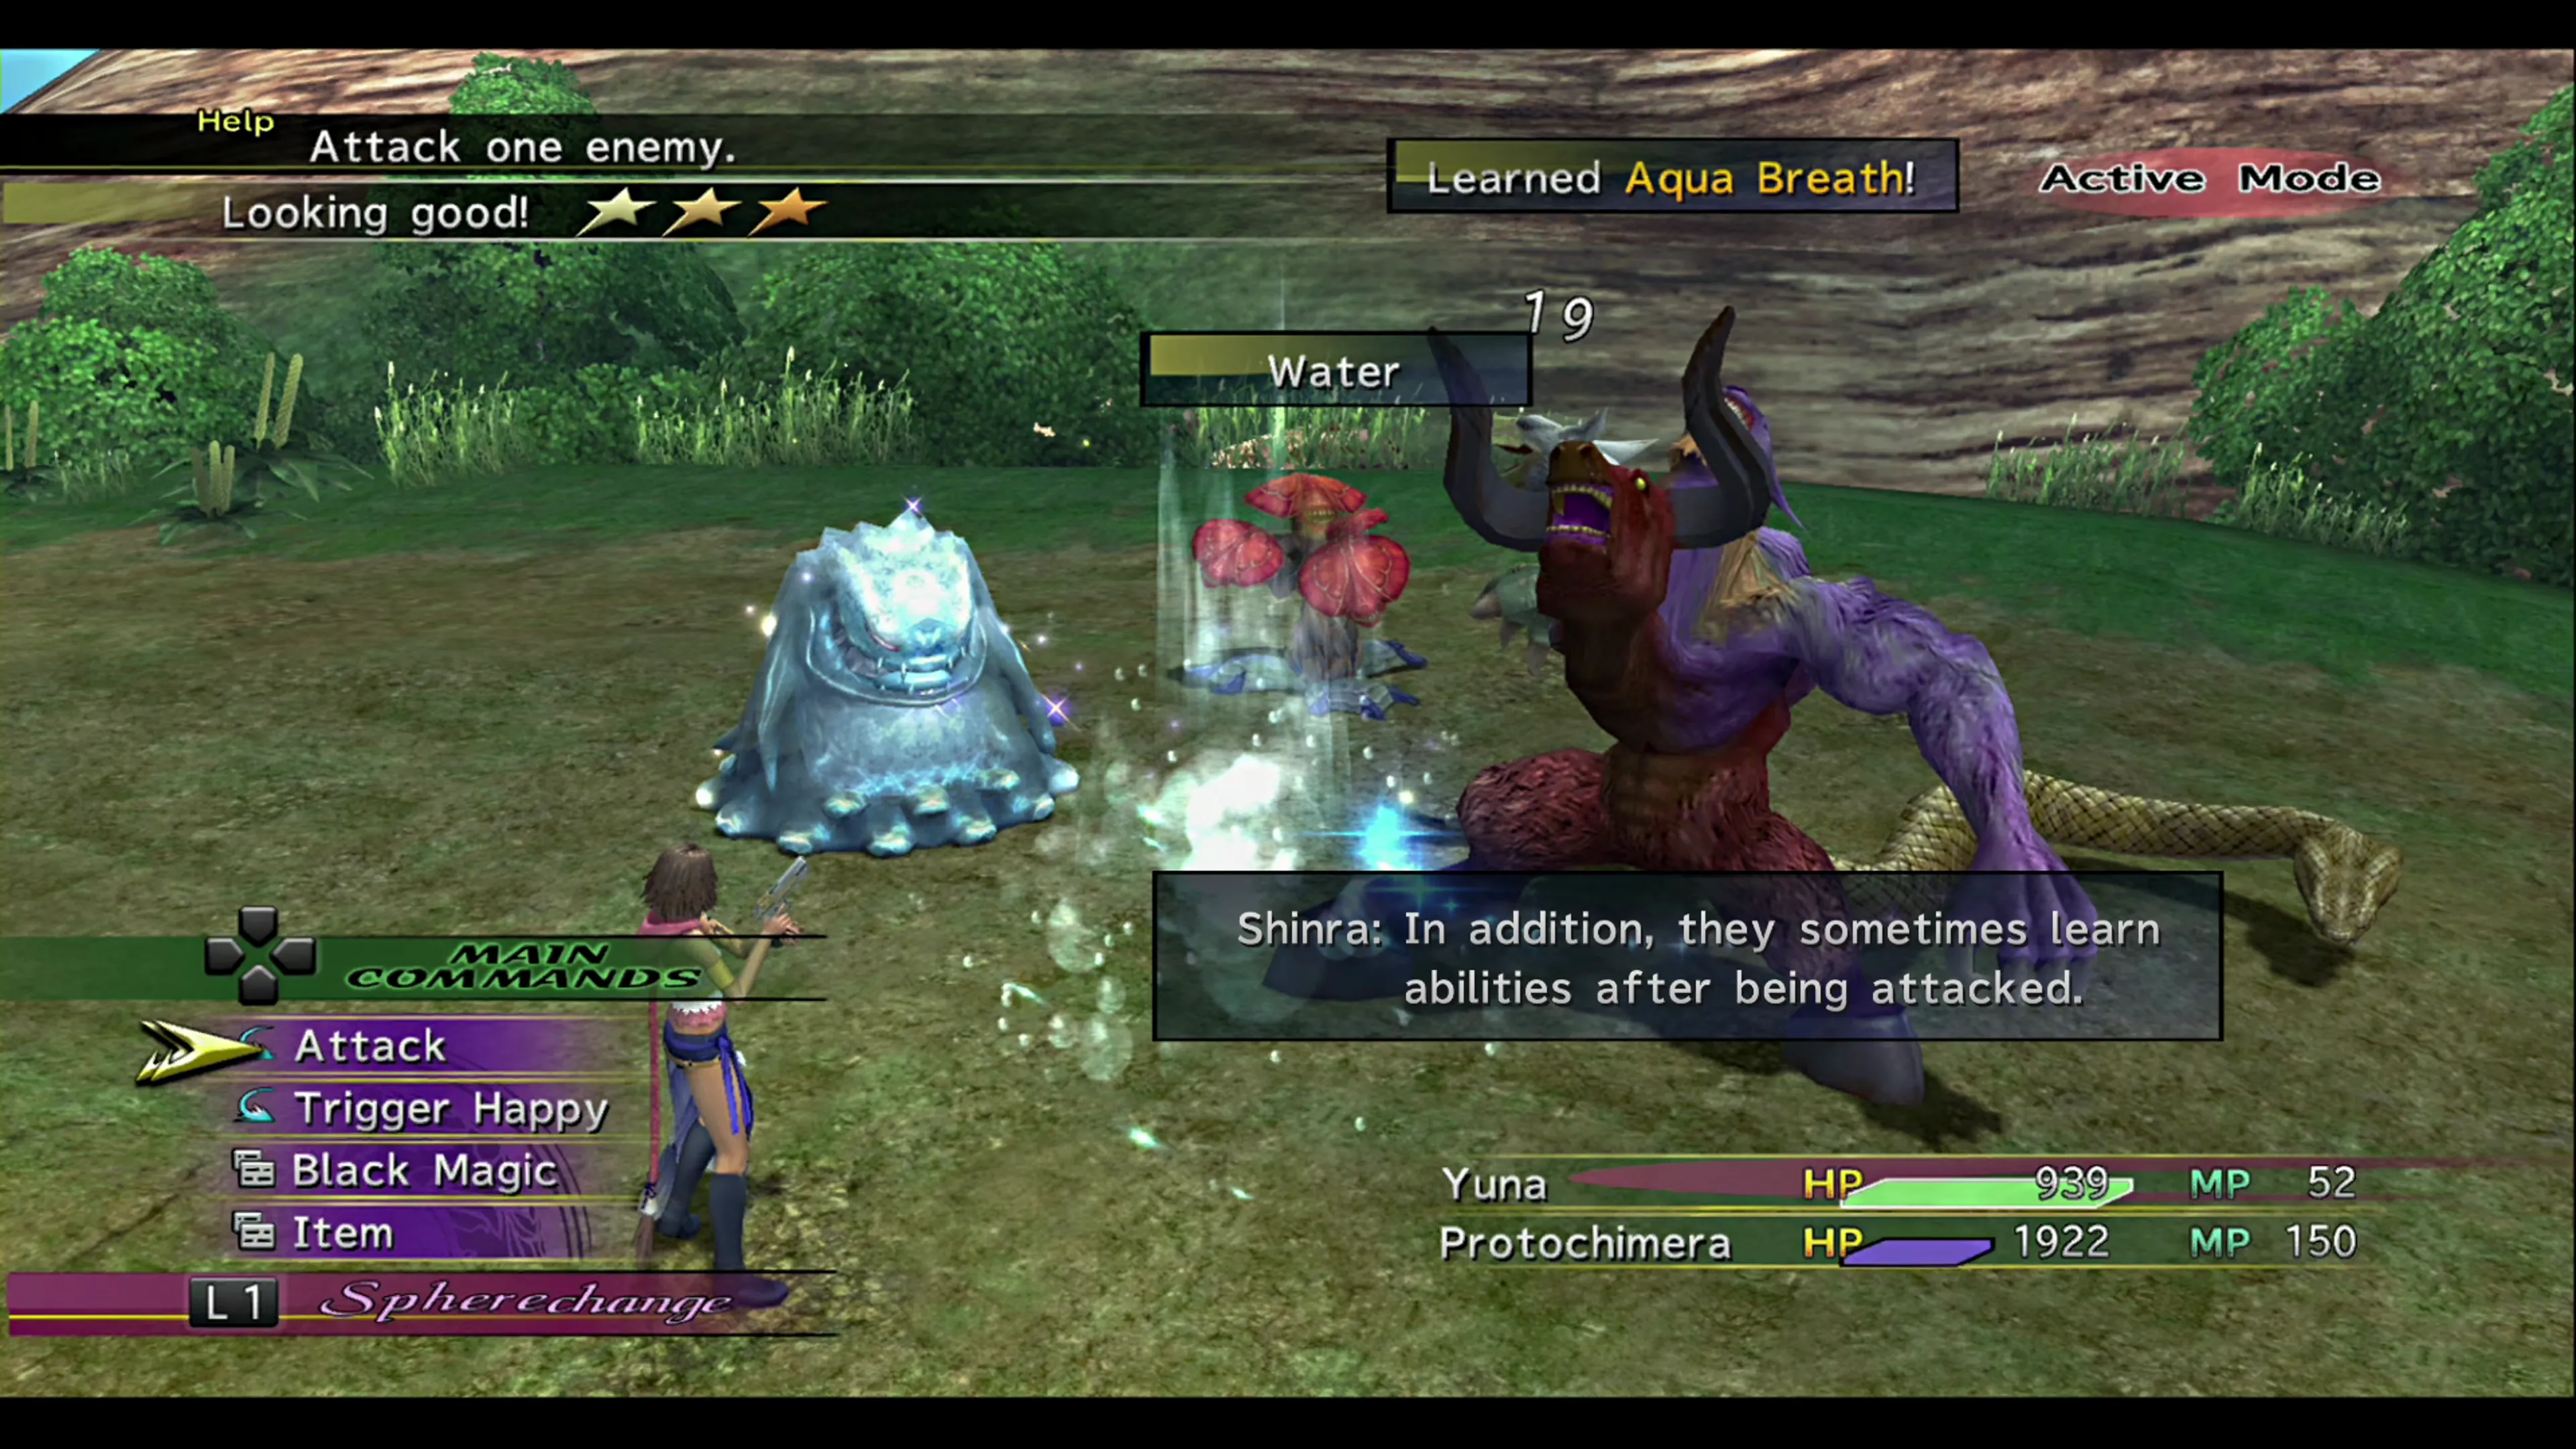
Unfortunately, you won’t have much control over your creature’s behavior in battle. You can influence their decisions by adjusting the “cheer gauge,” represented by 1 to 5 star icons in the top-left corner of the screen.
Press the 

 and
and 

 buttons to adjust your creature’s motivation. As mentioned in the tutorial, new creatures will pretty much ignore these instructions, but even when your creatures become smarter, there may be instances where they simply refuse to use the attacks or abilities that you want them to. Not much you can do about that…
Fiend Arena
The Creature Creator also gives you access to an amazing new functionality that was added to the game called the “Fiend Arena,” which has two important elements you’ll want to make use of:
- Unlock and enter tournaments to gain experience and earn rewards.
- Using the Battle Simulator to test out strategies and Dresspheres as a method of power leveling your characters (see below)
Check out the Fiend Arena for more information:
Creature Creator
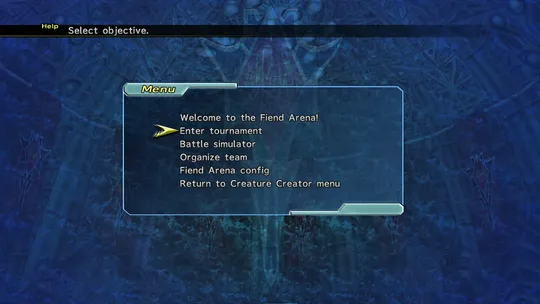
Covering each of the tournaments and how to use the “battle simulator” to level your characters.
Tips and Tricks
Tactics and methods you can use to quickly level up Yuna, Rikku, and Paine. This section covers both experience points (EXP) and ability points (AP).