Proceed north from Mr. Holzoff’s cabin when you are ready to begin your ascent up the cliff.
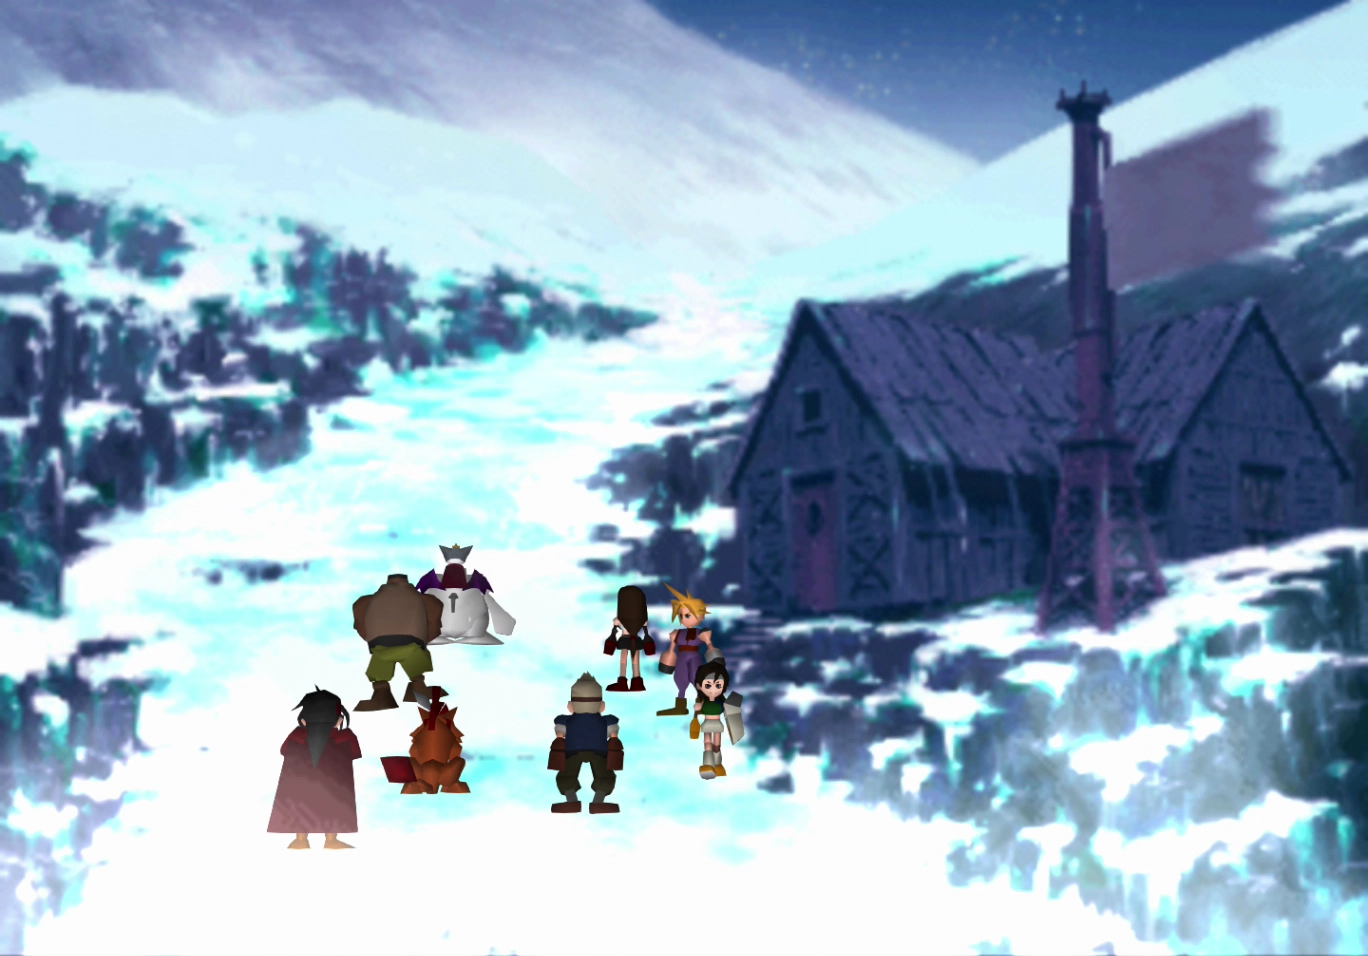
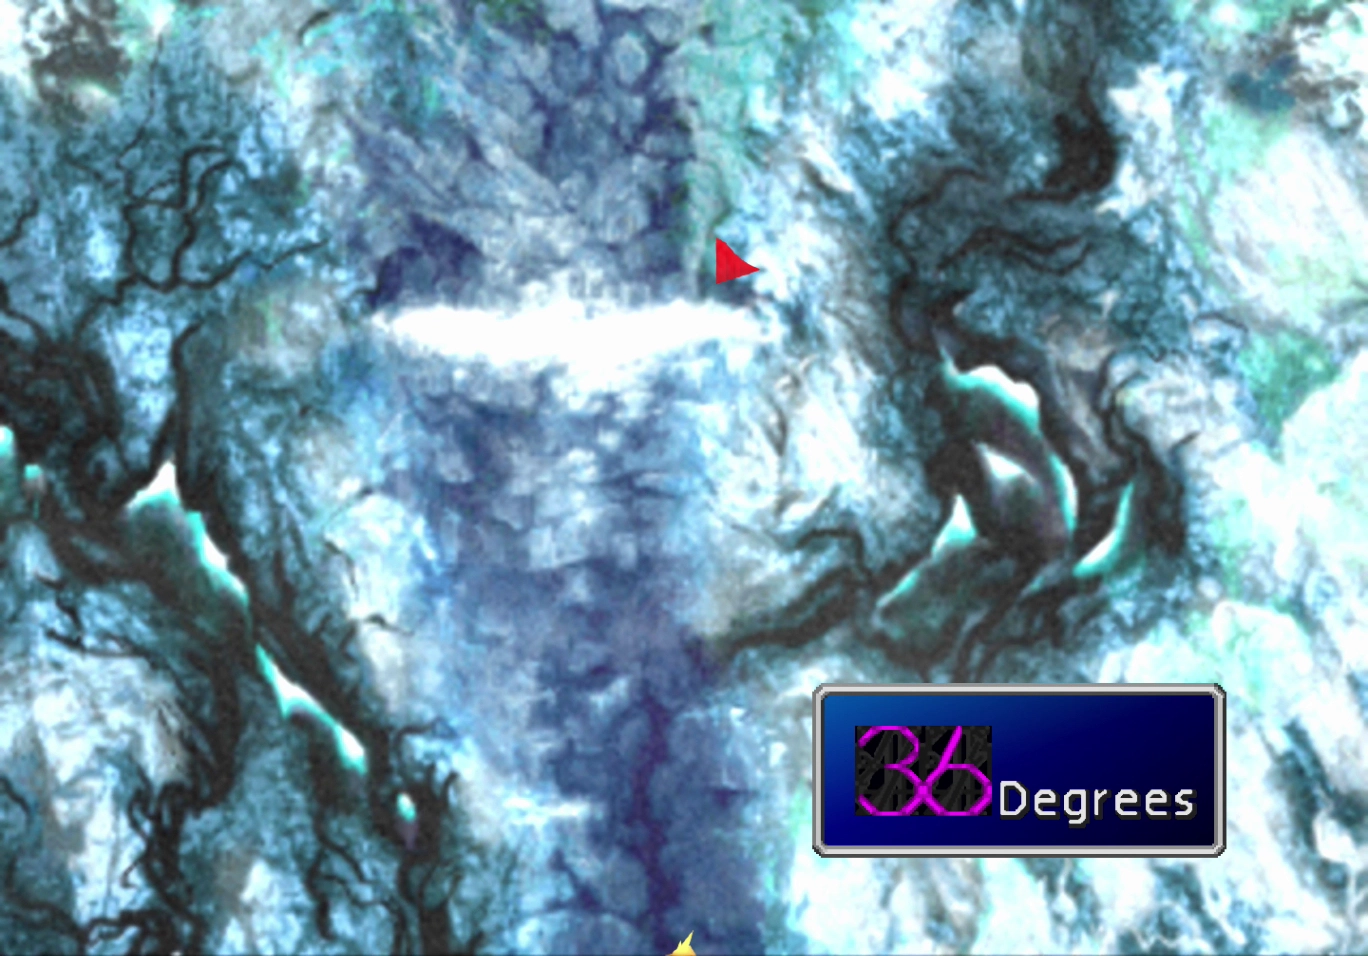
You will need to monitor your body temperature as you work your way up the cliffs. Cloud will be okay as long as his temperature stays between 26 and 38 degrees. If it falls below 26 degrees, he will pass out and wake up back in Mr. Holzoff’s cabin.
To be safe, keep your body temperature at 30 degrees or higher during your climb.
There is an enemy in this area called a Stilva (pictured below). This enemy has two Enemy Skills that you can learn on your  Enemy Skill Materia.
The first and most important skill is called “Trine”, which can be difficult to learn later on in the game. Stilvas will never use “Trine” on its own, though. You will have to use the Manipulate spell from the  Manipulate Materia on it and have it cast the move on your party.
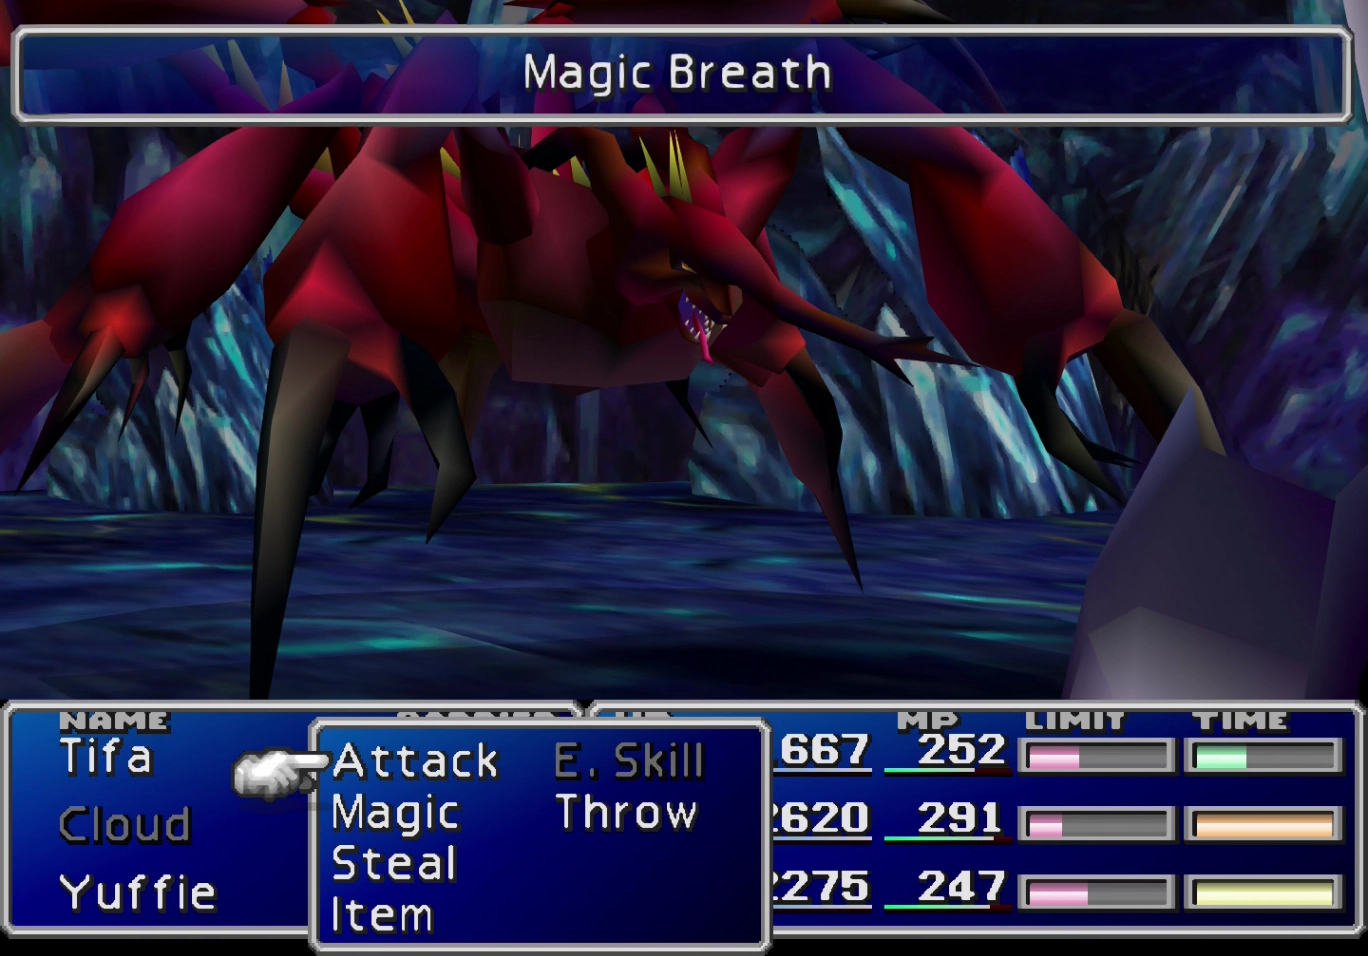
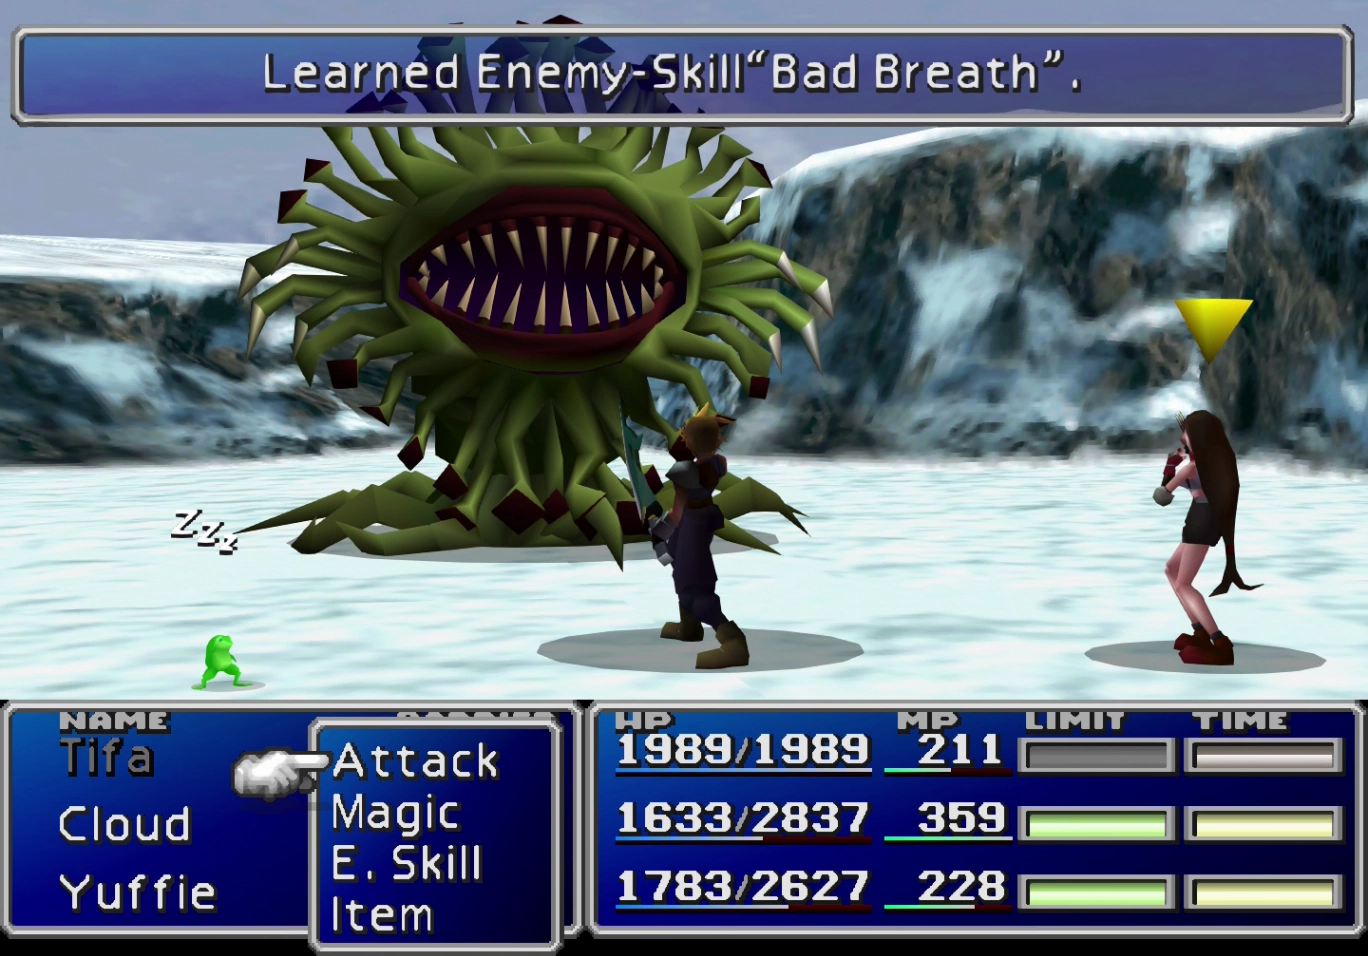
The second is called “Magic Breath”, which it will use on your party members as a regular attack, making the second skill much easier to obtain. The third and final Enemy Skill that you can learn is “Bad Breath” from the Malboros that roam the area.
The first section of Gaea’s Cliff is entirely linear. Stop at each of the waypoints with the red flags to reheat yourself. Continue along until you reach the first cave. The temperature gauge will disappear after you enter the cave, and you will no longer need to heat yourself to stay warm.
Inside of Gaea’s Cliff (The Cave)
Travel north under the bridge and through the door leading into the next section of the cave. Take a left and then travel south when you reach the corner to re-enter the previous room.
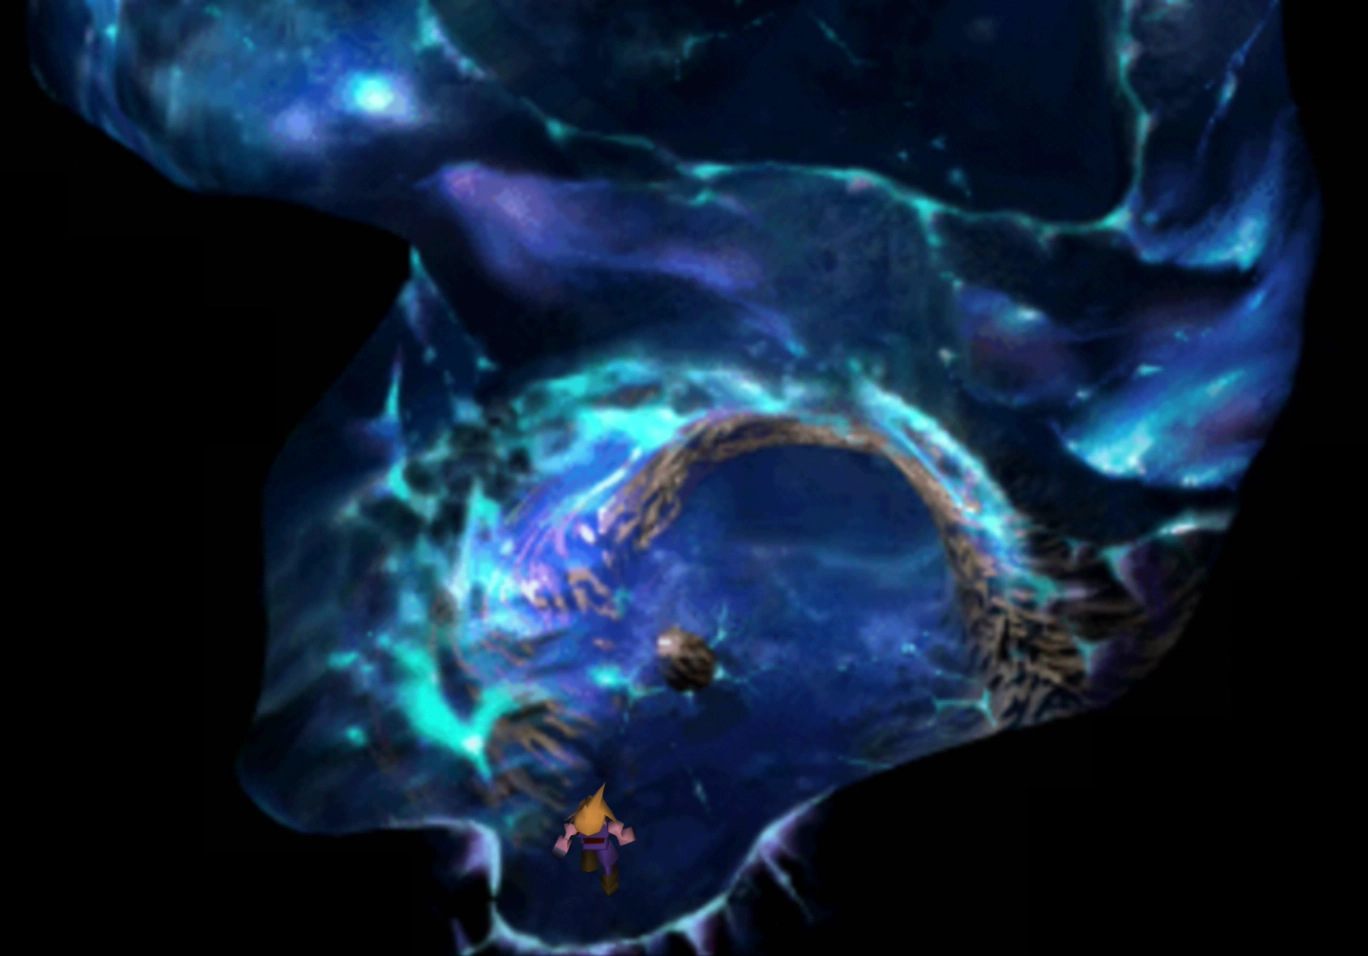
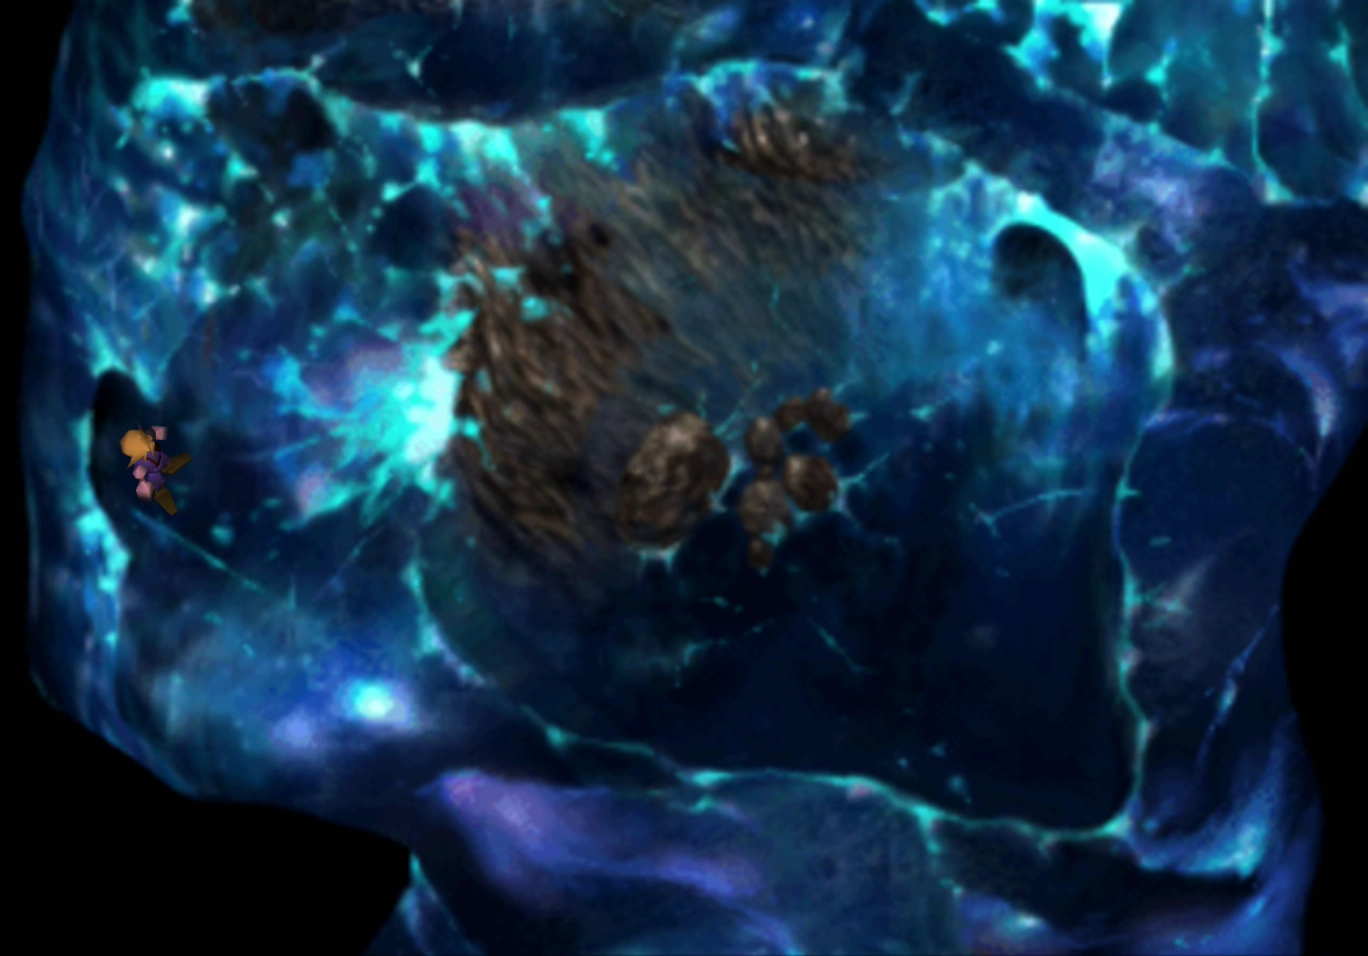
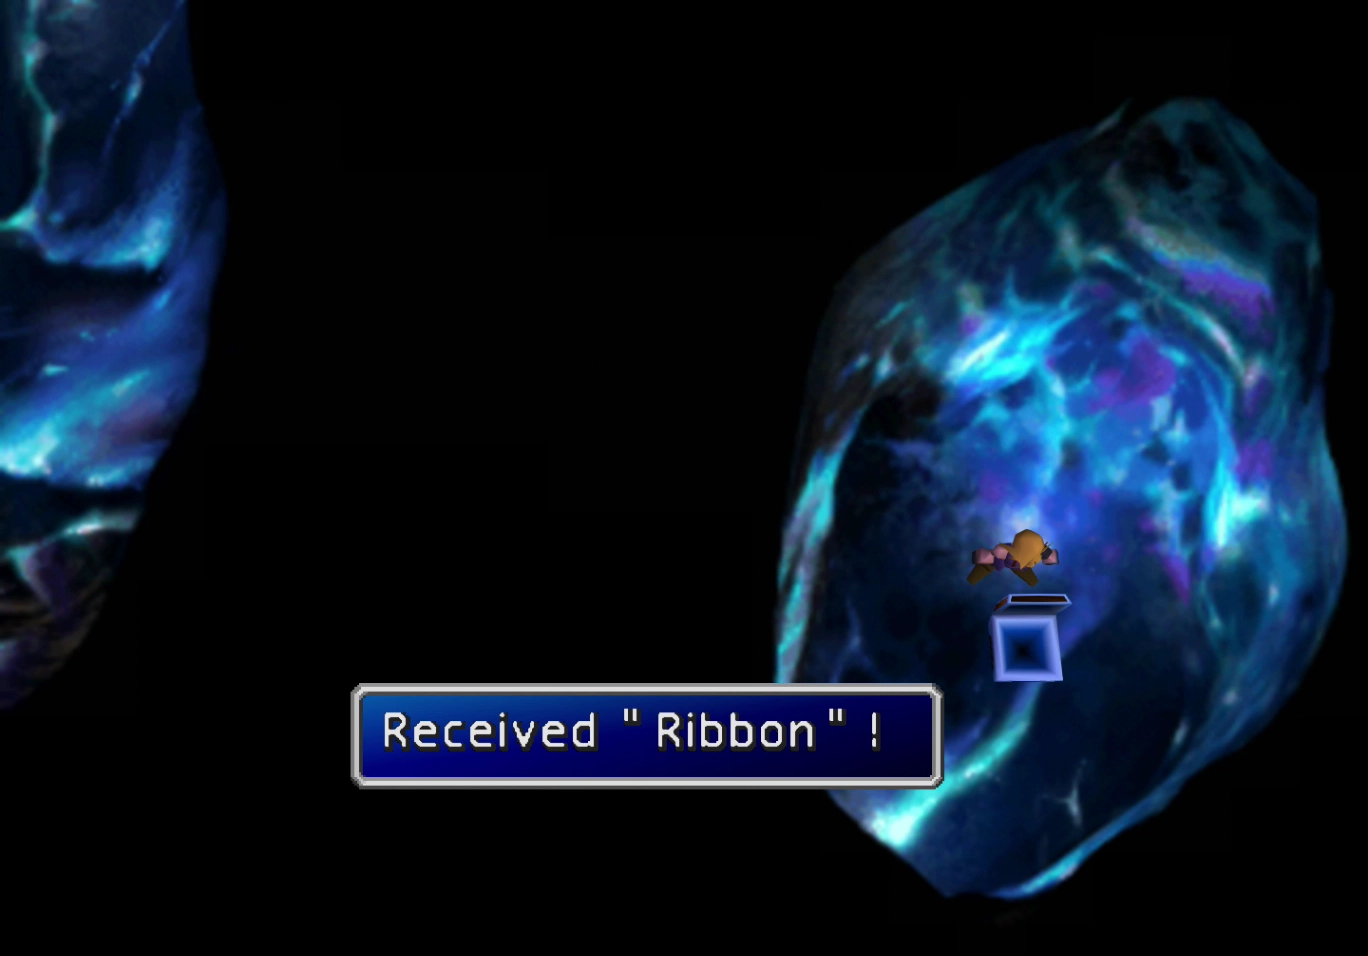
Cross the bridge and continue going right to enter a secret room. Use the screenshots below to help guide you. There is a ![]() Ribbon accessory in the treasure chest of this hidden room.
Ribbon accessory in the treasure chest of this hidden room.
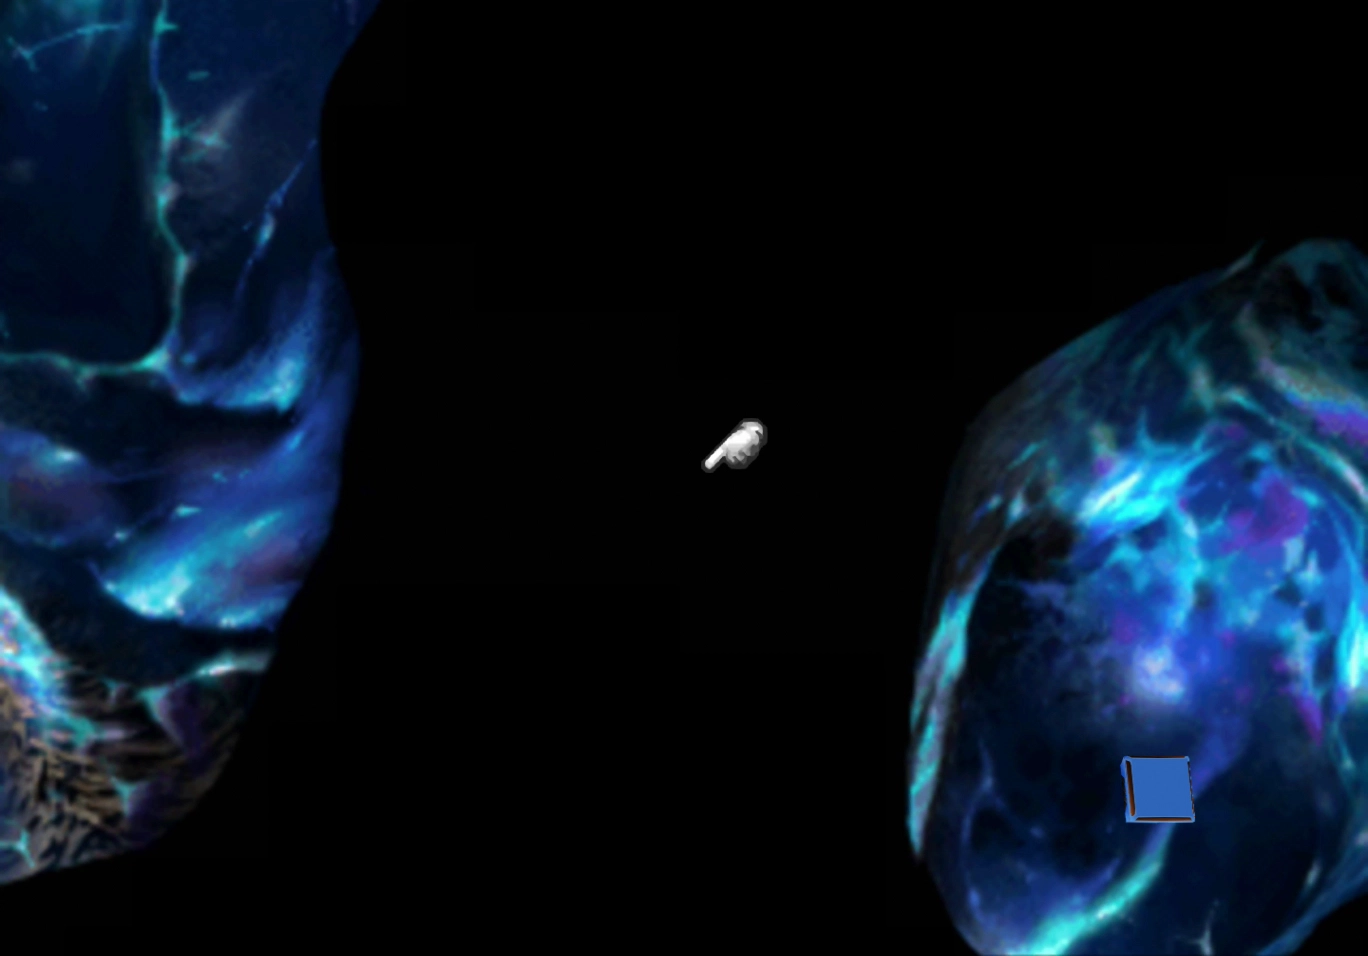
Ribbons are one of the most powerful accessories in the game. Do not miss this item! Many of the enemies in Gaea’s Cliff will hit your party with status effects. It would be a good idea to equip this ![]() Ribbon to one of your characters as soon as you pick it up.
Ribbon to one of your characters as soon as you pick it up.
Go north immediately after you exit the secret cave to find a treasure chest that contains a ![]() Javelin, a new weapon for Cid that offers double Materia growth.
Javelin, a new weapon for Cid that offers double Materia growth.
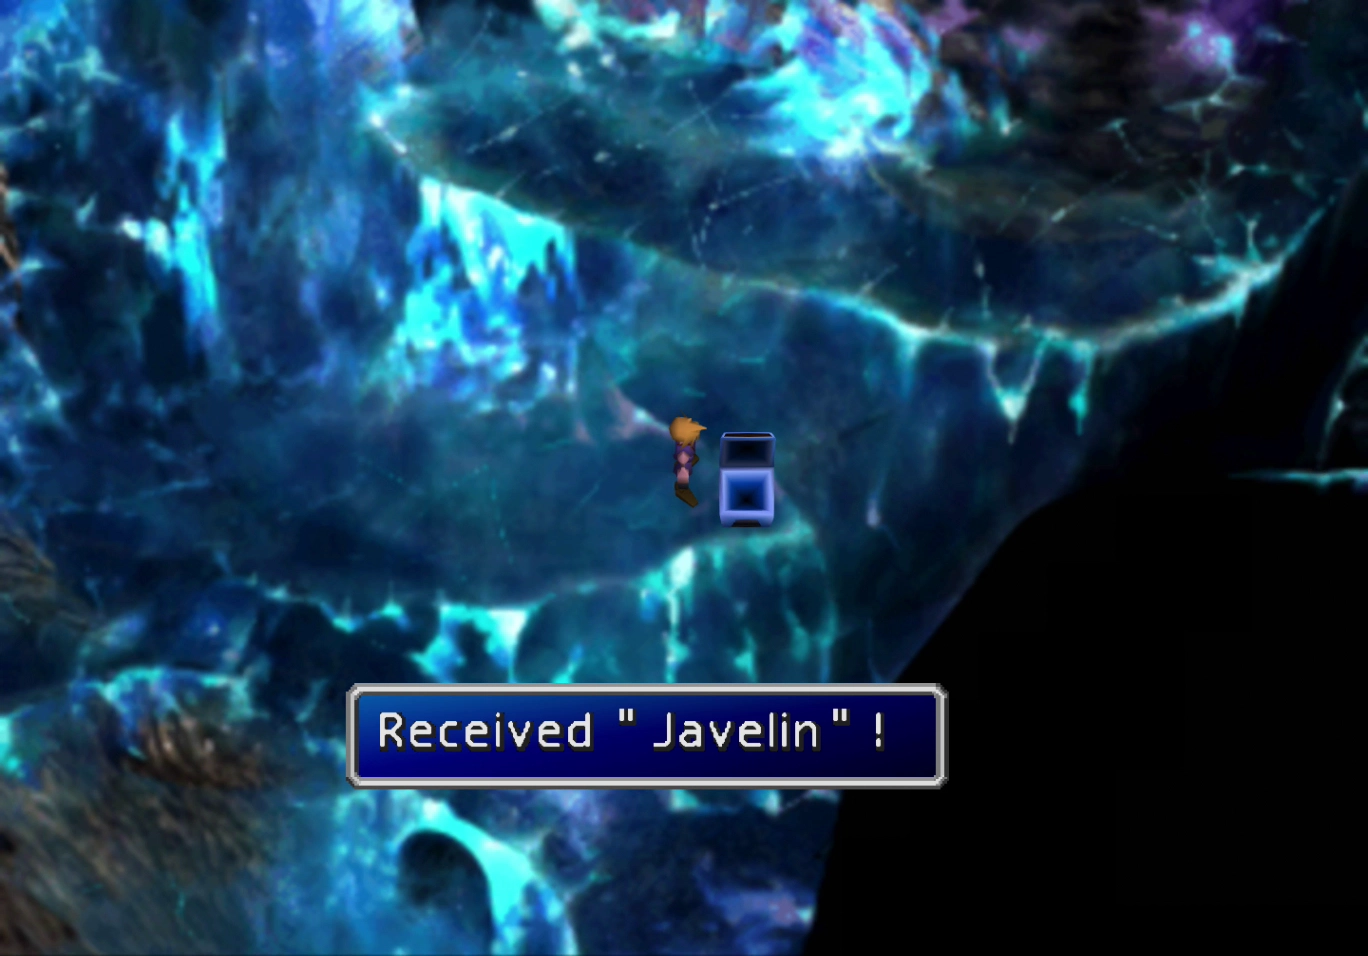
Proceed through the doorway to the left of the treasure chest and continue north until you reach the upper level. Examine the boulder and choose to “Push the rock over.” This boulder will remove the icicles that previously were blocking the pathway below.
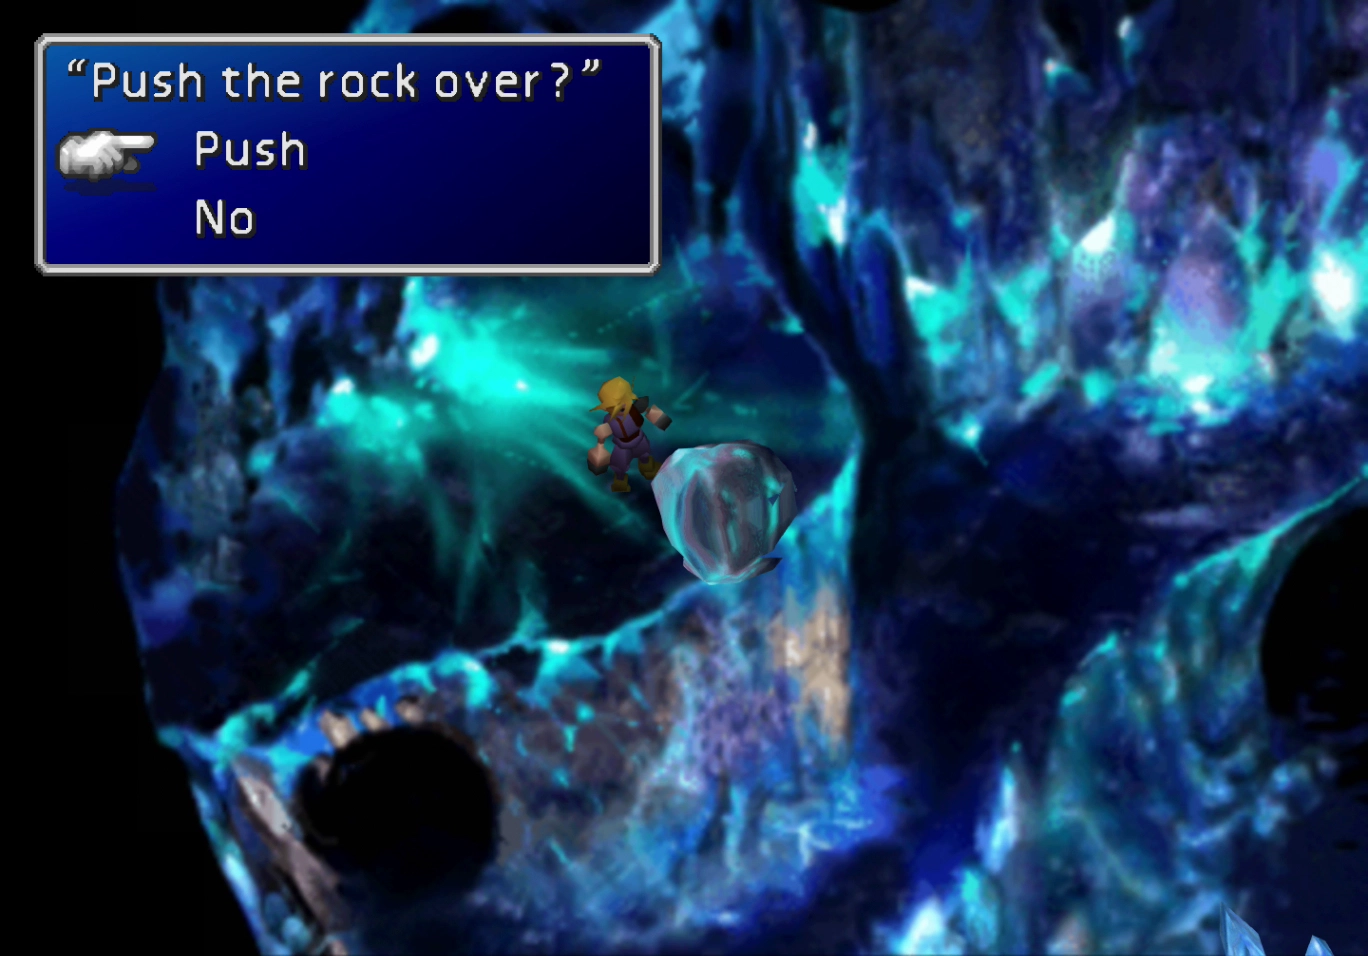
Backtrack to the lower level and follow the newly opened ice pathway. Follow the path through the cave and around to the right side of the room. Continue down the next path out of the Inside of Gaea’s Cliff, leading back out to the face of the cliff.
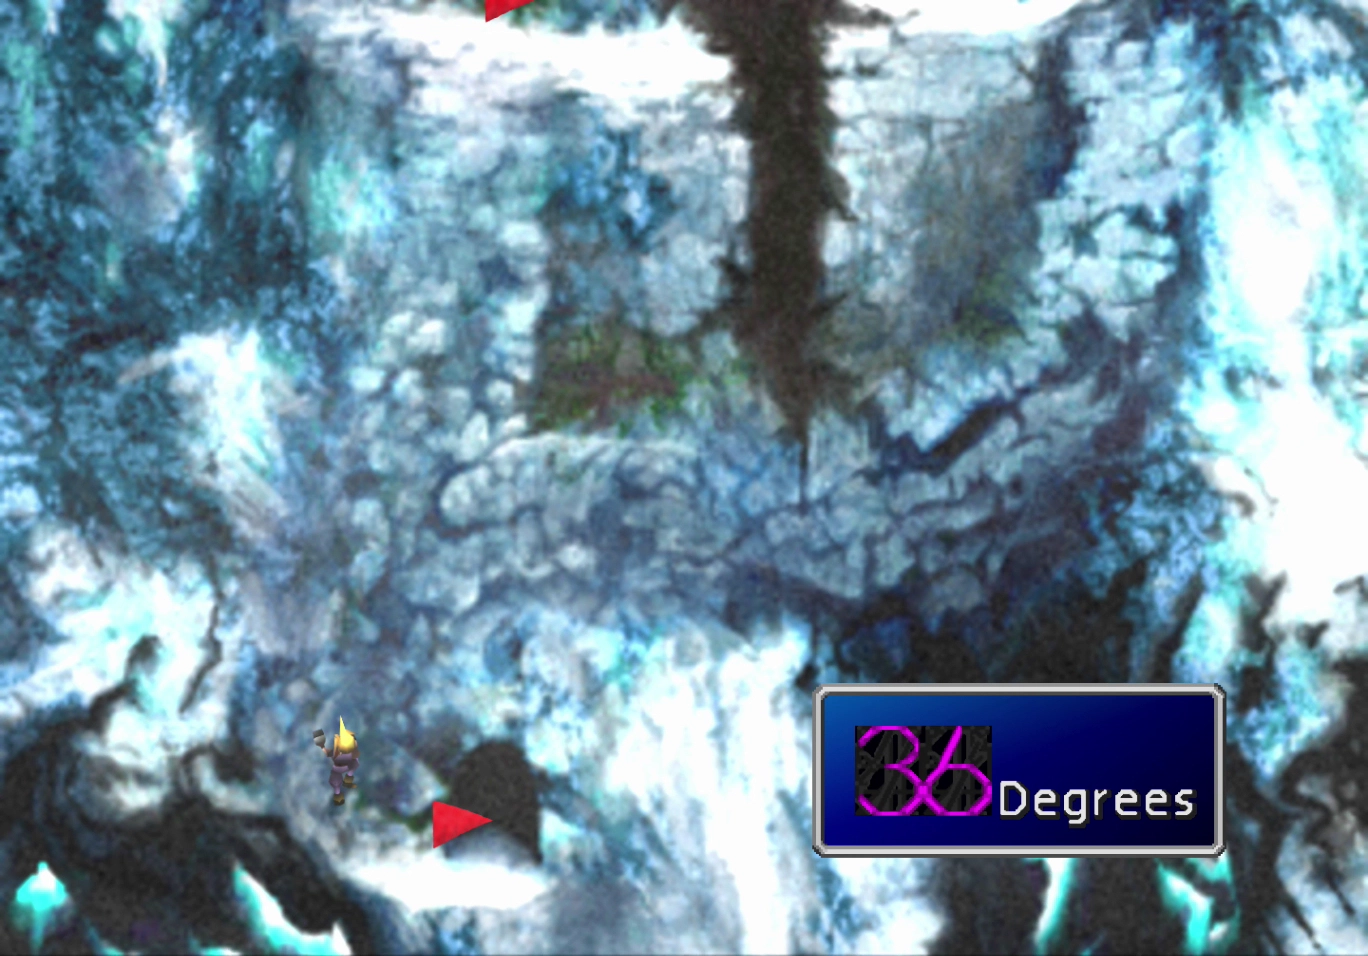
There are several pathways that you can take while climbing the cliff this time that lead to dead ends. Go straight up when you reach the first fork in the path, and choose to go right when you get to the second fork.

The second cave you reach is much larger. On the far wall is a ![]() Save Point where you can save your game. There is a treasure chest in this area, which contains an
Save Point where you can save your game. There is a treasure chest in this area, which contains an ![]() Elixir.
Elixir.
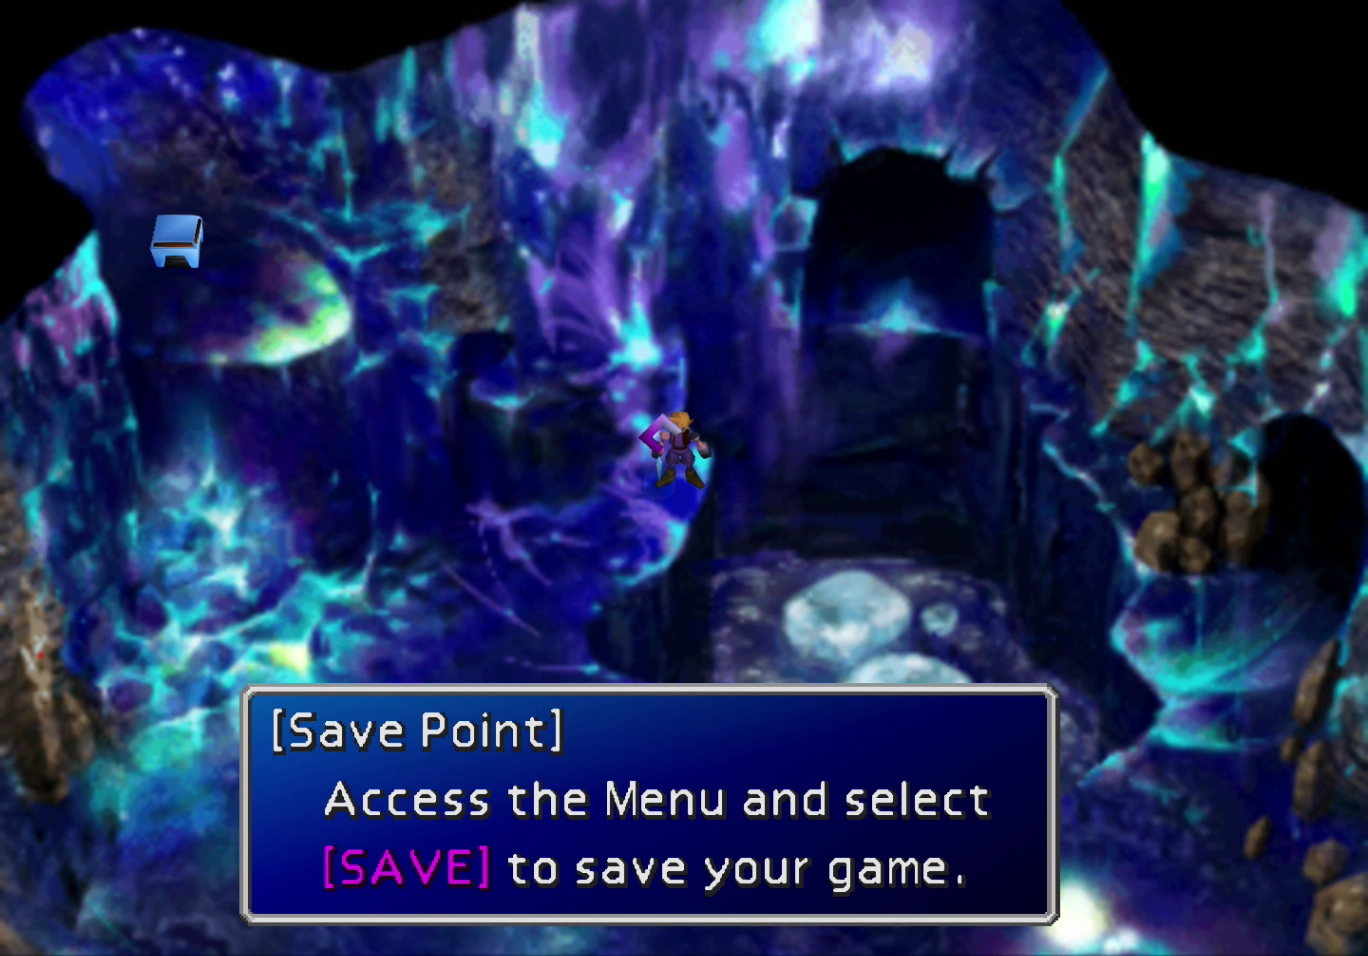
Take the doorway on the right side of the room that leads back outside and follow the pathway around to the right.
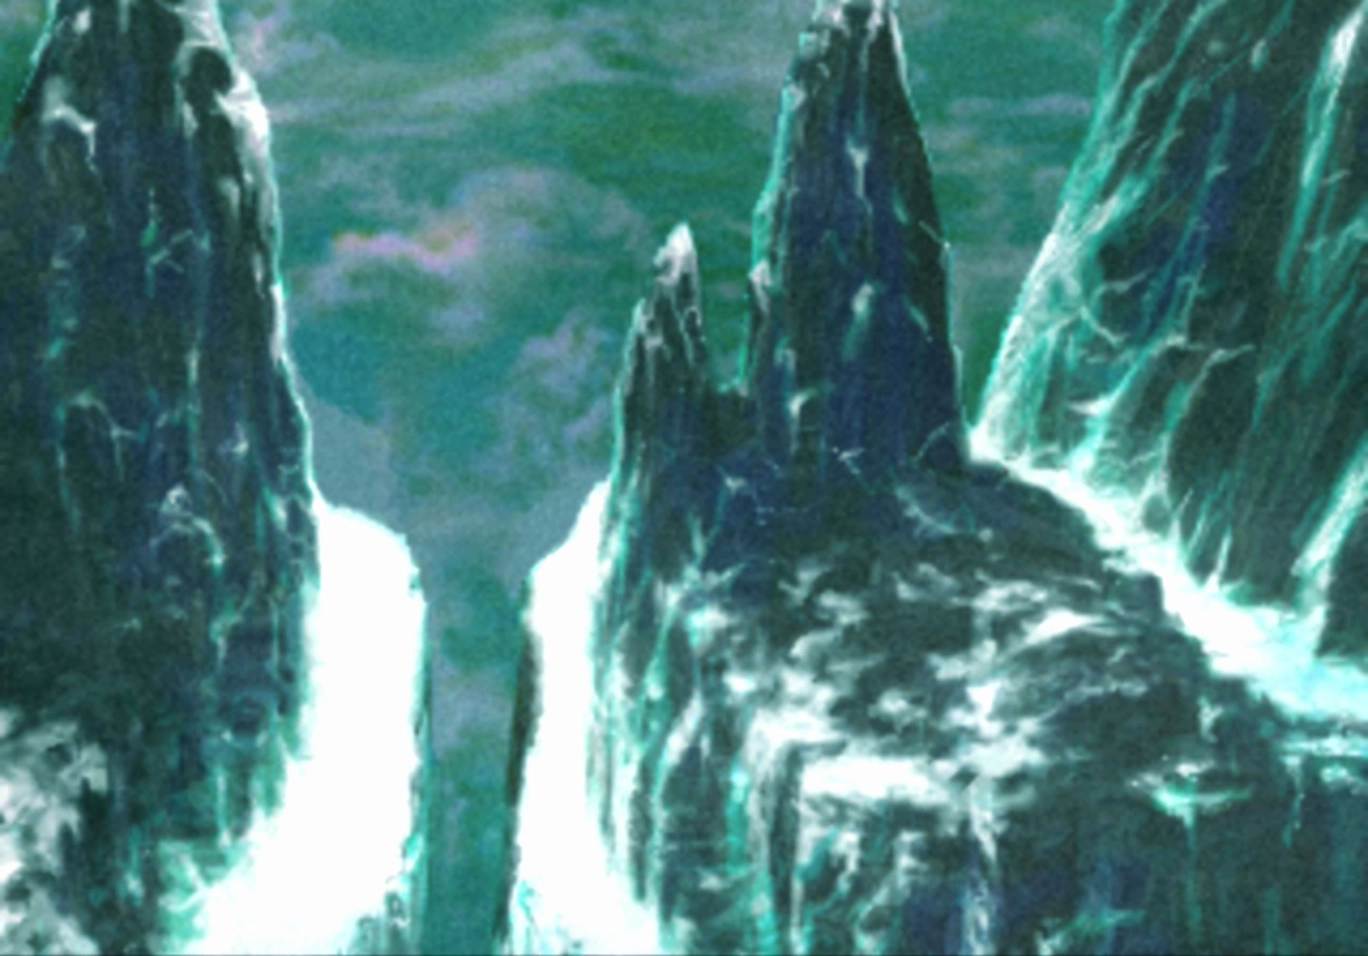
When you arrive back inside the cave, you should start by grabbing the treasure chest on the right side of the screen that contains a ![]() Fire Armlet.
Fire Armlet.
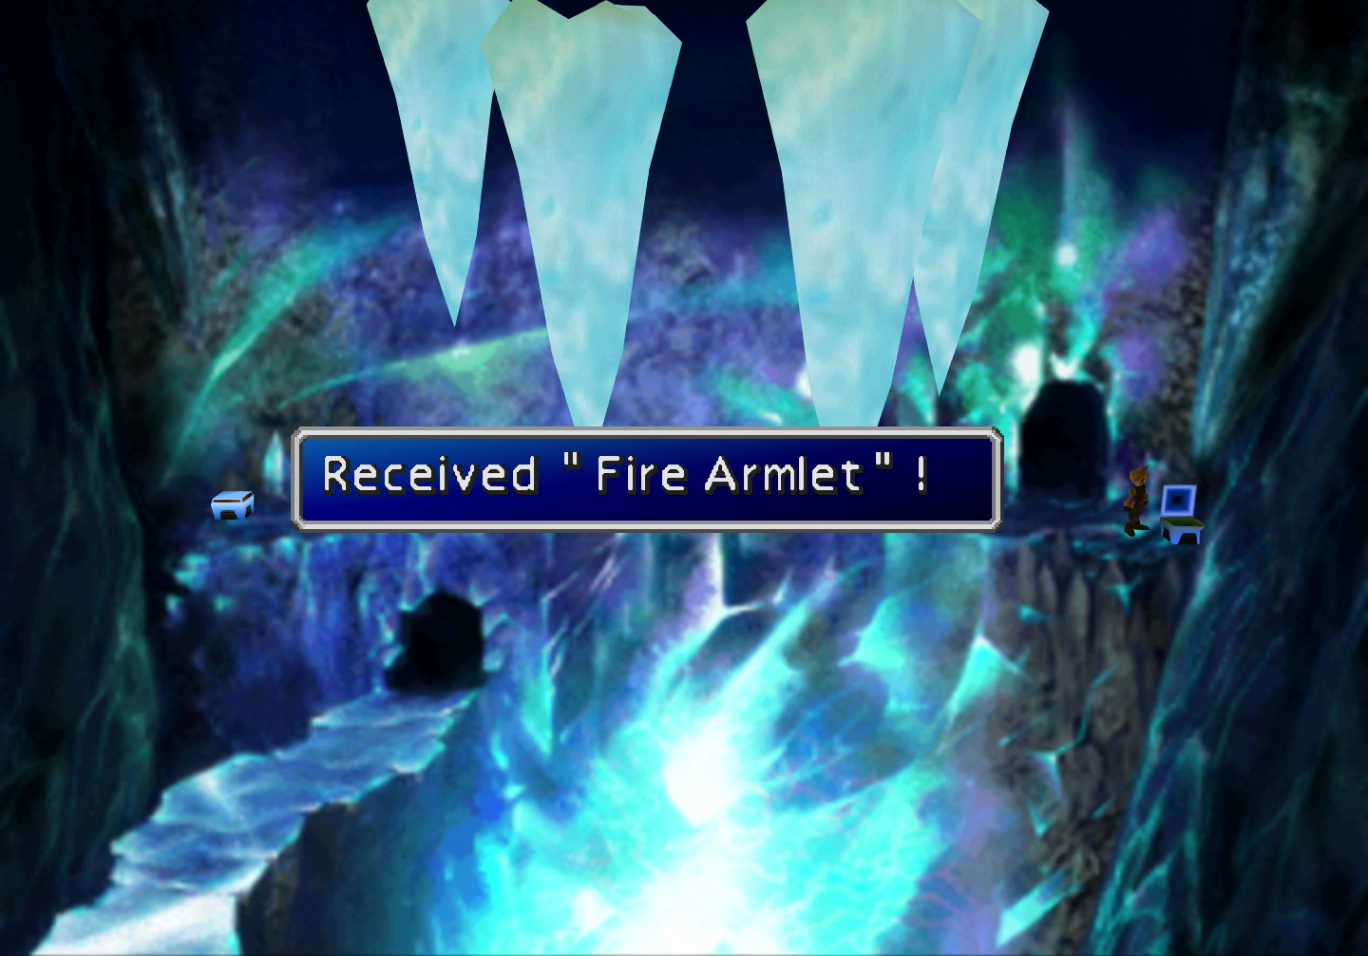
As you walk from the right side to the left side of the screen, you will be thrown into battle each time you touch one of the four icicles hanging from the roof.
You need to defeat all four of them, and as you defeat them, they will drop down to the level below, creating a pathway that you can hop across. Using the “Trine” or “Beta” Enemy Skill from your  Enemy Skill Materia is a fast way to end the fights quickly.
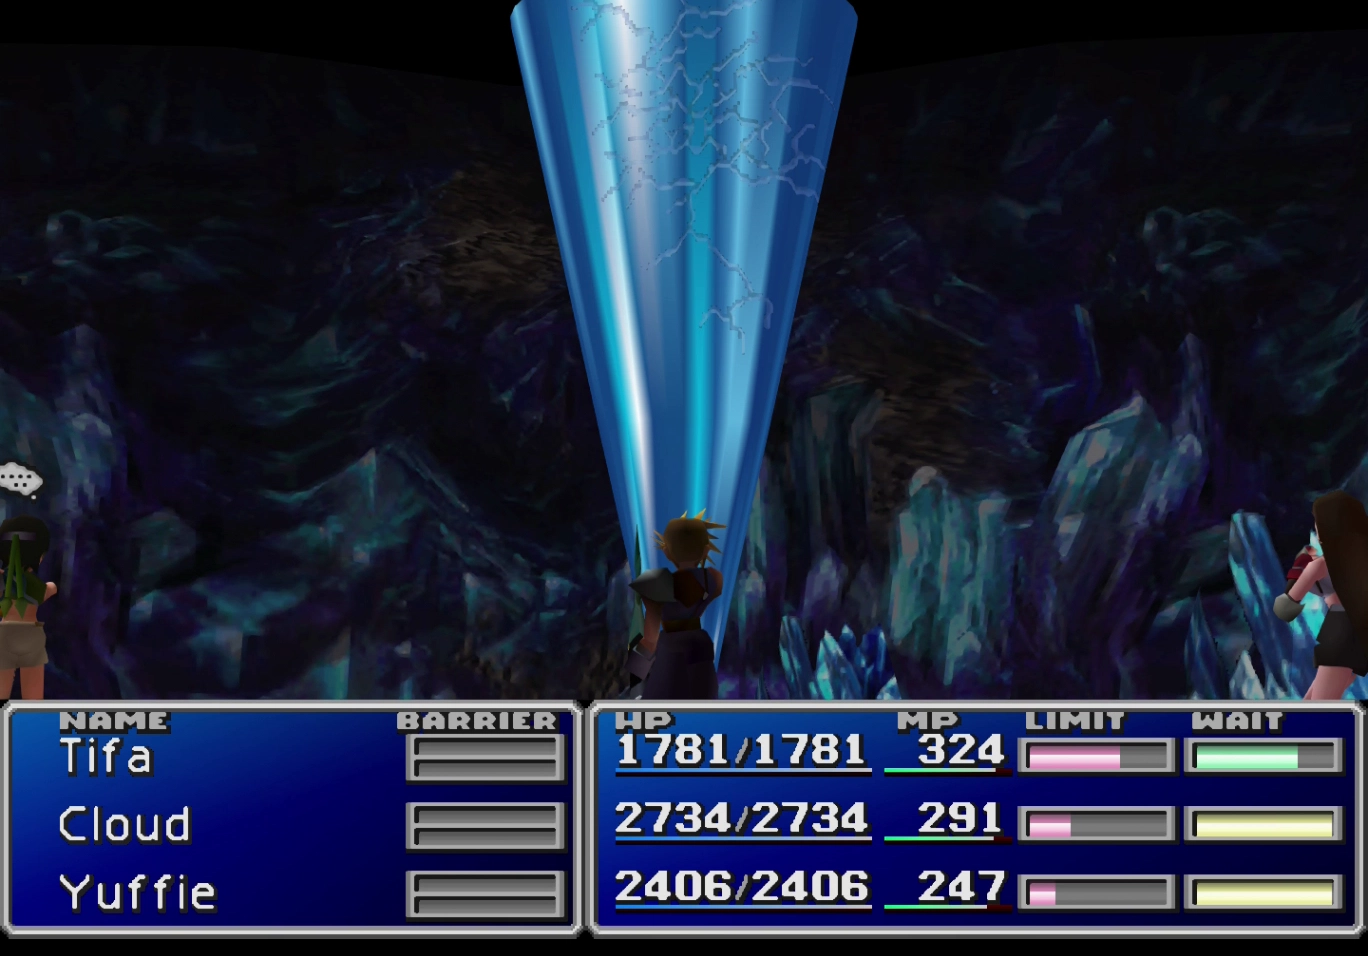
Do not jump down to the level below until you have defeated all the Icicles and obtained the treasure chest on the other side of the room. It contains a ![]() Megalixir, which is incorrectly referred to as a “Last Elixir” in the game (this error has been corrected in the PlayStation 4 version).
Megalixir, which is incorrectly referred to as a “Last Elixir” in the game (this error has been corrected in the PlayStation 4 version).
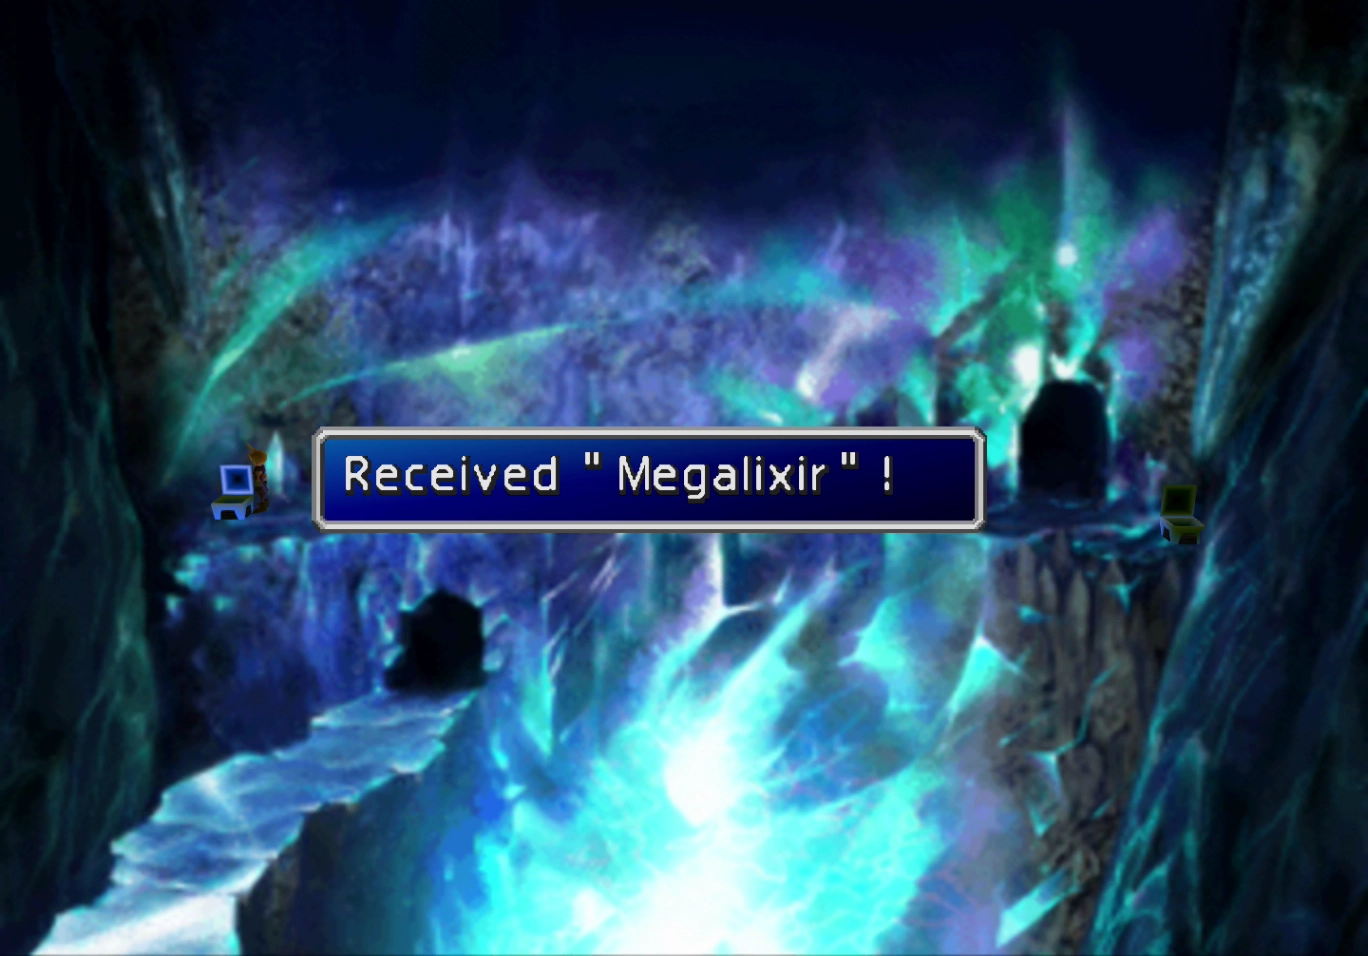
Walk along the edge of the pathway, and once you get close to the doorway, you will have the option to “Jump down to the room below.” Select yes to jump down.
There is a treasure chest to the left of the ![]() Save Point, which is now available as a reward for defeating all four Icicles. The treasure chest contains a
Save Point, which is now available as a reward for defeating all four Icicles. The treasure chest contains a ![]() Speed Source.
Speed Source.
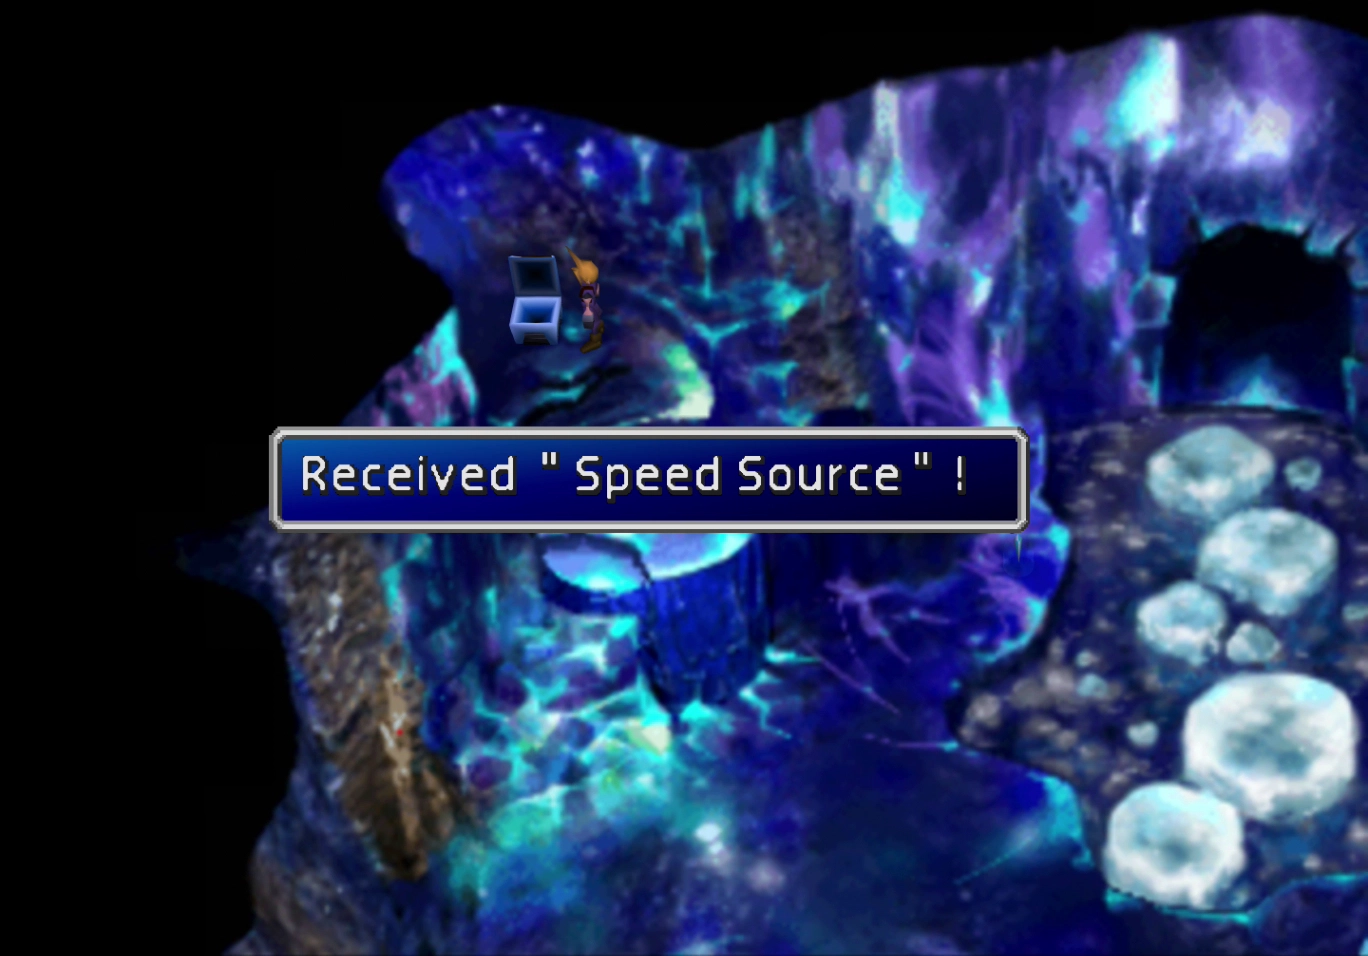
Hop along the pathway created by the fallen icicles to reach the doorway at the back of the room (just to the right of the ![]() Save Point). The treasure chest on this pathway contains an
Save Point). The treasure chest on this pathway contains an ![]() Enhance Sword for Cloud.
Enhance Sword for Cloud.
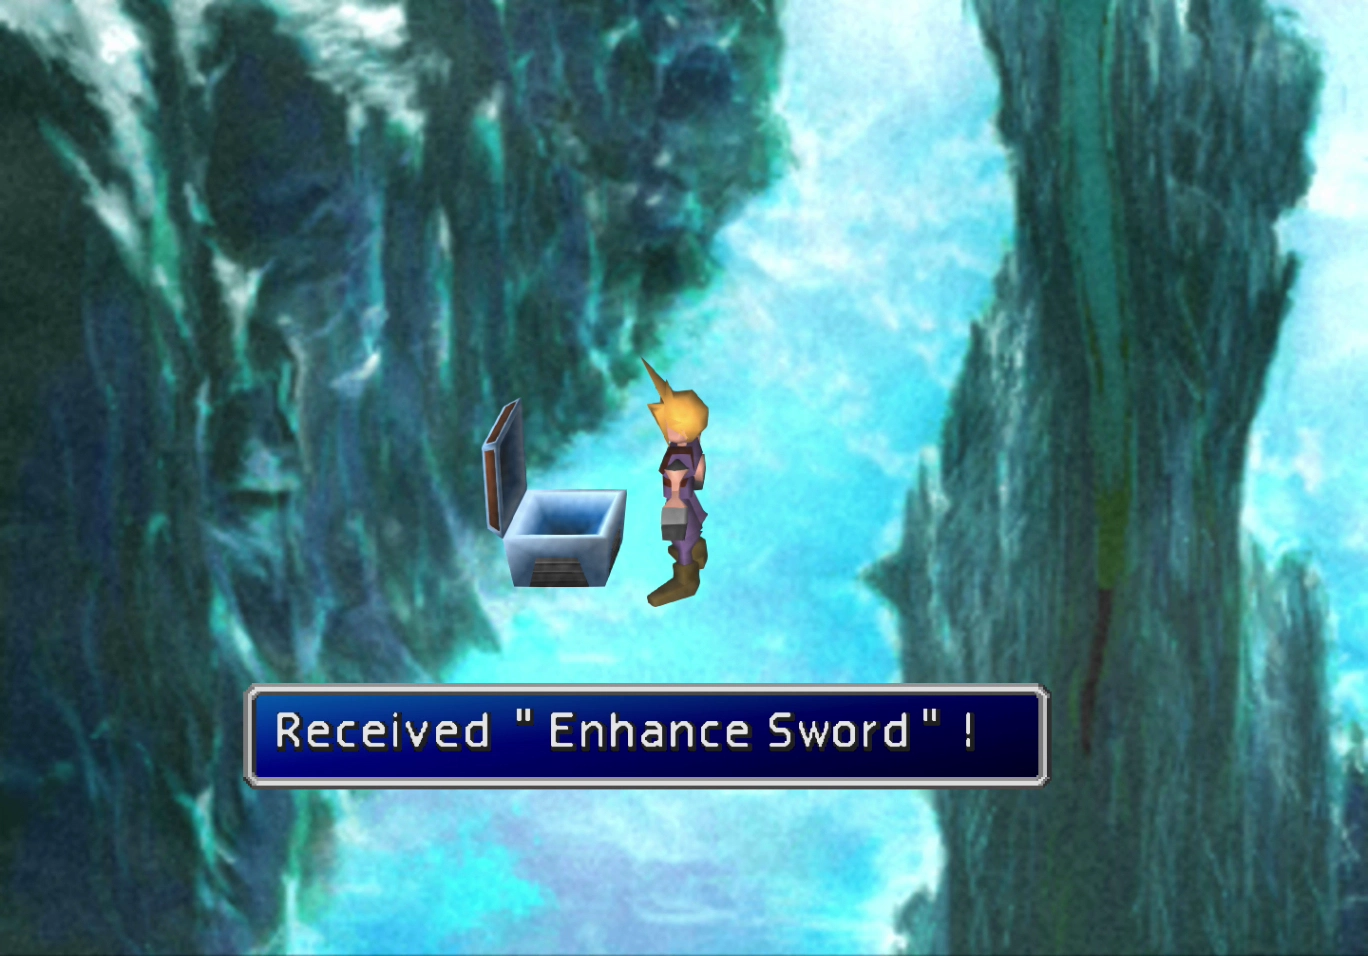
The ![]() Enhance Sword contains numerous paired Materia Slots, but it has terrible “Attack” and “Attack %” stats. This sword is only good if you wish to have Cloud focusing on magic spells and summons, as it will allow you to load him up with Materia.
Enhance Sword contains numerous paired Materia Slots, but it has terrible “Attack” and “Attack %” stats. This sword is only good if you wish to have Cloud focusing on magic spells and summons, as it will allow you to load him up with Materia. ![]() Organics is better, though, if you wish to utilize Cloud’s standard attacks. Follow the pathway around to the left side this time.
Organics is better, though, if you wish to utilize Cloud’s standard attacks. Follow the pathway around to the left side this time.

One last cliff face to climb. Choose to continue upward (“Go up”) at both of the intersections. Use the ![]() Save Point when you reach the next cave, as there is a boss battle coming up. You can also touch the pool of water to the right of the
Save Point when you reach the next cave, as there is a boss battle coming up. You can also touch the pool of water to the right of the ![]() Save Point to fully refill your HP and MP.
Save Point to fully refill your HP and MP.
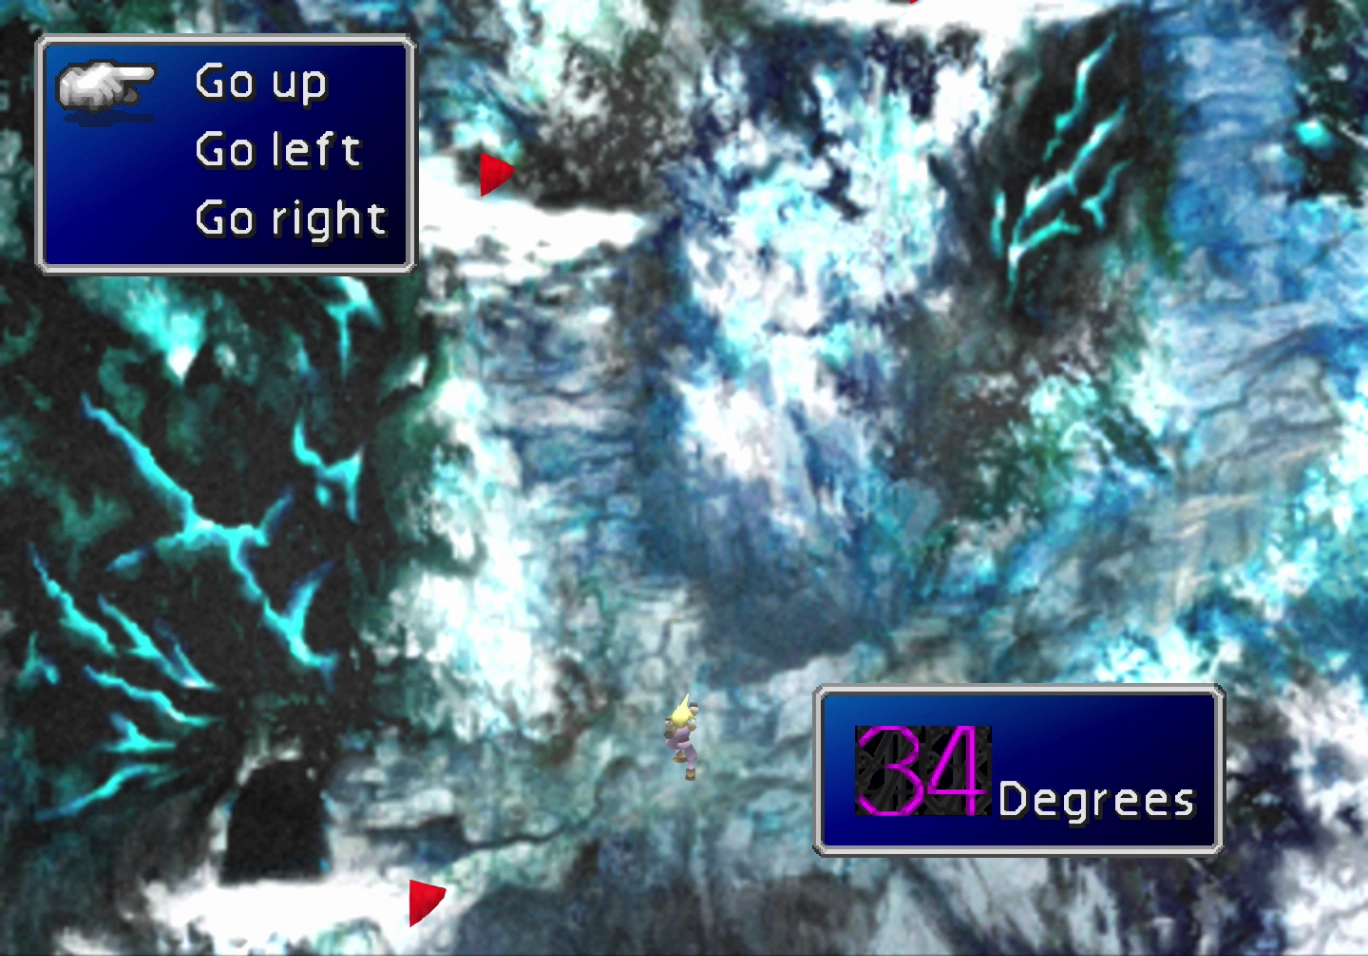
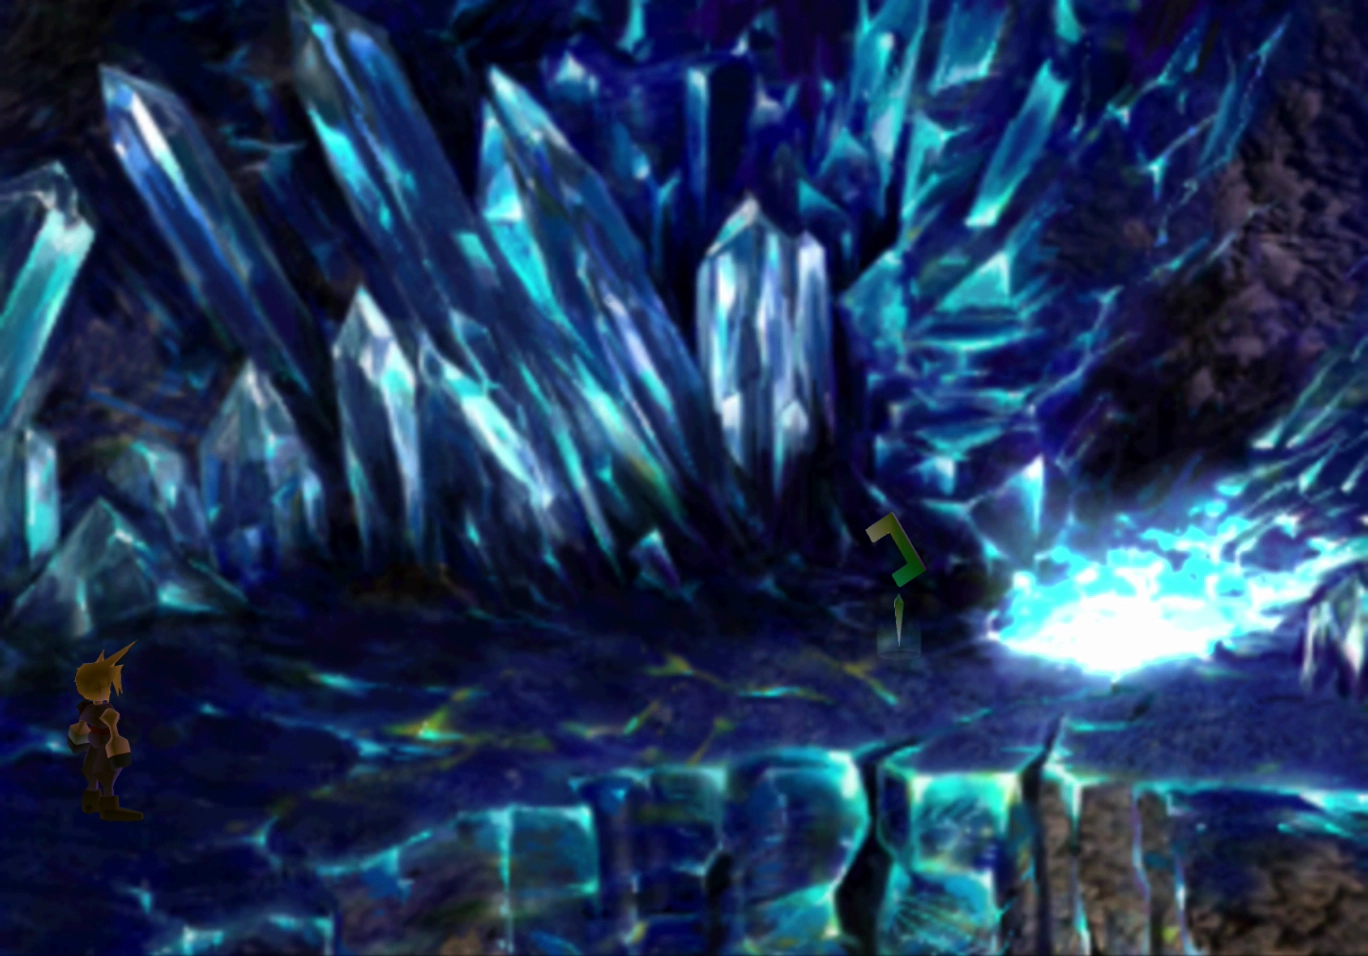
There are enemies in this area called Blue Dragons, and you can win ![]() Dragon Armlets for defeating them. Dragon Armlets are strong pieces of armor and are especially helpful for the next boss fight.
Dragon Armlets for defeating them. Dragon Armlets are strong pieces of armor and are especially helpful for the next boss fight.
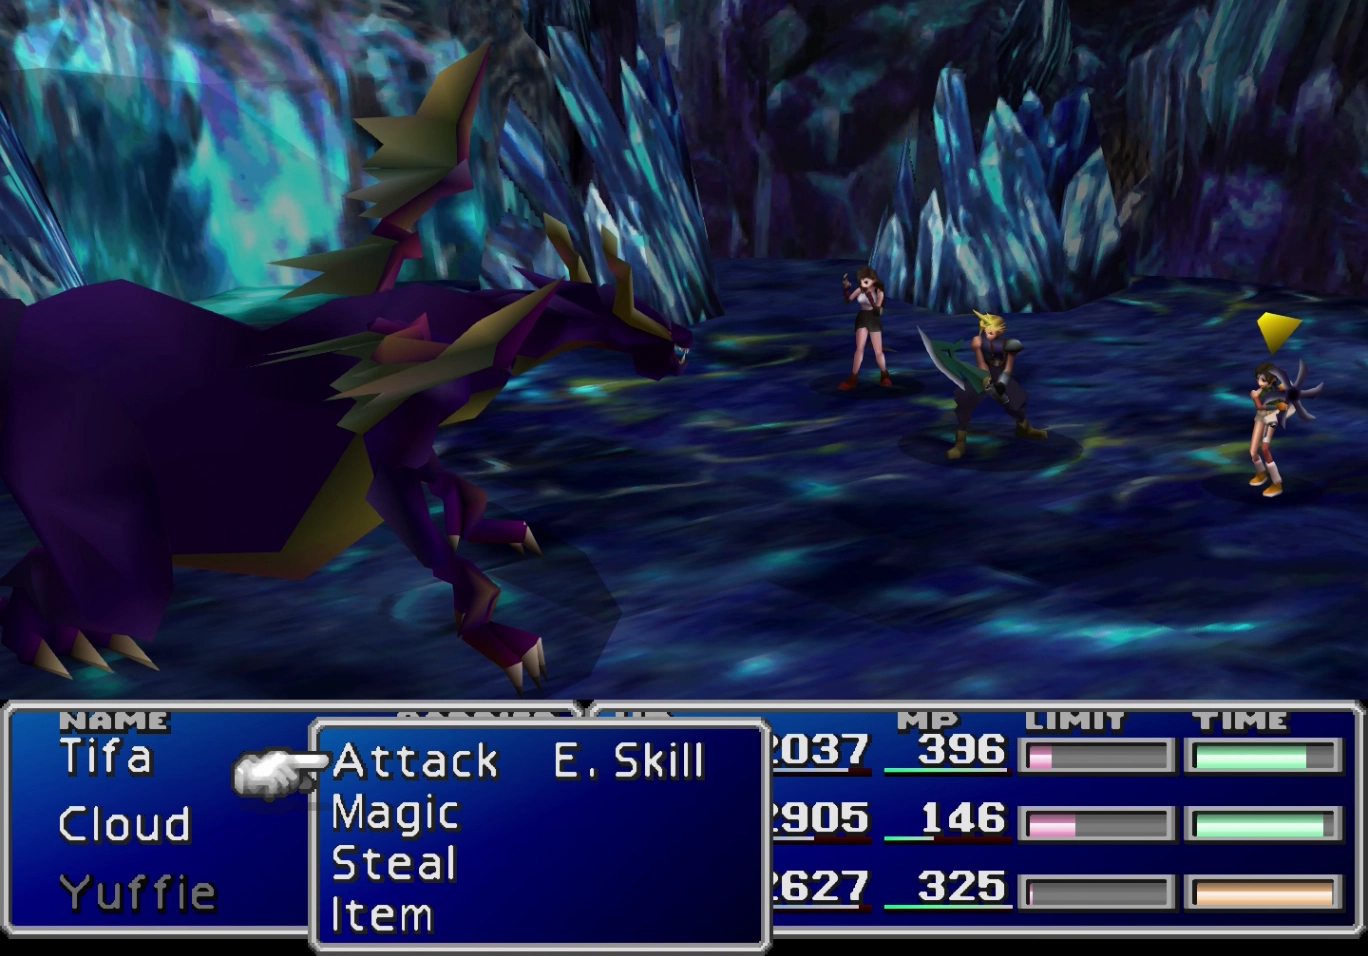
Preparation: Schizo, an upcoming boss battle, is an entirely elemental-based boss. Its attacks will typically come in the form of Ice and Fire-based spells. Equip your characters with the following items in preparation for the battle, depending on what you have in your inventory:
 Aurora Armlets
Drains Cold attacks. Fire Armlets
Drains Fire attacks. Bolt Armlets
Drains Lightning attacks. Dragon Armlets
Drains 1⁄2 Fire/Cold/Lightning attacks. Fire Ring or
  Ice Ring
Nullifies Fire/Cold attacks (you should have one of each). Fire Materia or
  Ice Materia paired with
  Elemental Materia on your armor. This step is excessive if you have already equipped each of your team members with some combination of the items above.
Proceed to the right of the ![]() Save Point when you are ready.
Save Point when you are ready.
Boss Battle
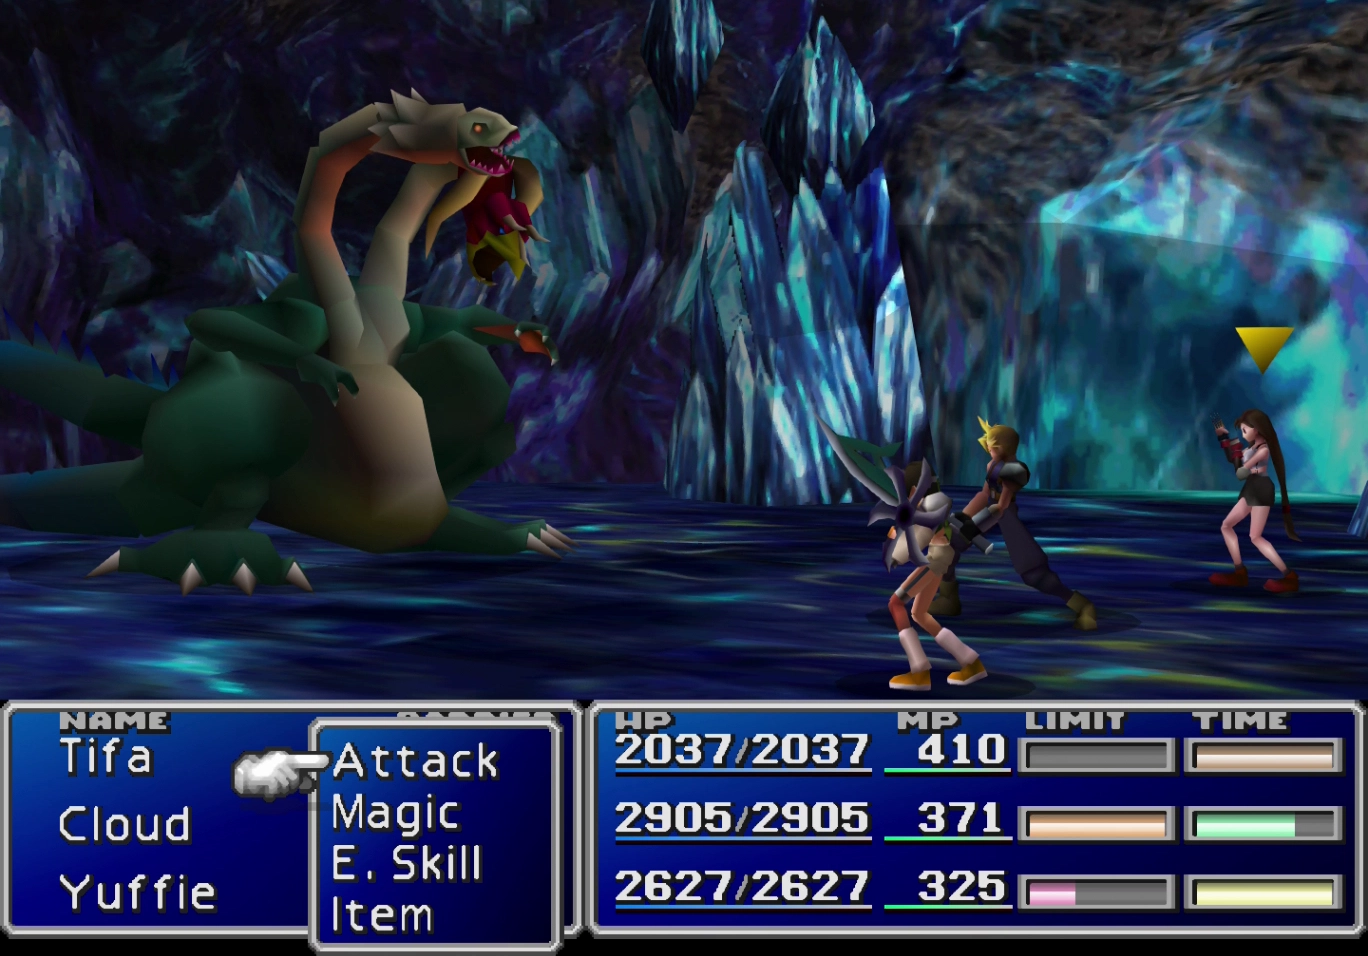
HP: 18,000 (left) + 18,000 (right)
Reward: ![]() Dragon Fang
Dragon Fang
This boss battle is all about the preparation put in before the fight (included in the list above). Watch out for non-elemental attacks. Use “Big Guard” to keep your team protected, and ensure that you have  Steal Materia equipped to steal a
 ![]() Protect Ring from Schizo.
Protect Ring from Schizo.
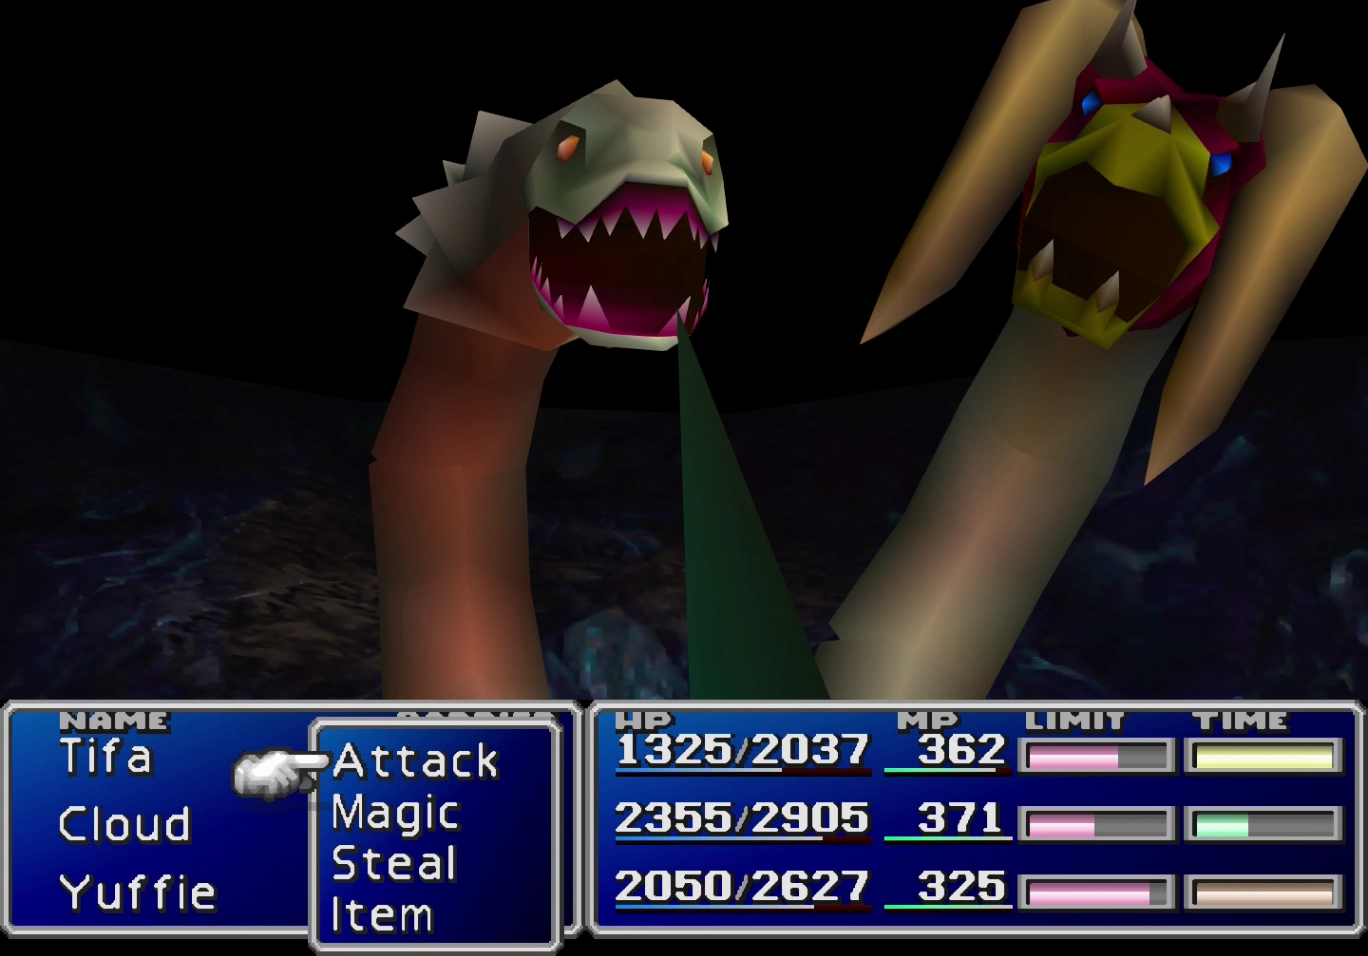
A video demonstration of this battle is included below for reference.
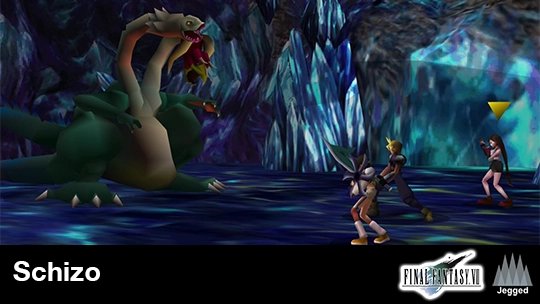
A video demonstration of how to successfully complete the fight against Schizo.
Go back and refill your HP and MP at the glowing lake and save your game at the ![]() Save Point. Proceed down the hallway and climb the last cliff afterward towards the Whirlwind Maze.
Save Point. Proceed down the hallway and climb the last cliff afterward towards the Whirlwind Maze.

