
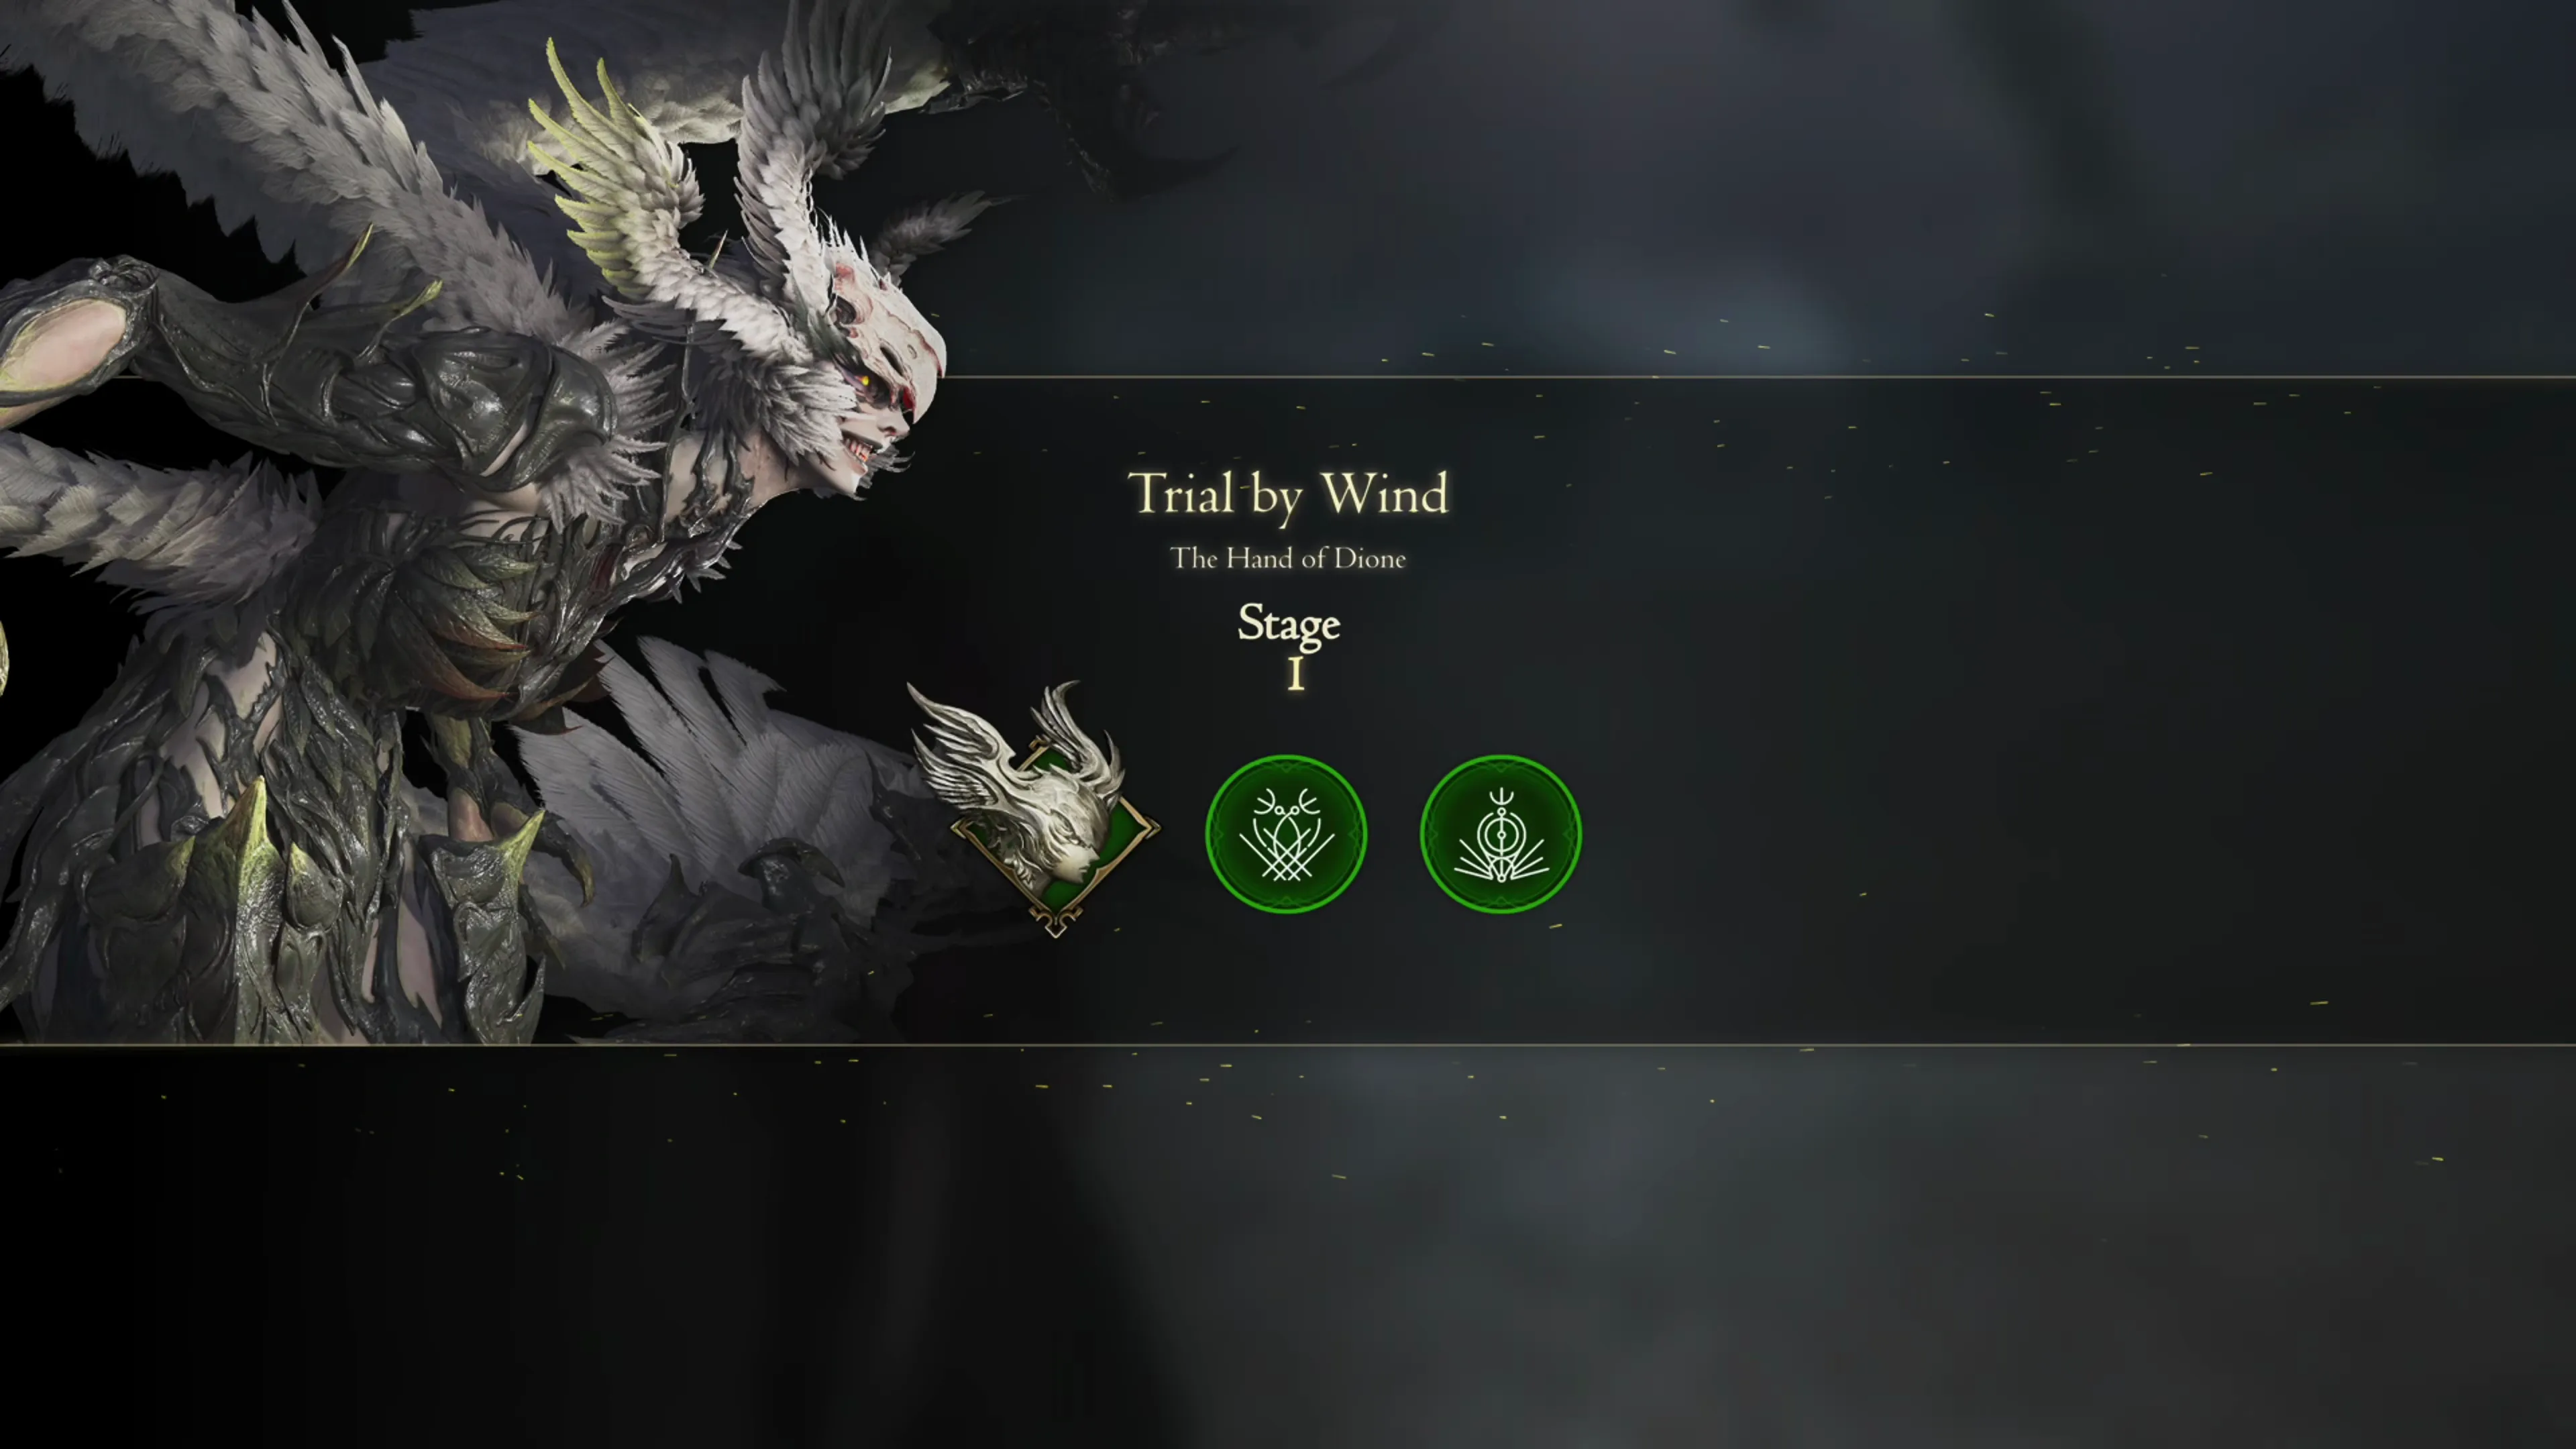
Trial by Wind
The Trial by Wind is also known as the Hand of Dion.
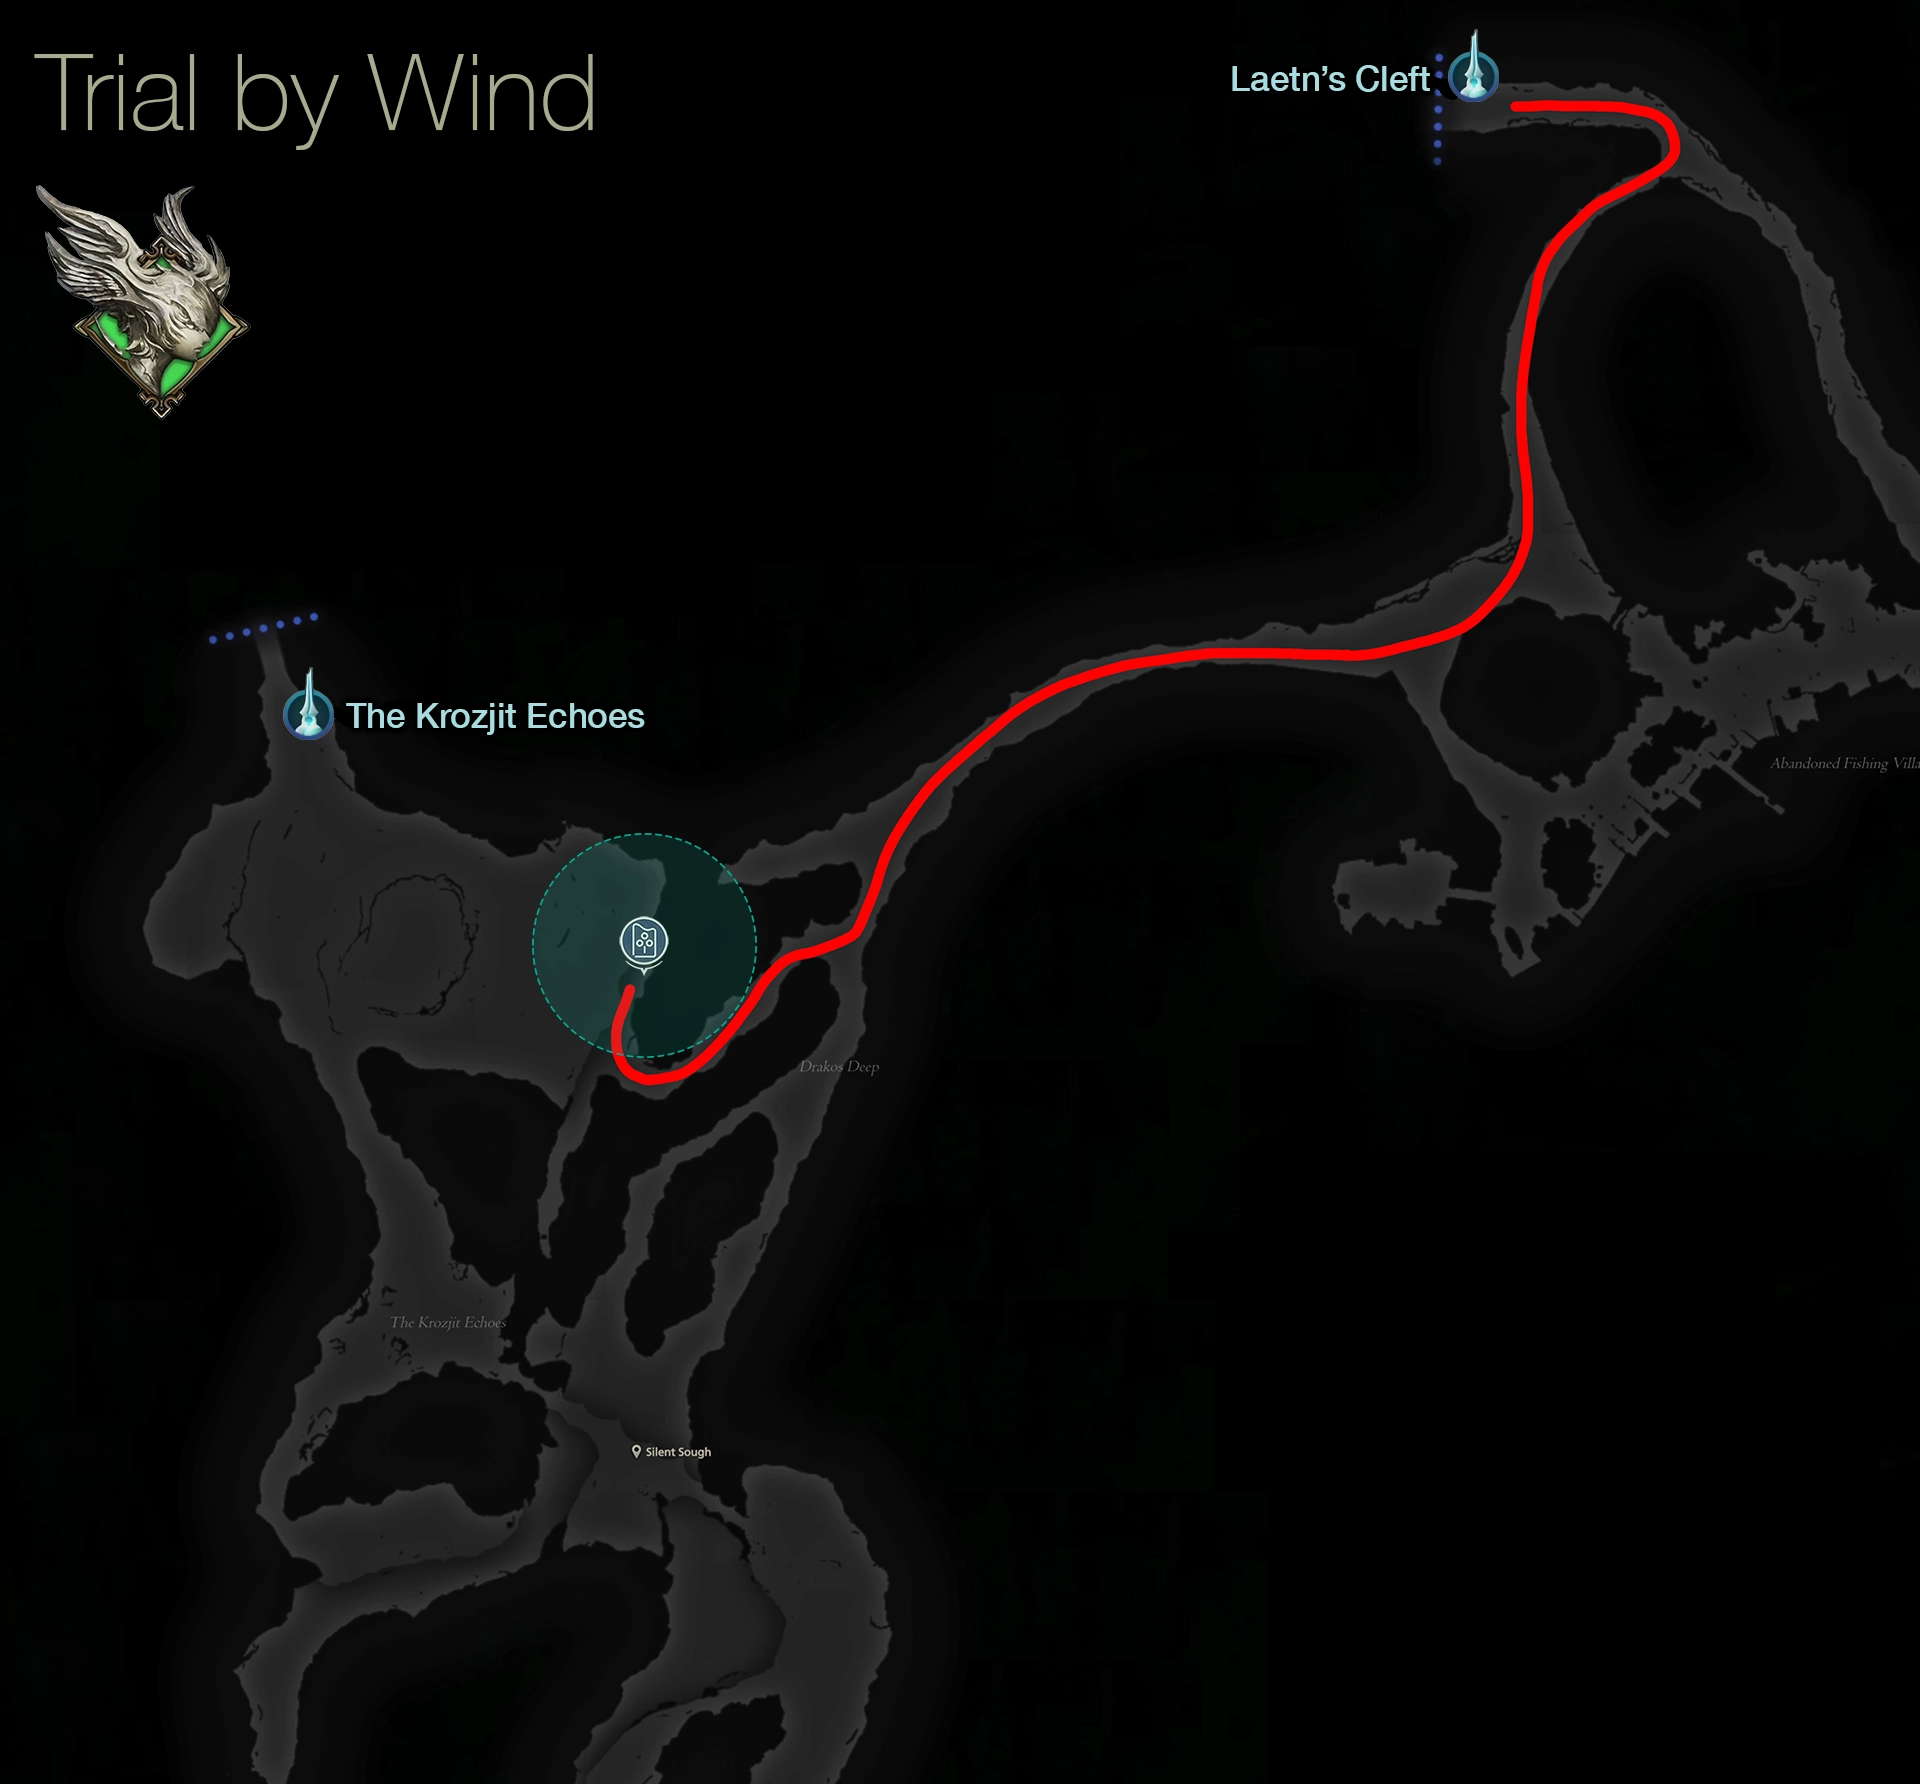
Chronolith Location
The Chronolith is located in the Drakos Deep area of Dhalmekia. The best means to reach it is to travel to the ![]() Laetny’s Cleft Obelisk. Use the map below to help you find it:
Laetny’s Cleft Obelisk. Use the map below to help you find it:
Stages
| Stage | Enemies | |
|---|---|---|
|
|
1-1 |
|
| 1-2 |
|
|
| 1-3 |
|
|
|
|
2-1 |
|
| 2-2 |
|
|
| 2-3 |
|
|
|
|
3-1 |
|
| 3-2 |
|
|
| 3-3 |
|
|
|
|
4 |
|
Tips and Tricks
- The best tip for this entire trial is to ensure you’re using
 Deadly Embrace consistently. You can earn extra time by landing a four-hit combo after drawing in an enemy close with it, and you also gain additional points for triggering a Deadly Takedown or a Deadly Leap.
 - Just like with
 Scarlet Cyclone, try to make sure you get as many enemies as close as possible to you before triggering a
  Wicked Wheel and then make sure to use a
  Melee Attack on any enemies that are lifted upwards in the whirlwind for additional bonus points.
 - Against bosses, it’s much easier to trigger a “Full Gouge” (continue pressing


 button while using
  Gouge) after you’ve used Deadly Embrace to initiate a deadly takedown.
 - It can take some practice to learn how to utilize
 Rook’s Gambit in battle, but it’s worth mastering the timing so that you can get a few “Precision Gambit” bonus points for time. Don’t forget to use it as an alternative to dodging whenever the attack is available. It still has an effect even if you don’t successfully dodge an attack, but you lose the bonus points/time you might have earned.
  Aerial Blast has a lengthy cooldown, but be cautious not to use it too sparingly. You can use it, for example, at the start of Stage 3-1 and then again, after it recharges, in Stage 3-3. During stage 3-3, it can be particularly helpful in bringing both the Windbound Gigas and the Windbound Elemental to stagger.
- For the final stage, the same recommendations apply. Use Aerial Blast early and save Gouge for a Deadly Takedown sequence at the 50% Will Gauge mark. Again, don’t forget to use your
 Limit Break!