
Walkthrough
This is the main menu of the Jegged.com strategy guide for Final Fantasy XIII. Please note that this strategy guide is full of spoilers so don’t read too far ahead of where you are in the game unless you have played it before.
Note that several of the Chapters are broken up into multiple pages. Use the descriptions of each page to help you locate the right section of the guide.
Pages Index

The introduction and overview for the Jegged.com walkthrough and tips on how to complete a full playthrough without missing any important items.
An introduction to Final Fantasy XIII’s combat system and the boss battle against Manasvin Warmech.
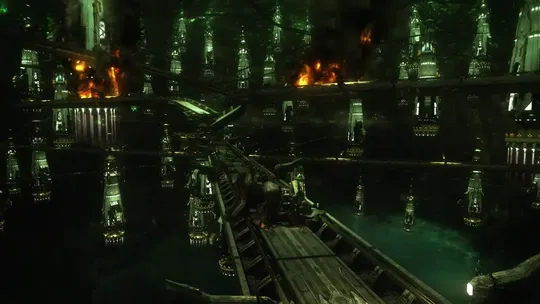
The two teams of Vanille and Hope, and Lightning and Sazh, along with Snow on his own, work their way through the Pulse Vestige.
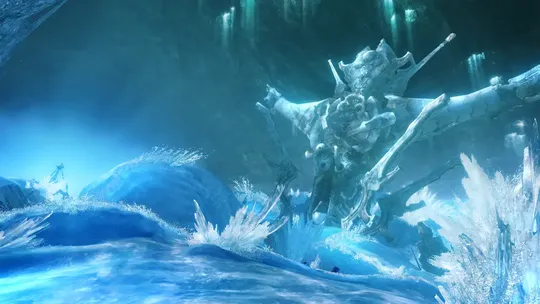
The five party members venture through the icy walkways while attempting to avoid the Sanctum soldiers.
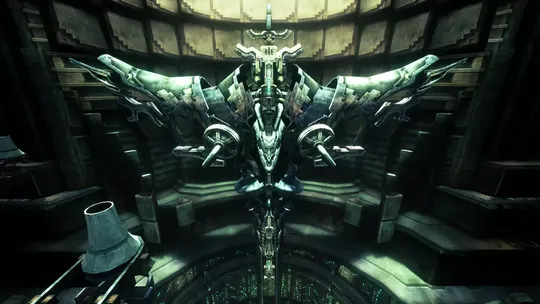
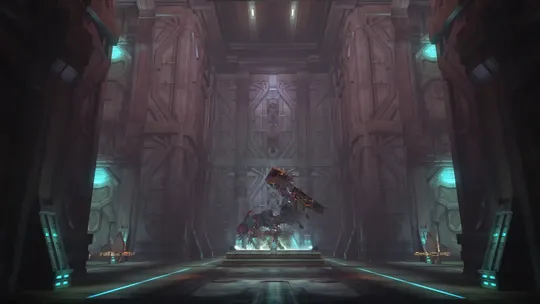
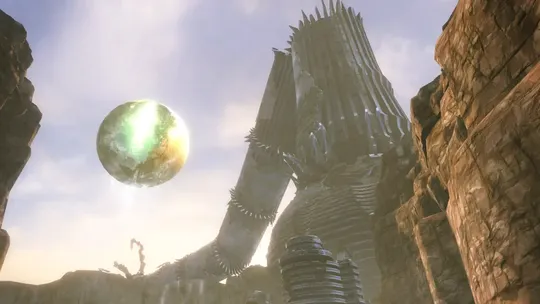
The team reaches the Gates of Antiquity and the ruins of an old city as they face off against the first Eidolon.
The first part of Chapter 4 where the team splits up again and are introduced to the three-way battle system.
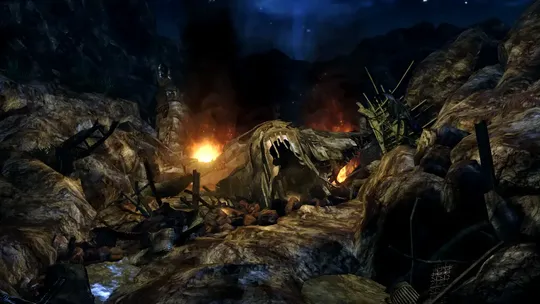
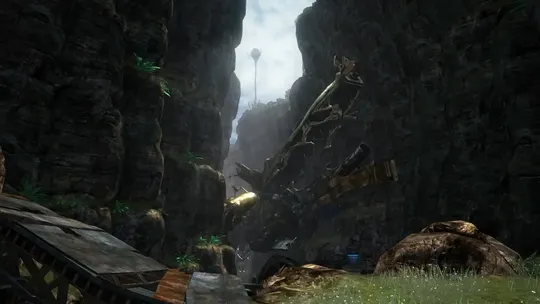
Following the battle against Dreadnought, this section continues the two team’s travels through the Vile Peaks.
The game returns to Vanille and Sazh as they restore power and activate the reactor allowing them to backtrack to grab additional Treasure Spheres.

Lightning and Hope continue to make their way from the Vile Peaks through the first sections of the Gapra Whitewood.
Lightning and Hope traverse through the testing and research areas with doorways that need to be unlocked.

Vanille and Sazh make their way through the forests battling Scalebeasts before reaching Lake Shayra.
Vanille and Sazh use the “Climate Control Orbs” to change the weather within the Rain-spotted Vale as they make their way towards the Seabus Docks.
Lightning and Hope sneak past the Sanctum Soldiers and through the underground Nutriculture Complex past Carbuncle.
Lightning and Fang join forces together to make their way through the Felix Heights to Hope’s family’s house for an eventual showdown with the Sanctum.

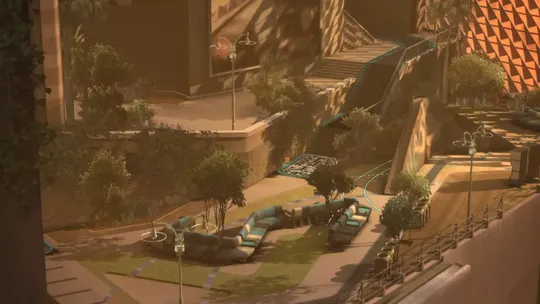
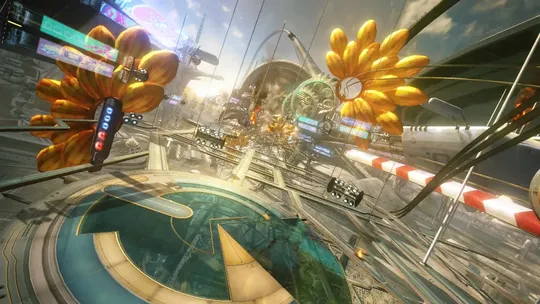
Sazh and Vanille visit the Nautilus amusement park and square off against the next Eidolon once they reach the Fiendlord’s Keep.

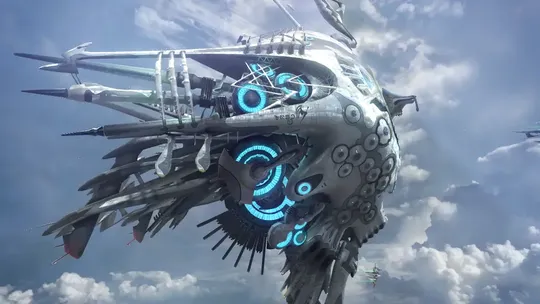
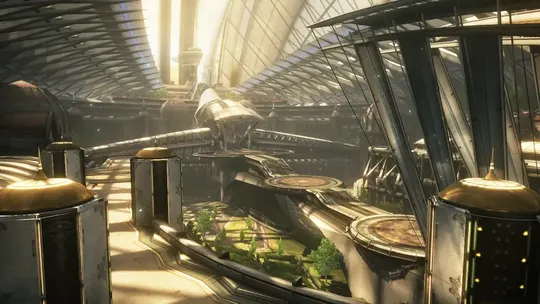
The combined teams traverse across the external berths and through the crew corridors of the Palamecia airship.
Vanille and Sazh escape from the Cargo Access through the Rotary Shaft and Primary Engine bay as both teams meet up.
The full team make their way across the Bridge Access to confront Galenth Dysley.
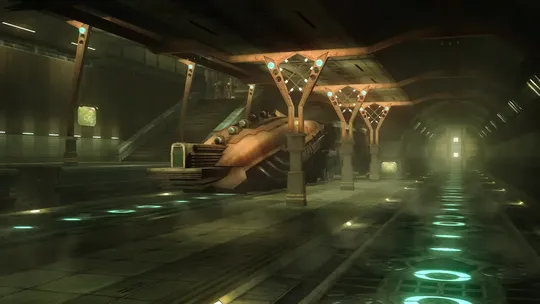
Navigating through the Upper and Lower Traverse, the Vestibular Hold, the Hibernatorium and Inner Conduit of the Fifth Ark.
After confronting Cid Raines, the team make their way through the Conflux until reaching the next Eidolon battle.
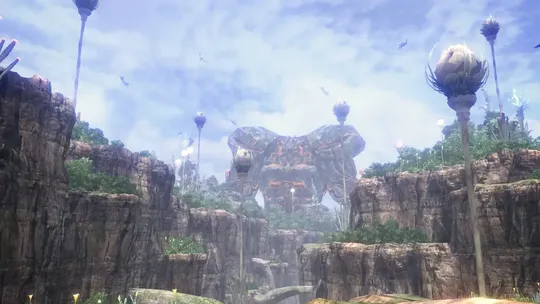
The group arrive at Gran Pulse after escaping the Fifth Ark only to find that Hope has gone missing.
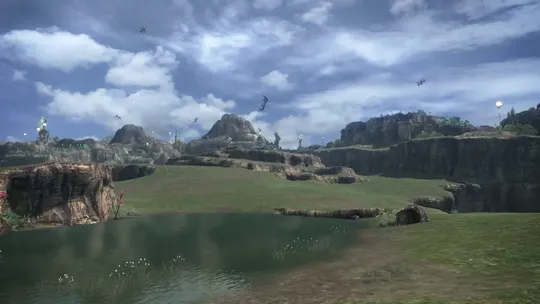
Completing the first Cie’th Stone Missions in Gran Pulse in the first open world section of the game.
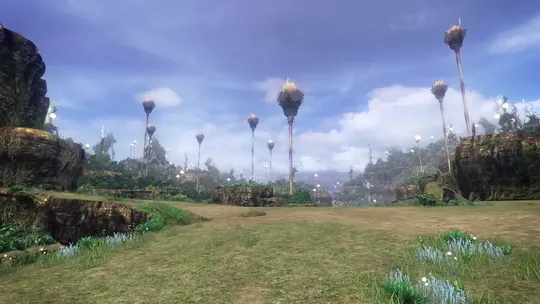
Taking on a number of the other Missions available in the open world areas around the Archylte Steppe.
Completing the last of the optional Missions and side quests available in Chapter 11.
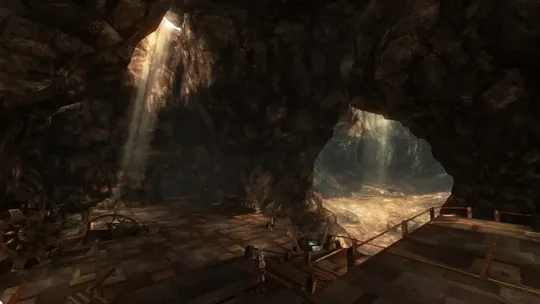
Traveling through the underground areas and challenging another Eidolon along the way.
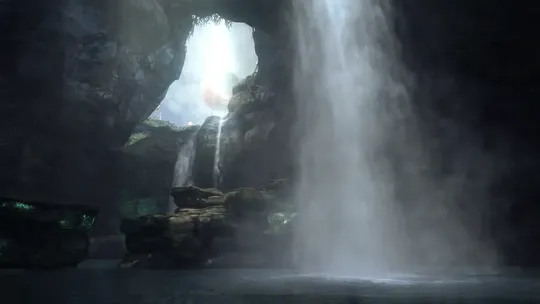
The team continues through the underground areas passing by a large subterranean lake.
Navigating through the seven tiers of the tower to the Apex to challenge another Fal’Cie guarding the exit.

Visiting the hometown of Vanille and Fang and taking some time to repair Bhakti the rover robot.
Completing the remaining optional content available back in the Archylte Steppe before proceeding to the next chapter of the game.
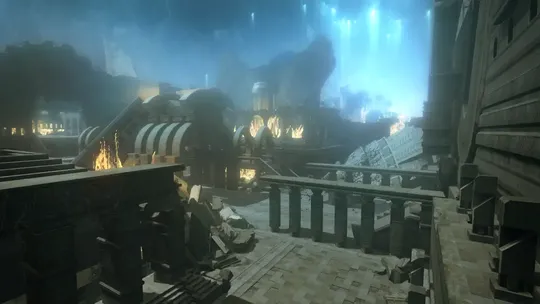
The team makes their way through the city as its inhabitants deal with the invasion of creatures from Gran Pulse.
Traveling through the Ramuh Interchange, Ramuh Park and Leviathan Plaza on the way to Edenhall.

The first sections of the Tesseracts up to the battle against Jabberwocky and Bandersnatch.
The second section of the Tesseracts revealed by the Fal’Cie leading up to the Tiamat Eliminator and the point of no return.

A complete listing of the optional endgame content including Missions, side quests, farming tips and all the available achievements / trophies.