

Kilika Island
There isn’t much to do in Kilika. Use the maps below to track down the treasure chests along the docks. Two of them are located very close to where you initially land near the Save Sphere. You’ll have to jump across the boats to reach them. Use the screenshots below to help you find them:
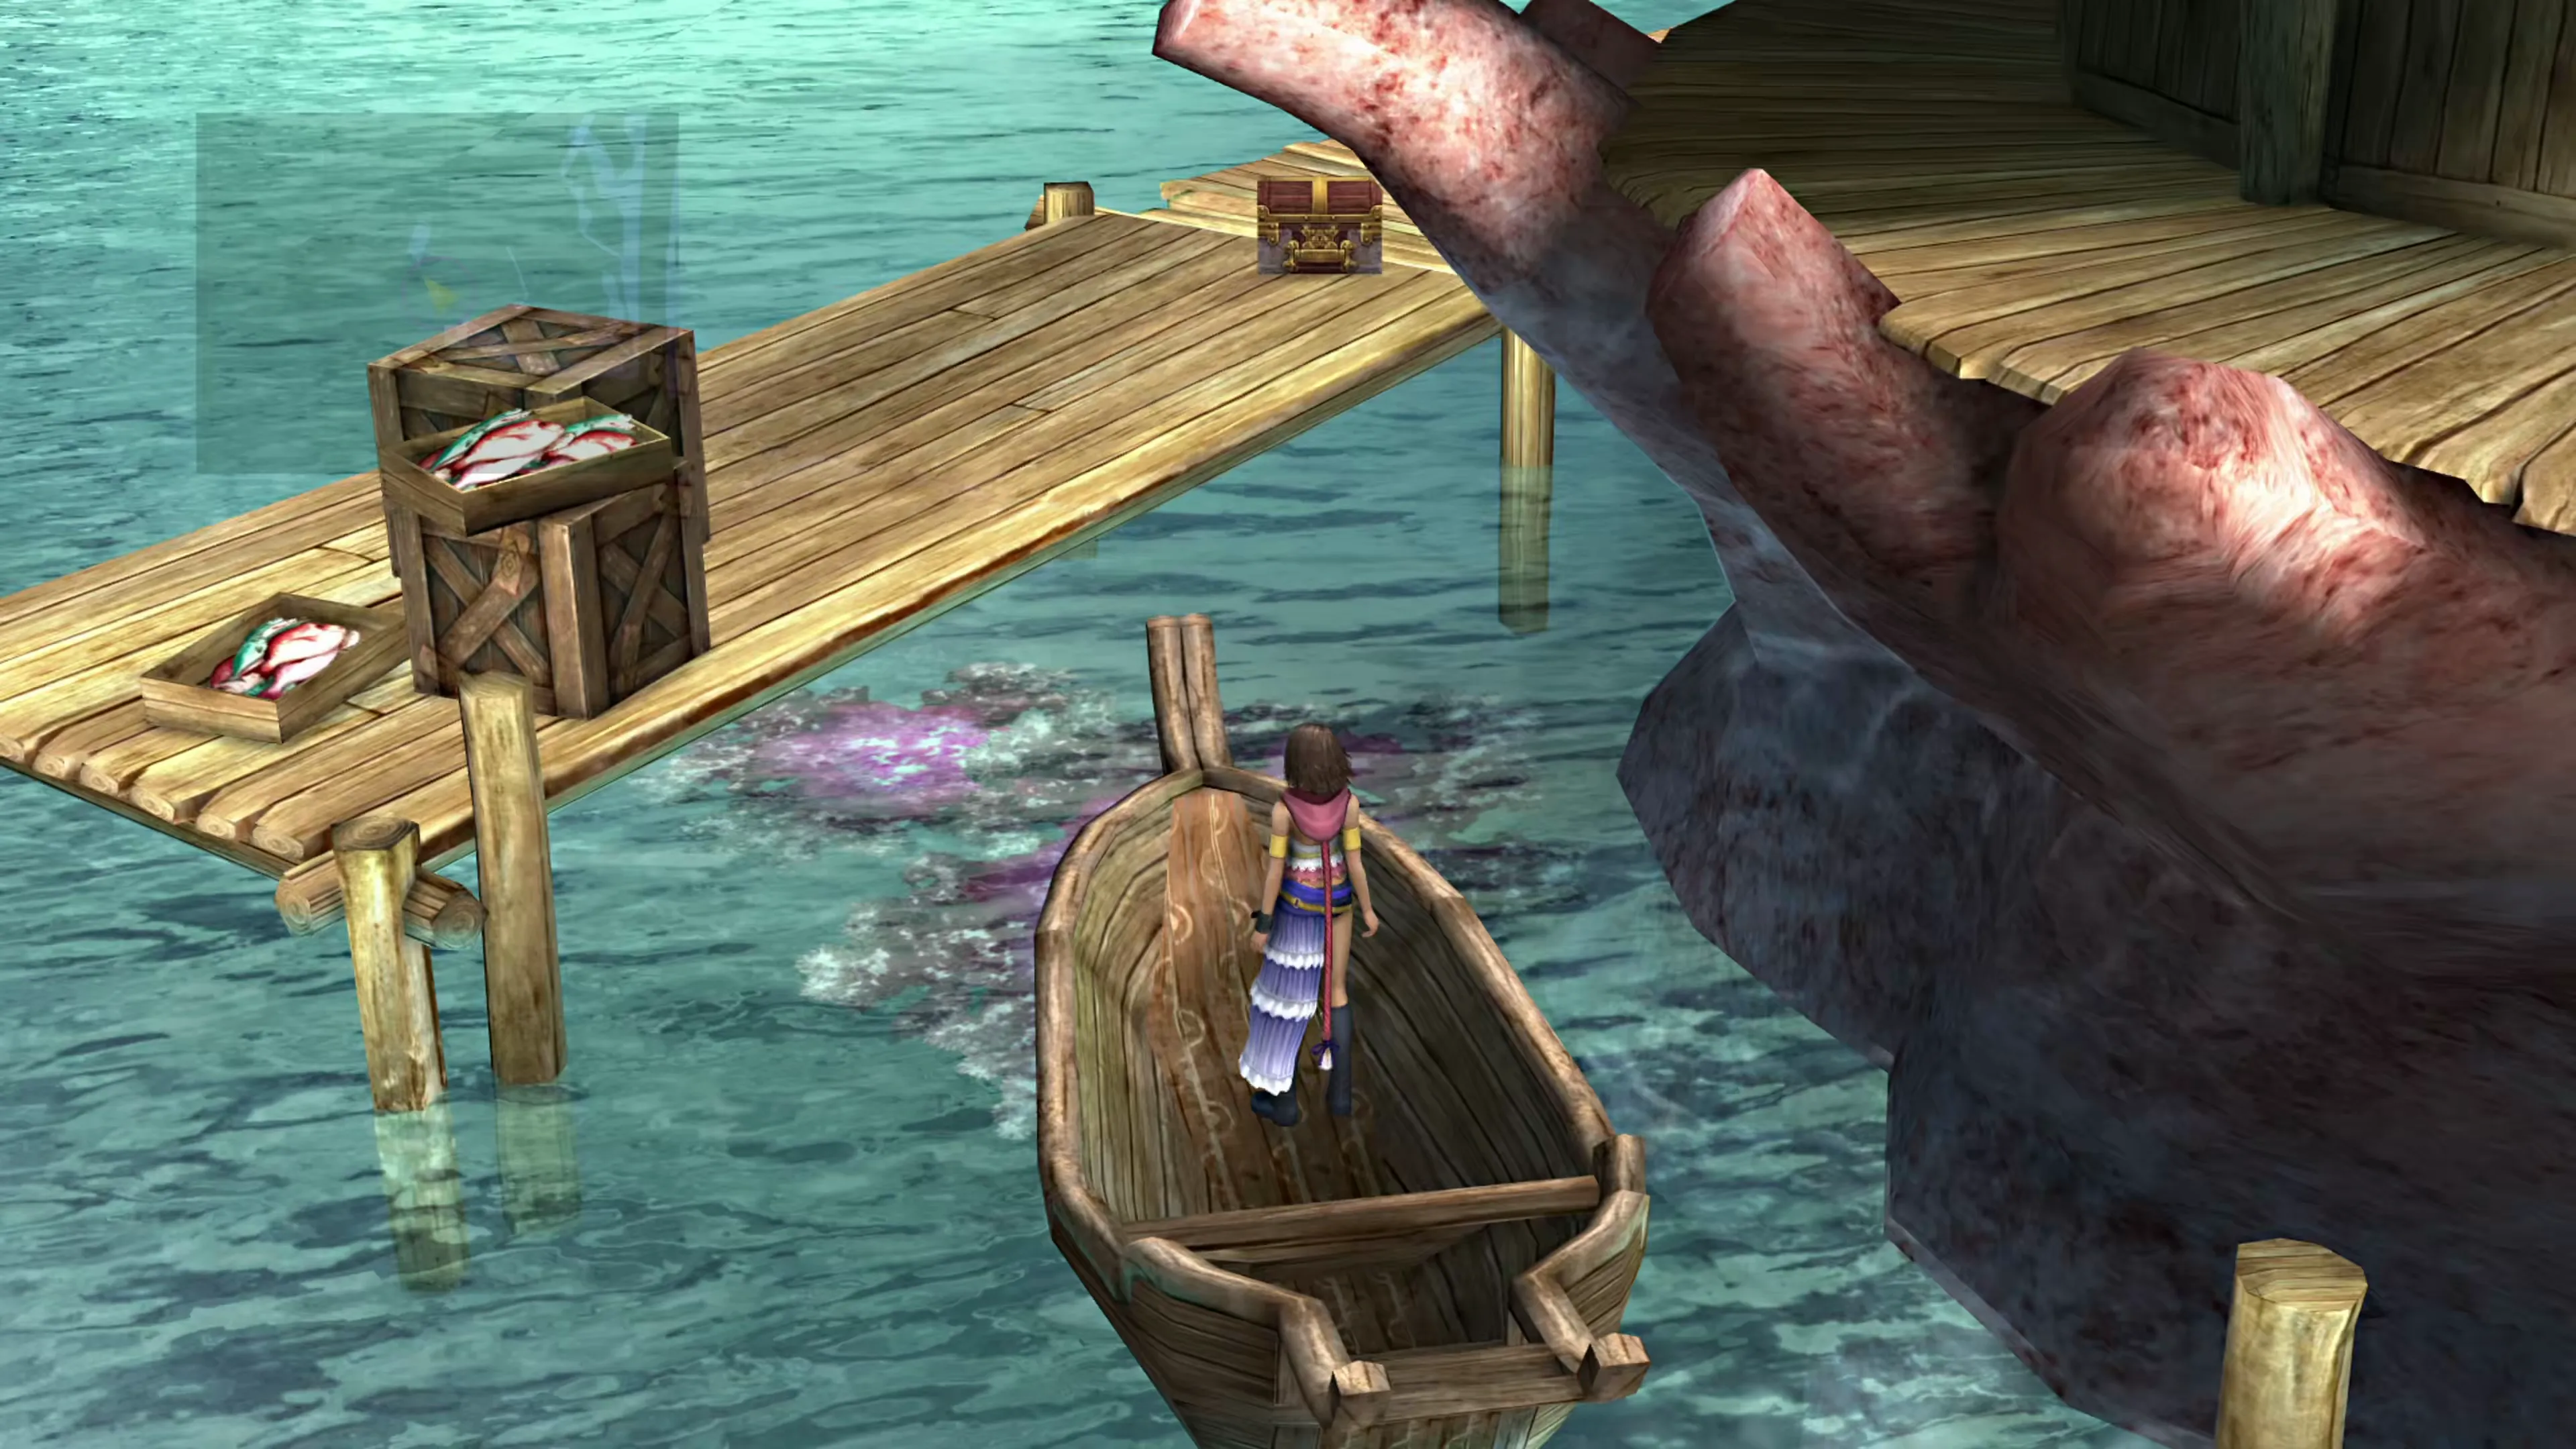
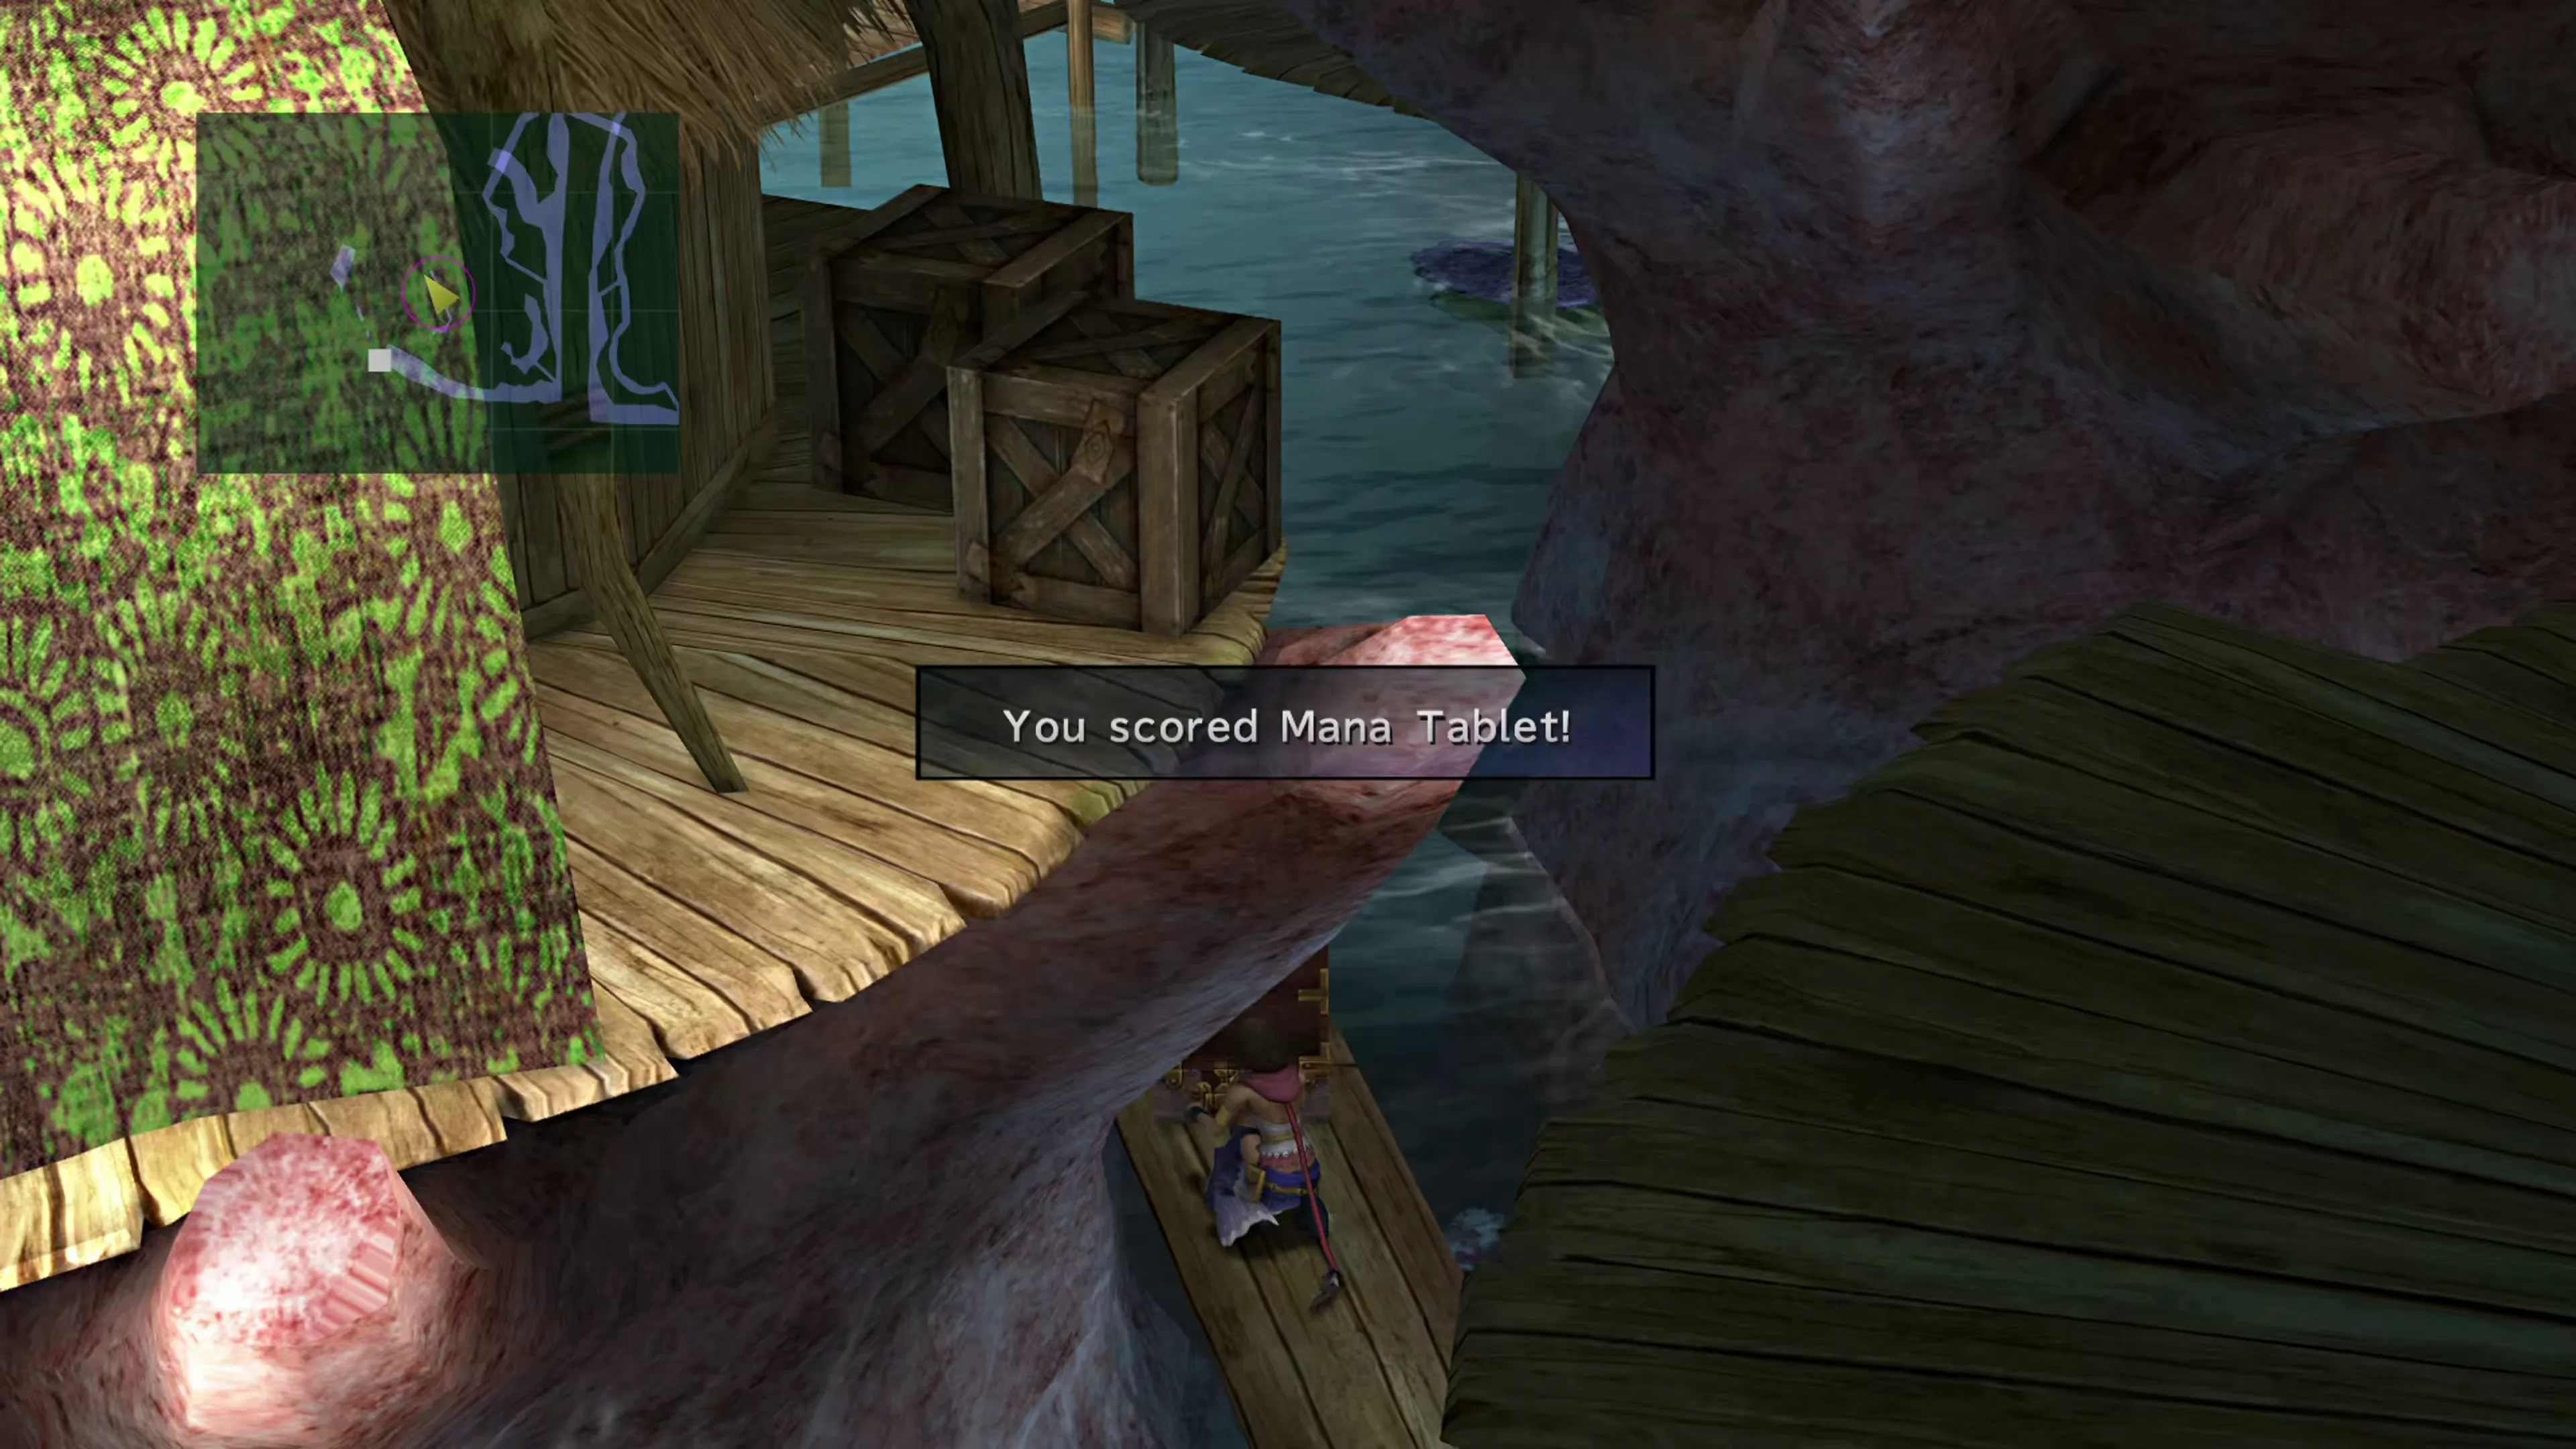
Kilika Port South
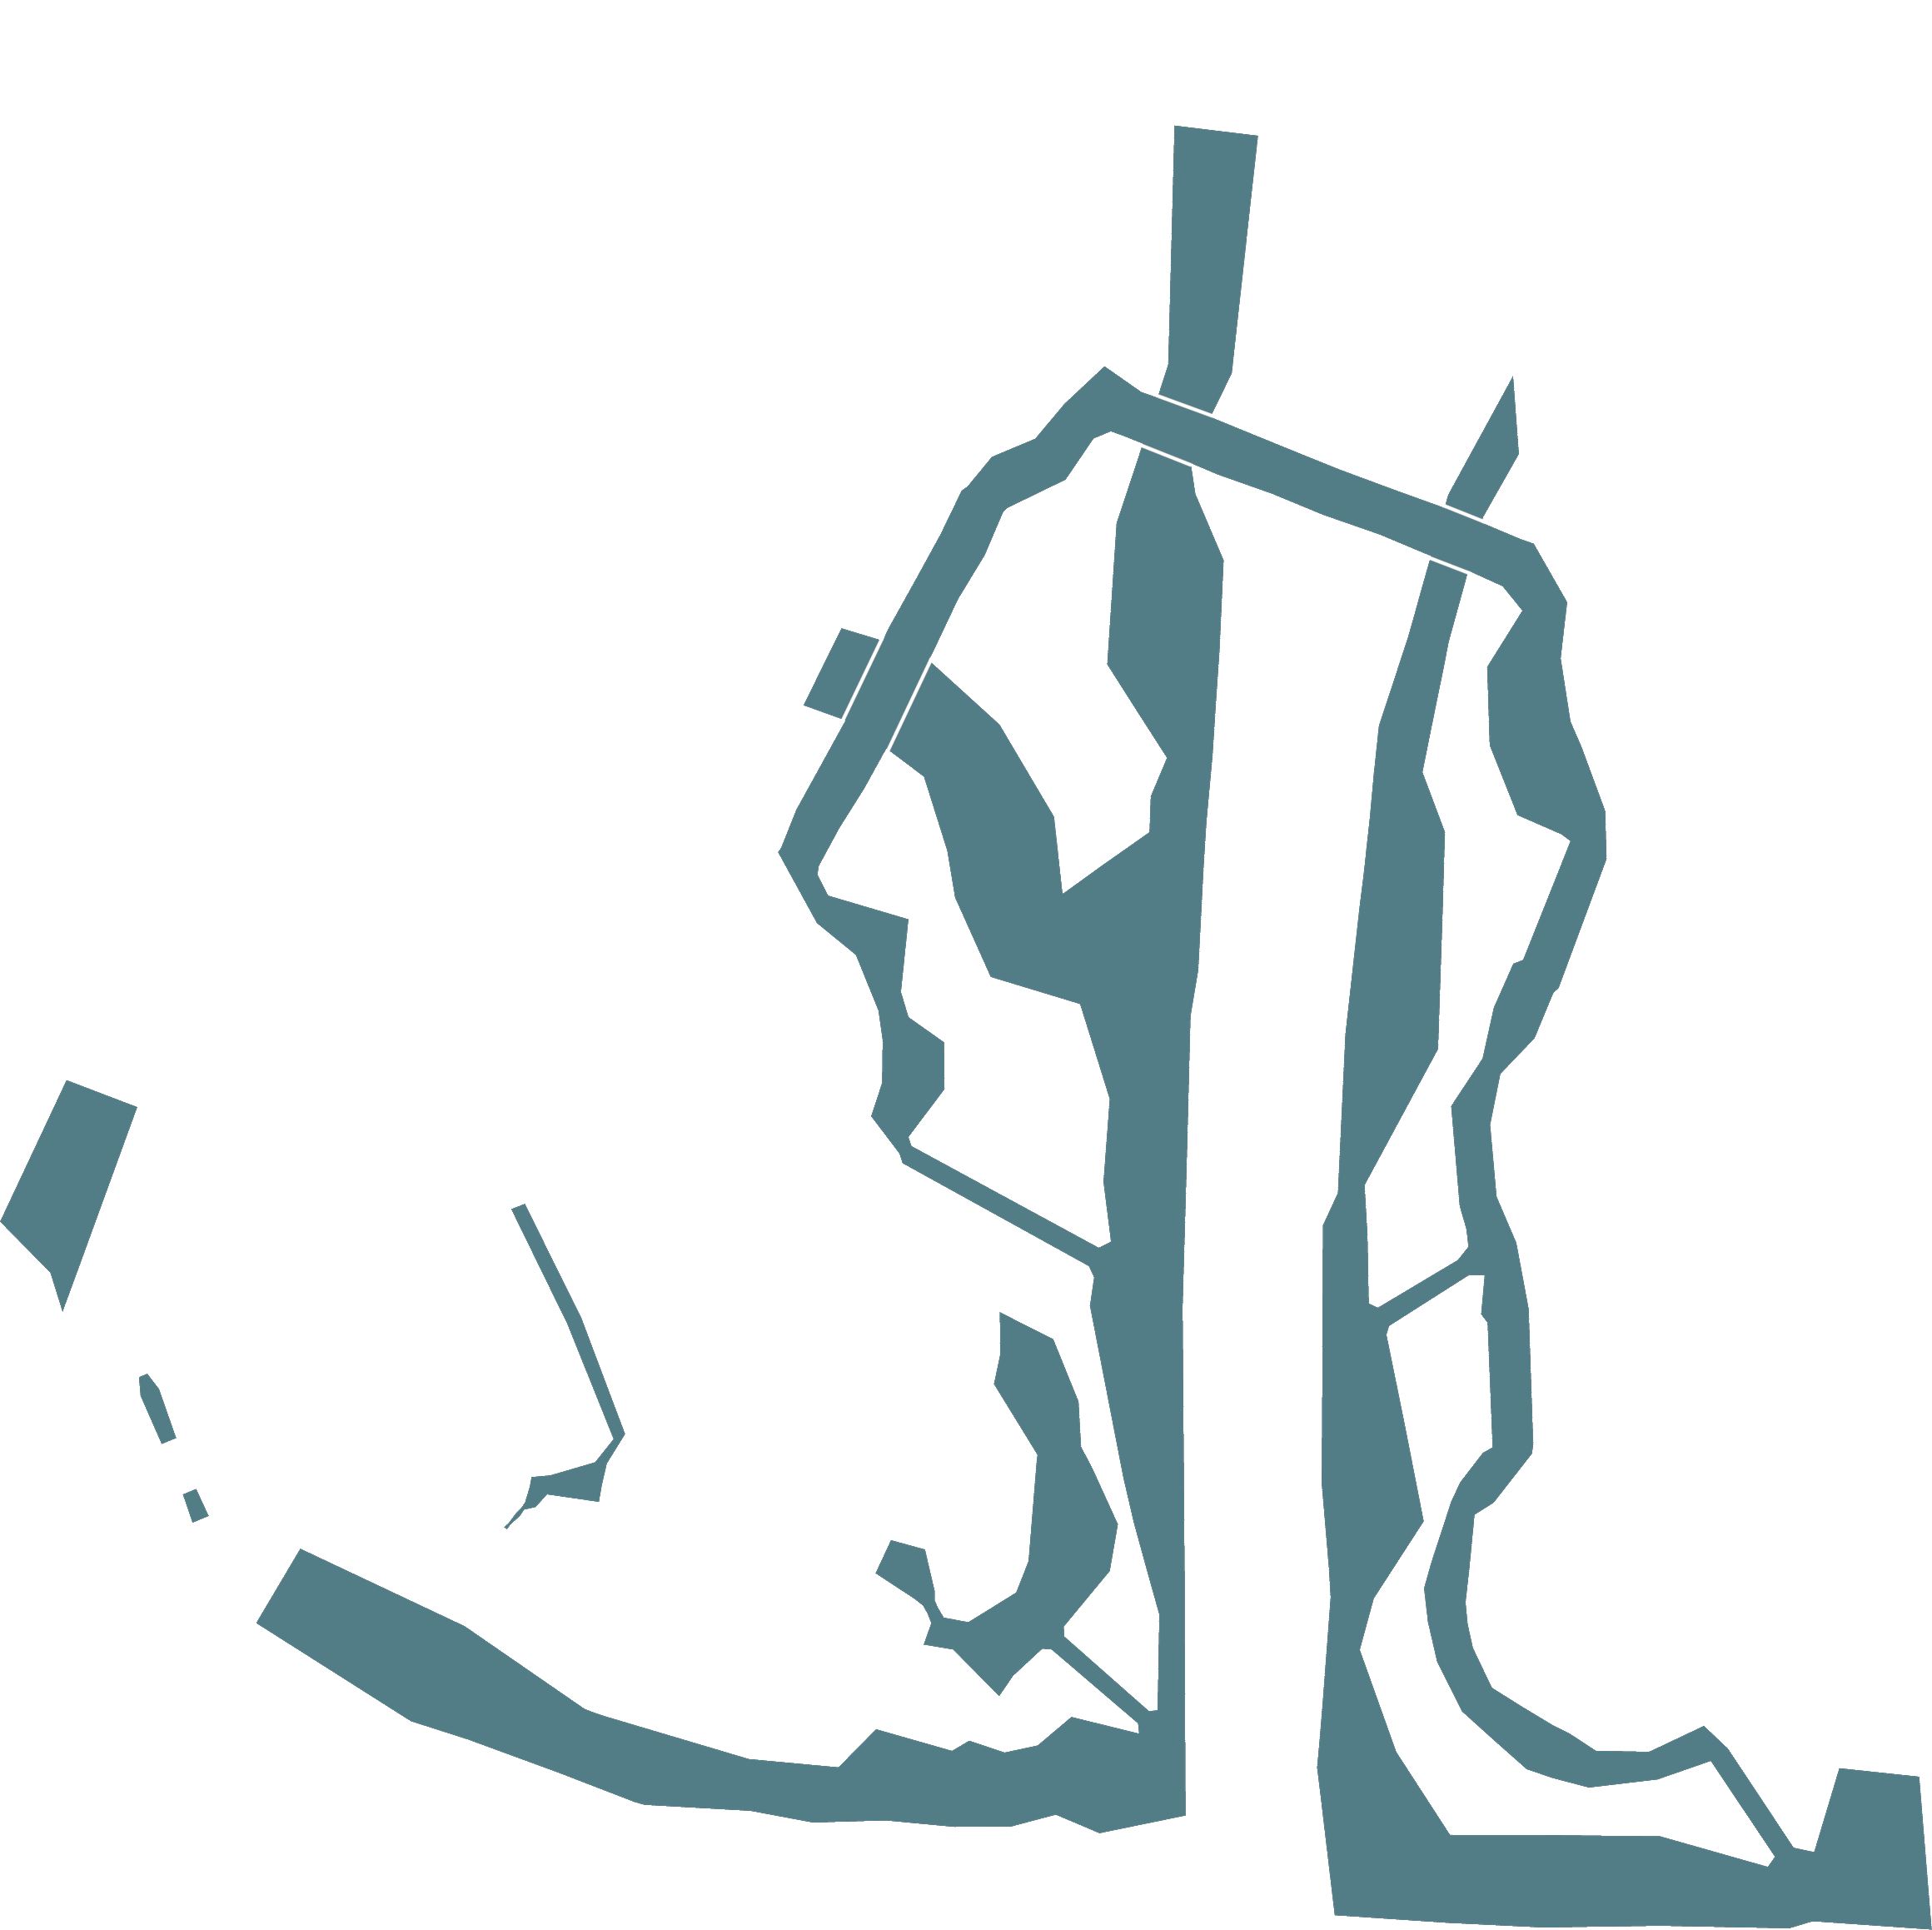


 1 1 |  Ether Ether |
| 2 |  Mana Tablet Mana Tablet |
| 3 | Antidote ×2 |
| 4 | Eye Drops ×2 |
| 5 | Phoenix Down |
Helpful Hint
If you’ve been following the guide up to this point, you should be sitting at exactly 9.0% Story Completion Percent when you land on Kilika Island, which the game will show as 9%. If it does, you’re in perfect shape!
Keep in mind that the game never shows the decimal place, and it always rounds down no matter what the decimal is. You left Besaid Island at 8.8%, which the game displays as 8%. So does 8.2%, 8.4%, etc. That means checking your percent at most points cannot tell you whether you are on track, because several very different totals all look identical.
A whole number is the only total worth checking against, which makes your arrival on Kilika Island a good time to check.
This is the last of these checkpoint hints in the guide. From here on, use the Story Completion Tracker at any time to check that your percent lines up.
Check out the Save File and NavMap Percent Verification section for more information on the two ways to read your percent in game.
Cross the bridge over to the far side of the docks and look for a lady standing there with a child and a monkey. Speak to her, and she will ask you to collect “Squatter Monkeys” from the woods for her. You can’t do this now, but you need to speak to her before you head into the woods to kick off this quest.
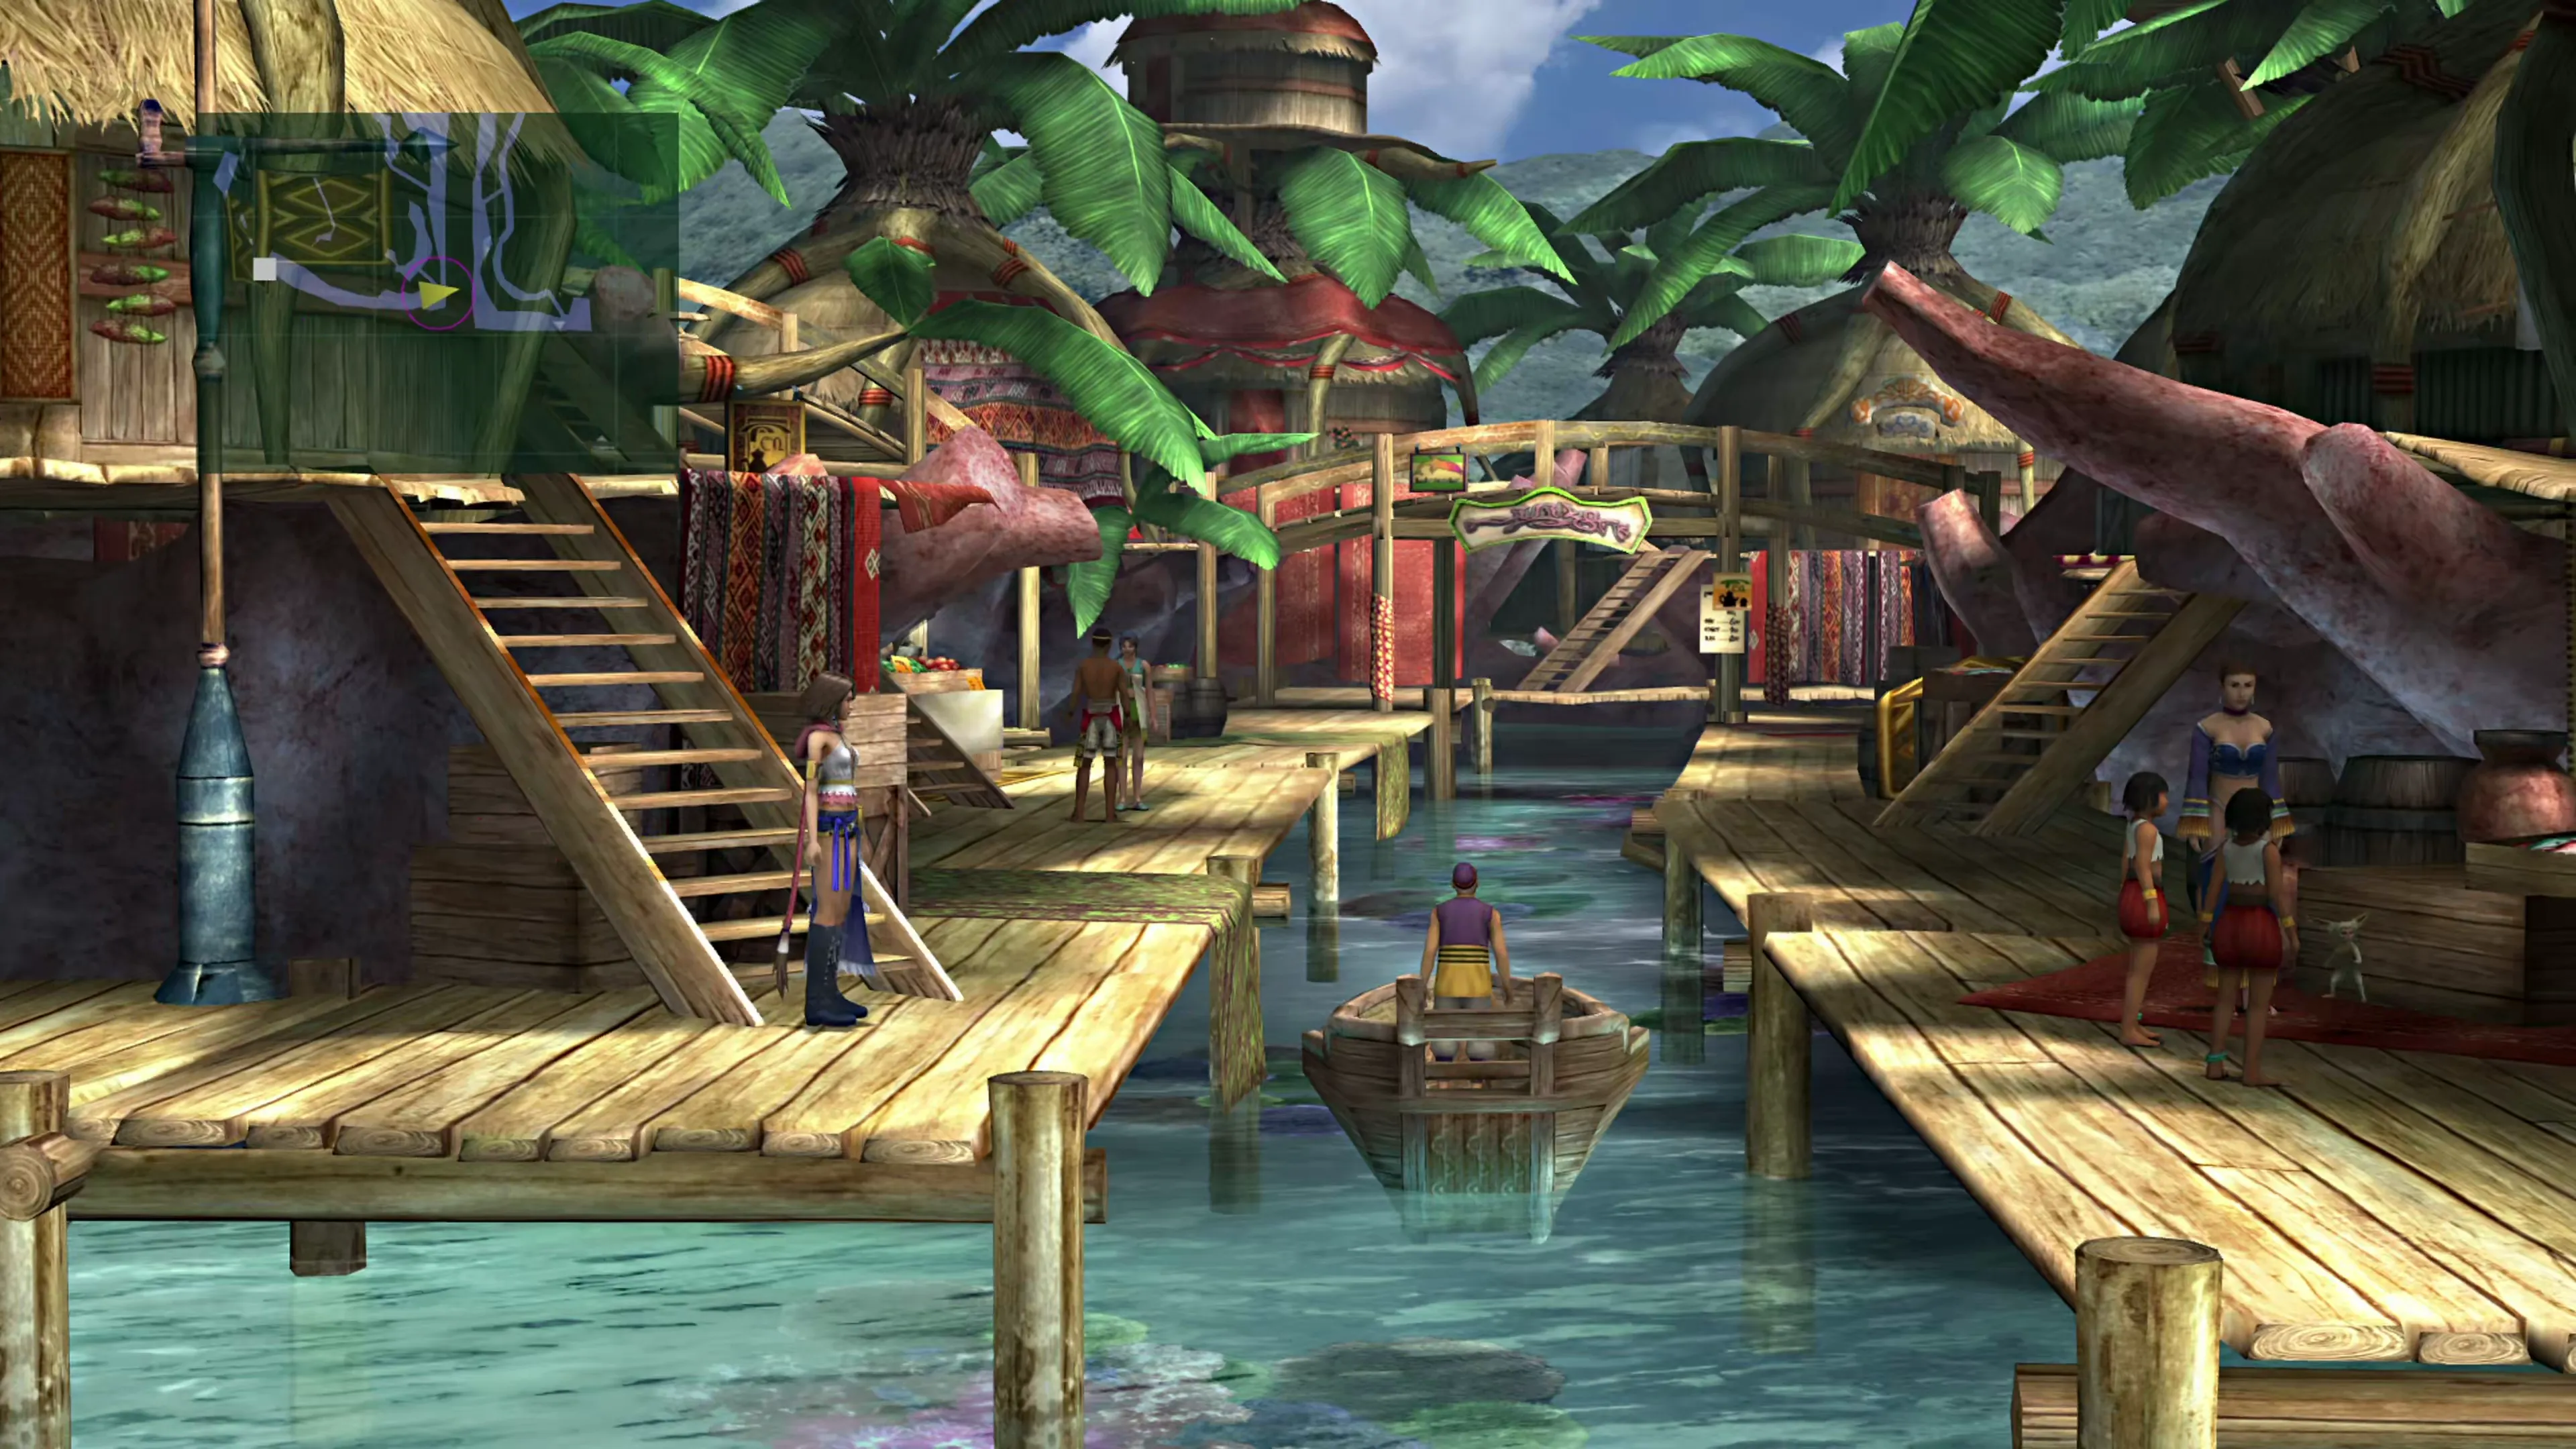
Head north, into the next area of Kilika. The maps for these two areas are a bit confusing, with all the bridges and broken docks littering the coastal town, but there are only two key things you need to do. Visit Dona for a short cutscene.

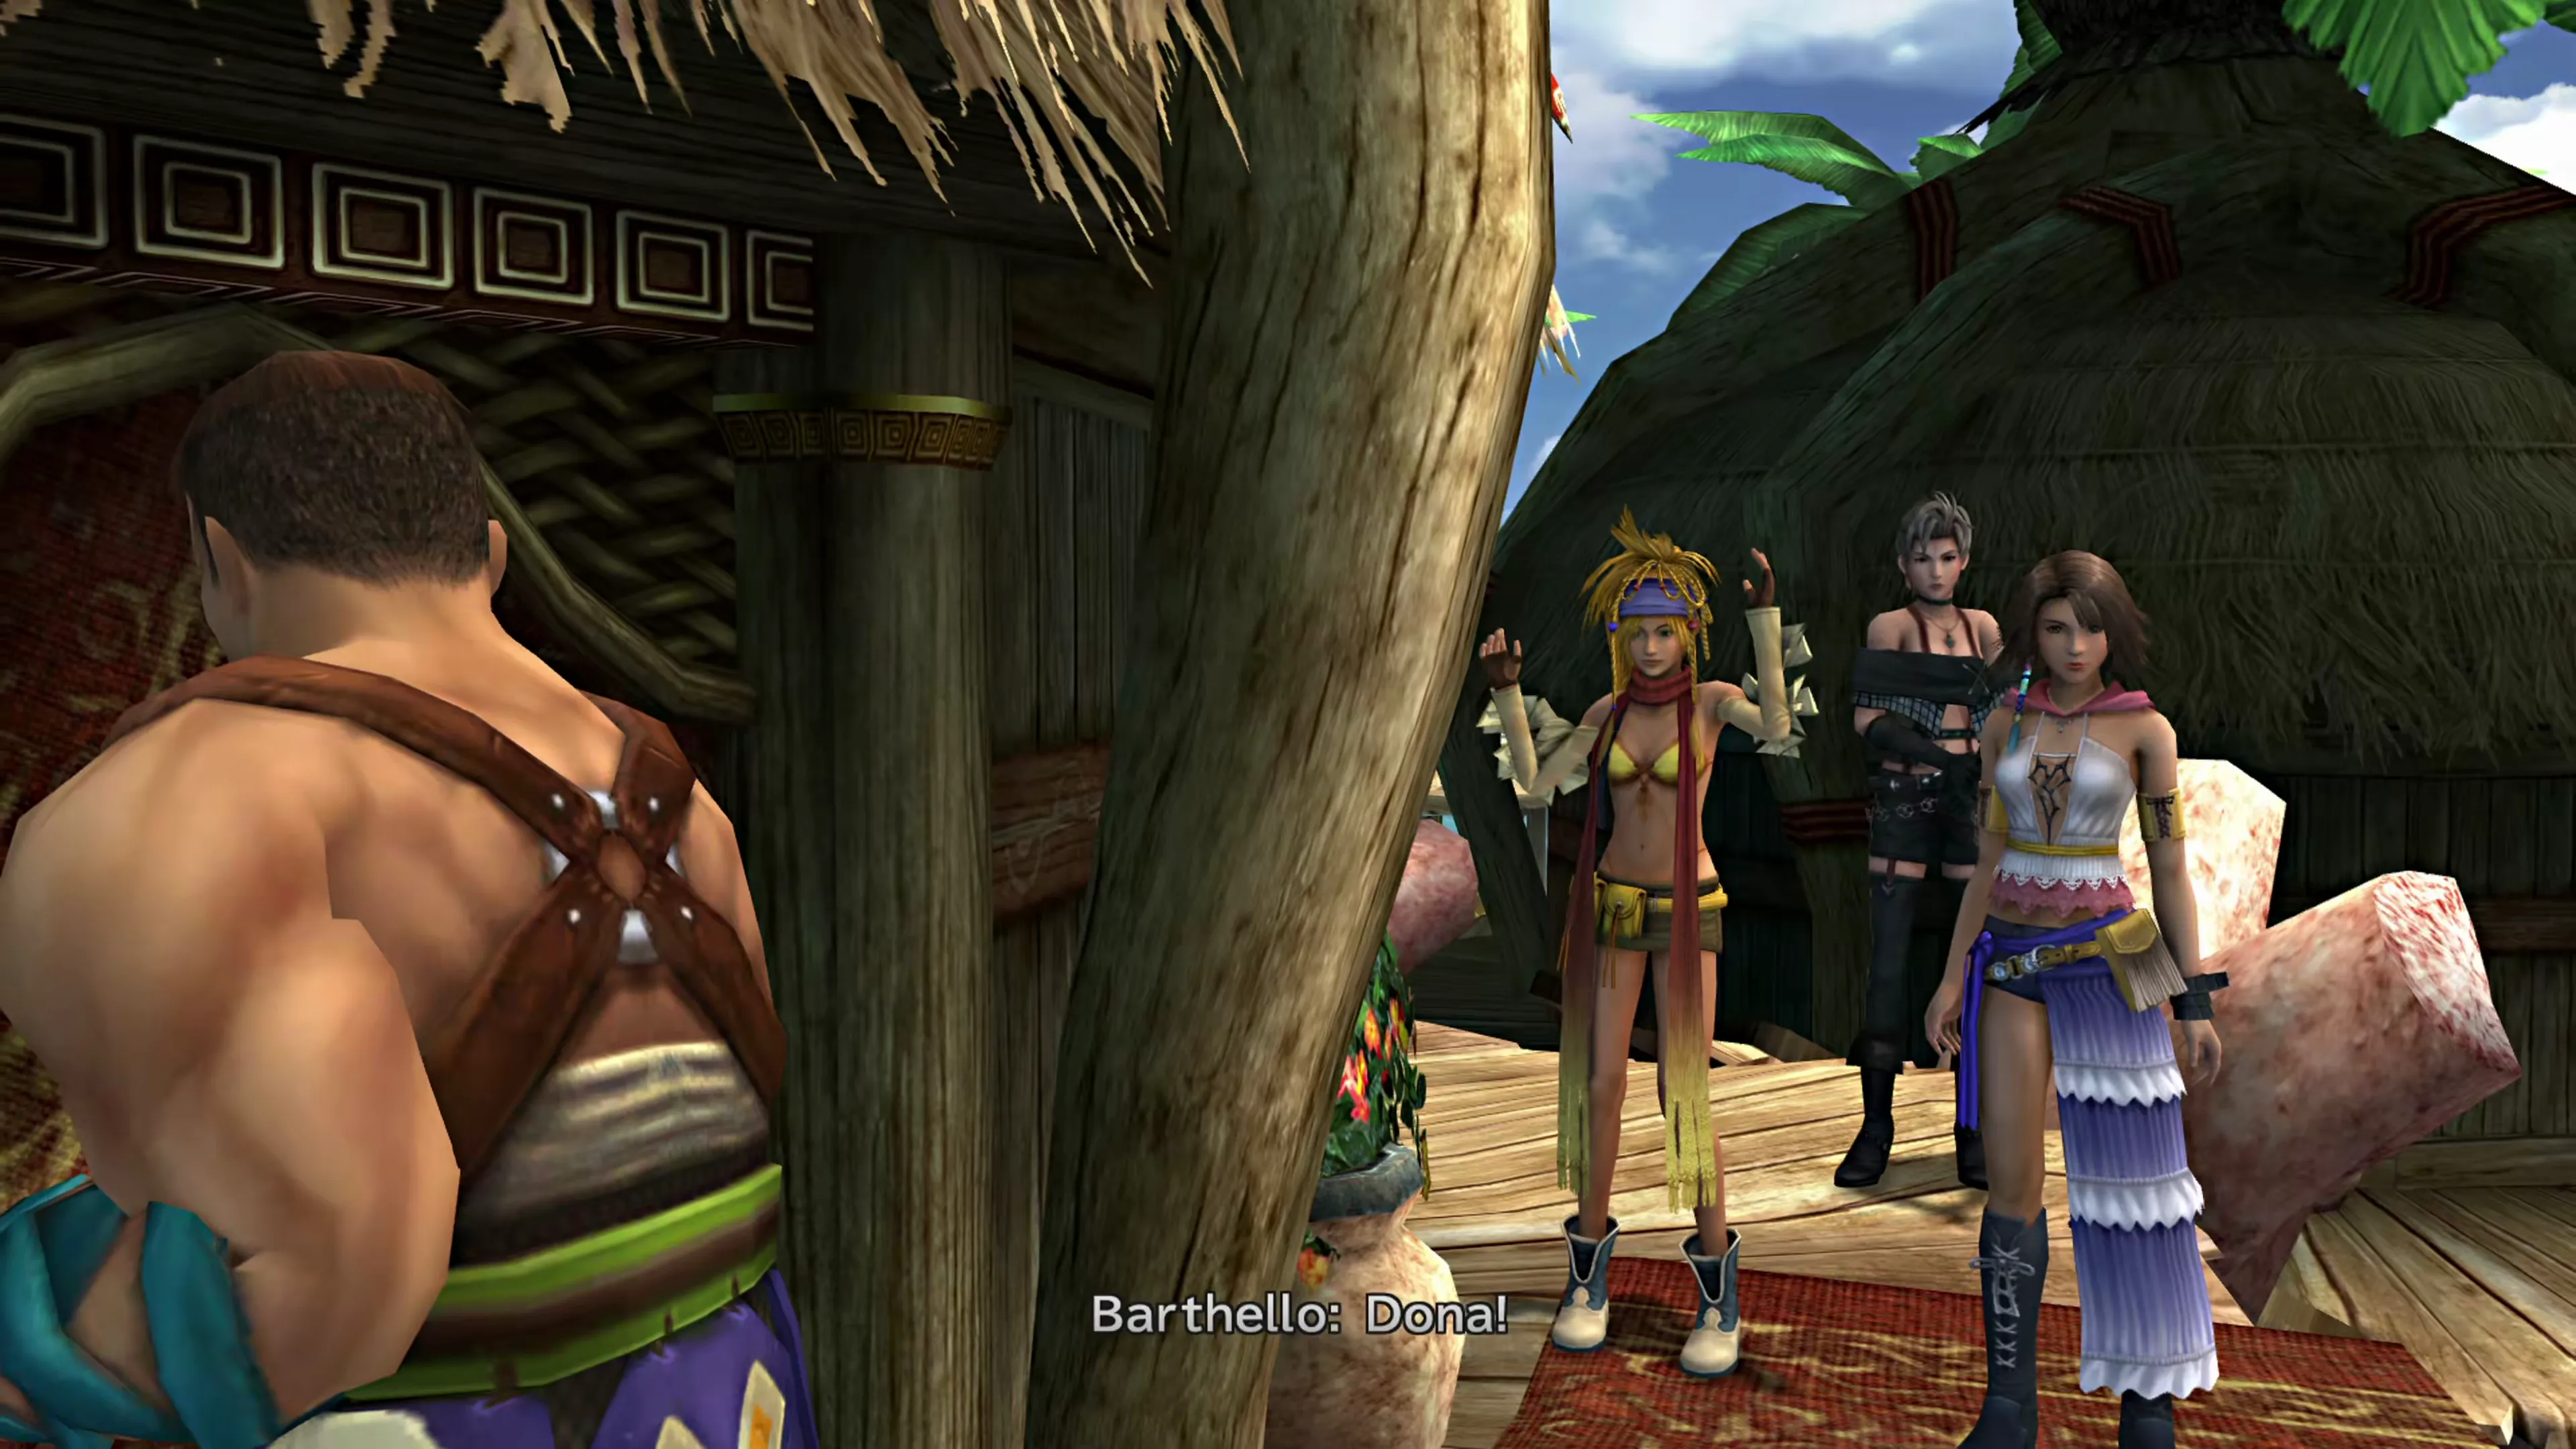
As you attempt to enter Dona’s Hut, you’ll witness her kicking Barthello out through the front door. Once he’s gone, go inside and speak to Dona for a second scene. Each scene is worth 0.2%, and both are missable in this chapter.
Head to the top of Dona’s hut to open up the treasure chest up there and steal 1,500 Gil from her, and then head to the eastern side of the docks. Use the screenshot below to help you track down the camera operator, and when he offers, “Go ahead, take a look!” choose the “Okay, thanks!” option.
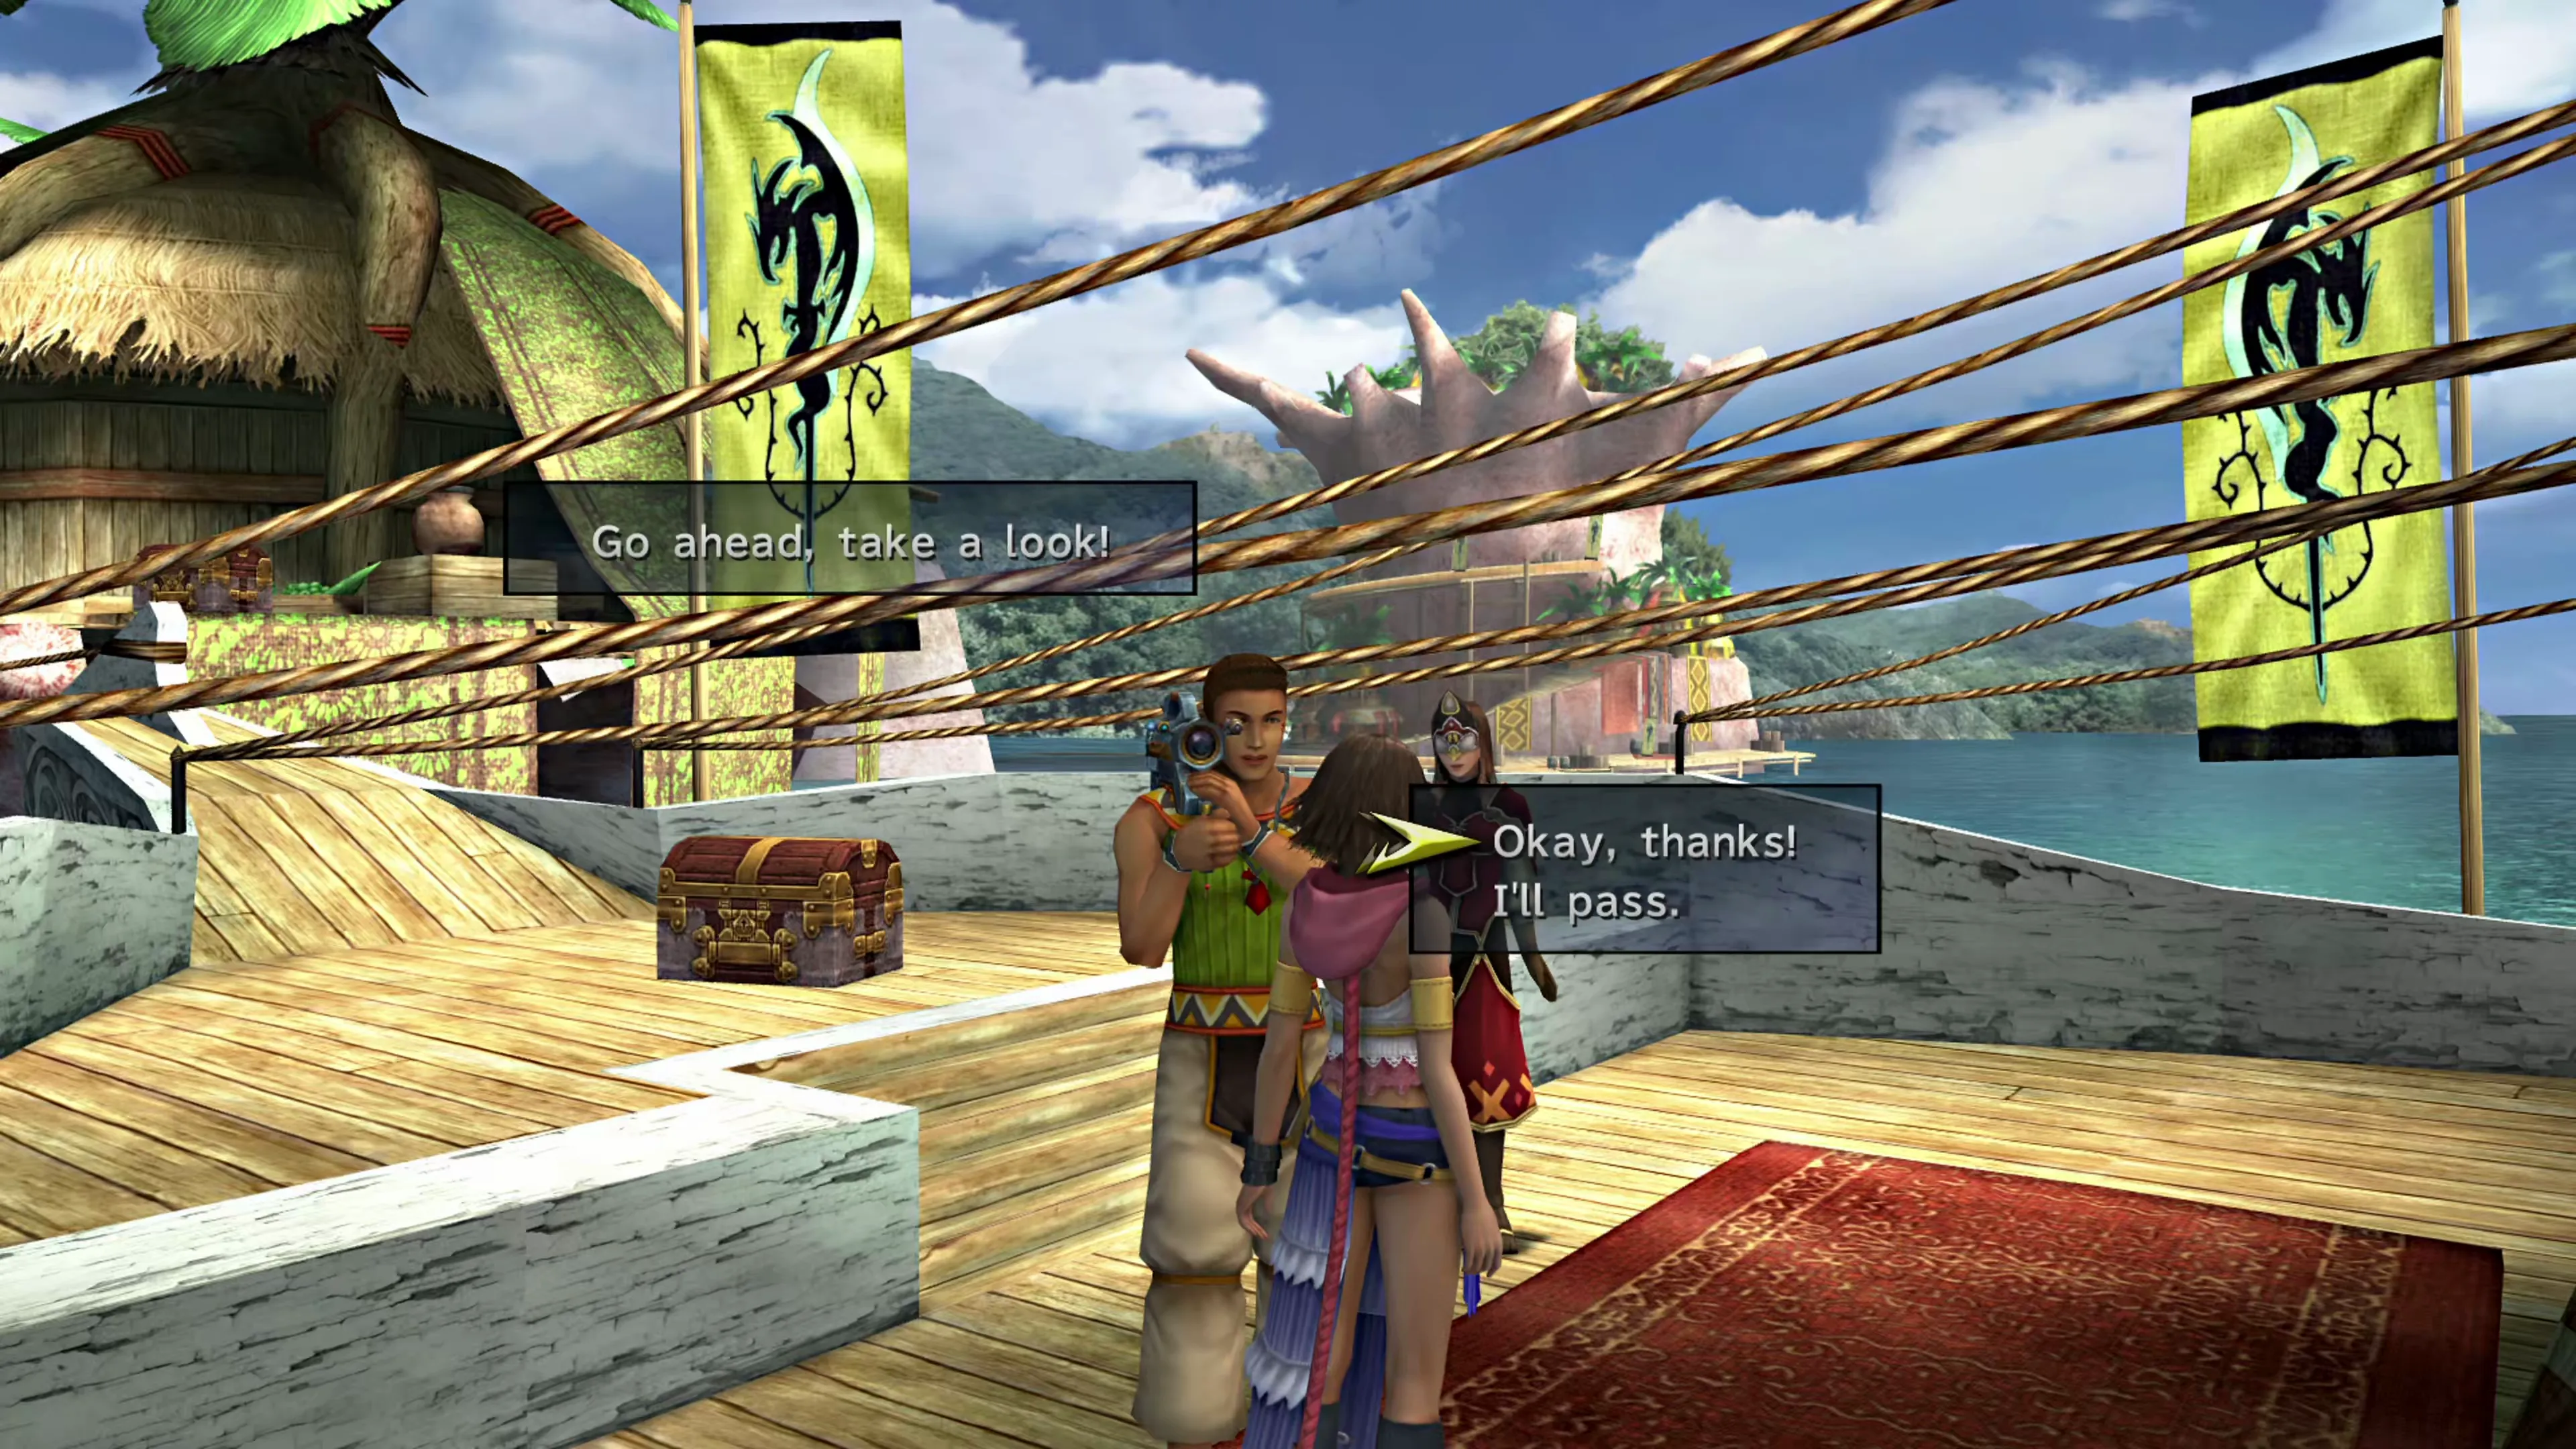
This isn’t required for Story Completion Percent, but this step, and a few other easy ones in later chapters, will give you access to a powerful accessory.
Kilika Port North

| 1 | Light Curtain |
| 2 | Holy Water ×2 |
| 3 | Star Curtain |
| 4 | Lunar Curtain |
| 5 | 1,500 Gil (Roof of Dona’s Hut) |
| 6 | Camera Operator |
That’s all there is to do here for now. Use a  Save Sphere to jump back on the Celsius, and then you’re heading back to revisit Luca for some easy tasks to check off the list.
Checking the “Kilika Island Complete” box adds the Story Completion Percent for the automatic scenes in Kilika Island.