

Tower Calibration (Thunder Plains)
You can complete the Tower Calibration mini-games during Chapter 2 and Chapter 3 in the Thunder Plains. Speak to the Al Bhed man standing a short distance away from the  Save Sphere and offer to help him with the calibration.
Now you just need to navigate to each tower and complete the calibration process. Unfortunately, this is much easier said than done. To say that these mini-games require a high degree of concentration and hand-eye coordination would be putting it very mildly.
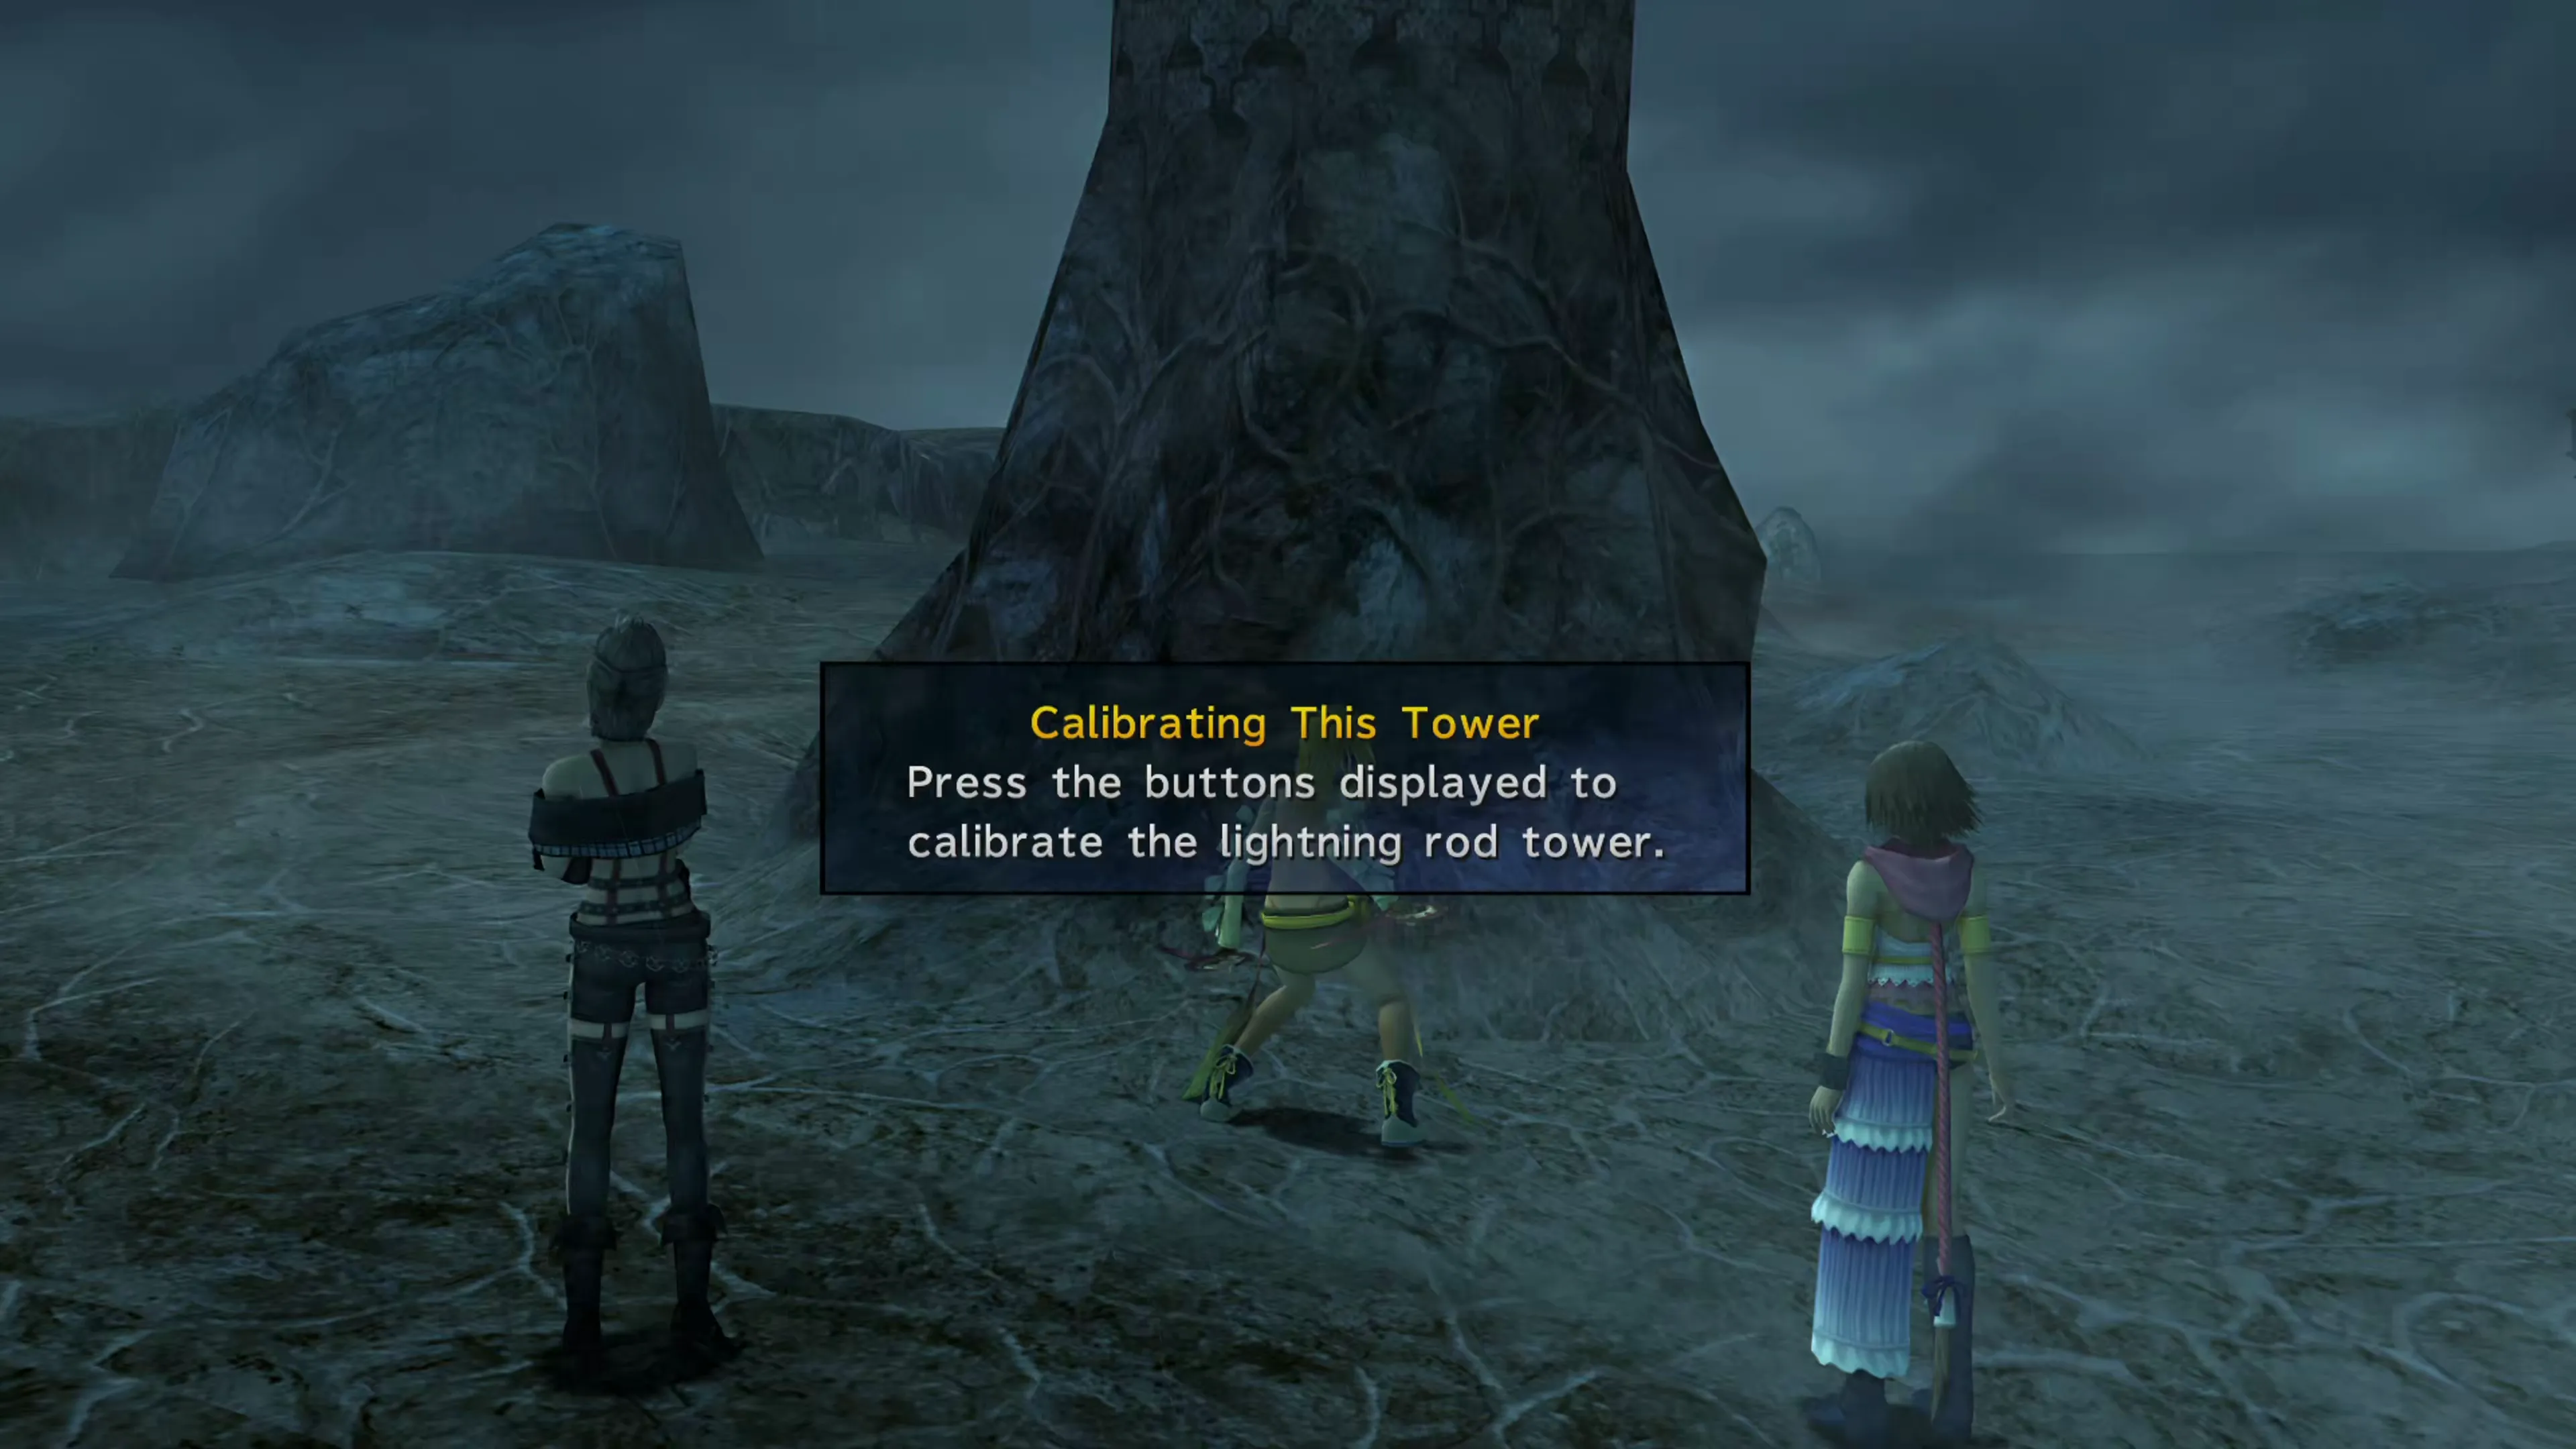
Each calibration is a run of 30 commands. Three misses ends the attempt and sends you back to the start of that tower. Misses do not count against you otherwise, and neither does failing a tower outright, so the only number that matters is how many of the 30 commands you got through on your best attempt. That figure is stored per tower and decides your prize in Chapter 5.
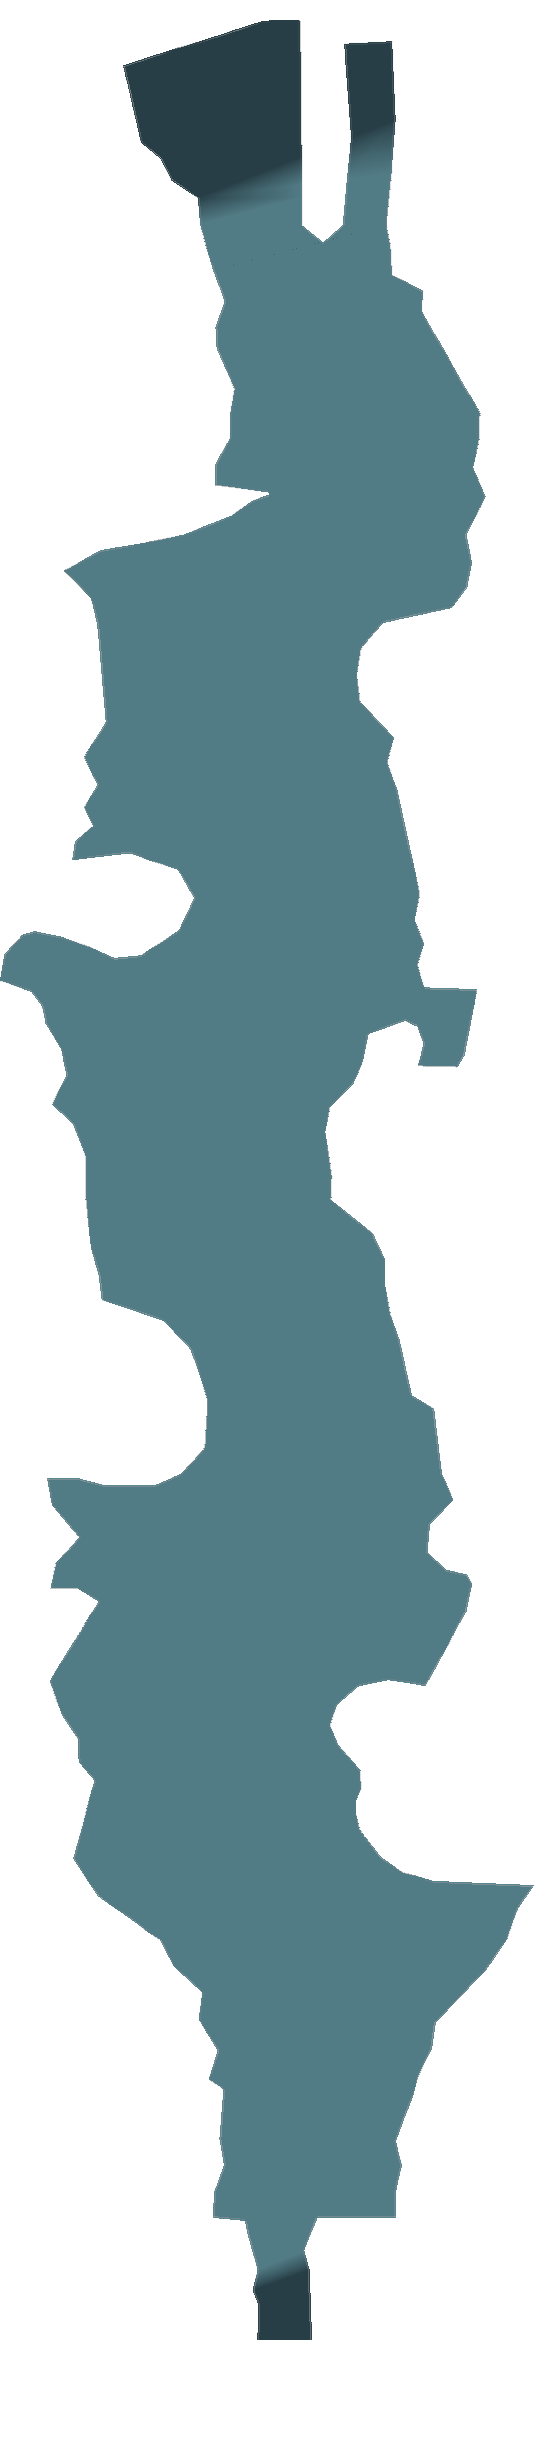
There are ten towers scattered across the Thunder Plains. Use the maps below to help you find each of them:
Thunder Plains North
 6
7
8
9
10
6
7
8
9
10
Thunder Plains South
 1
2
3
4
5
1
2
3
4
5
Note that the maps are arranged in reverse order. You warp in from the Celsius to the Save Sphere in the southernmost section of the Thunder Plains, and the mini-games get progressively harder the further north you go.
Completing all of these towers is next to impossible unless you are insanely skilled and have extreme patience. And while you don’t need to complete every single tower, you should aim to successfully complete 5 of them, and try to get as far as you can in each of them. The further you get, the better the prizes you receive later on in Chapter 5 (see the table below).
There are three versions of the mini-games to play: one for Yuna, one for Rikku, and one for Paine. Here is the breakdown:
| Tower | Character | Difficulty | Area |
|---|---|---|---|
| Tower 1 | Rikku | Hard | South |
| Tower 2 | Paine | Hard | South |
| Tower 3 | Yuna | Hard | South |
| Tower 4 | Rikku | Harder | South |
| Tower 5 | Paine | Harder | South |
| Tower 6 | Yuna | Harder | North |
| Tower 7 | Rikku | Hardest | North |
| Tower 8 | Paine | Hardest | North |
| Tower 9 | Yuna | Hardest | North |
| Tower 10 | Yuna | Hardest | North |
Mini-game Breakdown
Each mini-game is different but also very similar. The idea is to click controller buttons as quickly as possible. As the mini-games get harder, you have less time to hit the buttons and more potential buttons to hit.
Yuna
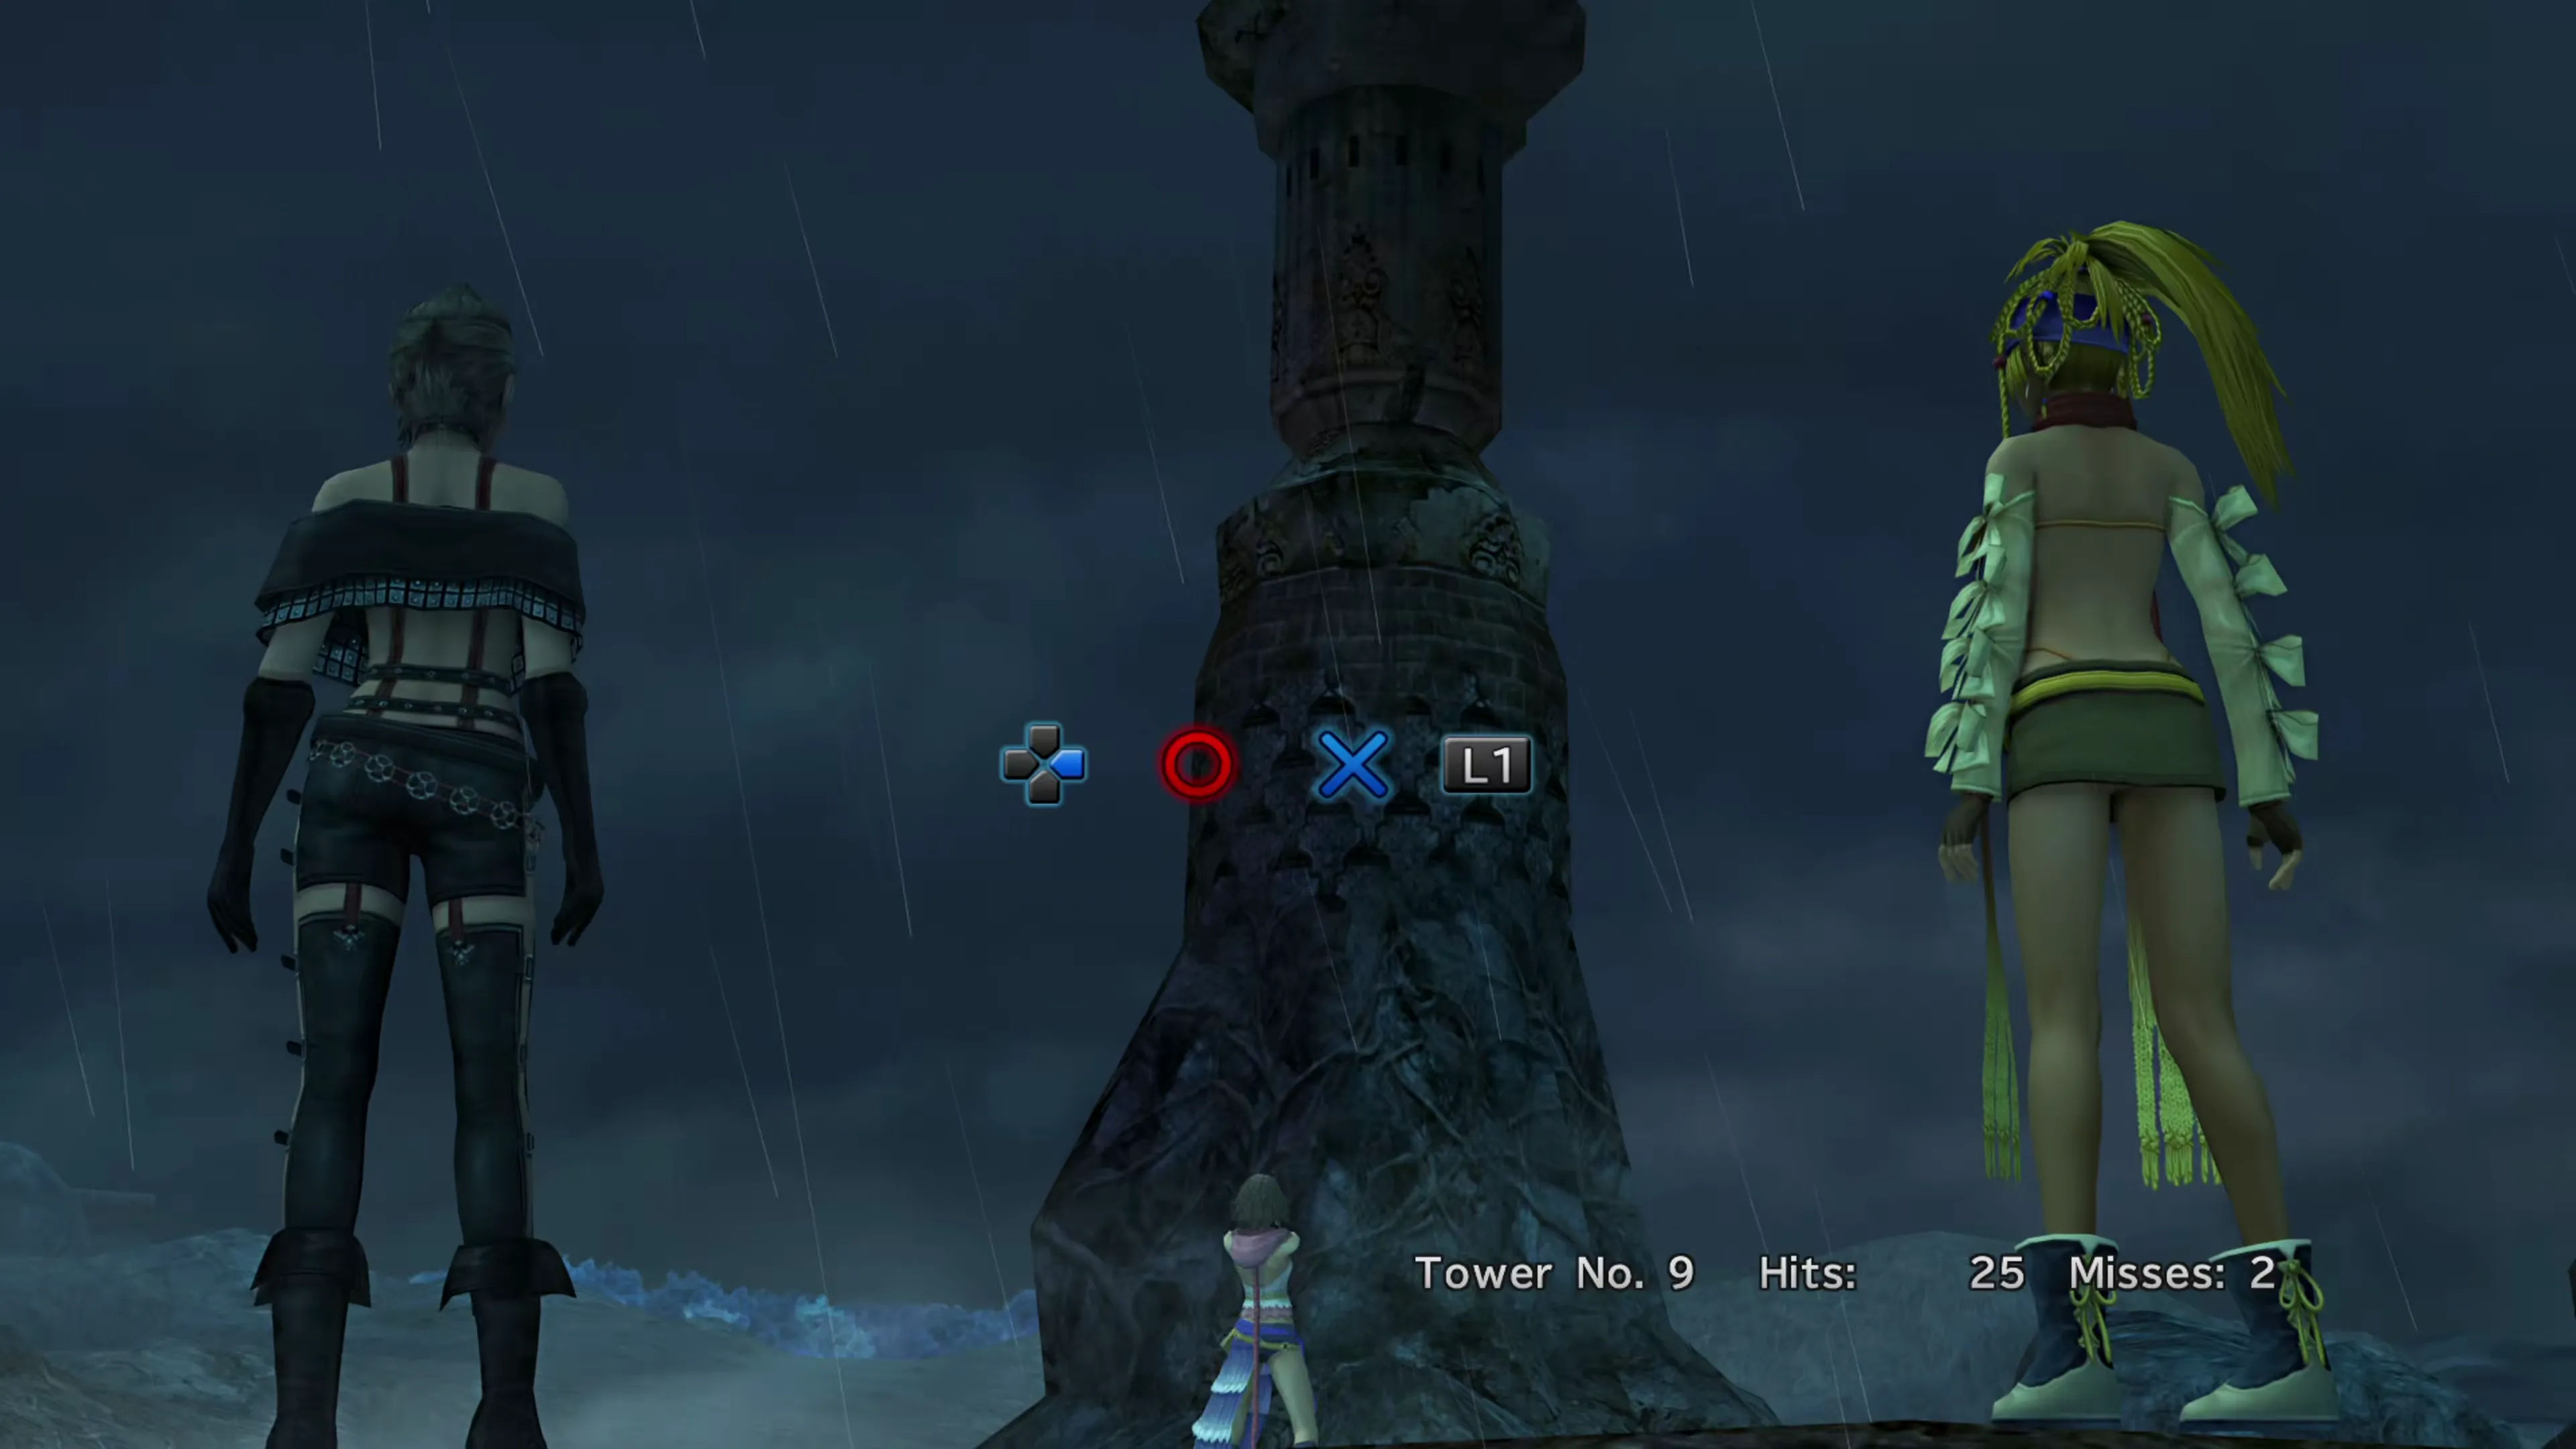
Yuna’s towers are a memory test, run in two phases. In the memory phase a sequence of buttons flashes up one at a time, each disappearing before the next appears, and all you can do is commit them to memory. In the input phase you enter that sequence back, against a timer. One wrong button is a miss. The sequences get longer as the run goes on, and Tower 10 reverses them, so you have to enter what you saw backwards.
| Tower | Commands | Sequence Length | Buttons Used |
|---|---|---|---|
| Tower 3 | 1–10 11–25 26–30 | 2 3 4 |             |
| Tower 6 | 1–10 11–25 26–30 | 2 3 4 |             |
| Tower 9 | 1–10 11–20 21–25 26–30 | 2 3 4 5 |       |
| Tower 10 | 1–10 11–15 16–20 21–25 26–30 | 2 3 4 5 6 |       |
Paine
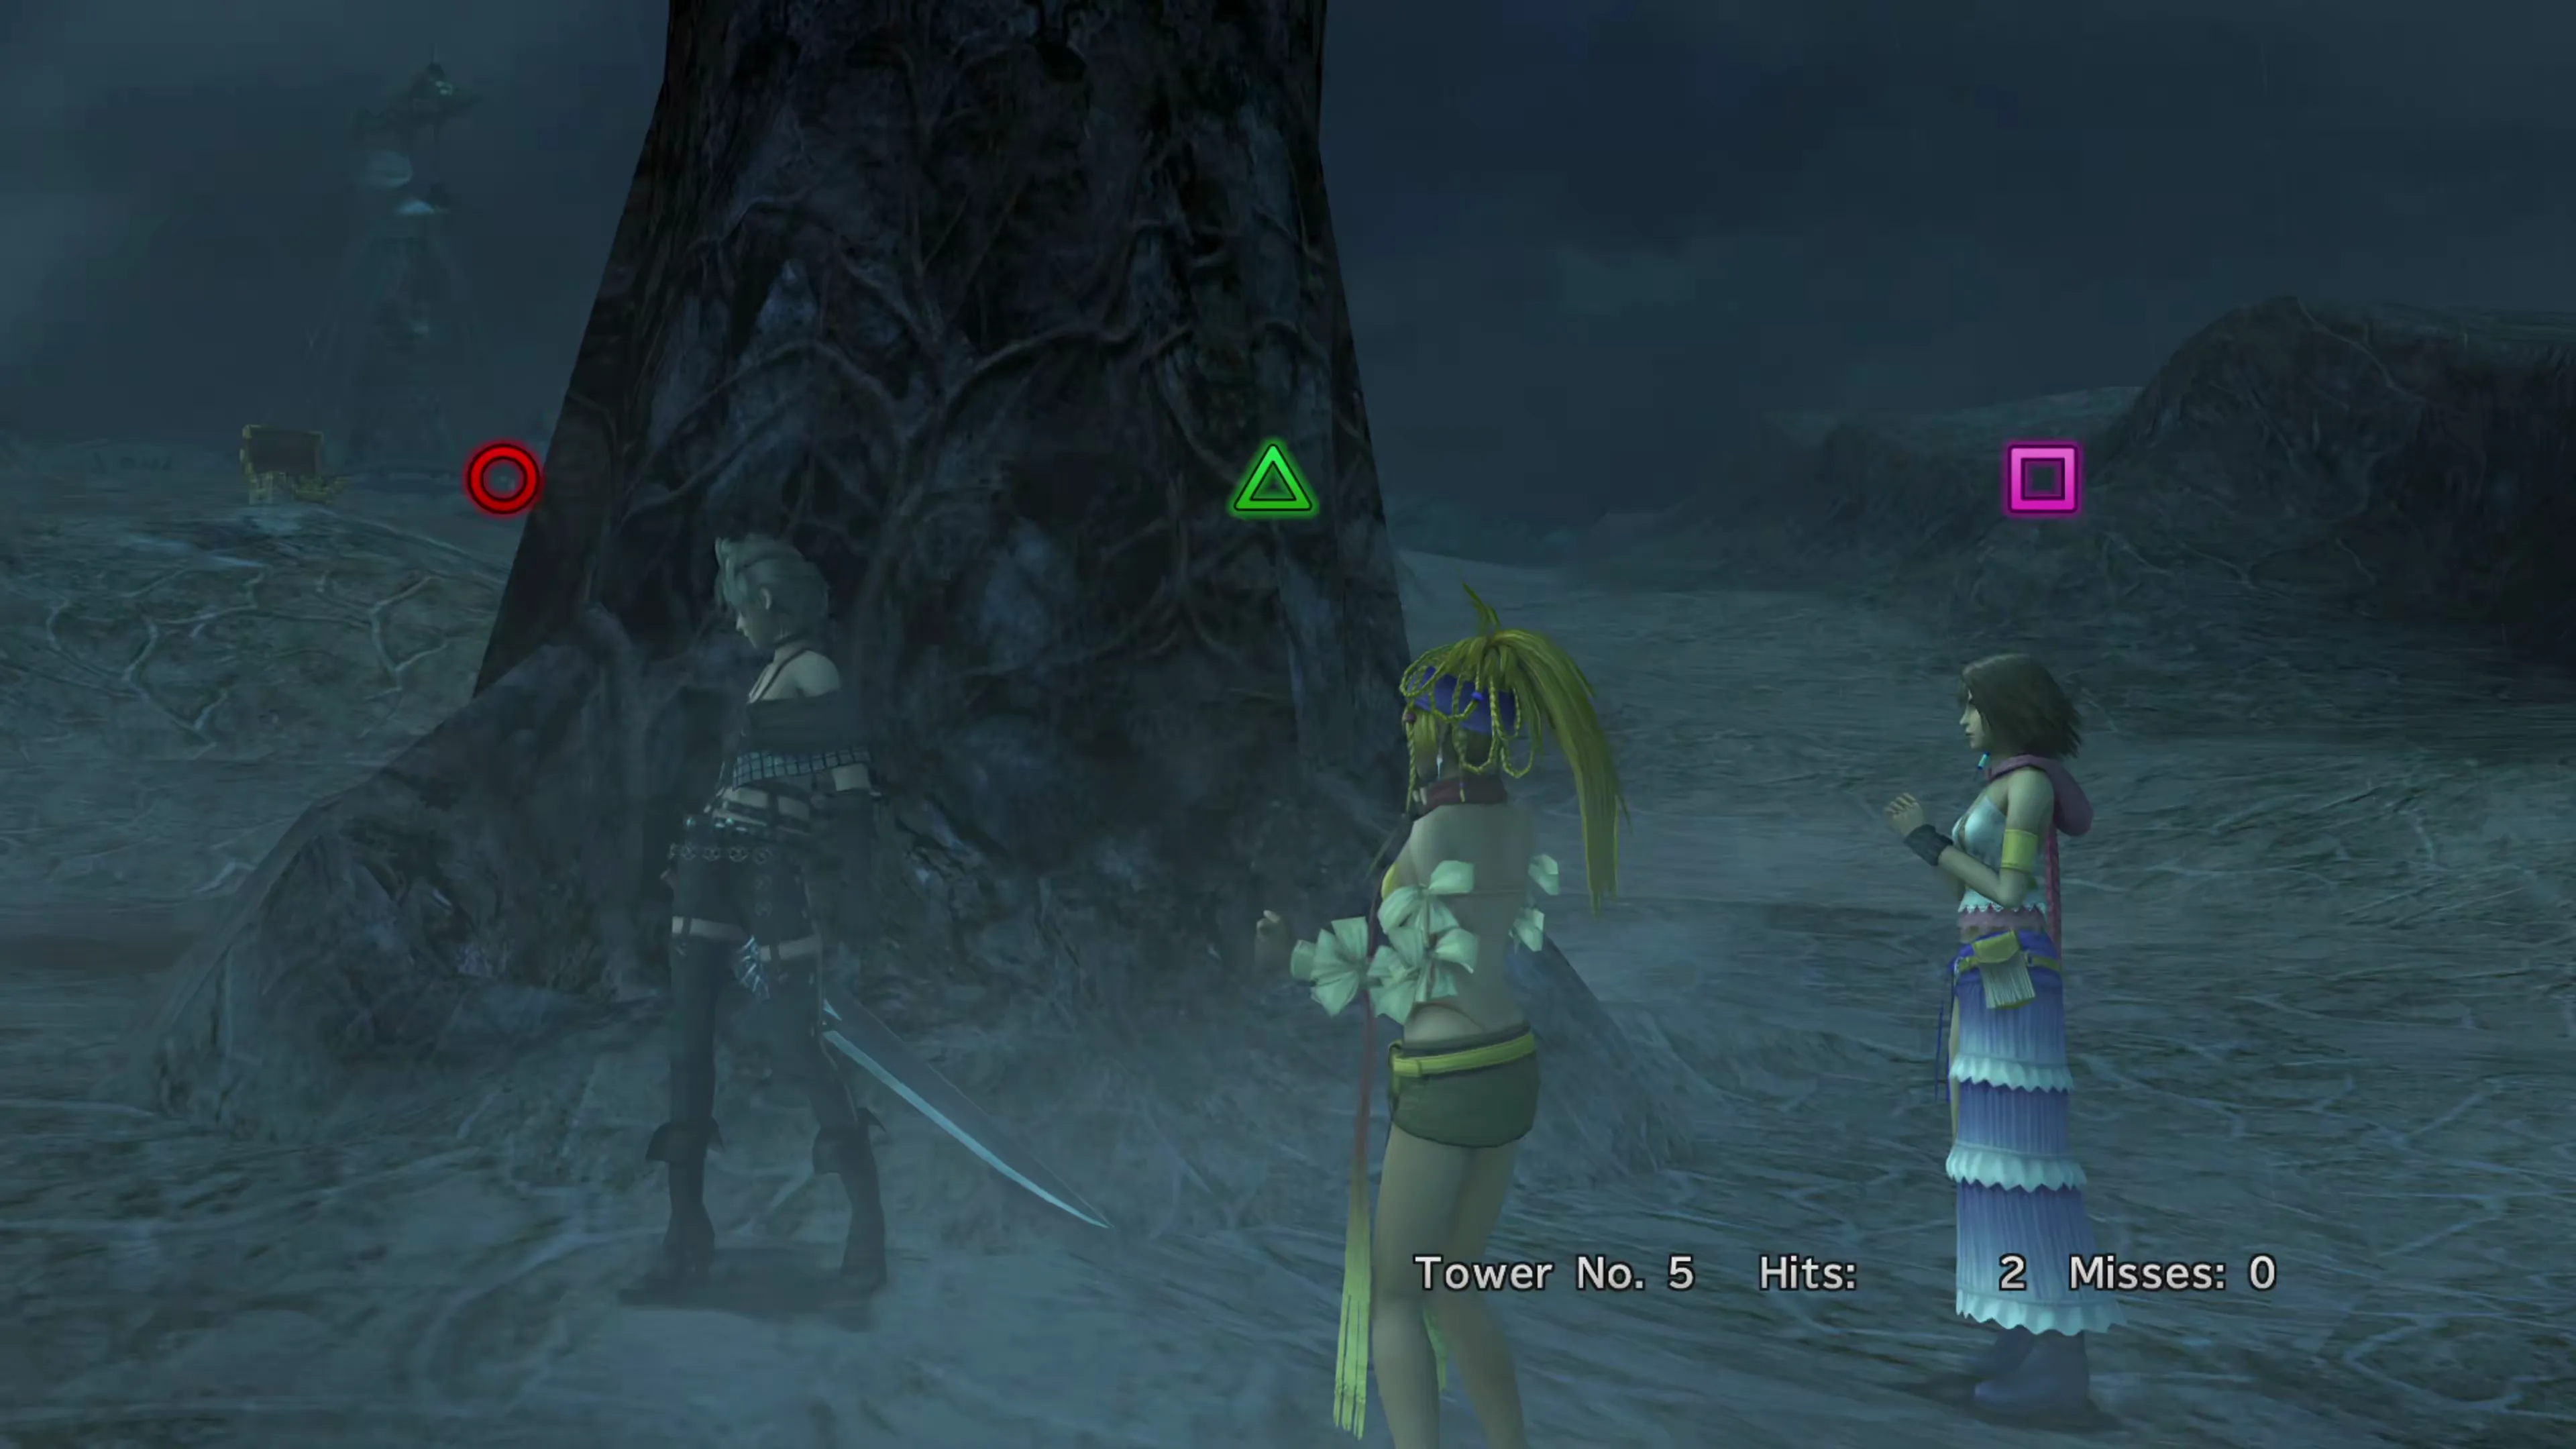
Paine’s towers drop the controller buttons down the screen in three columns. One of them flashes as it passes the halfway mark, and that is the button you press, before the buttons reach the bottom of the screen. Pressing the wrong button counts as a miss, as does letting the buttons reach the bottom. The buttons speed up as time progresses.
| Tower | Commands | Fall Speed | Buttons Used |
|---|---|---|---|
| Tower 2 | 1–10 | Slow | |
| 11–15 | Slow | | |
| 16–25 | Normal | | |
| 26–30 | Double | | |
| Tower 5 | 1–5 | Slow | |
| 6–10 | Slow | | |
| 11–15 | Normal | | |
| 16–25 | Double | | |
| 26–30 | Double | | |
| Tower 8 | 1–5 | Slow | |
| 6–15 | Normal | | |
| 16–25 | Double | | |
| 26–30 | Triple | |
Rikku
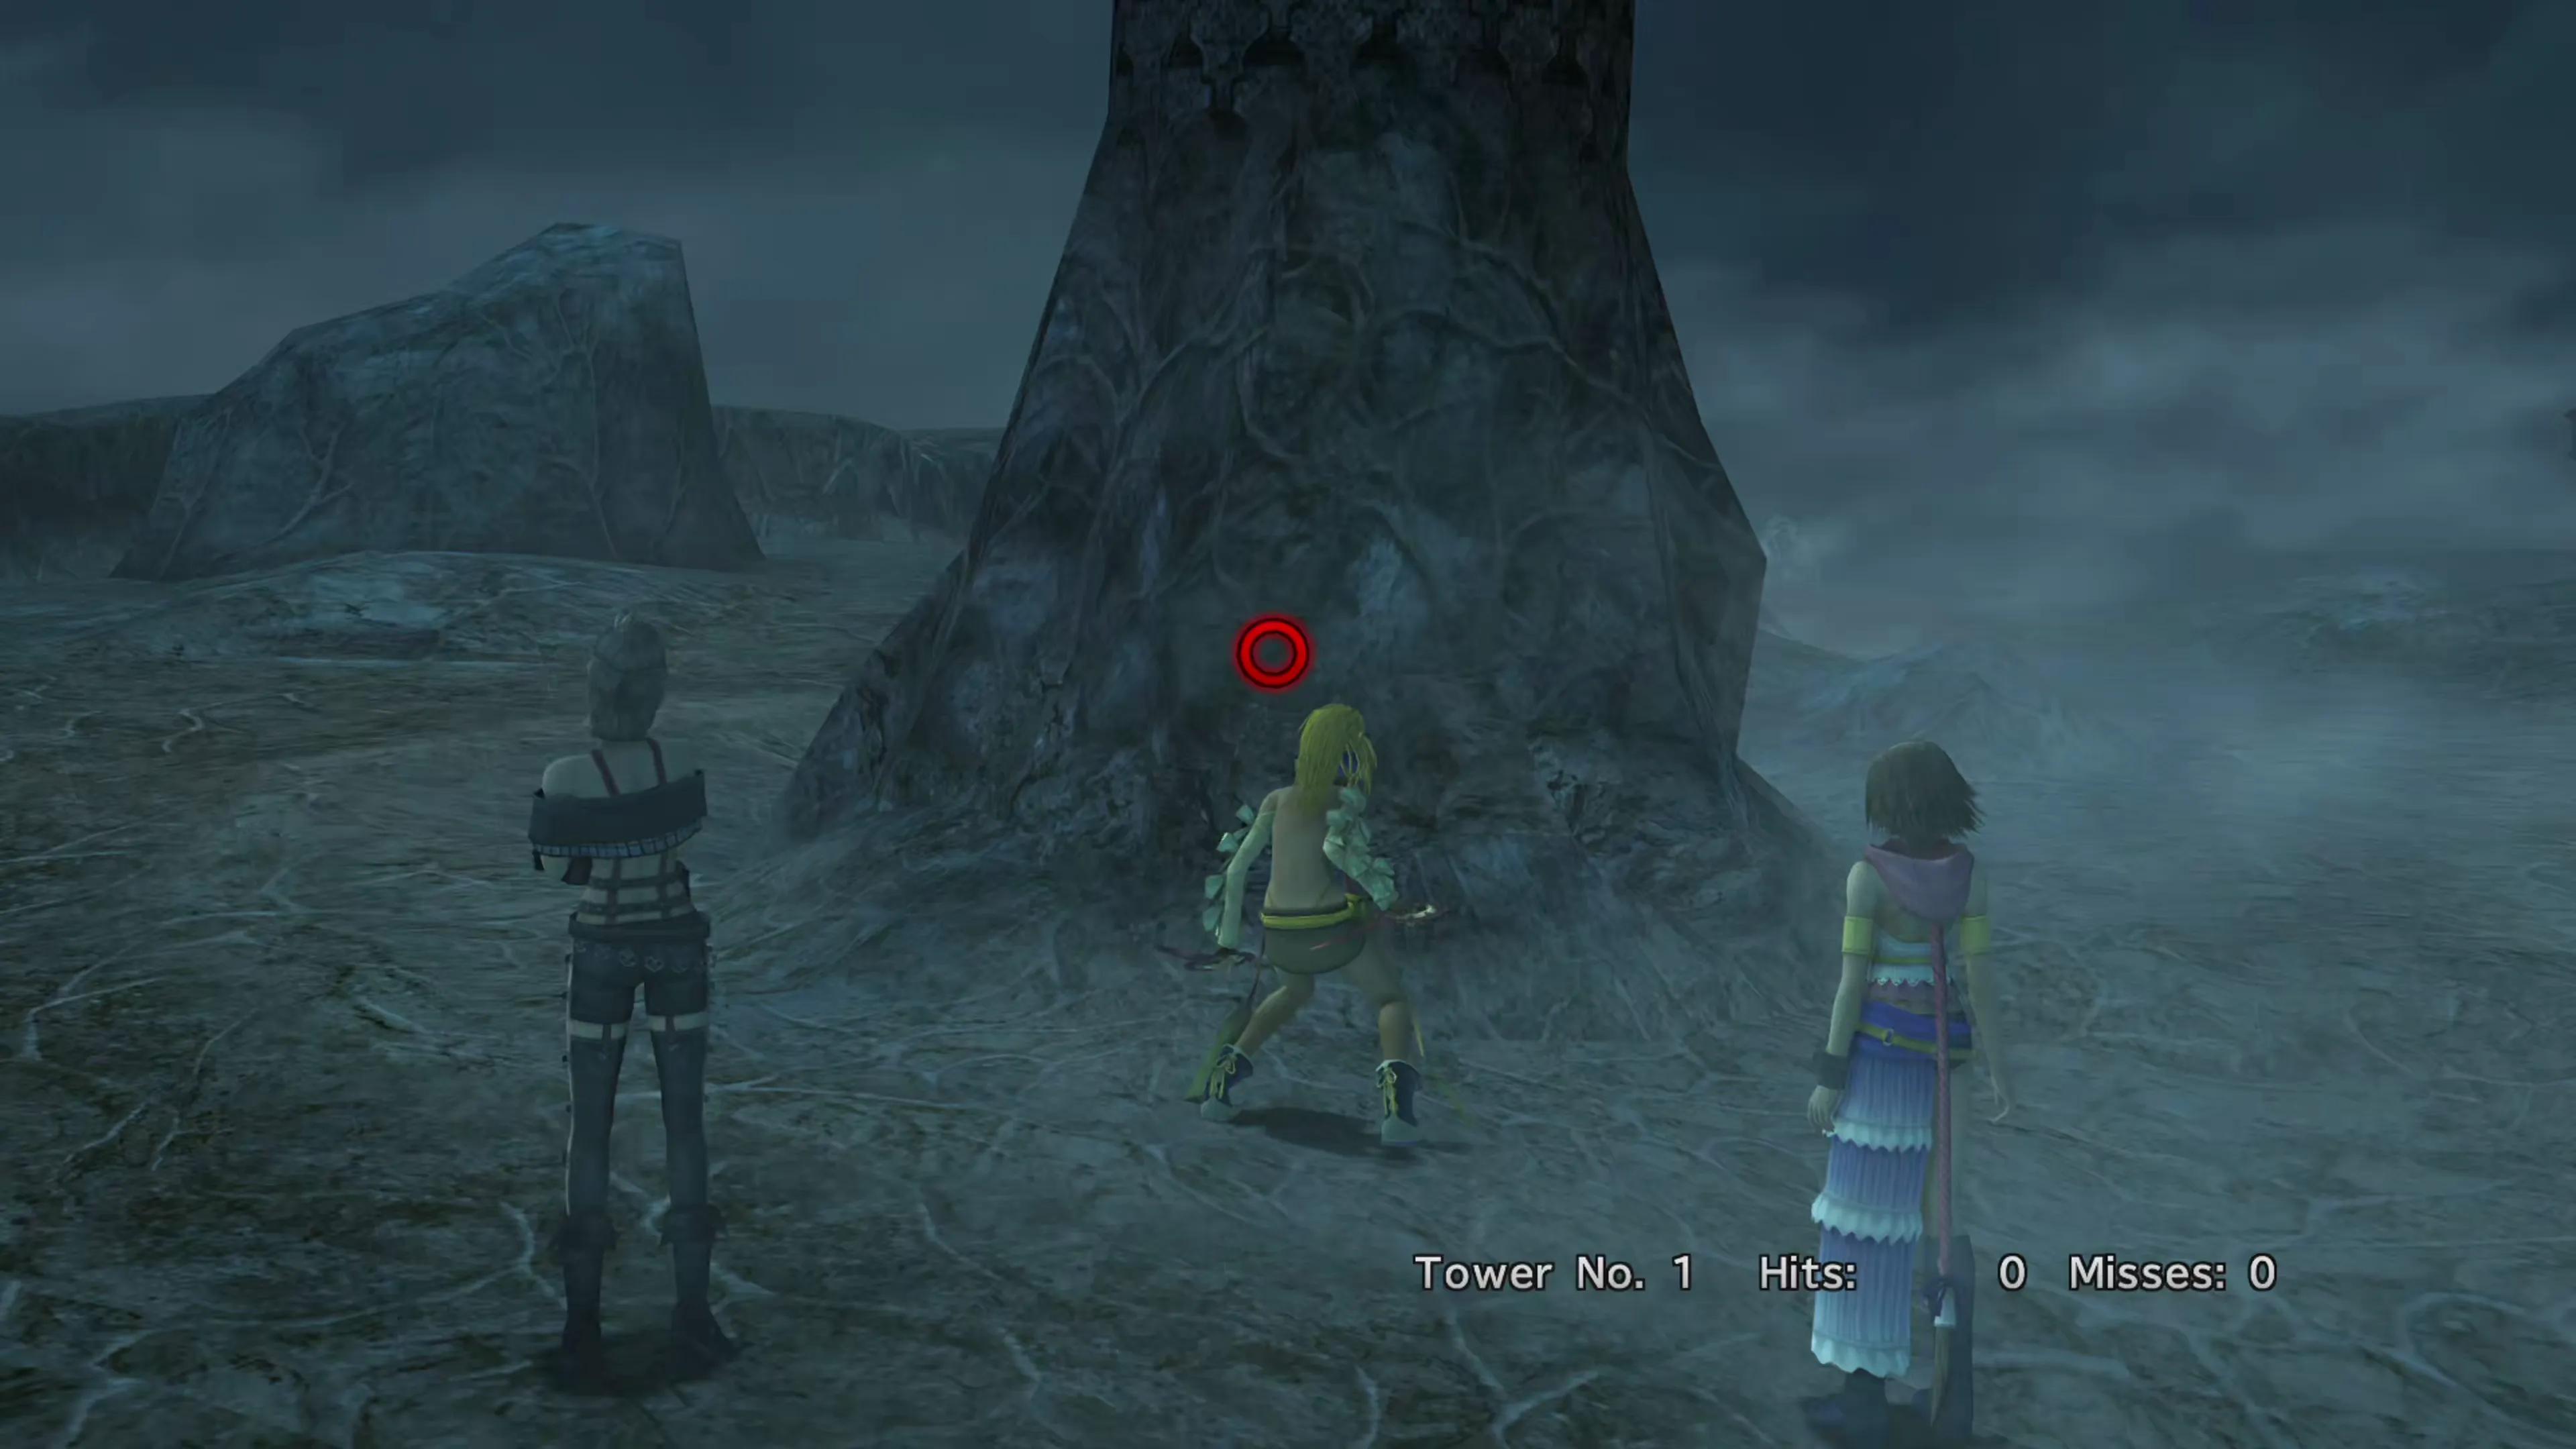
Rikku’s towers flash a button on screen for a moment, and you press it before it vanishes. Tower 1 always puts the prompt in the middle of the screen, but from Tower 4 onwards it can appear in any of thirteen positions, so you are hunting for it as well as reacting to it. Tower 7 is even harder as you’ll have to press a two-button combination. Towards the end, the prompts vanish extremely quickly.
| Tower | Position on Screen | Buttons Used |
|---|---|---|
| Tower 1 | Middle of the screen | |
| Tower 4 | 13 random positions | |
| Tower 7 | 13 random positions | |
Prize Breakdown
The prizes turn up in Chapter 5. During the Mission there, defeat the fiends at each of the towers and a treasure chest will appear. What is inside it, if anything, depends on how far you got at that tower back in Chapter 2 or Chapter 3:
 Ether
Ether Power Wrist
 Champion Belt
 Tetra Bracelet
Calibrating all ten towers also earns the Samurai’s Honor Garment Grid, with at least five of the ten needing a full 30 out of 30.
Tips and Tricks
There aren’t really any tricks to these mini-games. The old advice about pausing partway through a sequence no longer works. This is just a test of reflexes and short-term memory. What you can control is which towers you attempt, and how ready you are for the moment each one speeds up. And of course, practice! But here are some tips:
- Spread your attempts across four towers rather than perfecting one. Every tower holds its own prize, and the jump from nothing to a half decent reward on four separate towers is worth more than a flawless run.
- The speeds increase at fixed points listed in the tables above. Paine’s Tower 8 doubles at the 16th round and triples at 26. Rikku’s Tower 7 gives you about a second and a half per prompt after the 25th. Try to keep track so you can be ready when the ramp up is coming.
- Three misses ends the attempt, so your goal should be not to miss the first ten rounds. They are the slowest of the run, and a miss taken there costs you a life you will want later. You may as well just restart.
- For Rikku’s Tower 4 and Tower 7, don’t look at the middle of the screen. Let your eyes go soft and take in the whole frame at once. This is one of the few instances where a smaller TV is better.
- For Paine, watch the line where the buttons flash, not the buttons as they’re falling toward it. The falling motion is what pulls your eyes out of position.
- For Yuna, hold your fingers over the buttons as they appear during the memory phase, so your hands are helping you with remembering part of the sequence. It also helps to say the buttons out loud as they flash, and for Tower 10 you can write the sequence down and read it back in reverse if you’re quick.
Beyond that, the only thing that reliably helps is practice, as stated above. Give it another try in Chapter 3. Good luck!