
Mount Corel
Costa del Sol is located in the “Corel Area” region, as indicated on your menu screen. Mount Corel is your next destination.
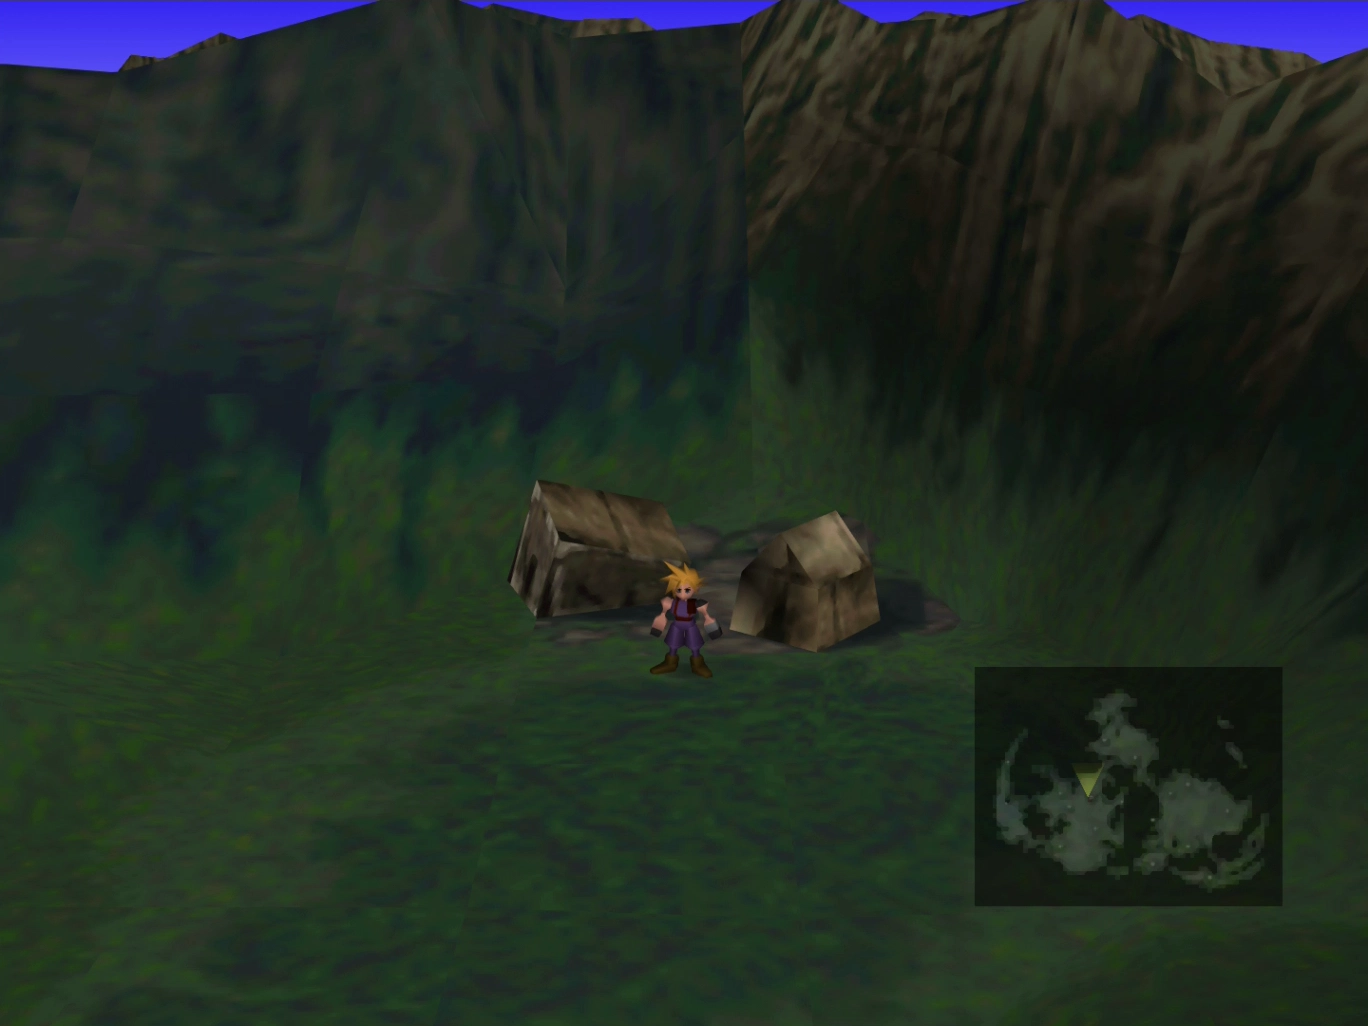
Mount Corel is due west on the world map from Costa del Sol. You will need to start by traveling south first and then traveling into the mountains.
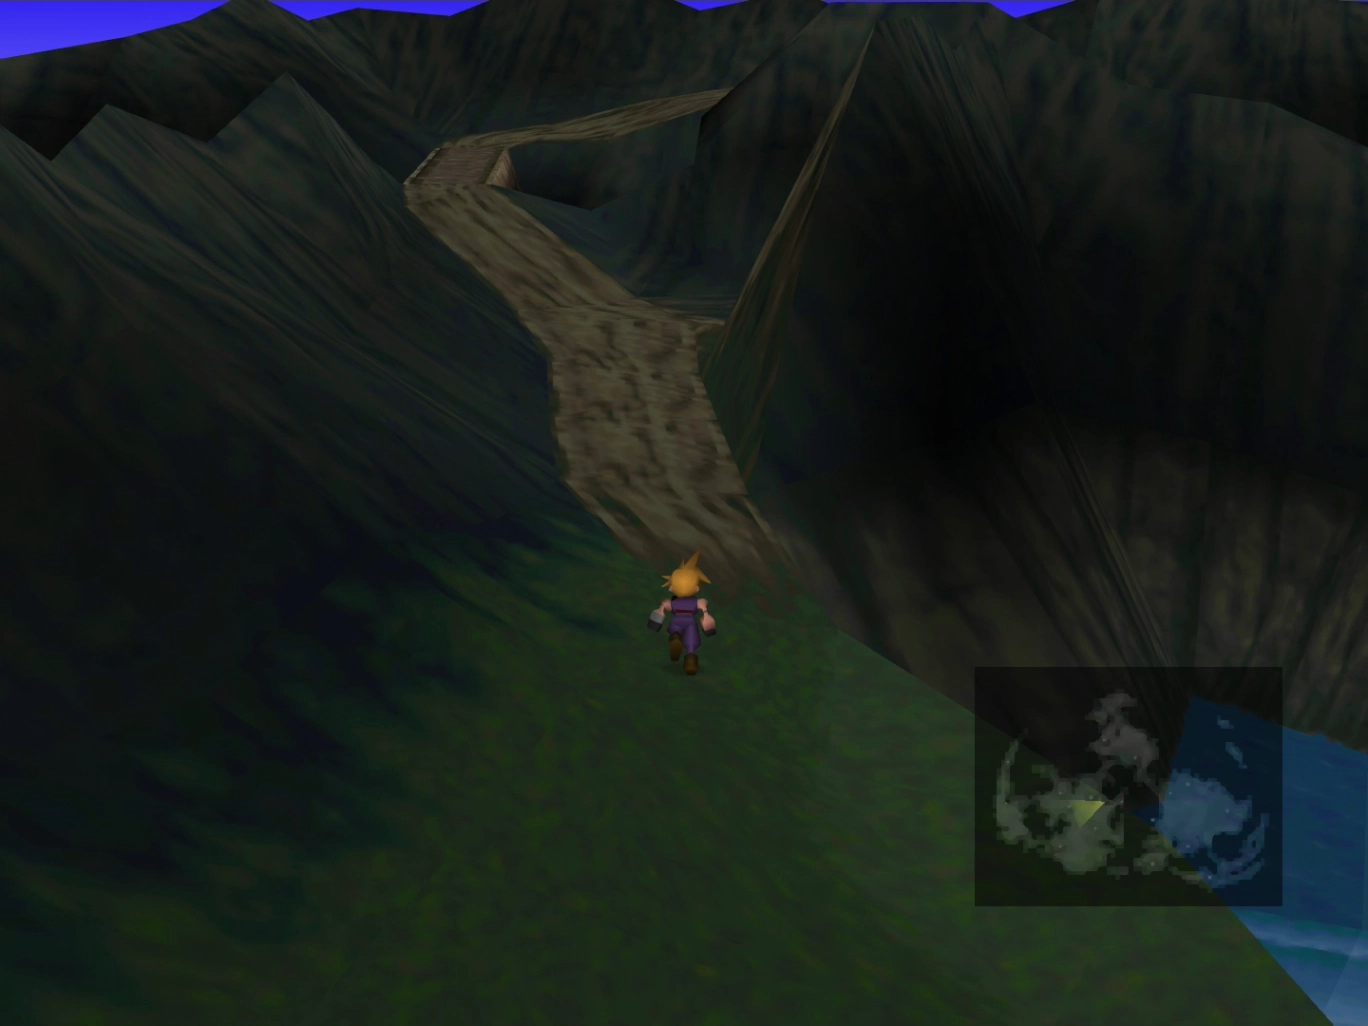


The pathway leads you up through a mountain path. Enter through the small cave at the end of the mountain path and into the next area.
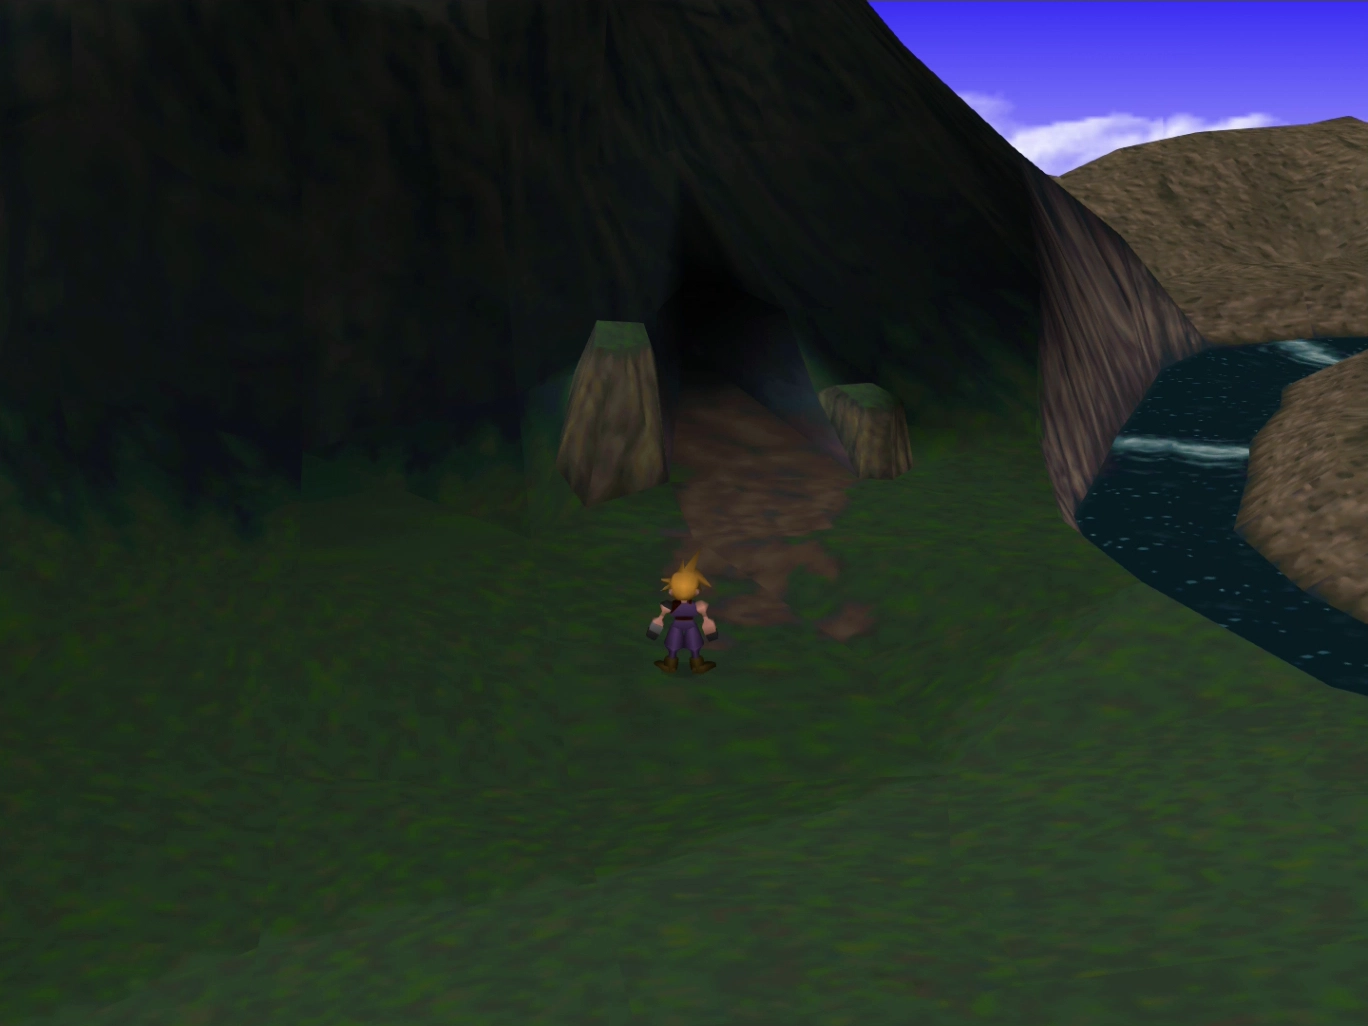
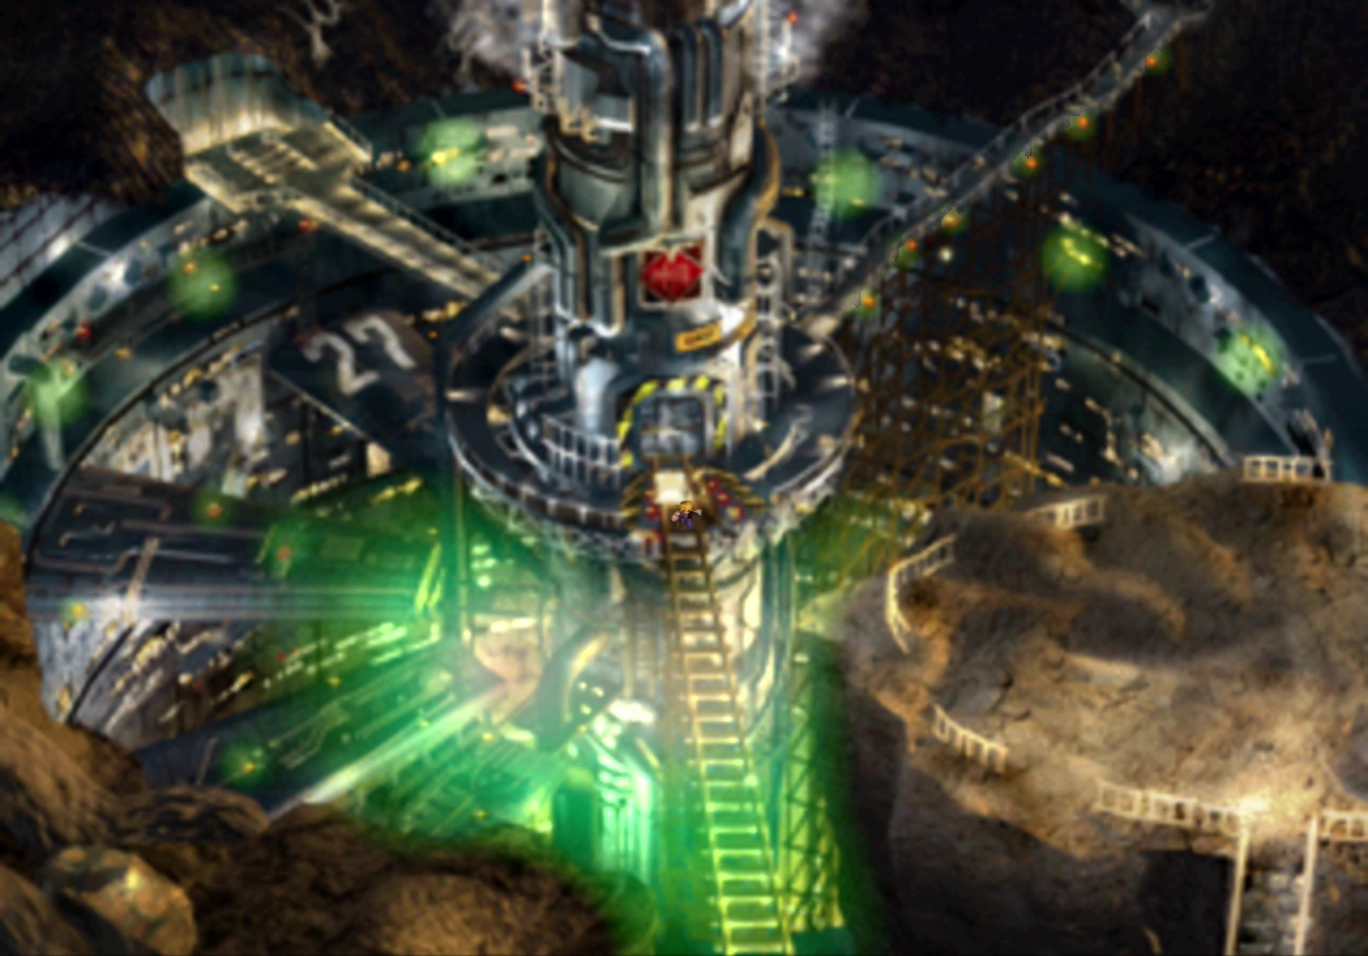
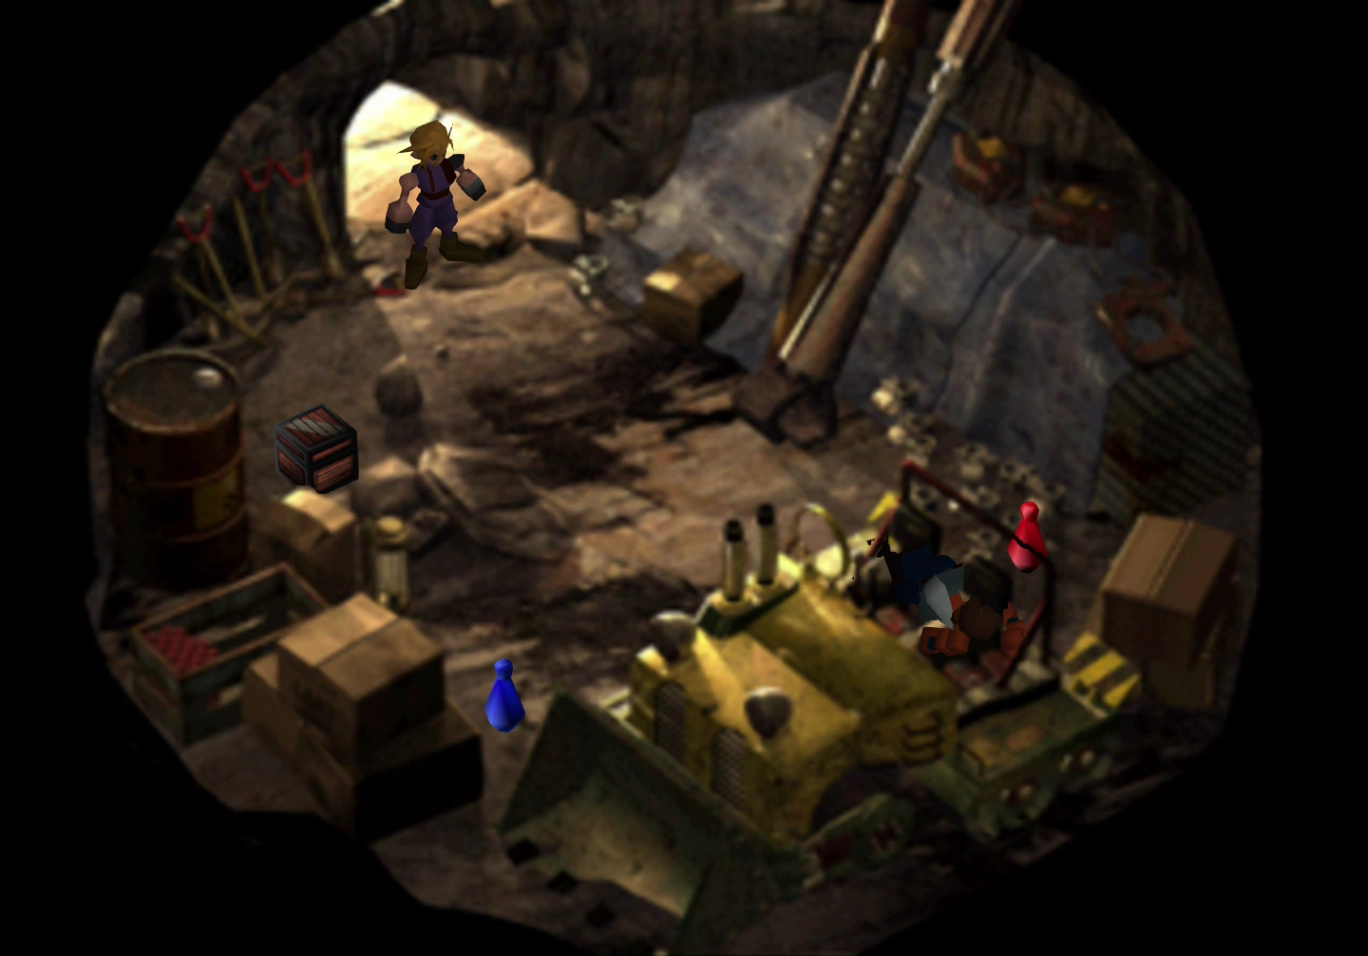
The man sitting on the rock pathway will tell you that he saw a man wearing a black cloak pass by. Continue along the path until you reach the Corel Reactor (shown in the screenshot below).
Take the pathway all the way down to the reactor and walk along the train tracks leading to the bottom of the screen.
Continue following the train tracks in the next area; do not jump down onto the stairs or descend to the lower level, as there is nothing to do down there.
Helpful Hint
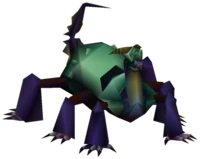
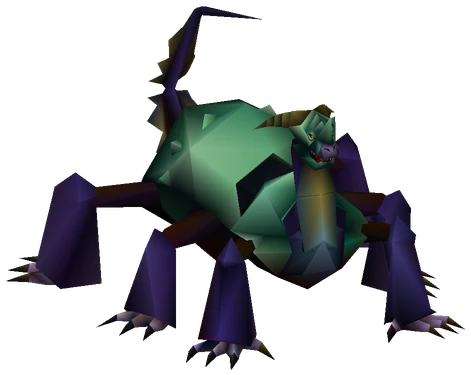
Note that you may run into an enemy in this area called a “Bagnadrana,” pictured below. This enemy has a headdress weapon that you can steal for Red XIII called a ![]() Diamond Pin.
Diamond Pin.
This weapon is quite powerful compared to other weapons that are available to Red XIII and the other characters at this time, and it’s worth picking up one on your way through.
(Credit for this tip belongs to reader mfdubs)
Use the ![]() Save Point on the next screen to save your game, as some challenging tasks are coming up that may catch you unprepared.
Save Point on the next screen to save your game, as some challenging tasks are coming up that may catch you unprepared.
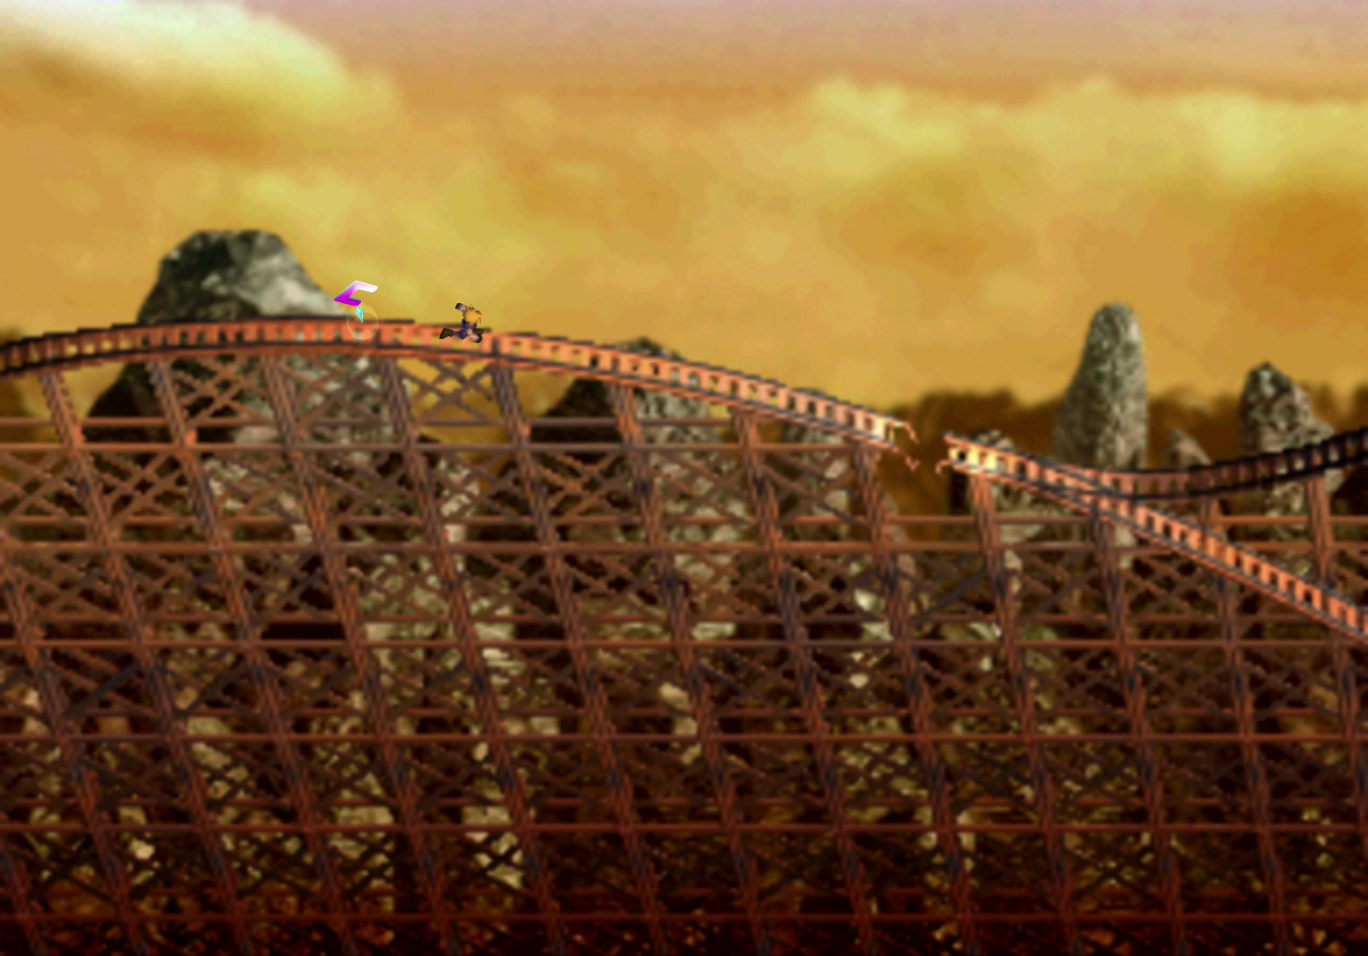
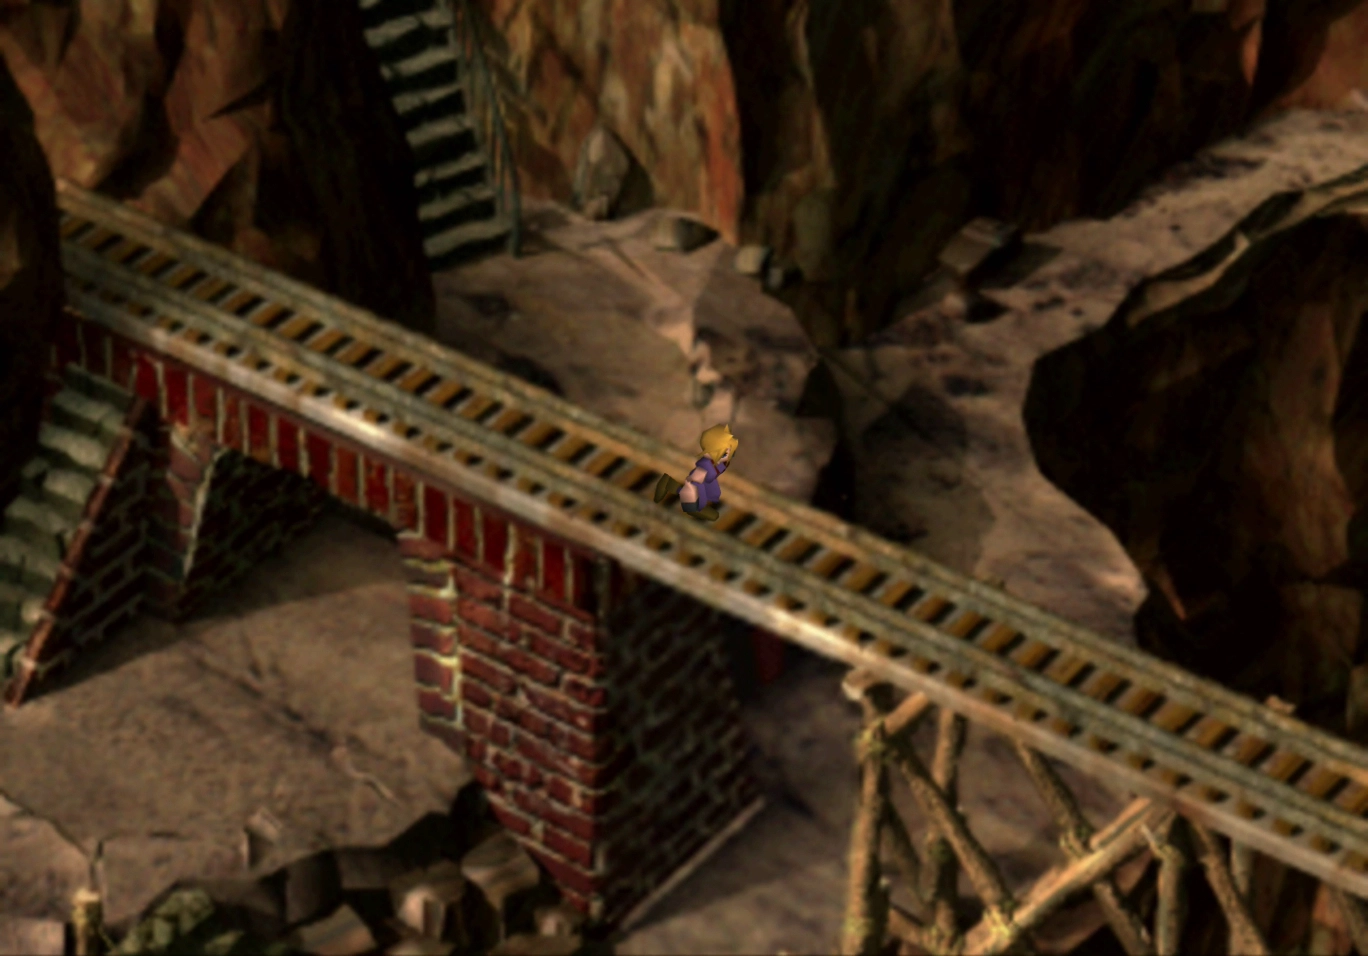
Jump over the hole in the track. The track splits just after the hole into two tracks: one that goes upward and one that goes downward. Take the path leading upward and be prepared for a surprise ahead.
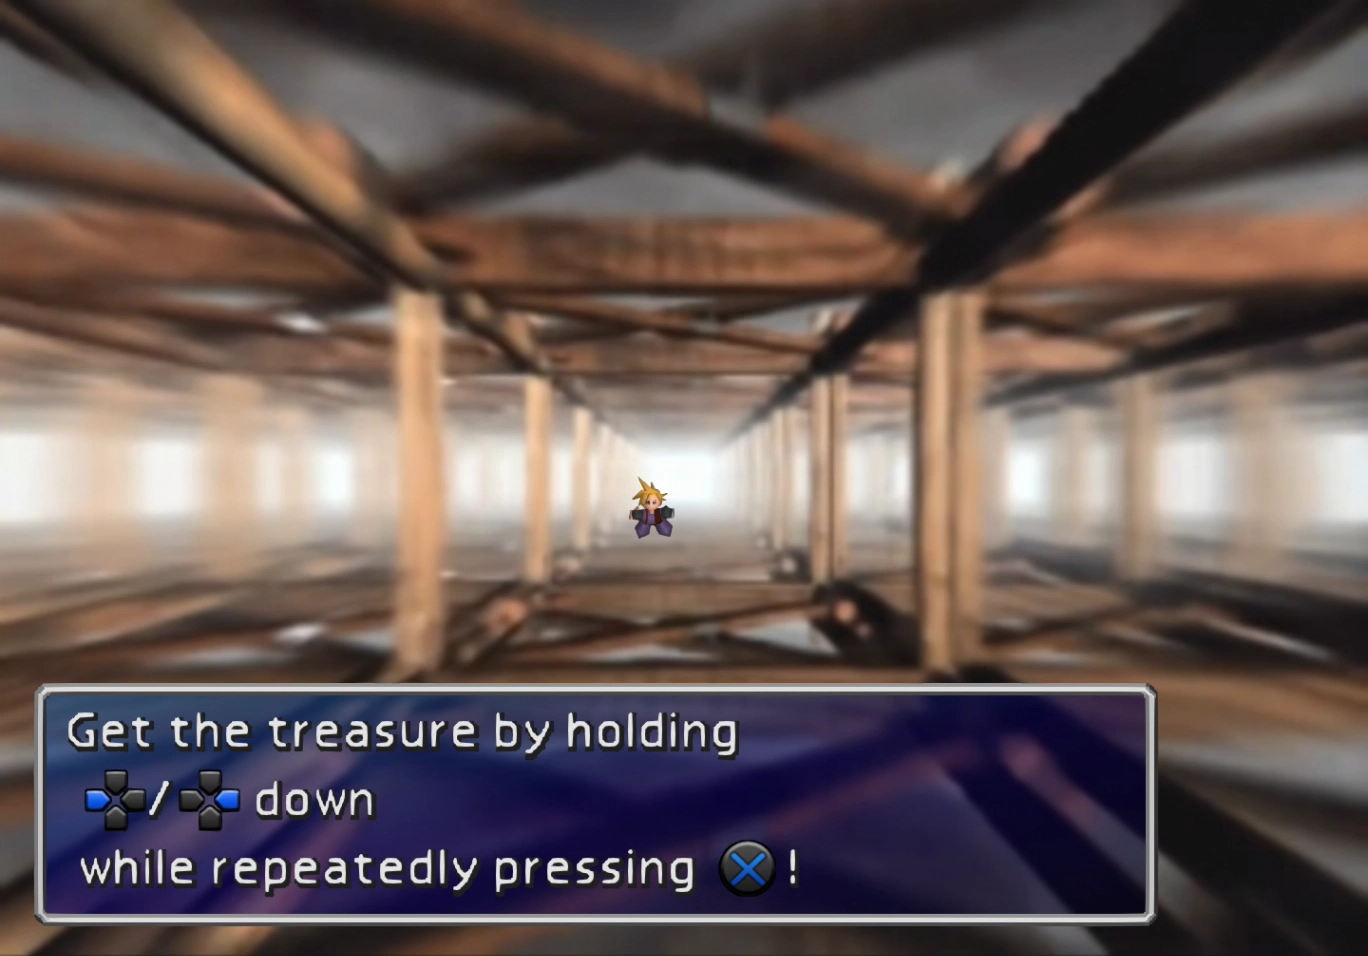
As Cloud walks to the right, a portion of the track will give way, and Cloud will fall through the opening. Hold left ![]()
![]()
![]() on the directional pad and press
on the directional pad and press ![]()
![]()
![]() as many times as you can. If you get enough button presses in, Cloud will drift to the left as he falls.
as many times as you can. If you get enough button presses in, Cloud will drift to the left as he falls.
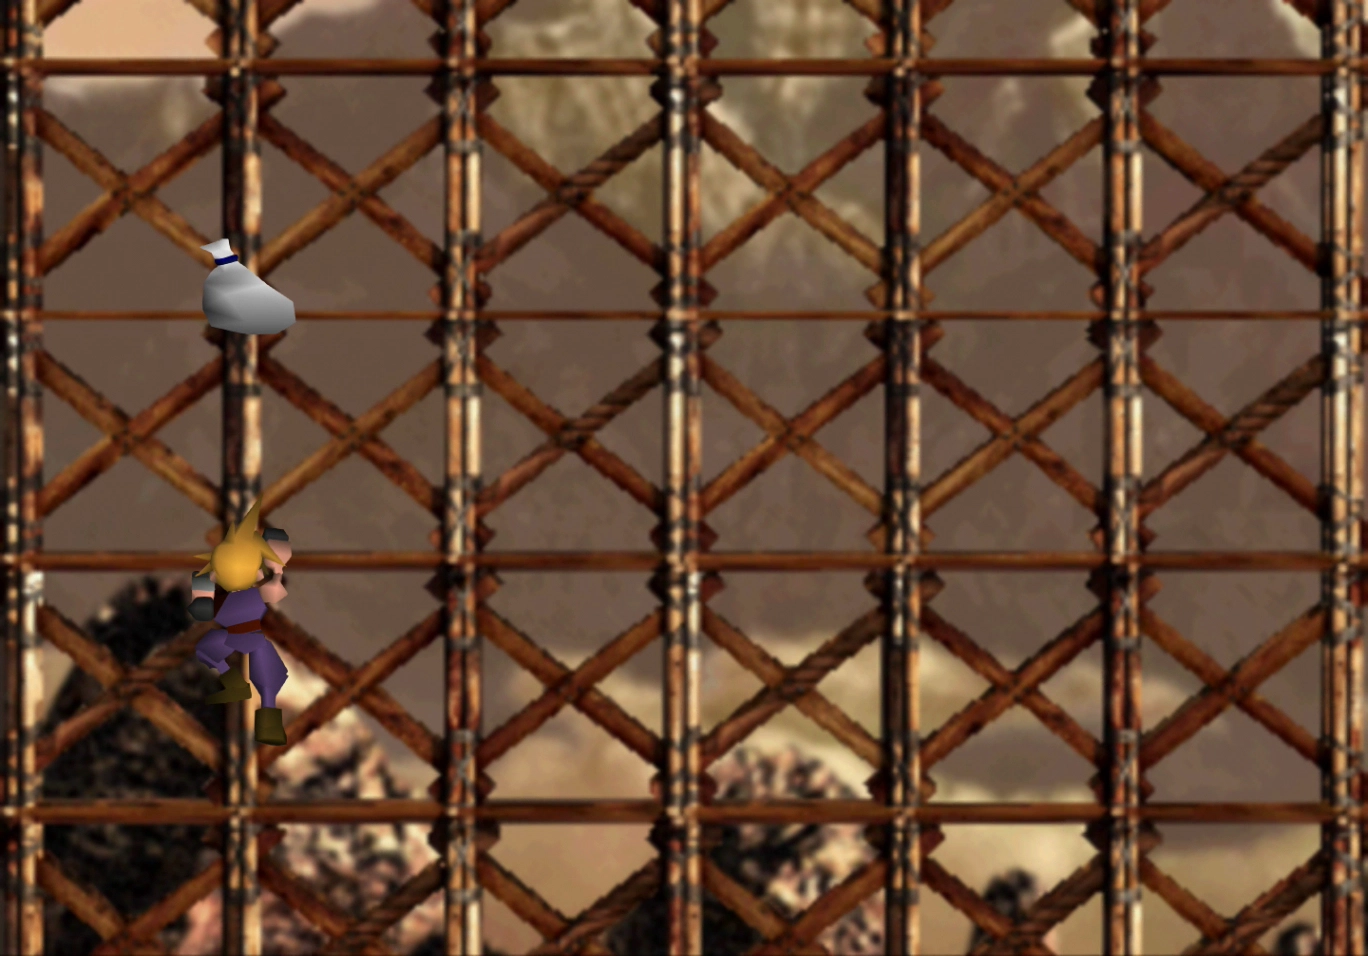
Climb back up the scaffolding, and, if done correctly, Cloud will pick up an item bag containing a ![]() Wizard Staff for Aeris.
Wizard Staff for Aeris.
Continue to the very top of this pathway and open the treasure chest to receive a ![]() W Machine Gun weapon for Barret.
W Machine Gun weapon for Barret.

Travel back to where the tracks split and take the lower path. The tracks will give way again as Cloud passes over. Hold the ![]()
![]()
![]() button on the directional pad this time and press
button on the directional pad this time and press ![]()
![]()
![]() (or
(or ![]()
![]()
![]() in newer versions of the game) as many times as you can.
in newer versions of the game) as many times as you can.
Cloud will pick up an item bag containing a ![]() Star Pendant on his way up this section of scaffolding.
Star Pendant on his way up this section of scaffolding.

Backtrack after you reach the next fork in the pathway and take the upper path to pick up the ![]() Turbo Ether sitting on the track.
Turbo Ether sitting on the track.
Cloud will fall through one more time as he walks towards the Green Materia that’s visible on the track. There will be no other items to pick up if you have already grabbed the ![]() W Machine Gun and the
W Machine Gun and the ![]() Star Pendant . If you’re quick enough, press
Star Pendant . If you’re quick enough, press ![]()
![]()
![]() to jump out of the way before the track breaks.
to jump out of the way before the track breaks.
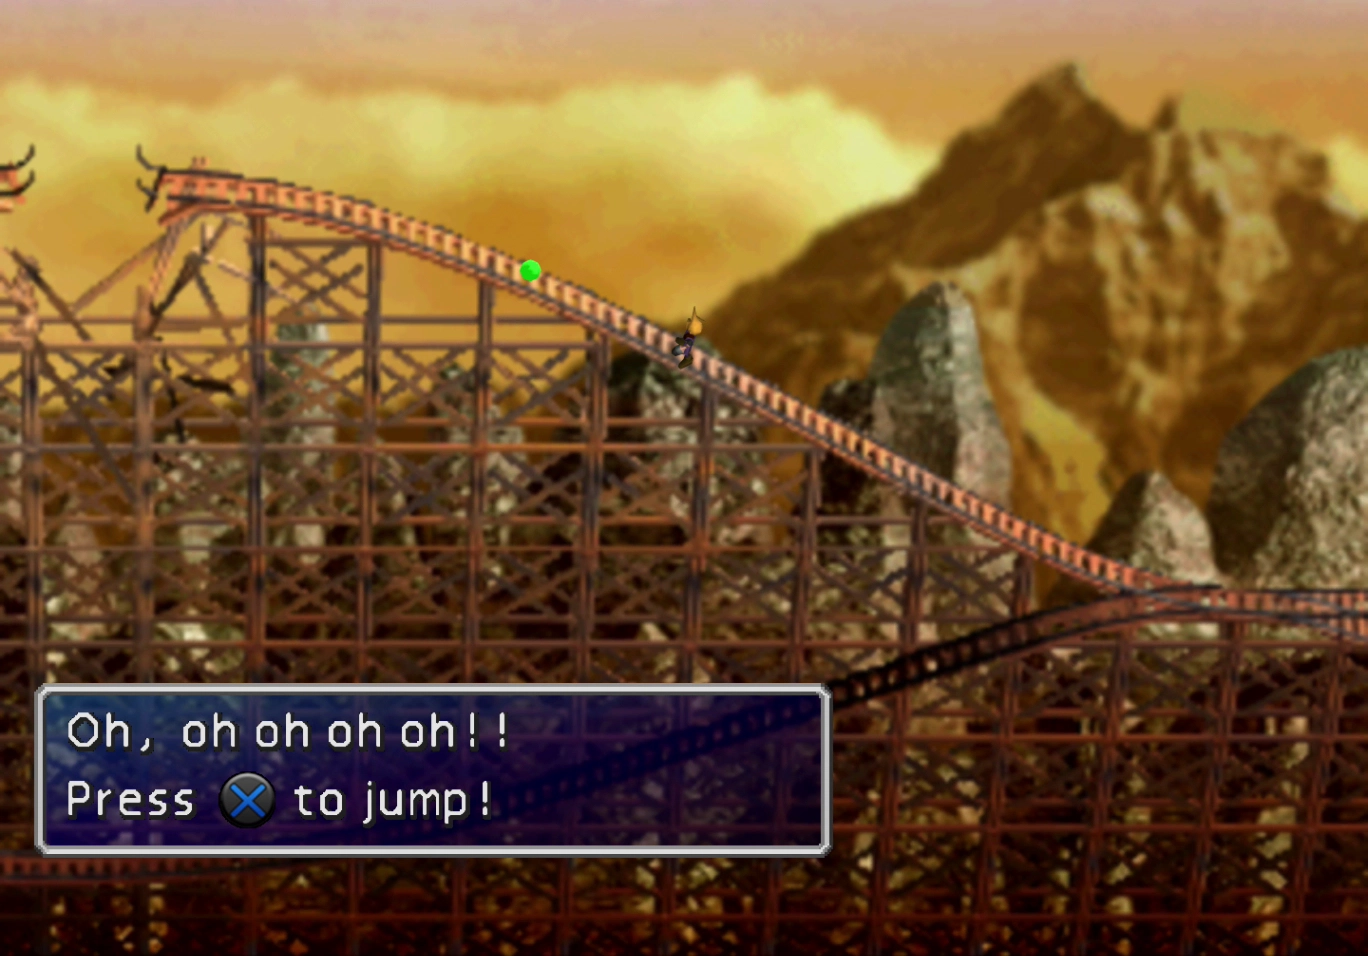
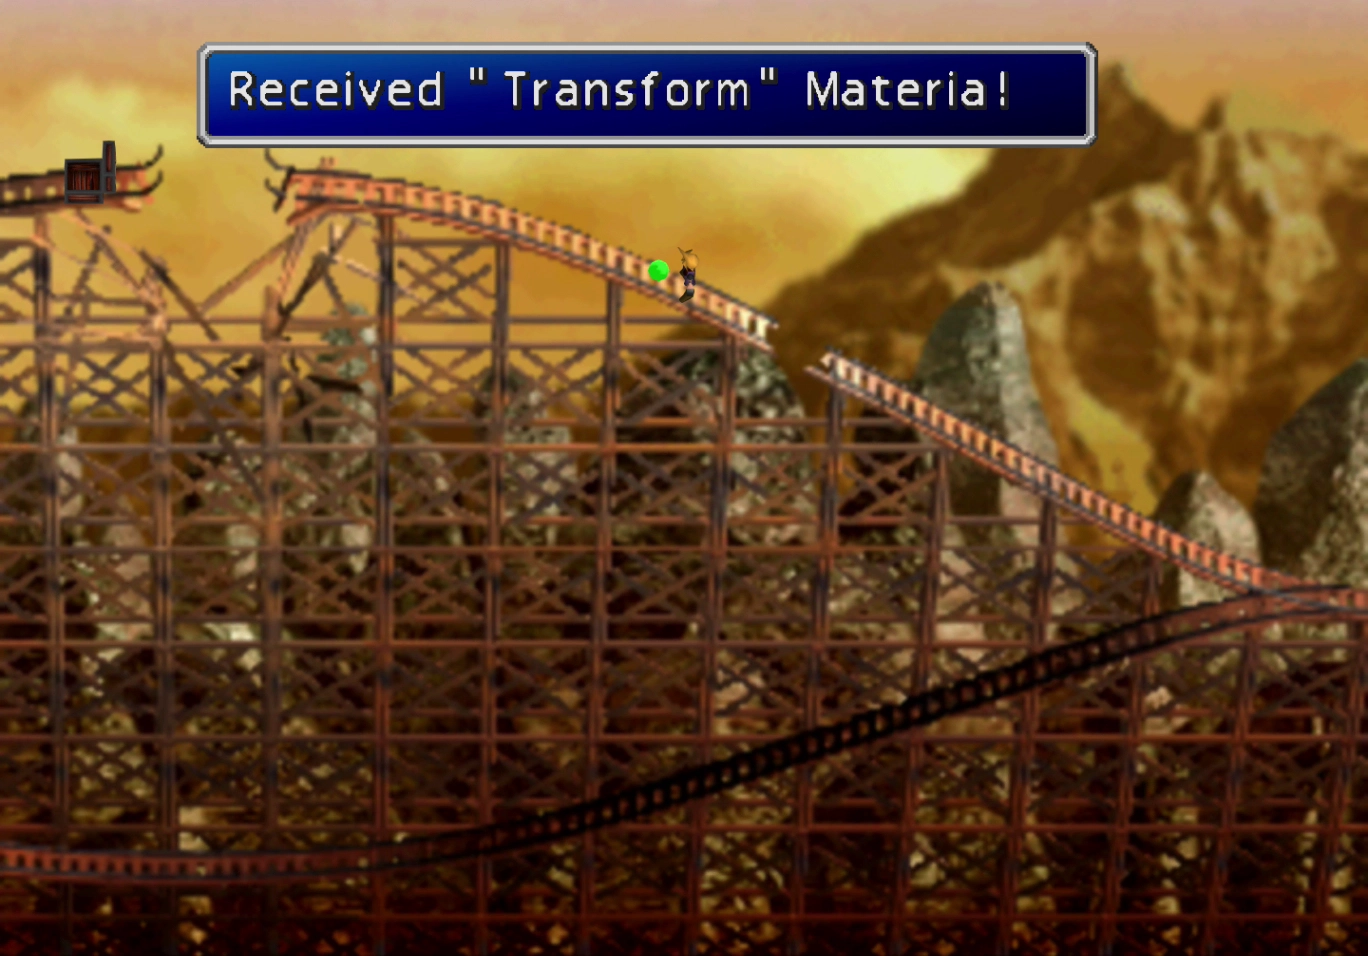
Grab the ![]() Transform Materia on the upper track and then continue eastward down the tracks. Take the upper pathway at the next fork.
Transform Materia on the upper track and then continue eastward down the tracks. Take the upper pathway at the next fork.
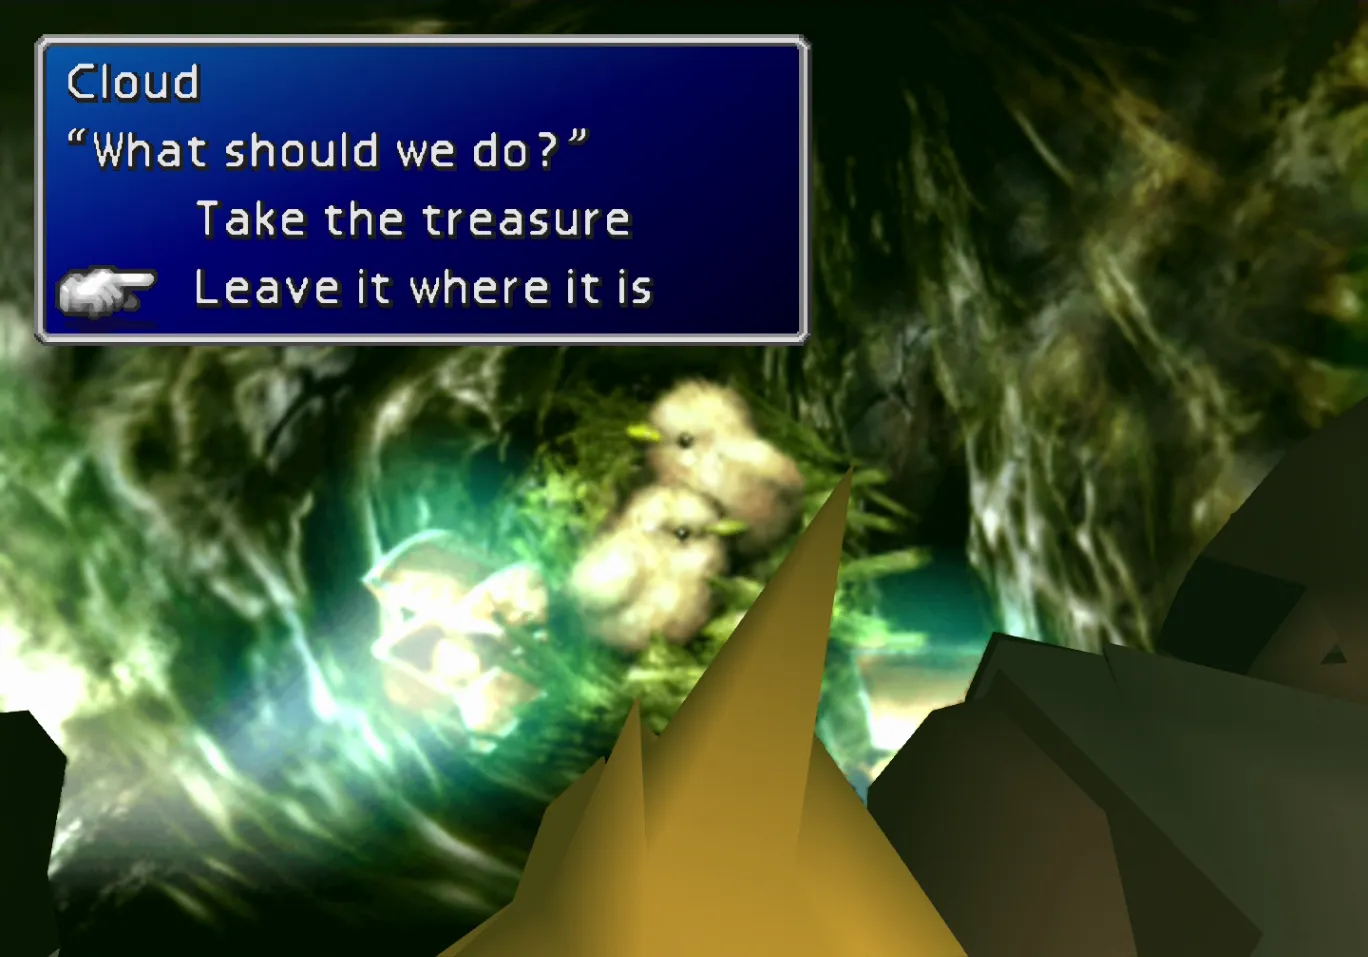
Cloud will appear on the upper level of the tracks. Continue to the east and follow the track around. Continue past the small shack and follow the track until you hear birds start chirping. Climb the pathway upwards to reach a bird’s nest.
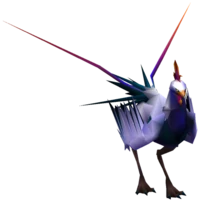
You will have the option to take the treasure or leave it where it is. If you take the treasure (10 ![]() Phoenix Downs), you will have to fight a Cokatolis enemy.
Phoenix Downs), you will have to fight a Cokatolis enemy.
Enter the shack at the end of the pathway and have Cloud turn the lever/knob. Activating the lever or knob, whichever it is, will cause the bridge on the lower track to drop down, allowing the team to cross.
Cloud, on the other hand, will have to travel all the way back around with the rest of the team. Travel back to where the tracks split and take the lower track. Follow the rest of your team around the lower track that runs underneath the shack.

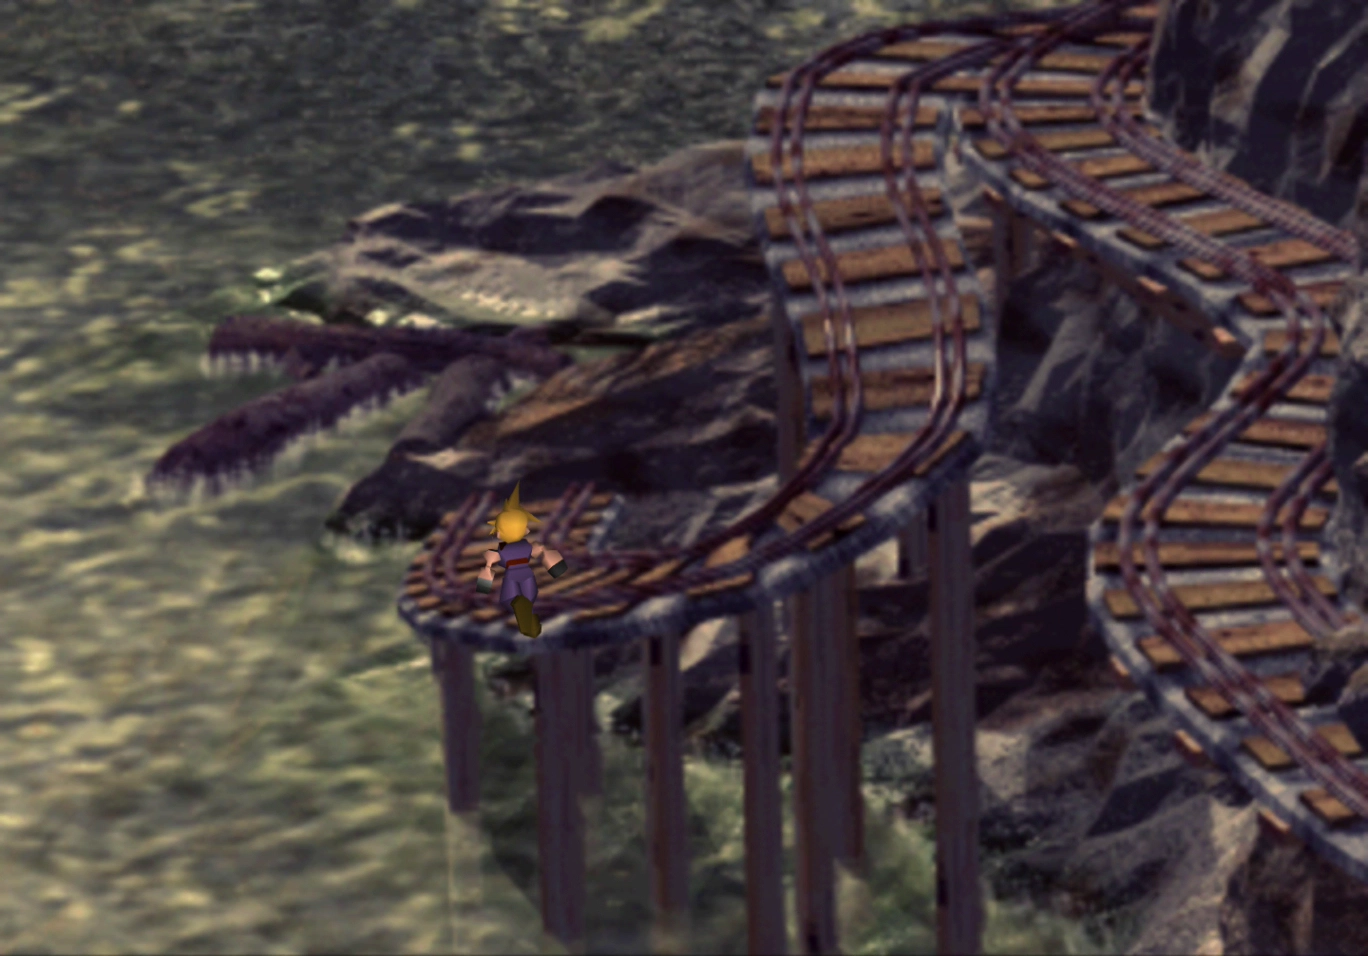
Follow the tracks leading off towards the water down below and follow it around to the right. This pathway leads to a cave containing a ![]() Power Source, a
Power Source, a ![]() Mind Source, and a
Mind Source, and a ![]() Tent within.
Tent within.
You can talk to the miner to hear his story about not having a job. Exit the cave, head back to the upper track, and follow it around the bend to the right.
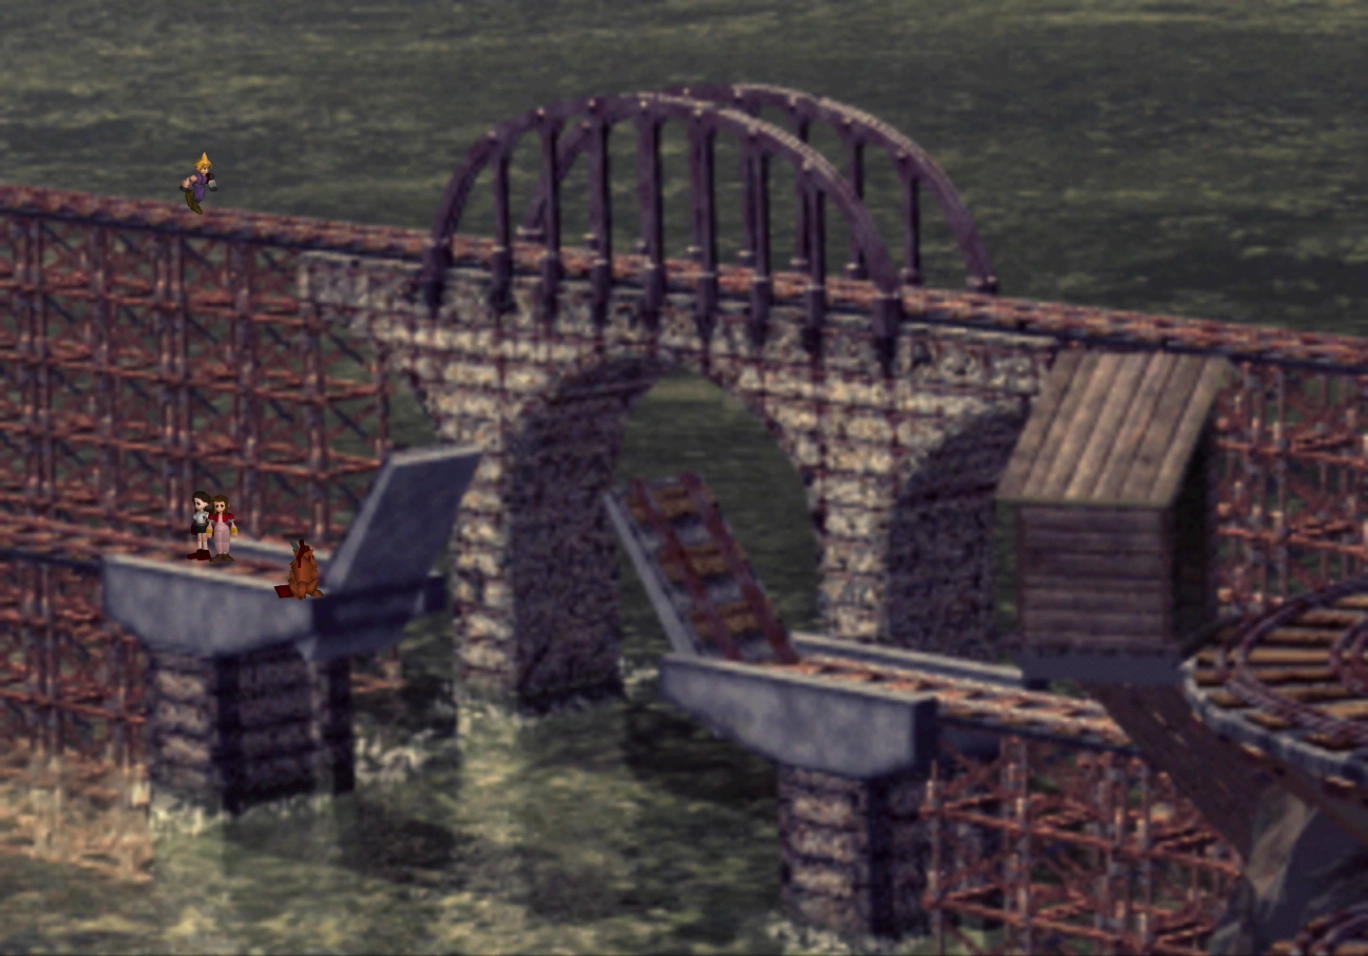
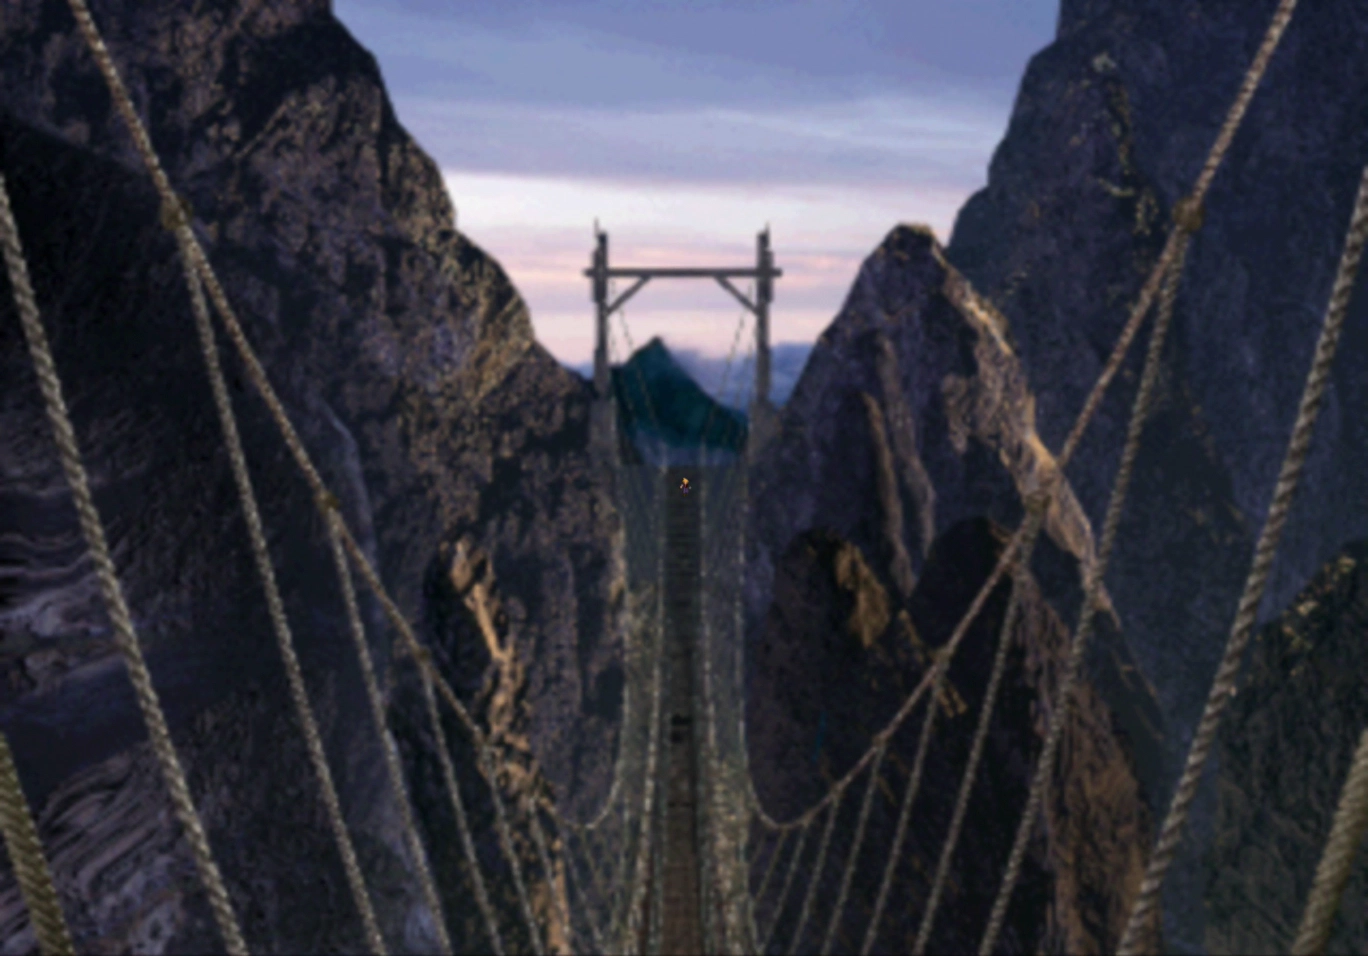
Cross the massive rope bridge to reach North Corel town.
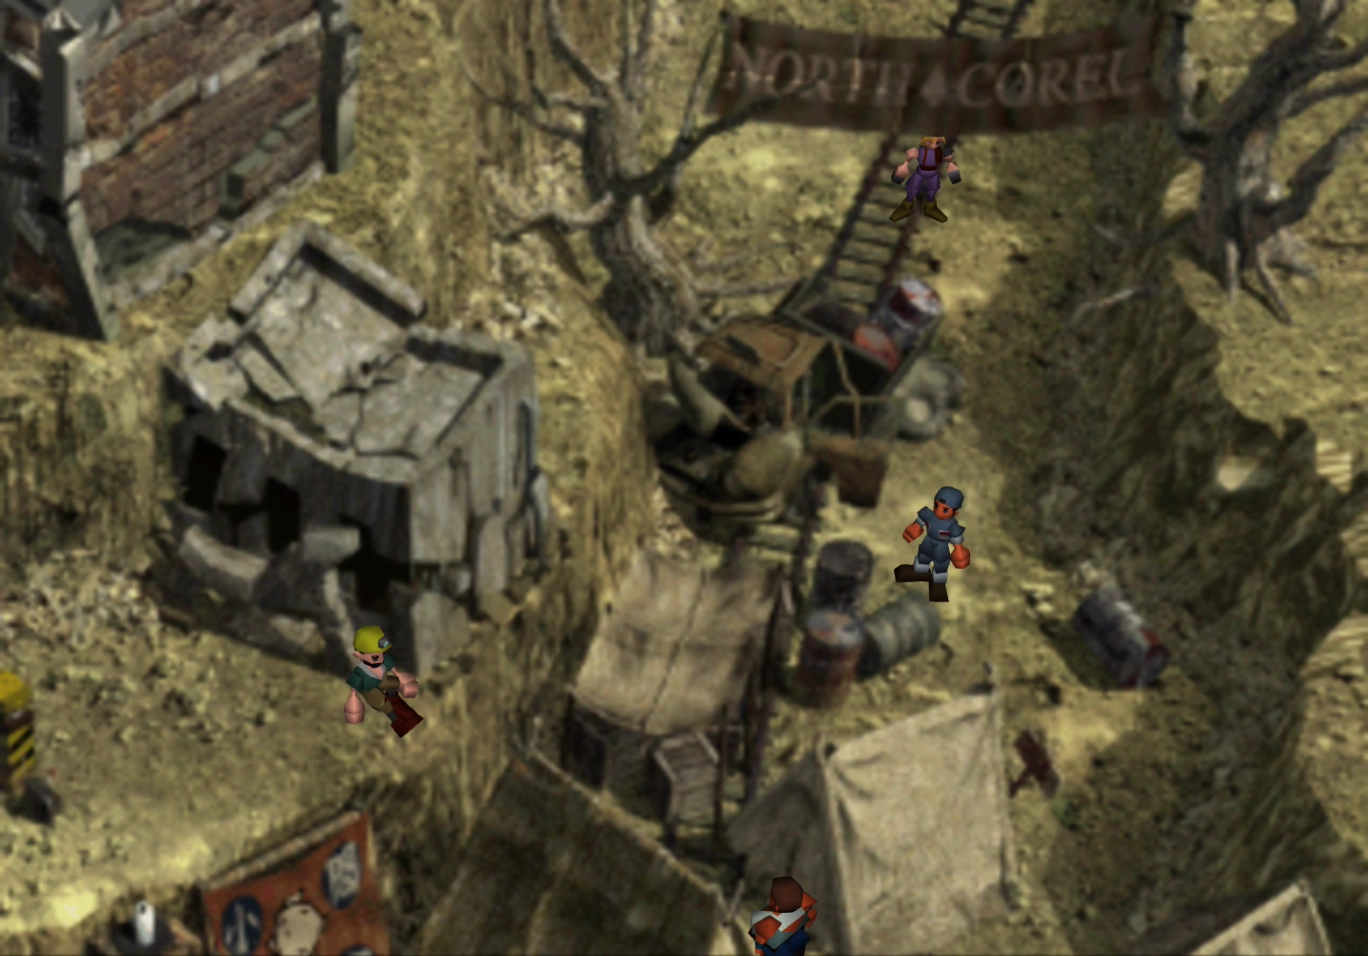
North Corel
North Corel is Barret’s hometown. Move towards the center of town to initiate a short cutscene involving Barret and the townspeople. There is an Item Store that sells the following items:
The Weapon Store sells the following:
Unfortunately, nothing particularly useful at this point.
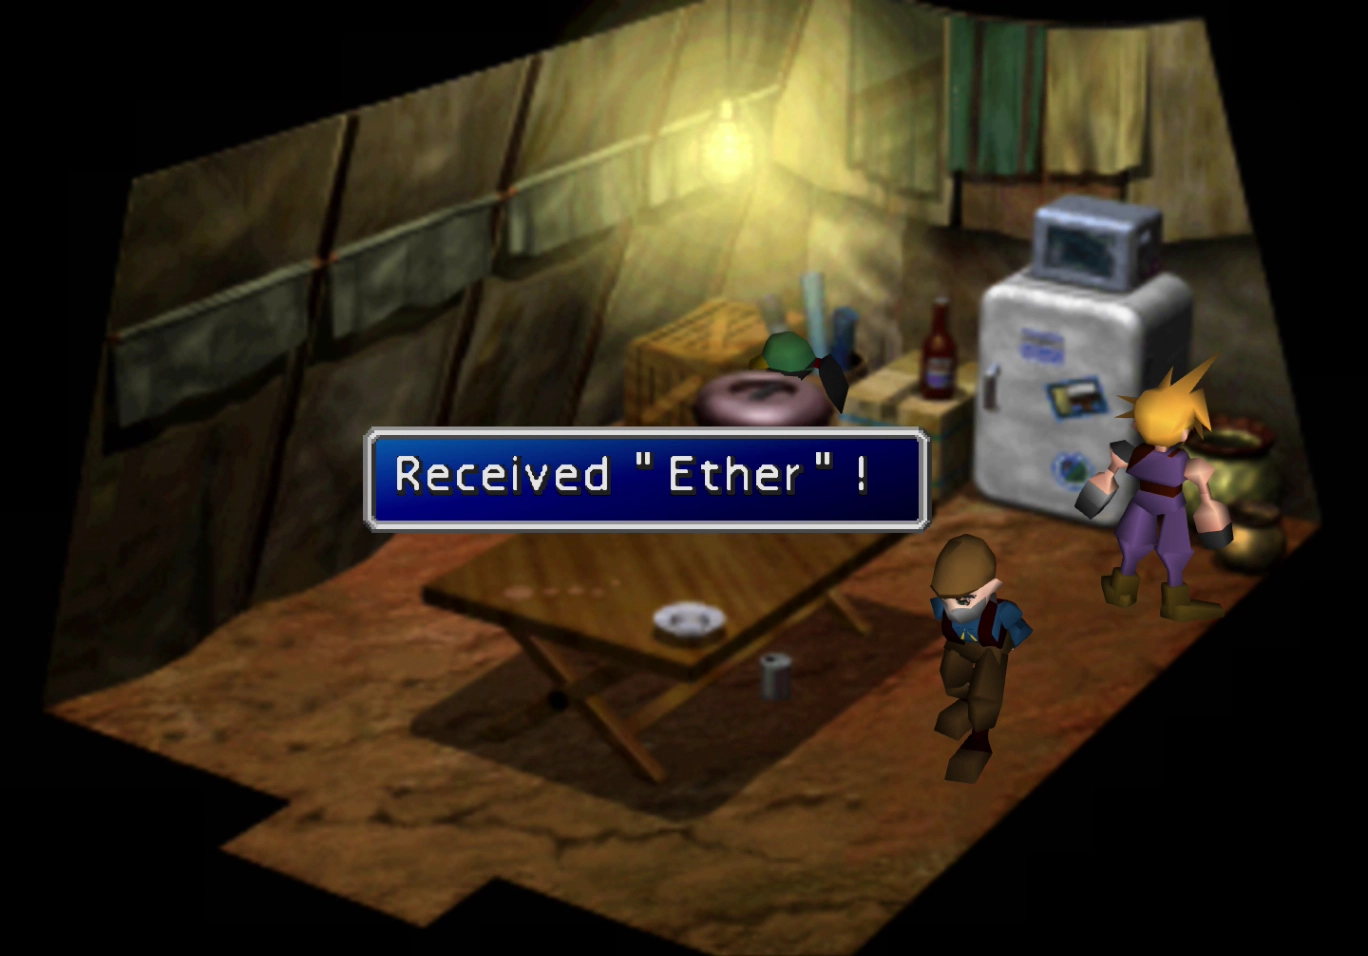
There is an ![]() Ether hidden in the tent on the right. You will have to wait for the woman and old man to move out of your way before you can grab it.
Ether hidden in the tent on the right. You will have to wait for the woman and old man to move out of your way before you can grab it.
Warning
Take some time to exit the town by following the exit sign on the right side to find yourself on the world map. Saving can be difficult in Gold Saucer, your next destination, due to the lack of any ‘free’ ![]() Save Points, so save your game now while you have the chance.
Save Points, so save your game now while you have the chance.
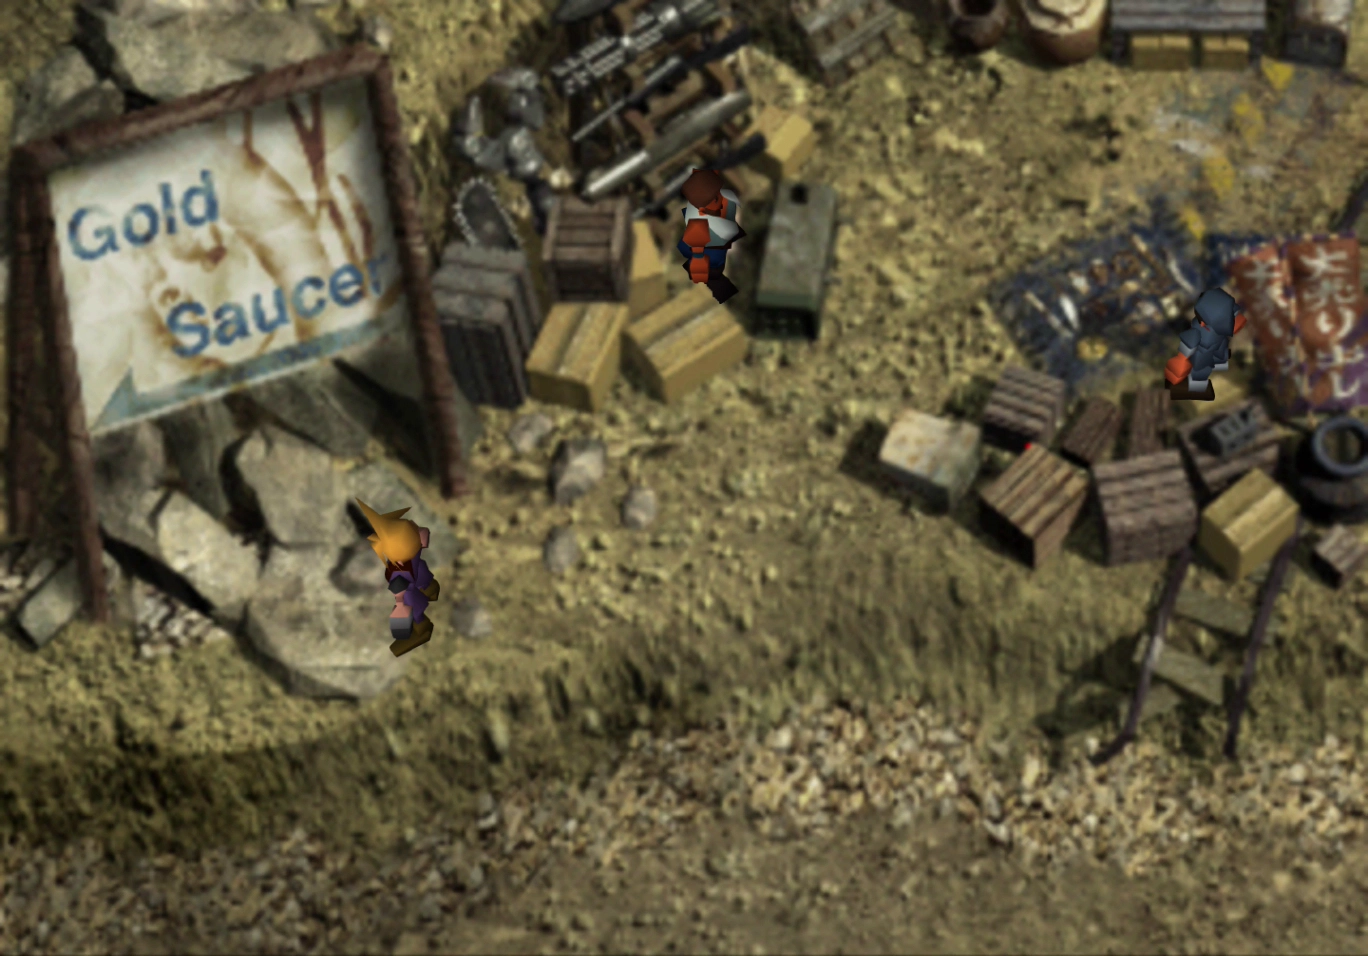
Go back into Mount Corel from the world map and find the pathway leading to the left out of the town center (with a big sign in front of it that reads “Gold Saucer”). Follow the sign that leads you to the next area.
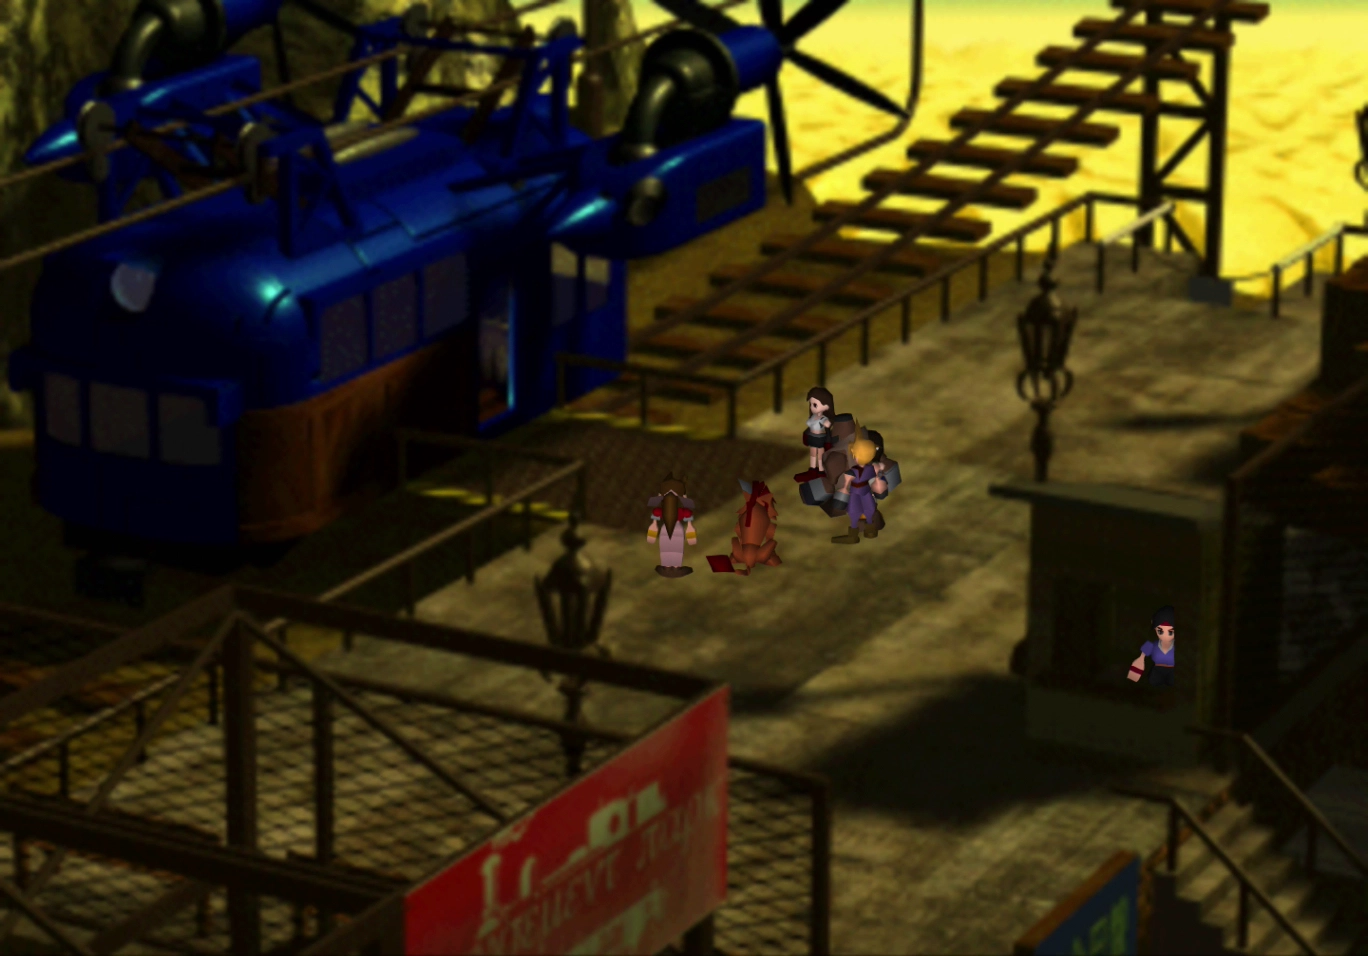
This tram leads to Gold Saucer, but before you can board, Barret will give you some background about why the people of North Corel despise him so much.
Head to the next page once you reach Gold Saucer.