
Tips and Tricks
This section is broken up into two categories. The first category is Beginner’s tips which cover some of the standard game elements that, in some cases, are covered directly within the game’s tutorials and training pages. The second category is for Advanced tips which cover the more complex elements of Final Fantasy XIII and can help you master your characters and your battle strategy for your play through.
These Tips and Tricks sections are referenced throughout the walkthrough section in each of the areas where they are relevant so you don’t need to read through them before starting the game.
Beginner’s Tips
An overview of the controls you will use during your playthrough of the game.
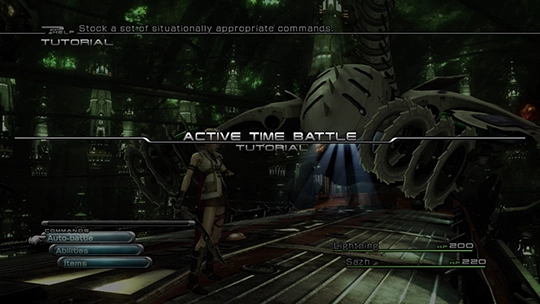
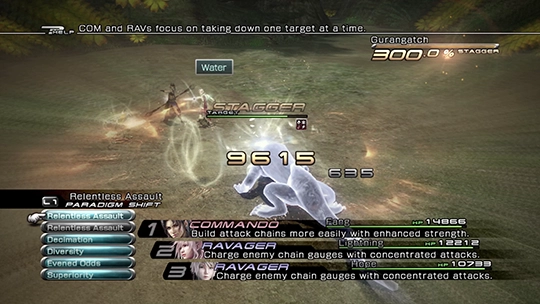
A guide on how to make use of the most important battle mechanic in the game to help you defeat enemies quicker.
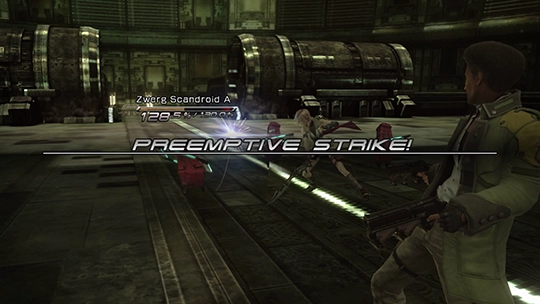
How preemptive strikes work and how you can maximize their utility during a playthrough of the game.
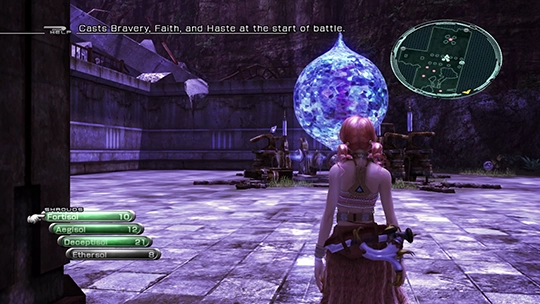
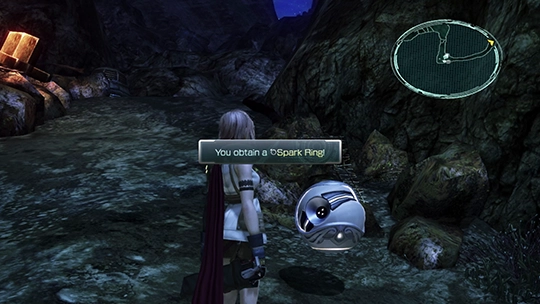
Important one-time use items that you will obtain through the game that are used outside the battle screen.

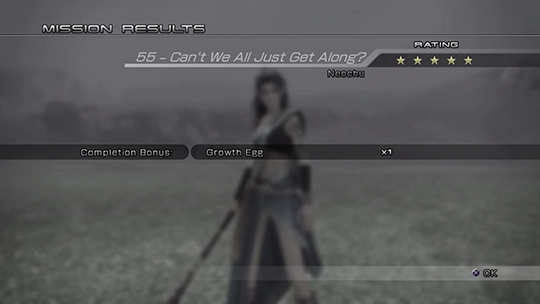
Tips for how to obtain a higher 5-star battle ranking at the conclusion of a fight.
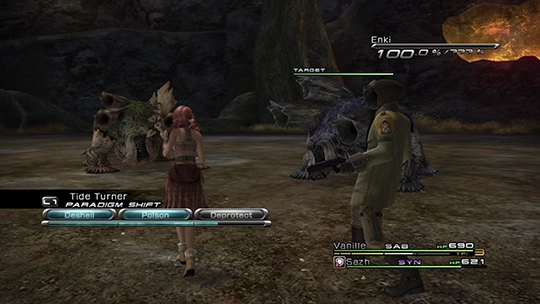
An overview of the various status effects you will encounter during your travels through Cocoon and Gran Pulse.
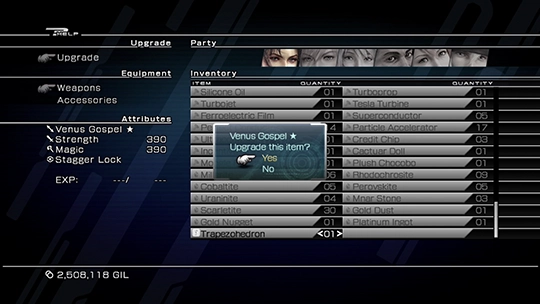
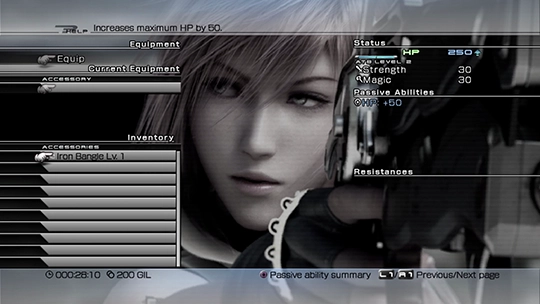
A full guide on how to upgrade your weapons and accessories using components you obtain in the game.
Advanced Tips
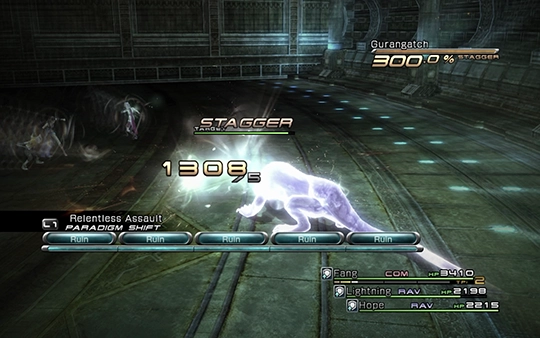
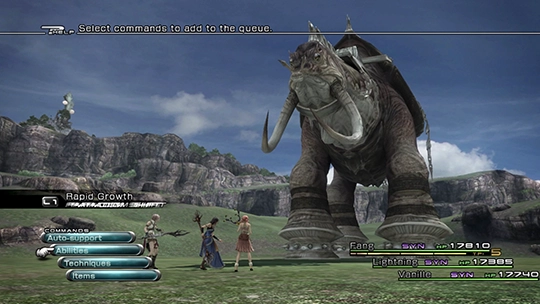
An overview of how to time your Paradigm shifts to maximize your character’s ATB Gauge to maximize their output.
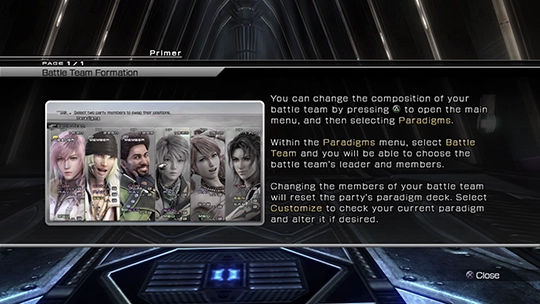
A summary of the party member’s strengths and weaknesses that can be used to help you select the optimum party members for your battle team.
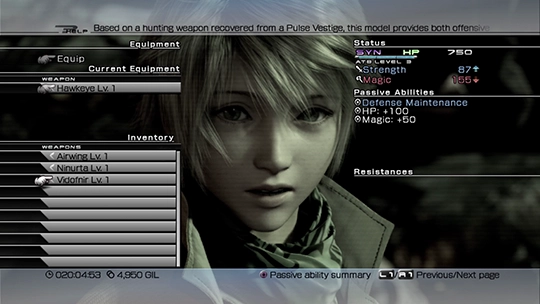
A guide on which weapons perform best for each character in each of their roles.
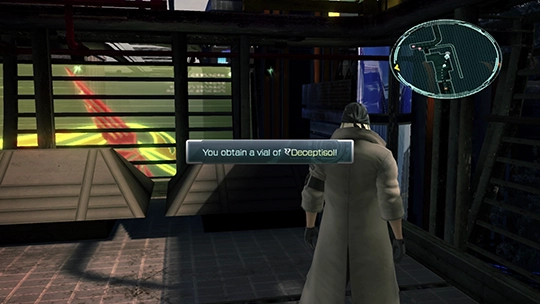
An overview of a tactic you can use to reuse your Deceptisol Shrouds to sneak past enemies.
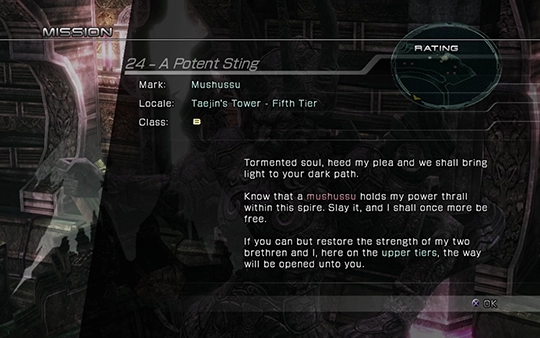
A list of the locations that offer the most benefit for farming items, CP or Gil throughout the game.
An outline of the items and scenes that it’s possible to miss that are important to keep in mind if you are planning to complete 100% of the game.

A recommendation on the party and Paradigm setup to help optimize your playthrough and the effectiveness of your party.
Tips and tricks you can utilize during a play through to make the most effective use of paradigms.
Abilities that are triggered when you equip specific combinations of weapons and accessories.

Abilities that are unique to specific characters and an overview of how they are used.