 Mission 62: Indomitable Will
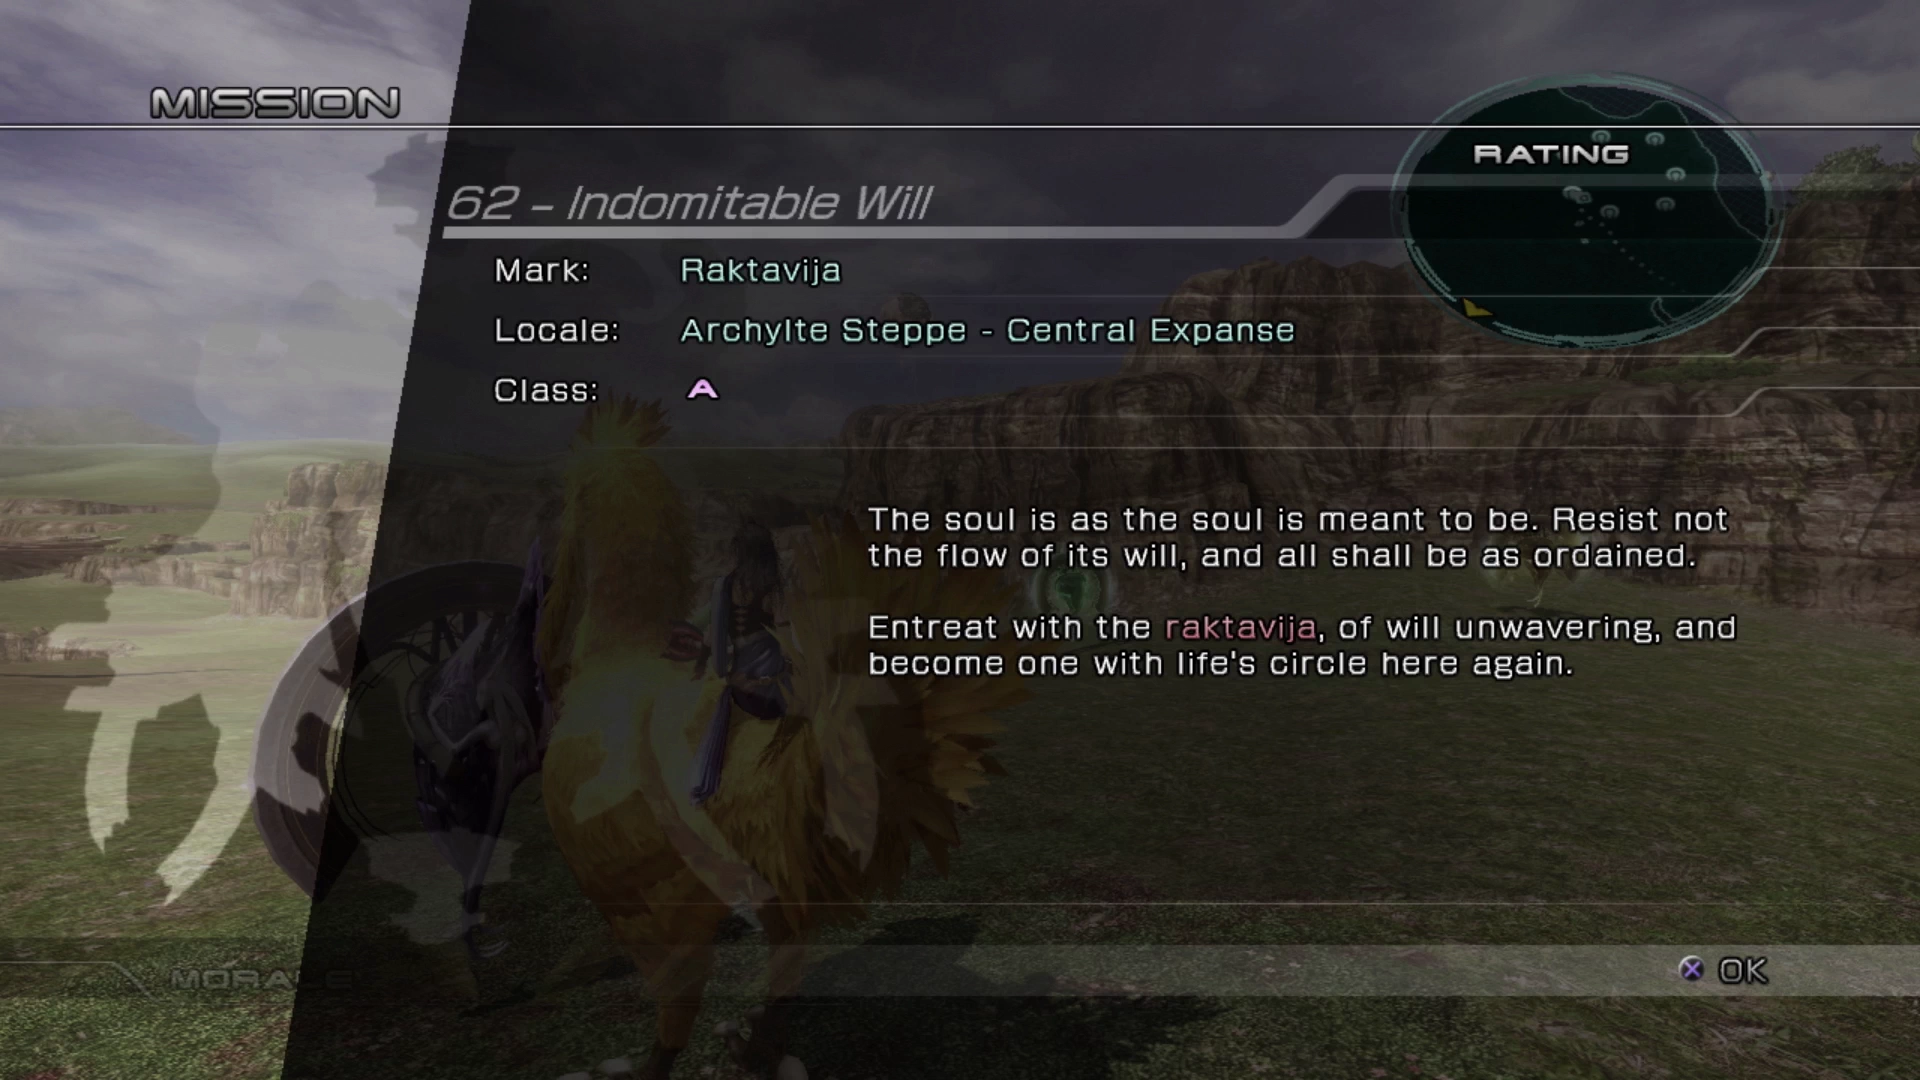
Raktavija (Class A)
Prerequisites
- Complete
 Mission 44 - The Old Ones go to Rust
 Cie’th Stone Location
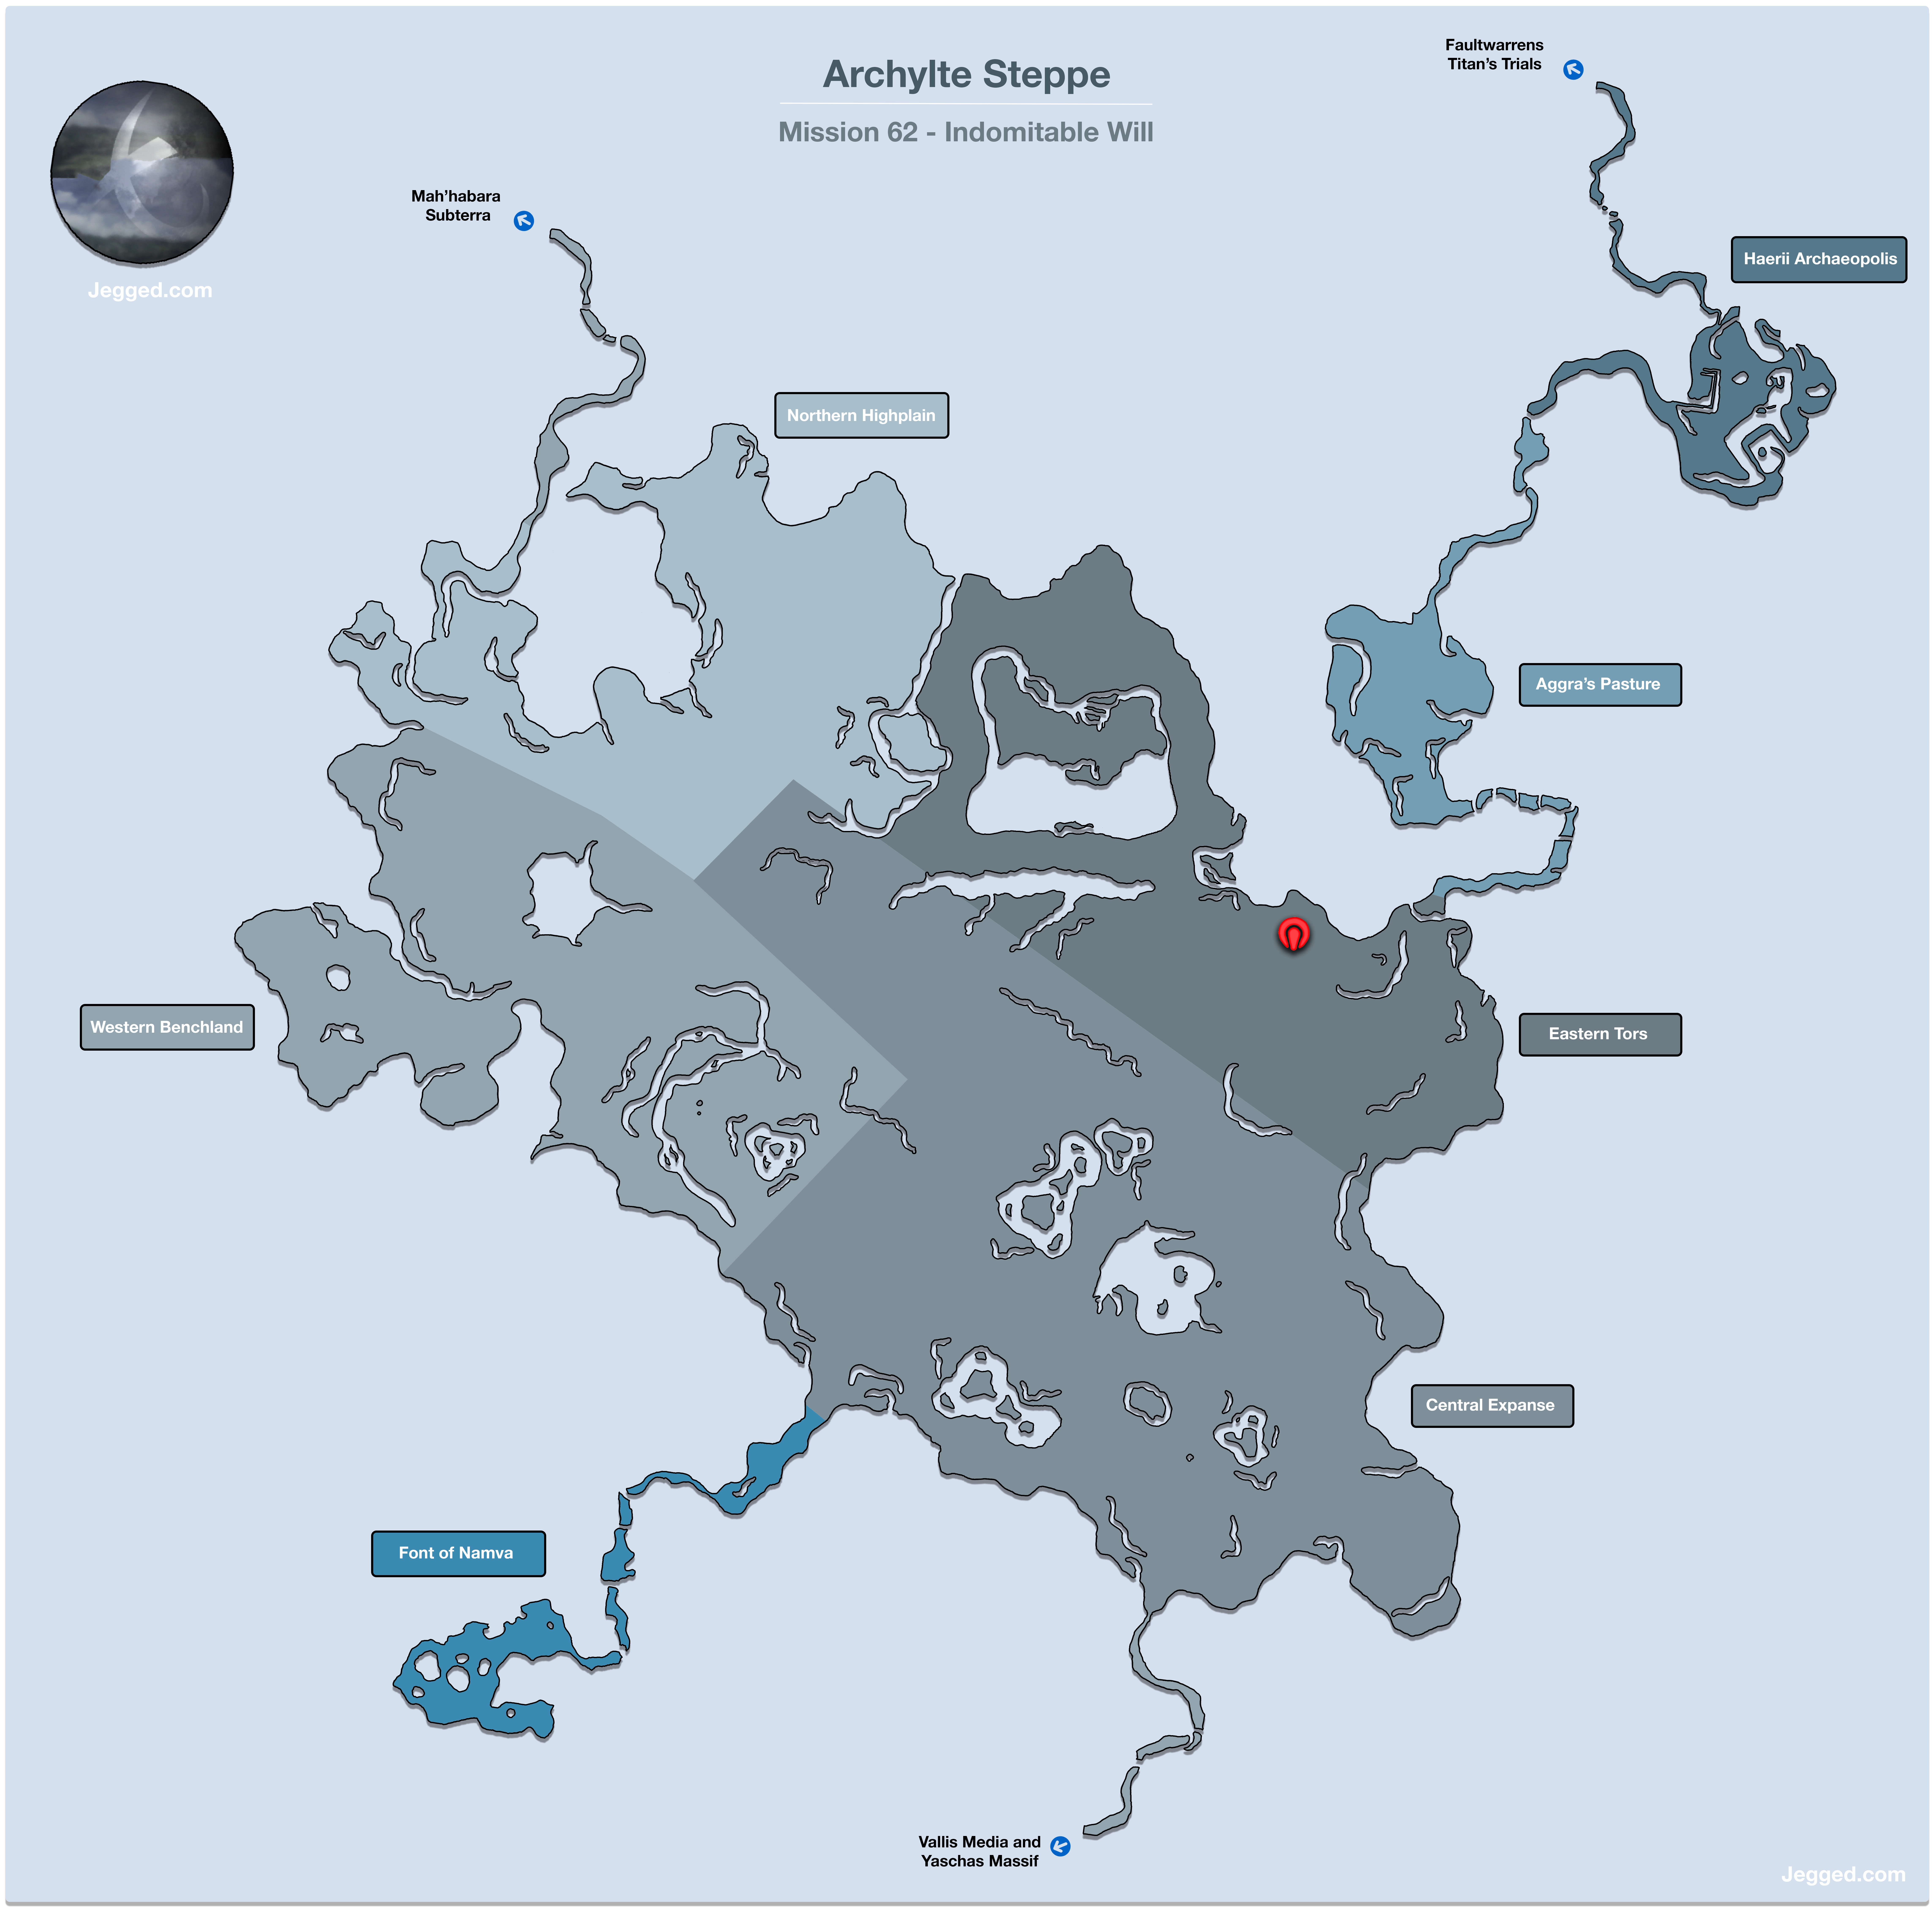
The Cie’th Stone for this Mission is located in the Cie’th Stone Circle in the Eastern Tors area of the Archylte Steppe. Completing the Missions for the Cie’th Stones in this circle will make irreversible changes to the enemies that appear in the Archylte Steppe. Make sure you read about the Cie’th Stone Circle side quest before you complete Missions 56 through 62.
Warning
As noted above, once Mission 56 through 62 are completed, the enemies that appear in the Archylte Steppe will change. This is the very last Mission numerically, meaning it will likely be the last Mission you complete and also meaning that this is likely your last chance to make sure you’re okay with these changes. It is recommended that you read through the Cie’th Stone Circle side quest page before completing this last Mission.
 Mark Location
The mark(s) for this Mission can be found at the top of one of the cliffs in the Central Expanse area of the Archylte Steppe. You will need to ride a Chocobo to get up to them.

Battle Tactics
Mark Battle
Class: A
HP: 2,062,500
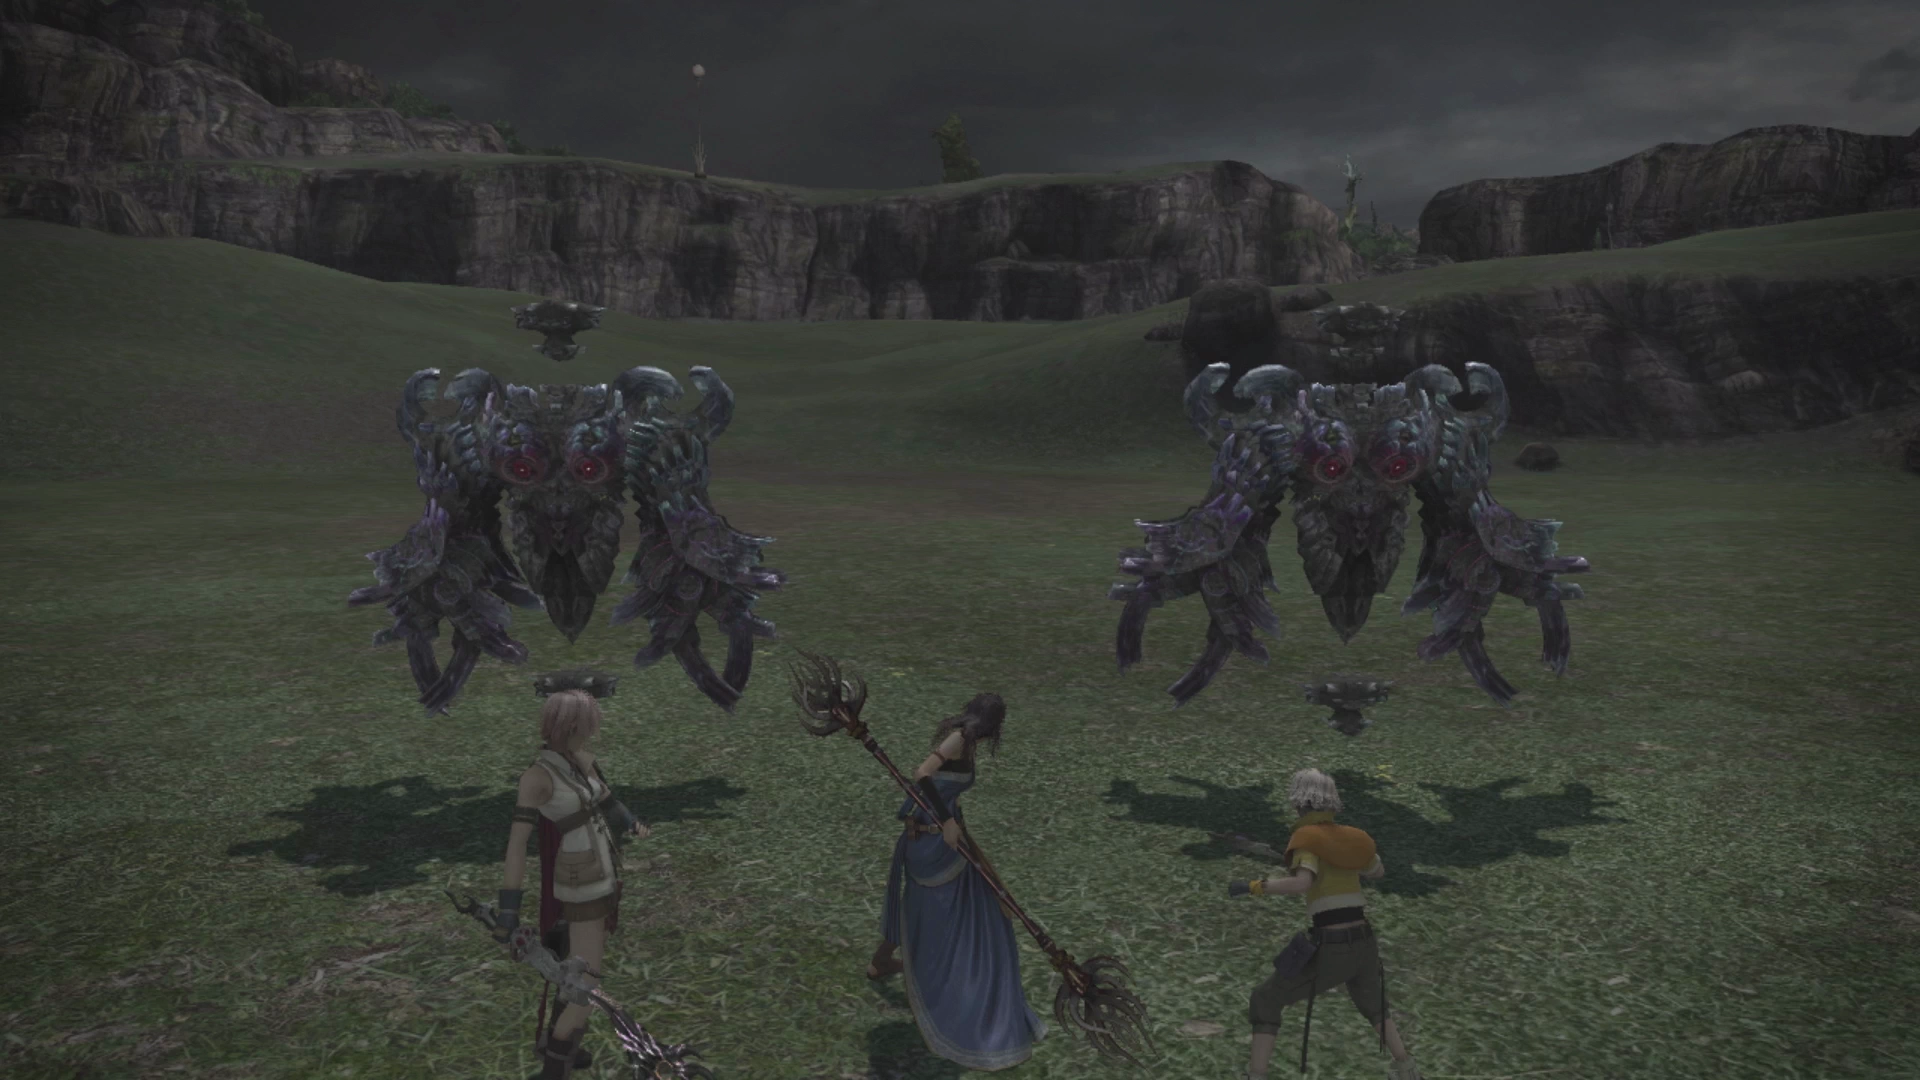
You will already be familiar with how a battle against a Raktavija goes but the real challenge comes from the fact that there are two of them and how much damage they can deal out to your party collectively.
Start off by equipping your party members with accessories that can prevent magic damage. This includes ![]() Royal Armlet,
Royal Armlet, ![]() Diamond Bangle,
Diamond Bangle, ![]() Witch’s Bracelet, etc. Then set up the following Paradigms:
Witch’s Bracelet, etc. Then set up the following Paradigms:
- Relentless Assault
- Diversity
- Convalescence
- Evened Odds (Fang as Saboteur, Lightning as Synergist, Hope as Medic)
- Rapid Growth (all three team members as Synergists)
Start off in the Rapid Growth Paradigm and manually cast buffs to have Fang cast ![]() Shellra on all three party members. Once completed, switch over to Evened Odds and have Fang cast
Shellra on all three party members. Once completed, switch over to Evened Odds and have Fang cast ![]() Slow on both of the Raktavija. These two steps, in combination with the defensive equipment you put on your characters, should help them survive the onslaught of magic damage coming from the two enemies.
Slow on both of the Raktavija. These two steps, in combination with the defensive equipment you put on your characters, should help them survive the onslaught of magic damage coming from the two enemies.
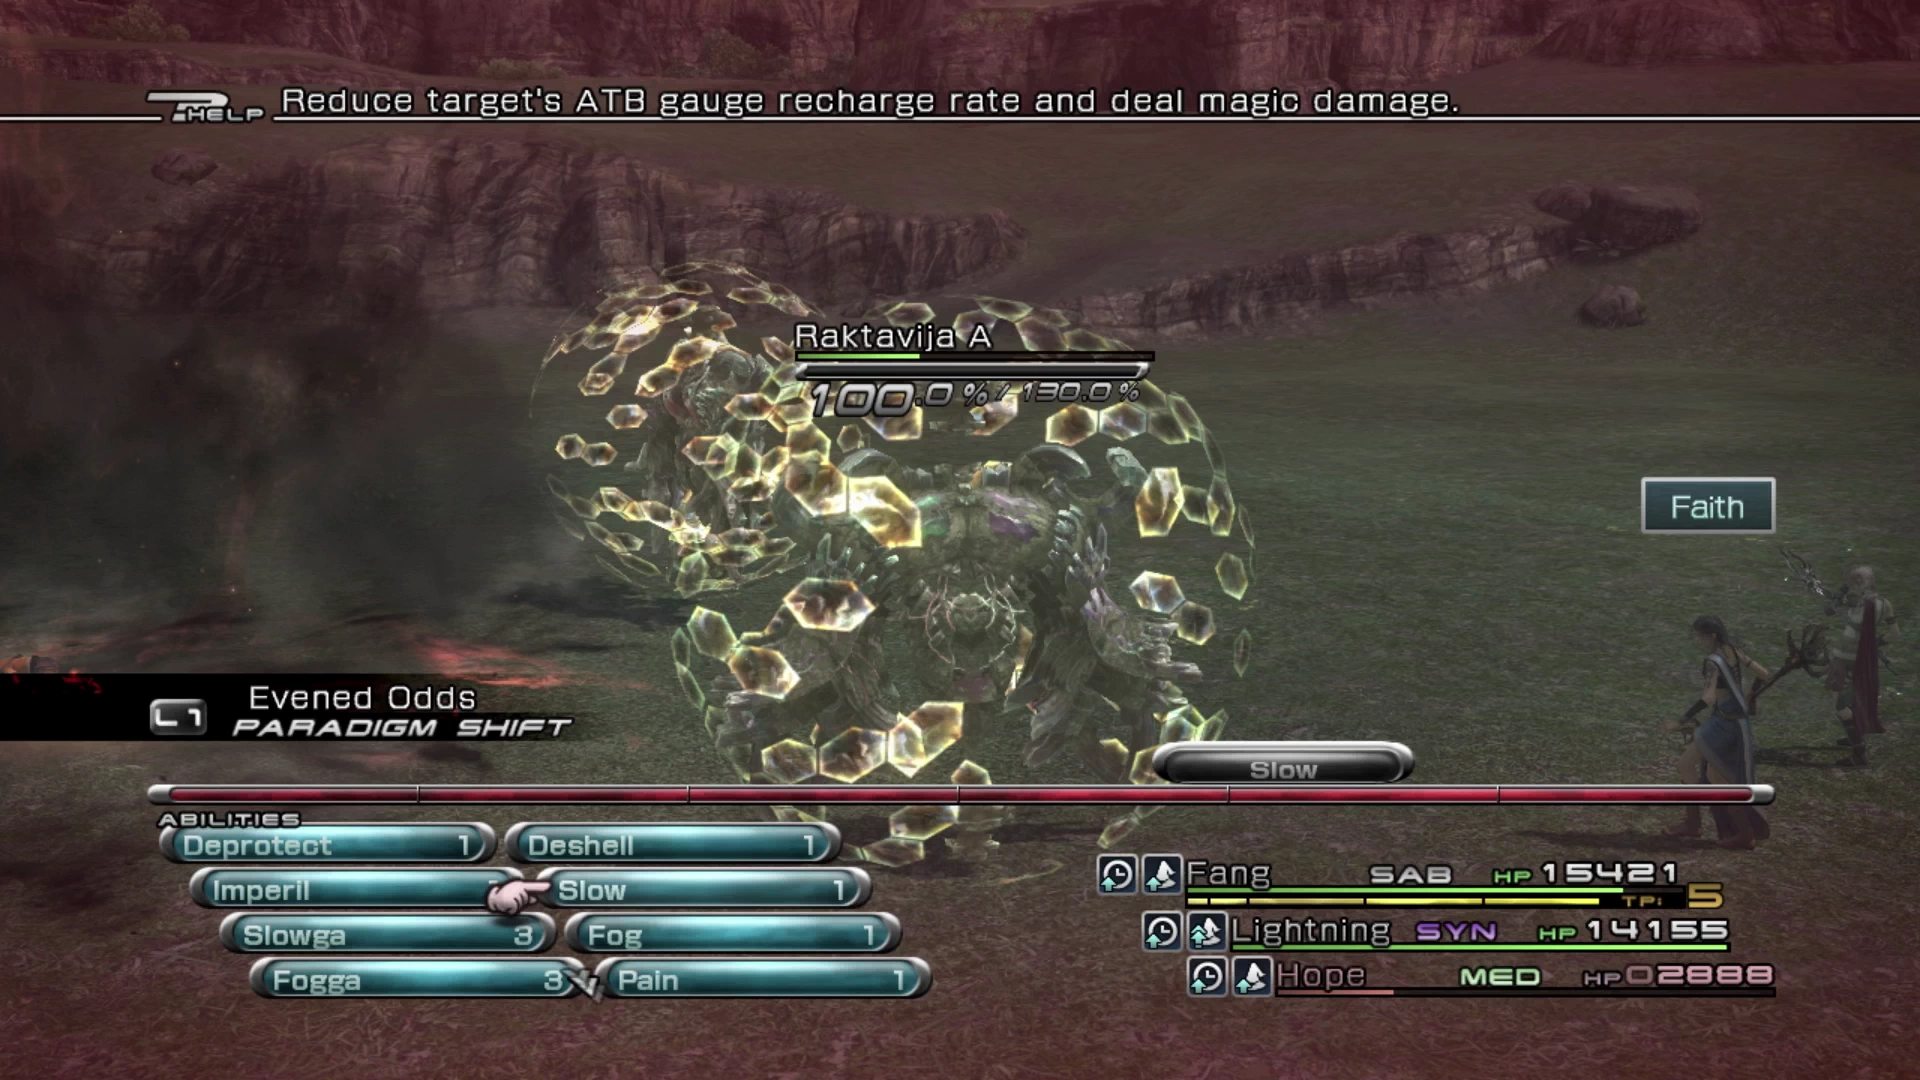
The next step should be to have your ![]() Saboteur, Fang, also apply
Saboteur, Fang, also apply ![]() Imperil on your primary first target. From there its just a matter of building up the Chain Gauge while having Hope heal through all the damage (Diversity Paradigm) and then switching over to Relentless Assault when one of the Raktavija is Staggered.
Imperil on your primary first target. From there its just a matter of building up the Chain Gauge while having Hope heal through all the damage (Diversity Paradigm) and then switching over to Relentless Assault when one of the Raktavija is Staggered.
This battle is very much a gear and level check for your characters and, if you’re having trouble surviving the damage, you may need to go level up and come back. Consider starting the battle with ![]() Aegisol and
Aegisol and ![]() Fortisol as well.
Fortisol as well.
- First Attempt:
 Genji Glove
 - Repeat Attempts:
 Bomb Core (x10)
Next Steps Following Completion
Use the links below to proceed to the next Mission or return to the walkthrough:


