The Mt. Gagazet portion of the strategy guide is broken up in to two sections - the previous page which involved scaling the mountain and this page which takes the team through the Mt. Gagazet Cave.
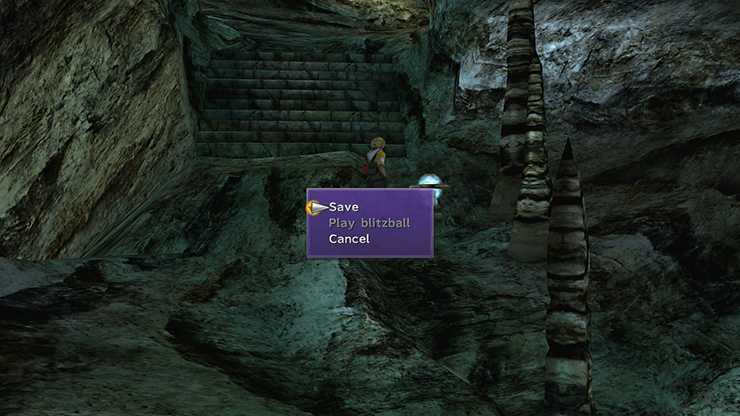
Make your way down the pathway until you reach the Save Sphere. Save your game and refill your HP and MP.
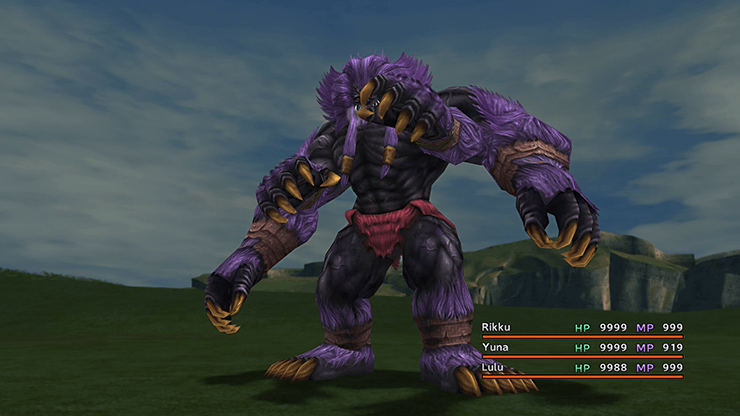
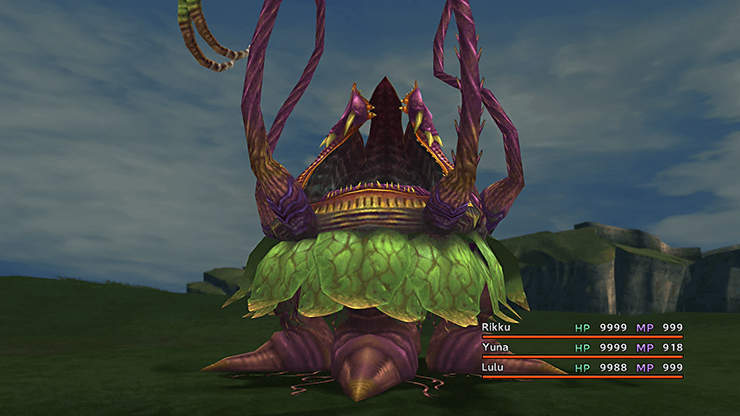
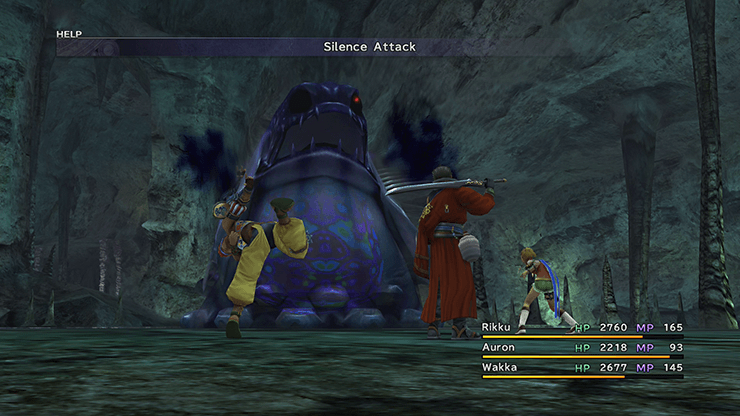
You may run in to an enemy in this area called a Dark Flan which looks like a giant purple blob monster. These enemies can be somewhat painful dispatch. Use Auron’s ![]() Armor Break and
Armor Break and ![]() Mental Break abilities to make this battle much easier. You can also use Wakka’s
Mental Break abilities to make this battle much easier. You can also use Wakka’s ![]() Silence Attack or
Silence Attack or ![]() Silence Buster to greatly reduce the amount of damage that it can do to your party.
Silence Buster to greatly reduce the amount of damage that it can do to your party.
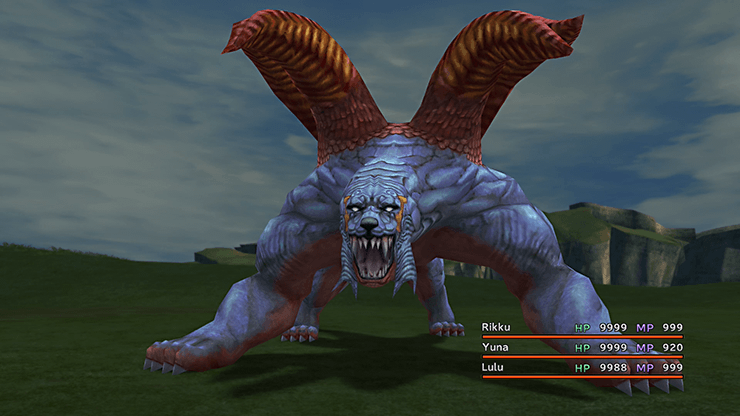
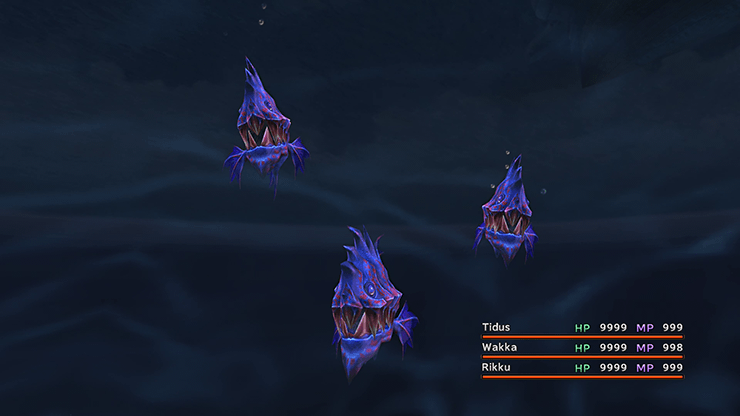
You can learn the “White Wind” Ronso Rage ability by having him use ![]() Lancet on a Bomb enemy in this area. Check out the Overdrive section for more information on Kimahri’s Ronso Rage.
Lancet on a Bomb enemy in this area. Check out the Overdrive section for more information on Kimahri’s Ronso Rage.
The path splits going off to the left and right in this area. Go down the left pathway, to the northwest. At the end of the pathway you will reach a body of water where the team will split up. The party will consist of Tidus, Wakka and Rikku - the only swimmers in the group. Swim forward in to the next area.
Take a left once you reach the fork in the road as the other pathway leads to nothing.
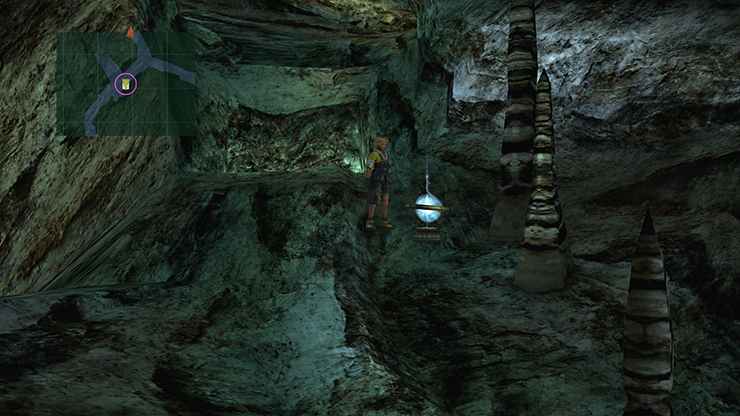
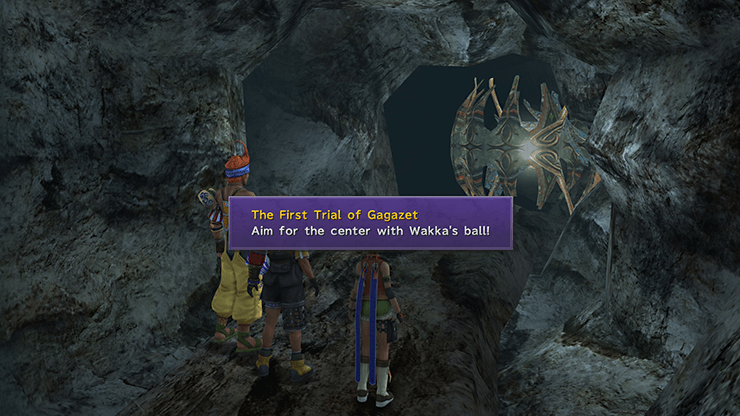
You will reach the “First Trial of Gagazet” at the end of the pathway. The trial is a mini-game which involves hitting the center of the orb with Wakka’s Blitzball. Unfortunately there are no tips that can be offered to complete this mini-game. Sometimes you just have to keep trying until you get lucky.
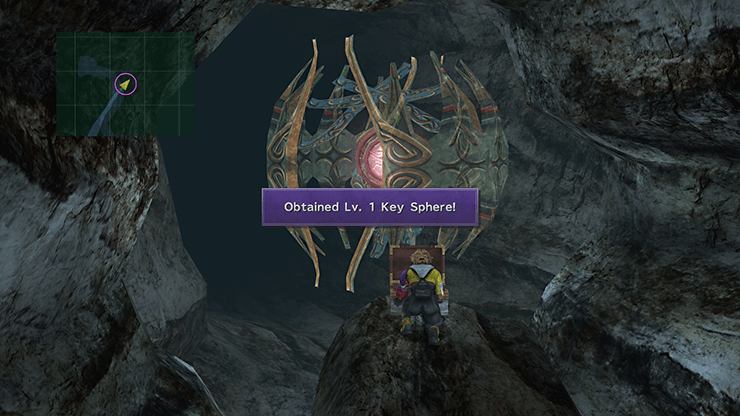
Grab the treasure chest that appears once you hit the center to receive a ![]() Lv. 1 Key Sphere. The reward from the treasure chest is pretty lackluster but this step has opened up other passageways within the cave. Return to the Save Sphere at the entrance to the cave.
Lv. 1 Key Sphere. The reward from the treasure chest is pretty lackluster but this step has opened up other passageways within the cave. Return to the Save Sphere at the entrance to the cave.
Once you reach the Save Sphere you will notice that there is a new stairway that has appeared across the giant hole that used to sit in front of the Sphere. Go up the stairs (northeast).
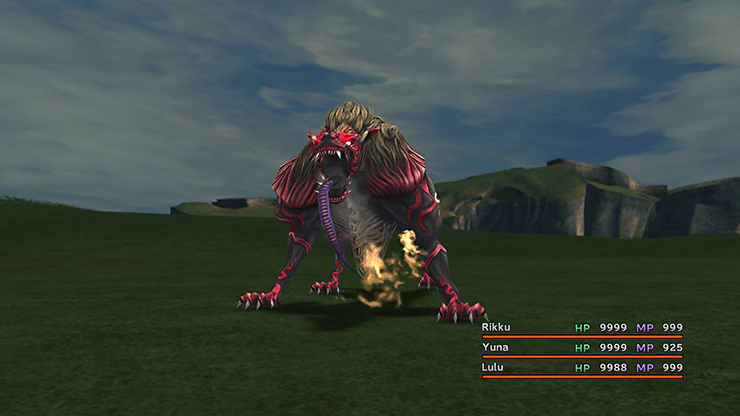
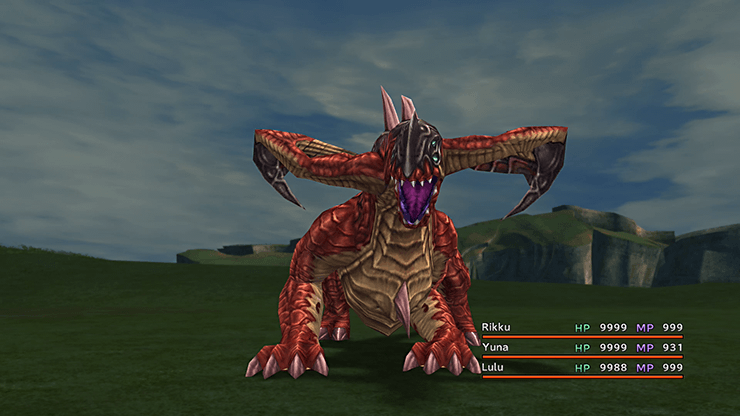
You can learn the “Mighty Guard” Ronso Rage ability by having him use ![]() Lancet on a Behemoth enemy in this area. You should already have it though as you should have obtained it from Biran Ronso during the solo battle with Kimahri. You can pick it up here if you missed it.
Lancet on a Behemoth enemy in this area. You should already have it though as you should have obtained it from Biran Ronso during the solo battle with Kimahri. You can pick it up here if you missed it.
Check out the Overdrive section for more information on Kimahri’s Ronso Rage.
Take a left (heading north) at the fork in the road at the top of the stairs. Continue northward until you reach another pool of water. You will only have Tidus, Wakka and Rikku in your party again once you enter the water.
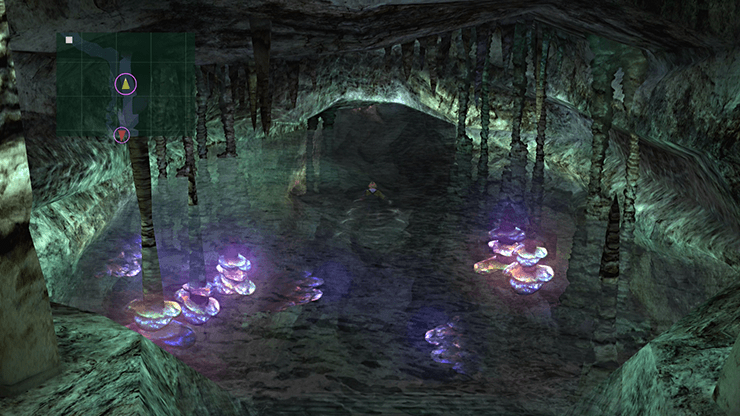
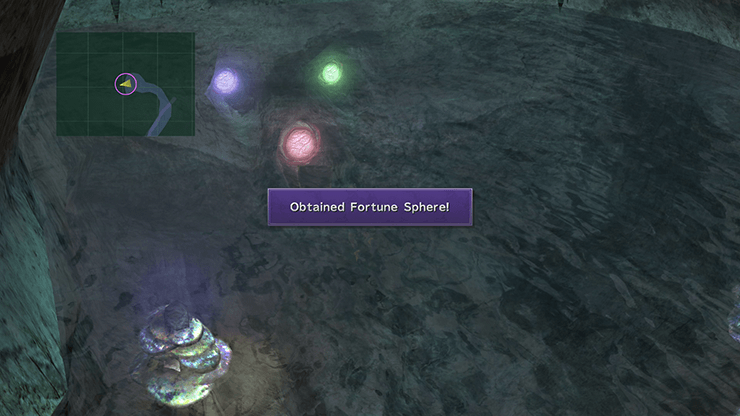
Swim through the pool until you reach the “Second Trial of Gagazet”. The object of this mini-game, if you can call it that, is to decide which character should touch which panel on the wall. The colors match up with the colors that you see in each character’s Sphere Grid.

Rikku should swim up to the green panel.
Tidus should swim up to the blue panel, and…
Wakka should swim up to the red.
Open the treasure chest that appears below the colored panels (by swimming below the surface) to obtain a ![]() Fortune Sphere. Now swim/walk all the way back to the Save Sphere.
Fortune Sphere. Now swim/walk all the way back to the Save Sphere.
Touch the Save Sphere to replenish your HP and MP and then go back up the stairs. This time, take a right (heading northeast) once you reach the fork in the road.
Jump into the pool of water and swim to the end of the pathway. You will reach two treasure chests. One of them contains a ![]() Return Sphere while the other contains a
Return Sphere while the other contains a ![]() Recovery Ring. Return to the Save Sphere again.
Recovery Ring. Return to the Save Sphere again.
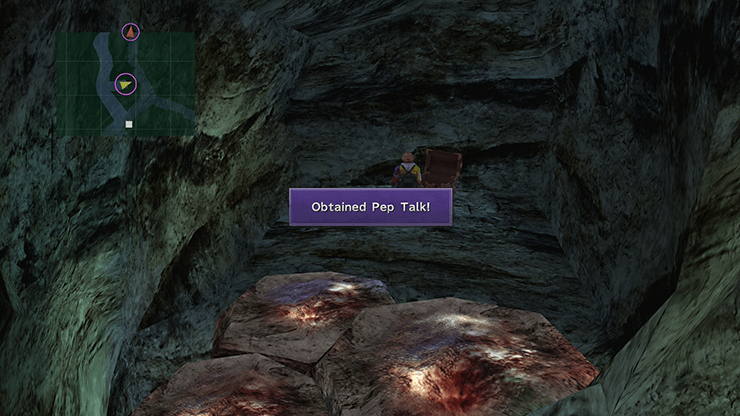
Replenish your HP and MP one more time. Head down the pathway to the left (not up the stairway) going northwest. A very short ways down this pathway is a crevasse on the right side with a treasure chest at the back that contains ![]() Pep Talk (armor for Wakka).
Pep Talk (armor for Wakka).
Back to the Save Sphere one last time. Go back up the stairway and take a left (heading northwest). Follow the pathway along until you reach the split in the road and take the left path (the one that doesn’t lead down to the pool).
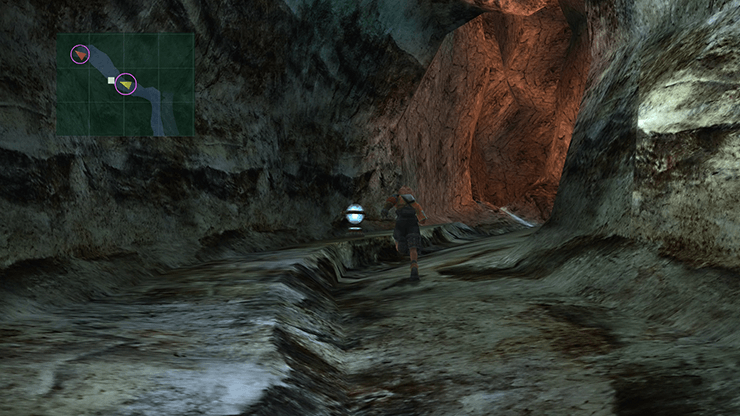
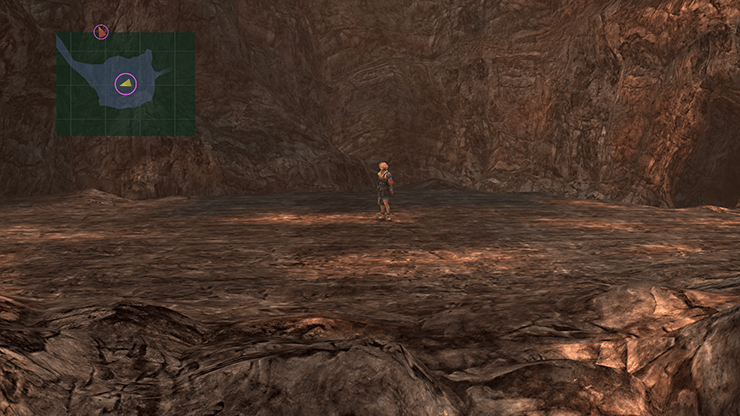
Use the screenshot below to find the fork in the road and use the red arrow on your mini-map to confirm that you are headed in the proper direction. You are in for another cutscene once you reach the top.

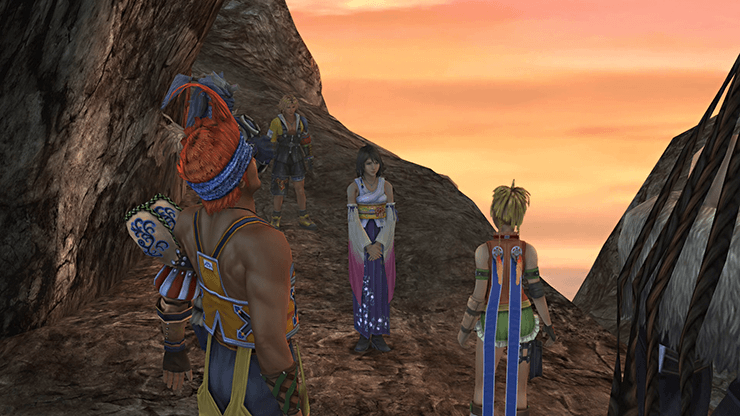
Auron will explain that Yunalesca has sent fiends to challenge Yuna and her party.
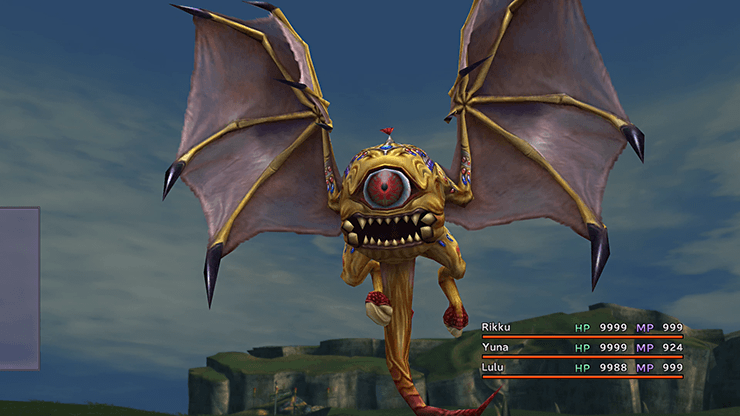
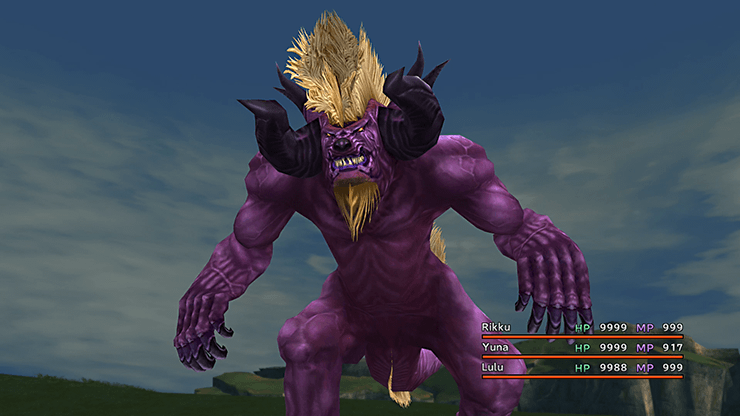
Save your game once you reach the very top at the Save Sphere as the next screen will lead you to a boss fight. This boss is has moves capable of inflicting a number of status ailments including Sleep, Silence, Darkness, Curse and Confusion. If you have not run into the Curse status before, this status effect causes your Overdrive meter to stop charging.
The most devastating of these ailments is most certainly Confuse. If you have any armor for your party members that have the ![]() Confuse Ward or
Confuse Ward or ![]() Confuseproof abilities you should equip them now. If you do not, you can also equip other armor pieces that prevent the other status effects listed above which will help.
Confuseproof abilities you should equip them now. If you do not, you can also equip other armor pieces that prevent the other status effects listed above which will help.
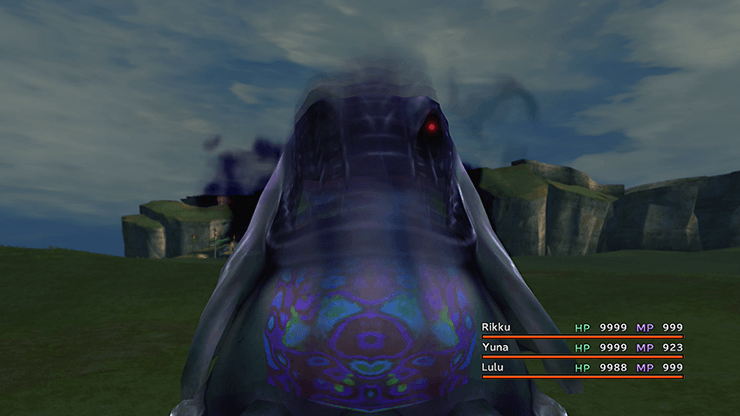
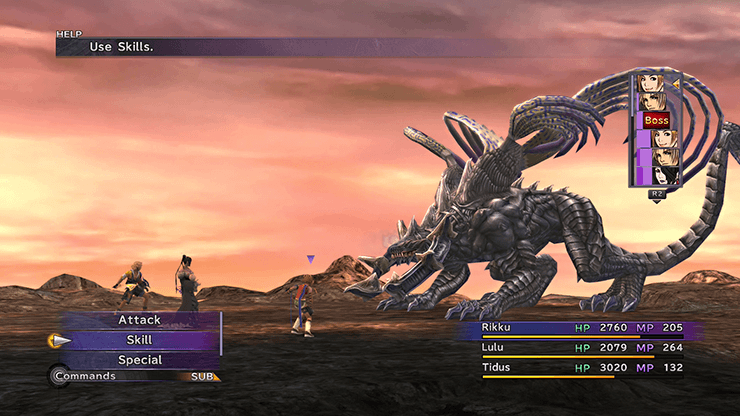
The battle begins as soon as you exit the cave.
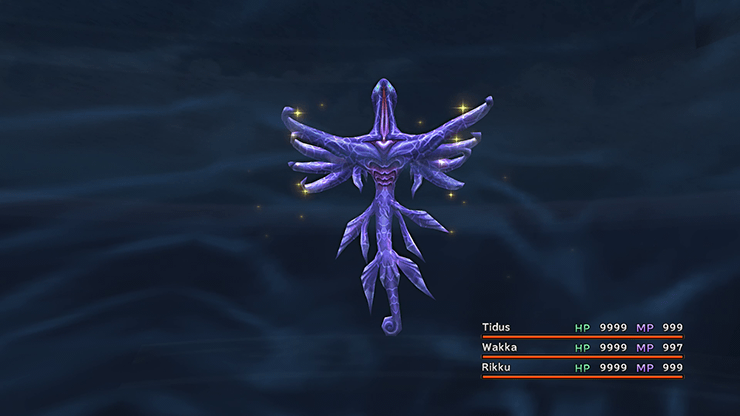
In Game Description: Its Photon Wings attack causes confusion, sleep, silence, darkness, curse, and other status effects. Tail Sweep negates Haste and delays targets’ next turn. Uses healing magic and Reflect, among other spells.
HP: 40,000
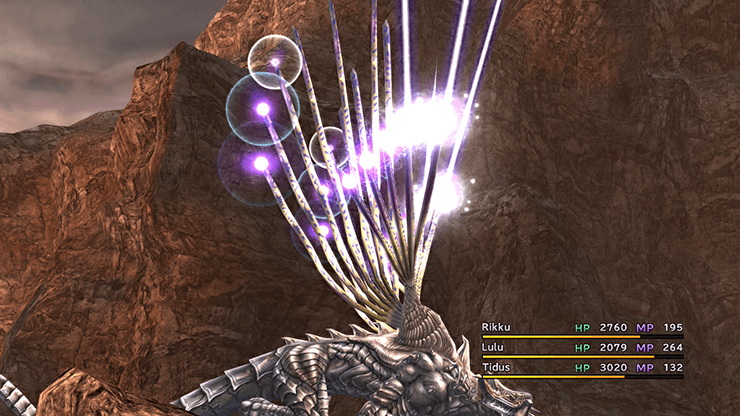
Sanctuary Keeper has an attack called Photon Wings which is the most difficult aspect of this boss battle. Photon Wings causes approximately 1,000 damage and inflicts Sleep, Silence, Darkness and Confusion status effects. It will also cast ![]() Curaga on itself in the later parts of the fight.
Curaga on itself in the later parts of the fight.
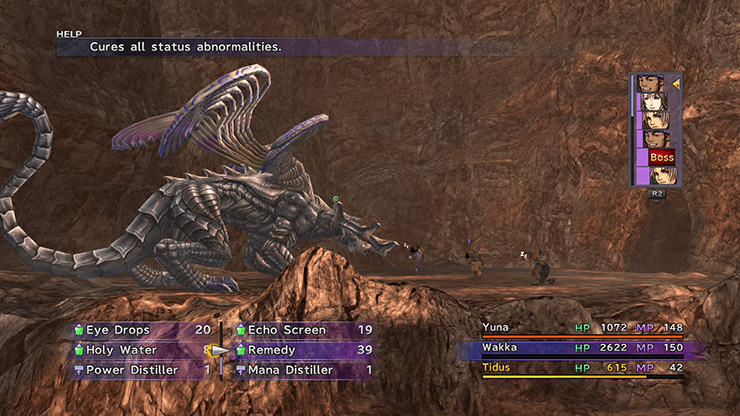
Make sure that you have Lulu cast ![]() Bio on Sanctuary Keeper early on in the fight. Have Yuna cast
Bio on Sanctuary Keeper early on in the fight. Have Yuna cast ![]() Reflect on Sanctuary Keeper as well so that any
Reflect on Sanctuary Keeper as well so that any ![]() Curaga that it casts on itself will be reflected back to your party.
Curaga that it casts on itself will be reflected back to your party.

You need to keep a status ailment on Sanctuary Keeper during the fight (the poison effect from ![]() Bio will do the trick). Use
Bio will do the trick). Use ![]() Dispel to remove Reflect off your party members if Sanctuary Keeper casts it on them.
Dispel to remove Reflect off your party members if Sanctuary Keeper casts it on them.
Having Yuna cast ![]() Protect on your party members can also greatly help and, of course, have Tidus cast
Protect on your party members can also greatly help and, of course, have Tidus cast ![]() Hastega on the party. It is also helpful to have Auron use
Hastega on the party. It is also helpful to have Auron use ![]() Armor Break and
Armor Break and ![]() Mental Break to make the fight much easier.
Mental Break to make the fight much easier.
Steal:
![]() Turbo Ether (common)
Turbo Ether (common)
![]() Turbo Ether (x2) (rare)
Turbo Ether (x2) (rare)
Drops:
![]() Return Sphere
Return Sphere
There are a few more lines of dialogue once the battle has concluded. Rikku will try to slow the team down as she thinks up a plan to save Yuna while Auron will reminisce about his experience on the pilgrimage with Lord Braska.
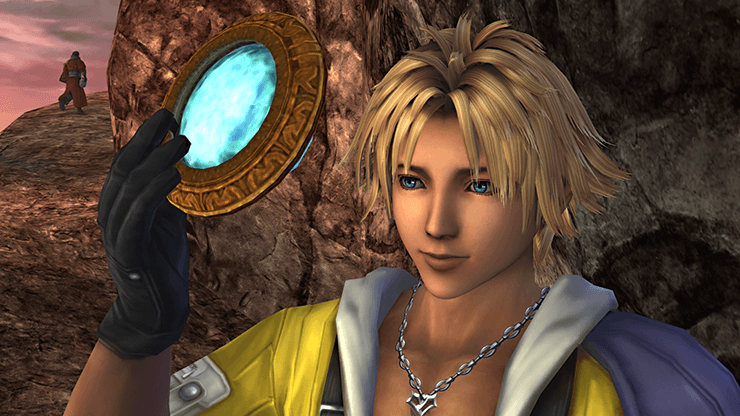
Follow the pathway around the corner for another cutscene. Tidus will finally see Zanarkand, or what remains of it, and the “last chapter of his story”. Yuna will drop a Sphere on the ground as she walks away from the area that Tidus can watch after the group leaves.
The Sphere harkens back to when the team was at Rin’s Travel Agency along the Mi’ihen Highroad. Continue north once the scene has ended.
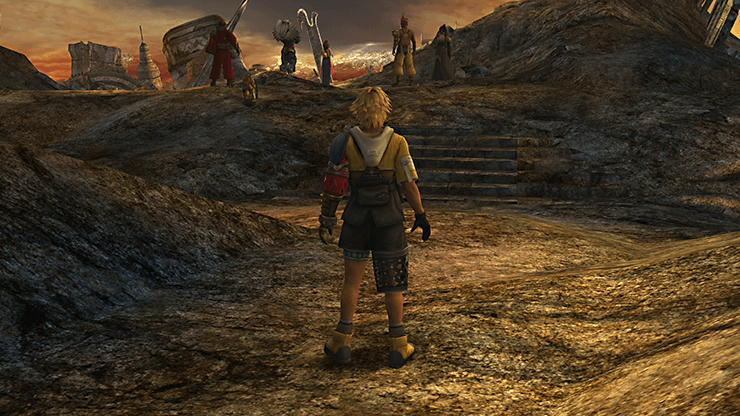
Tidus will reach the rest of the team at the bottom of the pathway. Approach them for another cutscene.

Use the Save Sphere to save your game before you head into Zanarkand.
The next section of the game finally has Tidus returning to his home city of Zanarkand… or what’s left of it.