You will be fighting another battle against one of Belgemine’s Aeons again very shortly in another one of the “Belgemine’s challenges”. Similar to last time, it doesn’t necessarily matter whether you win or lose as the items that are on the line for winning are insignificant.
That being said, you may as well try to win the battle if you can. You can prepare for this battle in the same way as before: add Yuna into your party and begin charging (and saving) her Overdrive for the battle.
There are also a lot of Ochu enemies that you will be fighting in this area. They are not too difficult but the battles can be made much easier by equipping armor that has the ![]() Poisonward or even a
Poisonward or even a ![]() Consfuseward ability if you happen to have them.
Consfuseward ability if you happen to have them.

Weapon and armor drops are random in Final Fantasy X which is why some players may have armor with these abilities and some may now.
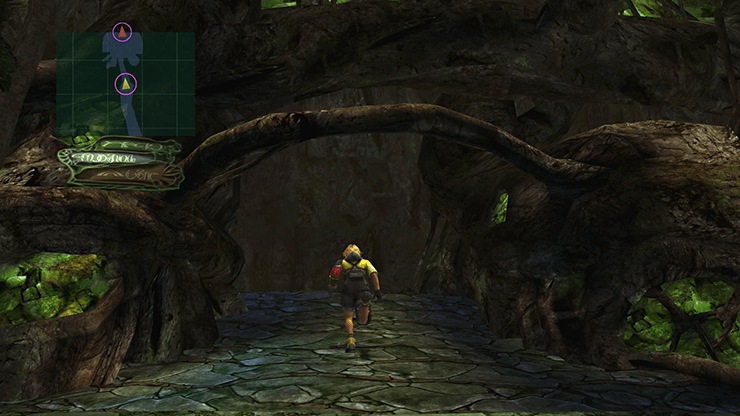
Just off to the right side of where Shelinda is standing is a small pathway that leads to a treasure chest. The chest contains three ![]() Lv. 1 Key Spheres.
Lv. 1 Key Spheres.

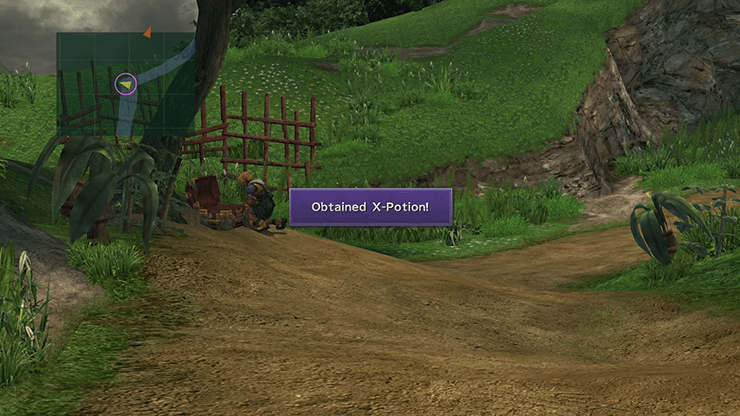
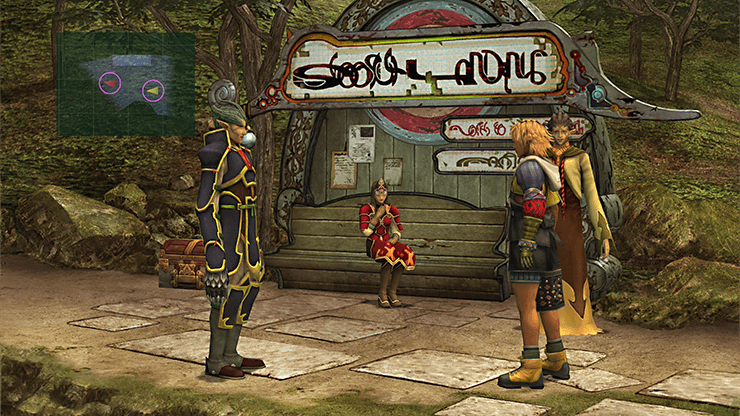
Continue along the pathway until you run into the two Ronso. Biran and Yenke will make fun of Kimahri and his team again. There is a chest behind the entire group of them that contains an ![]() X-Potion.
X-Potion.
There is another part of the pathway that goes off to the right. Follow it along to find a treasure chest that contains three more ![]() Lv. 1 Key Spheres.
Lv. 1 Key Spheres.
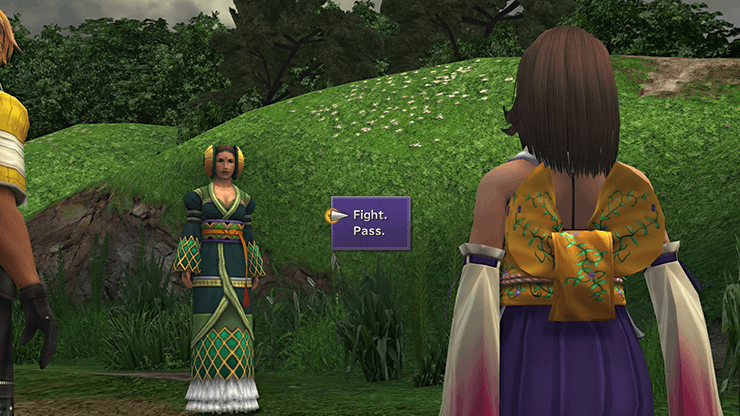
Keep going until you come across Belgemine. Speak to her to initiate the second challenge.
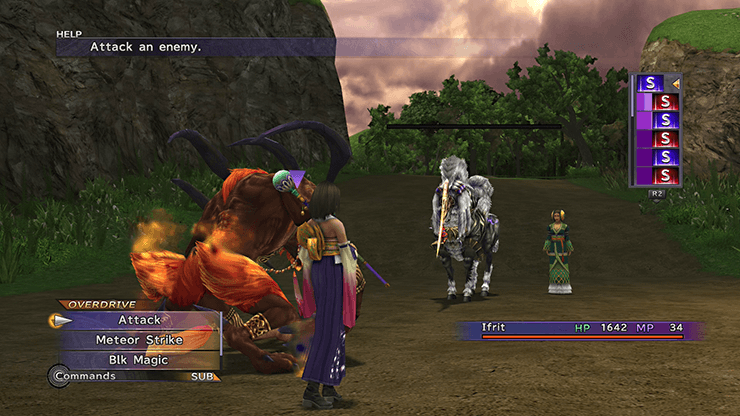
HP: 6,000
Make sure that you charge Yuna’s Overdrive before you initiate this battle.
The tactics for the fight are fairly straightforward. Initiate your attack by using Hellfire and then use Ifrit’s ![]() Fire attack on Ifrit which will actually heal the Aeon for a significant amount of HP.
Fire attack on Ifrit which will actually heal the Aeon for a significant amount of HP.
Belgemine’s Ixion will use Haste on itself which means that you are going to be subjected to a barrage of attacks relatively quickly.
The goal of this fight is to keep yourself healed up while storing up Overdrive attacks to unleash Hell Fire on Ixion as often as you can. Two Hell Fire attacks will usually defeat Ixion depending on your level and how much you have trained up Yuna.
If Ifrit is defeated you will have an opportunity to summon Valefor in order to complete the fight.
The prize for successfully defeating Belgemine is two ![]() Dragon Scales. You will receive six
Dragon Scales. You will receive six ![]() Smoke Bombs if you lose the fight.
Smoke Bombs if you lose the fight.
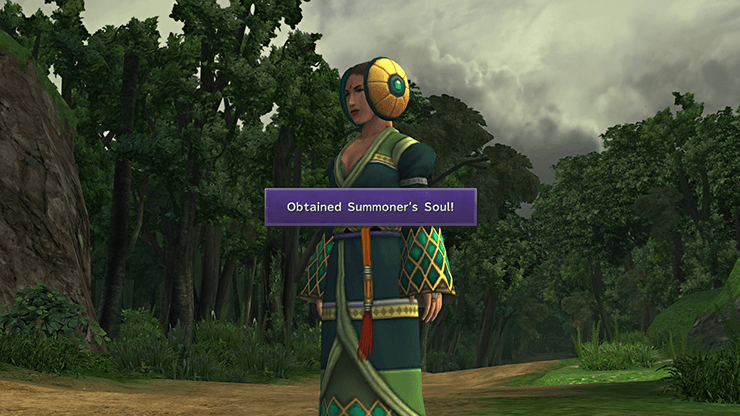
You will also receive a ![]() Summoner’s Soul no matter what the outcome of the battle.
Summoner’s Soul no matter what the outcome of the battle. ![]() Dragon Scales can be used to teach your Aeons new abilities (as per the explanation given once you receive the Summoner’s Soul).
Dragon Scales can be used to teach your Aeons new abilities (as per the explanation given once you receive the Summoner’s Soul).
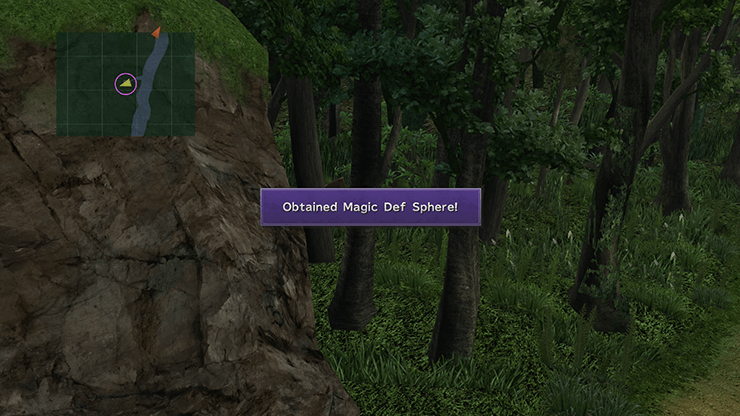
Just past Belgemine is a trail that goes off to the left. There is a treasure chest at the end of the path that contains a ![]() Magic Def Sphere.
Magic Def Sphere.
Continue down the pathway until you reach the banks of the Moonflow. There is a cutscene that takes place as Tidus observes the Moonflow for the first time. Take a left heading west after the Moonflow cutscene.
Start off by grabbing the treasure chest for two free ![]() Phoenix Downs and the talk to O’aka XXIII if you need to refill any items. Continue left and you will find the rest of your team next to the Shoopuf.
Phoenix Downs and the talk to O’aka XXIII if you need to refill any items. Continue left and you will find the rest of your team next to the Shoopuf.
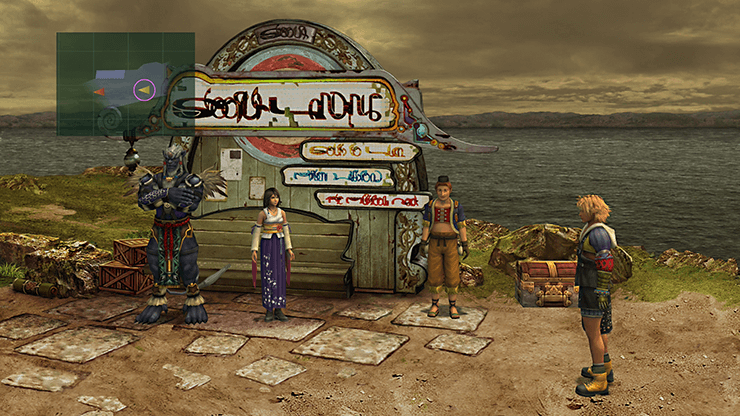
Go west past Auron to meet up with the Crusaders. Talk to Maechen for information and stories about the Shoopufs. Grab the treasure chest behind Lulu to snag a free 5,000 gil.
Save your game at the Save Sphere and then head back to the Shoopuf docking station. In preparation for an upcoming fight, you may wish to equip Tidus and Wakka with any weapons that have the ![]() Lightningstrike ability if you have them.
Lightningstrike ability if you have them.
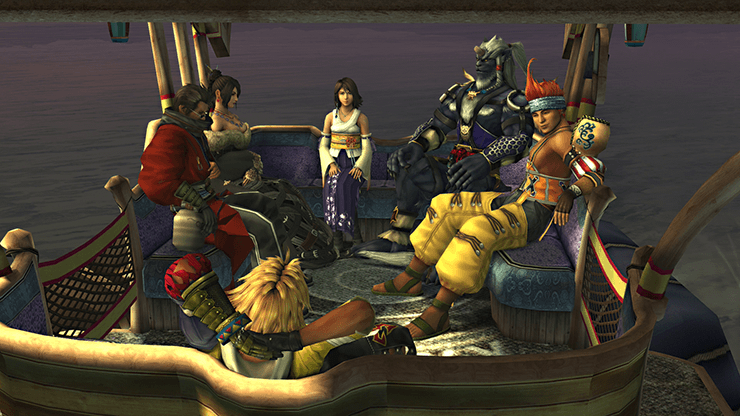
Talk to the Hypello (the little blue humanoid) to ride the Shoopuf across the Moonflow. The Shoopuf will take the team to the other side of the Moonflow.
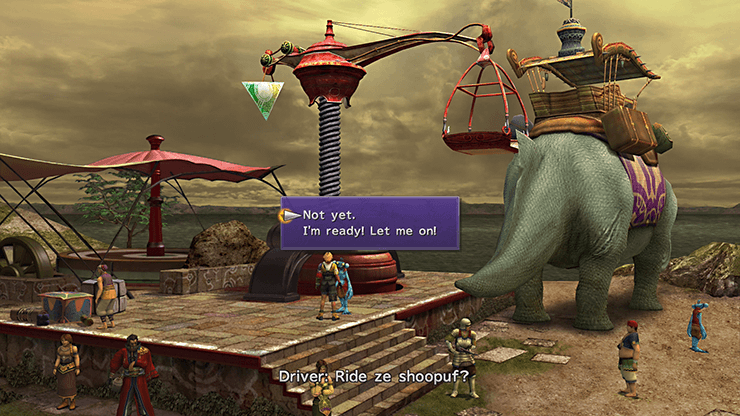
As the team are crossing the Moonflow in the Shoopuf they will be ambushed by another Al Bhed Machina. This is the next boss fight.
In Game Description: After rising, it releases Depth Charges, inflicting darkness and damage on Tidus and Wakka. Hurt it as much as you can to bring it back down.

HP: 4,000
Tidus and Wakka will be thrust into battle against the Extractor after Yuna gets hauled overboard.
Start off by having Tidus use his special abilities. Have him use ![]() Cheer and
Cheer and ![]() Haste on both characters (use Haste on Tidus first so that he can use Haste again faster and get rolling with attacks).
Haste on both characters (use Haste on Tidus first so that he can use Haste again faster and get rolling with attacks).
If you do enough damage to Extractor when it goes up to deploy depth charges you can stop it from releasing any. Other than that there really is no strategy to this fight.
Use healing items such as ![]() Potions and
Potions and ![]() Hi-Potions to keep Tidus and Wakka’s HP up during the battle.
Hi-Potions to keep Tidus and Wakka’s HP up during the battle.

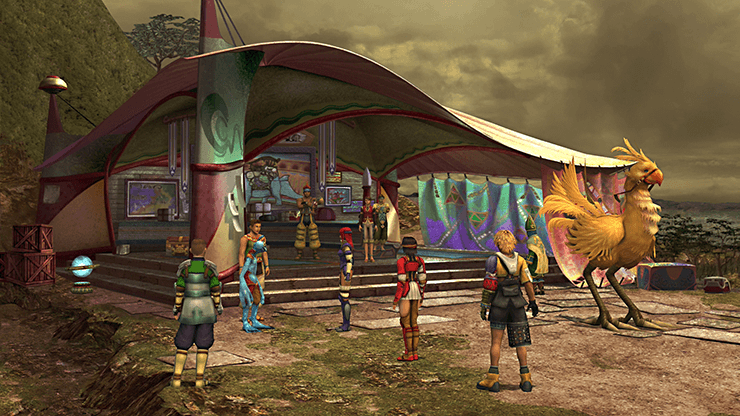
Save your game again at the Save Sphere once you arrive at the opposite shore. There is a group of people surrounding Yuna in the lodge area but you don’t need to speak to her to keep the story going.
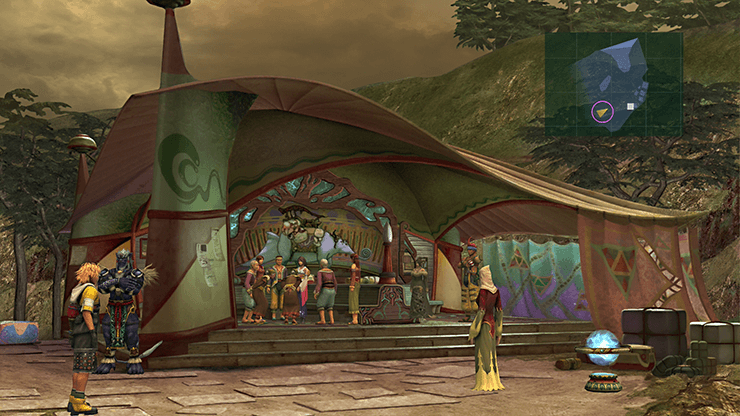
One screen west of this area is an ![]() Al Bhed Primer (Vol. XII) which you should pickup. You can speak to O’aka XXIII again if you need to purchase any items. This time he only sells items and not any weapons or armor.
Al Bhed Primer (Vol. XII) which you should pickup. You can speak to O’aka XXIII again if you need to purchase any items. This time he only sells items and not any weapons or armor.
Go west one more screen to find a treasure chest that contains an ![]() Ether.
Ether.
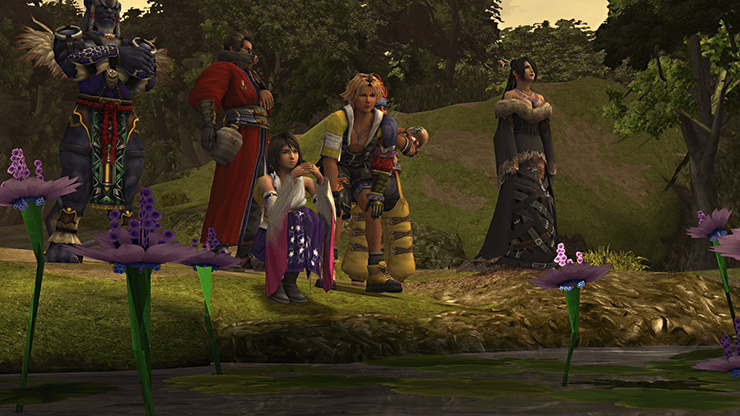
Continue to head westward on the North Bank of the Moonflow until you’re interrupted by another cutscene at the end of the path. Tidus and the crew will come across the Al Bhed that Tidus met at the beginning of the game - Rikku! She now joins your team as a playable character.
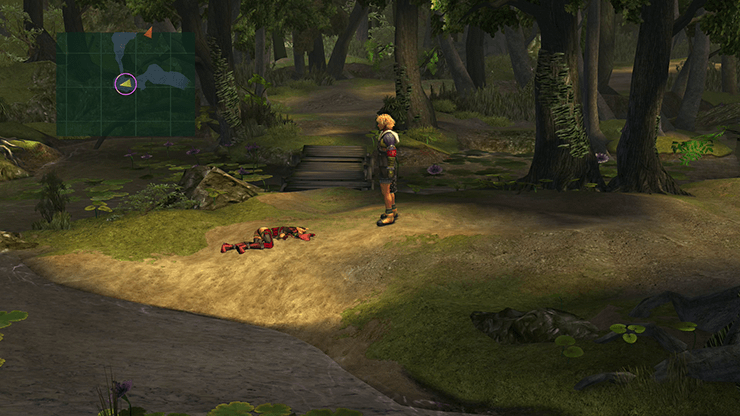
She is a great addition to your team and it is highly recommended that you use her regularly. You can get away without using some characters (like Kimahri) but Rikku adds a ton of utility to the team. Click on the Characters section for more information.

Head northward and you will enter into the next scripted battle. Rikku can use her ![]() Steal ability to open up treasure chests in the middle of a battle.
Steal ability to open up treasure chests in the middle of a battle.
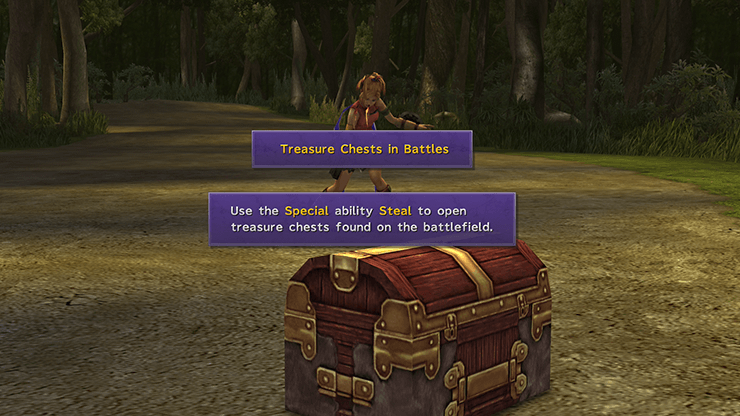
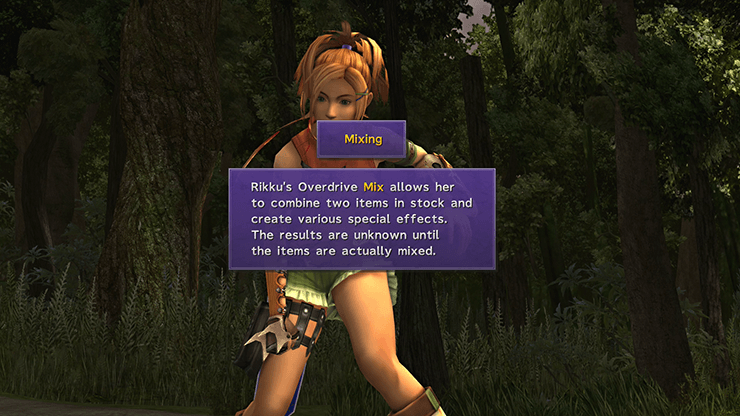
You will also get a quick explanation regarding Rikku’s Overdrive ability which is called Mix. For a more in-depth explanation check out the Overdrive section.
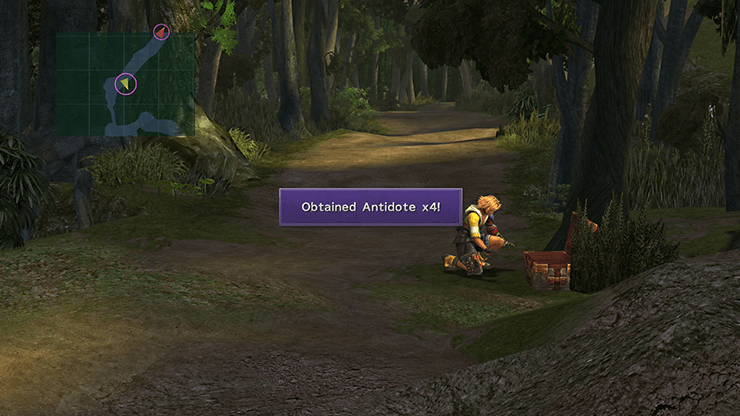
Grab the next treasure chest off to the right of the screen for four ![]() Antidotes. Continue northward until you reach the next screen.
Antidotes. Continue northward until you reach the next screen.
You will receive the All Together Trophy now that all of your party members have joined together.

This first trail provides a good opportunity to train Rikku up a few levels and many of the fights will utilize the mid-battle treasure chests that you just received an explanation about.
There is one more treasure chest at the end of the pathway that contains a ![]() Mega-Potion. Just past the entry way up ahead is the entrance to Guadosalam which is where the story continues.
Mega-Potion. Just past the entry way up ahead is the entrance to Guadosalam which is where the story continues.