The sequence with Team 2 (Squall and his two party members) will take place after Team 1 (Selphie and her two party members) complete the events at the Galbadia Missile Base.
Start off by making sure that each of your three characters are properly junctioned with Guardian Forces and magic. You can do this quickly and easily by exchanging junctions (using the Switch option in the main menu) with the characters that were on Team 2.
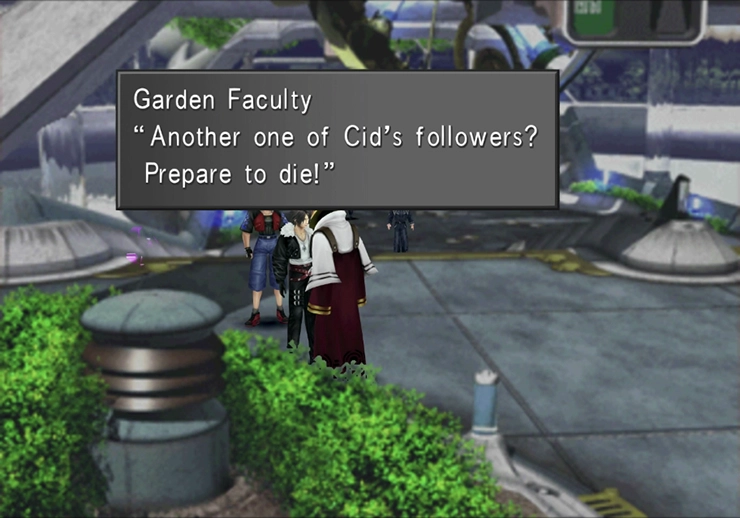
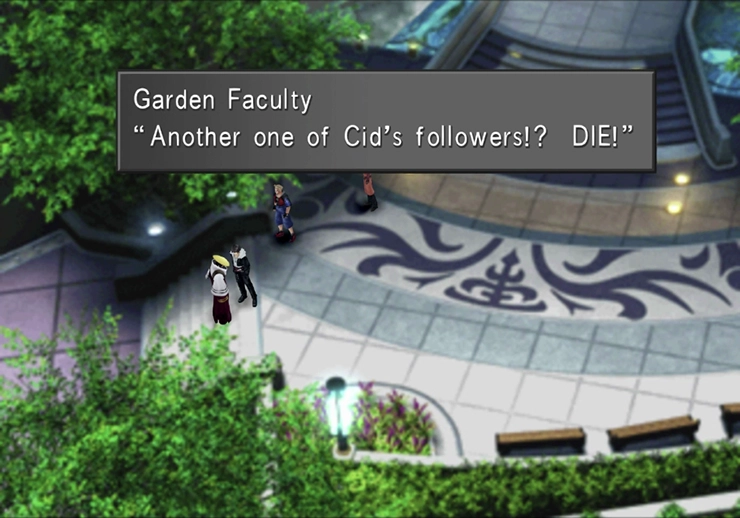
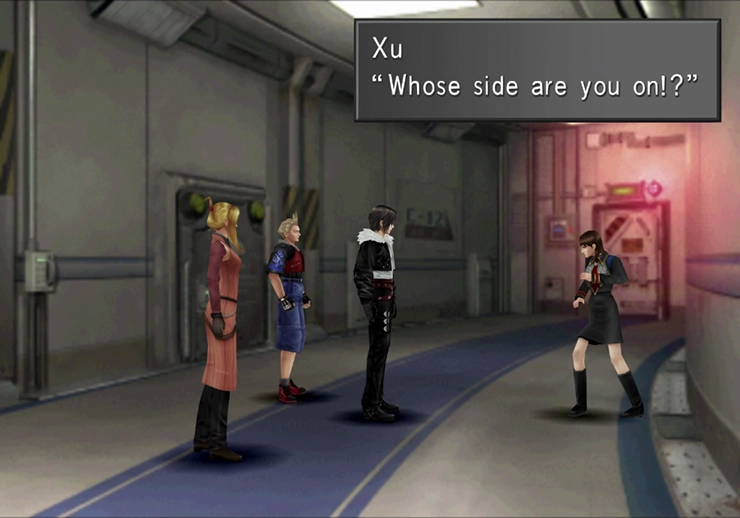
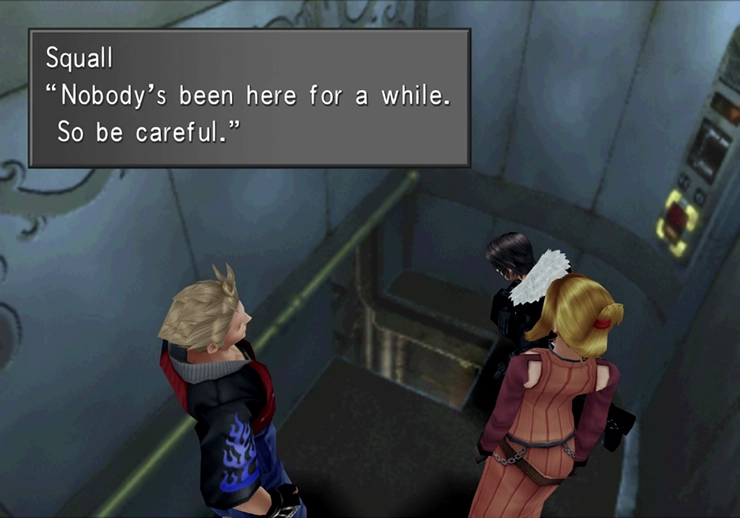
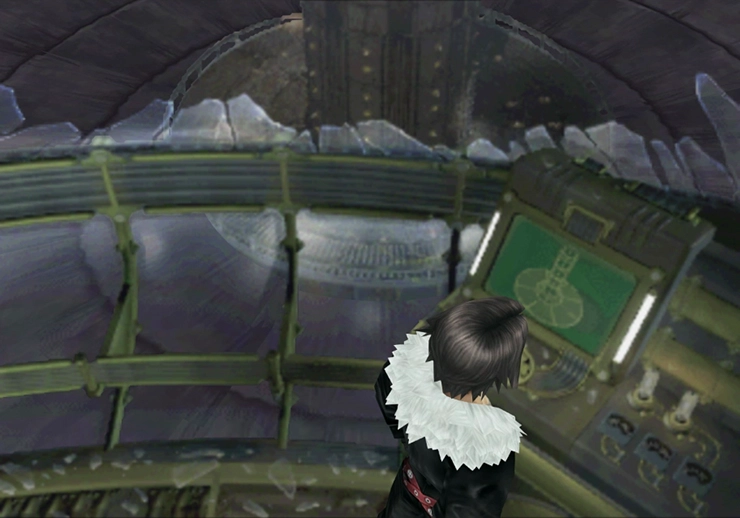
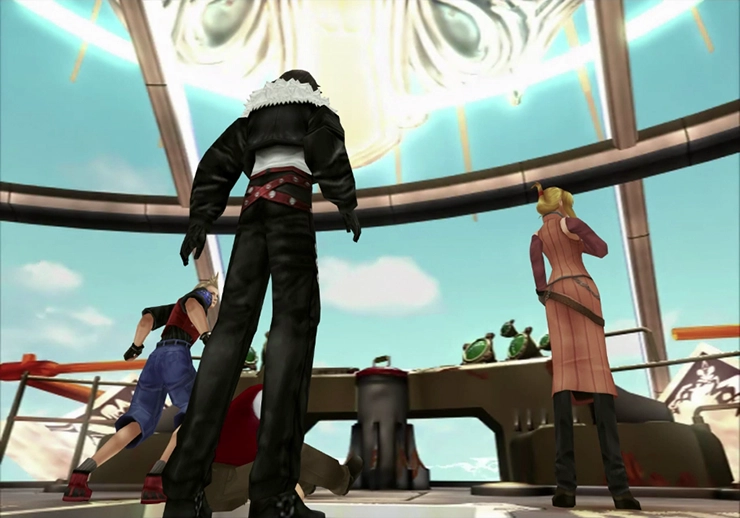
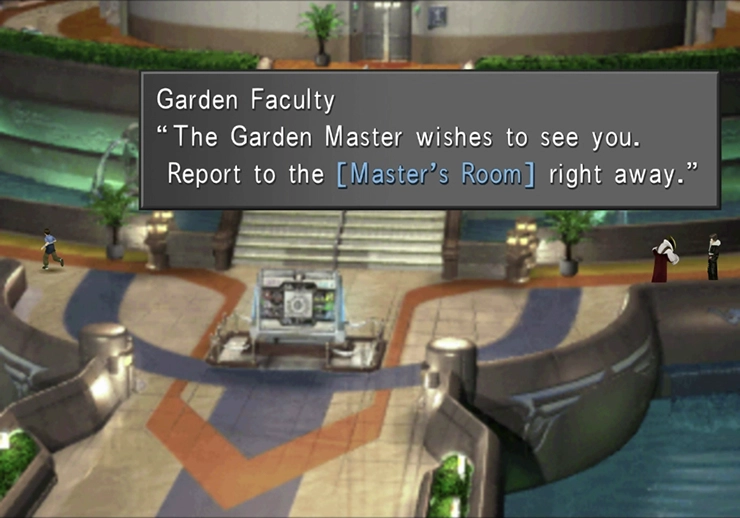
The team’s goal is to find and report to Headmaster Cid. Head into Balamb Garden and run past the shouting Garden Faculty member. In the next screen, near the entrance, a Garden Faculty member will shout over to Squall and his team. He will ask you which side you’re on: are you with the Garden Master or Cid?
Select the option “(…I don’t get it)” in order to side with Cid and you will be thrown into battle against a Grat and a Caterchipillar which are both very easy to defeat.
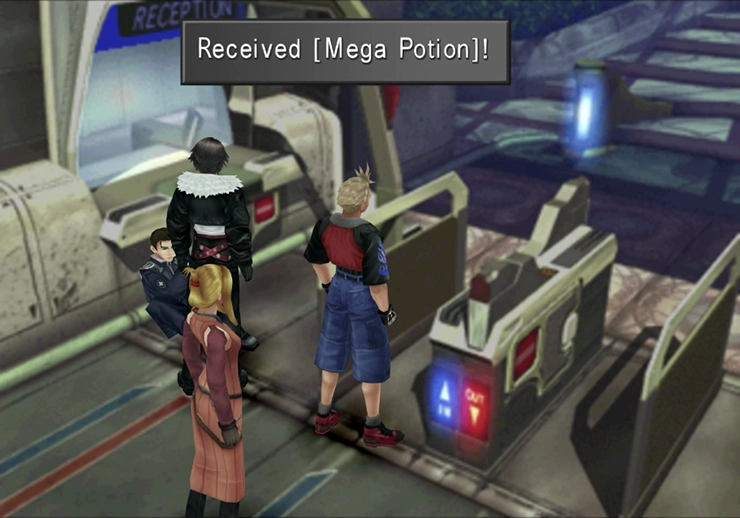
Continue towards the gates of Balamb Garden and speak to the student sitting in front of the reception window. The student will explain that the Garden is now full of monsters. Speak to the student a second time and he will give Squall a ![]() Mega-Potion.
Mega-Potion.
Walk along the main hallway and towards Raijin and Fujin. The two will explain that there is a fight going on between two factions within the Garden. Neither of the two of them know where Headmaster Cid is though so you will have to keep searching without their assistance. They claim allegiance only to Seifer himself.
The goal at this point is to clear out all of the Garden Faculty members by challenging each of them to a battle. They are all parked at the entrances to the various wings of the Garden. Start off by going back out of the hall and towards the entrance.
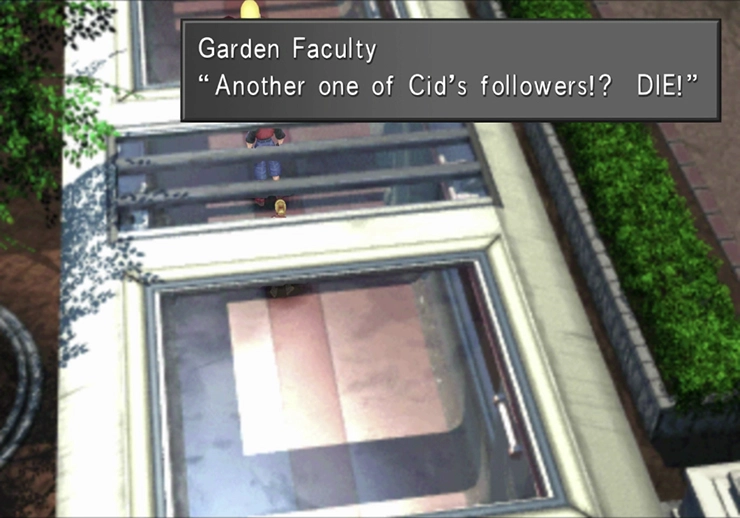
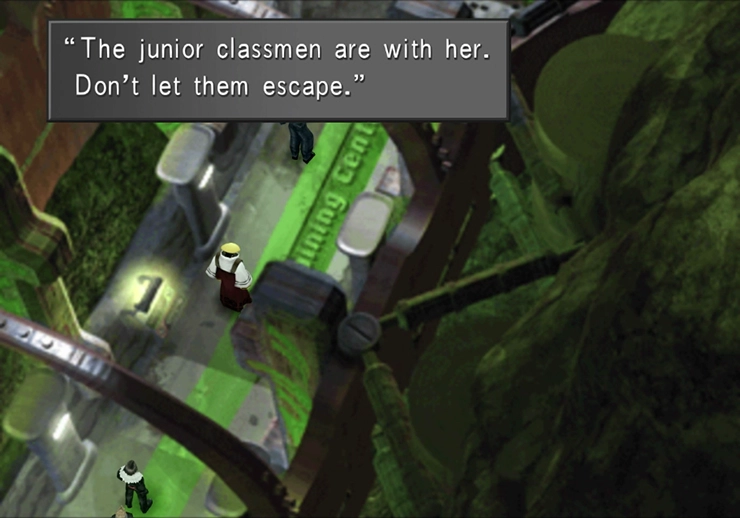
The Garden Faculty you are looking for is the first one that you passed that was shouting orders (and is shown in the screenshot). Speak to him and he will immediately challenge you to a battle.
This Garden Faculty member, like all of the ones that you will be facing, will not actually be sticking around for the fight, but will instead summon monsters to fight your team. This battle will be against two Bomb enemies.
This battle, along with all of the remaining battles against the enemies that Garden Faculty members summon, are very easy and do not require any specific strategies in order for you to come out on top.
Go back into the Garden and take a left when you reach the Directory. We will be travelling to each section of Balamb Garden in a clockwise fashion starting with the Infirmary.
A Garden Faculty member will be harassing two students in the hallway on the way to the Infirmary. Choose to help them when presented with the option to and you will be thrown into battle against a Granaldo enemy (which, as mentioned above, is very easy to defeat).
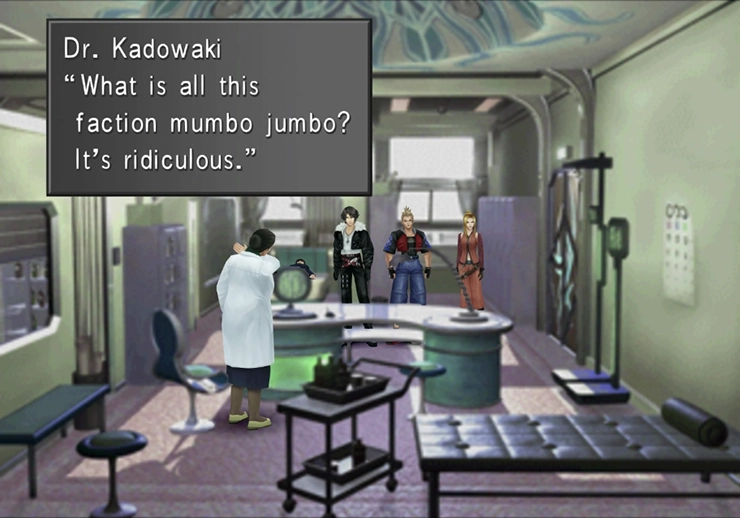
Follow Dr. Kadowaki back into the Infirmary. Dr. Kadowaki will elect to stay within Balamb Garden even knowing that the missiles are on their way. Speak to her one more time though to receive a free ![]() Elixir. Head out of the Infirmary and make your way to the Quad.
Elixir. Head out of the Infirmary and make your way to the Quad.
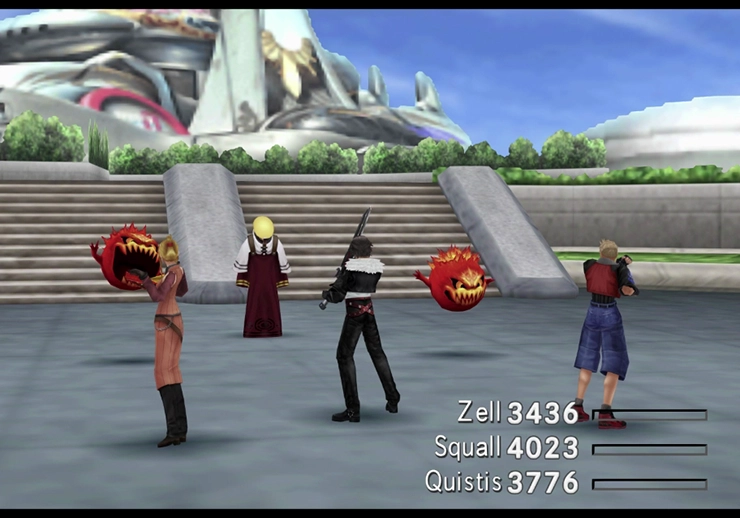
As you travel down the stairs you will run into another Garden Faculty member. This one will summon a Bomb and a Glacial Eye to fight you.
Continue down into the Quad after the battle and speak to the student in the center for a free ![]() X-Potion. Now head back up into the Garden and over to the Dormitory.
X-Potion. Now head back up into the Garden and over to the Dormitory.
You will encounter the next Garden Faculty member as you cross the hallway towards the Cafeteria. This one will summon a single Bomb enemy to “stall” you. This is another super quick and easy battle. Defeat the Bomb and head in to the Cafeteria.
There is a Draw Point in the Cafeteria that contains ![]() Demi magic. Draw Points in many of the areas that you have visited will start to contain magic that is fairly weak at this point in the game but this is an example of a new Draw Point that contains some pretty powerful magic.
Demi magic. Draw Points in many of the areas that you have visited will start to contain magic that is fairly weak at this point in the game but this is an example of a new Draw Point that contains some pretty powerful magic. ![]() Blind can still be junctioned to a number of your character’s stats and will continue to have a high impact throughout the game.
Blind can still be junctioned to a number of your character’s stats and will continue to have a high impact throughout the game.
Speak to the female student at the back and she will offer the group hot dogs before realizing that the kitchen is all out of them. Speak to her again and she will give you ![]() Gysahl Greens. Now continue into the next area.
Gysahl Greens. Now continue into the next area.
The Garden Faculty member for this area will be found in the hallway again. He will summon a mere Caterchipillar to battle against your team. One or two hits should defeat the Caterchipillar.
You can continue in to the Dorms for a quick rest if your party members need it (to refill your HP and MP) but there isn’t anything else to do here. Head out to the next area.
There will be yet another Garden Faculty along the hallway leading to the parking lot. This one will summon a Grendel for you to battle which will at least put up something of a fight. Consider using ![]() Mug to steal some
Mug to steal some ![]() Dragon Fins from it before you defeat it.
Dragon Fins from it before you defeat it.
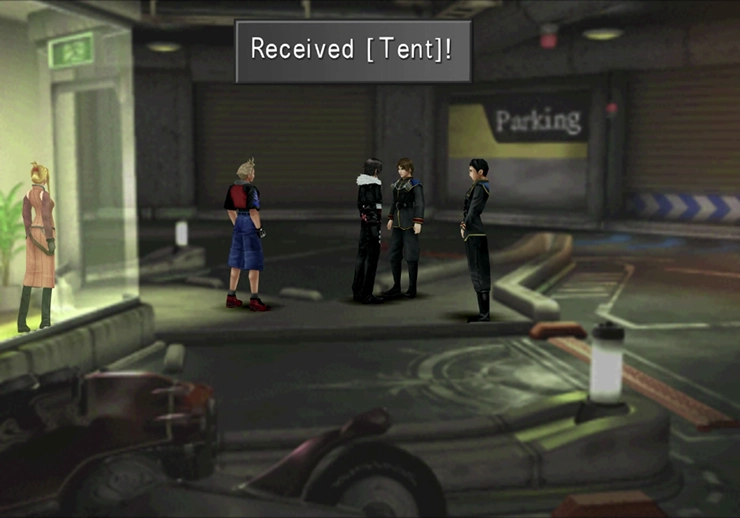
It will appear as though you’ve found Headmaster Cid when you enter the parking lot but it turns out to just be a hologram. Speak to the student on the left for a free ![]() Tent. Leave the area and head towards the Training Center.
Tent. Leave the area and head towards the Training Center.
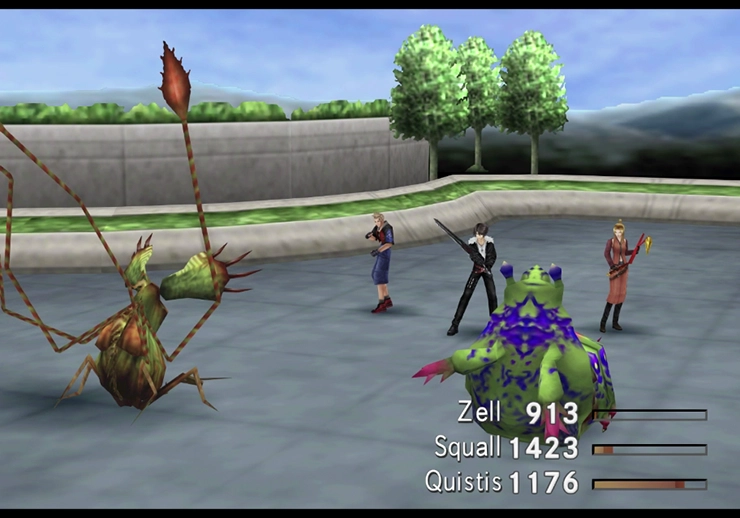
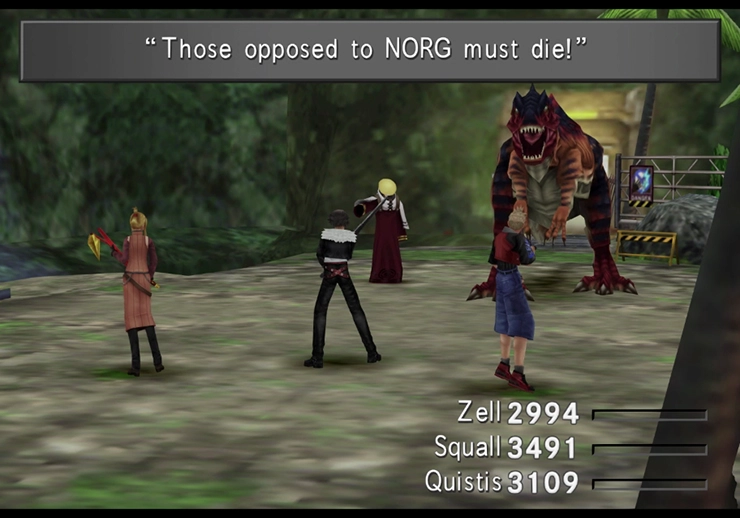
There will be a group of students and a Garden Faculty member chasing a student and two kids into the training center. Choose to “help them” when given the option. The Garden Faculty will summon a T-Rexaur to do battle with you.
T-Rexaurs are still somewhat of a challenge even at this stage of the game. They can inflict a ton of damage but they are still susceptible to ![]() Sleep magic as well as a range of other negative status effects. Casting
Sleep magic as well as a range of other negative status effects. Casting ![]() Blind on it will heavily limit the amount of damage it can do to your party.
Blind on it will heavily limit the amount of damage it can do to your party.
Take some time to Draw ![]() Firaga magic from the T-Rexaur before you defeat it as this magic will come in very handy for an upcoming section of the game. Speak to the student that you saved after the battle is complete for a free
Firaga magic from the T-Rexaur before you defeat it as this magic will come in very handy for an upcoming section of the game. Speak to the student that you saved after the battle is complete for a free ![]() Remedy and then leave the area. Head south into the Library.
Remedy and then leave the area. Head south into the Library.
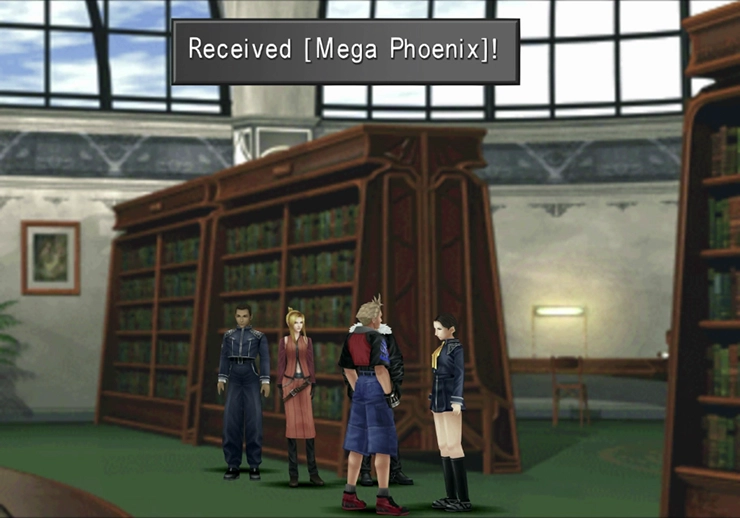
The final Garden Faculty member that you will fight is along this hallway. It will summon a single Grat for you to fight; another very easy fight. Continue into the library after the fight and speak to the female student furthest to the right.
This student will give you another ![]() Remedy item unless you brought Zell with you on Team 2. If Zell is in your party she will give you a
Remedy item unless you brought Zell with you on Team 2. If Zell is in your party she will give you a ![]() Mega Phoenix (which is a very powerful item!).
Mega Phoenix (which is a very powerful item!).
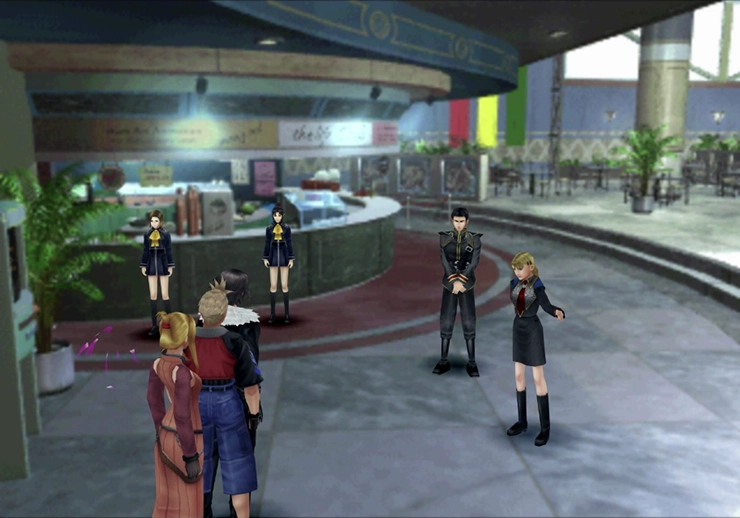
That’s it for the Garden Faculty members! Head back out to the Hall.
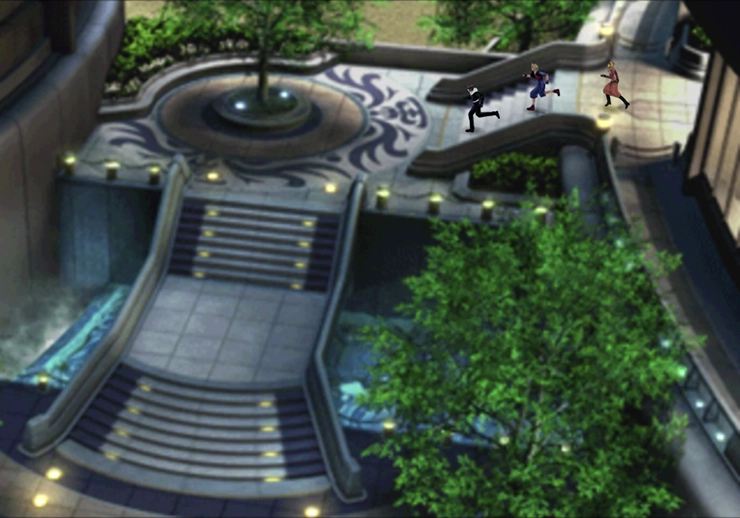
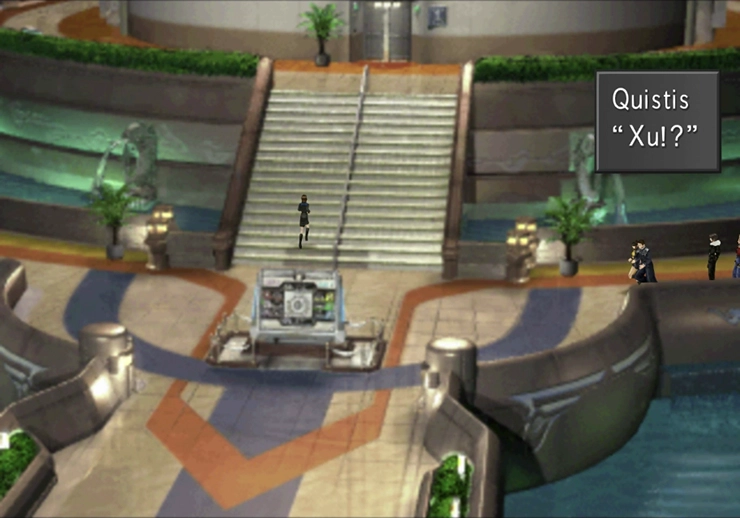
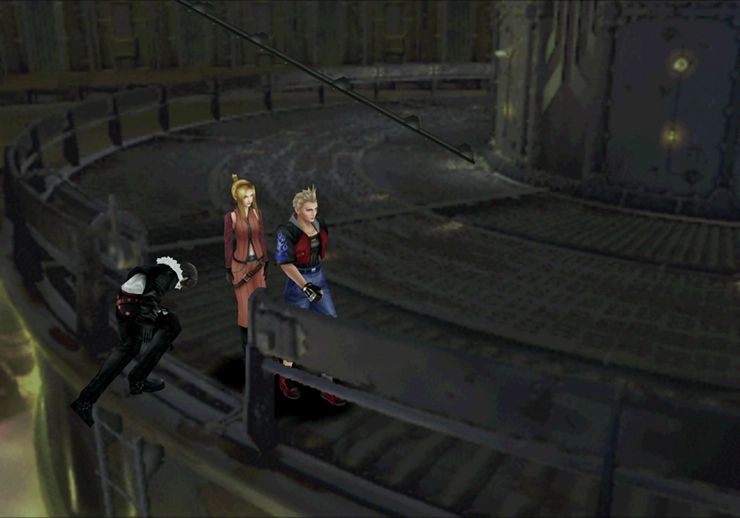
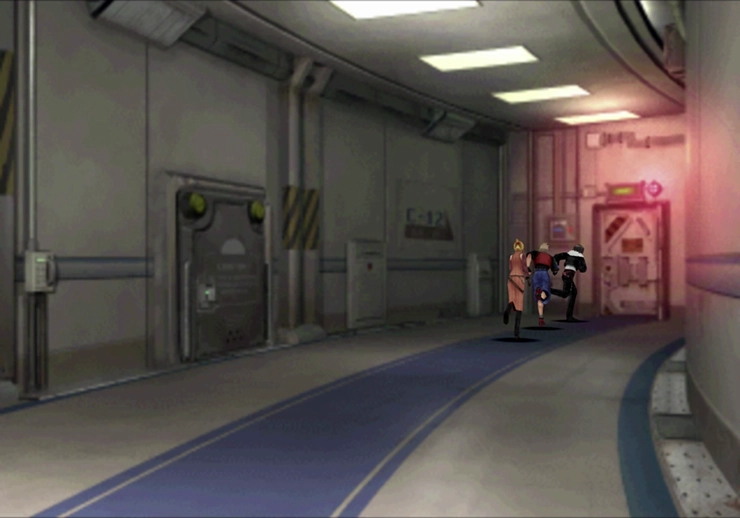
As you circle back towards the Hall at the front of the Garden you will notice Xu running up the stairs towards the elevator. Follow her up the stairs and a short cinematic will show the team deciding to follow her up to the next floor.
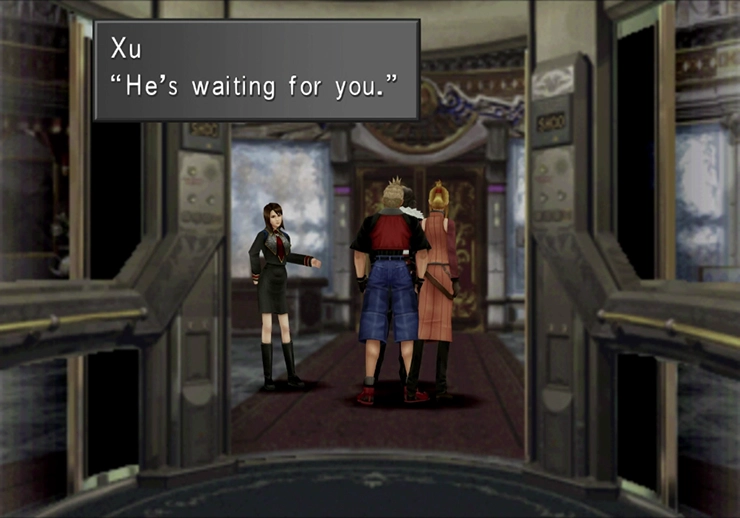
Follow the pathway on the second floor until you find Xu around the corner. Initially, she will be worried that you and your team are fighting against Headmaster Cid. She will then reveal that Headmaster Cid is actually hiding in his office, the last place anyone would suspect!
Follow Xu back into the elevator and head up to the third floor.
If Xu doesn’t appear when you reach the lobby area of the Garden, you may have missed clearing out one of the wings in Balamb Garden. You may have also missed the Garden Faculty back at the entrance of the garden (there are two battles there). Go back and revisit this area and the others if you need to.
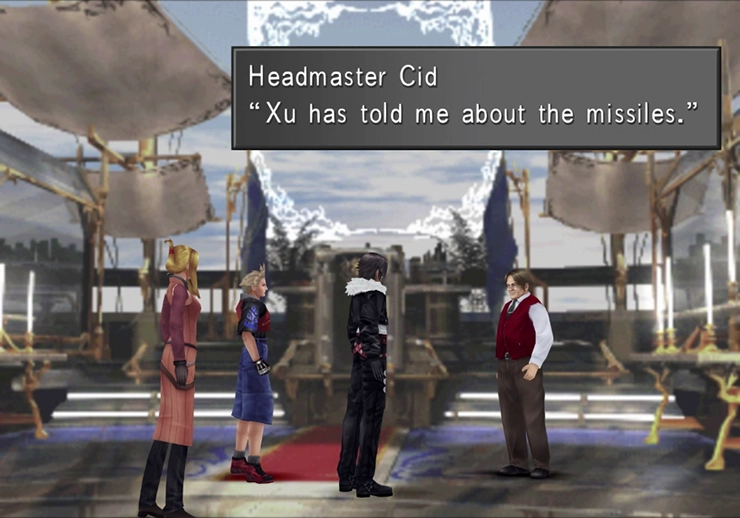
After all of that, Headmaster Cid has been located!
Cid will explain that he thinks there’s another way to save Balamb Garden. While attempting to enact this plan though, he will trip over his own feet before he even leaves the room, and then decides to let Squall and his crew take care of his plans.
Cid will give Squall a key to the basement which will give him access to the “MD level”. There is rumored to be a control system in the basement which acts as some kind of shelter. Beyond that though, Cid has no idea what it does. Some plan!
Travel back into the elevator when you regain control of Squall. The power will go out in the elevator leaving the team trapped inside.
Speak to both team members, then inspect the button panel, before examining the square opening on the floor. The team will use this elevator to escape down into the MD Level.
After narrowly avoiding catastrophe, continue along the hallway and down the hatch at the end of the hall. Squall will mention that this area is an ‘oil stratum’, meaning that enemies in this area are weak against Fire-based magic.
At this stage of the game you should already be fairly familiar with the junctioning system of Final Fantasy VIII but here is a quick refresher just in case.
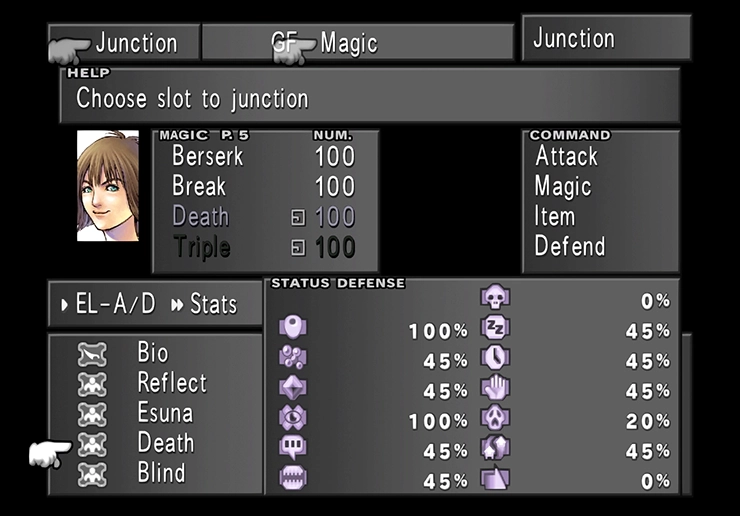
To follow Squall’s advice, open the menu and select “Junction”, choose a character, select “Junction” again, then select “Magic”. You can now switch between various character stats and can manually junction magic to each stat.
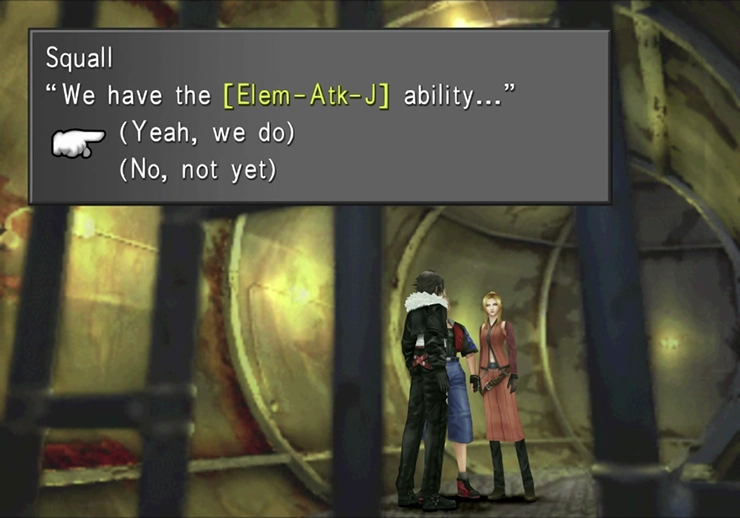
Press  (Left) Button on the D-Pad once to move over to the Elemental Attack option. If the option is available you can junction an elemental magic to your attacks. Note that the character you have selected needs to have a Guardian Force equipped that has learned the
 ![]() Elem-Atk-J ability.
Elem-Atk-J ability.
The current Guardian Forces that you have that can learn this ability (and hopefully have it learned already) include Quezacotl, Shiva, Ifrit and Brothers. Make sure that each of your party members has at least one of the Guardian Forces in that list so that they can junction elemental magic to their attacks.
You can junction either ![]() Fire,
Fire, ![]() Fira or
Fira or ![]() Firaga to your character’s attacks. This will greatly increase the amount of damage they deal to enemies in this area. Continue to utilize this trick moving forward through the game as you encounter other elemental enemies; but don’t worry, this guide will remind you and point out the most opportunistic times to do this.
Firaga to your character’s attacks. This will greatly increase the amount of damage they deal to enemies in this area. Continue to utilize this trick moving forward through the game as you encounter other elemental enemies; but don’t worry, this guide will remind you and point out the most opportunistic times to do this.
If you do need to brush up on the junctioning functions within the game consider navigating to the Tips and Tricks section of this strategy guide and reviewing the following pages:
- Magic Draw System
- Junctioning Magic
- Guardian Force Leveling and Junctions
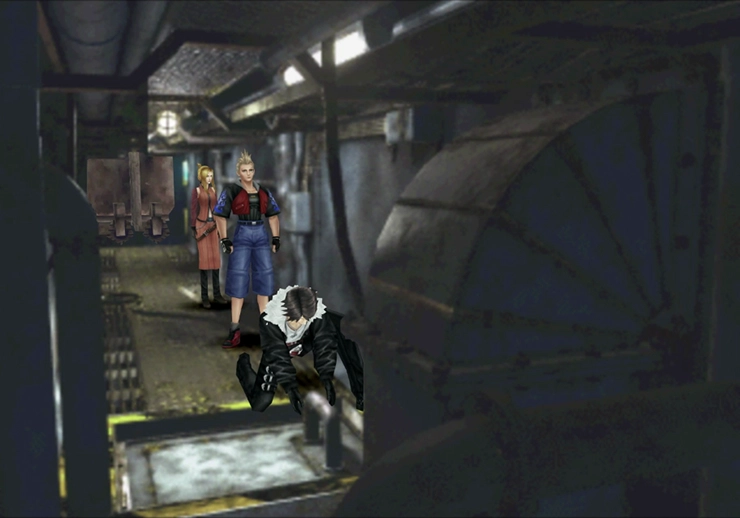
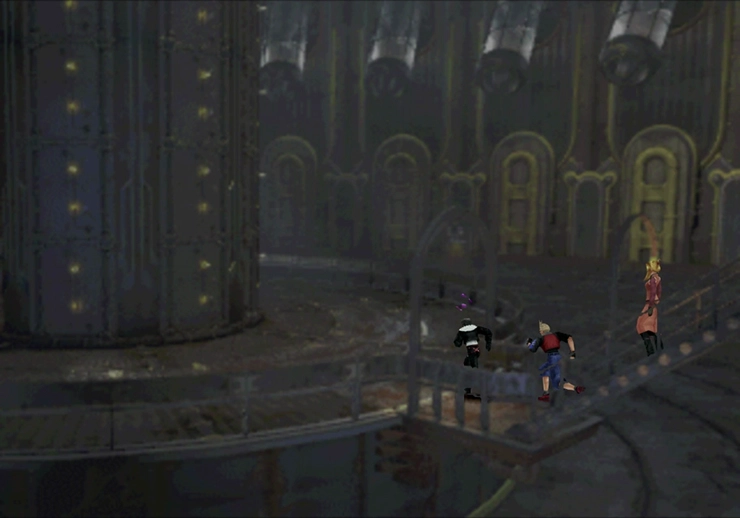
Continue down the hallway and use the ladder on the right side of the screen to head down into the lower levels of the Garden. Go across the room and into the door in the bottom-left side of the screen.
Examine the wheel in the center of the room and Squall will attempt to turn the wheel by himself. You can try as hard as you would like to try and turn the wheel, but even with an auto-fire controller, this task is impossible with just Squall. One of your party members will join Squall for the second attempt followed by the third party member joining in.
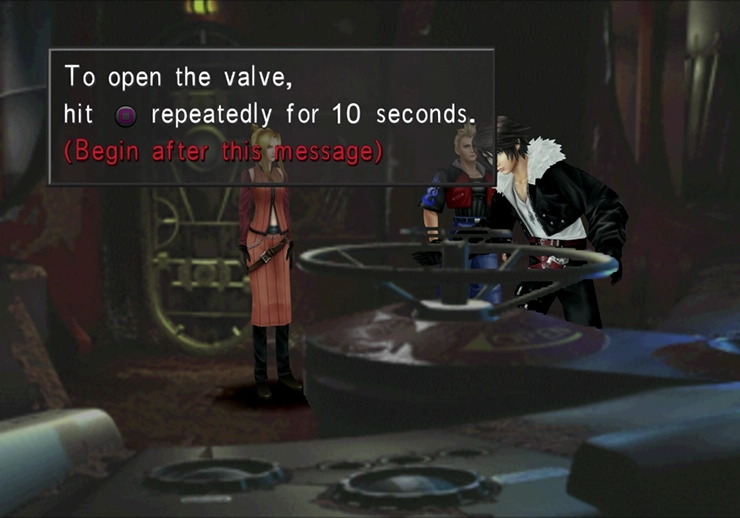
You don’t need all three party members to successfully spin the wheel and can do it with just two, but it becomes much easier and easier each time, so don’t worry if you’re not able to do it with just two team members.
Exit the room after you have turned the wheel and the hatch in the center of the room will have opened up. Take the ladder at the top of the screen down into the next area of the MD Level.
You can Draw ![]() Flare magic from an enemy in this area called a Tri-Face. It’s recommended that you Draw a full 100
Flare magic from an enemy in this area called a Tri-Face. It’s recommended that you Draw a full 100 ![]() Flare magic for each of your party members when you encounter one. Tri-Faces are very tough but you can use
Flare magic for each of your party members when you encounter one. Tri-Faces are very tough but you can use ![]() Sleep magic to incapacitate them.
Sleep magic to incapacitate them.
You can also ![]() Mug or steal from them to obtain between 6-8
Mug or steal from them to obtain between 6-8 ![]() Curse Spikes. Curse Spikes are an important component of some top end weapons and can be refined into other useful items as well.
Curse Spikes. Curse Spikes are an important component of some top end weapons and can be refined into other useful items as well.
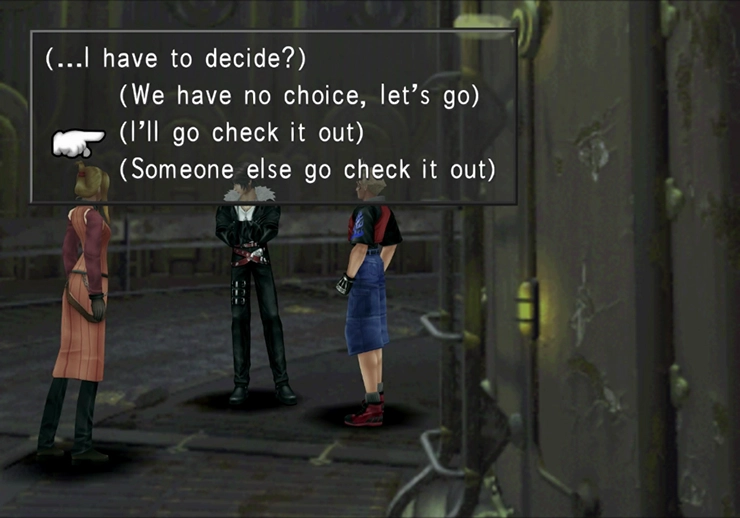
Follow the catwalk down to the lower level which leads to a large circular platform. Grab the ![]() Full-Life magic from the Draw Point, and then move towards the left side of the screen and Squall will assume that this is a dead-end before noticing a ladder attached to a pillar in the center of the room. Have Squall go alone by selecting the “(I’ll go check it out)” option.
Full-Life magic from the Draw Point, and then move towards the left side of the screen and Squall will assume that this is a dead-end before noticing a ladder attached to a pillar in the center of the room. Have Squall go alone by selecting the “(I’ll go check it out)” option.
Climb up to the top of the ladder and it will collapse and throw Squall into a nearby control room. Examine the control station on the right side of the room to have Squall open the pathway to the next lower level.
Exit the room by having Squall jump back on to the rickety ladder that crashed through the glass. Select the “No.” option when one of your party members asks if you thought you would make it. Poor Squall, always acting the tough guy! Take the ladder in the lower left corner down to the next level.
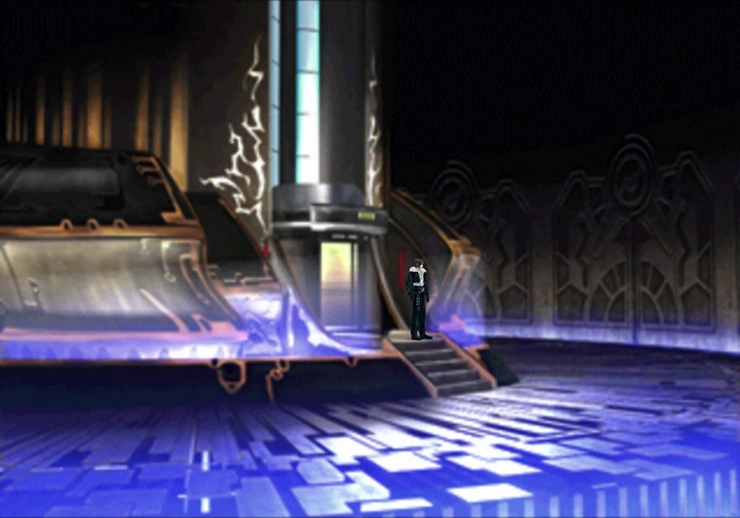
Use the Save Point in the corner to save your game and then examine the switch just to the right of it (shown in the screenshot below). Press the  Button to examine the switch. It can be hard to activate due of the angle of the screen but this switch needs to be flipped before you can proceed to the next area.
This is an area where you can find a high number of Tri-Faces as well. Read the Helpful Hint note above and make sure you track some down before proceeding past this area.
There is a boss fight coming up. As far as boss fights go, this is a relatively easy one, but do make sure that your characters are properly equipped and junctioned before you travel across the walkway to the right of the screen.
Before engaging the boss though, make sure that you have fire-based magic junctioned to your attacks and consider junctioning Sleep magic to your Status junctions also noted above.
In Game Description: This creature lives underground. Its slimy body is full of oil. Attacks by spitting oil.
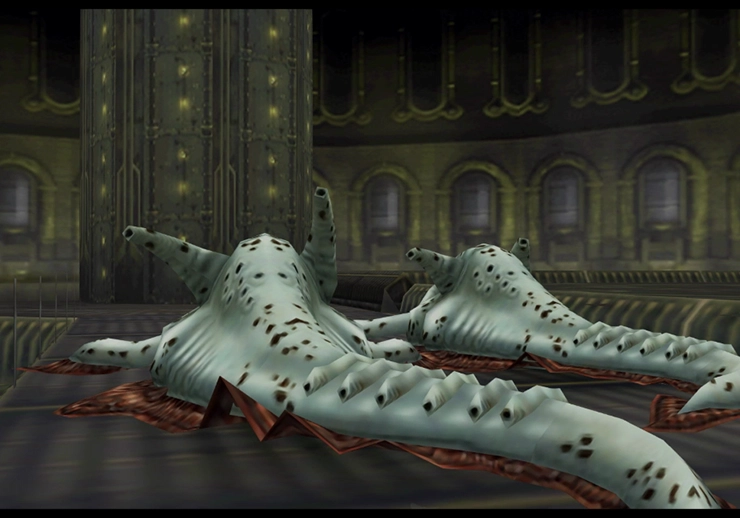
This is probably one of the easier boss battles in the game. In fact, if it weren’t for the boss battle music that plays during this encounter, one might not even consider this to be a full boss battle at all.
Make sure that you still have fire-based magic junctioned to your attacks. Both of the Oilboyles are weak to fire-based magic similar to all of the other creatures in the MD Level.
Oilboyles are also susceptible to ![]() Sleep magic. You can either have your party members cast
Sleep magic. You can either have your party members cast ![]() Sleep on one (or both) of them or junction Sleep magic to your character’s Status junctions (
Sleep on one (or both) of them or junction Sleep magic to your character’s Status junctions (![]() ST-Atk-J).
ST-Atk-J).
Use ![]() Protect magic on your party members and also consider casting
Protect magic on your party members and also consider casting ![]() Shell magic on them if you are struggling with the amount of damage being done to your party. The Oilboyles do hit relatively hard. You can Draw
Shell magic on them if you are struggling with the amount of damage being done to your party. The Oilboyles do hit relatively hard. You can Draw ![]() Esuna magic from them in order to counteract any negative status effect inflicted by their Sonic Wave or Oil Blast attacks.
Esuna magic from them in order to counteract any negative status effect inflicted by their Sonic Wave or Oil Blast attacks.

Walk to the end of the hall and take the ladder down one more level. A short cinematic will play showing the Galbadian Missiles as they approach Balamb Garden. We’re running out of time!

Continue down the ladder and to the end of the pathway. Have Squall helplessly press buttons on the panel twice until the dialogue continues.
The Garden can transform into a ship! Speak to Headmaster Cid and he will suggest that you and your party check out what’s going on outside. Head down the lift and into the elevator.
Go past the classrooms and through the door at the end of the hallway for another Cinematic. Exit this area and you will automatically be taken back up to Headmaster Cid’s office which will now be referred to as the ‘Deck’.
The group will be thrown into a panic as Balamb Garden gets close to the town of Balamb. Have Squall press more buttons on the panel/console and he will luckily steer the ship away from the town of Balamb and into the sea. The panic is over! (You can tell because the music returns to the typical Balamb Garden background soundtrack).


After initially struggling to get to sleep, Squall will wake up back in his Dorm. Rinoa will join up with him if she is with your party, otherwise he will be by himself. Make sure you save your game at the Save Point before proceeding and consider doing some early parts of the following side quest…
Head back to the cafeteria and speak to the cafeteria lady behind the counter if you weren’t able to before. Remember to choose the “I’ll lend an ear…” option each time it becomes available.
Go up the stairs and into the elevator when you are ready. The elevator will automatically take Squall down to the basement.
Squall and his team will overhear Headmaster Cid pleading with someone just off screen. Before you approach Cid and speak with him, make sure that your party members are fully prepared and have their magic and Guardian Forces junctioned. A boss battle will be coming up shortly.
Make sure that you have the ![]() Draw ability equipped to one of your characters as there’s a Guardian Force that you will need to Draw from the next boss. You will also want to ensure that one of your characters has access to the
Draw ability equipped to one of your characters as there’s a Guardian Force that you will need to Draw from the next boss. You will also want to ensure that one of your characters has access to the ![]() Mug ability.
Mug ability.
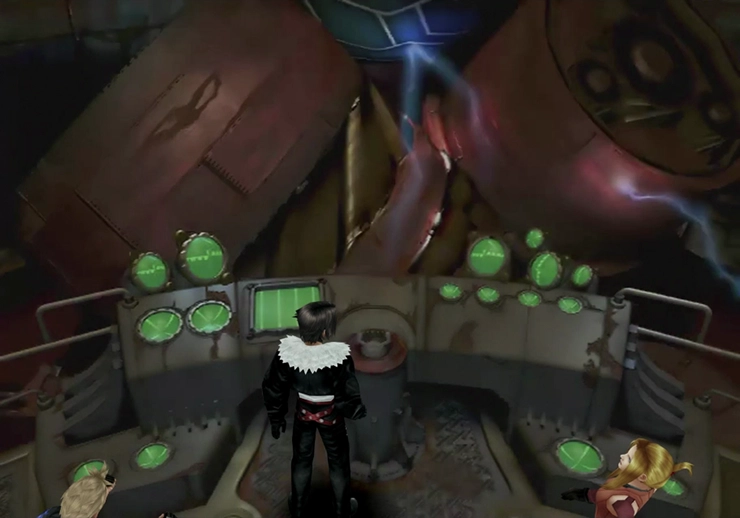
One of the Garden Faculty members will direct Squall and his team over to meet with Master NORG. It turns out that the proprietor of Balamb Garden, the Garden Master himself, is this strange “Shumi” creature, and it turns out that this creature wants to offer the team up as a sacrifice in order to please Sorceress Edea. Its time for the next boss battle…
In Game Description: Master of Balamb Garden. Opposes Headmaster Cid in trying to control Balamb Garden.
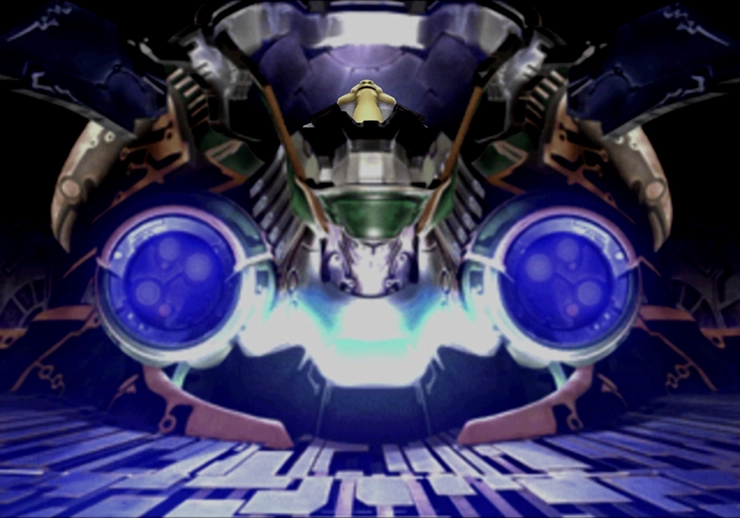
The battle against Master NORG has two phases. In the first phase you will fight against NORG’s protective outer shell; a large machine with two magical colored orbs on either side. The second phase of the battle begins after you destroy the shell, revealing Master NORG himself.
As Master NORG explains at the beginning of the fight, the two orbs will change color over the course of the battle. They will go from blue, to yellow, and then to red. Once they turn red they will begin casting high level powerful magic on your party members. You can prevent them from changing color (and revert them back to their previous colors) by attacking them directly. Press (Left) Button and  (Right) Button on the D-Pad to target the orbs directly.
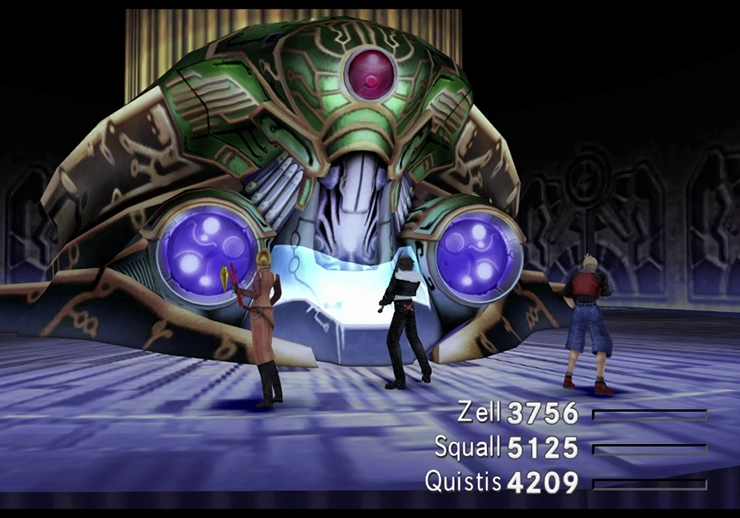
During the first phase of the fight, make sure you use ![]() Mug to steal from both of the orbs. The orb on the left has
Mug to steal from both of the orbs. The orb on the left has ![]() Mag Up items that you can steal while the one on the right has
Mag Up items that you can steal while the one on the right has ![]() Spr Up. You have to attack the main pod in the center in order to break the pod open and move into the second phase of the fight.
Spr Up. You have to attack the main pod in the center in order to break the pod open and move into the second phase of the fight.
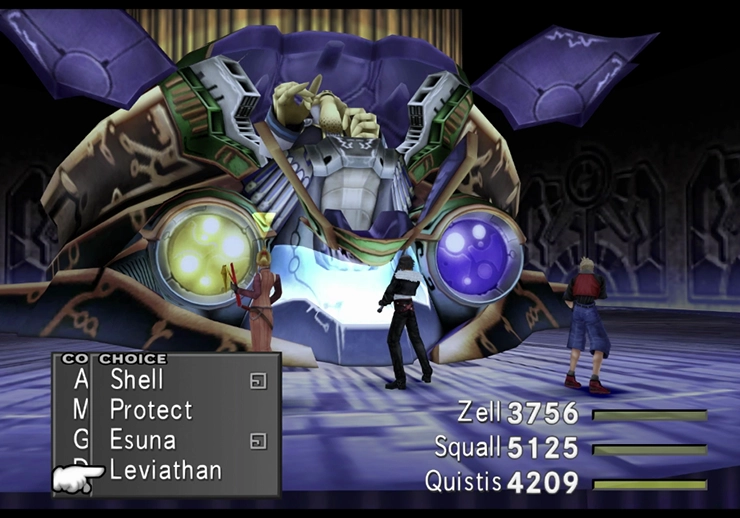
As soon as you enter the second phase, where you can see Master NORG inside his pod, make sure you use the ![]() Draw command to obtain your next Guardian Force, Leviathan. Do not forget to Draw Leviathan! You can also use
Draw command to obtain your next Guardian Force, Leviathan. Do not forget to Draw Leviathan! You can also use ![]() Mug on Master NORG as well to obtain a
Mug on Master NORG as well to obtain a ![]() Circlet item.
Circlet item.
NORG’s pod only has 2,000 HP so it is fairly easy to break. The second phase of the fight is the same as the first phase except Master NORG has a few more powerful attacks that he will launch in your direction including ![]() Protect,
Protect, ![]() Shell,
Shell, ![]() Slow and
Slow and ![]() Blizzara (as well as some water-based magic if you haven’t drawn Leviathan). This battle shouldn’t be too difficult if you have your characters properly junctioned.
Blizzara (as well as some water-based magic if you haven’t drawn Leviathan). This battle shouldn’t be too difficult if you have your characters properly junctioned.
You will receive the Leviathan Achievement/Trophy if you successfully Draw the Leviathan Guardian Force from Master NORG.

You now have half of all of the Guardian Forces in the game! Restart your game if you accidentally forgot to Draw Leviathan or if you defeated Master NORG too quickly.
Leviathan has a number of important abilities that it can learn. It will come with ![]() Spr-J already learned which is very handy as you will have at least one character that does not have any magic junctioned to this ability. Have Leviathan learn the following abilities in the order listed below:
Spr-J already learned which is very handy as you will have at least one character that does not have any magic junctioned to this ability. Have Leviathan learn the following abilities in the order listed below:
You are certainly free to customize your Guardian Forces (GFs) however you see fit, but feel free to use the following suggestion in order to optimize your abilities and to ensure that all of your characters can junction as many magic spells as possible:
Character 1:
Equip the following Guardian Forces:
Ifrit
Carbuncle
Leviathan
Character 2:
Equip the following Guardian Forces:
Shiva
Siren
Diablos
Character 3:
Equip the following Guardian Forces:
Quezacotl
Brothers
You will want to swap and change these later on in the game but this will provide for a pretty good basic setup at this point.
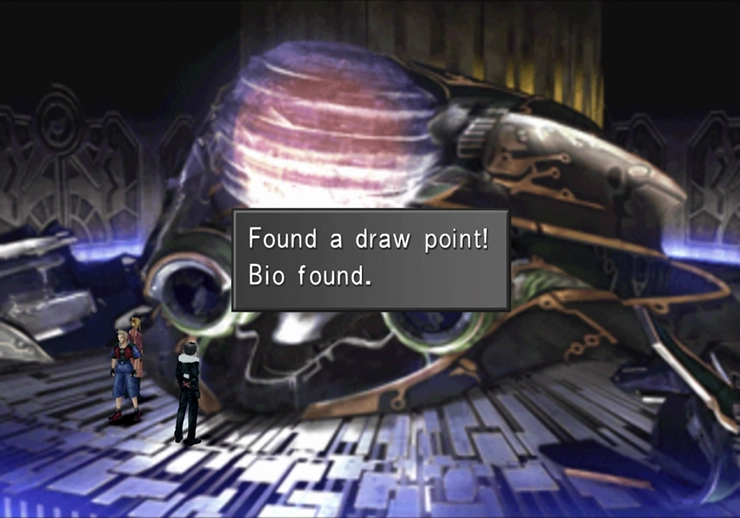
Grab the hidden Draw Point for some free ![]() Bio magic near the base of Master NORG’s pod and then take the elevator up out of the basement.
Bio magic near the base of Master NORG’s pod and then take the elevator up out of the basement.
Make your way to the Infirmary, or click on the link below to complete the next section of the CC-Group side quest:
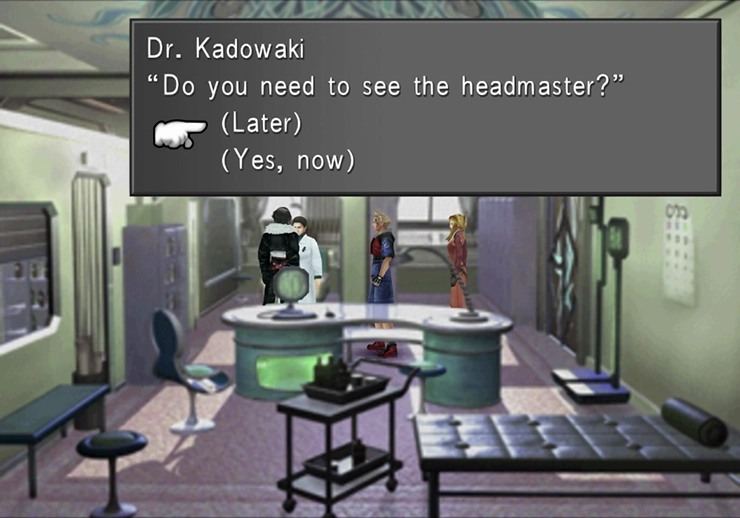
Speak to Dr. Kadowaki and she will ask if Squall really needs to speak with Headmaster Cid. Answer with “Yes, now.” and then head into his room. Cid will give Squall the opportunity to ask all sorts of questions.
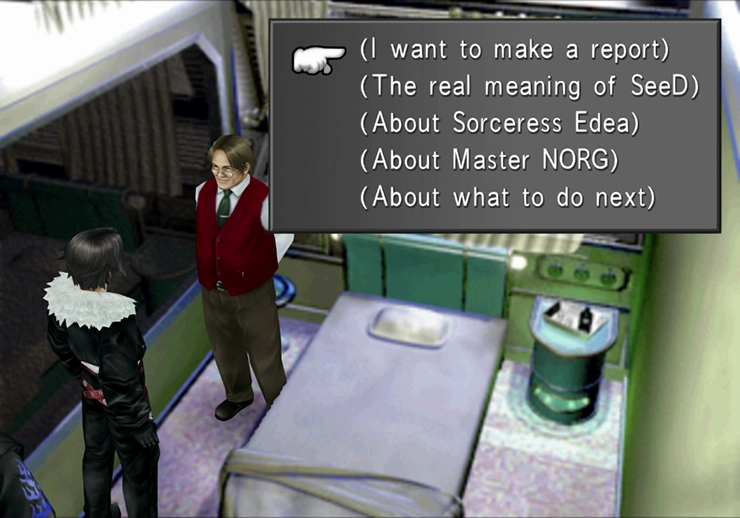
Run through the entire list which includes “(The real meaning of SeeD)”, “(About Sorceress Edea)”, “(About Master NORG)” and “(About what to do next)”. Leave the area and head out to the directory/lobby area when you are done.
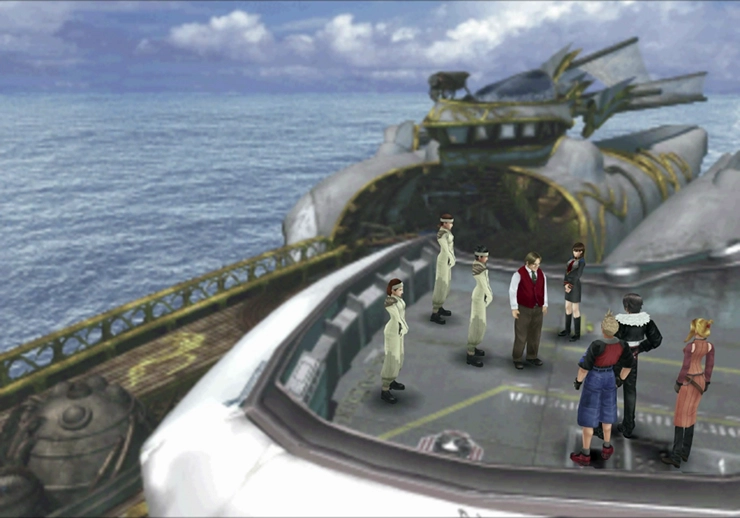
Xu will come running over as you get close to the directory. She will ask Squall to head up to the 2F deck as there is a nearby ship approaching. Take the elevator up and head out to the deck.
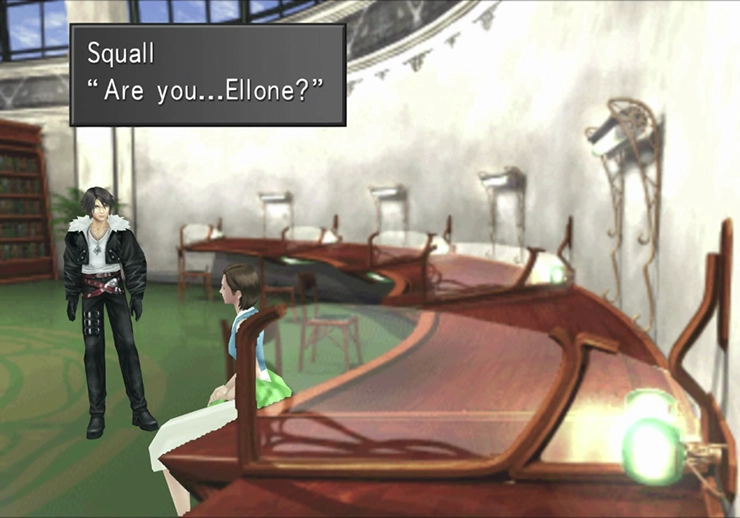
Sorceress Edea’s SeeD team (White SeeD) will board the ship asking to speak with Headmaster Cid. They will explain that they need to take Ellone as its no longer safe for her aboard Balamb Garden. Cid will then task Squall with finding Ellone. This task can be a bit of a pain without a guide but Ellone can be found in the library so head straight there.
Ellone can be found in the room on the far right side of the library. Ellone will explain that it was through her that Squall and his companions were experiencing the flashbacks involving Laguna.
She will offer little in the way of answers before being taken by her new protectors. There are a few more cinematic scenes before Squall arrives back in his Dorm.
Save your game at the Save Point and then exit the Dorms. An announcement will take place as soon as Squall exits the Dorm and Headmaster Cid will request Squall’s presence up in the Bridge. Balamb Garden will now make a crash landing at Fishermans Horizon (FH).