
Datalog: Primers: Gameplay Basics
The guides provided in the game tutorials and Datalog section are fairly basic. You can use the Walkthrough section and the Tips and Tricks section.
![]()
![]()
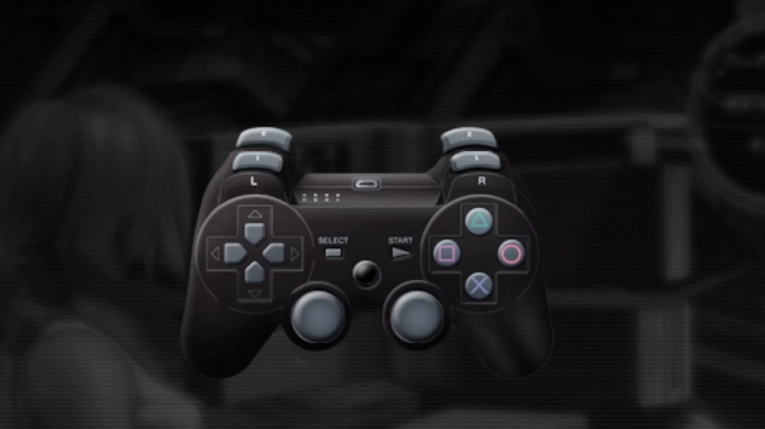
![]() Move character
Move character
![]()
![]()
![]() Rotate camera
Rotate camera
![]()
![]()
![]() Reset camera position
Reset camera position
![]()
![]()
![]() Open main menu
Open main menu
![]()
![]()
![]() Perform action
Perform action
![]()
![]()
![]() Pause game
Pause game

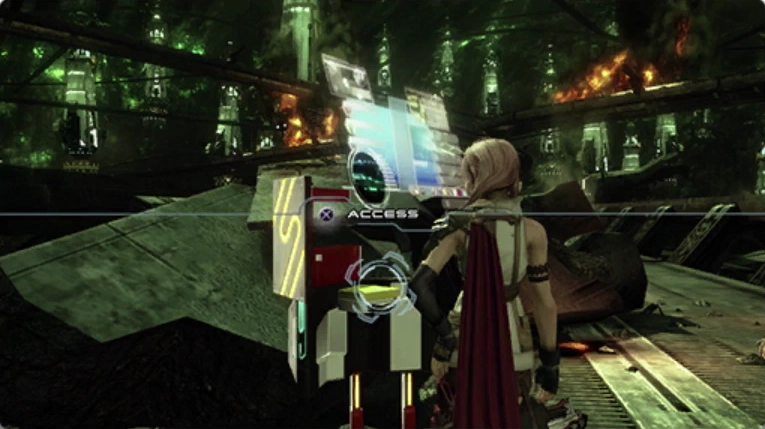
As you explore your environs, you will sometimes encounter Save Stations at which you can save your progress.
To access a Save Station, approach it and press ![]()
![]()
![]() when the word ACCESS appears. A menu of its functions will then appear.
when the word ACCESS appears. A menu of its functions will then appear.
Select Save from the menu, and then choose a file to which to save your data. Press ![]()
![]()
![]() to save your progress to that file.
to save your progress to that file.
When you wish to purchase new items or sell items in your party inventory, you will first need to access a Save Station.
Approach any Save Station and press ![]()
![]()
![]() when the word ACCESS appears to open the Save Station menu. Select Shop from this menu, and then choose the retailer whose network you would like to access.
when the word ACCESS appears to open the Save Station menu. Select Shop from this menu, and then choose the retailer whose network you would like to access.
Your selection will be limited at first, but as you obtain e-passes for new retail networks, you will gain access to a wider variety of vendors and merchandise.
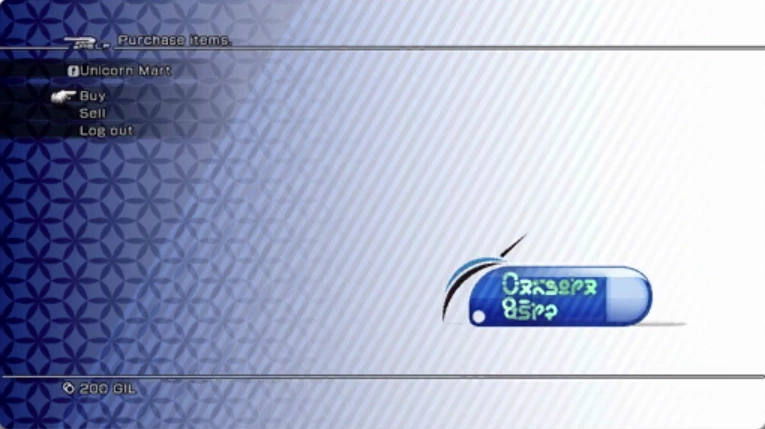
You can obtain the Gil needed to make new purchases from treasure spheres, or by selling items that you no longer need.
Shops frequently expand their stocks, offering you the chance to acquire new items. Whenever new merchandise becomes available through a retailer to which you have access, a notice will appear in the upper left corner of the screen. An icon () will also appear next to the name of any shop with updated offerings when you choose Shop from the Save Station menu.
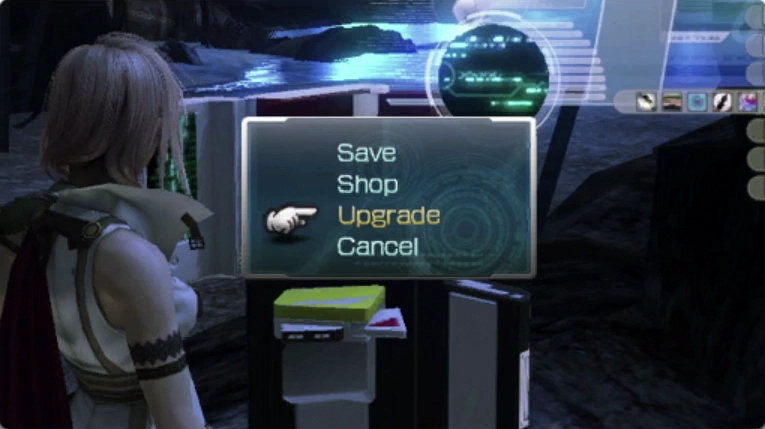
You can upgrade weapons and accessories at Save Station using your Omni-kit and the various components you collect on your journey.
First, approach a Save Station and press ![]()
![]()
![]() to access it. Then select Upgrade from the Save Station menu to access the workbench.
to access it. Then select Upgrade from the Save Station menu to access the workbench.
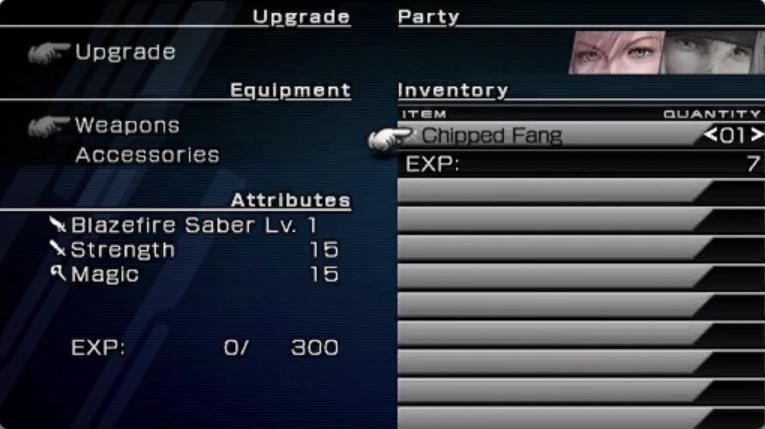
After choosing Upgrade, select the weapon or accessory that you wish to improve.
Next, you will need to select the type of component you wish to use for the upgrade, as well as the quantity. The combined EXP value of the chosen components will then be applied to the target piece of equipment.
After enough EXP has been spent on a weapon or accessory, its level will increase, improving its abilities and attributes.
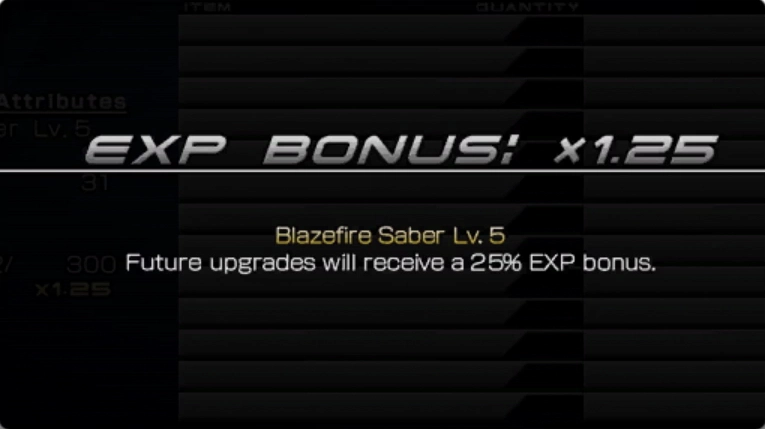
Certain components bestow a bonus to any EXP spent on a piece of equipment. By utilizing these components, you will be able to make more efficient upgrades.
Likewise, some components reduce an item’s EXP bonus. Careful consideration is required when deciding which components to employ.
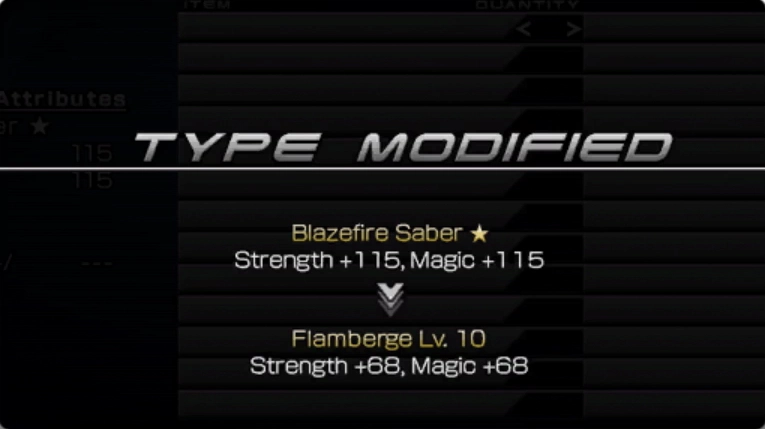
Once a particular piece of equipment has reached its maximum potential, its level will be replaced by a star (). At this point no further level advancement is possible, but the item can be transformed into an entirely different one by means of specialized components. When this happens, both its name and properties will change.
A newly transformed item may initially seem weaker than it did in its previous form, but unlike its fully upgraded predecessor, it will be eligible for level advancement. Through further upgrades, it can be made even more powerful than its earlier incarnation.
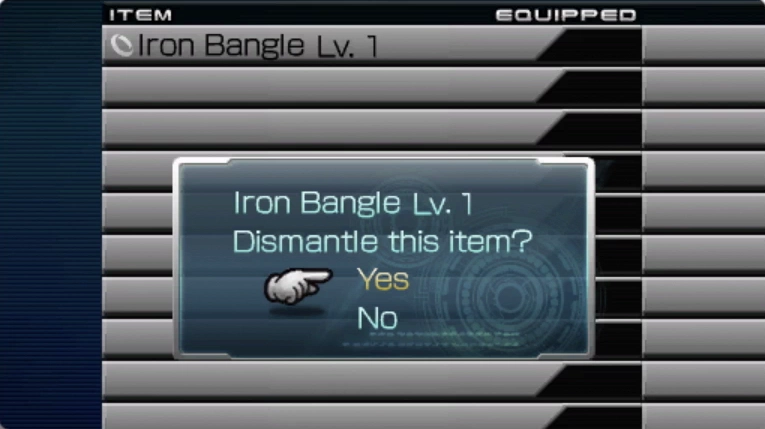
Unwanted equipment can be scrapped for parts by selecting Dismantle. The equipment itself will be destroyed, but you will be able to salvage components, some of which can be obtained in no other way.
There exist well over 100 different components. Obtain as many as possible, and experiment with their effects in order to determine the most efficient and effective ways to customize your arsenal.
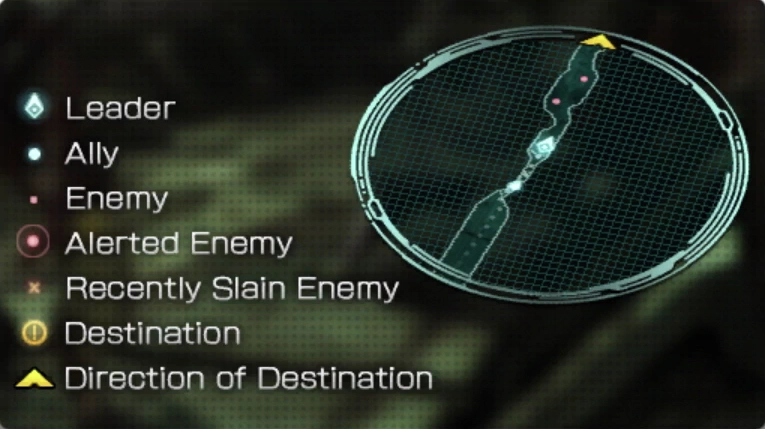
The mini-map in the upper right corner of the screen displays a variety of helpful information. In addition to revealing the surrounding terrain, the mini-map indicates the direction of your destination and the positions of nearby enemies.
Upon entering an area guarded by hostiles, the mini-map will flash in warning. It also shows where recently defeated enemies had been located, allowing you to quickly reorient yourself after battle.
You can turn off the mini-map at any time. To toggle its display, simply press ![]()
![]()
![]() .
.
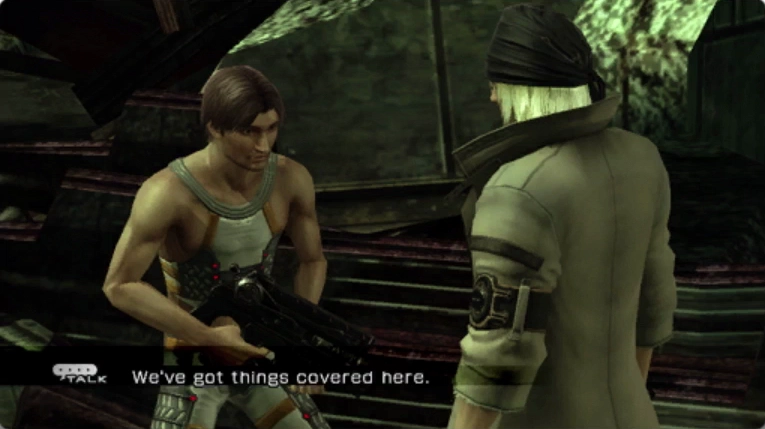
Upon approaching the other characters you encounter while exploring, you will often be spoken to, or overhear something being said. These conversations occur automatically and do not require any action on your part.
A few conversations require a button press to initiate. In these instances, a button prompt will be displayed when you approach the person in question, just as a prompt appears when you approach any object on which you can perform an action.
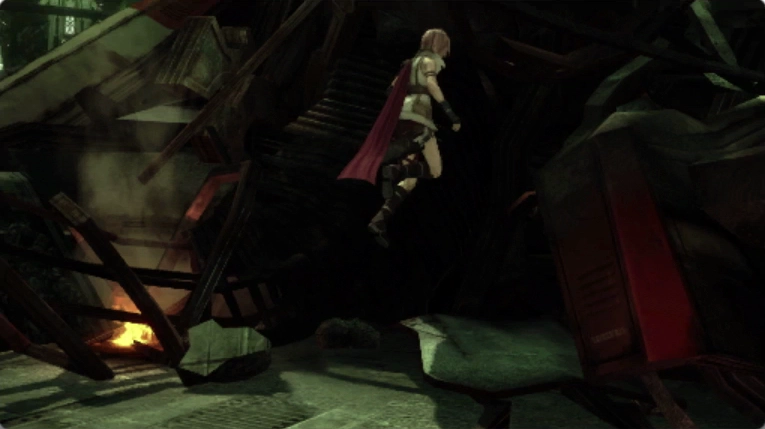
In many cases, you can jump over obstacles or terrain level differences that appear to impede your progress. To do so, simply approach the obstruction and attempt to continue moving in the direction you wish to proceed. If it is possible to jump over the hurdle, you will do so automatically.
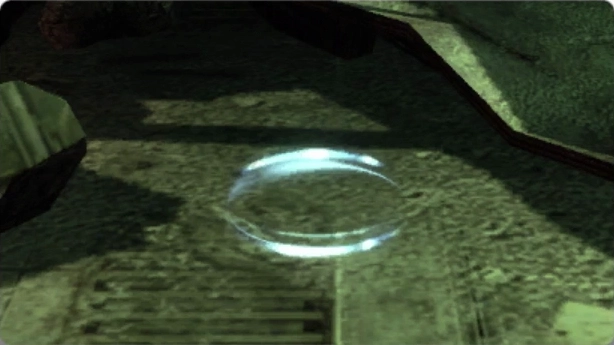
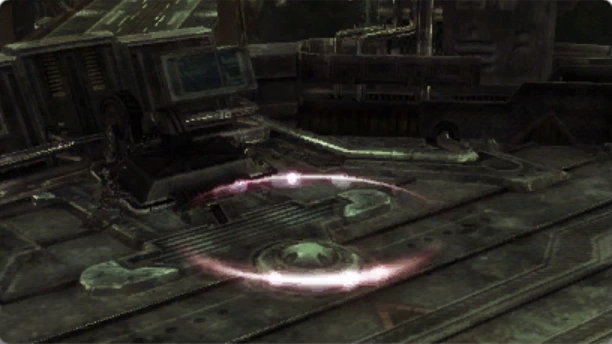
Swirling blue and red indicators often mark the ground of the areas you explore.
Blue indicators represent points on the ground where it is possible to jump over an obstacle. Red indicators, on the other hand, indicate points where you must reach in order to operate a device or cause something important to happen.
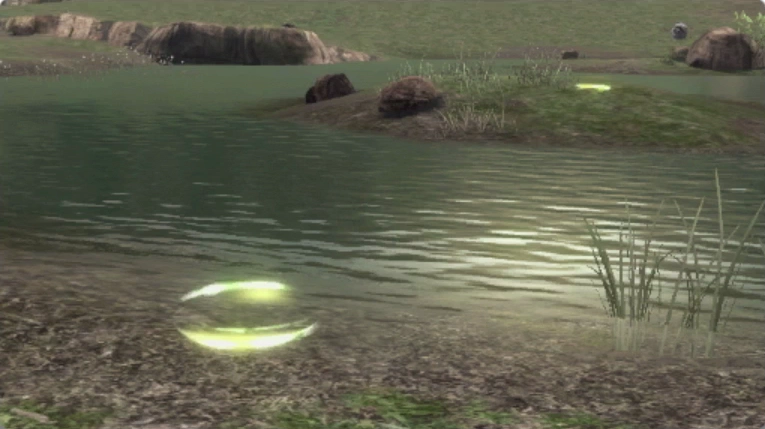
You will find swirling yellow indicators on the ground in the Archylte Steppe that appear in no other locations on Gran Pulse or Cocoon.
These marks indicate jump points, where a creature with enough leg strength just might be able to leap to a distant destination.
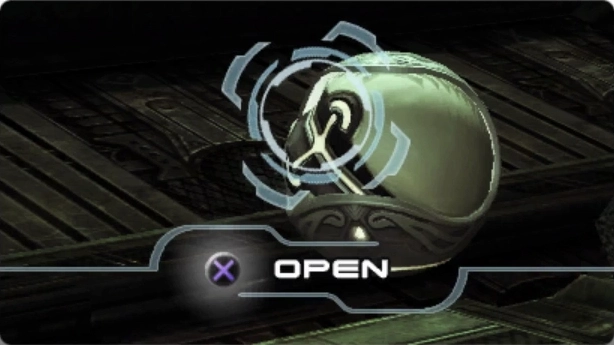
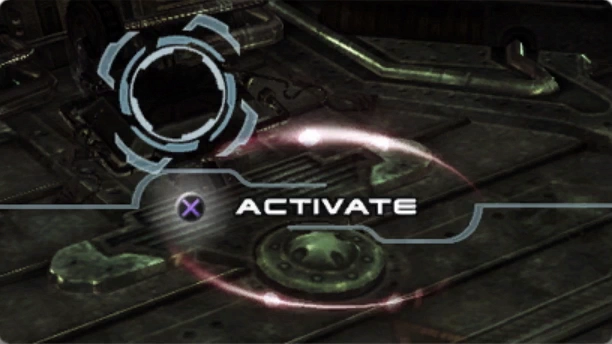
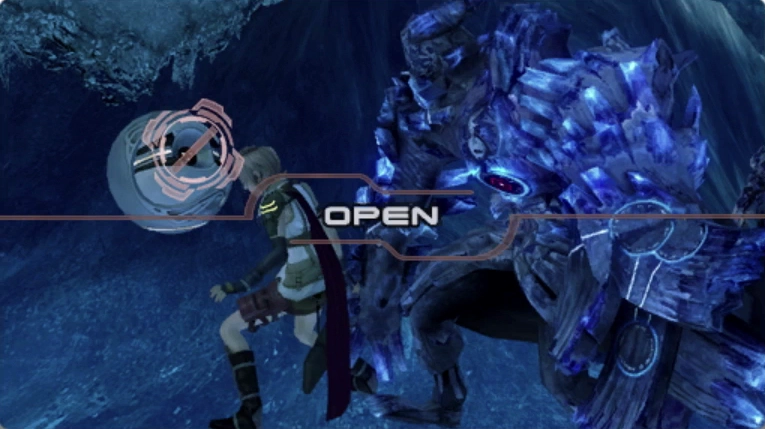
When you approach an unopened treasure sphere, switch, or any other object on which you may perform an action, a message indicating the action will appear.
Press ![]()
![]()
![]() to perform this action, obtaining Gil or items in the case of a treasure sphere, or activating a device in the case of a switch or control panel.
to perform this action, obtaining Gil or items in the case of a treasure sphere, or activating a device in the case of a switch or control panel.
You will sometimes find yourself unable to interact with treasure spheres or other devices even when standing directly in front of them. This is due to the presence of enemies in close proximity to the object in question.
When this occurs, the action button icon does not appear beside the name of the action you would otherwise be able to perform. Defeat the nearby enemies, and you will be able to interact with the object normally.
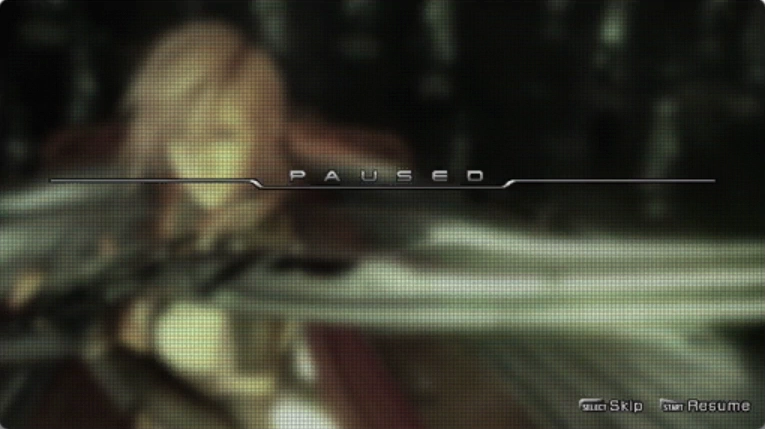
You can press ![]()
![]()
![]() at any time during a cutscene to pause the action. After doing so, pressing
at any time during a cutscene to pause the action. After doing so, pressing ![]()
![]()
![]() will allow you to skip the rest of the scene if you so desire.
will allow you to skip the rest of the scene if you so desire.
Certain cutscenes are unskippable. If the Skip option is not displayed upon pausing, the scene must be viewed in its entirety.