The Bevelle Cloister of Trials takes place after the team interrupts the ceremony on top of the Bevelle Tower of Light and defeating Evrae from the top of the Airship
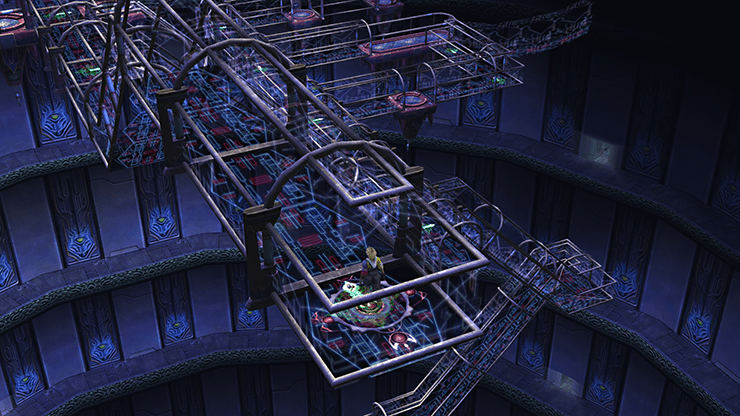
Use the map below to keep track of your location as you travel through this Cloiser. This walkthrough section will make reference to locations using this map as a reference guide:

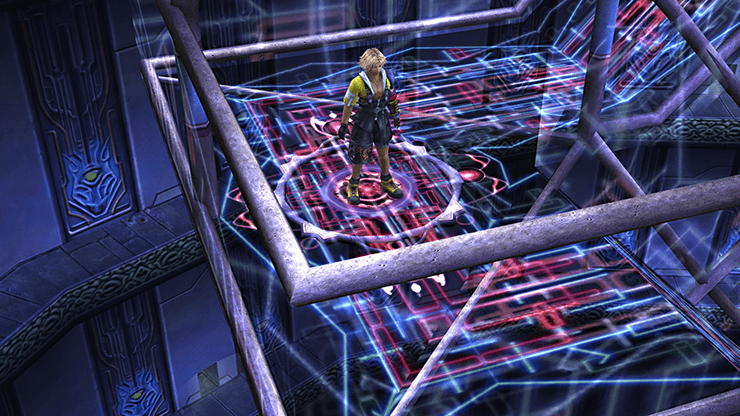
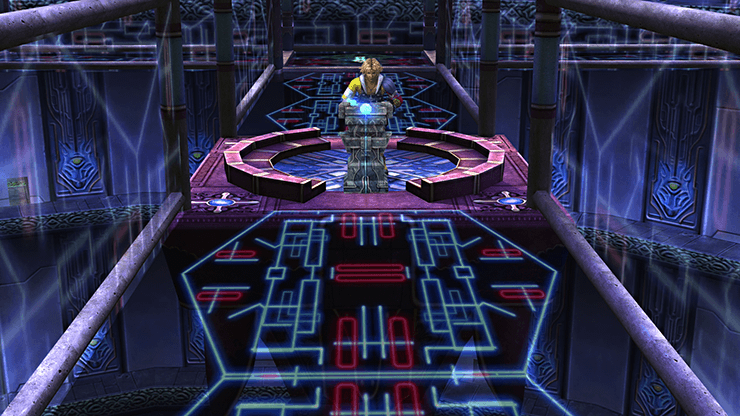
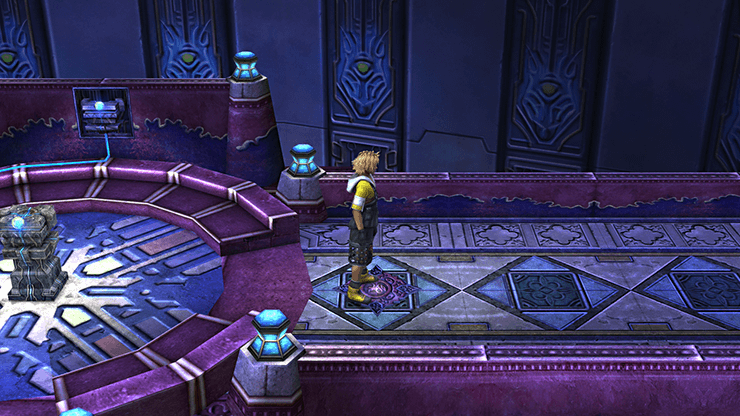
Start by moving forward and pushing the pedestal in front of Tidus into the center of the platform. The platform will turn into a movable transportation device which you can use to navigate through the rest of the cloister.

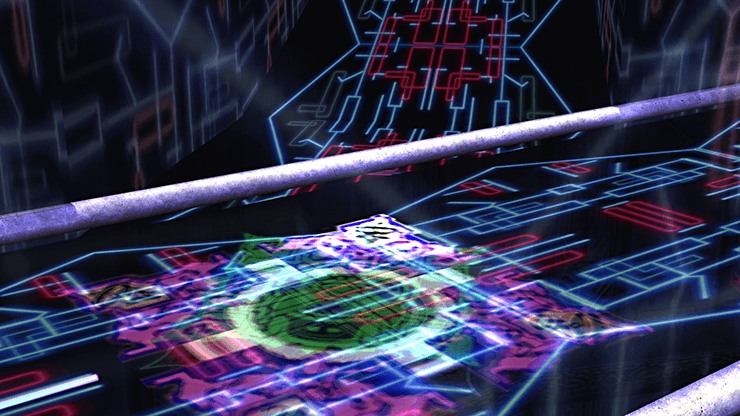
You can get this platform moving by pressing the  Button as indicated on the screen. You must now press the Button again while the platform is directly above the green glyphs with arrows on them (located directly on the tracks). Press it while the arrow is pointed in the direction that you want to go.
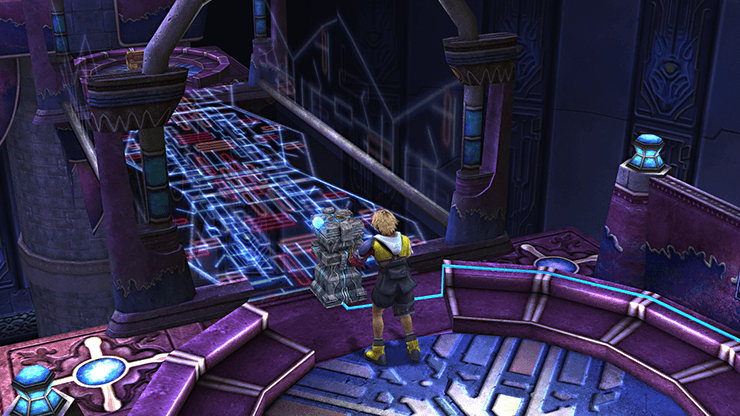
The Bevelle Cloister of Trials can be fairly frustrating due to the platform and arrow pointing mechanisms. One trick that you can use to make things easier is to press the Button repeatedly rather than trying to get the timing perfect as you pass over one of the glyph arrows, for example, when you are trying to reach areas (5), (6) and (7) on the map.
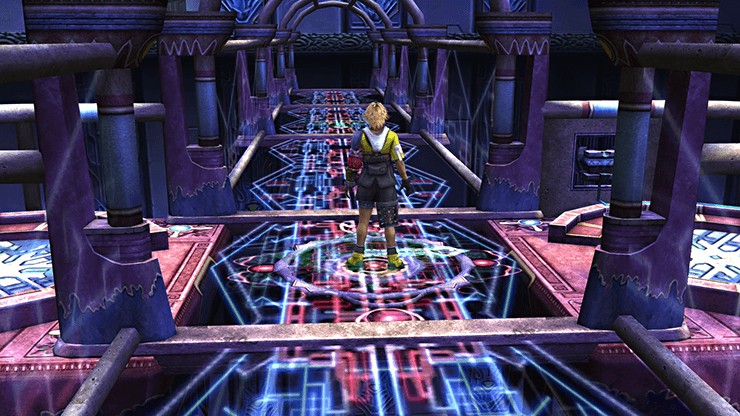
Be aware that the arrows can sometimes be timed in such a way that it is impossible to force the platform to go the direction you want it to when your platform passes over it. This Cloister has some random luck involved. Be prepared to have to make multiple attempts to get to each of the areas you need to go to.
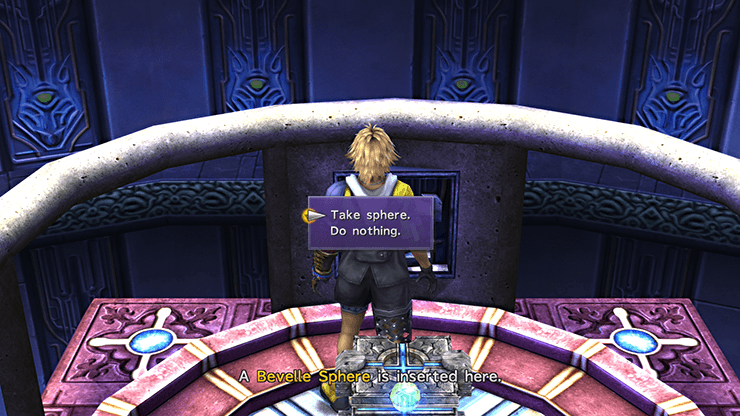
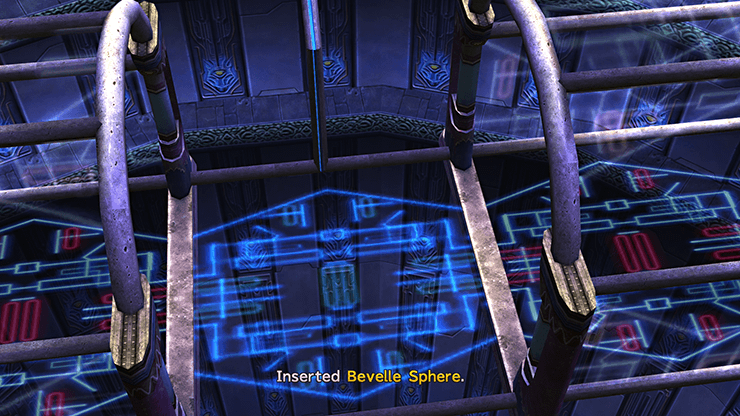
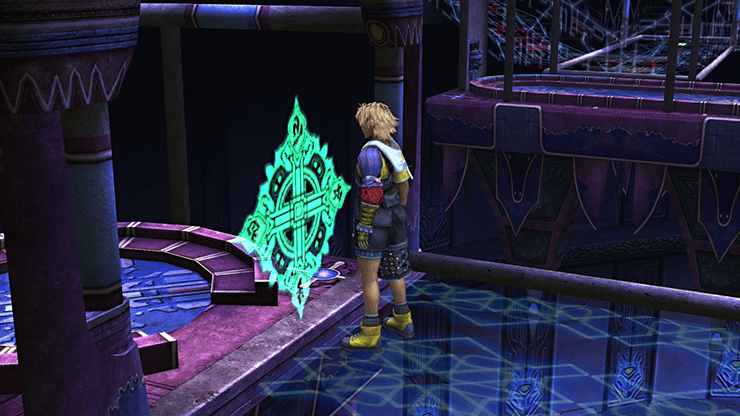
Navigate the platform over to area (1) to get started and pick up the ![]() Bevelle Sphere. Keep the Sphere in your hand and push the pedestal back onto the path to turn it back in to a movable platform again. You do not need to insert the second
Bevelle Sphere. Keep the Sphere in your hand and push the pedestal back onto the path to turn it back in to a movable platform again. You do not need to insert the second ![]() Bevelle Sphere into the pedestal!
Bevelle Sphere into the pedestal!
Ride the platform to area (2) and place the ![]() Bevelle Sphere in the recess on the far wall. This will cause another section of the track to appear. This is the missing track indicated on area (3) in the map above.
Bevelle Sphere in the recess on the far wall. This will cause another section of the track to appear. This is the missing track indicated on area (3) in the map above.
Push the pedestal back onto the track and ride it to area (4). The track loops back around and you will find yourself at another recess with a ![]() Bevelle Sphere in it. Take the Sphere out of the recess and place push the pedestal back onto the track.
Bevelle Sphere in it. Take the Sphere out of the recess and place push the pedestal back onto the track.
Ride the platform over to area (5) which will go across the broken piece of track that you repaired in area (3). Getting to area (5) can be fairly difficult as the arrows are right at the end of the track. You don’t have much time to catch it before the platform falls off the edge and resets.
One trick that has proven quite effective, as mentioned above, is just to hit the Button rapidly as you near the end of the track.
Insert the ![]() Bevelle Sphere into the wall on the left side which will illuminate the pathway on the far side of the pedestal.
Bevelle Sphere into the wall on the left side which will illuminate the pathway on the far side of the pedestal.

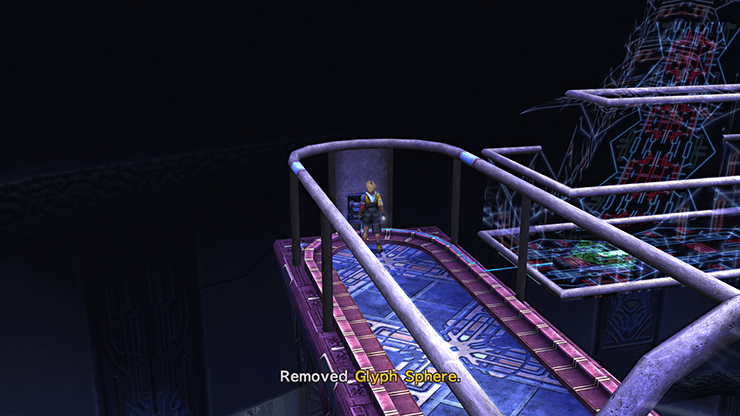
Push the pedestal back onto the track and ride it to area (6). Take the ![]() Glyph Sphere out of the wall on the far side and then take the platform back to area (5).
Glyph Sphere out of the wall on the far side and then take the platform back to area (5).
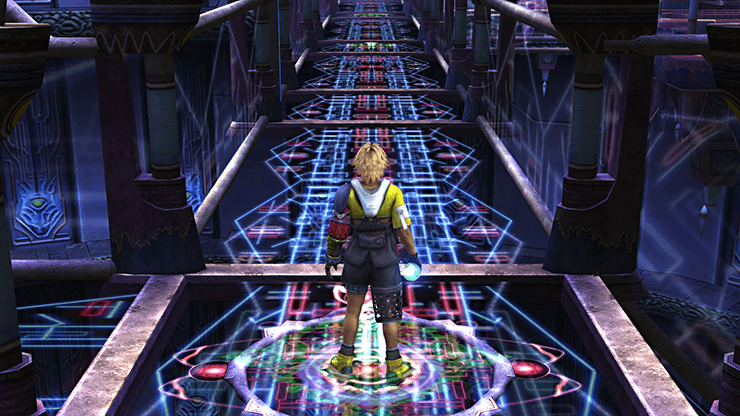
Walk across the walkway that you created using the ![]() Bevelle Sphere and place the
Bevelle Sphere and place the ![]() Glyph Sphere into the recess on the far wall. The wall will disappear revealing the
Glyph Sphere into the recess on the far wall. The wall will disappear revealing the ![]() Destruction Sphere.
Destruction Sphere.
Note that in this Cloister you actually have to use the ![]() Destruction Sphere as a requirement for completing the trial.
Destruction Sphere as a requirement for completing the trial.
Take the ![]() Destruction Sphere back to area (6) where you obtained the
Destruction Sphere back to area (6) where you obtained the ![]() Glyph Sphere and put it in the recess in the wall. This will cause the glyph in area (7) on the map to light up.
Glyph Sphere and put it in the recess in the wall. This will cause the glyph in area (7) on the map to light up.
Before you go to area (7) though go back to area (5) and take the ![]() Bevelle Sphere that you used to create the walkway out of the recess and then make your way to area (7). The platform will stop on the way to area (7) and you will have to push the pedestal on to the other side.
Bevelle Sphere that you used to create the walkway out of the recess and then make your way to area (7). The platform will stop on the way to area (7) and you will have to push the pedestal on to the other side.
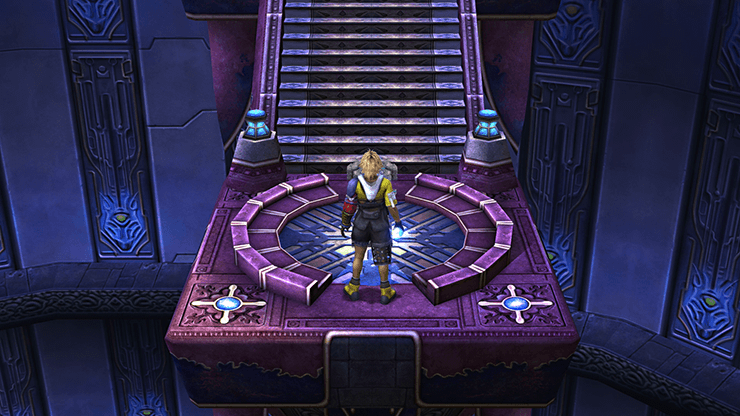
Climb the stairs and insert the ![]() Bevelle Sphere into the wall in the recess on the far side. You can also grab the treasure chest to the right (which contains an
Bevelle Sphere into the wall in the recess on the far side. You can also grab the treasure chest to the right (which contains an ![]() HP Sphere) but be careful not to go too far to the right as you will exit the Cloister of Trials.
HP Sphere) but be careful not to go too far to the right as you will exit the Cloister of Trials.
Step on the glyph that appears under the treasure chest to transport the pedestal up to your current location.
Push the pedestal onto the walkway that you just created and Tidus will ride it over to the treasure chest which contains a ![]() Knight Lance weapon for Kimahri. The Bevelle Cloister of Trials is now complete!
Knight Lance weapon for Kimahri. The Bevelle Cloister of Trials is now complete!
Head to the right, past the glowing glyph, to exit the cloister.
Click on the link below to return to the walkthrough section: