The next section of the game is fairly easy but, since we are on the world map, consider saving your game before venturing too far away from the bridge exit.
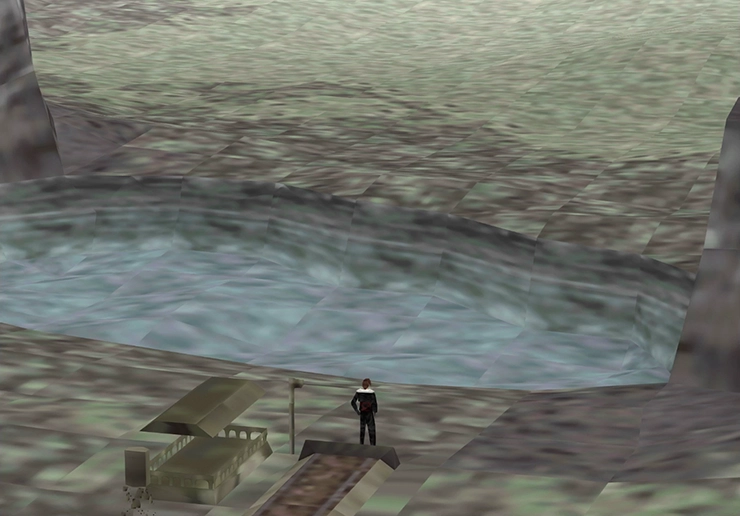
Your destination is a large, seemingly empty lake very close by. Approach it to continue with the next part of the story, which involves some brief dialogue between Edea and the rest of the team. You have one more opportunity to select which team members you wish to take. The same warning about whom you select applies here (read the helpful hint below).

While it can be fun to include Edea in your party temporarily, she is not a permanent addition to the group, and therefore, any experience or kills made by her are essentially going to waste. This is not a significant problem as she is only with your team for a very short amount of time, but its something to consider while you are making your party selection choices.
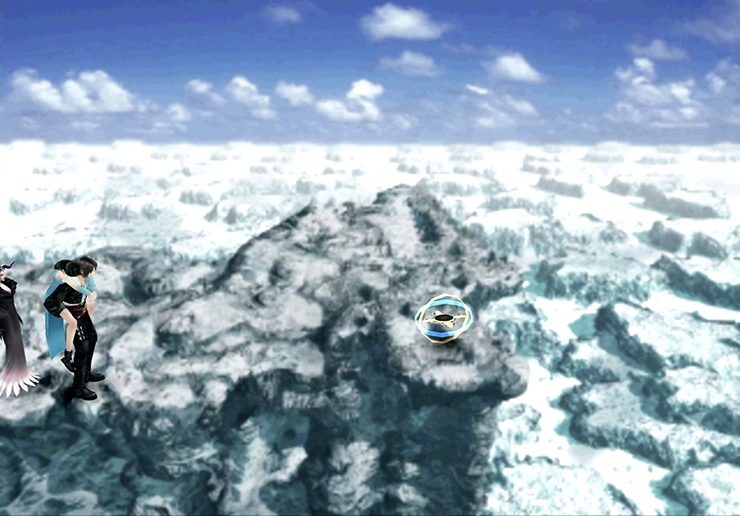
It’s tough to get lost in this area because there aren’t that many different directions that you can go. Unfortunately, all the different areas look very similar to one another. To make travelling through this area a bit easier, several screenshots are included below to help guide you.
Start by going forward and head straight into the next screen.
Tonberry has an ability called ![]() Familiar that allows you to purchase “rare” items from certain shops including the Timber shop and the upcoming shops in the city of Esthar. Definitely make sure that you have Tonberry focus on learning this ability as quickly as you can if you haven’t already. You may also want to check the
Familiar that allows you to purchase “rare” items from certain shops including the Timber shop and the upcoming shops in the city of Esthar. Definitely make sure that you have Tonberry focus on learning this ability as quickly as you can if you haven’t already. You may also want to check the ![]() Familiar ability link for the full list of available items.
Familiar ability link for the full list of available items.
You can also use the ![]() Call Shop ability to pull up the shops you visit from anywhere in the game. In order to do this though you will have to have the ability learned before you access the shops. Its worth hanging around in the Great Salt Lake battling enemies if you don’t have these two abilities.
Call Shop ability to pull up the shops you visit from anywhere in the game. In order to do this though you will have to have the ability learned before you access the shops. Its worth hanging around in the Great Salt Lake battling enemies if you don’t have these two abilities.
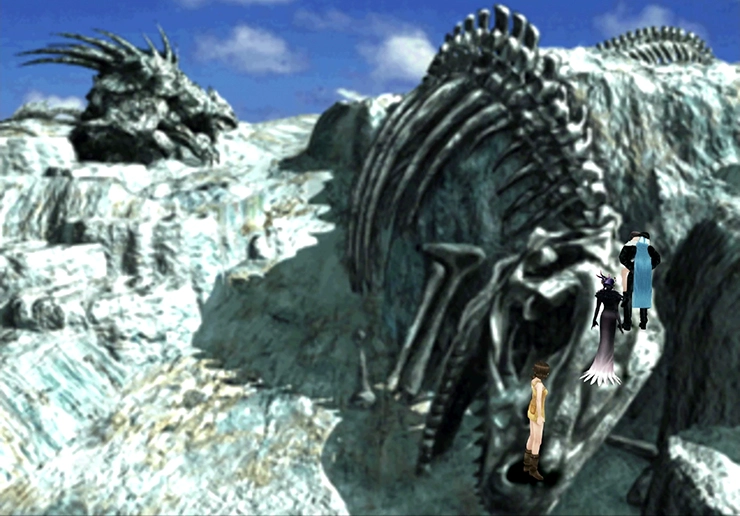
The next screen features a massive dinosaur skeleton on the right side. Instead of following the path on the left side of it, you can climb up the face of the skeleton as shown in the screenshot below. Continue to the right side of the screen.
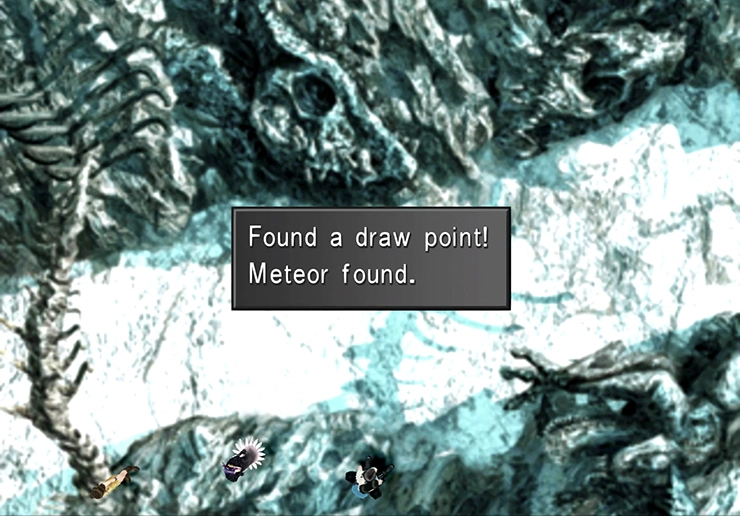
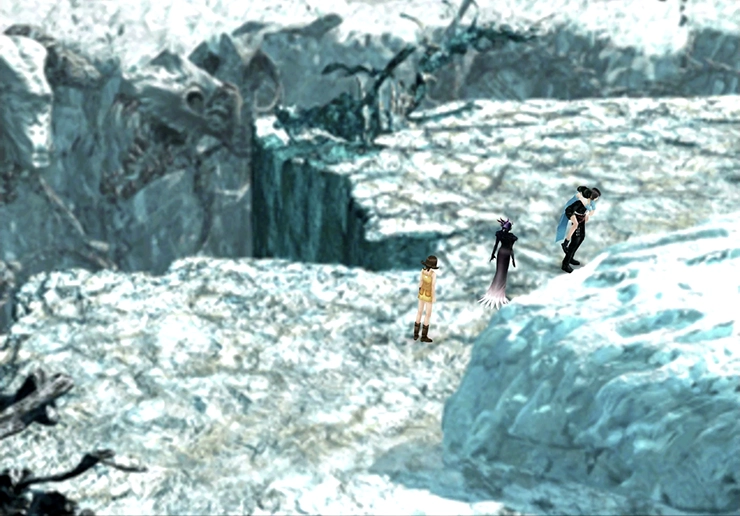
Squall will reappear at the bottom of the screen in front of a bridge that leads across a chasm with a walkway below. Before you cross the bridge, go to the right and use a hidden ![]() Meteor Draw Point (as shown below), then cross the bridge heading north.
Meteor Draw Point (as shown below), then cross the bridge heading north.
There is a ![]() Thundaga Draw Point as soon as you enter this next area, although there is a good chance that none of your characters need extra
Thundaga Draw Point as soon as you enter this next area, although there is a good chance that none of your characters need extra ![]() Thundaga magic at this point in the game. Draw from it if you need it, and then walk forward towards the ledge.
Thundaga magic at this point in the game. Draw from it if you need it, and then walk forward towards the ledge.
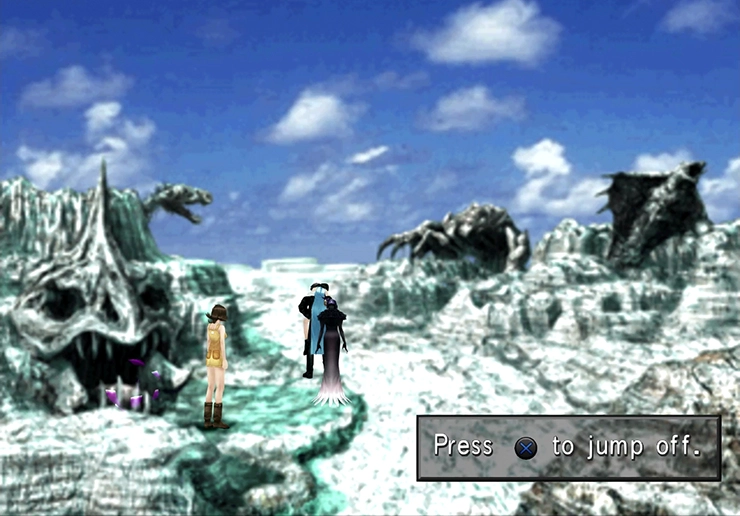
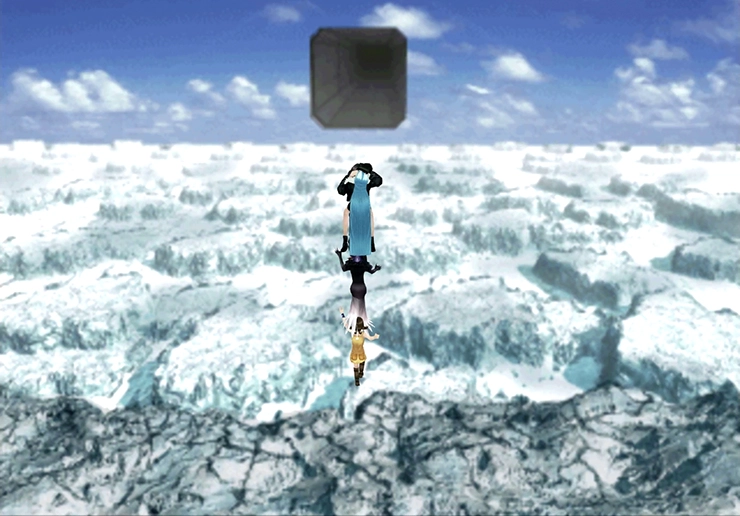
As you approach, a window will pop up allowing you to press the  Button to jump down, so do that now and then make your way north into the next screen.
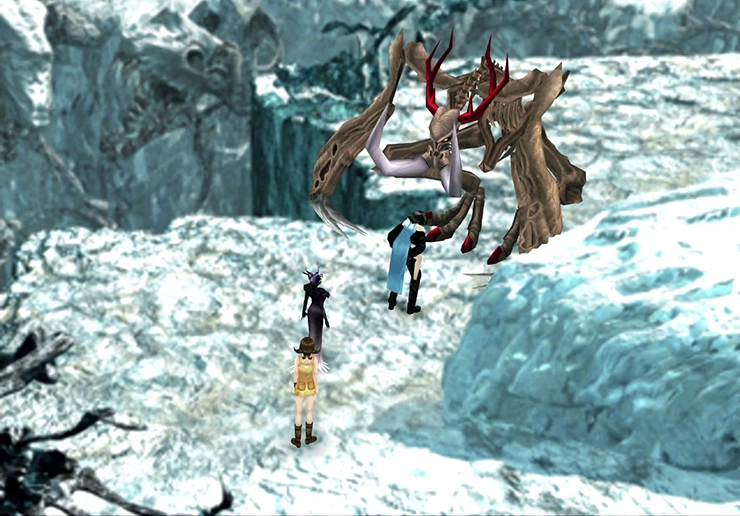
You can’t move forward in this next area, but you can travel to the left or to the right from here. The right pathway leads to a Save Point so consider saving your game. The left pathway leads to the next boss battle, although this boss fight is very easy. Travel left when you are ready.
In Game Description: A monster born of ancient bones deep in Great Salt Lake. It’s assumed that it came to life after the Great Salt Lake dried up.
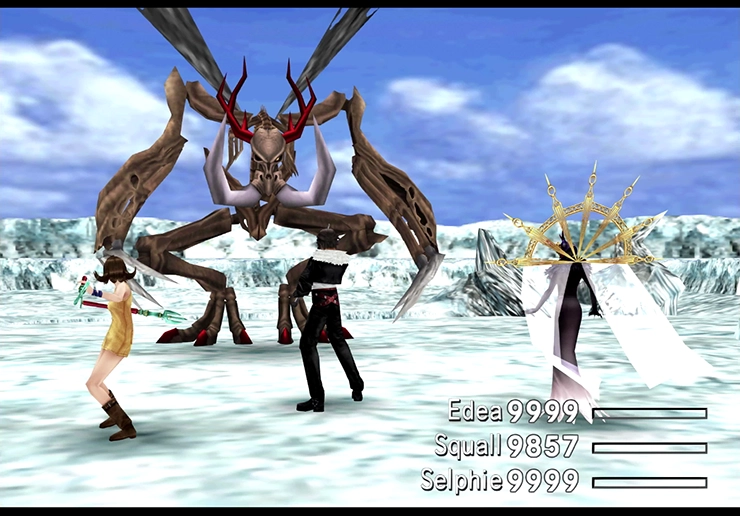
This is an extremely easy fight, and the game doesn’t even make you have to figure out that this is an undead-type enemy; it tells you right off the bat. Just like in the Gerogero battle back on the train car, you can use a ![]() Phoenix Down or an
Phoenix Down or an ![]() Elixir to kill Abadon instantly. That being said, this is an extremely easy fight even without having to rely on those mechanics.
Elixir to kill Abadon instantly. That being said, this is an extremely easy fight even without having to rely on those mechanics.
Before you instantly one-shot Abadon, considering Drawing some ![]() Flare magic and trying to
Flare magic and trying to ![]() Mug a
Mug a ![]() Power Wrist from it.
Power Wrist from it.
Follow the pathway along and to the right after you have defeated the Abadon. It naturally drifts to the right.
As you pass through the next screen, you will see a strange hexagonal structure that looks like a door flash on the screen from time to time. Press the Button near the doorway to have Squall and his team climb up the ladder and in through the entryway.
There are quite a few screens to go through, as well as some dialogue, but the story will keep rolling forward without you having to do much until the team lands at the entrance to Esthar. Before that, though, its time for one last Laguna Dream Sequence…