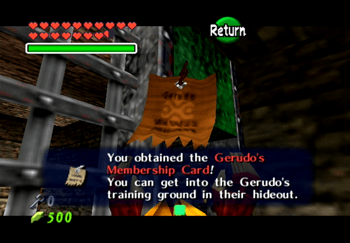
You can only complete the Gerudo Training Ground mini-dungeon after you have freed all four of the carpenters from the Gerudo Fortress and obtained the Gerudo’s Membership Card so that you can travel freely around the Thieves’ Hideout.
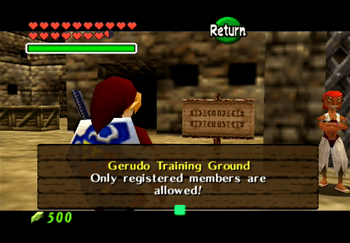
Speak to the Gerudo Thief wearing white in front of the fenced off doorway near the Thieves Hideout and she will offer to allow you attempt the training for 10 Rupees. Pay the fee and go inside.
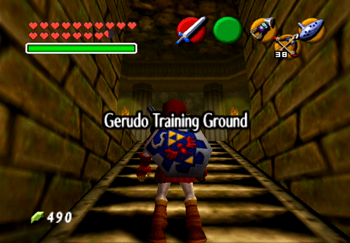
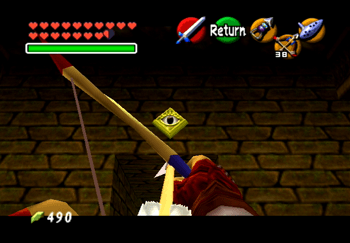
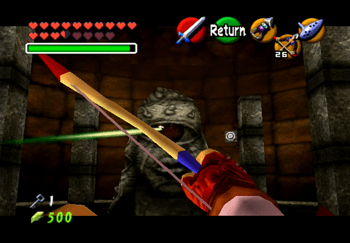
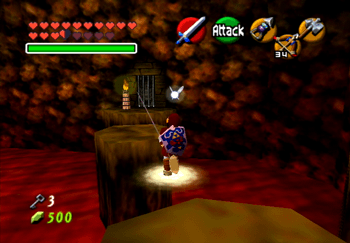
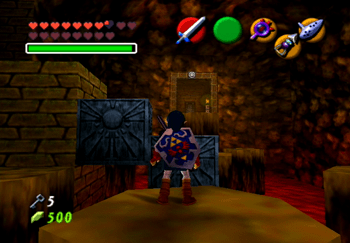
Enter the dungeon and immediately turn around to see a golden eye attached to the wall above the entrance. Hit the eye with an arrow from the ![]() Fairy Bow and open up the treasure chest to receive a Blue Rupee. Open the treasure chest on the opposite side to receive a bundle of arrows. Go through the doorway on the left side (facing the direction you came in).
Fairy Bow and open up the treasure chest to receive a Blue Rupee. Open the treasure chest on the opposite side to receive a bundle of arrows. Go through the doorway on the left side (facing the direction you came in).
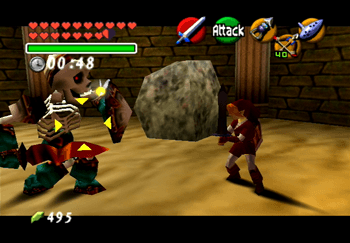
The goal in this room is to defeat all of the enemies within 1:00 minute. The two enemies that you have to defeat are two Stalfos. Use the ![]() Biggoron’s Sword if you have it to make quick and easy work of both of them. Use thrusting blows – target them with L or Z Targeting, tilt the control stick forward, make sure you are far enough away and the blow will always hit the Stalfos instead of their shield.
Biggoron’s Sword if you have it to make quick and easy work of both of them. Use thrusting blows – target them with L or Z Targeting, tilt the control stick forward, make sure you are far enough away and the blow will always hit the Stalfos instead of their shield.
Open up the treasure chest and obtain the Small Key once you successfully defeat them. Go through the doorway to the right of the treasure chest.
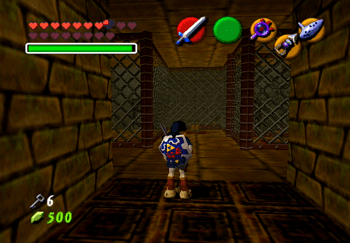
The next room challenges you to obtain all of the Silver Rupees before the 1:30 minute timer runs out. Go forward and take the second right turn. Turn right and then right one more time to find a Silver Rupee but be careful not to run too far forward or you will hit a flame wall. Run backwards and back down the pathway, past the ramp that you came up and then take the next left.
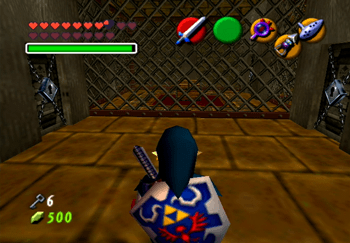
Use the ![]() Longshot to aim for the target that will cross the path of both of the Silver Rupees as you look back towards the door. Take left pathway this time and then take another left to grab another Rupee. Follow the pathway all the way up to the top (dodging the boulders) to grab the last Silver Rupee. Use the video below to help guide you:
Longshot to aim for the target that will cross the path of both of the Silver Rupees as you look back towards the door. Take left pathway this time and then take another left to grab another Rupee. Follow the pathway all the way up to the top (dodging the boulders) to grab the last Silver Rupee. Use the video below to help guide you:
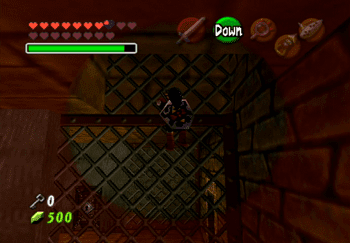
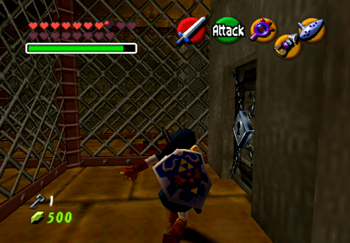
You will have to use the ![]() Longshot to get through the doorway on the other side as shown in the screenshot below.
Longshot to get through the doorway on the other side as shown in the screenshot below.
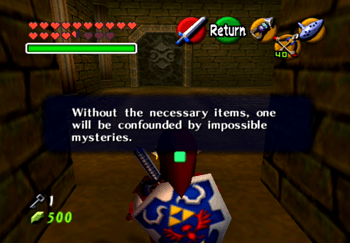
The clue to the next room is “[w]ithout the necessary items, one will be confounded by impossible mysteries.” Start things off by defeating the two Wolfos and two White Wolfos enemies. Open up the treasure chest to obtain a bundle of arrows.
Activate the ![]() Lens of Truth and look above the doorway to find a hidden area with a target that you can hit with the
Lens of Truth and look above the doorway to find a hidden area with a target that you can hit with the ![]() Longshot. Walk down the hallway and step on the switch. Go through the doorway into the next room.
Longshot. Walk down the hallway and step on the switch. Go through the doorway into the next room.

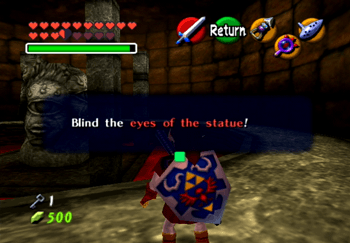
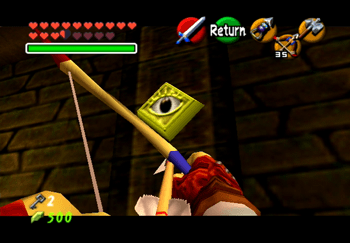
Drop down to the rotating platform and the clue will be given indicating what to do: “Blind the eyes of the statue!”. Pull out your ![]() Fairy Bow and hit each of the eyes by standing on the platform and aiming an arrow at the eye as you rotate past.
Fairy Bow and hit each of the eyes by standing on the platform and aiming an arrow at the eye as you rotate past.
You have to hit them all in succession in order to complete the puzzle. Use the ![]() Hover Boots to float out into the center platform and open the treasure chest to pick up another Small Key. Go through the door underneath the target.
Hover Boots to float out into the center platform and open the treasure chest to pick up another Small Key. Go through the door underneath the target.
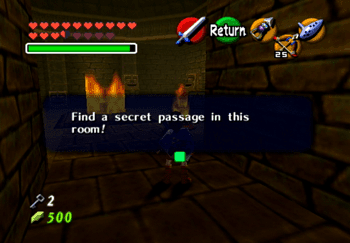
Once you walk into the room you will be given your next clue: there is a secret passage somewhere in this room. Start off by destroying all of the Torch Slugs and the Fire Keese Bat. This will release the door and make another small treasure chest appear. Open up the treasure chest to receive another bundle of arrows.
Pull out the ![]() Megaton Hammer and use it to smash away the block near the south east side of the room to find a golden eye. Shoot the golden eye with an arrow to unlock the door that you came through. Hit the other blocks close to there with the
Megaton Hammer and use it to smash away the block near the south east side of the room to find a golden eye. Shoot the golden eye with an arrow to unlock the door that you came through. Hit the other blocks close to there with the ![]() Megaton Hammer to find a switch hiding in the ground.
Megaton Hammer to find a switch hiding in the ground.
Step on the switch and grab the treasure chest in the middle of the room to pickup another Small Key. Go through the doorway on the right side (the one directly attached to the wall, not down the hallway).
The next room contains a number of Silver Rupee – the hint for the room is “Cross the sea of fire!”. Not very helpful. The first Silver Rupee is right near the door that you came through. Walk forward and turn around to see a ![]() Longshot target. Hit the target to obtain the Silver Rupee.
Longshot target. Hit the target to obtain the Silver Rupee.
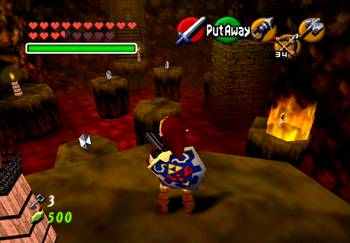
You can use the ![]() Hover Boots in this room to make picking up the Silver Rupees a lot easier but you don’t need them in order to get around. Step on the switch on the far side of the room to stop the fire on the closest platform and then run over as quickly as you can to obtain that last Silver Rupee. Go through the doorway that opens.
Hover Boots in this room to make picking up the Silver Rupees a lot easier but you don’t need them in order to get around. Step on the switch on the far side of the room to stop the fire on the closest platform and then run over as quickly as you can to obtain that last Silver Rupee. Go through the doorway that opens.
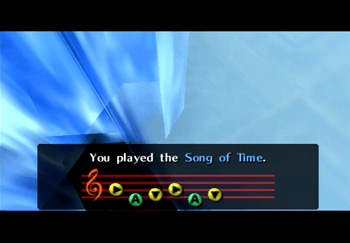
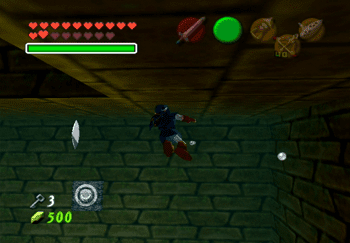
The clue for the next room is: “Collect the underwater gems!”. Stand near the blue stones and play the Song of Time on the ![]() Ocarina of Time to get all four stones to disappear. Equip your
Ocarina of Time to get all four stones to disappear. Equip your ![]() Zora Tunic and the
Zora Tunic and the ![]() Iron Boots to sink down to the bottom of the pool of water.
Iron Boots to sink down to the bottom of the pool of water.
Gathering all of the Silver Rupees involves using your ![]() Longshot and hitting the targets on the wall. You also have to remove your
Longshot and hitting the targets on the wall. You also have to remove your ![]() Longshot at times to obtain some of the Rupees. Open up the treasure chest to pick up another Small Key. Exit the room and head through the doorway to the left.
Longshot at times to obtain some of the Rupees. Open up the treasure chest to pick up another Small Key. Exit the room and head through the doorway to the left.
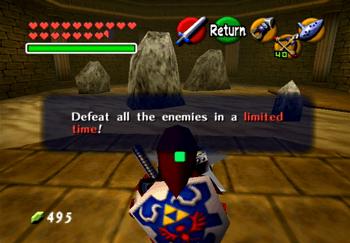
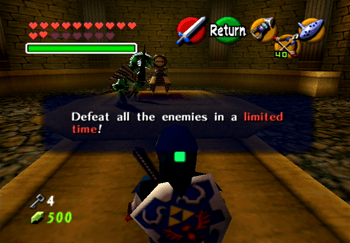
The clue for this room is: “Defeat all the enemies in a limited time!”. These enemies are much easier to defeat than Stalfos enemies. The Beamos needs to be destroyed with a Bomb. Be careful getting too close to the walls as they light up with flames when you get too close. Grab the treasure chest after you defeat the enemies to obtain another Small Key.
Go back into the lava room and stand on the platform leading to where the switch is. Pull out the ![]() Ocarina of Time and play the Song of Time to cause two Stones of Time to appear in front of the platform on the left side of the room.
Ocarina of Time and play the Song of Time to cause two Stones of Time to appear in front of the platform on the left side of the room.
Climb up the blue stones and grab the Small Key and then go through the doorway. Kick open the small chest just up in front to pick up some free Bombchus. Follow the other pathway around to find another treasure chest that contains a bundle of arrows.
Travel back to the room with the two Lizalfos and the Beamos and then take the other doorway. This will lead you back out entrance to the Gerudo Training Ground. Travel through the center doorway to find the room with all of the locked doors leading to the treasure in this dungeon.
Go through the locked door on the left. Search the roof of this room while using the ![]() Lens of Truth to find a secret passageway leading up. Climb up and open the treasure chest to obtain another Small Key. Climb back down and then open the door in this room. Open the treasure chest to pick up a Purple Rupee.
Lens of Truth to find a secret passageway leading up. Climb up and open the treasure chest to obtain another Small Key. Climb back down and then open the door in this room. Open the treasure chest to pick up a Purple Rupee.
Continue through the next locked door and the one after that. You should now be down to 2 Small Keys. Open up the treasure chest to find a Red Rupee. Go through the next locked door to find another bundle of arrows.
Go through the last two locked doors and open the large treasure chest to obtain the ![]() Ice Arrows – your reward for successfully completing the dungeon.
Ice Arrows – your reward for successfully completing the dungeon.
There are more rooms and Small Keys that can be found in this dungeon, but the remainder of the rewards are inconsequential. Exit the dungeon through the main entrance.