The next dungeon is the Great Crystal. It may seem overly complex at first, but the actual pathway is fairly linear (for this part of the game). The only disadvantage that you will have is the inability to access a mini-map to track your way through the dungeon.
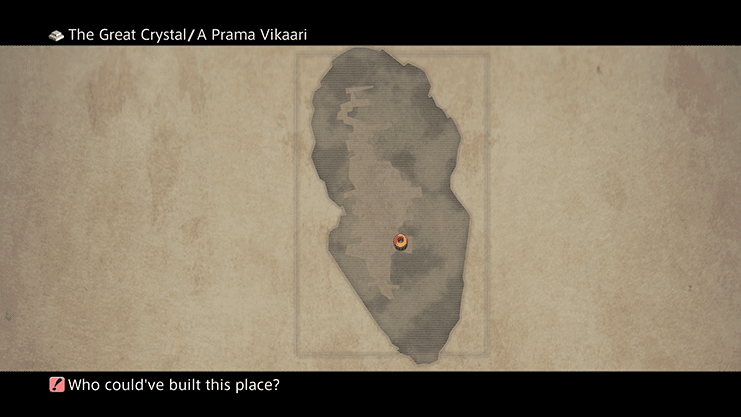
The best way to keep track of where you are is to pull open the menu screen which will tell you which area/zone you are in and you can use that to align with the proper section of the strategy guide below.
Each of the pathways that you can take will be described based on whether they aim upward or downward from the current platform that you stand on. The end goal is to travel to the “bottom” of the Great Crystal. Use the map below as well as the paragraphs below to help guide you through the zone:
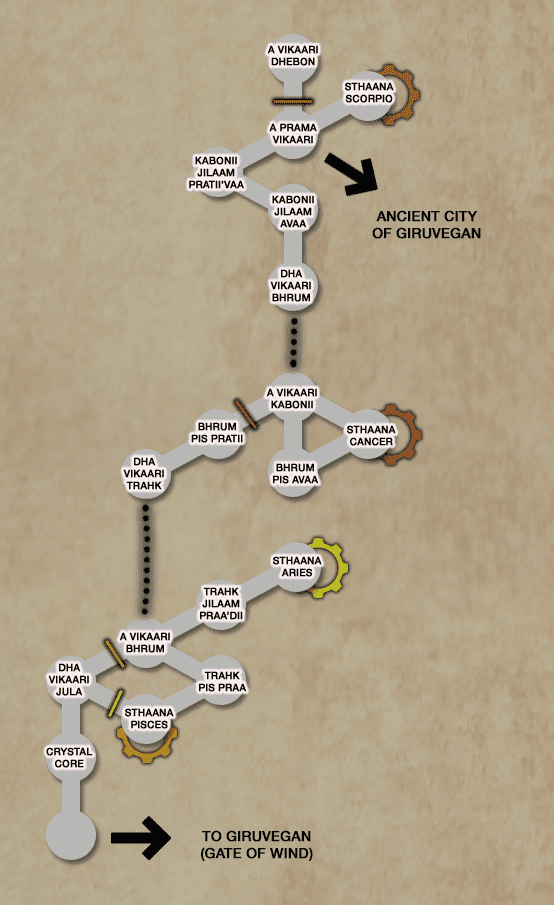
(Click on the map to enlarge)
This is the very start of the dungeon. This first platform has three pathways that you can take with one of them blocked by a seal. One of the non-sealed pathways off the platform leads up and one leads down. Take the pathway leading downward.
Defeat the Ose enemies and take the next pathway down again.
Take one more pathway downward.
This platform contains Way Stone VII. Use it to warp to the next zone.
There are three pathways – one straight ahead, one to the left and one to the right. Take the one to the left which leads down.
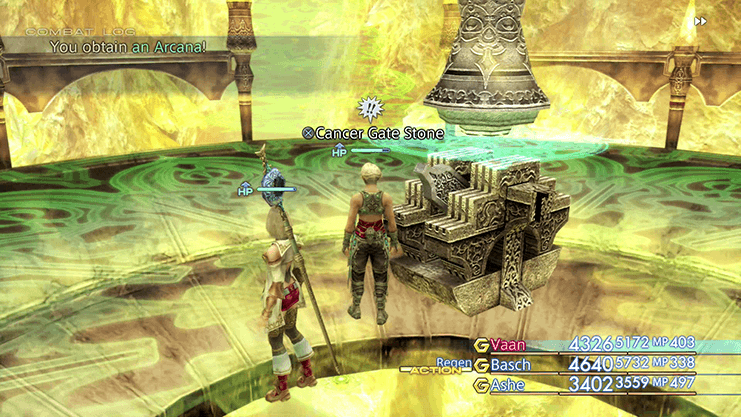
Travel to the bottom platform, clear out the two Mythril Golems and touch the Cancer Gate Stone.
Take the opposite pathway from the one you took to get here (leading upward).
There is a treasure chest on this platform which contains a ![]() Holy Rod. Collect it and then head down the other pathway leading back to the previous Way Stone.
Holy Rod. Collect it and then head down the other pathway leading back to the previous Way Stone.
Take a left and head down the newly opened pathway that is no longer blocked by the Cancer gate.
Grab the treasure chest (which contains a ![]() Gold Hairpin) and then go straight over the platform and into the next area.
Gold Hairpin) and then go straight over the platform and into the next area.
Touch Way Stone V to reach the next area.
There are two open pathways and one blocked off by a gate. Take the pathway on the left that leads upward.
There is a treasure chest that you can pick up on this platform that contains ![]() Ninja Gear. Continue across to the next platform.
Ninja Gear. Continue across to the next platform.
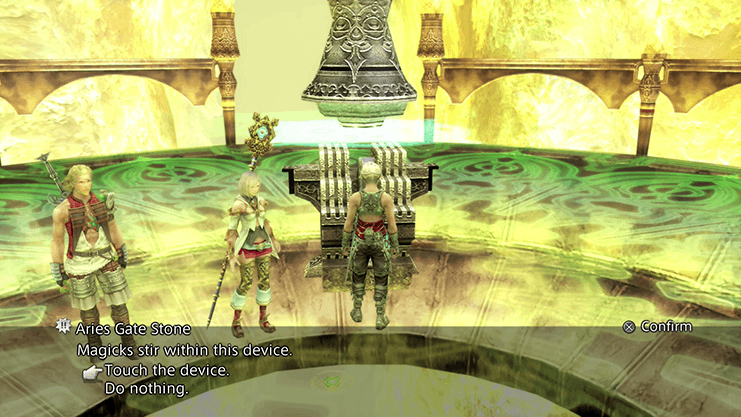
Approach the Gate Stone and you will be ambushed by a few Necrophobe enemies. Kill them and then touch the Aries Gate Stone. Travel back to the Way Stone on A Vikaari Bhrum.
Take the pathway that leads down.
Grab the treasure chest (which contains a set of ![]() Gaia Gear) and then take the opposite exit from the platform and head down one more time.
Gaia Gear) and then take the opposite exit from the platform and head down one more time.
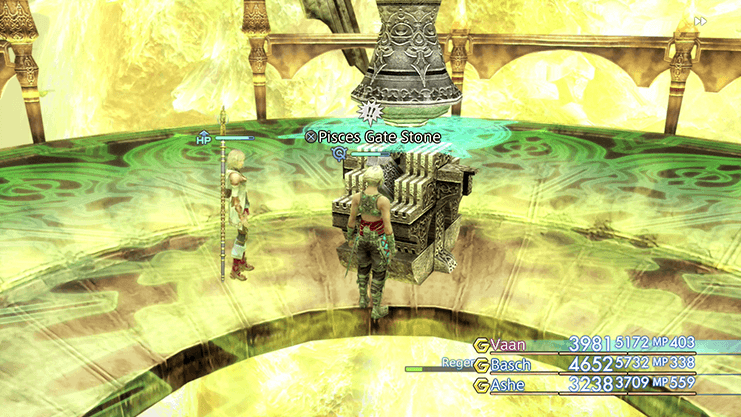
Dispense the two Mythril Golems and touch the Pisces Gate Stone. Take the pathway on the left that leads up.
Touch the Way Stone to warp to the next zone.
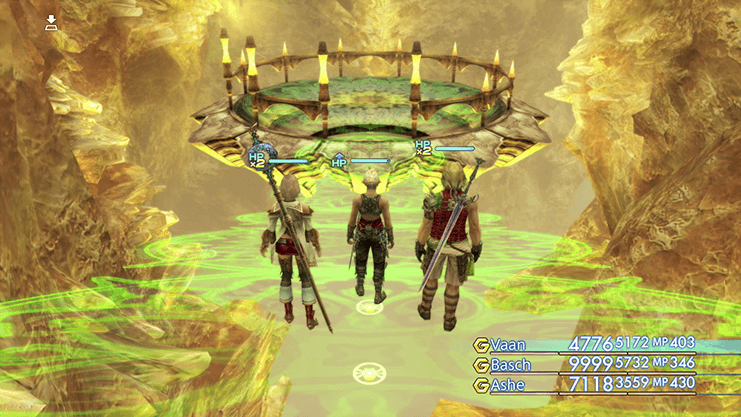
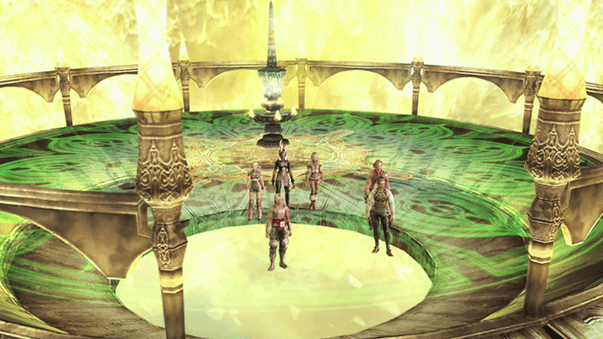
There is a cutscene that takes place as soon as you reach the Crystal Core. The team will discuss the Nethicite and its ability to destroy all of Ivalice. Walk forward and touch the Way Stone on the next platform after using the Save Crystal.
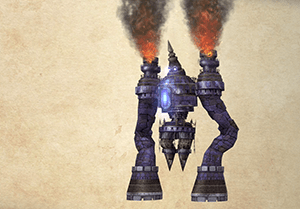
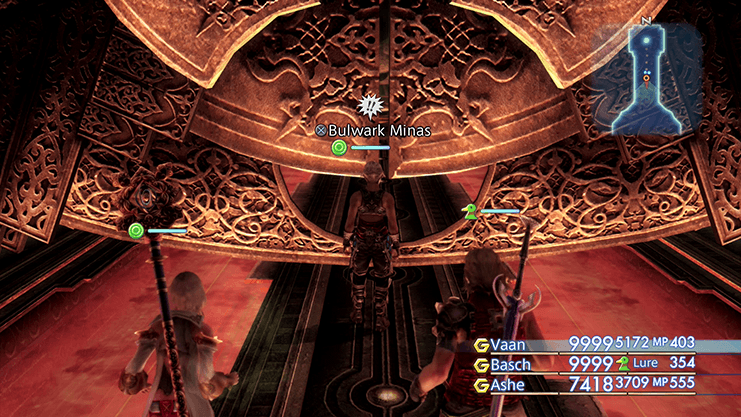
It’s time to do battle with another Esper. Prepare your party before you open the Bulwark Minas doorway. Make sure that your party is fully buffed and de-equip any elemental weapons.
Level: 25
HP: 91,136
Steal: ![]() Sagittarius Gem (55%),
Sagittarius Gem (55%), ![]() Hi-Ether (10%),
Hi-Ether (10%), ![]() High Arcana (3%)
High Arcana (3%)
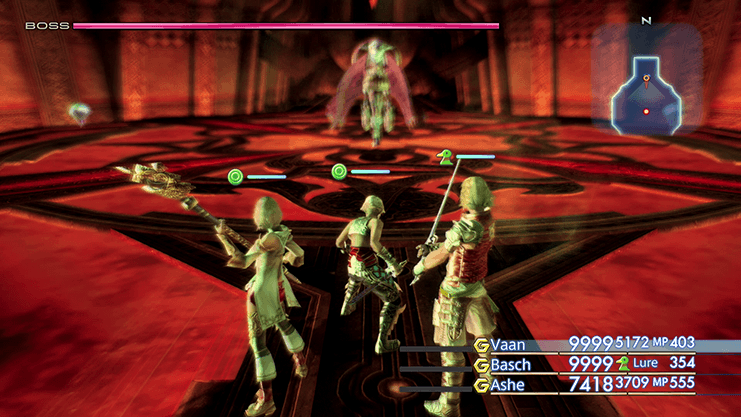
Shemhazai’s attacks are entirely focused on Magick. She will hit you with an abundance of elemental attacks, so keep ![]() Shell active for the duration of the fight. You should also equip a
Shell active for the duration of the fight. You should also equip a ![]() Rose Corsage on your healer to prevent them from being Silenced and set up an
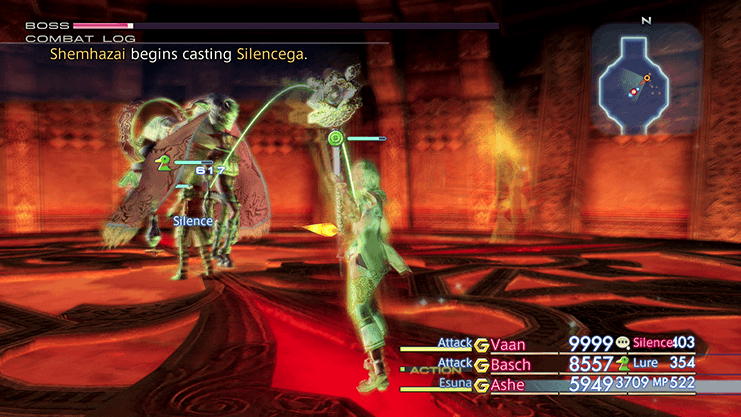
Rose Corsage on your healer to prevent them from being Silenced and set up an ![]() Esuna Gambit to remove it from your other party members. Shemhazai will use
Esuna Gambit to remove it from your other party members. Shemhazai will use ![]() Silencega several times throughout the fight.
Silencega several times throughout the fight.
Set up a ![]() Dispel Gambit to remove the beneficial status effects from her at the beginning of the fight (she starts off pre-buffed with the spell).
Dispel Gambit to remove the beneficial status effects from her at the beginning of the fight (she starts off pre-buffed with the spell).
Shemhazai’s regular attack has a chance of inflicting the Disease status effect. Set up a Gambit to use a ![]() Serum on any party members that are affected by the status as the
Serum on any party members that are affected by the status as the ![]() Esuna spell will not be able to remove it. Her other attacks do Magick-based damage, for a fair amount of HP, but they are not too difficult to deal with.
Esuna spell will not be able to remove it. Her other attacks do Magick-based damage, for a fair amount of HP, but they are not too difficult to deal with.
A video of the battle in the Zodiac Age version is included below:
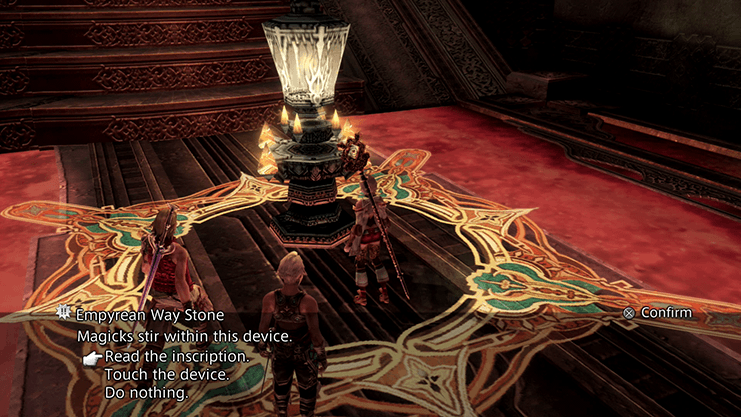
Head south towards the Empyrean Way Stone and touch the device to move on to the next zone.
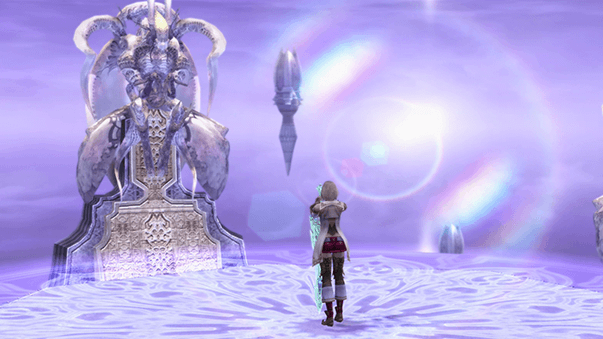
There is another long cutscene that takes place involving Ashe speaking to the Occurians and retrieving the ![]() Treaty-Blade. Ashe will rejoin the party and the team will collectively decide to return to Balfonheim Port to speak with Reddas.
Treaty-Blade. Ashe will rejoin the party and the team will collectively decide to return to Balfonheim Port to speak with Reddas.
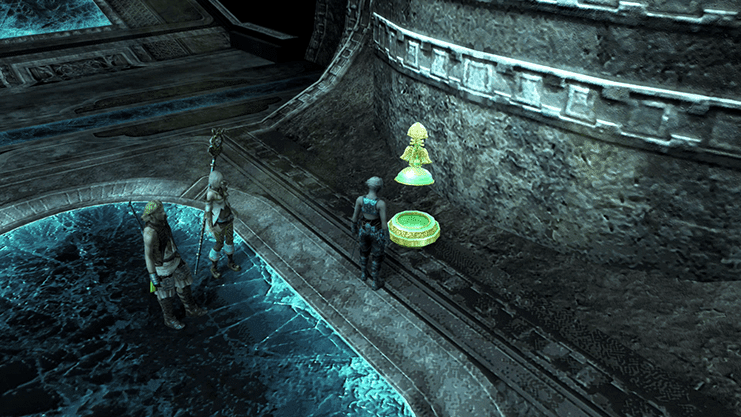
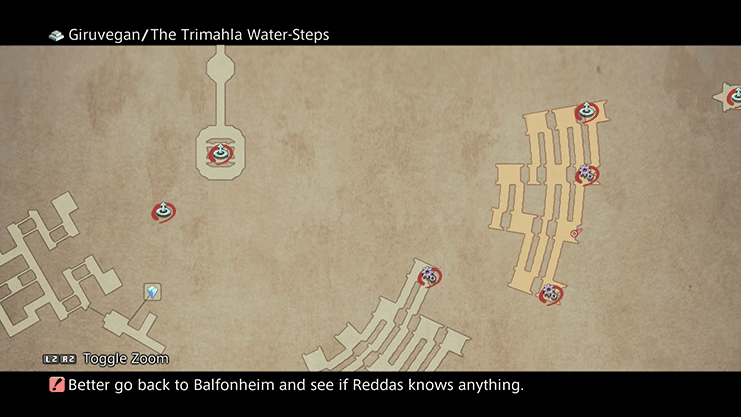
Note that once Shemhazai has been defeated you can return to the Trimahla Water-Steps to retrieve the map of the Ancient City of Giruvegan. Use the screenshots below to help you locate it.
You can also obtain the optional Esper, Ultima, in the Great Crystal, while you are here. The battle against Ultima is quite a difficult one, however, so it is recommended that you save this battle until later on in the game. This guide will indicate a more appropriate time to attempt this fight later on.
It is now time to return to the Port of Balfonheim where you last met with Reddas, the Sky Pirate. His Manse is located in Saccio Lane.