This is the first zone of the Salikawood. The enemies in this area are fairly easy to deal with and are very similar to previous enemies that you’ve faced.
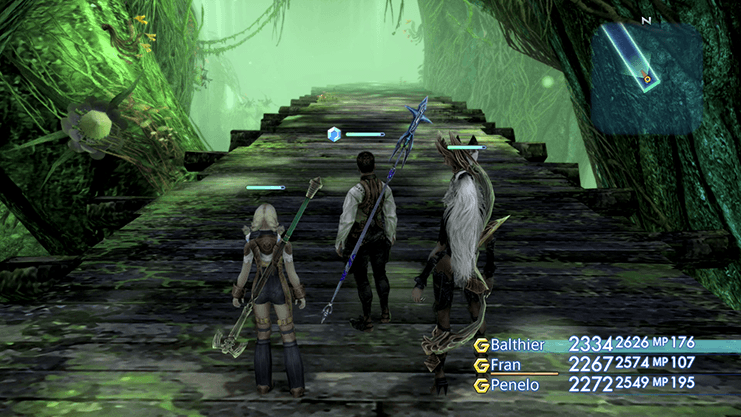
Be prepared to deal with a few status effects though, such as ![]() Silence and
Silence and ![]() Sleep, and have an
Sleep, and have an ![]() Esuna Gambit set up on one or two of your characters. Continue north into the next area.
Esuna Gambit set up on one or two of your characters. Continue north into the next area.
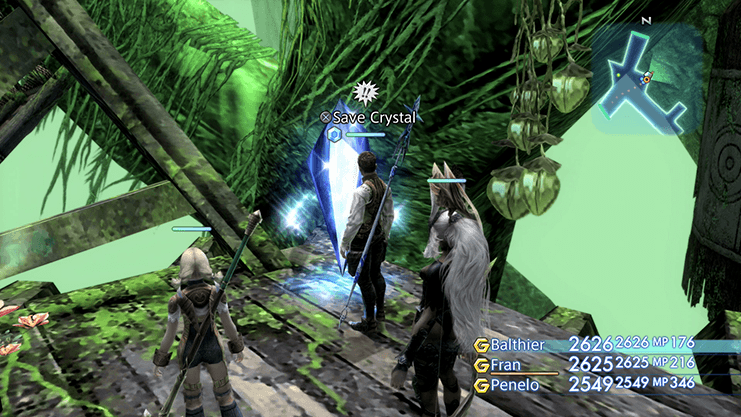
This area is not a formal town but it does have a Save Crystal where you can save your game and refill your health.
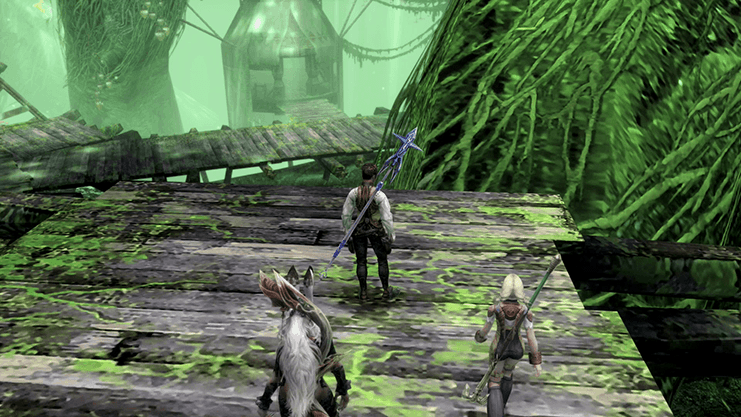
There is nothing else that you can do in this area currently. You will have a small side quest coming up that involves Forest Bungalow later on in the game but it can be ignored for now. Head north again into the next area.
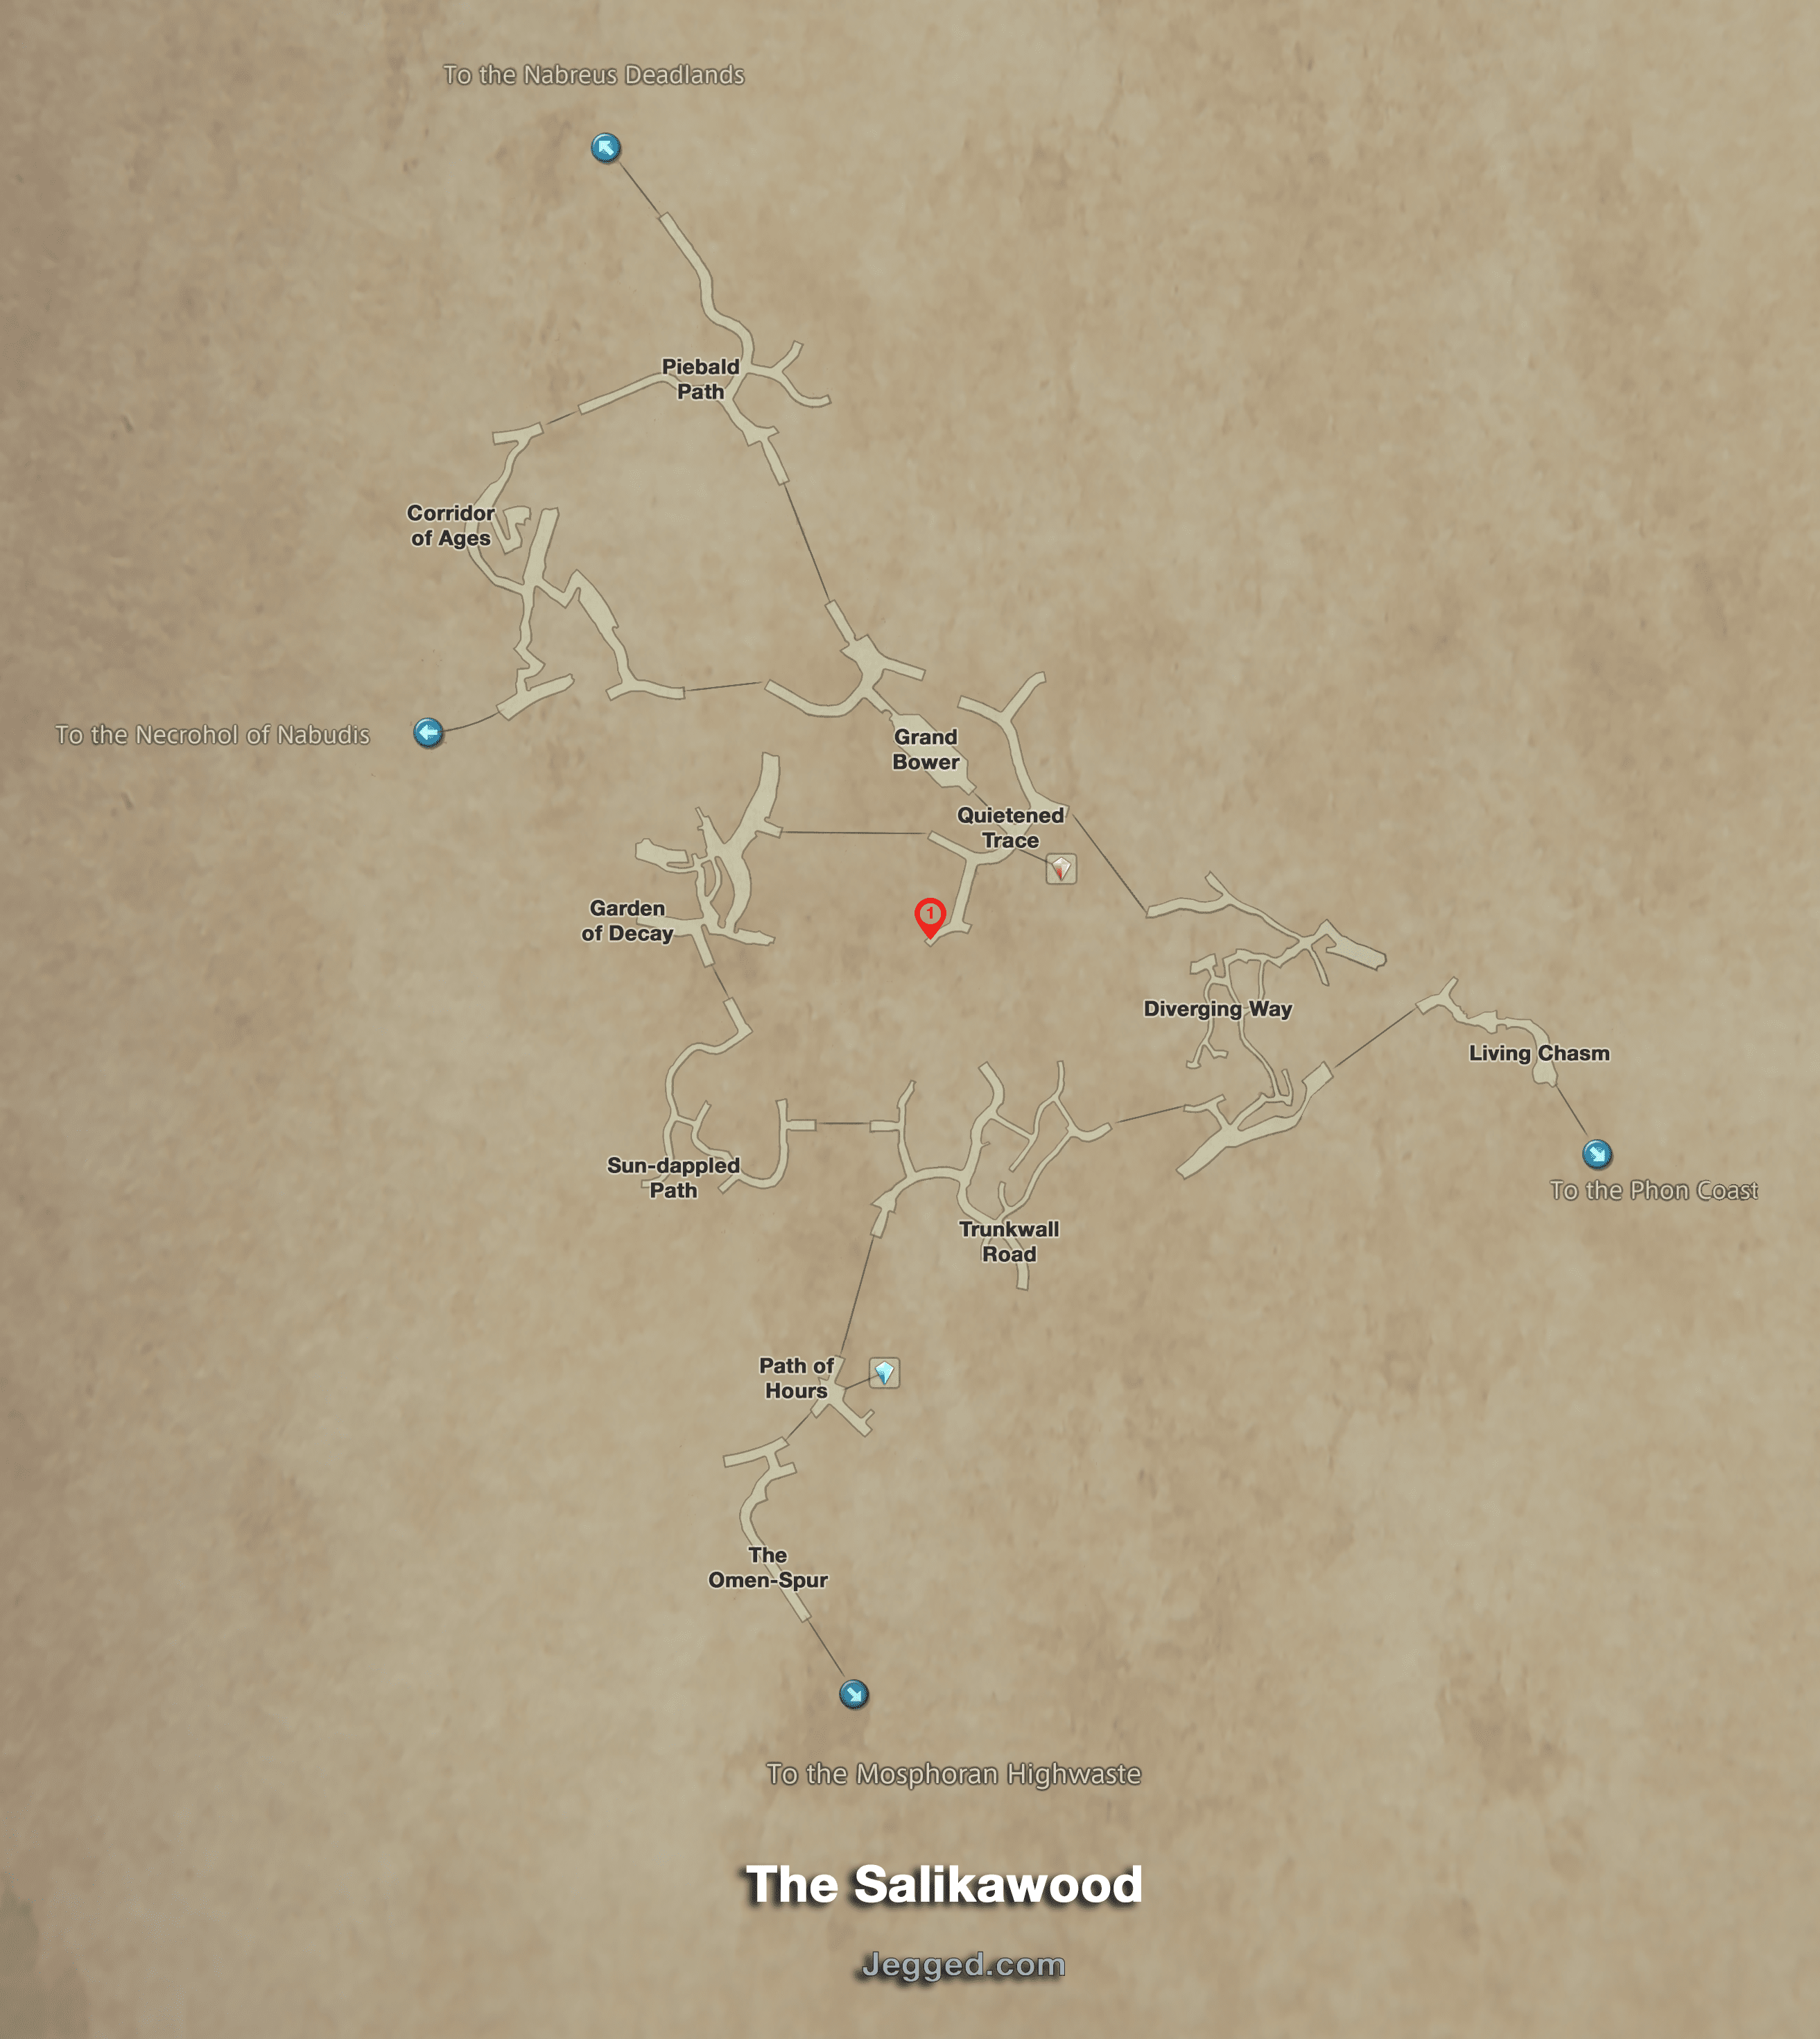
Start off by taking a right at the fork in the road and follow the path as it curves around to the south. You will find a green Urn at the end of the path that contains the map of the Salikawood.
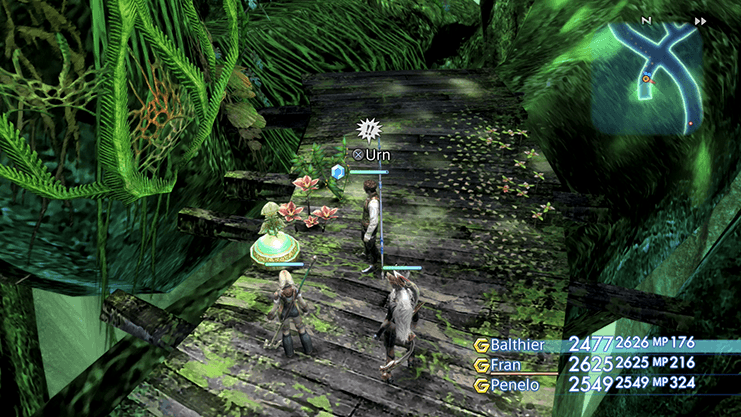
Use the map, either by using the  Button or by referring to the map on this strategy guide page, to find your way to the Quietened Trace area. You can make your way there by going through the Diverging Way or by going through the Sun-dappled Path and Garden of Decay.
Start off by saving your game at the orange Save Crystal. Touching this Save Crystal will allow you to easily warp back to the Salikawood later on in the game if you need to. There is a semi-optional boss that you can find in the area north of the Quietened Trace in an area called the Grand Bower.
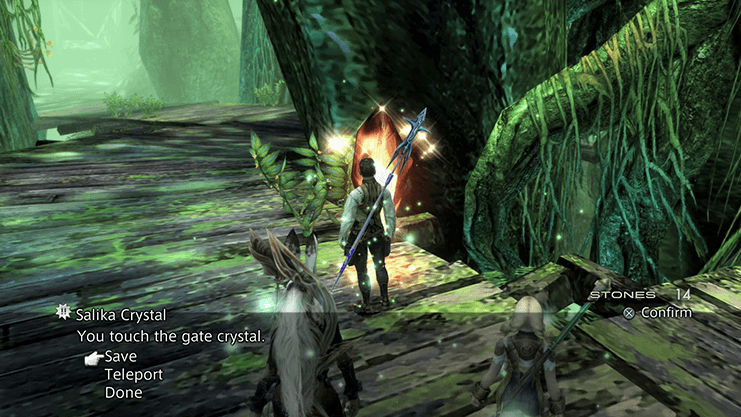
You can skip this boss at this point in the game, but using this strategy guide, you should have no trouble defeating it, and you will need to defeat it in order to complete the two side quests listed below the boss. If you would prefer to skip this optional boss and these two side quests, skip down to the Living Chasm section below.
Note that one of the “optional side quests” being referred to is to obtain the ![]() Zodiac Spear which can only be obtained in the original PlayStation 2 version of the game and not in PlayStation 4: Zodiac Age version of the game, so there is only one extra Hunt to complete if you are playing the Zodiac Age.
Zodiac Spear which can only be obtained in the original PlayStation 2 version of the game and not in PlayStation 4: Zodiac Age version of the game, so there is only one extra Hunt to complete if you are playing the Zodiac Age.
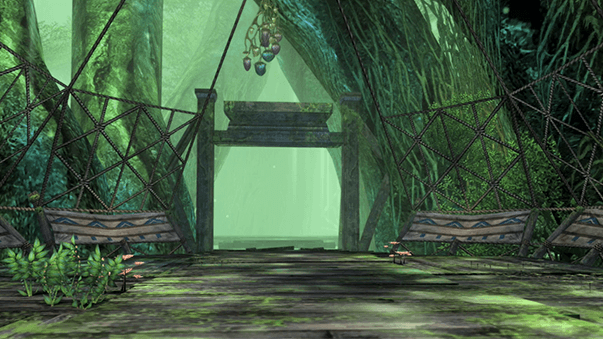
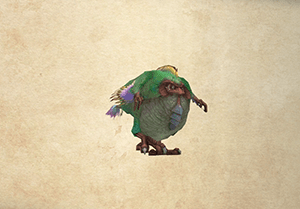
Read the preparation tips below and then move into the Grand Bower when you are ready to begin the fight.
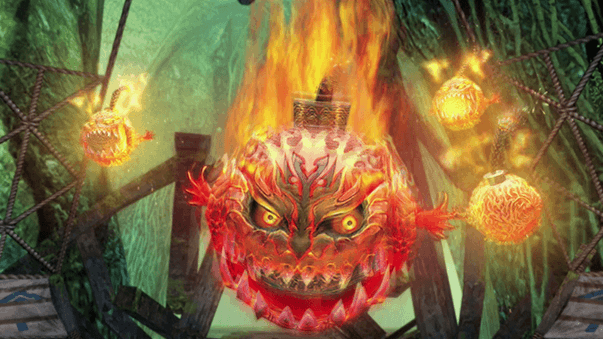
Level: 34
HP: 37,596
Steal: ![]() Bomb Shell (55%),
Bomb Shell (55%), ![]() Fire Crystal (10%),
Fire Crystal (10%), ![]() Bomb Fragment (3%)
Bomb Fragment (3%)
Make liberal use of the orange Save Crystal just outside of the Grand Bower before you initiate the fight. Make sure that you cast ![]() Protect,
Protect, ![]() Shell,
Shell, ![]() Regen,
Regen, ![]() Bravery and
Bravery and ![]() Faith on all of your characters and then touch the orange Save Crystal again to refill the MP that you spent casting those spells.
Faith on all of your characters and then touch the orange Save Crystal again to refill the MP that you spent casting those spells.
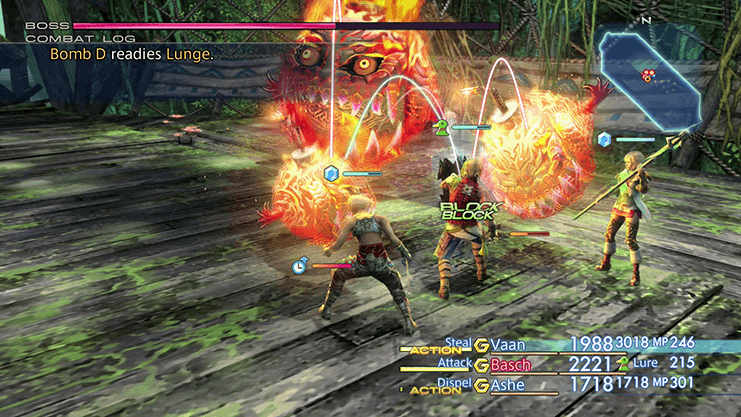
Set up a Gambit with one (or more) of your characters to use a ![]() Handkerchief item on any of your allies to remove the Oil status effect. This negative status effect can be devastating during the fight as King Bomb and all of its summoned Bombs will attack with fire-based Magick (which does increased damage to characters affected by Oil).
Handkerchief item on any of your allies to remove the Oil status effect. This negative status effect can be devastating during the fight as King Bomb and all of its summoned Bombs will attack with fire-based Magick (which does increased damage to characters affected by Oil).
You may want to set up one of your characters to use Water-based Magick against these enemies as they are weak to that element.
![]() Dispel King Bomb at the beginning of the fight to remove its Haste Status and have one of your party members continually cast
Dispel King Bomb at the beginning of the fight to remove its Haste Status and have one of your party members continually cast ![]() Silence on it. It will cast
Silence on it. It will cast ![]() Renew on itself twice if not Silenced which isn’t the end of the world, but is preventable. That being said, in the Zodiac Age version of the game, it can cast
Renew on itself twice if not Silenced which isn’t the end of the world, but is preventable. That being said, in the Zodiac Age version of the game, it can cast ![]() Renew indefinitely (or enough times that it seems indefinite). Make sure that you keep King Bomb
Renew indefinitely (or enough times that it seems indefinite). Make sure that you keep King Bomb ![]() Silenced for the duration of the fight.
Silenced for the duration of the fight.
Try equipping one (or many) of your characters with Fire-resistant armor if you are struggling with this fight. This includes equipping ![]() Adamant Hats,
Adamant Hats, ![]() Adamant Vests and
Adamant Vests and ![]() Flame Shields as necessary.
Flame Shields as necessary.
A video of the battle in the Zodiac Age version is included below:
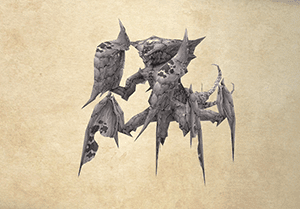
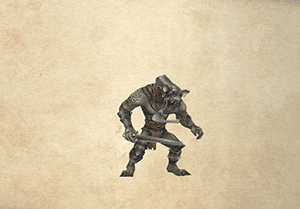
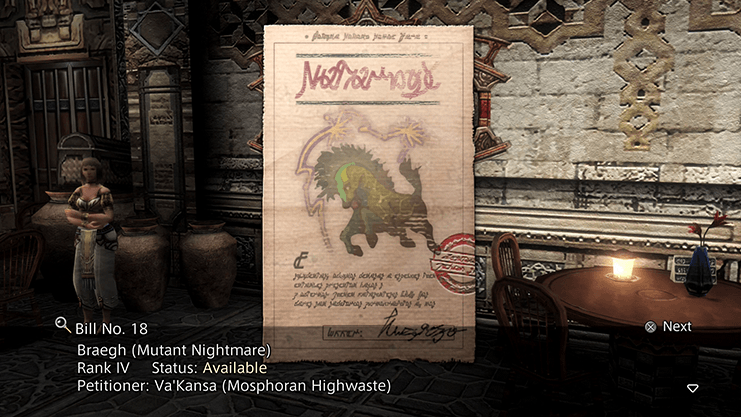
You can now gain access to the Corridor of Ages area, the Piebald Path area and the Necrohol of Nabudis. The first thing you should do is complete the Hunt to track down Braegh:
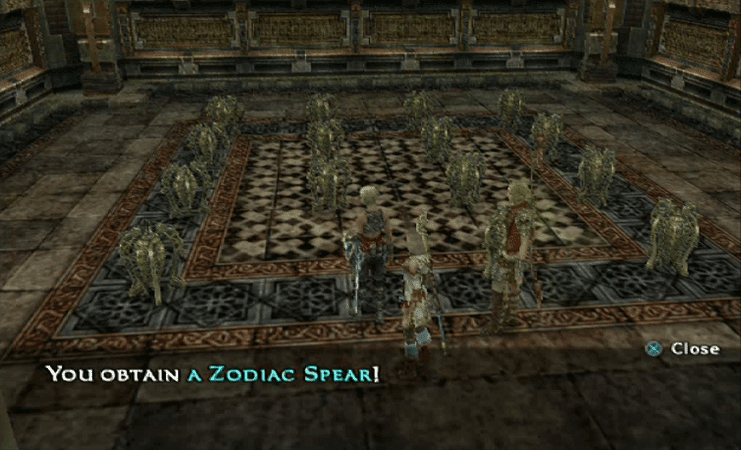
Finally, the last optional side quest that you can do involves obtaining the ![]() Zodiac Spear in the original PlayStation 2 version of the game if you followed all of the steps listed throughout the walkthrough (and avoided opening certain treasure chests).
Zodiac Spear in the original PlayStation 2 version of the game if you followed all of the steps listed throughout the walkthrough (and avoided opening certain treasure chests).
Obtaining the Zodiac Spear this early in the game can greatly increase your overall party power as the Spear has an Attack Power of 150, which is well over double the attack power of your current weapon arsenal.
The ![]() Zodiac Spear cannot be obtained in the Necrohol of Nabudis in the Zodiac Age version of the game. Skip past the side quest section below regarding the Zodiac Spear and can avoid the Necrohol of Nabudis entirely for now.
Zodiac Spear cannot be obtained in the Necrohol of Nabudis in the Zodiac Age version of the game. Skip past the side quest section below regarding the Zodiac Spear and can avoid the Necrohol of Nabudis entirely for now.
It becomes much easier to complete many of the Hunts and side quests once you have the most powerful weapon in the game.
Before switching over and attempting to complete any of the Hunts or side quests though, you should continue your travels by reaching the Hunter’s Camp on the Phon Coast first by continuing along with the guide. There are a few new pieces of armor that you can obtain that will be helpful as well.
(Click on the map to enlarge)
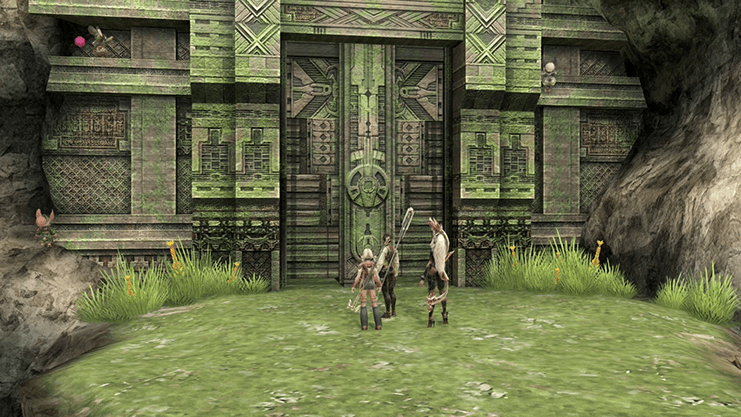
You can reach the Living Chasm area by traveling east through the Diverging Way. The way through will be blocked by a massive stone gate.
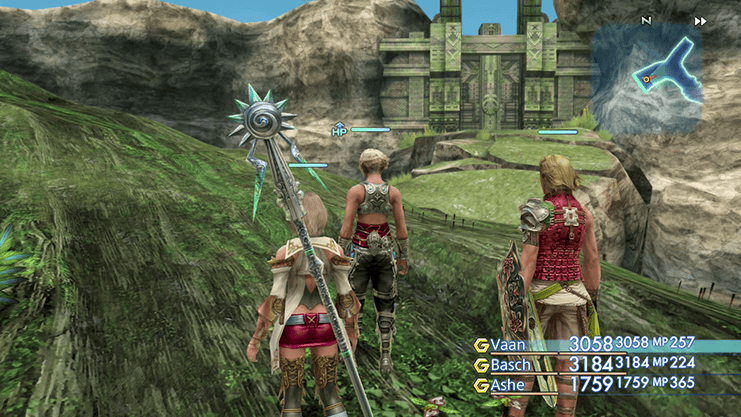
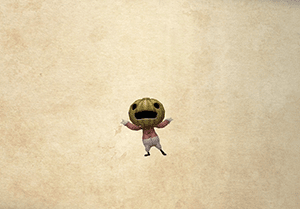
Speak to the Moogle Boss standing in front of the gate and he will explain that the gate is broken and that he is awaiting the return of his 9 apprentices to help him fix it.
The 9 apprentices are located in the forest bungalows throughout the Salikawood (and you may have seen a few of them during your travels).

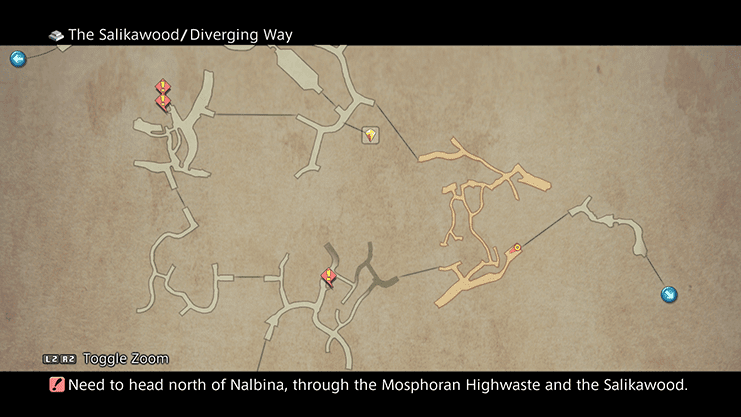
Refer to the map (by pressing the Button) to find the apprentice Moogles. The 9 apprentices can be found in four separate locations (2 of them are very close to one another). Speak to each of them to have them return to the gate in the Living Chasm.
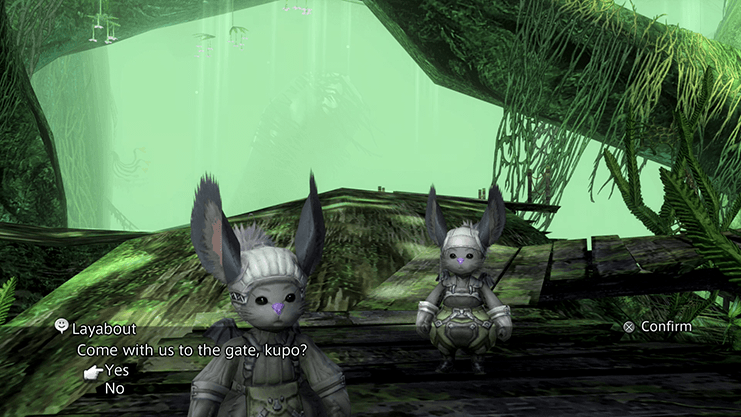
Once you speak to the last group of Moogles they will ask if you would like to “come with [them] to the gate, Kupo?”. Select “Yes” and you will automatically be taken back to the Living Chasm without having to walk there.
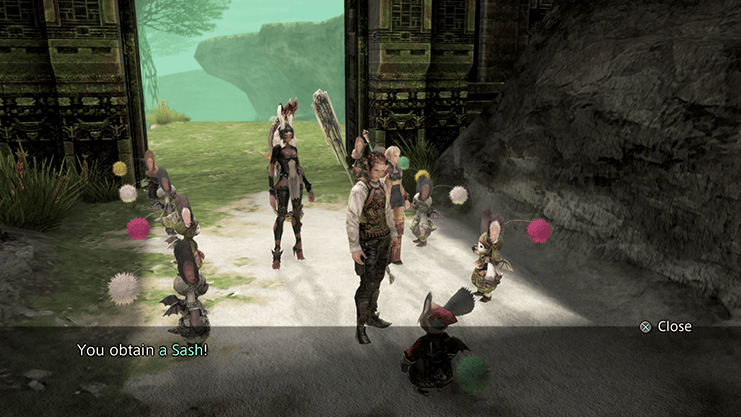
The 10 Moogles will repair the broken gate and it will automatically open up, allowing your team passage through to the Phon Coast.
Speak to the Moogle Boss on your way through and he will give you a ![]() Sash (or a pair of
Sash (or a pair of ![]() Quasimodo Boots in the original PlayStation 2 version of the game) as a reward for helping find the apprentices. Travel through to the next area – the Phon Coast.
Quasimodo Boots in the original PlayStation 2 version of the game) as a reward for helping find the apprentices. Travel through to the next area – the Phon Coast.