Exodus can be found in the Mosphoran Highwaste and requires the activation of the nearby shrines in order to get the Esper to appear. It becomes available after you have reached the Phon Coast during a regular playthrough.
This is one of the more difficult battles to complete if you attempt it right when it becomes available.
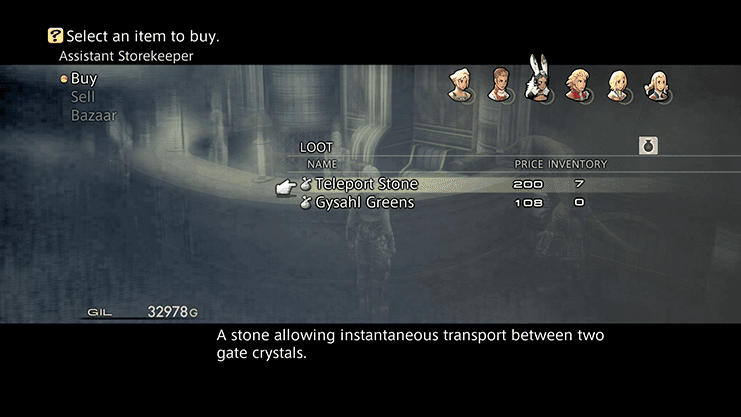
You will need to have some ![]() Gysahl Greens in your inventory in order to complete the steps required to reach Exodus. Travel to one of the Aerodromes and take a trip from one location to another. You can purchase the Gysahl Greens from the shop while you are in the air.
Gysahl Greens in your inventory in order to complete the steps required to reach Exodus. Travel to one of the Aerodromes and take a trip from one location to another. You can purchase the Gysahl Greens from the shop while you are in the air.
If you are playing the original PlayStation 2 version of the game, warp to Rabanastre and speak to the Clan Provisioner at the Muthru Bazaar to purchase a few (though you only technically need one assuming you don’t make any mistakes).
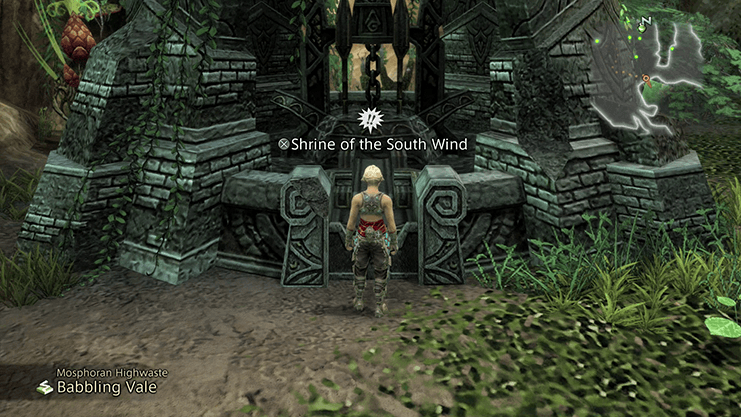
Warp to the Mosphoran Highwaste and activate the nearby Shrine of the South Wind. It is just south of Luccio and his shop and just east of the orange Save Crystal on the south side of the Babbling Vale.
You will see a note in game that reads: “The surrounding floatweed is lofted into the air by the steam coming from the shrine.”
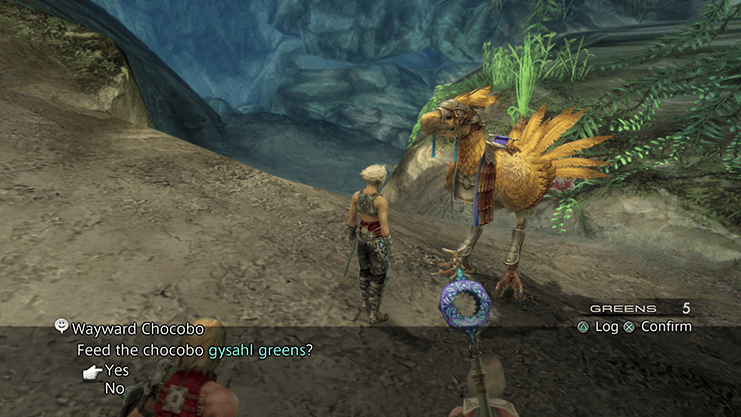
Travel northeast into the Rays of Ashen Light to find a Chocobo wandering nearby. Feed it the Gysahl Greens which will allow you to mount and ride the Chocobo through some areas of the Mosphoran Highwaste.
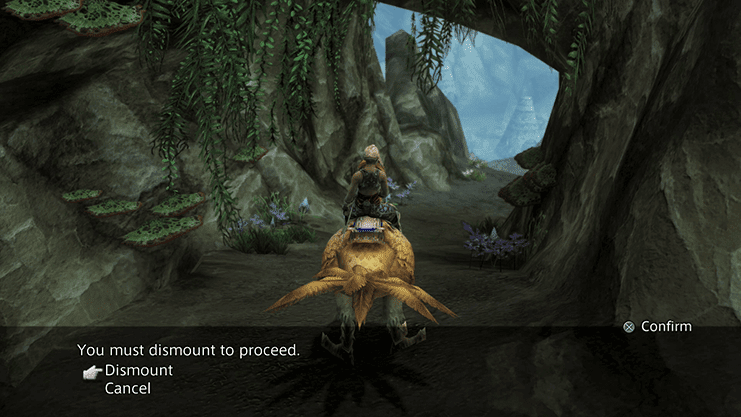
Travel directly south into the Empyrean Way (do not go back to the Babbling Vale – the game will ask you if you wish to Dismount, select “Cancel” if you accidentally go this way).
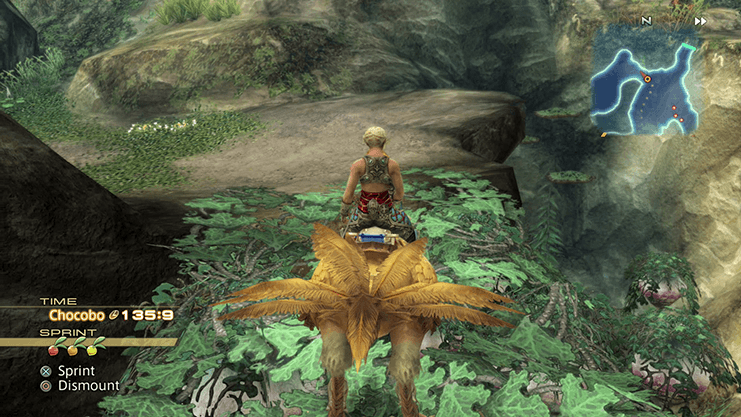
Head right (to the west) walking over one of the floatweed that was lofted into the air from the shrine. Continue west through the tall grass; this is grass that only Chocobos can walk through. Follow the pathway into the next area which warps you over to the Skyreach Ridge.
Follow the path to the west which leads downward rather than up the cliff. The game will prompt you to dismount going this way as you approach the next zone – choose to dismount off the Chocobo and walk through back into the Babbling Vale.
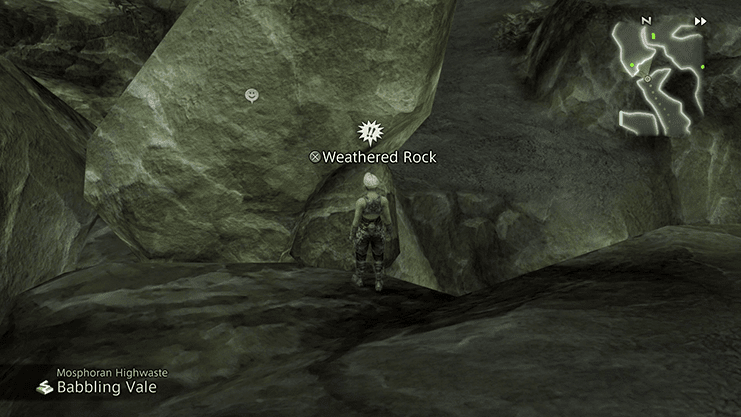
Circle the pathway, walking past the Shrine for now, until you reach a large boulder blocking the path. Knock the boulder over by dislodging the smaller boulder on the right side of it to clear this pathway.
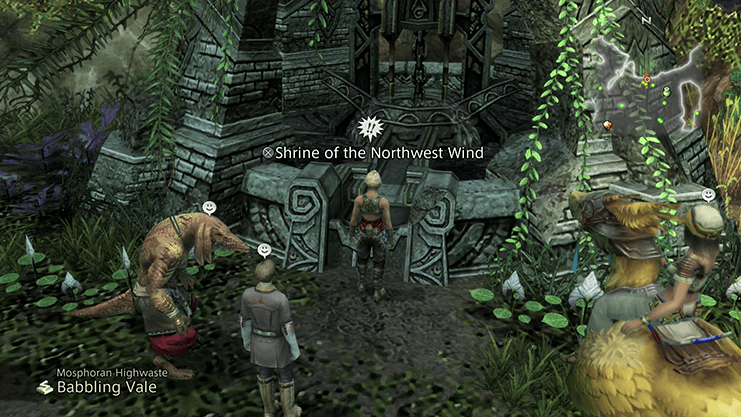
Proceed through, over the newly created pathway, and head back down into the Babbling Vale. Locate the Shrine of the Northwest Wind and choose to “Touch the Shrine”.
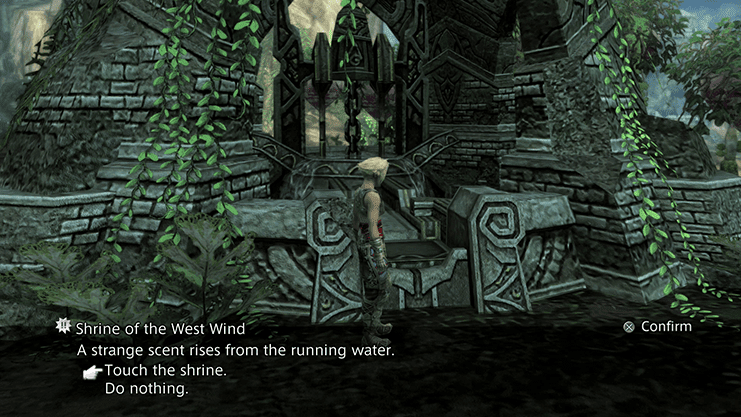
Go back up to the Shrine that you passed on the way to the Weathered Rock - the Shrine of the West Wind and choose to “Touch the Shrine”. The pathway that leads to Exodus is now complete.
Save your game at the Save Crystal before you continue and then walk back to the Skyreach Ridge. This time, head north past the Vultures, and then prepare for battle. The fight will begin as soon as you enter the next area (Empyrean Seat). Read the guide below before initiating the fight.

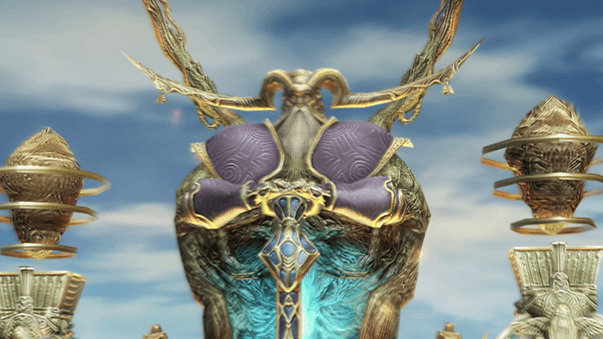
Level: 46
HP: 119,060
Steal: ![]() Libra Gem (55%),
Libra Gem (55%), ![]() Elixir (10%),
Elixir (10%), ![]() High Arcana (3%)
High Arcana (3%)
Exodus is a very challenging fight if you attempt it when it becomes available (or even shortly thereafter). The shear power of his attacks will require that you spend a fair bit of time preparing your party before the battle.
An interesting note of this fight is that you will not have access to the “Item” command for the duration of this fight. Exodus appears to be a flying enemy as well but you can still hit it with regular physical attacks. His Scathe and Flare attacks do a very heavy amount of damage.
Prepare yourself for the heavy hits by ensuring that each of your party members are either equipped with a ![]() Bubble Belt or will have
Bubble Belt or will have ![]() Bubble cast on them by setting up an (Ally > All - Bubble) Gambit. Each character should also have
Bubble cast on them by setting up an (Ally > All - Bubble) Gambit. Each character should also have ![]() Protect,
Protect, ![]() Bubble,
Bubble, ![]() Haste and
Haste and ![]() Bravery or
Bravery or ![]() Faith activated for the duration of the fight. Make sure to either activate or refresh these buffs just before entering the battleground.
Faith activated for the duration of the fight. Make sure to either activate or refresh these buffs just before entering the battleground.
Exodus’ primary attacks can inflict the Stop status effect, but because you won’t have access to the “Item Command”, you will not be able to use ![]() Chronos Tears to remove the status effect. Instead, you will have to just power through it and hope that your party members survive. It’s most powerful attack,
Chronos Tears to remove the status effect. Instead, you will have to just power through it and hope that your party members survive. It’s most powerful attack, ![]() Scathe, will hit multiple party members if they are close together, so spread your team members out as best you can.
Scathe, will hit multiple party members if they are close together, so spread your team members out as best you can.
Make sure not to cast ![]() Dispel on Exodus once its HP drops below 20% as it will continuously counter with either
Dispel on Exodus once its HP drops below 20% as it will continuously counter with either ![]() Scathe or
Scathe or ![]() Flare. He will gain the Reflect status which technically can be dispelled, but focus on regular physical attacks instead to finish off the last of his HP.
Flare. He will gain the Reflect status which technically can be dispelled, but focus on regular physical attacks instead to finish off the last of his HP.

A video is included below which demonstrates how to defeat him:
Congratulations – you now have Exodus as an Esper which you can use in battle!
Exodus can now be summoned during a fight. He will use two moves with the first move being Comet. Comet has entirely random damage which can be anywhere from 0 to Exodus’ maximum HP. Its second move is called Meteor, an ultimate attack, which casts a meteor with random damage that hits all targets.
Unlocking Exodus on the License Boards of certain jobs will unlock additional License Boards:
There are not really any optimal choices in this case. Most of the Heavy Armor will be out-classed later on in the game. It may be helpful to enable some of the increased HP or Battle Lore Licenses.