This side quest involves tracking down some Cactuars in the Sanubia Desert in order to obtain the ![]() Mercury Sigil for Rikku’s Celestial Weapon, the
Mercury Sigil for Rikku’s Celestial Weapon, the ![]() Godhand.
Godhand.
The Cactuar Village side quest is much easier if you have armor with the ![]() No Encounters ability. Random encounters will drastically increase the amount of time and effort that the quest entails and you should not attempt to complete it without obtaining this ability. Check out the No Encounters Tips and Tricks section for more information on how to add this ability to your armor.
No Encounters ability. Random encounters will drastically increase the amount of time and effort that the quest entails and you should not attempt to complete it without obtaining this ability. Check out the No Encounters Tips and Tricks section for more information on how to add this ability to your armor.
There are four separate areas of the Sanubia Desert. Press  Button to bring up the menu screen to find out which location you are in. The four locations are:
Sanubia Desert - West
Sanubia Desert - Central
Sanubia Desert - East
Oasis
You start off at the Oasis and as you travel further north you will pass through each of the other areas in the order listed above.
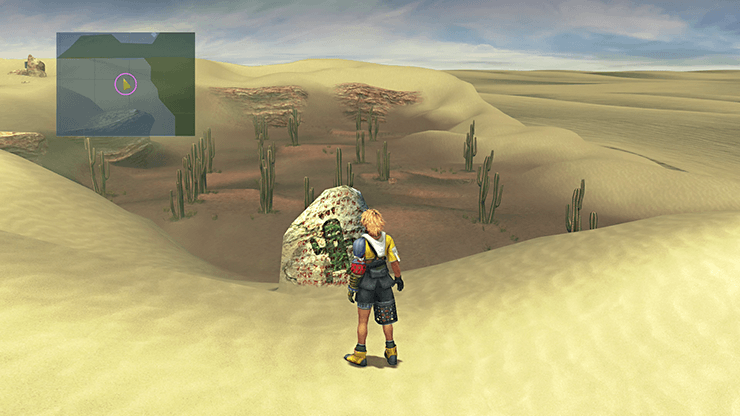
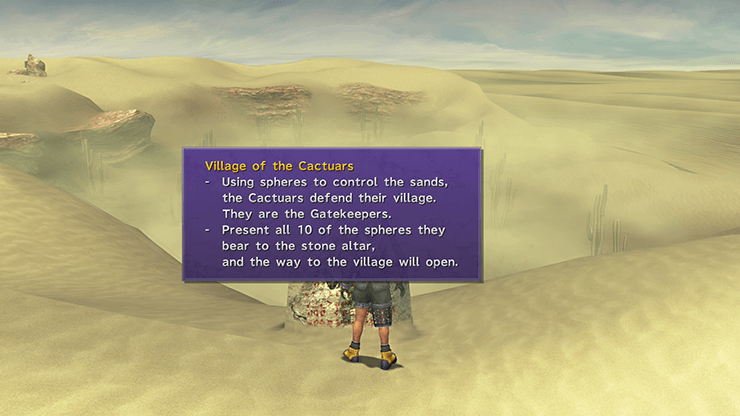
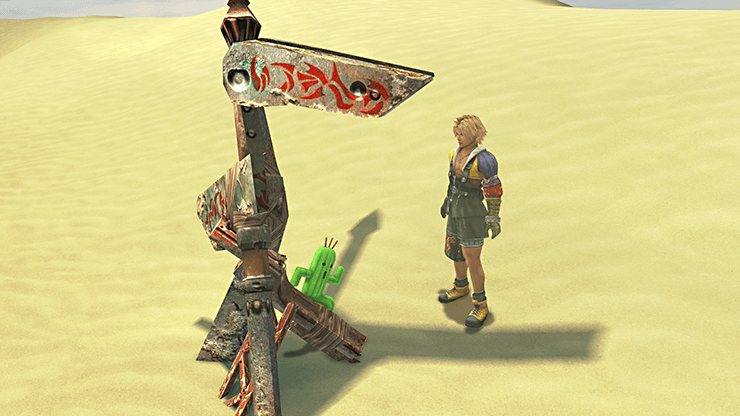
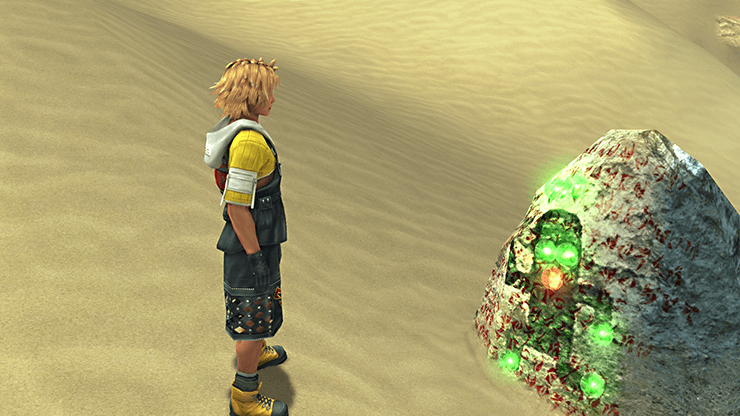
Start off by traveling to Sanubia Desert - West which is the area furthest away from the Oasis. Walk over to the stone glyph in front of the cliff to begin the “Village of the Cactuars” side quest.
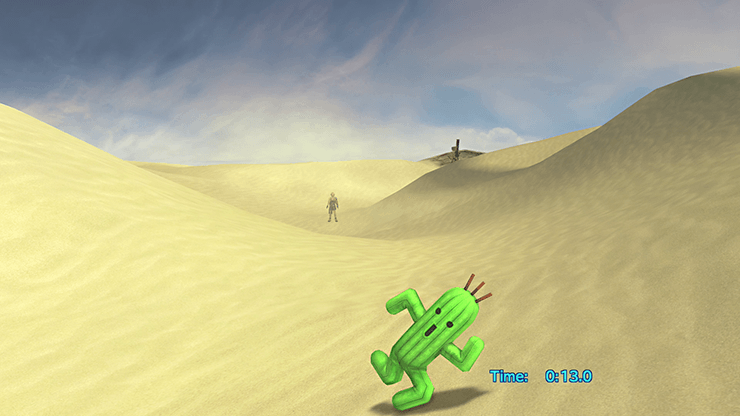
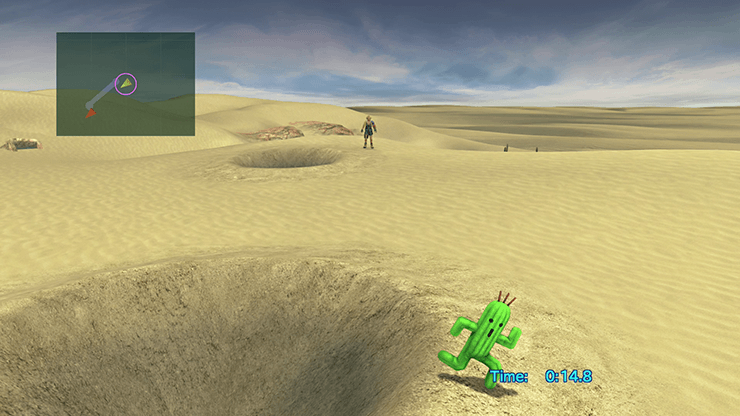
You must approach each of the Cactuars and complete a mini-game once you find them. You will receive the Cactuar’s Sphere if you successfully complete the mini-game or a Sphere del Perdedor if you lose.
Take whichever sphere you receive back to the stone glyph in Sanubia Desert - West. You do not need to successfully complete each of the Cactuar mini-games in order to receive the ![]() Mercury Sigil at the conclusion.
Mercury Sigil at the conclusion.
The glyph clue: Tomay’s Gone. Gone to fetch the water.
Tomay can be found in the Oasis near where you first land when you step off the Airship. You can use a Save Sphere to warp back up to the Airship and then travel down to Bikanel Island again to return to the Oasis.
Just run directly towards Tomay each time it turns to look away from you. Ten seconds is plenty of time.

The glyph clue: Rovivea’s gone walkabout.
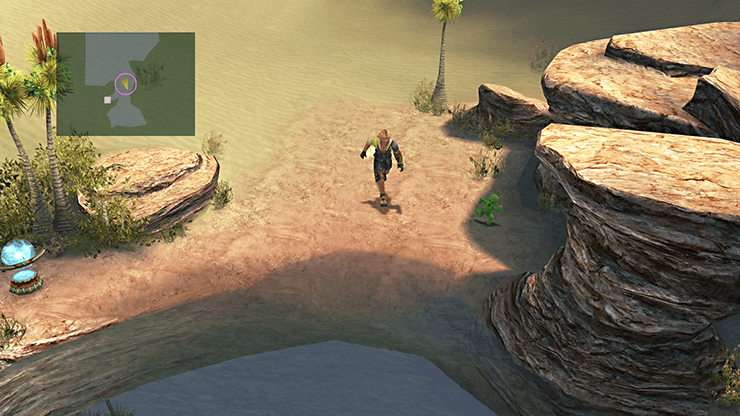
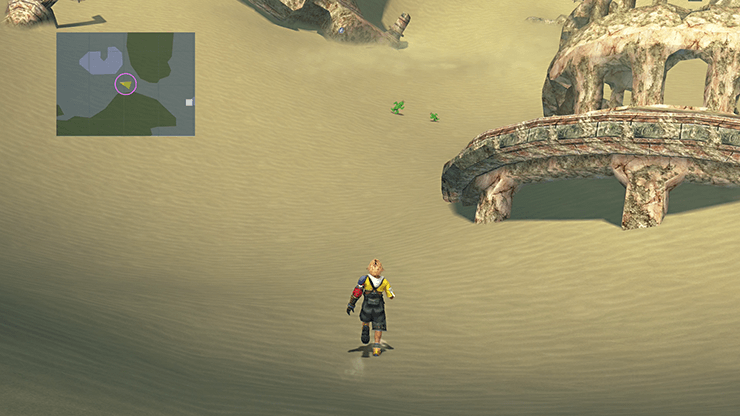
You will find Rovivea in Sanubia Desert - East. As soon as you enter from Sanubia Desert - Central you will see an area off to the west side that leads to an area where you previously found a chest. Rovivea is running around in this area.
The mini-game is exactly the same as the one for Tomay.
The glyph clue: Little Chava likes big numbers.
Chava is in Sanubia Desert - West which is the same area as the glyph stone. There are two signs to the left of the glyph stones. Examine the second one to reveal Chava’s hiding place.
The mini-game for Chava is the same as the previous.

The glyph clue: Alek and Aloja play tag in the ruins of men.
Alek and Aloja are located in Sanubia Desert - Central. Make your way to the Save Sphere and head to the northwest. You will see the two of them running around between the ruins.
The mini-game that you play against Alek and Aloja is exactly the same as the previous mini-games.

The glyph clue: Vachella seeks the shining blue.
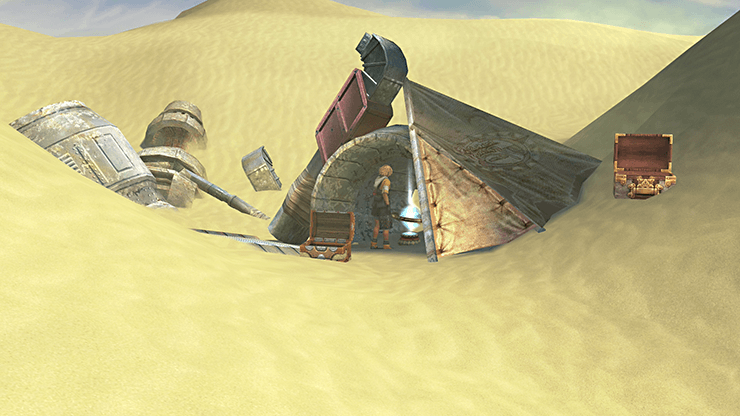
Vachella can be found near the oasis at the start of the Sanubia Desert (Sanubia Desert - East). Touch the Save Sphere under the ruins and the tent to make it appear.
The mini-game for Vachella is the same as the previous but much more difficult. It turns around quite a few times in succession right after its first “Needletime”. You will need to move in between each turn in order to make it before the timer runs out.
The glyph clue: O, Robeya’s stuck inside.
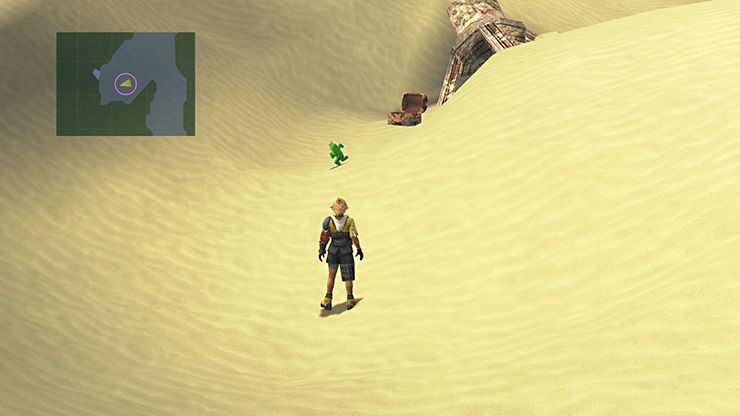
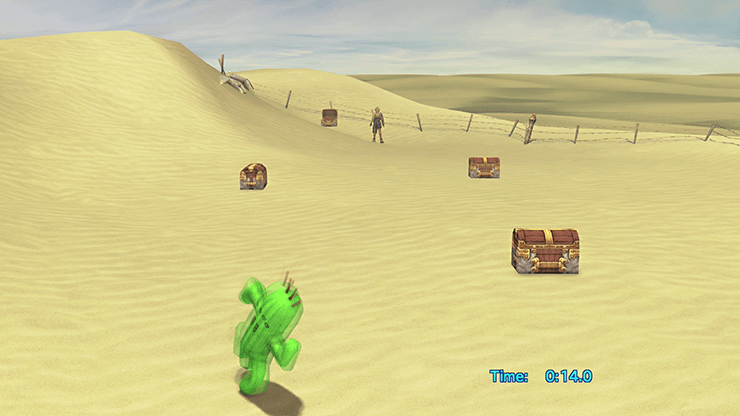
Travel to Sanubia Desert - Central and search inside the treasure chest on the far west side of the map.
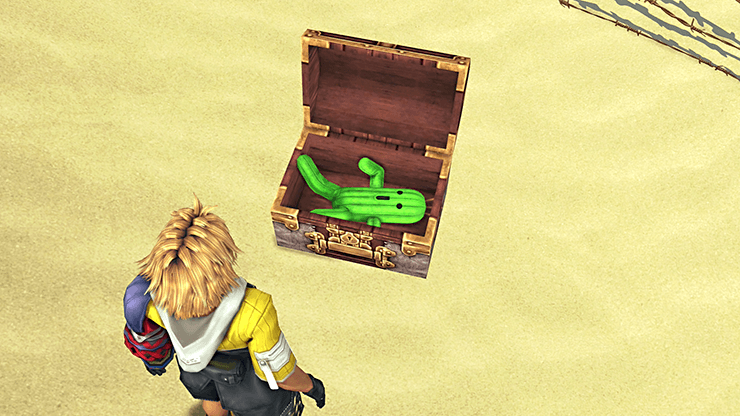
The mini-game for Robeya is slightly different than the previous ones. There are three treasure chests along the pathway to Robeya. Starting with the treasure chest closest to Robeya, they contain a Blessed Gem (front-right), two Shining Gems (left) and two Shadow Gems (back-right).
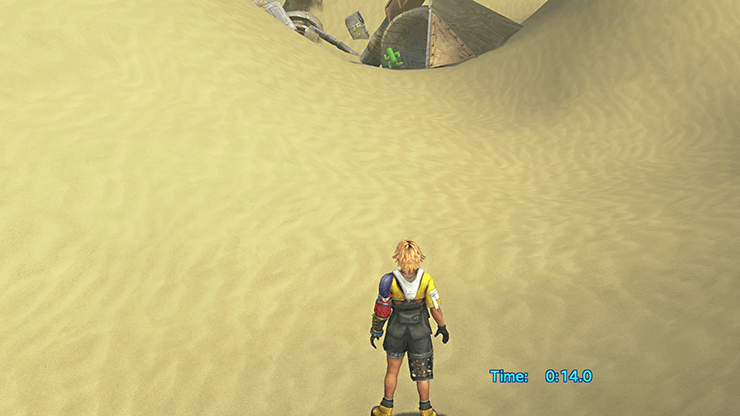
You get to keep the items even if you do not complete the challenge so you can blow the first and second trial to obtain the items if you wish. Making it to Robeya in 14.0 seconds is not too difficult.
The glyph clue: A fiery inscription - The lord of the hole is gone. Isrra thinks.
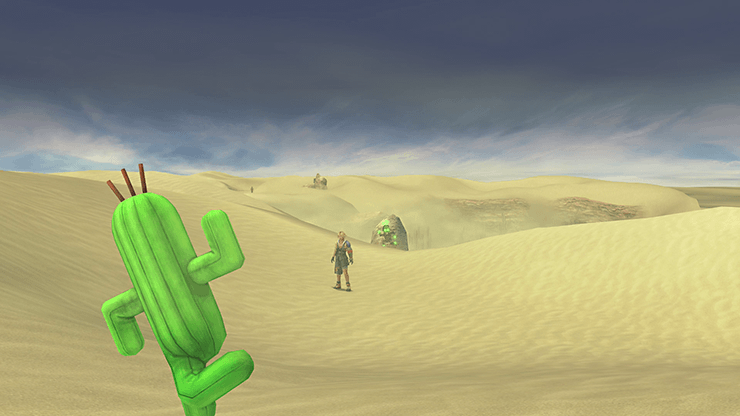
Isrra is located in Sanubia Desert - West which is the same area you receive the clues in however you must leave this area and reenter it in order to make Isrra appear.
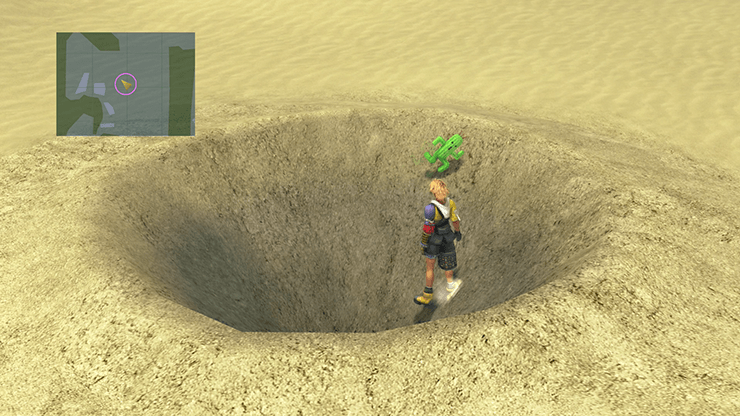
The mini-game is the same as the previous ones but its much more difficult due to the length of time Isrra spends staring in Tidus’ direction. You have to spend every available second running towards the cactuar in order to make it in time. Note though that you can jump into the nearby hole and travel forward to make this mini-game much easier.
The glyph clue: Much-curious Elio has left on a journey.
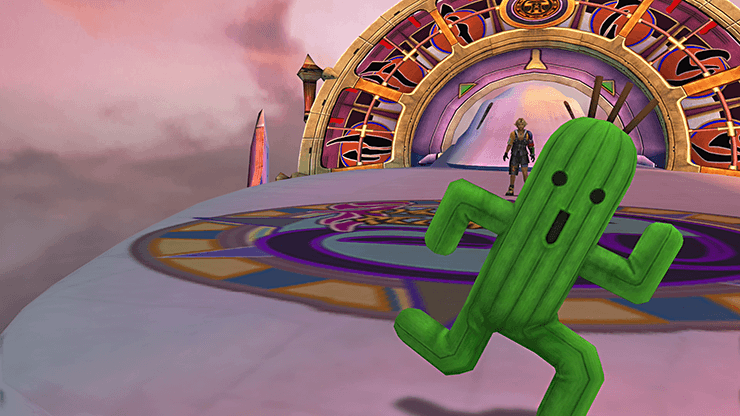
Enter the Oasis area and follow Elio as it warps up to the airship. You can use the Save Sphere in Sanubia Desert - Central to warp to the Oasis, however you will have to leave and reenter the area in order to see the cinematic of Elio teleporting up. Elio hangs around on the deck.
The mini-game involving Elio has an added twist of a moving airship to deal with. If you manage to reach Elio it will jump off the airship and leave you with Elio’s Sphere.

The glyph clue: Flaile is always behind.
You do not have to search for Flaile. It just appears behind you as soon as you insert the last Sphere into the Cactuar glyph.
The mini-game for Flaile is the same as the previous ones however the “Needletime” messages and sounds do not correspond to its movements. Focus on when it turns and use only your vision to know when to stop and go.

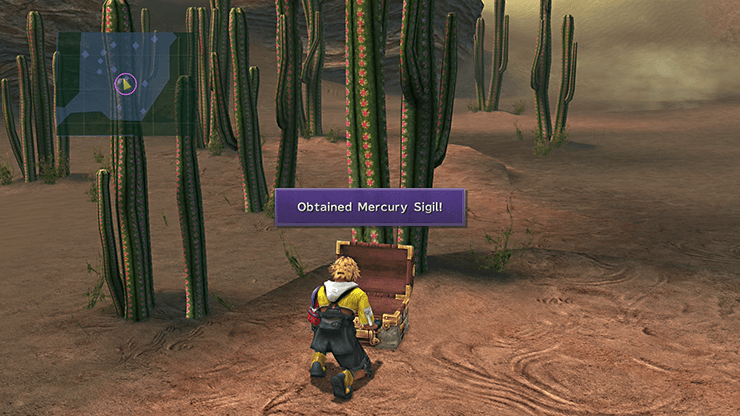
Place the red Flaile Sphere inside the Cactuar glyph to complete the quest. This will cause the glyph to repeat all of the clues back to you and then the sand in the area behind the glyph will disappear.
There are two treasure chests in this area. The first chest contains the ![]() Mercury Sigil which is used to create the Celestial Weapon for Rikku,
Mercury Sigil which is used to create the Celestial Weapon for Rikku, ![]() Godhand. The second treasure chest will contain a different prize depending on how many cactuar quests you were able to successfully complete.
Godhand. The second treasure chest will contain a different prize depending on how many cactuar quests you were able to successfully complete.
If you completed 1 or 2 you will receive a ![]() Potions.
Potions.
If you completed between 3 to 6 you will receive an ![]() Elixir.
Elixir.
If you completed 7 or 8 you will receive a ![]() Megalixirs.
Megalixirs.
If you completed 9 or 10 you will receive a ![]() Friend Sphere
Friend Sphere