This section of the walkthrough begins after you have left Esthar city. There are a few different areas that you should explore and an important item to pickup. You can find all of these locations on the map if you open up your mini-map view (pressing the  Button).
The locations you can visit include:
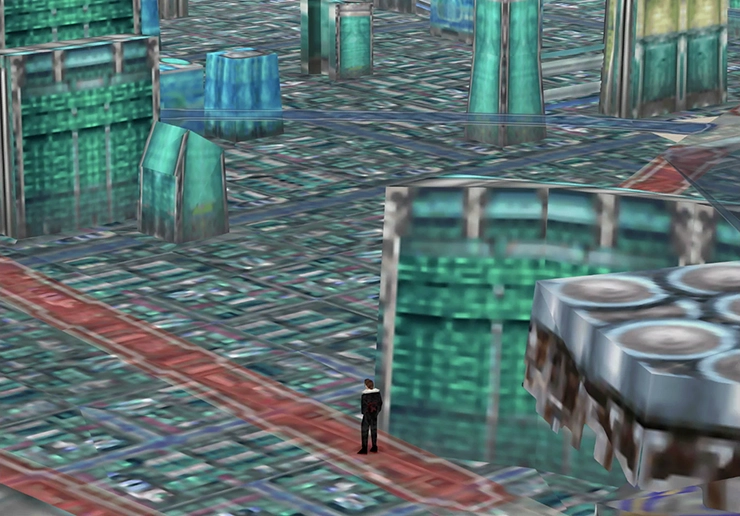
The city itself takes up a very large portion of the map. You can travel through the city on the platforms as you work your way around to each of the destinations. It isn’t until you follow the paths that lead to the large Presidential Palace in the center where you will actually enter Esthar city proper.
This is another great opportunity to make use of Diablos’ ![]() Enc-None Ability. Having this ability equipped on one of your characters will ensure that you don’t encounter too many random battles while you’re travelling through the plains of Esthar.
Enc-None Ability. Having this ability equipped on one of your characters will ensure that you don’t encounter too many random battles while you’re travelling through the plains of Esthar.
Note that you may not want to prevent encounters if you need your characters to level up or if you have been finding any of the previous battles challenging.
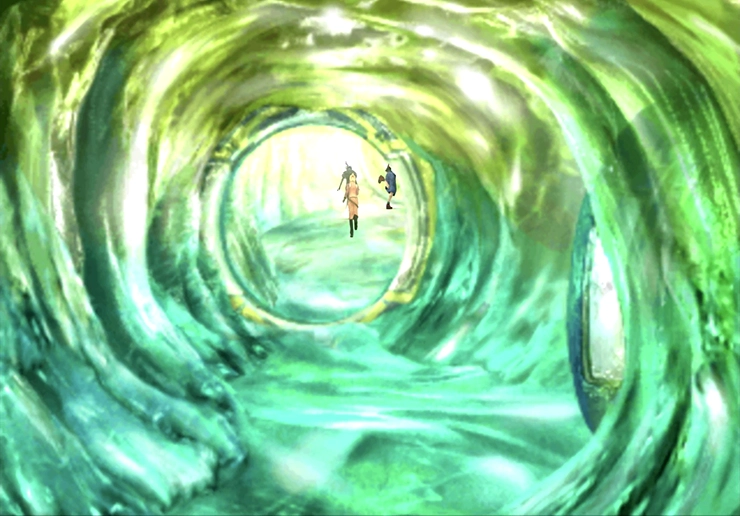
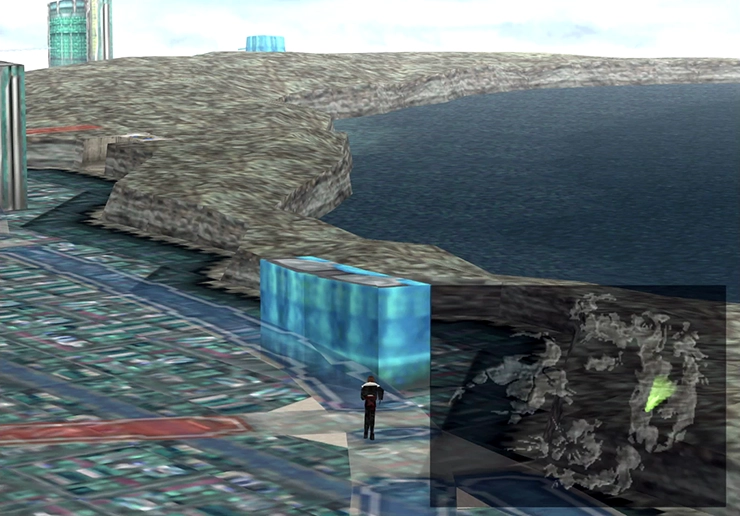
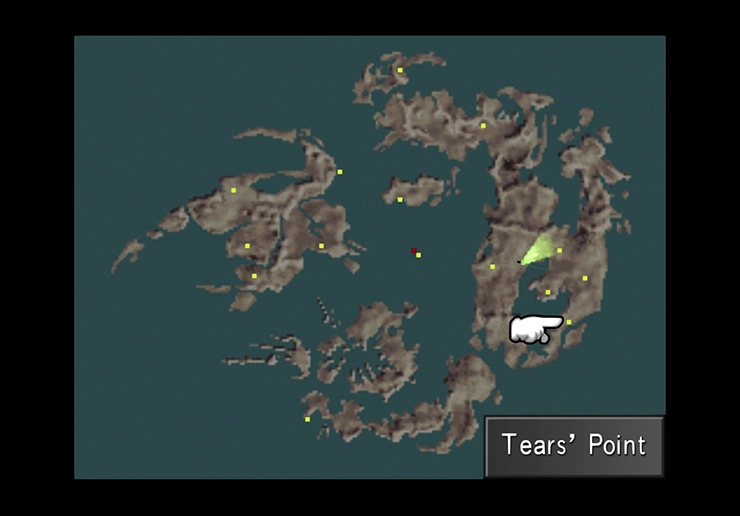
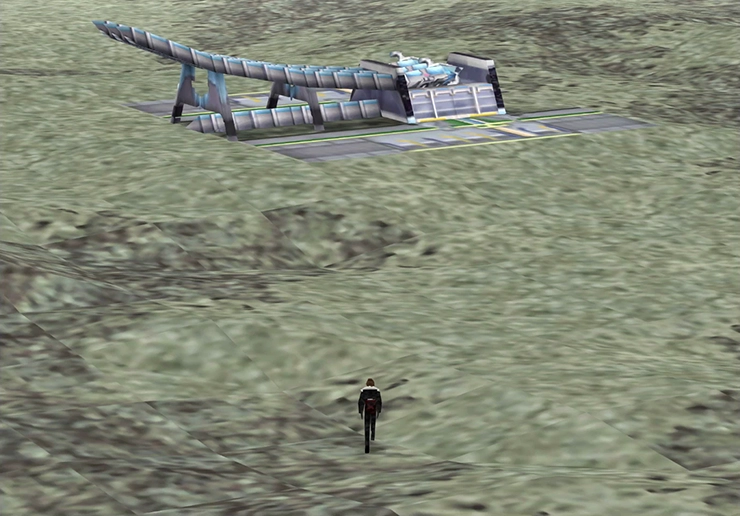
Your first destination is Tear’s Point. Use the mini-map to locate it so that you have a general idea of where you need to travel too, but generally speaking, you need to head east while going around a fairly large lake. Its a long way to travel. Use the screenshots below to help you find it.
Once you arrive at Tear’s Point, there is only one direction to go, so follow the pathway all the way forward. You will come across two Draw Points - once which contains ![]() Life and the other which contains
Life and the other which contains ![]() Reflect.
Reflect.
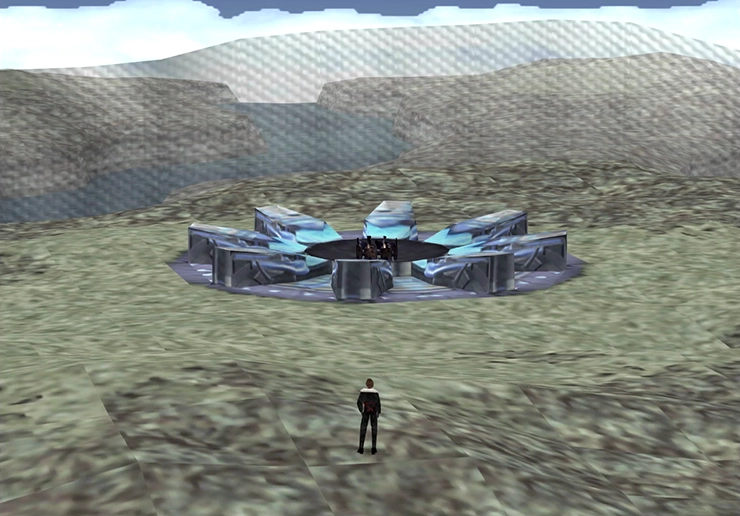
At the very end of the path you will find the ![]() Solomon Ring. This is the Ring that you can use to summon your new Guardian Force, Doomtrain. Check out the section below for more information:
Solomon Ring. This is the Ring that you can use to summon your new Guardian Force, Doomtrain. Check out the section below for more information:
Unfortunately if you don’t have ![]() Malboro Tentacles or
Malboro Tentacles or ![]() Steel Pipes in your possession you will have to create Doomtrain later on. Once you have created it though, its time to take the team over to the Lunar Gate to continue the story…
Steel Pipes in your possession you will have to create Doomtrain later on. Once you have created it though, its time to take the team over to the Lunar Gate to continue the story…

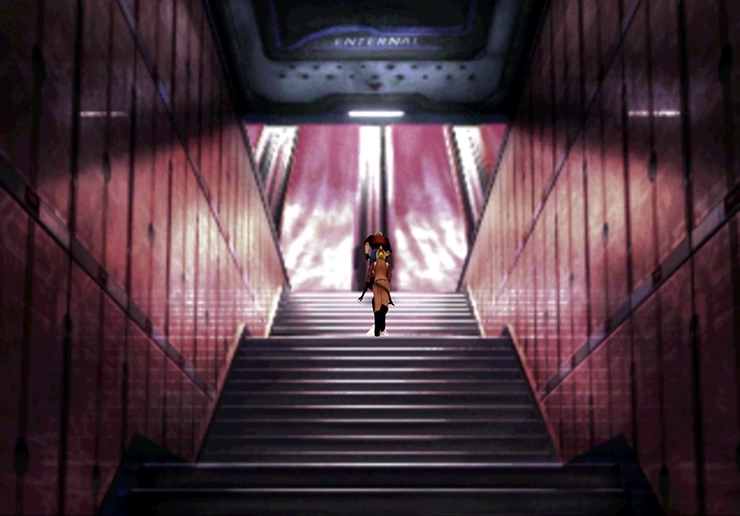
The Lunar Gate is a building located directly north of Tear’s Point. Walk into the building with your team and push through the dialogue options.
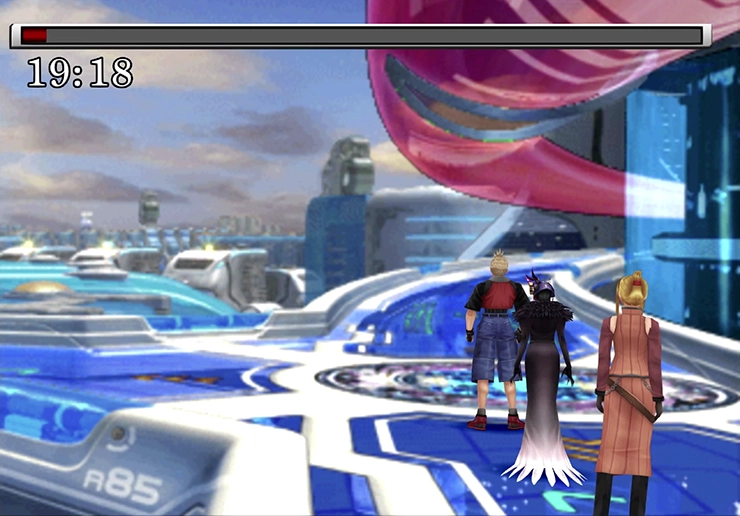
Choose to “…Trust Zell” when he offers to stay and protect Sorceress Edea (thought it really does not matter what you choose, Zell will be staying). Form a new party with Zell and make your way back to Esthar city.
Travel back to the city of Esthar (find the center of the city near what looks like the Presidential Palace on the world map) and go inside. The next step of your journey involves finding Dr. Odine’s Laboratory.
You can return to the previous page for Esthar if you want to revisit the map of the city, but its fairly easy to find the Laboratory without it.

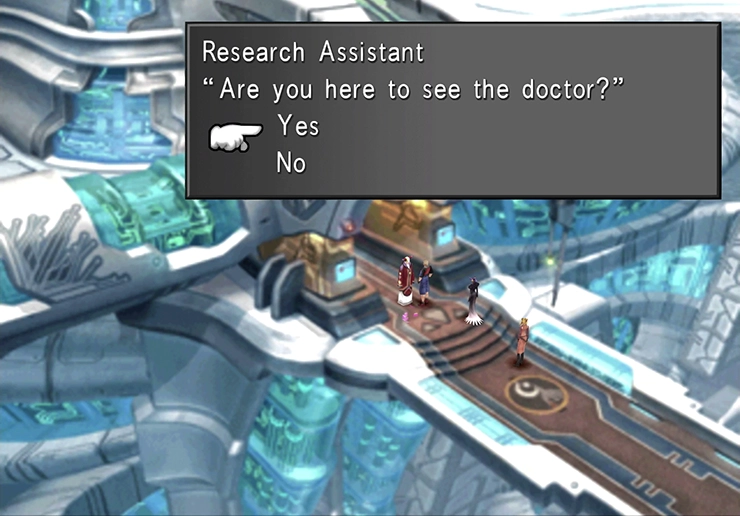
When you first enter Esthar, go up the stairs into the next screen and then head straight left twice. You can even use one of the floating platforms to ride straight over to it. Tell the Research Assistant standing out front that you are here to see the doctor.
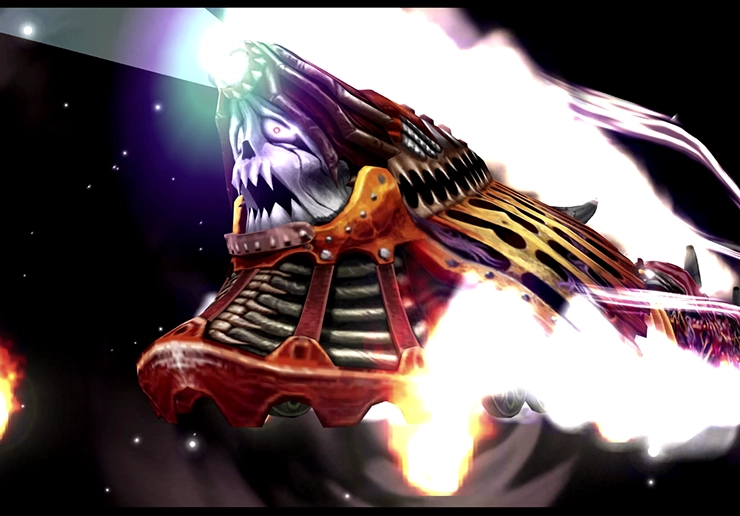
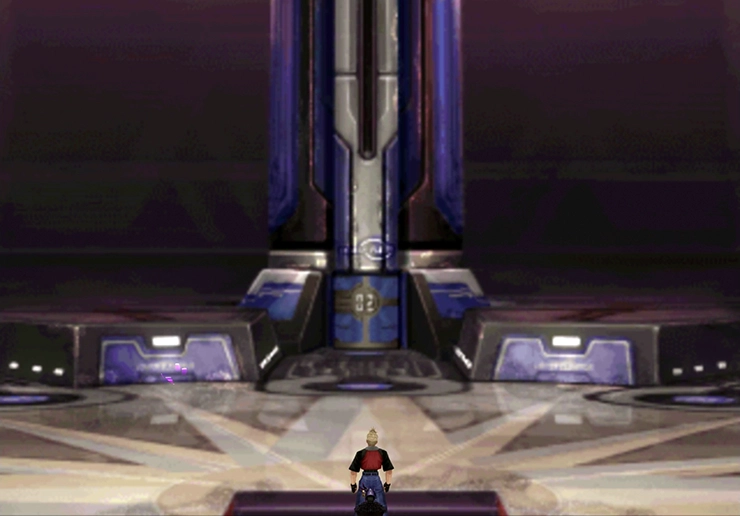
Head up the stairs and speak with Dr. Odine. He will explain to Zell and Edea what the Lunatic Pandora is and what needs to be done. Dr. Odine will give the crew a long winded explanation of the Lunatic Pandora’s path over Esthar, but like many of the explanations of missions provided in the game, they seem to make things far more complicated than they need to be.

The short version is that you just need to be in the right area when the Lunatic Pandora passes by, and you only need to do this one time in order to hop on board, so assuming that you don’t miss it the first time, you don’t even need to bother remembering where its second and third contact points will be. It will pass over Area (13), Area (11) and Area (8) in that order, so we will be making our way to Area (13).
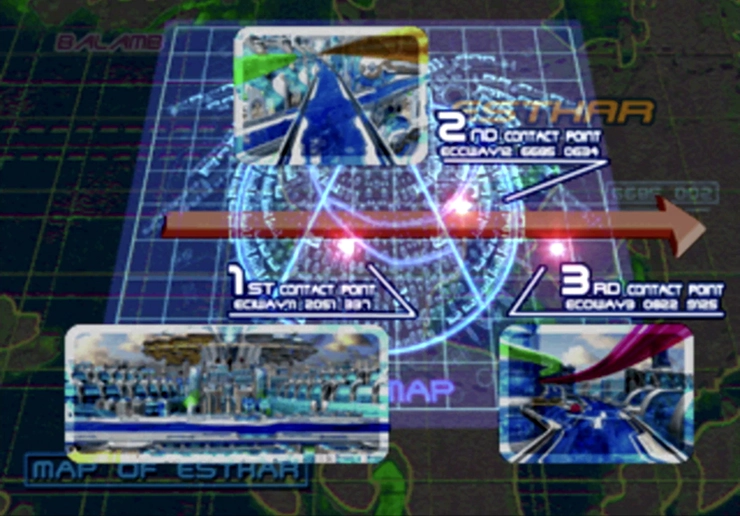
The times that it will arrive at each of these locations are:
As soon as you exit the lab the timer will start ticking. We need to get to Area (13) before the timer reaches 12:00 and after it reaches 15:00, which means if you’re too fast that you will have to stand there and wait.
Lets head straight to Area (15) - from the entrance/exit of Dr. Odine’s Laboratory, head out to Area (5) which is the screen containing the floating platform, and then go to the left to Area (4), and then go left again to Area (3).
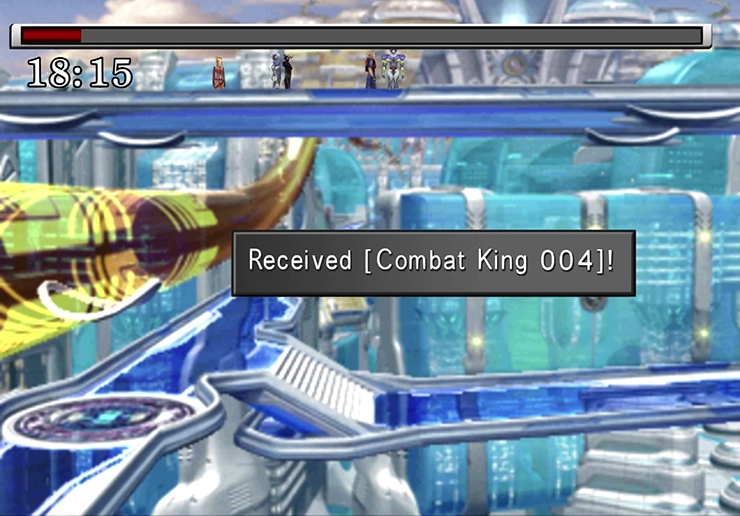
Head straight to the top of the next screen and into Area (2) and take a right into Area (15) and speak with the Esthar Soldier there. Assuming you spoke to him once before, during your initial visit to Esthar, he will eventually give Zell the ![]() Combat King 004 book for free (just keep talking to him if at first he doesn’t fork it over).
Combat King 004 book for free (just keep talking to him if at first he doesn’t fork it over).
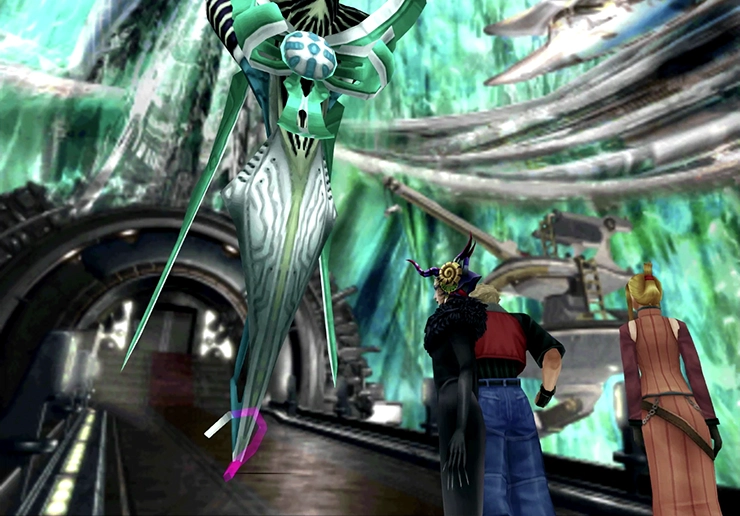
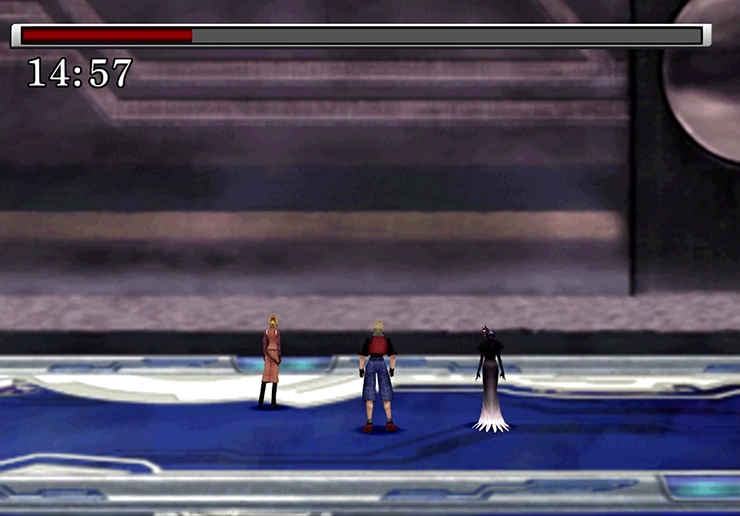
Head right one more time after that into Area (13). You will now have to wait until the timer reaches 15:00 if you got there early. If you somehow miss this rendezvous point just make your way either to Area (11) or Area (8).
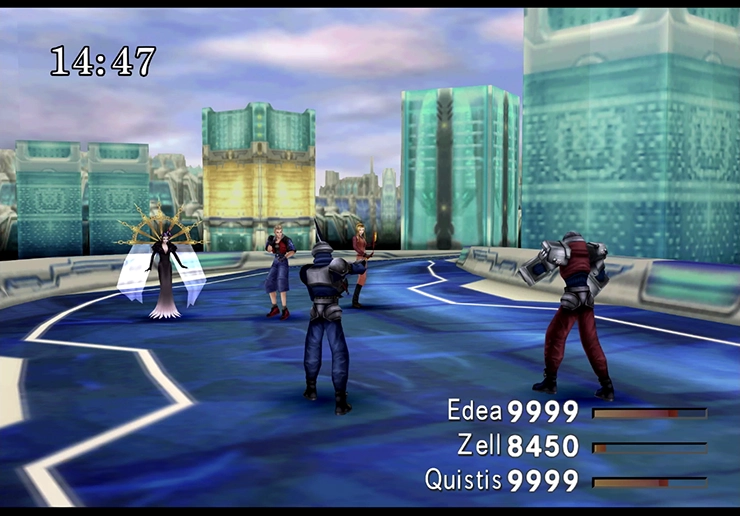
Two Galbadia Soldiers will jump out of the Lunatic Pandora and fight you before you can go in, but they are extremely easy to defeat.
Make sure to grab the ![]() Meteor Draw Point at the entrance and then make your way up the stairs.
Meteor Draw Point at the entrance and then make your way up the stairs.
The items that are listed as being obtainable in this section of the guide will only be there if you followed all of the required steps when you first visited Lunatic Pandora during the Laguna Dream Sequence during this part of the game:
The items that are available include:
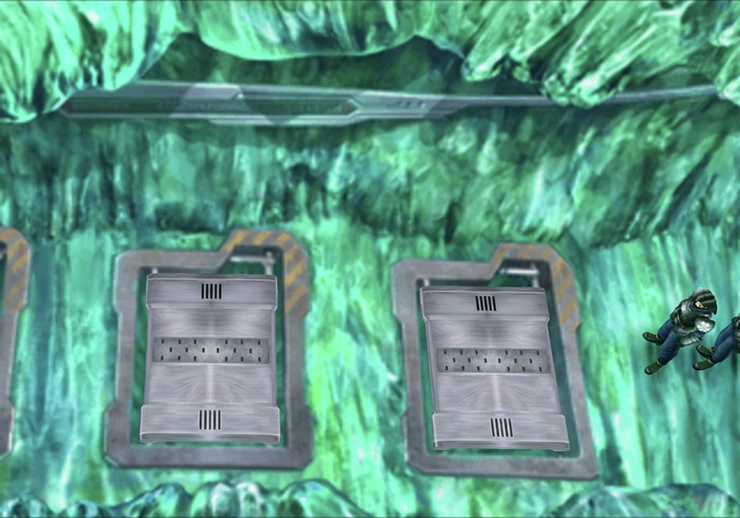
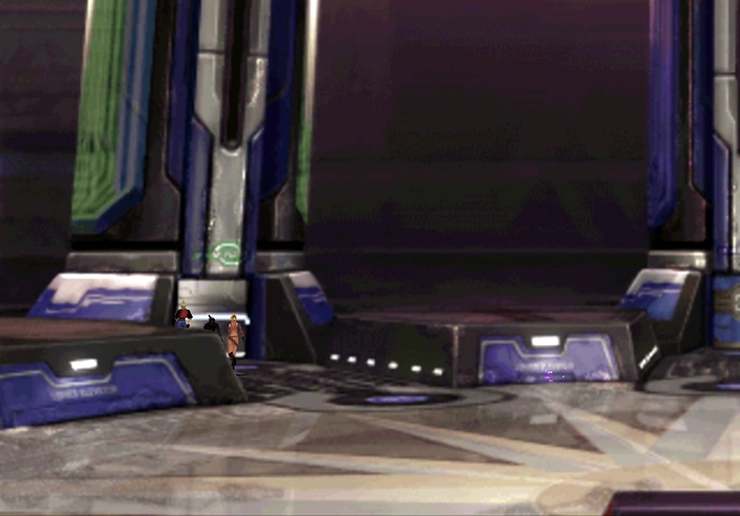
Start off by taking Elevator #3 on the right side of the room. Head down the stairs at the bottom right side of the screen (note: they can be difficult to see, don’t go down the corridor to the right of the elevator).
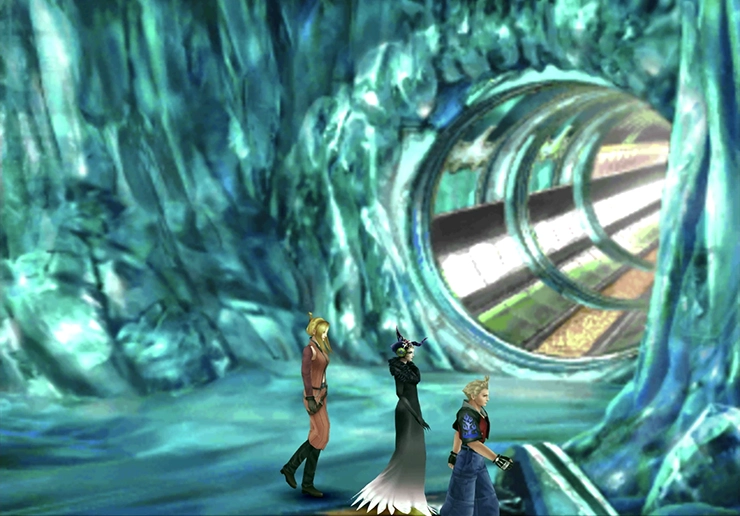
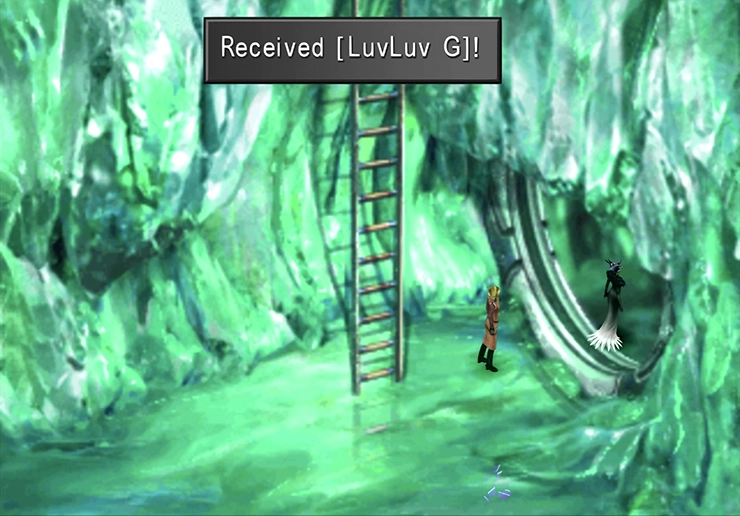
There is a Draw Point here for ![]() Confuse magic and, if you walk into the tube and press the
Confuse magic and, if you walk into the tube and press the  Button, you will receive a
 ![]() LuvLuvG.
LuvLuvG.
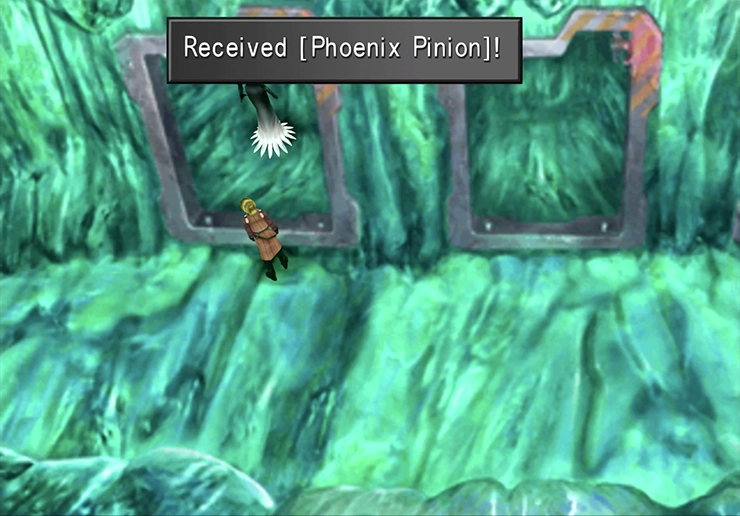
Go left from here twice until you reach the trap doors which are now standing upright. You should be able to access a ![]() Silence Draw Point, pick up a
Silence Draw Point, pick up a ![]() Phoenix Pinion and pick up a
Phoenix Pinion and pick up a ![]() Power Generator, in the three open crevasses.
Power Generator, in the three open crevasses.
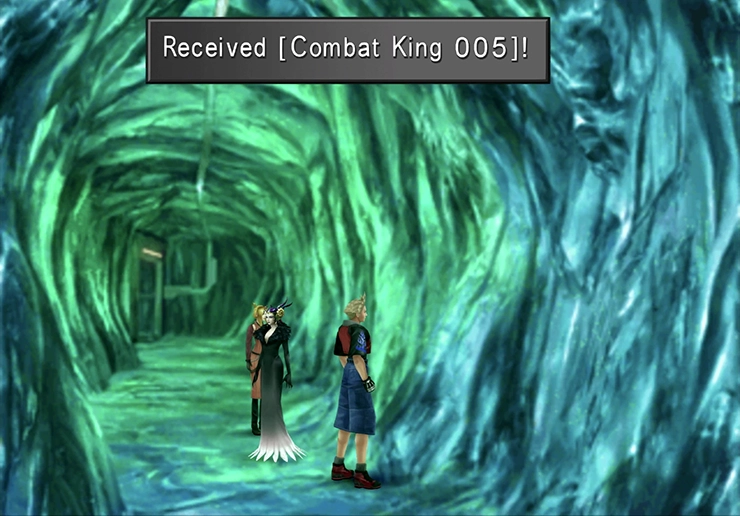
Continue to the left and you will find a ![]() Combat King 005 on the floor. Lastly, at the end of this tunnel, is an
Combat King 005 on the floor. Lastly, at the end of this tunnel, is an ![]() Ultima magic Draw Point.
Ultima magic Draw Point.
Go back to the ladder and head back up. Take the elevator back down and this time ride Elevator #1 up.
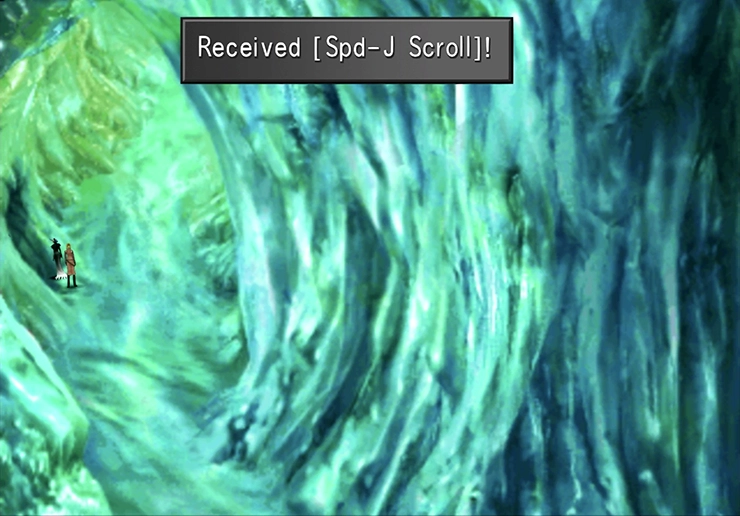
Grab the ![]() Holy Draw Point and check the crevasse on the left side of the screen to find a
Holy Draw Point and check the crevasse on the left side of the screen to find a ![]() Spr-J Scroll. Continue north along the path past the Save Point and your team will be thrown from the Lunatic Pandora.
Spr-J Scroll. Continue north along the path past the Save Point and your team will be thrown from the Lunatic Pandora.
That’s it for now. Time to check in on Squall and Rinoa up in the Lunar Base…