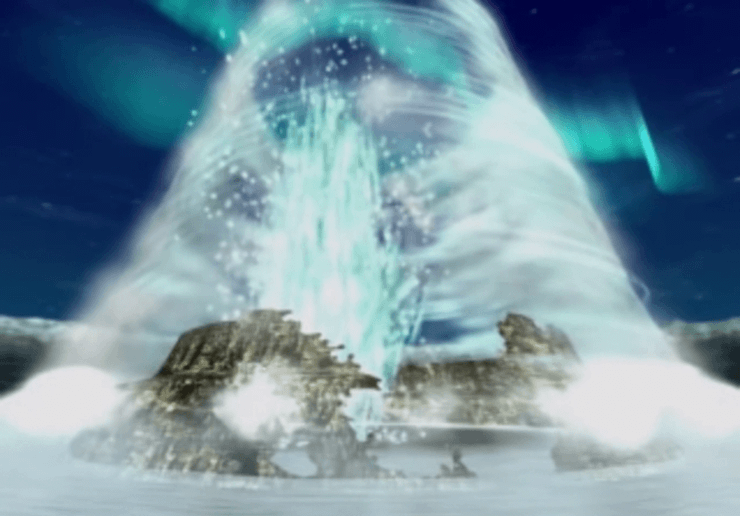
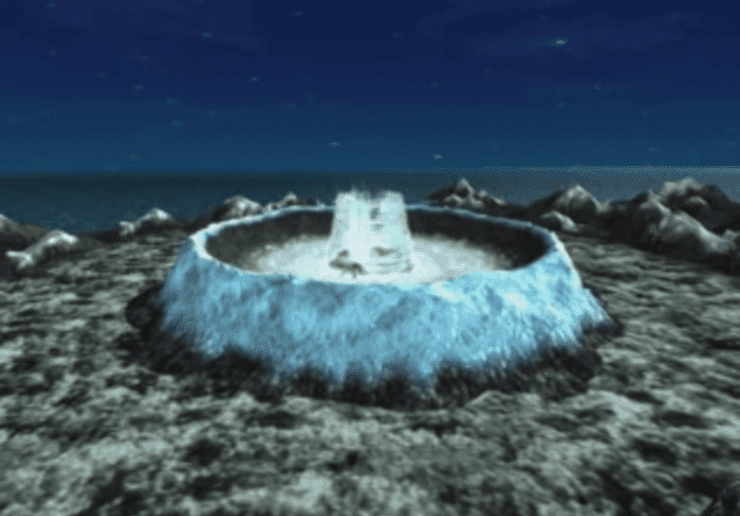
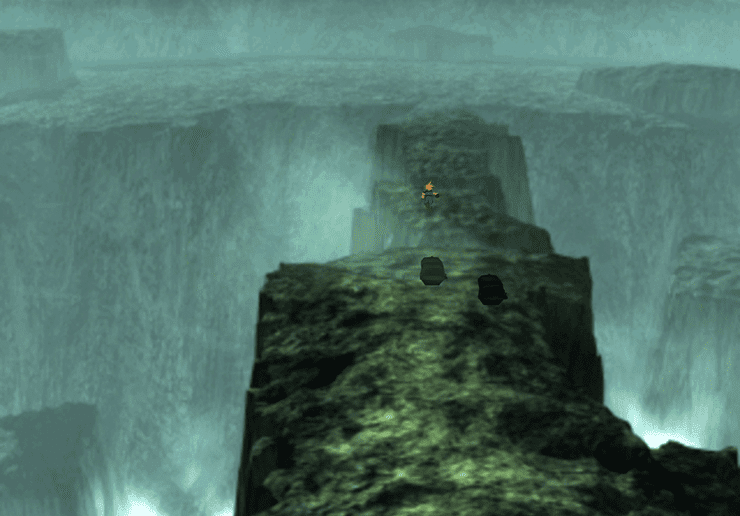
The Whirlwind Maze begins as soon as you reach the top of Gaea’s Cliff and is located inside the middle of the crater. The story will continue as soon as you proceed over the edge.
Continue to the left until you reach the actual maze.
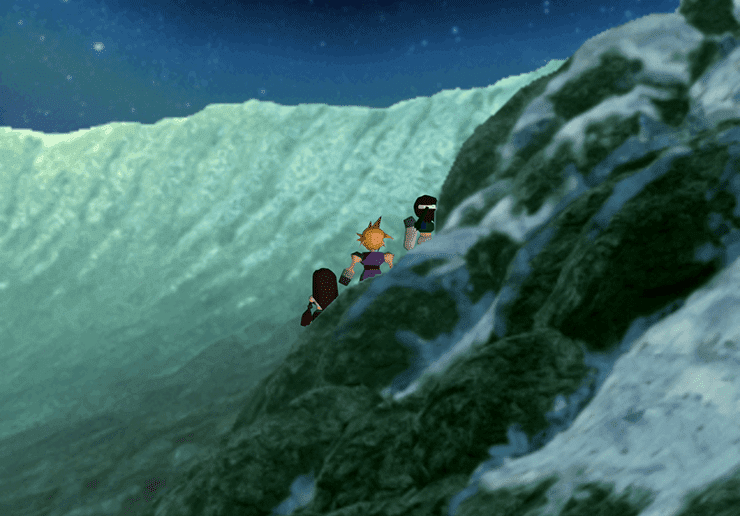
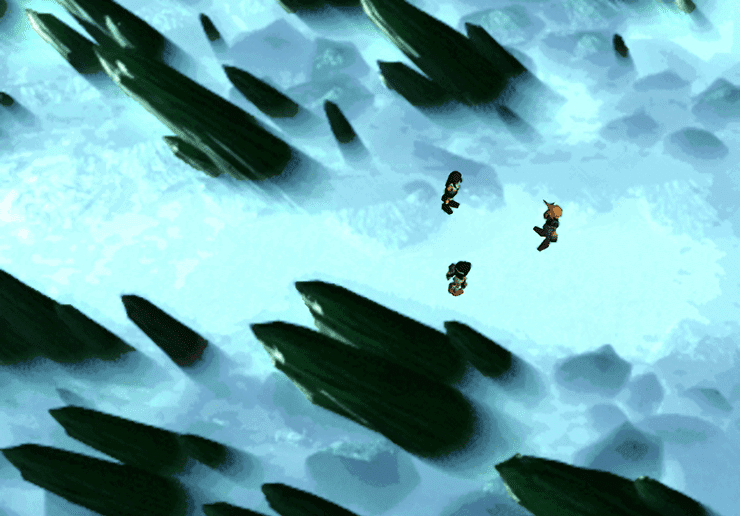
You are going to end up having to use Tifa in your party once you reach the bottom of the slope into the crater. Remove the Materia off of the character that she will be replacing so that you can put equip it to her if you have not been using her in your party already.
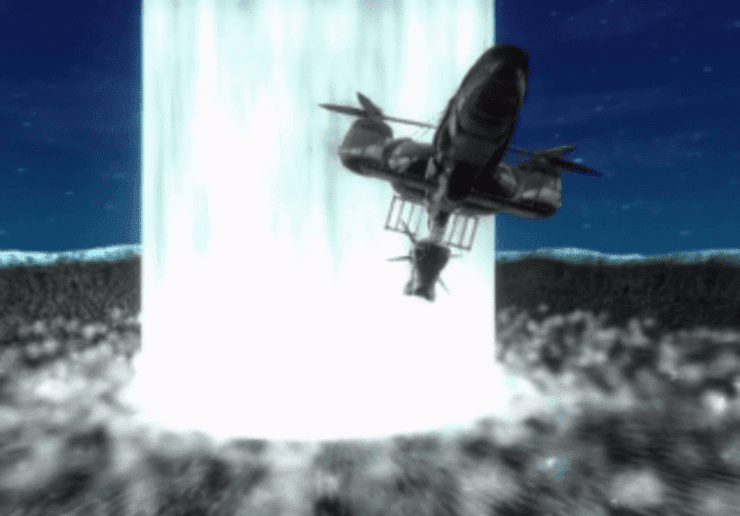
She will run up behind you in the area shown in the screenshot below on the right.
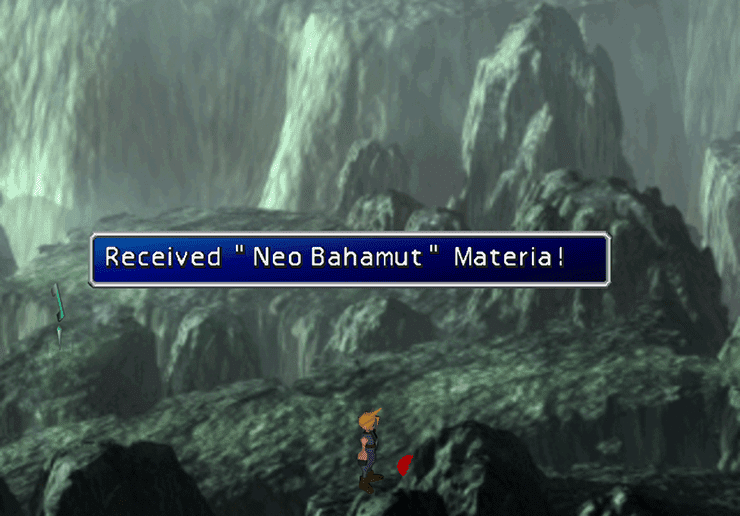
Pick up the  Neo Bahamut Materia located close to the screen when you get near the
  Save Point (shown in the screenshot below). Walk towards the Save Point and Cloud will jump over to that platform.
In order to obtain the Bahamut ZERO Materia later on in the game, which will reward you with the Bahamutype-0 Trophy as well, you need to obtain a number of items including the Neo Bahamut Materia that lies on this pathway in the Whirlwind Maze.
Make sure that you do not move past this area until you pick up the Neo Bahamut Materia on the ground as there is no way to return once you do.
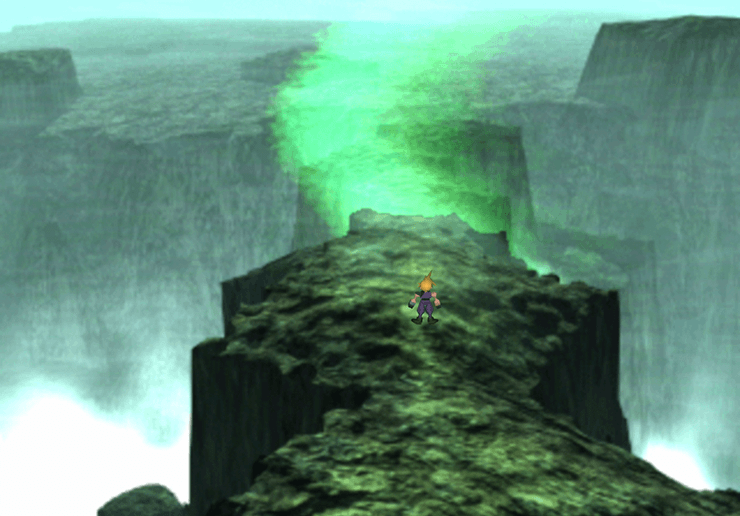
Tifa will explain that in order to cross the barriers you will need to cross the pathway when the wind is calm or risk getting swept off (resulting in a battle against a Wind Wing enemy). Examine the two people in black cloaks in front of the barrier to receive a  Hi-Potion and an Ether.
Run across the barrier when the color of the wall dims to be nearly clear. Use the screenshots below to help you spot the difference in how the barrier looks when you can walk through it:
Cross when it looks like the right screenshot as opposed to the left screenshot.
Follow the trail through the Whirlwind Maze. Pick up the treasure chest on the right side of the screen which contains a  Kaiser Knuckle weapon for Tifa.
The Kaiser Knuckle has a ton of spots for Materia but it is not stronger than the Dragon Claw weapon that was purchasable at the Icicle Inn Weapon Store or even the Diamond Knuckle that could be purchased in Wutai.
Continue along the pathway. None of the people in black cloaks give items in this area.
Before you proceed beyond this point you should take some time to equip your party members with any armor or accessories that you have that nullify or absorb fire-based attacks. The  Fire Armlet and Dragon Armlet work great for this task and make sure to equip the
  Fire Ring on someone.
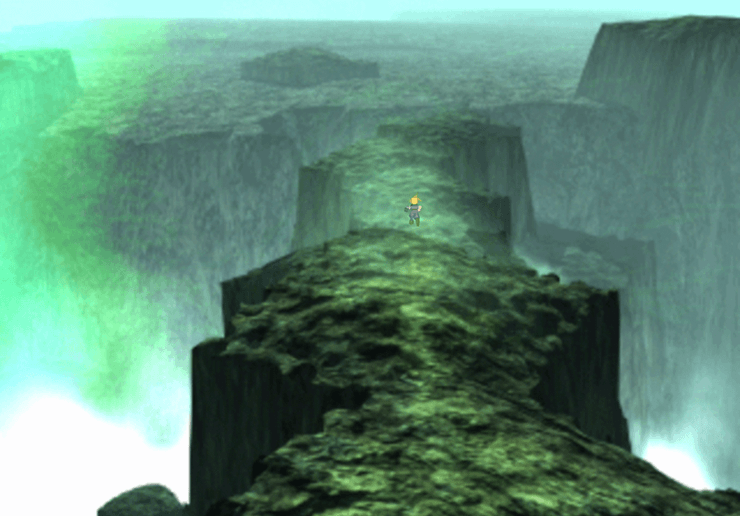
The second barrier that you have to pass through in the next area is a little bit more challenging. You have to wait until the barrier is not glowing, similar to the previous area, while dodging the large green bursts that go from the right side of the screen to the left side.
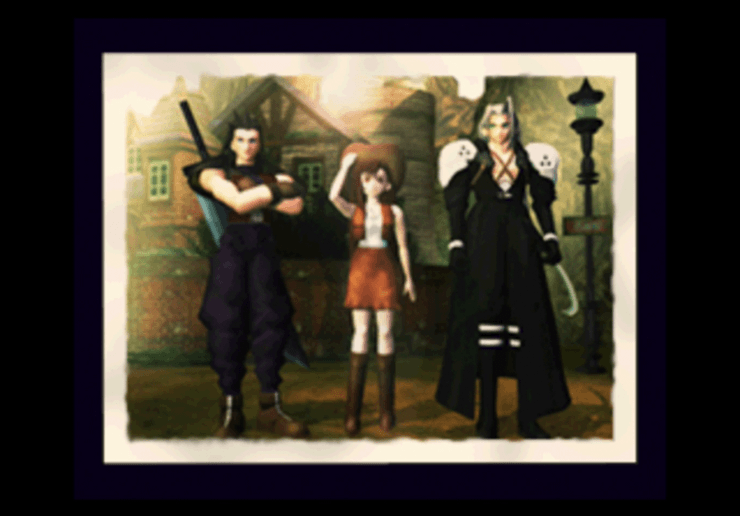
The team will run into Sephiroth in the next area and will be thrown into battle against Jenova·Death.
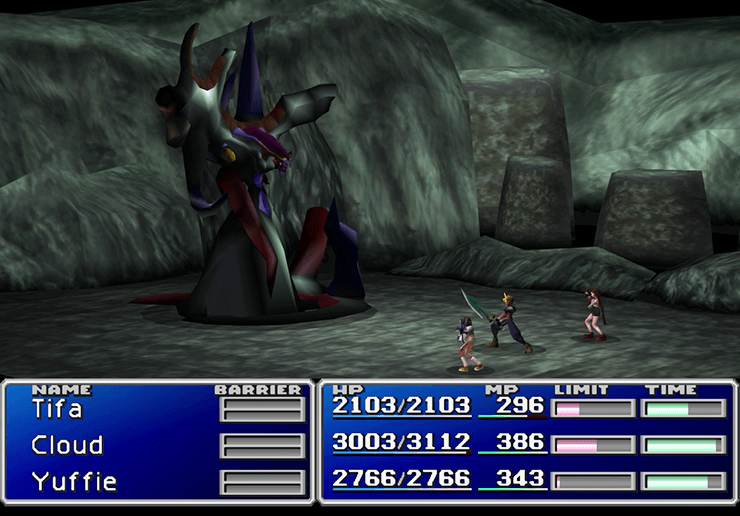
HP: 25,000
Reward: Reflect Ring
This version of Jenova is similar to Jenova·Birth and preparation before the fight will make it a very easy battle.
All of Jenova·Death’s attacks are fire-based. If you are having trouble with this fight take some time to equip gear such as Fire Armlet, Dragon Armlet or Fire Ring to greatly reduce Jenova·Death’s damage output. Other than that it is a fairly standard fight.
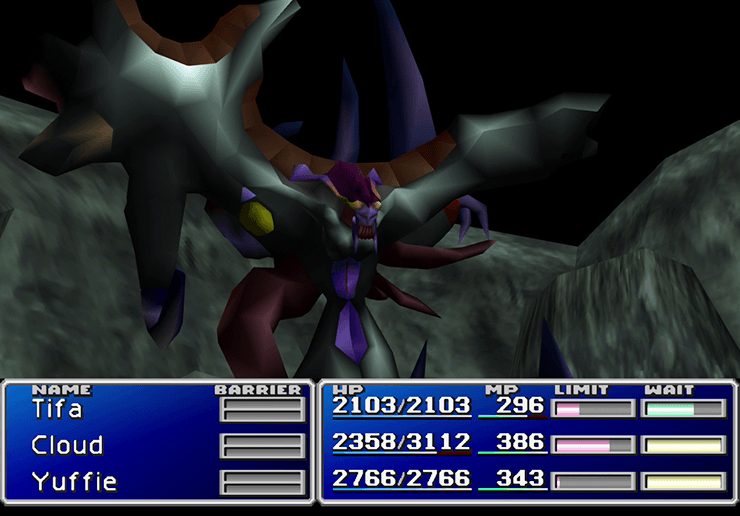
A video demonstration of this battle is included below for reference:
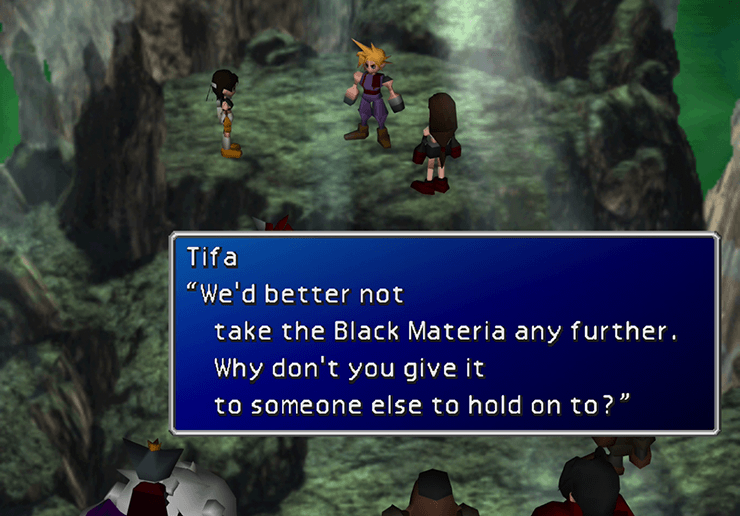
Cloud will pick up the Black Materia off the ground at the end of the fight but Tifa suggests that you give it to someone else for safekeeping.
You can give it either to Barret or Red XIII as Cid, Cait Sith, Yuffie and Vincent will not accept it. Talk to Tifa again after you hand the Black Materia over.
Pick up the  MP Turbo Materia lying on the ground in the next area and then proceed forward. Another mistake in the game as this Materia is actually blue in color despite it appearing to be yellow on the ground.
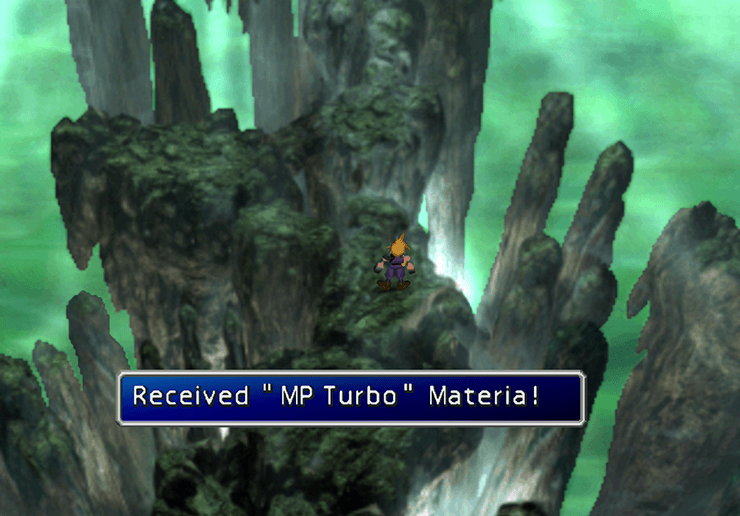
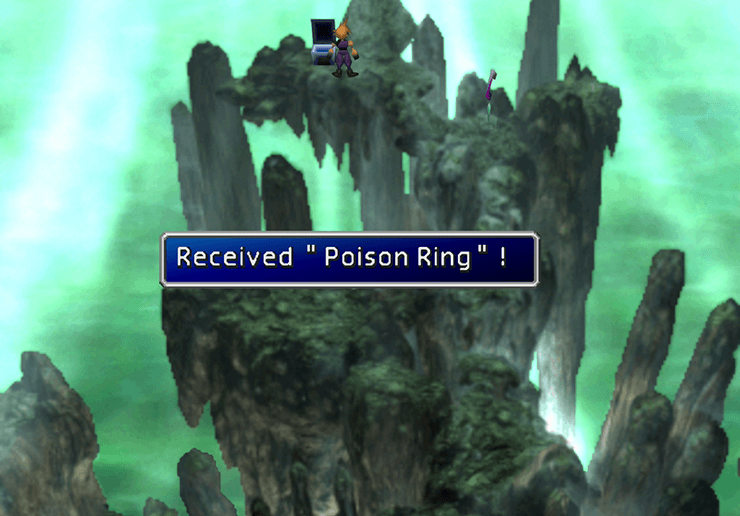
MP Turbo Materia can be paired with one of your green magic Materia to make it much more powerful. Save your game at the Save Point and then open the treasure chest to receive a Poison Ring.
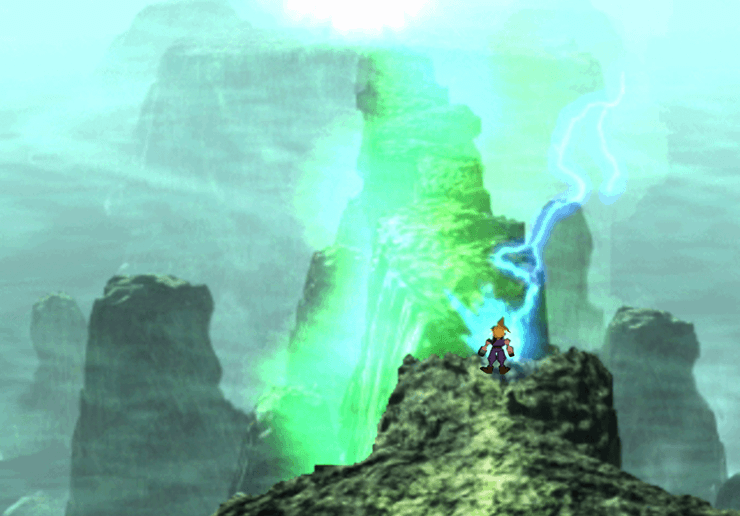
One last barrier to travel through. The trick to this barrier is making sure you get as close to the barrier as you can before you have to run through.
Use the screenshot below to give you an idea of how close you could and should get before attempting to bolt through.
You now need to make sure that the barrier is light enough to pass through, that you’re dodging the green waves of energy and now you need to dodge the additional lightning bolts.

The story continues at the end of this pathway. There is a ton of dialogue and talking to pour through that you will not need the assistance of a guide to complete.
There are a couple of points during the cutscenes where you will have to walk over and talk to various characters (Tifa/Sephiroth).