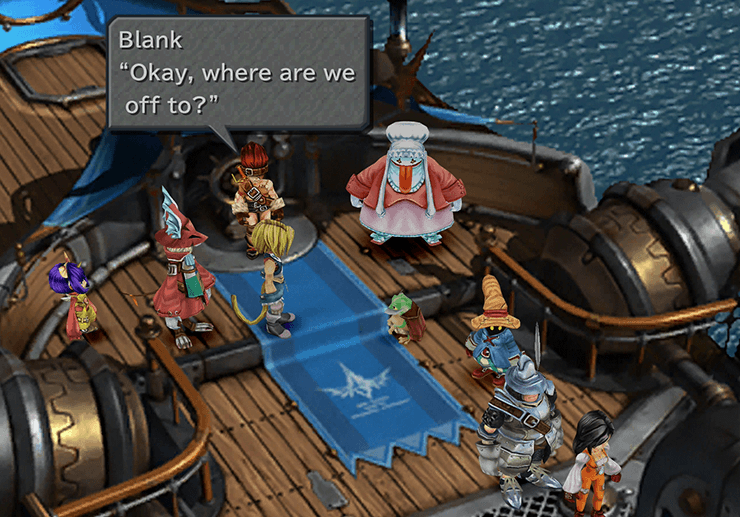
The next destination is revisiting the Black Mage Village, but there are quite a few side quests that you can take care of now that you have access to the Blue Narciss ship.
You can skip this entire section though and head straight to the Black Mage Village though if you wish. Just scroll down to the “Black Mage Village” heading down below.
You can use this opportunity to acquire 4 new Blue Magic spells for Quina. Also, if you did not put Quina in your party, press the  Button while aboard the Blue Narciss and talk to Regent Cid to change your party.
Descriptions of the Blue Magic spells you can obtain are below and, in case you are unfamiliar with the world map locations, details on how to reach each of these locations is included below as well:
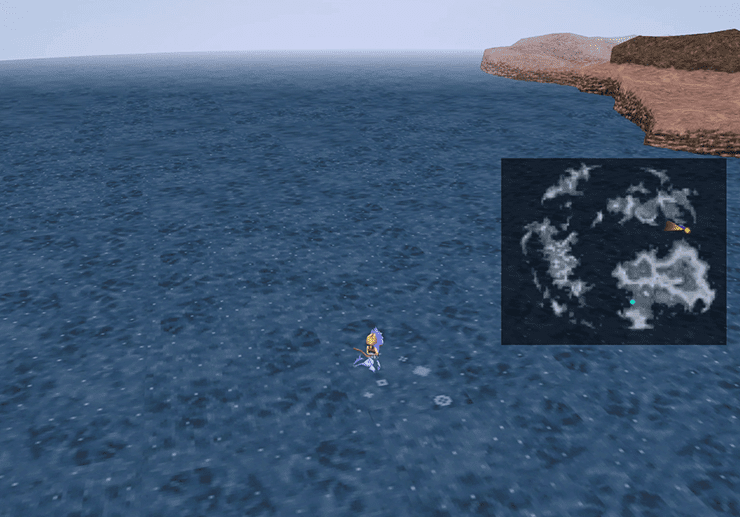
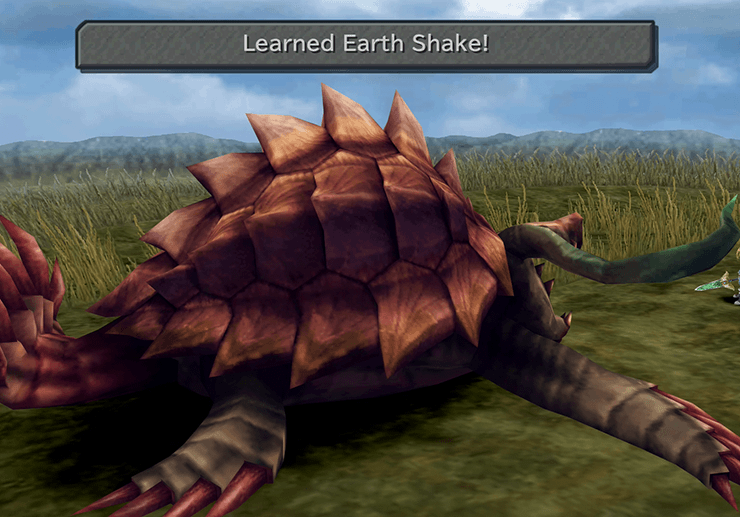
![]() Earth Shake from Adamantoise (3,587 HP) which can be found near the Lanar Island marshlands. Lanar Island is located in the southwestern section of the map and is part of the Forgotten Continent (which you have not visited as part of the story yet). Lanar Island has a dark green spot in the center representing Qu’s Marsh.
Earth Shake from Adamantoise (3,587 HP) which can be found near the Lanar Island marshlands. Lanar Island is located in the southwestern section of the map and is part of the Forgotten Continent (which you have not visited as part of the story yet). Lanar Island has a dark green spot in the center representing Qu’s Marsh.
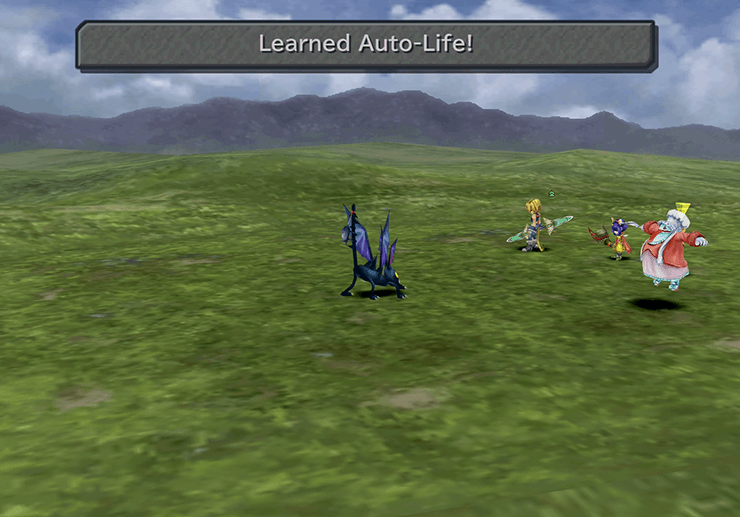
![]() Auto-Life (if you do not have it already) from a Gimme Cat (4,683 HP) on Lanar Island near Qu’s Marsh but not in the marshlands in the green plains areas. Gimmie Cat can be a troublesome enemy. You must not attack it until it moves in to its ‘attack’ stance otherwise it will counter your attack with Comet (which will most likely instantly kill your party).
Auto-Life (if you do not have it already) from a Gimme Cat (4,683 HP) on Lanar Island near Qu’s Marsh but not in the marshlands in the green plains areas. Gimmie Cat can be a troublesome enemy. You must not attack it until it moves in to its ‘attack’ stance otherwise it will counter your attack with Comet (which will most likely instantly kill your party).
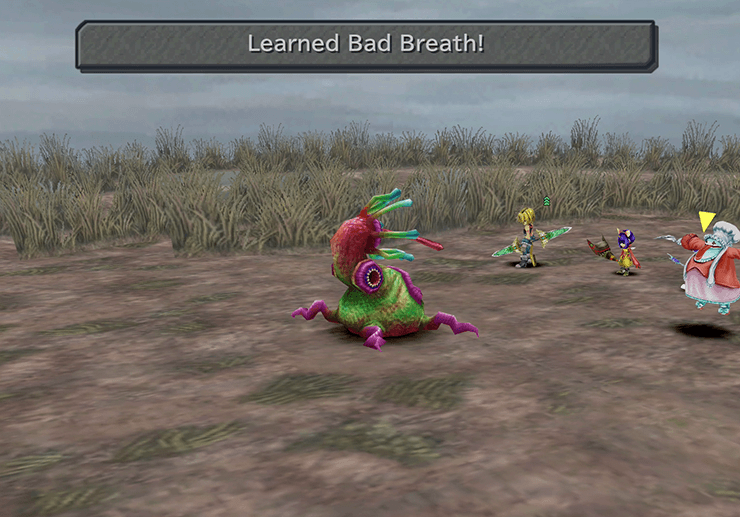
![]() Bad Breath from an Anemone (3,586 HP) which can be found on Lanar Island inside Qu’s Marsh. Just head in to Qu’s Marsh while you’re on the island and wander around until you run into one or two. This is also a great time to go Catching Frogs for that side quest as well.
Bad Breath from an Anemone (3,586 HP) which can be found on Lanar Island inside Qu’s Marsh. Just head in to Qu’s Marsh while you’re on the island and wander around until you run into one or two. This is also a great time to go Catching Frogs for that side quest as well.
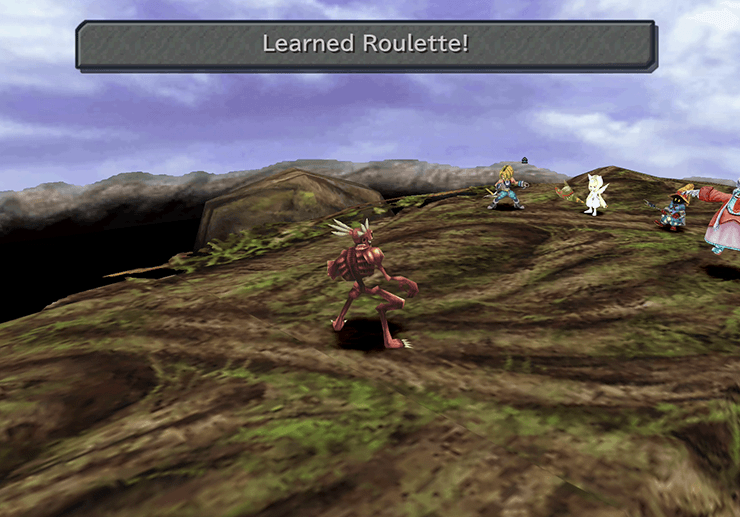
![]() Roulette from a Zombie (973 HP) near the Iifa Tree. The Iifa Tree is located on the northeastern continent, known as the Outer Continent. The tree itself is on the west side of the continent, however there is no beach that you can use that is close by. You will have to dock your boat near Madain Sari and travel through the Condie Petie Mountain Path to get near the Iifa Tree. Enter the Iifa Tree and wander around the tree roots near the entrance.
Roulette from a Zombie (973 HP) near the Iifa Tree. The Iifa Tree is located on the northeastern continent, known as the Outer Continent. The tree itself is on the west side of the continent, however there is no beach that you can use that is close by. You will have to dock your boat near Madain Sari and travel through the Condie Petie Mountain Path to get near the Iifa Tree. Enter the Iifa Tree and wander around the tree roots near the entrance.
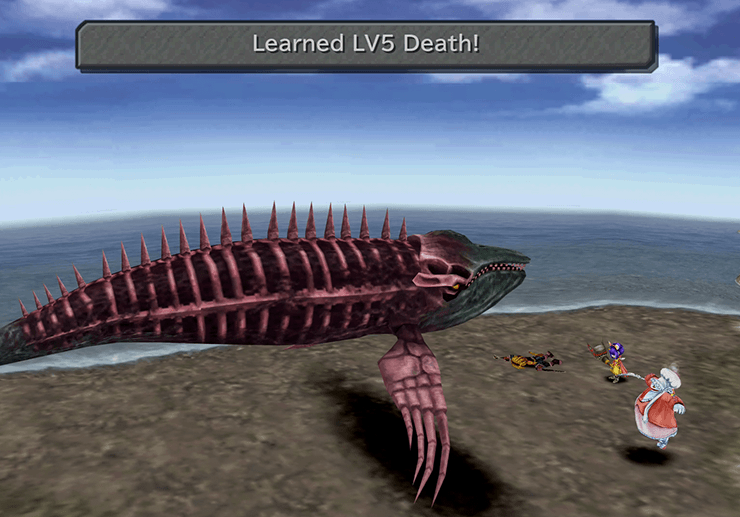
![]() LV5 Death from a Whale Zombie (3,730 HP) on the beaches of the Lost Continent. The Lost Continent is one that you have not visited before. It is the top-left (northwestern) continent covered in snow. Wander around the beaches until it appears.
LV5 Death from a Whale Zombie (3,730 HP) on the beaches of the Lost Continent. The Lost Continent is one that you have not visited before. It is the top-left (northwestern) continent covered in snow. Wander around the beaches until it appears.
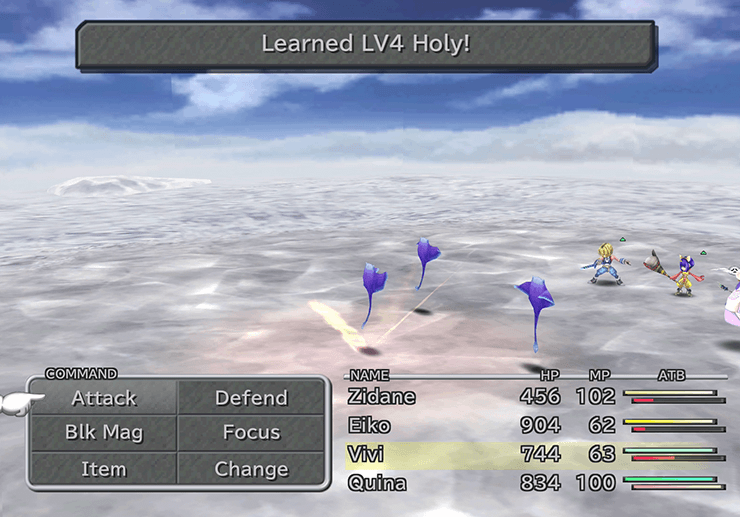
![]() LV4 Holy (if you do not have it yet) from a Feather Circle (619 HP) in the Mitmakis Ice Field on the Snowfields of the Lost Continent. This is very close to the same beaches where the Whale Zombies were found.
LV4 Holy (if you do not have it yet) from a Feather Circle (619 HP) in the Mitmakis Ice Field on the Snowfields of the Lost Continent. This is very close to the same beaches where the Whale Zombies were found.
You can also take this opportunity to catch more frogs in Qu’s Marsh for the frog catching side quest. There are three Qu’s Marshes that you can reach - one on the first continent (Mist Continent), one on the second (Outer Continent) and a third one located on Lanar Island on the southwest continent (Forgotten Continent).
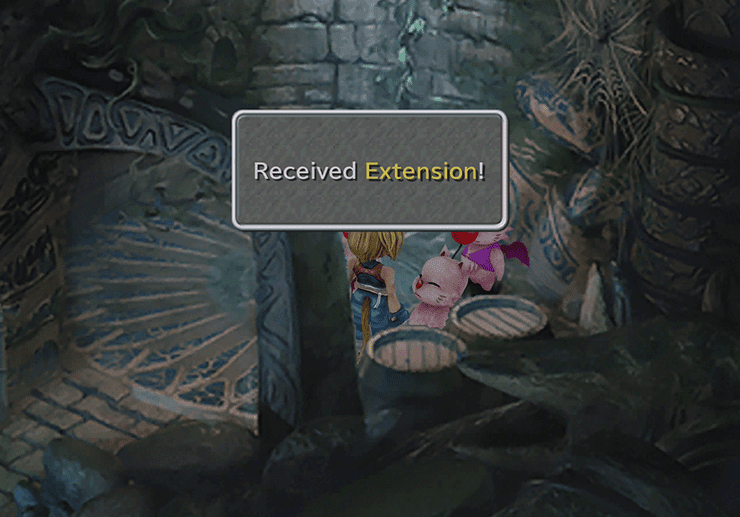
Head back to Gizamaluke’s Grotto to return another Kupo Nut to Mugato for the Kupo Nut side quest to receive an ![]() Extension as a reward. This is the first time the reward for completing the side quest is fairly nice and not just some consumable.
Extension as a reward. This is the first time the reward for completing the side quest is fairly nice and not just some consumable.
Esto Gaza is one of the towns that you can reach now that you can head almost anywhere in Gaia with the Blue Narciss ship.
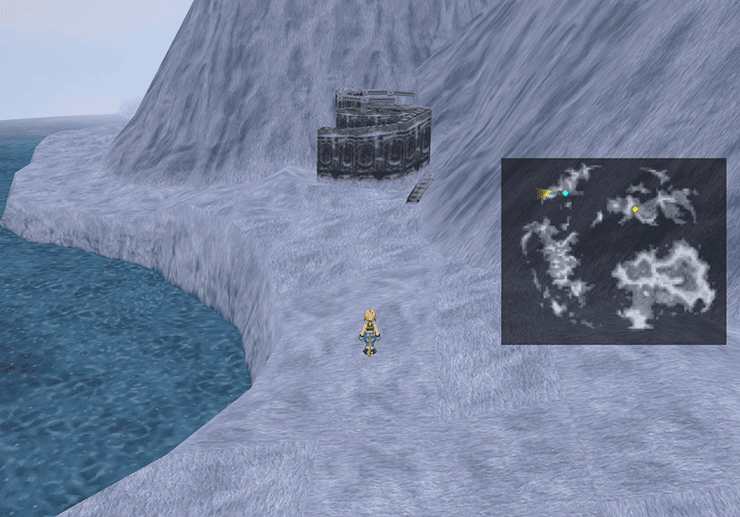
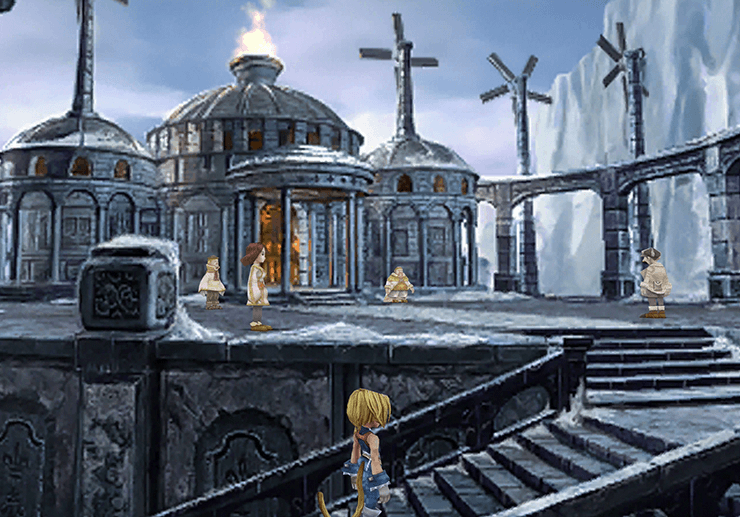
Travel to the Lost Continent (the frozen north western continent) and look for a small town on the southeast corner of what are referred to as the Gulug Mountains in the game. This is near the Mitmakis Ice Field area that you may have gone to for picking up Quina’s Blu Mag spells.
Disembark on the southern beach and then travel west towards the grey buildings shown in the screenshot below.
There isn’t much that you can do in Esto Gaza right now but there is a shop inside the structure and to the right. You can purchase a multitude of items here including the Mythril weapons:
![]() Mythril Dagger
Mythril Dagger
![]() Mythril Sword
Mythril Sword
![]() Mythril Spear
Mythril Spear
![]() Mythril Claws
Mythril Claws
![]() Mythril Racket
Mythril Racket
![]() Mythril Rod
Mythril Rod
![]() Mythril Fork
Mythril Fork
![]() Mythril Armlet
Mythril Armlet
![]() Mythril Gloves
Mythril Gloves
![]() Mythril Helm
Mythril Helm
![]() Mythril Vest
Mythril Vest
![]() Mythril Armor
Mythril Armor
This is also the first time you can purchase ![]() Vaccines although you won’t need them yet. Purchasing these items are the only thing that you can do in Esto Gaza for now.
Vaccines although you won’t need them yet. Purchasing these items are the only thing that you can do in Esto Gaza for now.
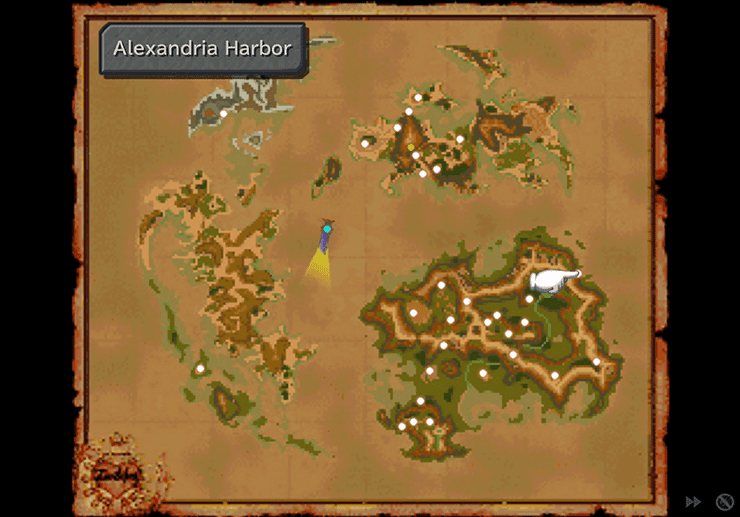
There are a ton of items that you can pick up in Alexandria. Sail the Blue Narciss over to Alexandria on the Mist Continent and search for a harbor near the water (shown in the screenshot below). It is located on the northeast portion of the landmass and you can locate it easily by finding it on the World Map.
Follow the pathway along until you reach the floating statue. The statue can be used to transport the team to the Castle. Search the area near the gondola dock to find an ![]() Opal, a
Opal, a ![]() Sapphire and a
Sapphire and a ![]() Peridot. Ride the gondola over to the opposite side of the shore and enter Alexandria Town.
Peridot. Ride the gondola over to the opposite side of the shore and enter Alexandria Town.
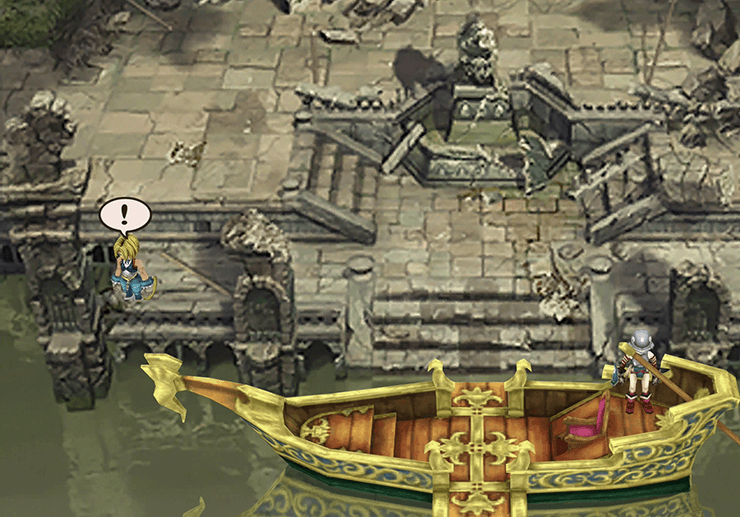

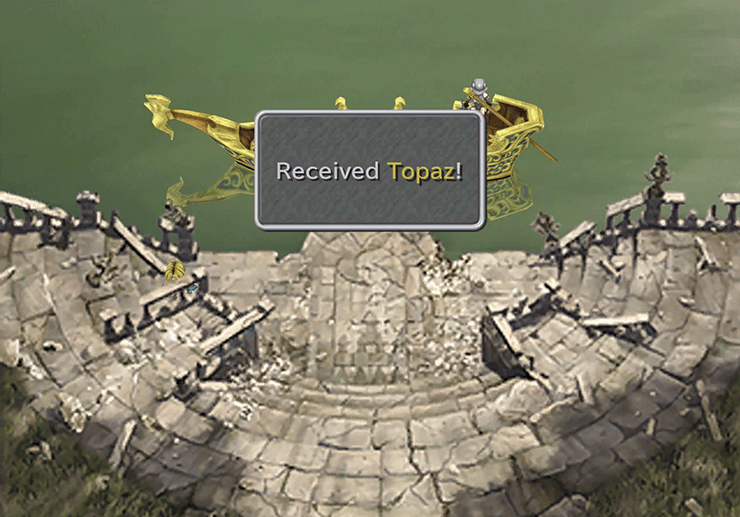
Search the docks on the south shore to find 4,832 gil and a ![]() Topaz hiding on the ground behind the two platforms that jut out north.
Topaz hiding on the ground behind the two platforms that jut out north.
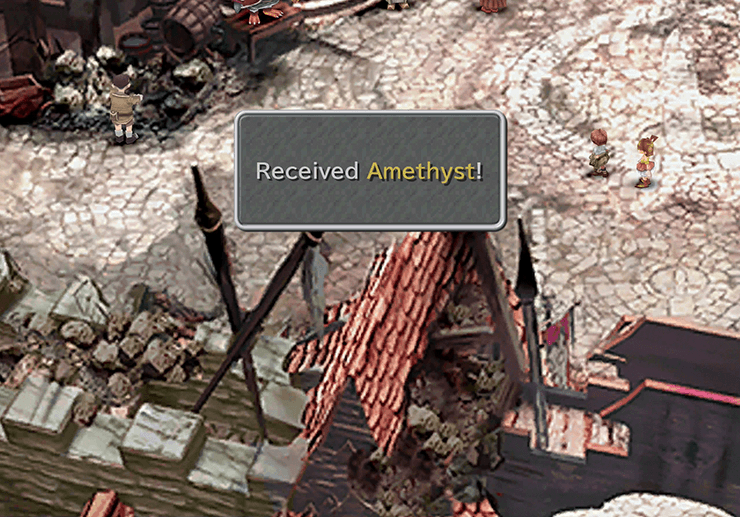
Search the entrance to the shop to find a pile of 365 gil and then search the south section of the square to find a ![]() Remedy and an
Remedy and an ![]() Amethyst. Speak to the girl running around the center of the square to receive an
Amethyst. Speak to the girl running around the center of the square to receive an ![]() Alexandria Card.
Alexandria Card.
Head south from the square and look on the left side of the screen amid the rubble to find an ![]() Ether. Head south one more screen and search the left side for another
Ether. Head south one more screen and search the left side for another ![]() Sapphire. Return to the square and head west down the alleyway.
Sapphire. Return to the square and head west down the alleyway.
Search the area on the right side of the entrance to the Steeple for a ![]() Tent and you are done in Alexandria.
Tent and you are done in Alexandria.
There are a ton of new Chocographs that you can obtain now that you have access to the Blue Narciss ship. Note: This is an extension of two side quests that you should have already started: the Chocobo Hot & Cold side quest and the Chocograph side quest. Check out the Chocobo Hot & Cold side quest page for more information on how this quest works if you haven’t started it yet.
Head back to the Chocobo’s Forest on Mist Continent in the southeast section of the world map. Find the nearby Chocobo tracks, use ![]() Gysahl Greens to call Choco over, and re-enter the forest.
Gysahl Greens to call Choco over, and re-enter the forest.
Mene the Moogle will be missing when Zidane first enters the forest, but he will reappear to tell Zidane all about a new place he found near “Palmnell Island” located to the southwest. Mene will automatically mark the spot on your map as “Chocobo’s Lagoon” (which is near Palmnell Island) after he tells you about it.
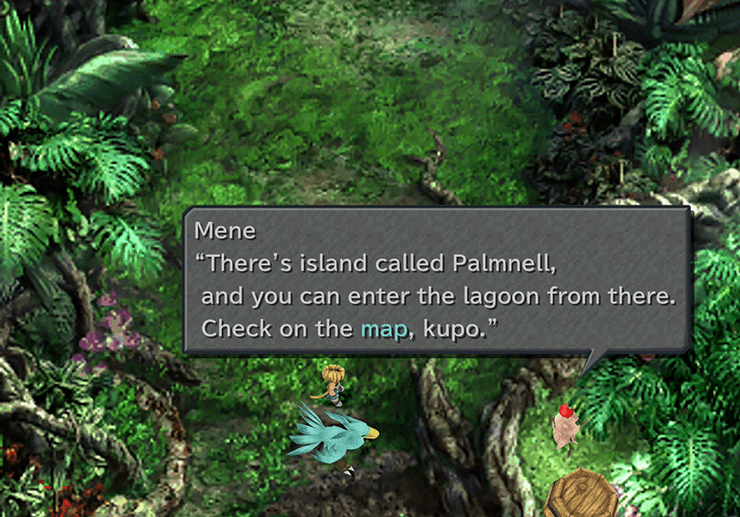
Exit the Chocobo’s Forest and check the world map to find the new area that Mene added so that you know where you are going. Before you jump back in to the Blue Narciss though to make your way over, make sure that you have found and obtained Chocograph #4: Healing Shore.
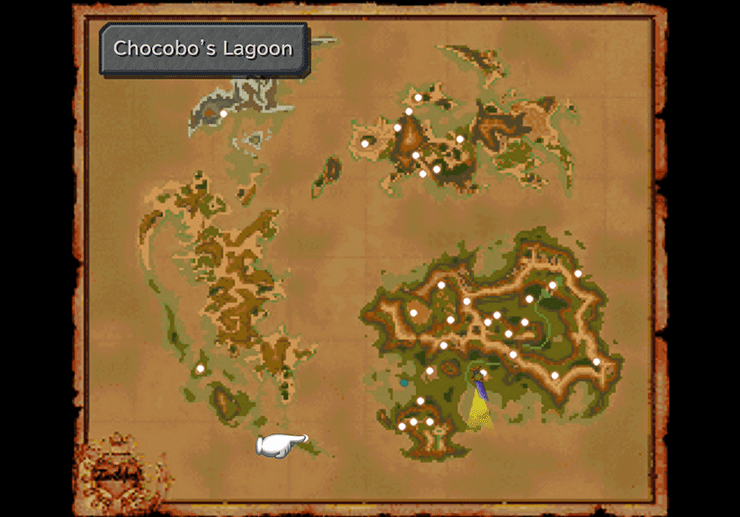
The prize for finding Chocograph #4 is the Reef Ability which allows Choco to walk through shallow water. You will need the Reef Ability in order to reach Palmnell Island and to reach the Chocobo’s Lagoon.
If you have to go find the Chocograph now, remember that you must press the Button and select the “Healing Shore” Chocograph in order to find it.
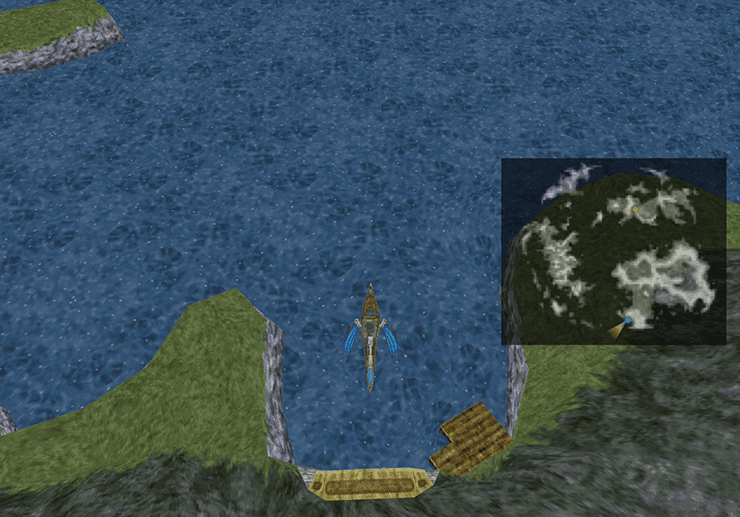
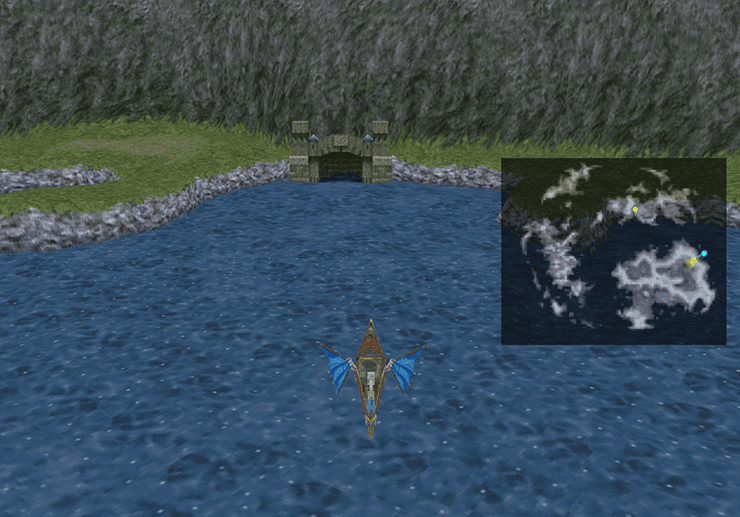
Now that you are all set, jump in the Blue Narciss and sail southwest until you find and island west of Palmnell Island and west of the Chocobo’s Lagoon that has Chocobo tracks on it.
Use the screenshot and the video below to help you find it. You need to follow the track outlined below, taking Choco through the shallow waters, to reach the Chocobo’s Lagoon.
You can take some time now to hunt for additional Chocographs now that you have reached the Chocobo’s Lagoon. You only have access to a small section of the zone, but you can track down the following Chocographs while you are here:
Remember, Mene will tell you when you have found all of the Chocographs that are available in any of the areas.
Once you have dug up all three Chocographs, leave the Chocobo’s Lagoon and head back to the Blue Narciss. You can find and reach a ton of Chocograph treasure locations which you should now take some time to track down.
Use ![]() Gysahl Greens to summon Choco, press the Button to open the Chocograph menu, select one of the Chocographs below and hunt down the treasure. You can click on the link for more information on where to find it:
Gysahl Greens to summon Choco, press the Button to open the Chocograph menu, select one of the Chocographs below and hunt down the treasure. You can click on the link for more information on where to find it:
Once you open Chocograph #12: Dawn Lagoon you will gain another ability for Choco: Mountain Ability (changing his color from red to blue). This will give you access to even more Chocographs that you can dig up in each of the two locations. But before that, you may have noticed that we skipped one Chocograph. Now that you have the Mountain Ability, you can also find:
Now it is time to go hunting for Chocographs again through the Chocobo Hot & Cold side quest. Head back to each of the two locations now that you have the Mountain Ability and you will be able to dig up:
In the Chocobo’s Forest:
In the Chocobo’s Lagoon:
You can track down the treasure for Chocograph #13: Forbidden Forest and you can also find the treasure for Chocograph #14: Green Plains. Finding Chocograph #14 will give you access to the last ability that you can find for now for Choco: the Ocean Ability. This will allow Choco to run through oceans!
Once you have the Ocean Ability, head back to the two Chocobo Hot & Cold locations to dig up four more Chocographs. Also, because you now have a Chocobo that can cross the ocean, you no longer need to use the Blue Narciss to reach the Chocobo’s Lagoon:
In the Chocobo’s Forest:
In the Chocobo’s Lagoon:
You can find all of the Chocograph treasures that have been listed and that you have obtained EXCEPT FOR Chocograph #15: Dusk Plains, Chocograph #16: Forgotten Plains and Chocograph #22: Outer Island 2. You are all caught up on this side quest if you have found all of the rest.
In order to provide a convenient list to review, all of the Chocographs that you should have are listed below, with the last three highlighted in bold:
| Chocograph | Location | Abilities Required |
|---|---|---|
| 1) Streamside | Forest | (None) |
| 2) Between Mountains | Forest | (None) |
| 3) Uncultivated Land | Forest | (None) |
| 4) Healing Shore | Forest | (None) |
| 5) Abandoned Beach | Forest | (None) |
| 6) Cold Field | Forest | (None) |
| 7) Forgotten Lagoon | Lagoon | Reef Ability |
| 8) Faraway Lagoon | Forest | Reef Ability |
| 9) Abandoned Lagoon | Lagoon | Reef Ability |
| 10) Bird’s-Eye Lagoon | Forest | Reef Ability |
| 11) Small Beach | Forest | Reef Ability |
| 12) Dawn Lagoon | Lagoon | Reef Ability |
| 13) Forbidden Forest | Forest | Mountain Ability |
| 14) Green Plains | Forest | Mountain Ability |
| 15) Dusk Plains* | Lagoon | Mountain Ability |
| 16) Forgotten Plains* | Forest | Mountain Ability |
| 17) Sea at Dusk | Lagoon | Ocean Ability |
| 18) Ocean | Lagoon | Ocean Ability |
| 19) Cold Lagoon | Forest | Ocean Ability |
| 22) Outer Island 2* | Lagoon | Ocean Ability |
* You cannot currently reach these Chocograph locations at this point in the game.
You can also find the first of many Chocobo Mountain Cracks which are located throughout Gaia. You can use a ![]() Dead Peppers while riding Choco which will cause it to peck through the crack revealing any treasures inside.
Dead Peppers while riding Choco which will cause it to peck through the crack revealing any treasures inside.
You can dig up a Dead Pepper in either the Chocobo’s Forest or the Chocobo’s Lagoon after you have obtained the Mountain Ability (from locating Chocograph #12: Dawn Lagoon).
Travel to the Outer Continent (the frozen continent located to the northwest) and search the northeastern area to find a small hole. Use the screenshot below to help you find it.
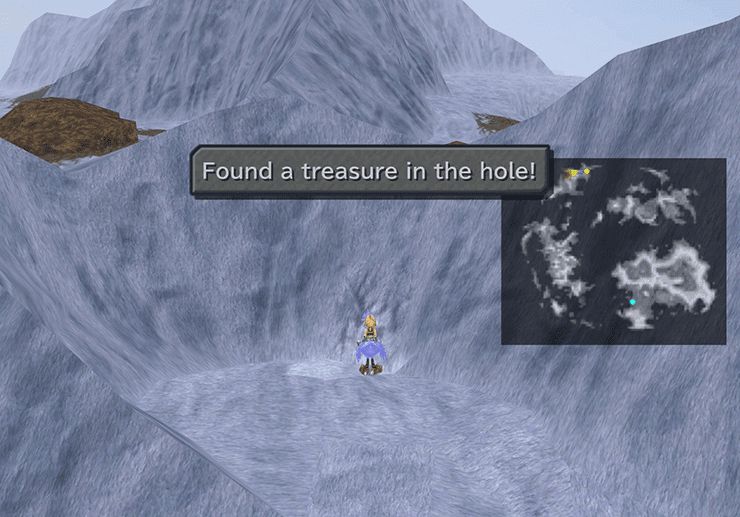
The treasure it yields includes 41 ![]() Lapis Lazuli, a
Lapis Lazuli, a ![]() Rosetta Ring, a
Rosetta Ring, a ![]() Protect Ring and an
Protect Ring and an ![]() Airship Card. It is the only Chocobo Mountain Crack you can find for now.
Airship Card. It is the only Chocobo Mountain Crack you can find for now.
There are also four Dive Spots that you can find now that you have a Chocobo with the Ocean Ability which you obtained if you found Chocograph #14: Green Plains.
You will need to use a Dead Pepper to dive in each of the locations listed in the link below. The locations are marked on the world map with bubbles indicating where to dive. You can fully complete the side quest up to the fourth Dive Spot at this time:
The last thing that you can do now that you have a Chocobo with the Mountain Ability is reach a few of the South Gate locations.
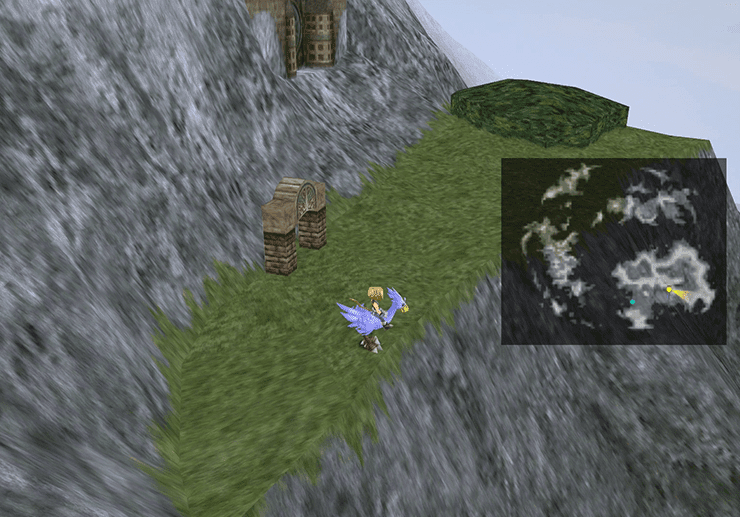
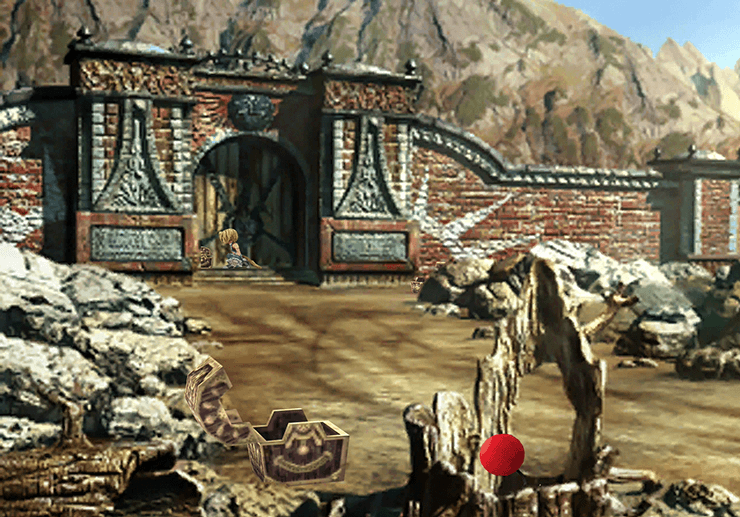
The first South Gate arch is the Bohden Gate and it is located on the side of the mountain shown in the screenshot below.
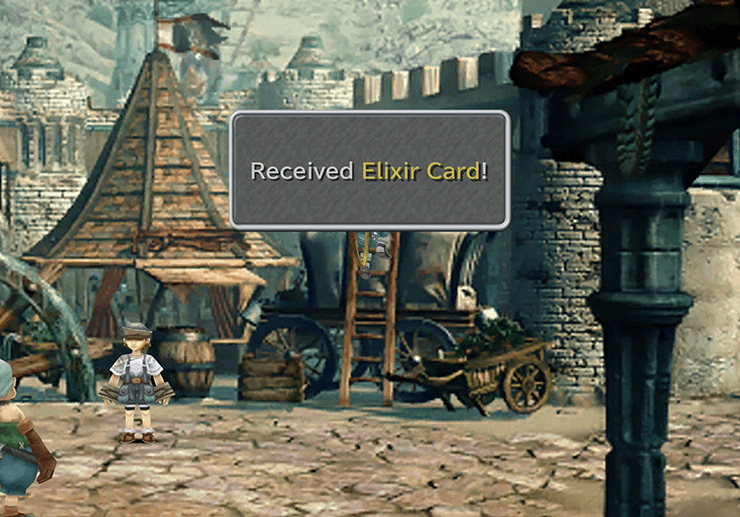
Speak to the guards to get by with your Gate Pass and then grab the treasure chest at the top of the wagon to receive an ![]() Elixir Card (as well as the
Elixir Card (as well as the ![]() Multina Racket in the lower left-hand corner if you missed during your first pass through).
Multina Racket in the lower left-hand corner if you missed during your first pass through).
The second South Gate (Treno Arch) is located north of this one on the opposite side of the mountain. It can be found in a small valley with a river in front of it (shown in the screenshot below).
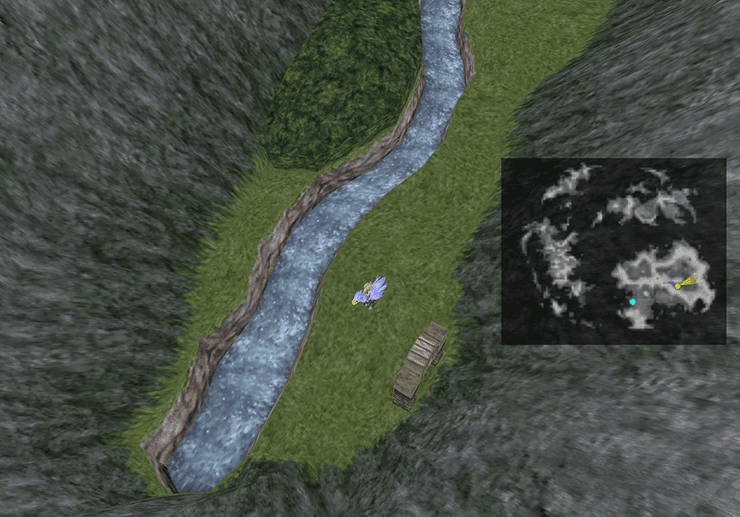
There are two treasure chests with ![]() Elixirs (one in the front and one further back) and a treasure chest up near the actual gate. The third treasure chest sitting in the gate contains 3,206 gil.
Elixirs (one in the front and one further back) and a treasure chest up near the actual gate. The third treasure chest sitting in the gate contains 3,206 gil.
You can also return to the Auction House to bid on a ![]() Promist Ring or
Promist Ring or ![]() Thief Gloves. Check out the Treno Auction House page for more information.
Thief Gloves. Check out the Treno Auction House page for more information.
Lastly, you should take one last opportunity to do some more frog catching as part of the Catching Frogs side quest at each of the Qu’s Marsh locations.
It is now time to continue with the story. Take the Blue Narciss to the southern beach of the Outer Continent and travel back to Black Mage Village.
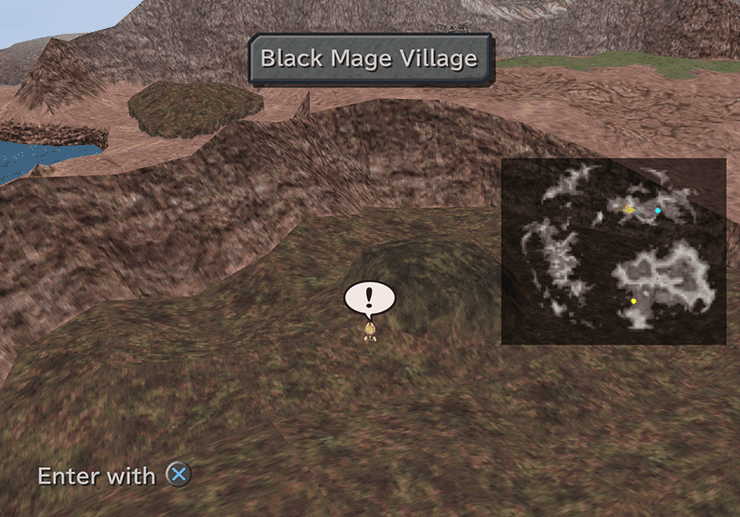
The team will arrive to find Black Mage Village completely deserted.
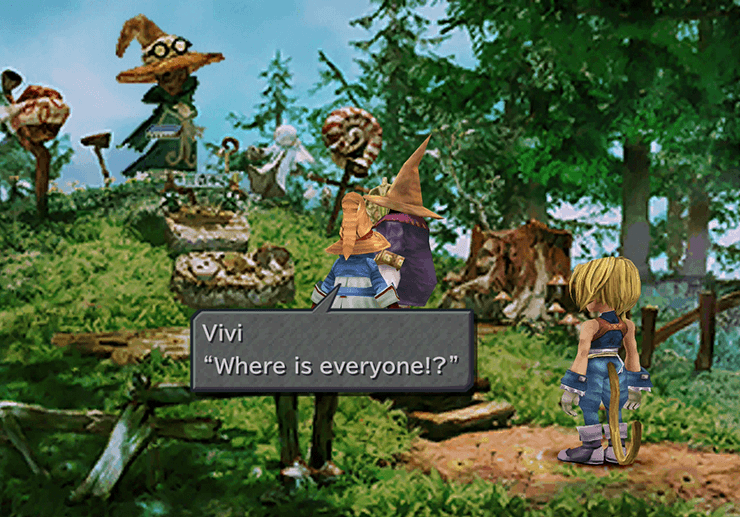
Walk back to the cemetery to find Vivi speaking with Black Mage No. 288. Follow Vivi over to the Chocobo Stable on the opposite side of the Village. Black Mage No. 288 will tell Vivi and Zidane about the Desert Palace and where to find it at the end of the sequence.
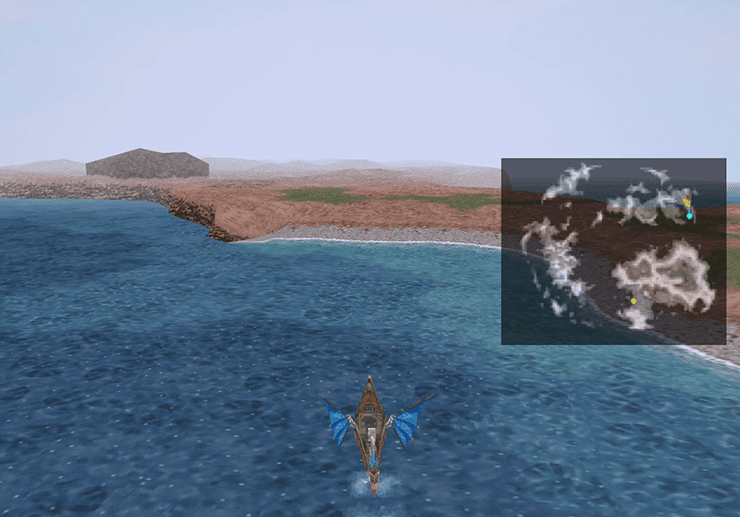
Exit the village and travel back to the Blue Narciss. Sail the boat eastward until you reach a huge beach area shown in the screenshot below. Dock the boat on the beach and head northward until you reach an area with four sand pits in the center of the desert also shown in the screenshot below.
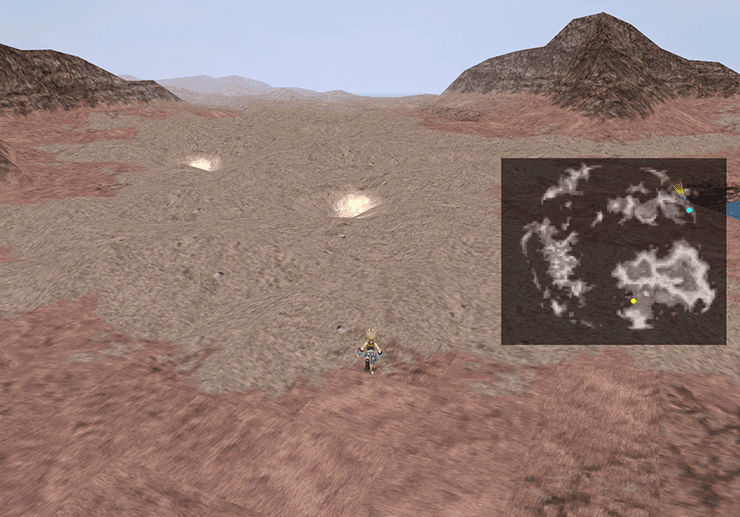
Three of the four sand pits will occasionally have puffs of sand that appear as you observe them. These three sand pits are traps that will throw you into battle against an Antlion enemy if you touch them. The fourth sand pit, with no puffs of sand, is the entrance to the Desert Palace.