For starters, there are two monsters in this area that can teach Quina some ![]() Blu Mag abilities if you eat them. They are:
Blu Mag abilities if you eat them. They are:
You should take this time to equip Dagger with the ![]() Auto-Potion and
Auto-Potion and ![]() Chemist abilities if you can to make an upcoming boss battle much easier.
Chemist abilities if you can to make an upcoming boss battle much easier.
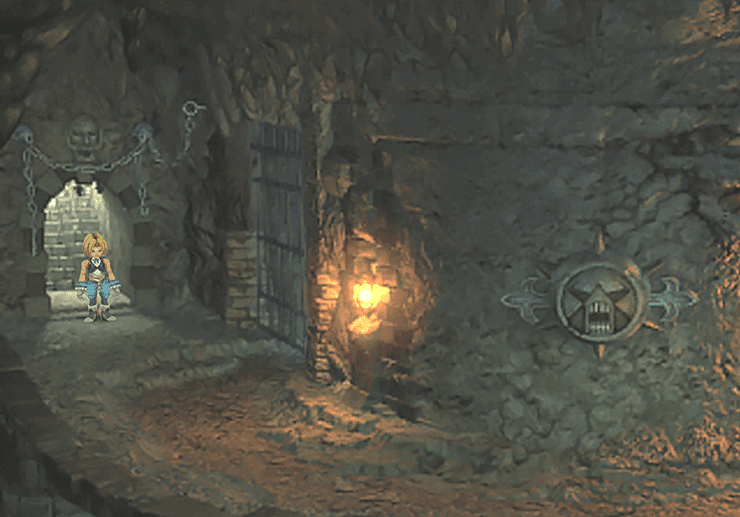
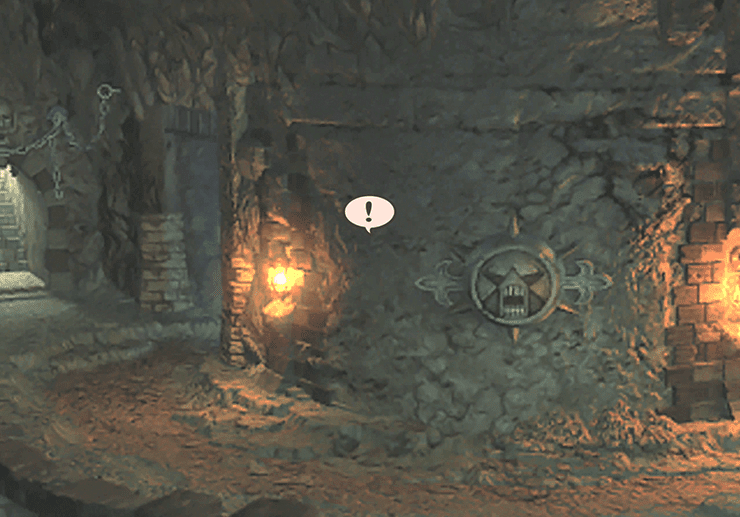
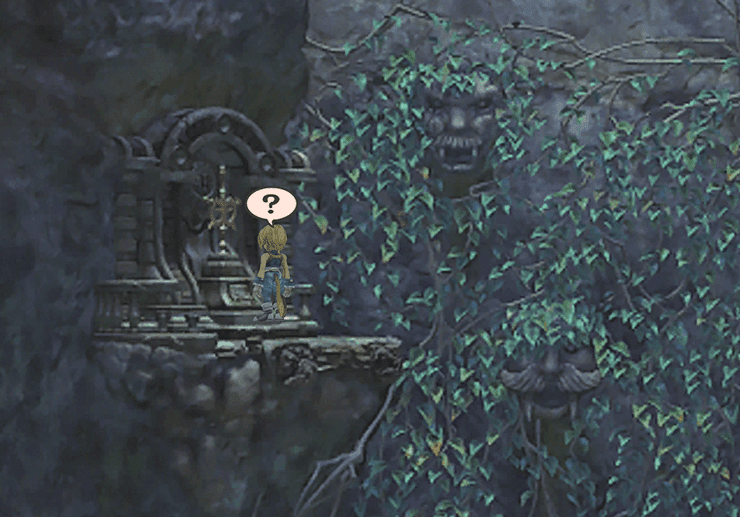
As a reminder, you can see the name of a monster by pressing the  Button and then targeting them in battle. You can examine the gate on the right side of the screen but Zidane will just comment that it is too dark to see inside.
As soon as you move down the hallway you will initiate a chase scene involving Armodullahan so read ahead to make sure you are prepared.
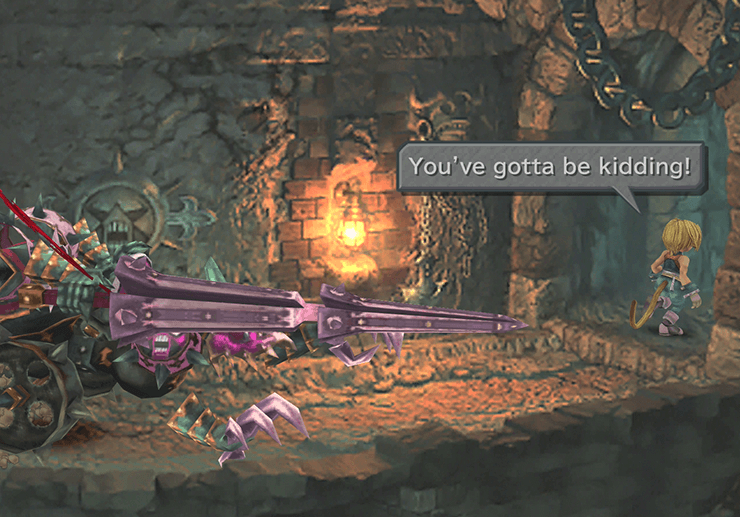
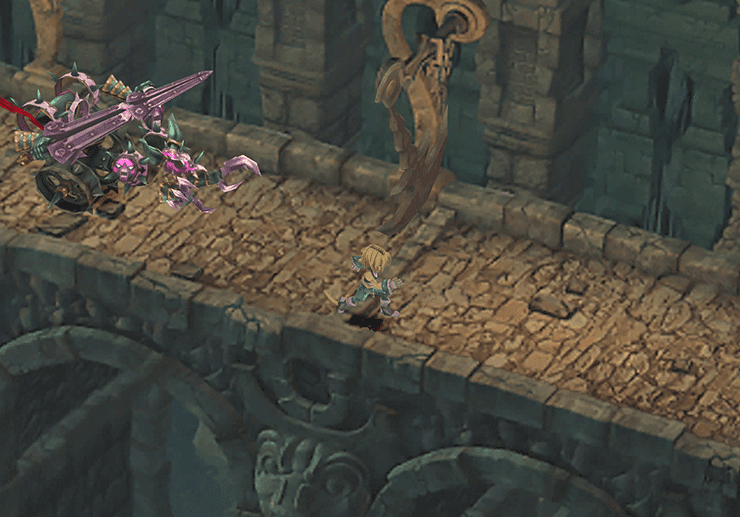
Armodullahan will follow behind Zidane and the rest of the party as you proceed down a booby-trapped hallway. You will be forced into battle against it every time it catches up to you. You can never truly defeat it but you can end the battle by depleting it of 800 HP.
The battle starts off as a “Back attack!” though which means each of your characters will be in the wrong row (reducing damage done, among other things) and starting off their attack timers at 0. It should not take too many attacks to bring Armodullahan down though.
Continue down the pathway and dodge the swinging axes to the best of your ability. Your best bet is to try and go around them by sticking to the edges of the pathway - either the upper or lower edge.
The chase will end after Zidane jumps over a pit and Armodullahan falls down the hole. Another boss battle will ensue after another short cutscene.
Level: 19
HP: 5,708
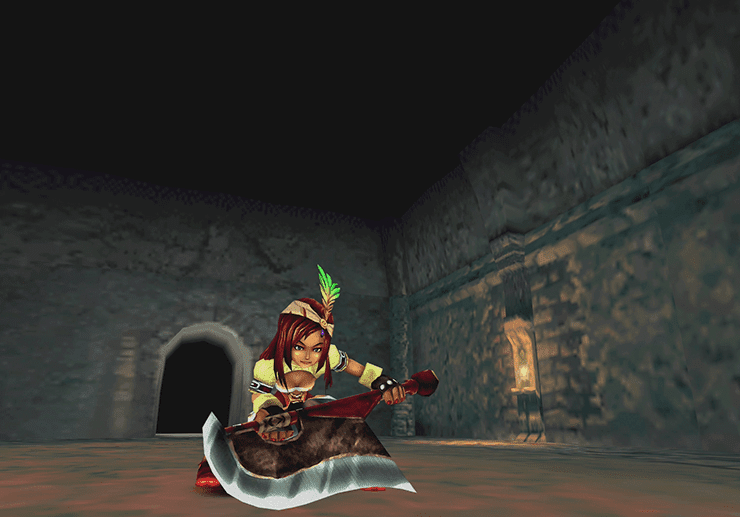
The first and most important aspect of this battle is to steal all three of Lani’s items. Have Vivi use all of his status-based magics on her including ![]() Slow and and
Slow and and ![]() Bio to get the battle rolling.
Bio to get the battle rolling.
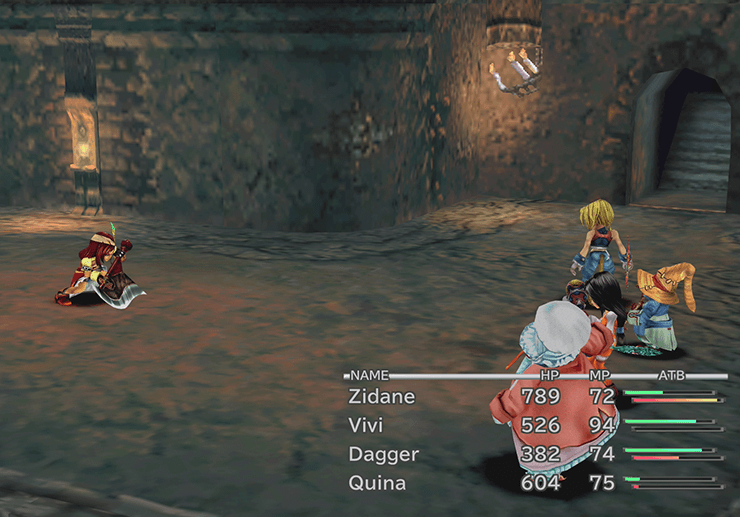
Lani will focus most of her attacks on Dagger and will then switch to Vivi if Dagger is KO’d. Have Dagger focus on keeping herself healed using ![]() Potions and
Potions and ![]() Hi-Potions from your other party members as necessary. You can also have Dagger cast
Hi-Potions from your other party members as necessary. You can also have Dagger cast ![]() Reflect on herself to make the battle much easier.
Reflect on herself to make the battle much easier.
Steal:
![]() Ether (common)
Ether (common)
![]() Gladius (uncommon)
Gladius (uncommon)
![]() Coral Sword (rare)
Coral Sword (rare)
Drops:
· (Nothing)
A video of the battle is included below:
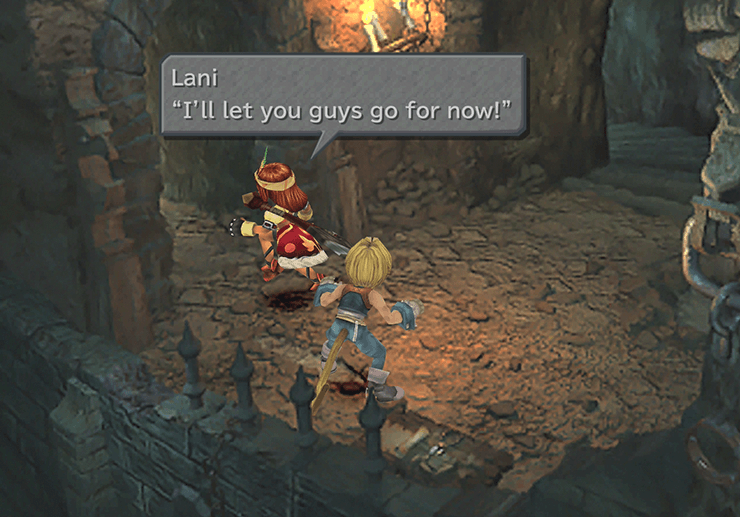
Follow Lani back towards the entrance of Fossil Roo past all of the swinging axes and check in the room that Armodullahan came out of to find a treasure chest with an ![]() Elixir in it. Travel all the way back to where you fought Lani and proceed down the hallway into the next room.
Elixir in it. Travel all the way back to where you fought Lani and proceed down the hallway into the next room.
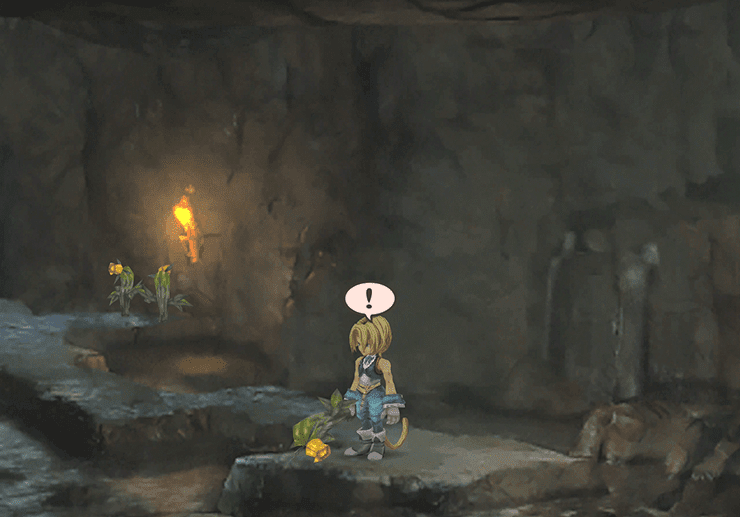
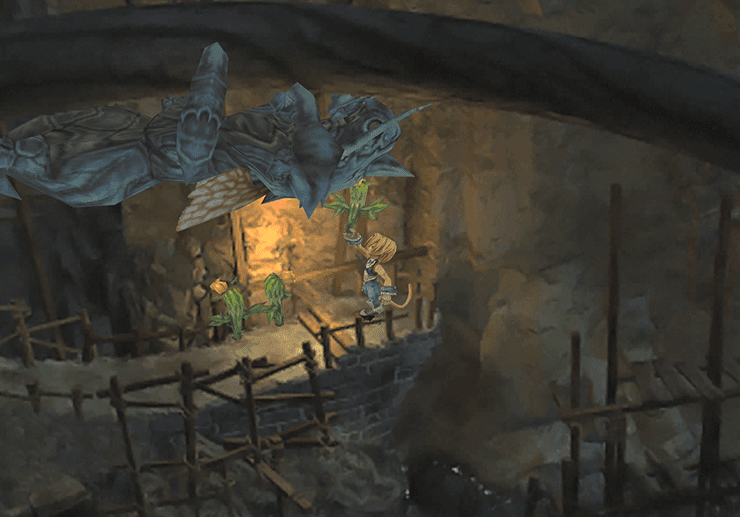
A short cutscene will take place in the next room as Zidane watches a Gargant go running past. Walk all the way to the left side of the screen until the Action Icon appears and pick the yellow flowers at the end of the pathway.
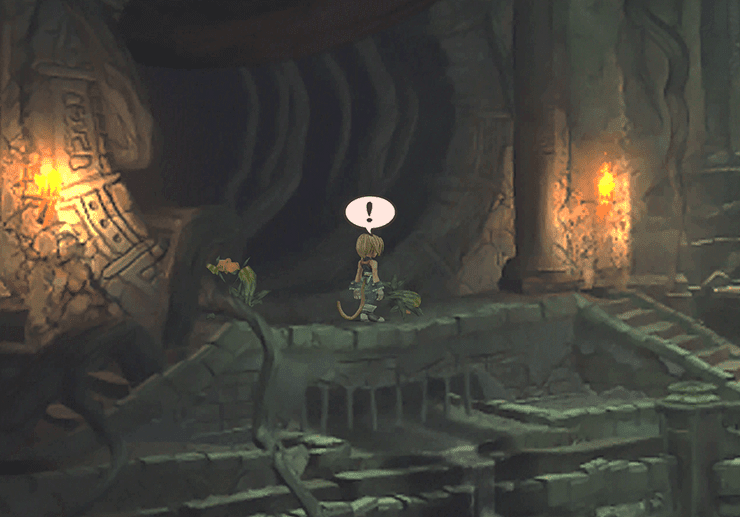
Stand underneath the tree root pathway until another Action Icon appears and have Zidane use the flowers to slow down and mount one of the Gargants which will take him into the next area of Fossil Roo. Travel north into the next area.
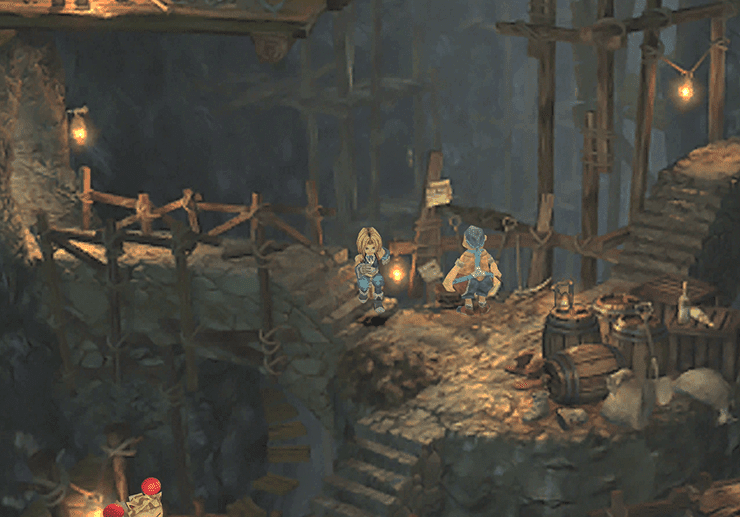
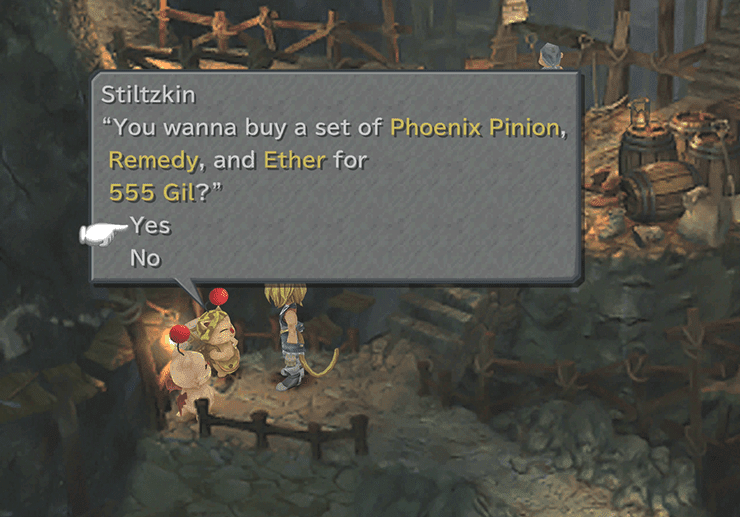
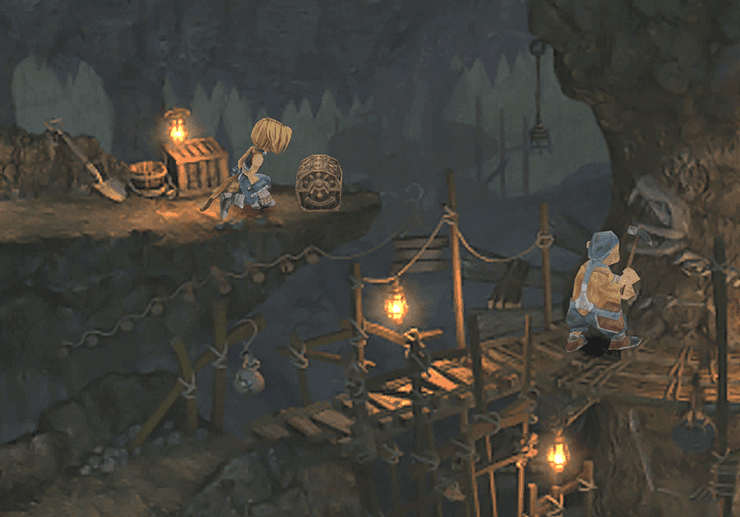
This area of Fossil Roo is where you can find some miners as well as Mogki the Moogle and Stiltzkin. Be sure to speak to Stiltzkin and buy what he’s selling - you can pick up a ![]() Phoenix Pinion,
Phoenix Pinion, ![]() Remedy and an
Remedy and an ![]() Ether for 555 gil (check out the Stiltzkin side quest section for more information).
Ether for 555 gil (check out the Stiltzkin side quest section for more information).
You must purchase all of the available items from Stiltzkin each time he appears in order to obtain the Driving the Hard Bargain Trophy. This is a missable trophy as you cannot return to some sections of the game in order to buy items that you have missed.

Speak to Mogki and give him the letter from Kuppo. Mogki’s Mogshop contains your standard items:
Stock up on any of the items you may be low on and then save your game.
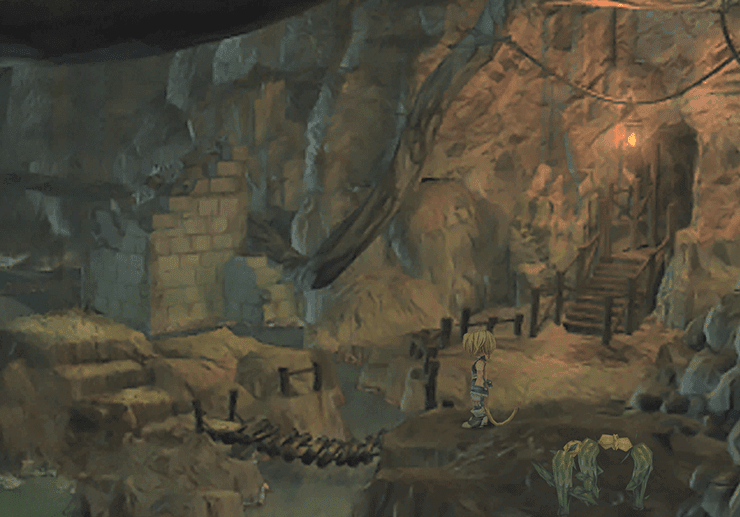
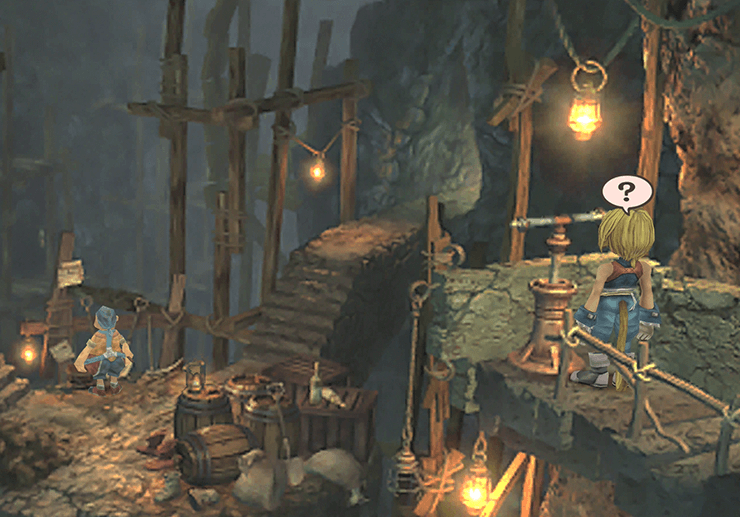
You can talk to the miner on the upper level for more information about how to navigate the caverns of Fossil Roo. You can hitch rides on the Gargants to get from one area to the next but you have to use switches to direct the Gargants to specific areas. Gargants are afraid of water so the water streams can be used to redirect them.
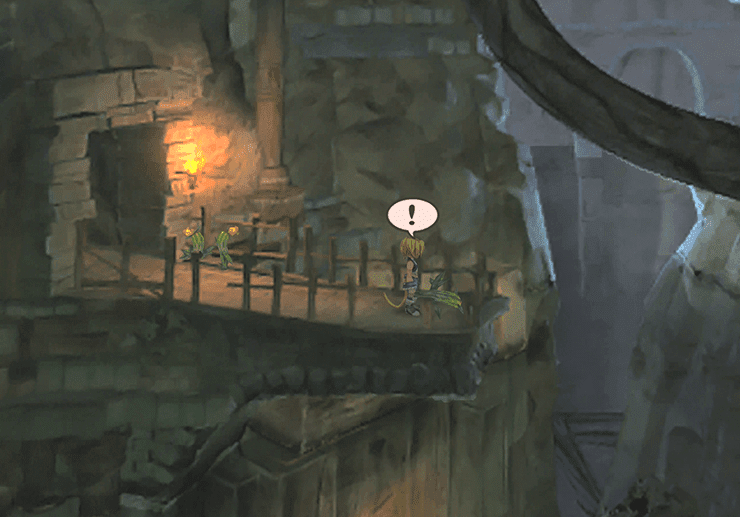
Head back down past there the Moogles are standing and grab a flower in the next area. Walk to the end of the path just past the flowers to flag the Gargant down and ride it to the next section of the cavern.
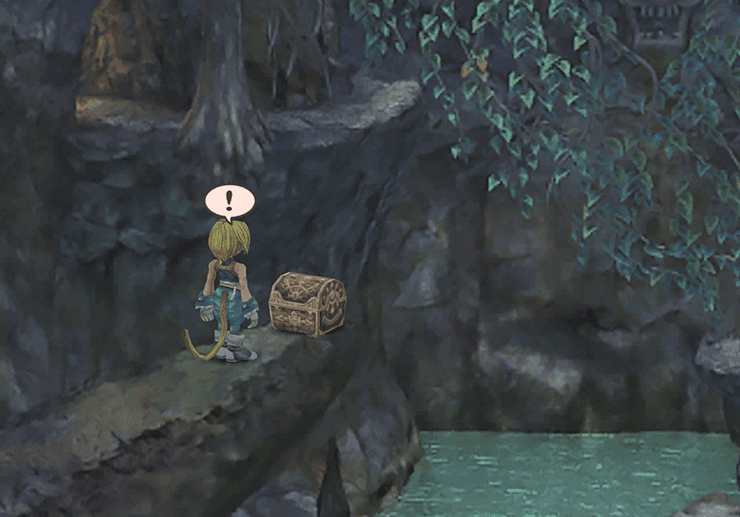
There is a treasure chest at the end of this pathway that contains a pair of ![]() Fairy Earrings. Use the flowers to flag the Gargant down again and go back to the Moogle area again.
Fairy Earrings. Use the flowers to flag the Gargant down again and go back to the Moogle area again.
Take the pathway leading off to the right from the miner and use the flowers to flag down another Gargant. An indicator will appear on the screen identifying the switches and paths that you are taking (which you won’t need with this guide).
Go to the right to find a switch and flip it to change the path that the Gargant will take on course 1. Go back to the left and flag down a Gargant which will now take you to another area of the cavern.

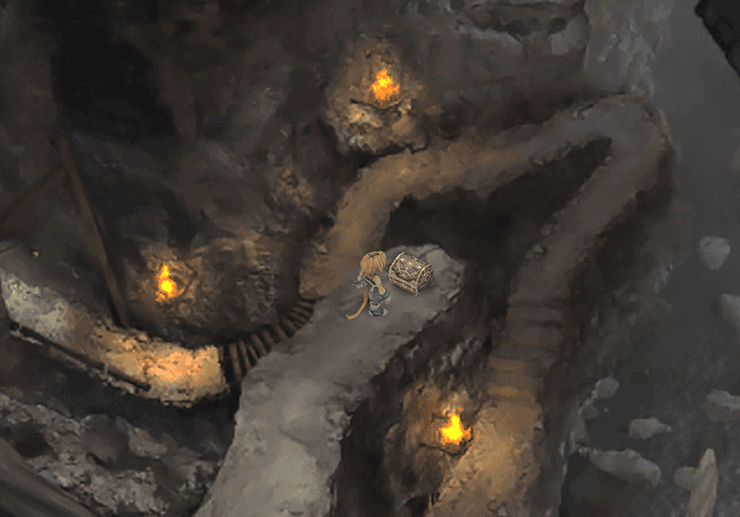
Travel up the stairs and follow the pathway north to reach a treasure chest that contains an ![]() Ether. Then head back down and follow the other pathway all the way around to reach Switch No. 2. Flip the switch to alter the course of that Gargant and then catch a Gargant back to the previous area.
Ether. Then head back down and follow the other pathway all the way around to reach Switch No. 2. Flip the switch to alter the course of that Gargant and then catch a Gargant back to the previous area.
Flip the switch in this area again and then catch another Gargant to get back to the previous area where the Moogles were standing. Take this opportunity to save your game before you proceed. Run south past the Moogles and catch this Gargant again.
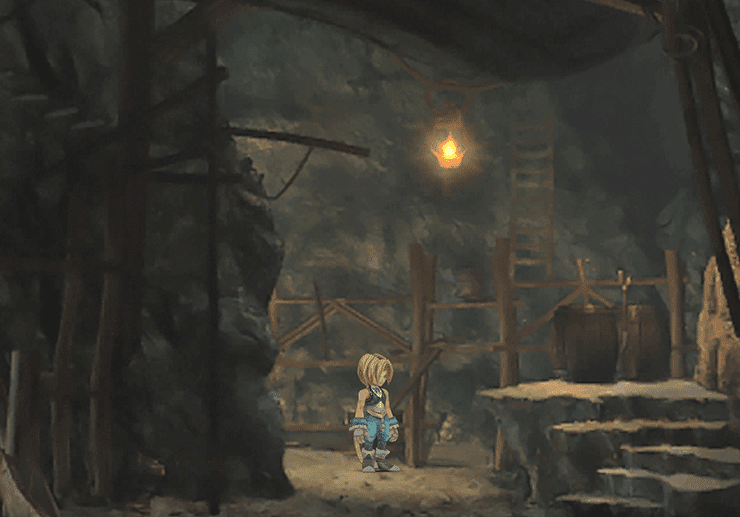
This next area that the Gargant drops you off in is called the Nest. Speak to the miner and he will offer to sell you items though he offers nothing that you were not able to purchase previously.
Take the stairs up past him into the next area which is one level up past the previous area you were in (you may recognize the windy path below). Flip Switch No. 4 and then head through the pathway on the right side and flag down a Gargant.
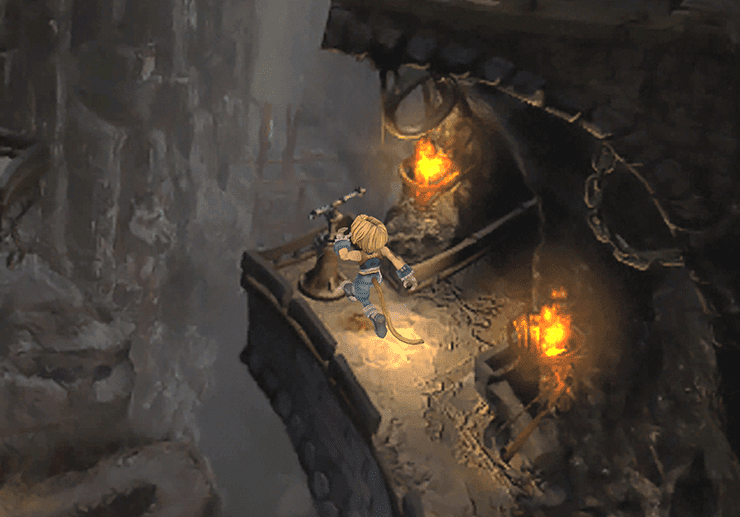
This Gargant will now take you to an area where you can pick up a free ![]() Lamia’s Tiara from a treasure chest off on the right side of the screen. This Tiara can teach Dagger some new magic spells including
Lamia’s Tiara from a treasure chest off on the right side of the screen. This Tiara can teach Dagger some new magic spells including ![]() Confuse and
Confuse and ![]() Float. Travel back to Switch No. 4 and flip it again, then ride the Gargant once more.
Float. Travel back to Switch No. 4 and flip it again, then ride the Gargant once more.
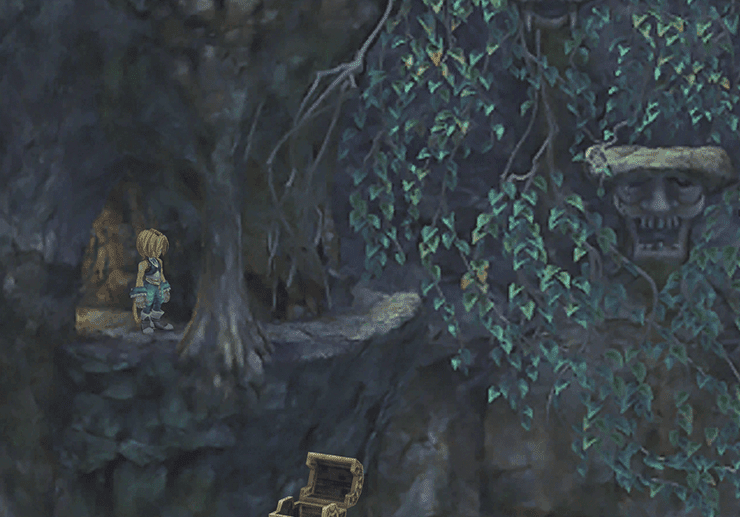
The room to the right of the landing spot has an entanglement of vines on the far wall and a lake of water at the bottom of the cavern. You can climb across the vines though you will likely be shot down into the lake below which will not cause a problem.
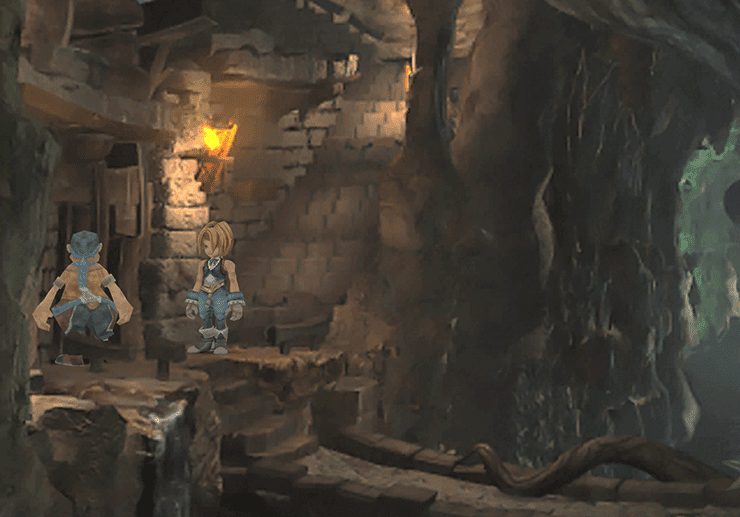
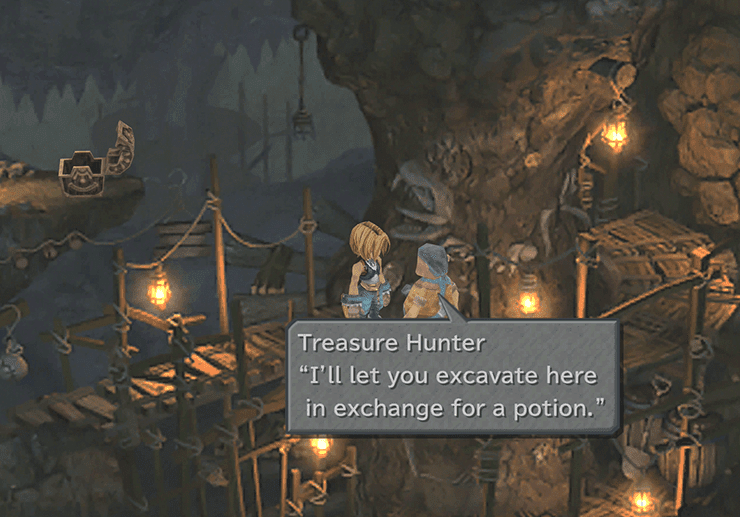
Take the pathway back up to the vines and take the exit on the right side (the upper exit that does not lead to the Gargant boarding area). You will meet a Treasure Hunter in this area who will let you excavate in this area in exchange for a ![]() Potion.
Potion.
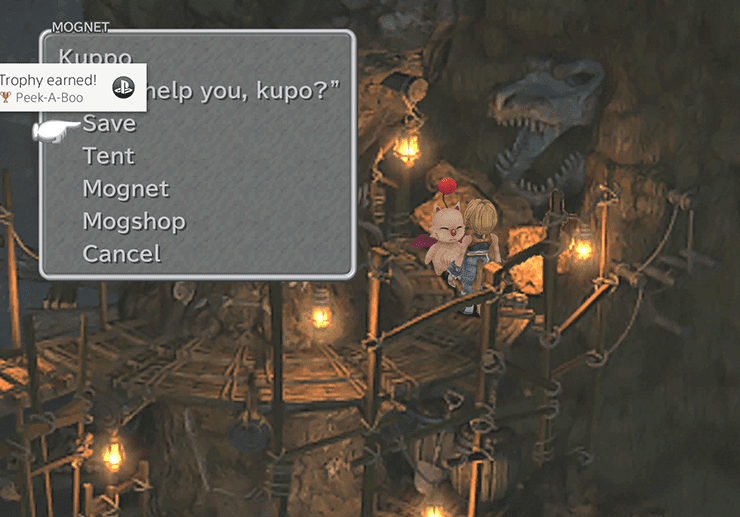
Agree to his terms and choose to excavate the wall on the right side of the screen with the loose rocks in front of it. Doing so a few times will release a Moogle named Kuppo. Choose the Mognet option to pick up a letter from Kuppo to Kupo.
Releasing Kuppo from the wall will net you the Peek-A-Boo Trophy.


Kuppo’s Mogshop offers the same items as the previous Mogshop - use this opportunity though to save your game one more time.
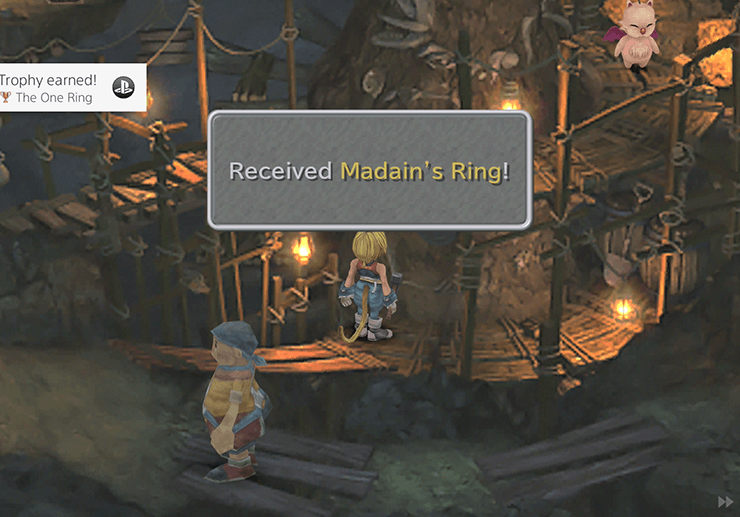
You can choose to mine in various areas around the Mining Site. While you will typically receive a ![]() Potion or an
Potion or an ![]() Ore, there is a very small chance that you will receive a
Ore, there is a very small chance that you will receive a ![]() Madain’s Ring. A very small chance so don’t waste to much time attempting to dig one up.
Madain’s Ring. A very small chance so don’t waste to much time attempting to dig one up.
You can obtain the The One Ring Trophy if you are able to dig up the Madain’s Ring. Use the High Speed Mode Booster if you need to in order to speed up the amount of mining you do. In order to dig it up you will likely have to dig 5 to 10 times in one area.

Take the pathway on the lower right side of the screen and search on the left side of the screen near the rubble to pick up a free ![]() Survival Vest.
Survival Vest.
Travel back to the cavern with the vines on the wall and climb over to the top left side to find Switch No. 3 and choose to flip the switch.
Take the exit at the bottom-right side of this room and hop on one last Gargant to take you out of this area.